Announcement

Collapse
No announcement yet.

My E30 Turbo Frankenmotor Restomod

Collapse
X
 
  • Filter
  • Time
  • Show
Clear All
new posts

    #46
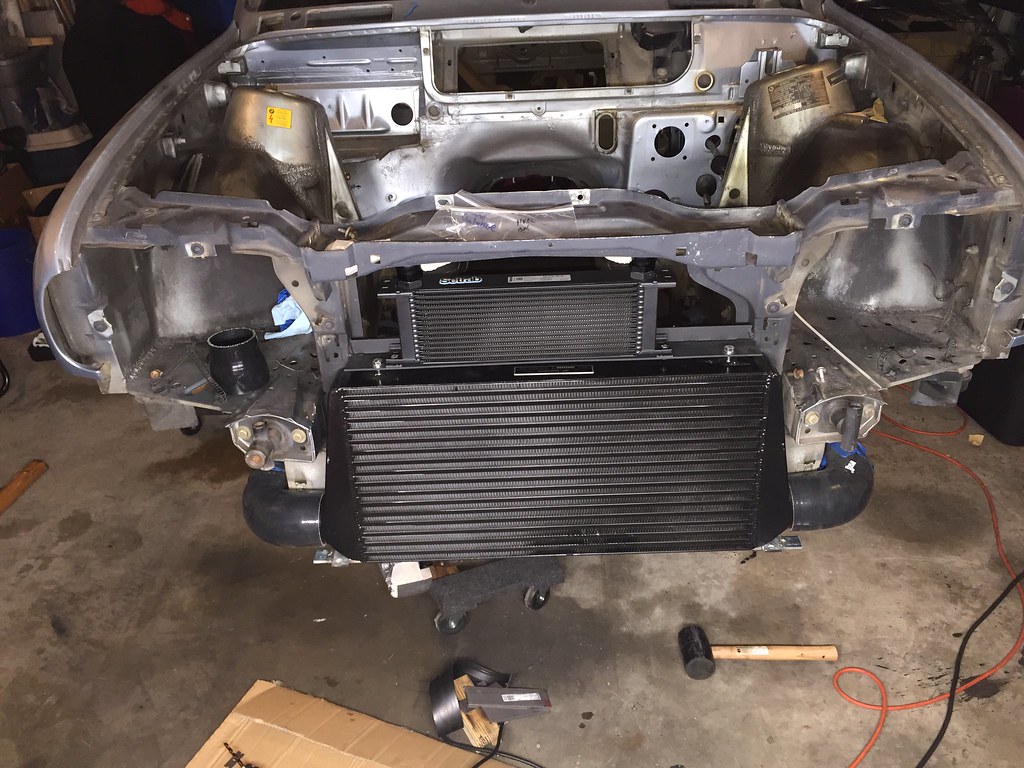
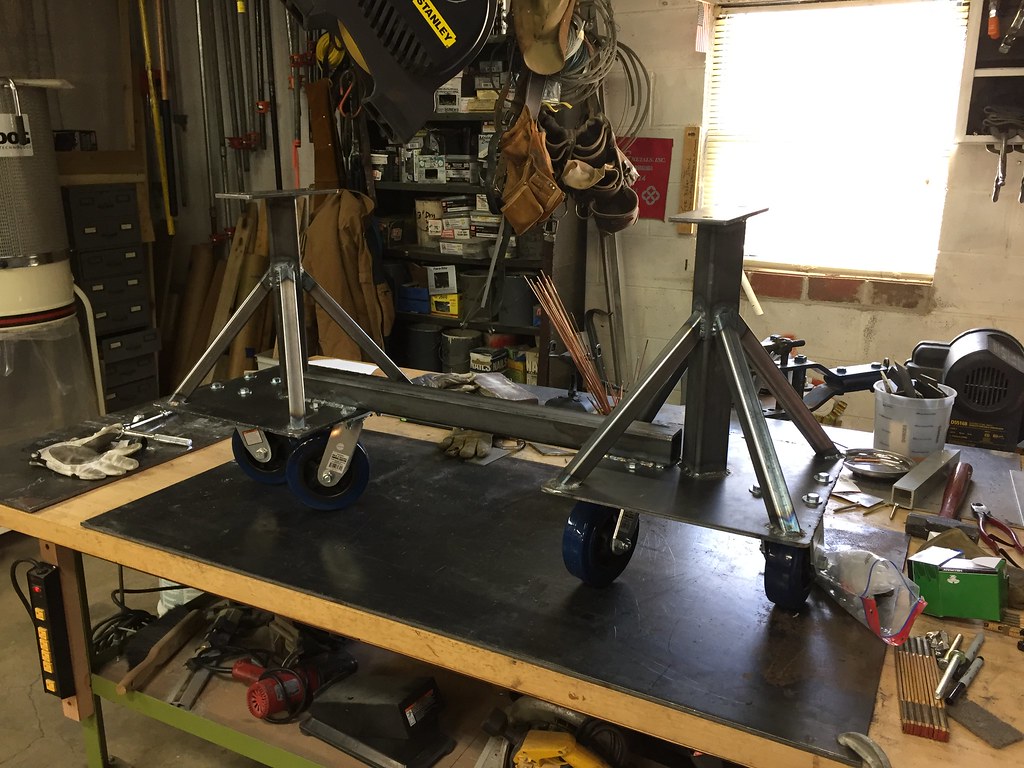
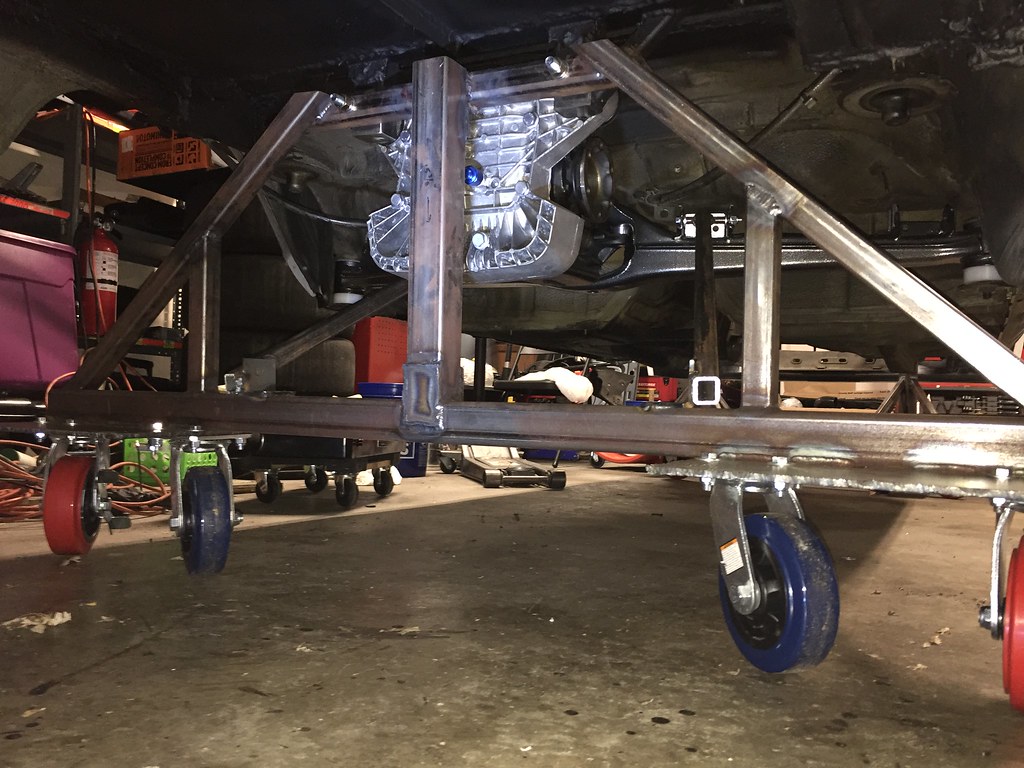
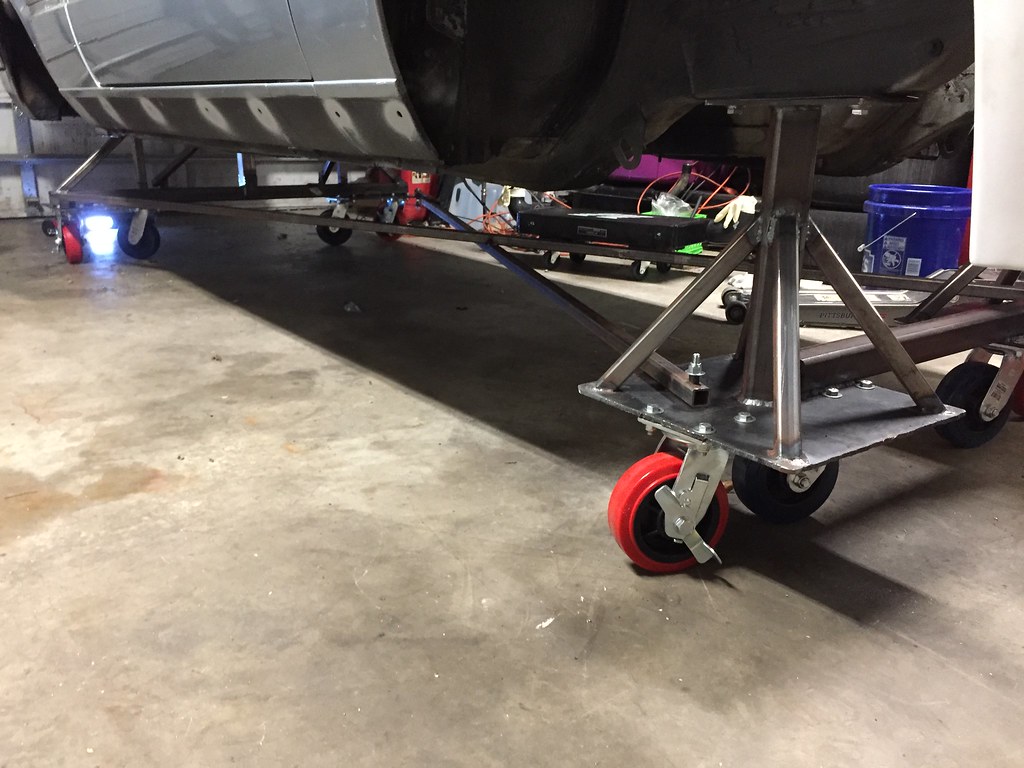
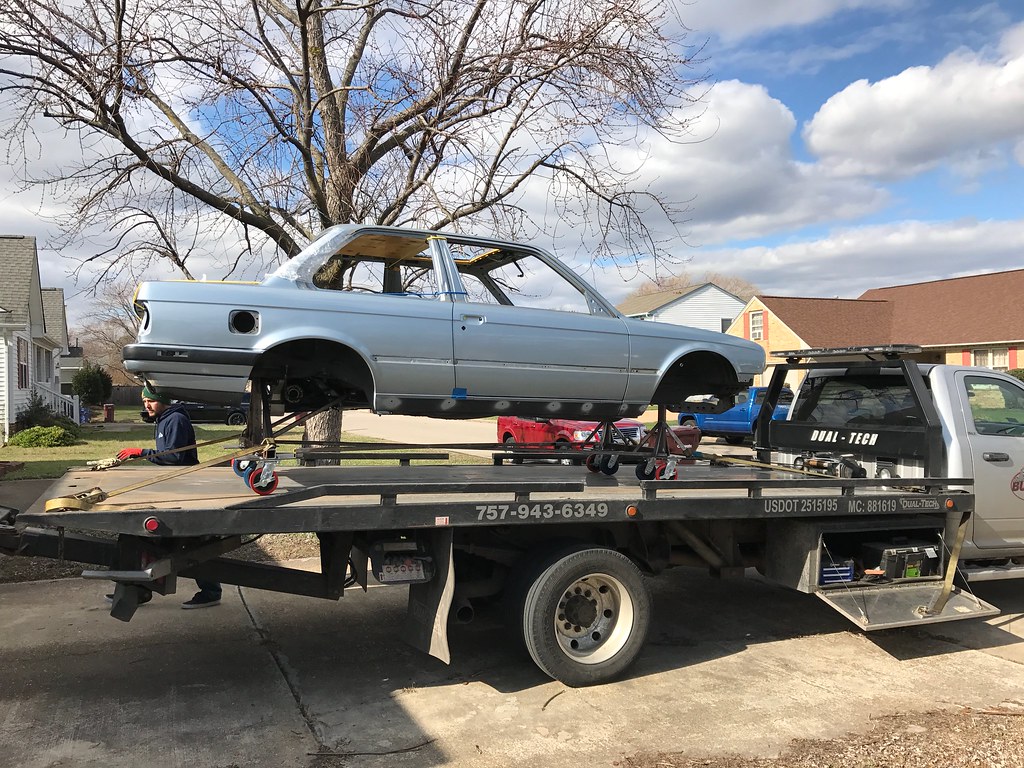
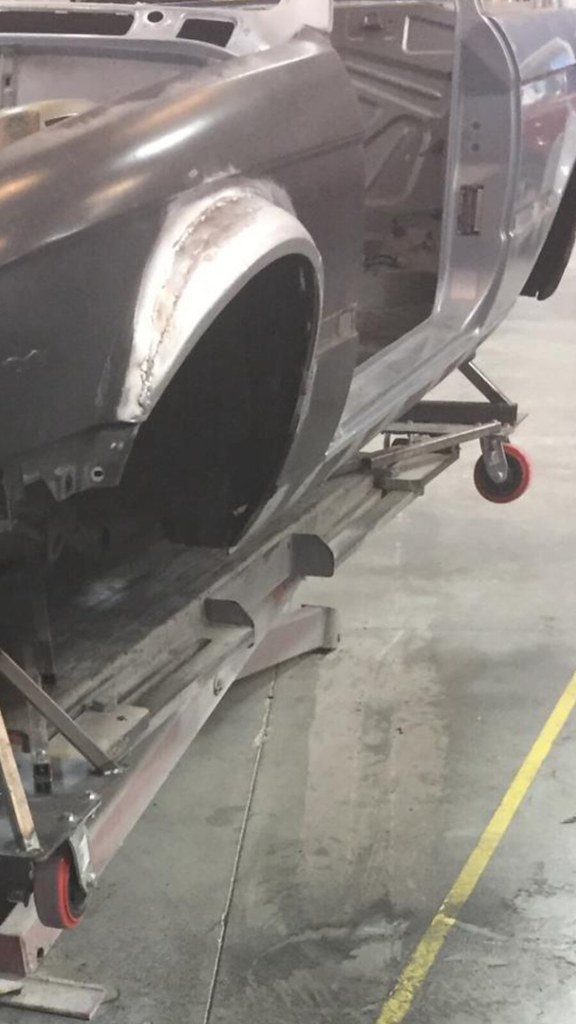
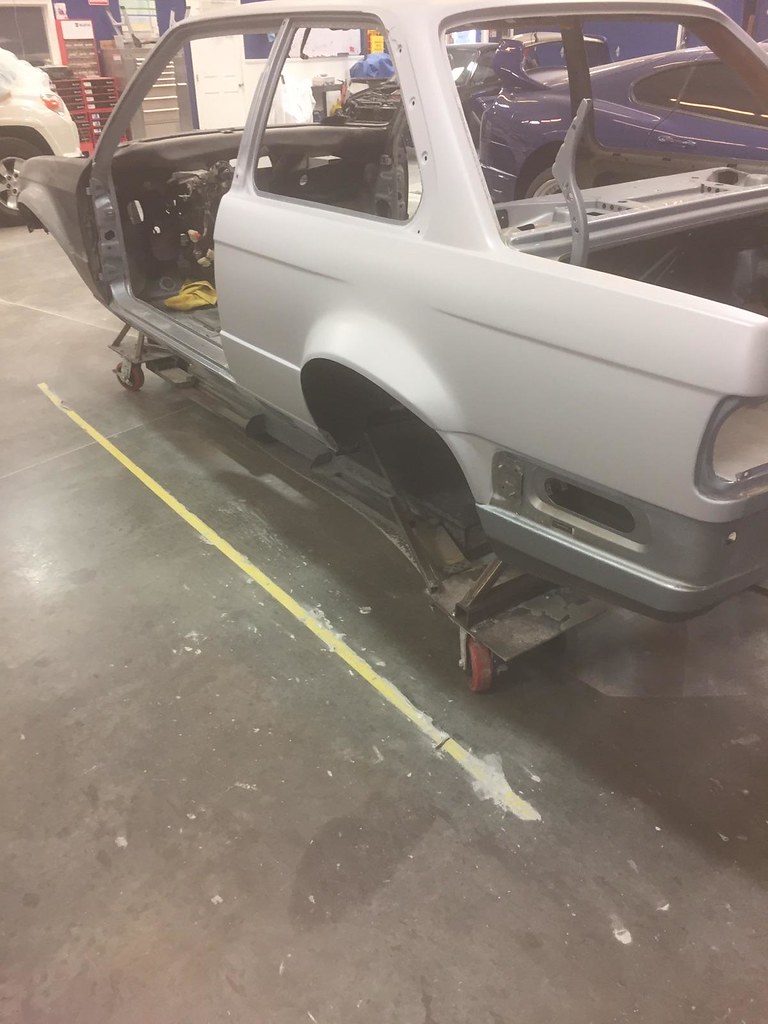
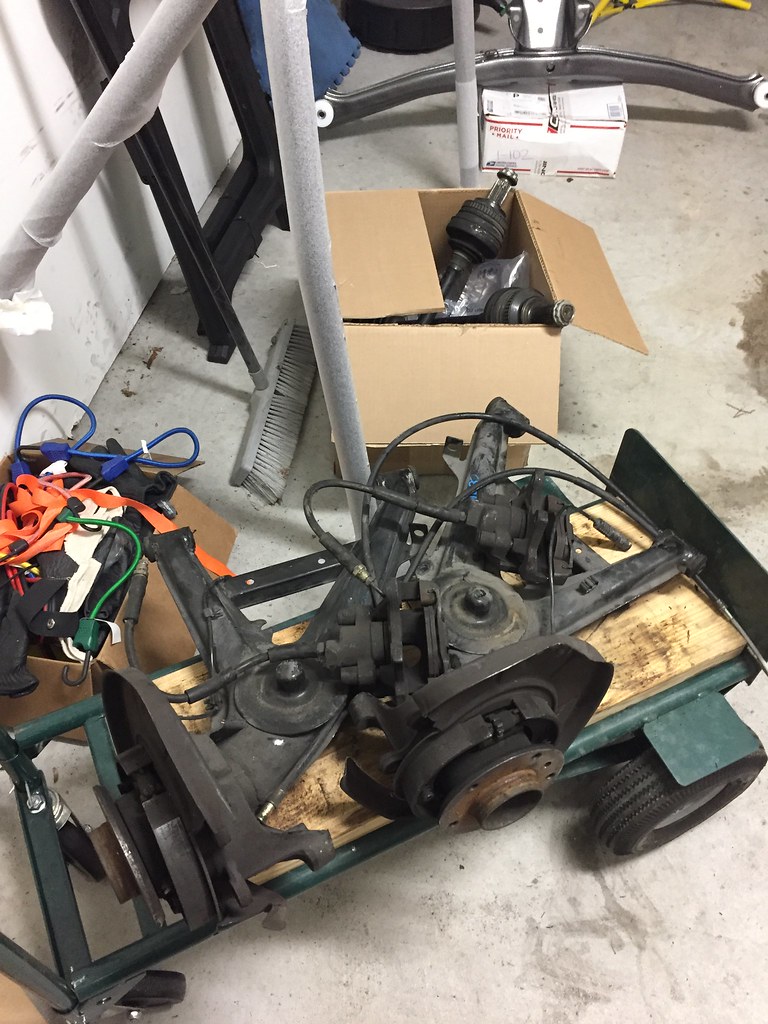
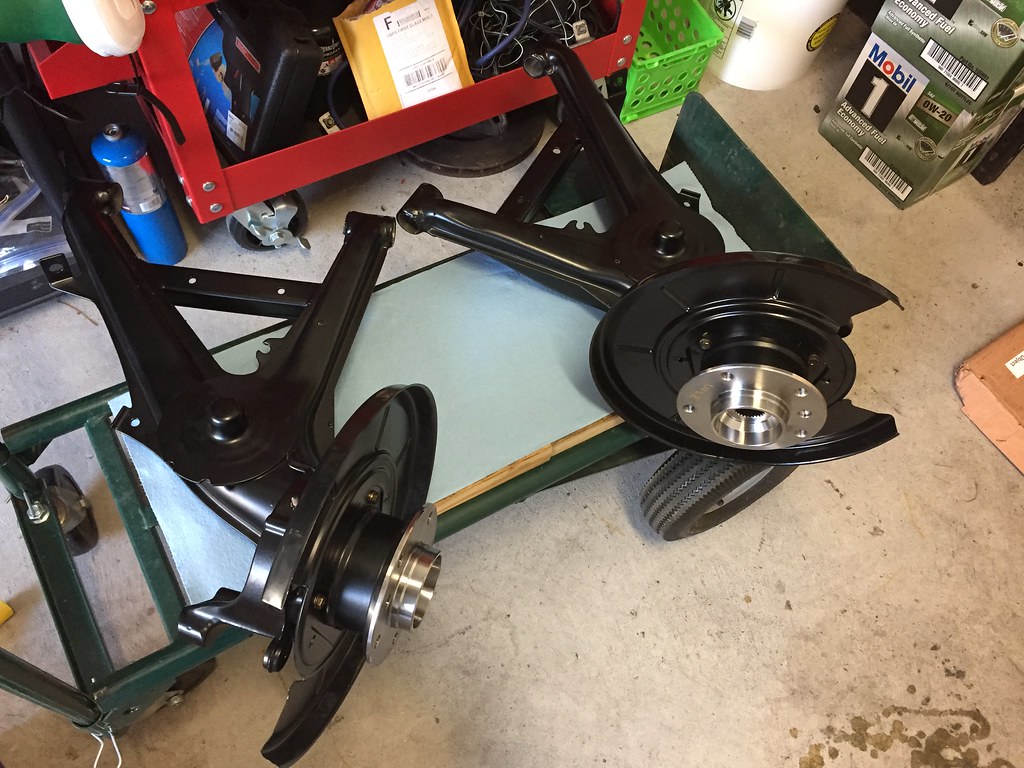
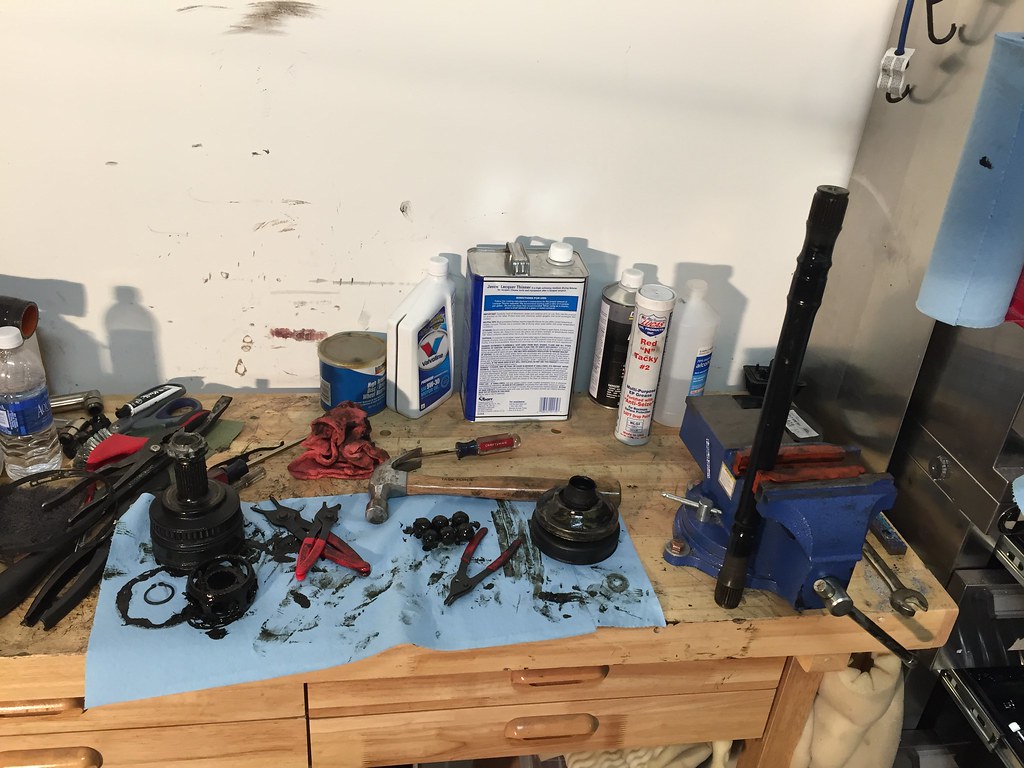
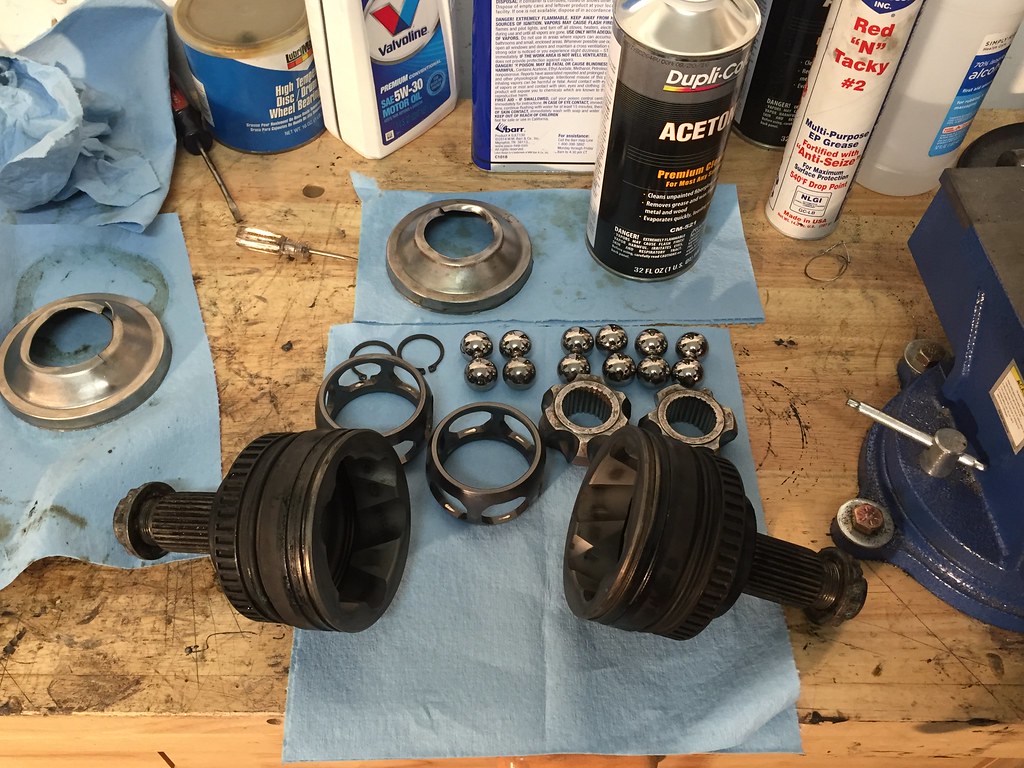
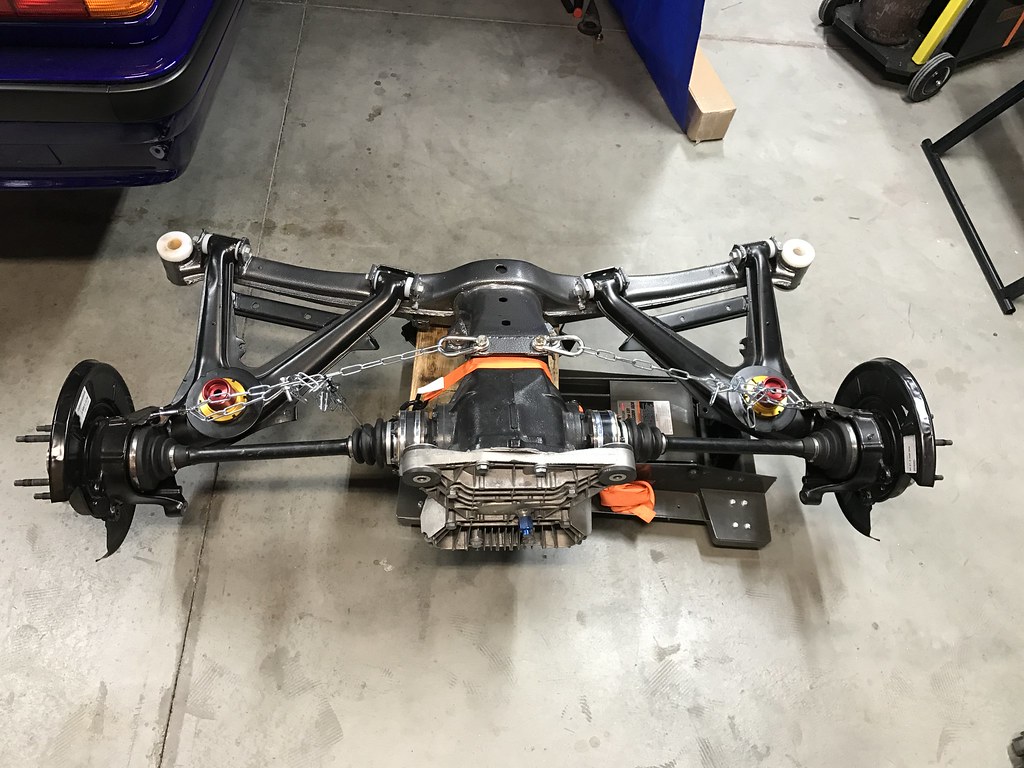
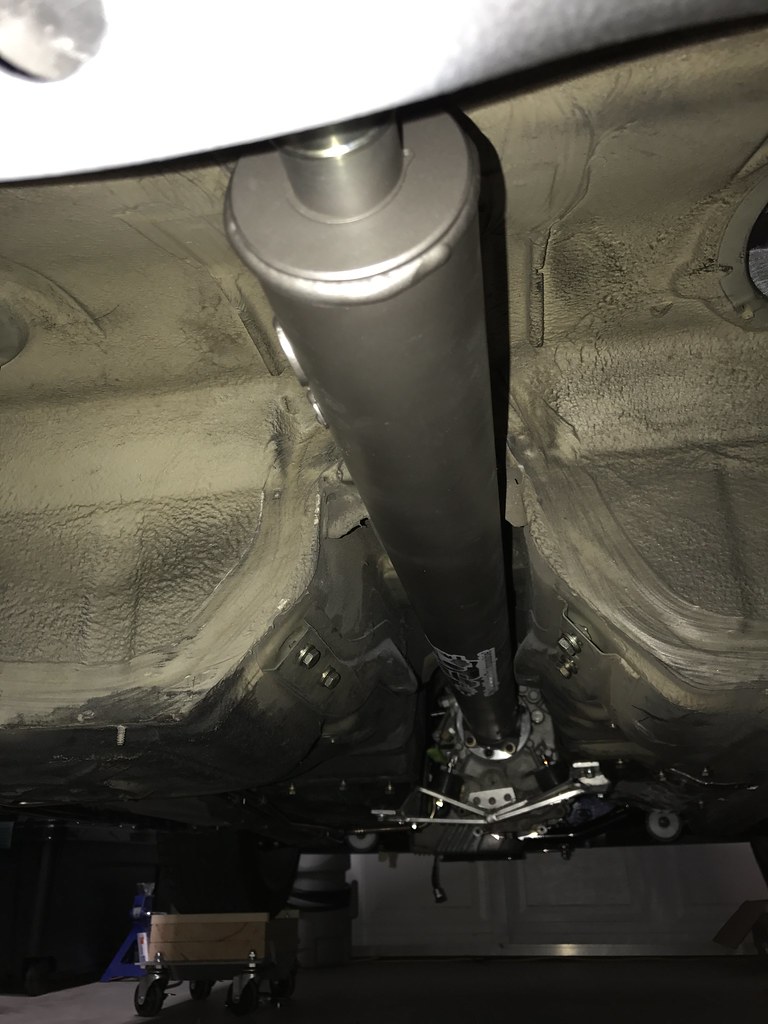
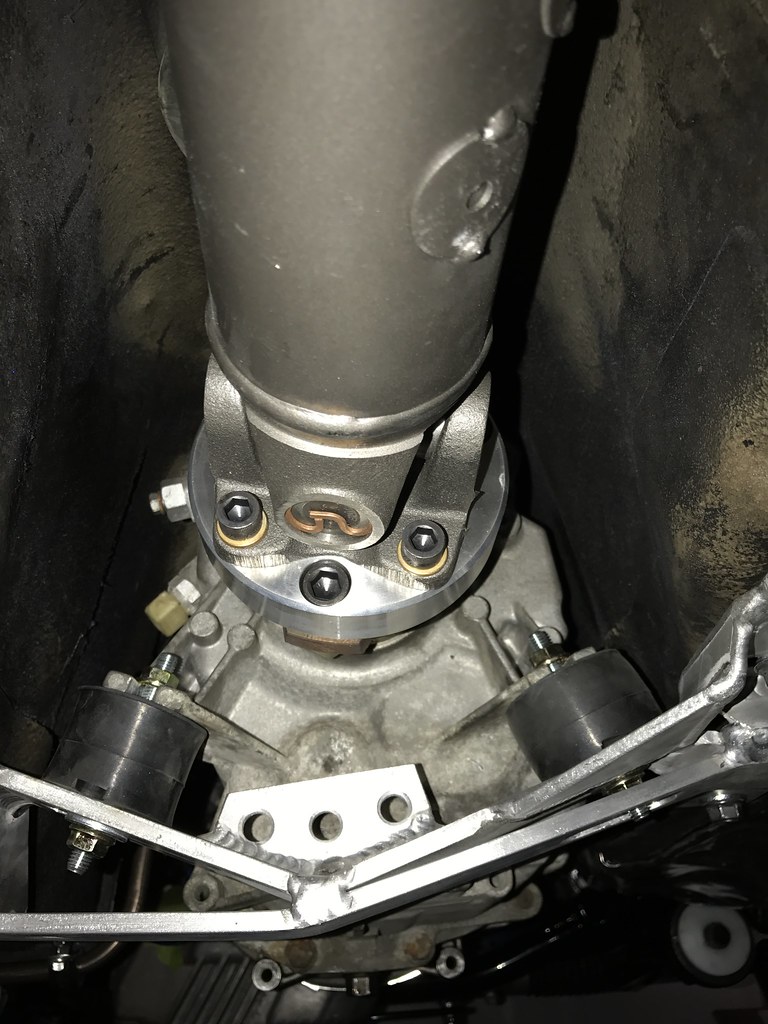
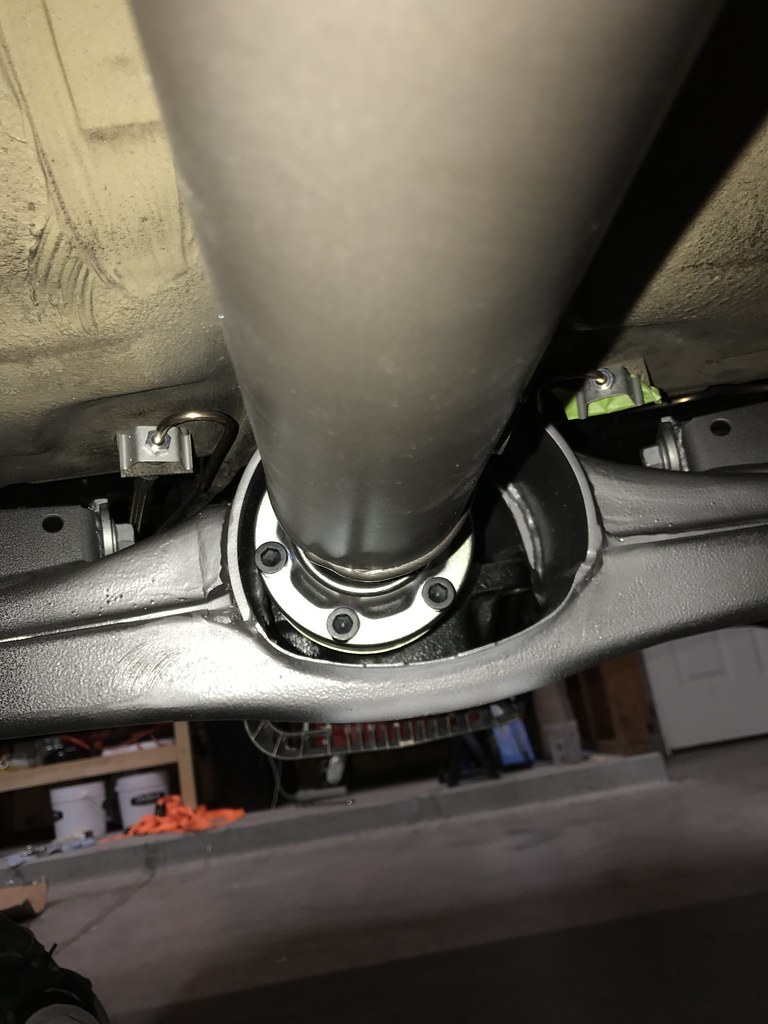
    Once the rear crossmember and diff mount were complete, I towed the car back from my dad’s place for a 3-hour trip to my place in Chesapeake, VA. I went to work doing all the stuff needed before the car went for paint and bodywork. What little was left on the car came out. Only thing that stayed put was the steering column. I started by mounting the huge intercooler since I knew everything in the front of the car would have to be modified to clear it. I made a bracket for the top mount points and MIG welded it to the radiator core support. Also made a pair of brackets for the lower mounting points on the intercooler and was able to use the pre-existing holes in the core support for the M20 oil cooler to mount them. My goal was to try and minimize holes drilled and major chassis mods for everything.

    E30 Build by Jason H, on Flickr

    E30 Build by Jason H, on Flickr

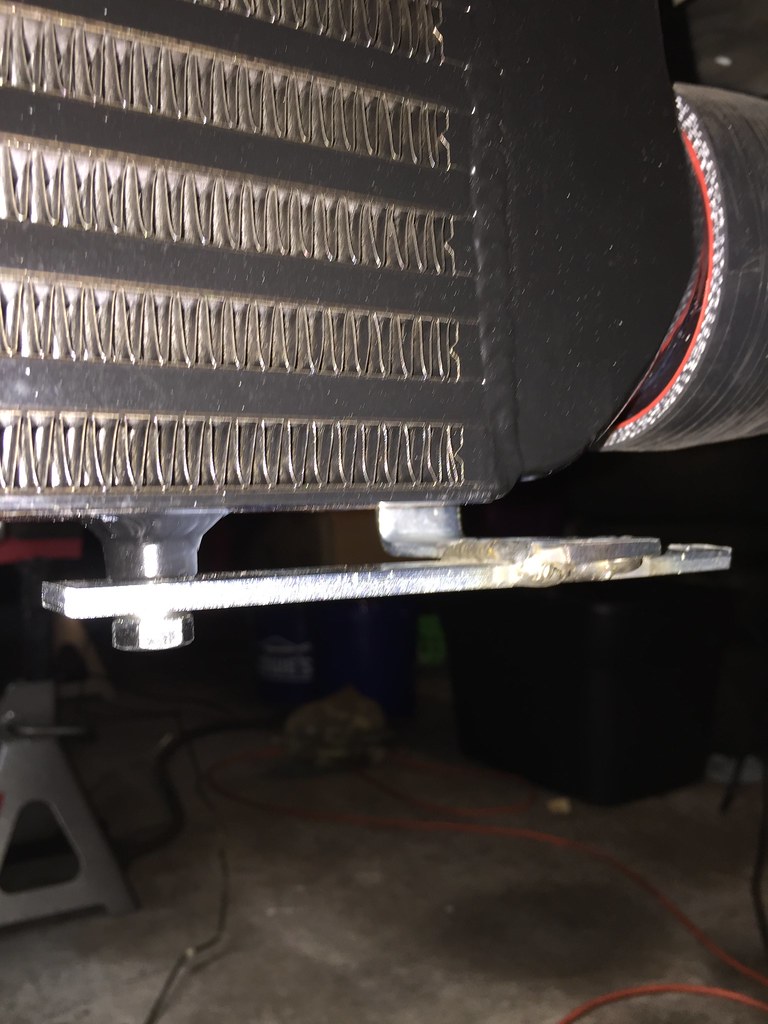
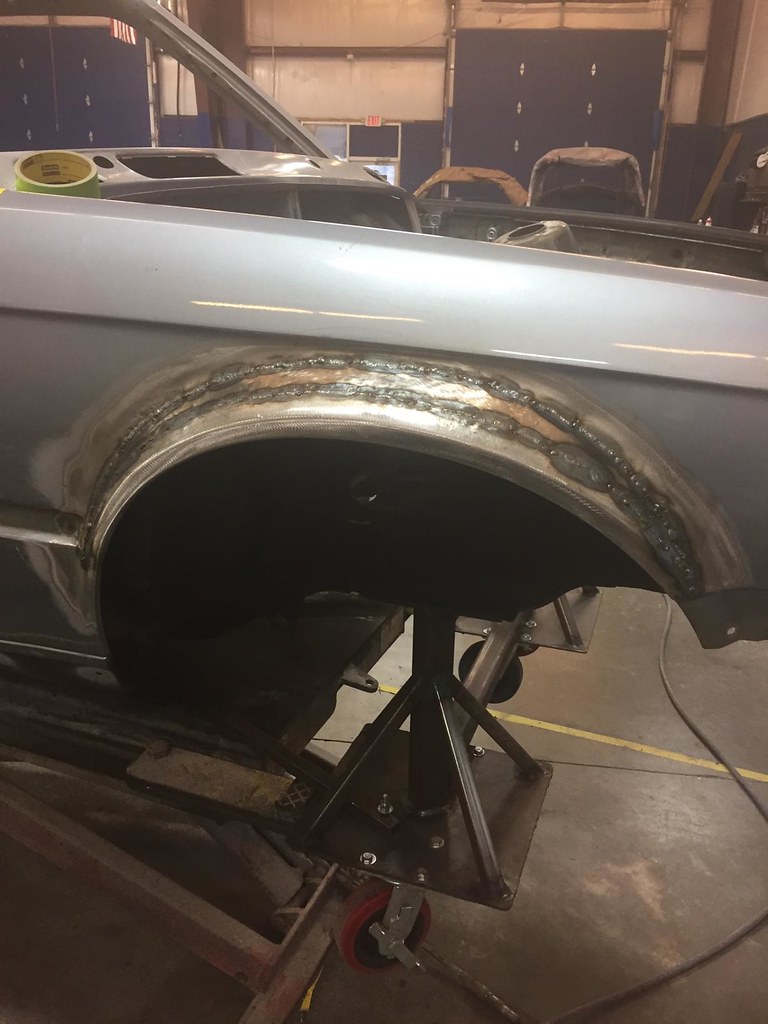
    I also mounted a Setrab oil cooler on top of the upper intercooler support. This sits just behind the kidney grills. The lower brackets were cleaned up by cutting the extra length off and then brought in with a large batch of stuff for powdercoat.

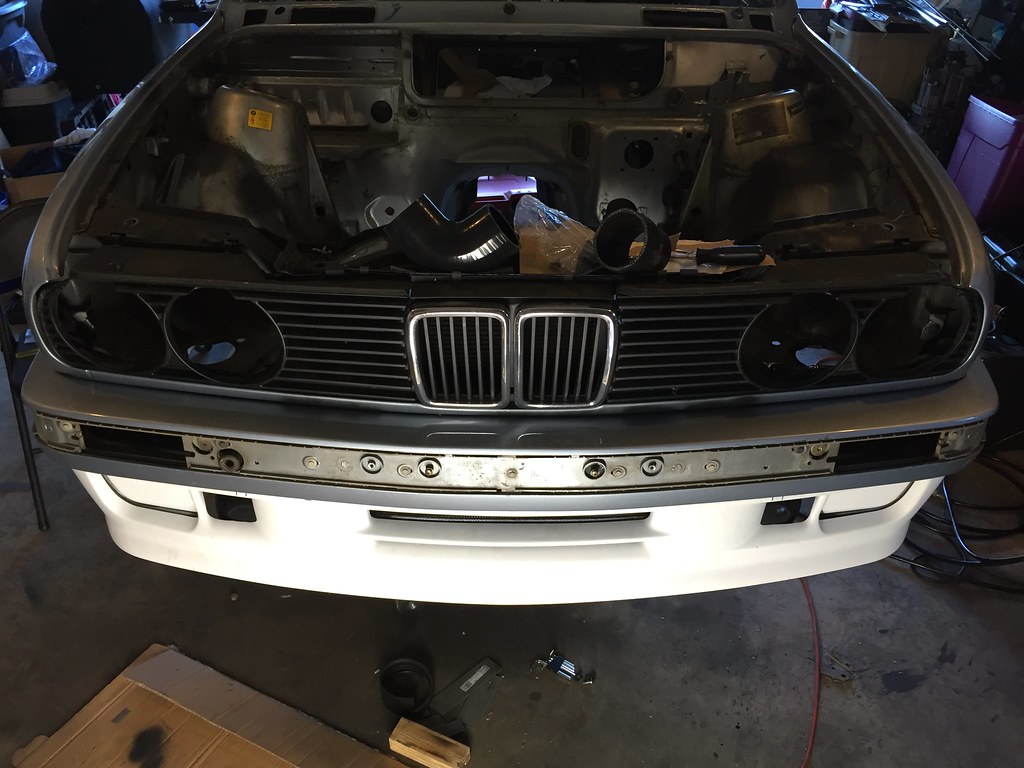
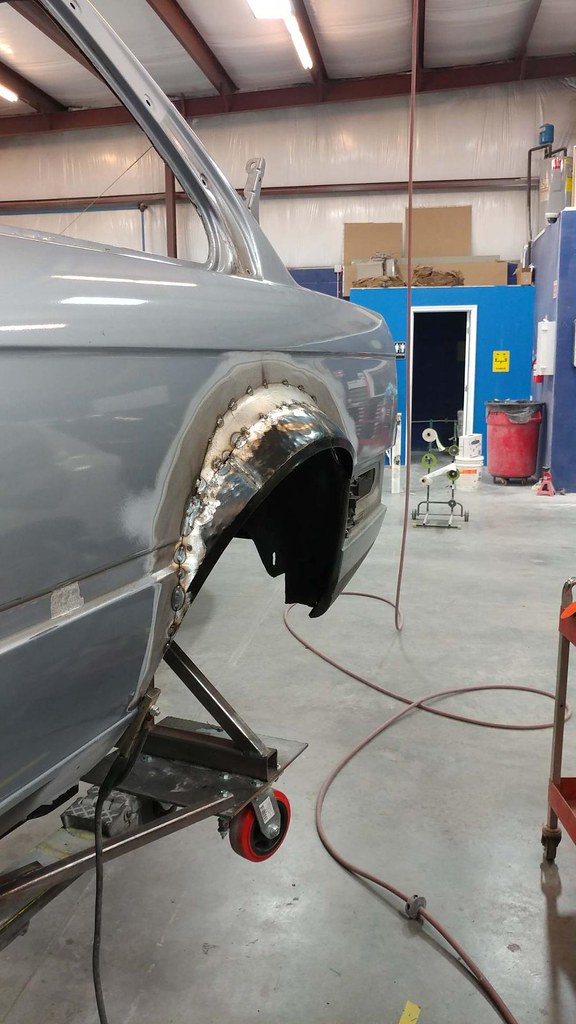
    Modifying the front valance and M-tech2 lower was an enormously tedious job. Fit up, cut a little…rinse and repeat 100 times until everything had clearance. Tons of work but the results were worth it.

    E30 Build by Jason H, on Flickr

    E30 Build by Jason H, on Flickr

    E30 Build by Jason H, on Flickr

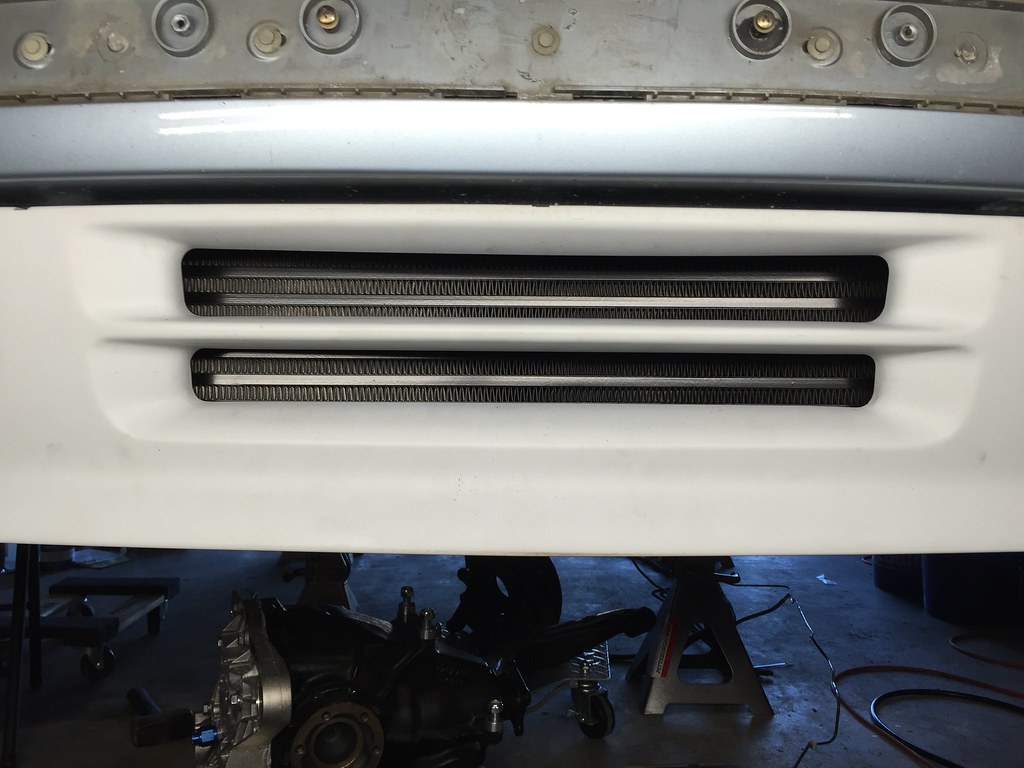
    I also notched out the bottom of the front bumper in front of the intercooler to help get more airflow over it. Totally stealth and unseen. Not sure how much it helps but it made me feel better to do it.

    E30 Build by Jason H, on Flickr

    Comment


      #47
      I had both a brand new OEM iS spoiler and a new Alpina spoiler. I was so close to using the iS spoiler but finally settled on the Alpina. Glad I did, I love how it looks on the car.

      E30 Build by Jason H, on Flickr

      E30 Build by Jason H, on Flickr

      I had a new set of OEM iS sideskirts and went ahead and laid those out down the rocker panels and drilled the holes for mounting. Unfortunately I can’t find any pics of this work but you’ll see the holes drilled later when the car goes in for paint.

      At this point the car is fully stripped. No glass, suspension, headliner, all interior gutted. Just a shell on stands. Even pulled the entire wiring harness out. Anyone who has done this will tell you it's a real bitch.

      E30 Build by Jason H, on Flickr

      I took a few measurements and drafted up a design for a chassis cart to be able to get the car flat bedded to the paint shop. I headed out to my dad’s place again and we got to work in freezing January weather in the garage. We knocked out the whole chassis cart in a weekend and I hauled it back and bolted it up. It was spot on and bolted right up. I used the front subframe mount points on the frame for the front cart and the rear vertical diff mounts we had made for the rear section of the cart. I put the subframe and diff back in to give the cart support and then put two support braces from the cart up the the trailing arm mounts on the subframe and used long steel square tube to tie both front and rear carts together solid.

      E30 Build by Jason H, on Flickr

      E30 Build by Jason H, on Flickr

      E30 Build by Jason H, on Flickr

      E30 Build by Jason H, on Flickr

      E30 Build by Jason H, on Flickr

      E30 Build by Jason H, on Flickr

      E30 Build by Jason H, on Flickr

      E30 Build by Jason H, on Flickr

      Comment


        #48
        Off to paint it goes. The chassis cart worked great. I made the bar that connected the two front stands from base to base out of ¼” steel square tube so I knew there wouldn’t be a problem with the tow truck wrapping it’s winch hook around it to pull the car up. The frame didn’t flex a bit and it rolled super smooth.


        E30 Build by Jason H, on Flickr
        Last edited by jph; 09-19-2019, 10:24 AM.

        Comment


          #49
          The pace of the project is about to take off out of necessity. I’m in the Navy and was living in Virginia during this build. I had orders to California and was leaving in the end of May 2017. For reference, the car was being loaded on the tow truck to head in for paint at the end of January 2017. I was facing a logistical nightmare trying to get the car in a state where it could be transported across the country before I left. Mind you I’m working five days a week and have a girlfriend to tend to as well.

          The paint and bodywork was done as a side job after hours by a small crew of guys who frequently work together on projects like mine. An old school body guy was brought in to do the fender fabrication and molding shaving. Almost every part of the car was taken down to bare metal due to a shitty re-spray about 6-7 years ago by the PO. If I remember right the only areas not taken all the way to bare metal were the rear section of the car in between the taillights and the engine bay. The hood had four coats of paint on it. That’s right…FOUR.

          Due to the amount of labor required and tight timeline this meant a tough job for these guys. But they knew how invested I was in the car and they didn’t cut any corners. I would stop by pretty frequently in the evenings after the shop had closed to hang out and see the progress.

          Everything taken to bare metal had to have an etch primer laid down to ensure good adhesion for the following coats of primer and paint. You can see the etch primer here on the hood.

          E30 Build by Jason H, on Flickr

          Unfortunately the car didn’t have any suspension, wheels, or tires so this meant the flares had to be made measuring from hard points on the chassis for reference. This old school body man was legit and did a great job. I brought him four E46 front fenders to use for flare material and he went to work cutting and welding.

          E30 Build by Jason H, on Flickr

          E30 Build by Jason H, on Flickr

          E30 Build by Jason H, on Flickr

          Then he tackled shaving the side moldings. I decided to shave them after I got the car to the body shop and was talking to the crew there. So glad I opted to do this. It really cleans up the lines on the car in my opinion. He plug welded each hole where the trim clips used to be and then shaped the molding recesses. He also sealed up the back of each weld with seam sealer inside the door panel. Top notch work. Also had him weld shave the radio antenna hole in the rear of the car.

          E30 Build by Jason H, on Flickr

          E30 Build by Jason H, on Flickr

          Primed shell ready for paint.

          E30 Build by Jason H, on Flickr

          E30 Build by Jason H, on Flickr


          Paint mixed and ready to shoot. The paint and clear used was Spies Hecker. Good OEM quality stuff.

          E30 Build by Jason H, on Flickr

          Every piece of the car was painted individually off the car. Not only is this the best way to do it for full coverage, but a full color change done the right way pretty much has to be done this way. Door panels painted inside and out, etc. I have way too many pics of individual parts being painted so I’ll just leave you with one of the doors.

          E30 Build by Jason H, on Flickr

          Shell is the final thing to get paint. I showed up just as he was finishing the last coat of clear. Amazing!

          E30 Build by Jason H, on Flickr

          E30 Build by Jason H, on Flickr

          We let the paint cure for a few days and then I went one night and helped them hang the hood, trunk, and bumpers. They did the doors and front fenders a different night. Everything else I had been slowly transporting back to the house as they finished them up. Things like side skirts, mirrors, spoiler, etc.

          Here it is back home the day I got it back around the middle of March 2017……..2.5 months before it had to be built up to travel to California :ohsnap:

          E30 Build by Jason H, on Flickr
          Last edited by jph; 06-03-2018, 04:07 AM.

          Comment


            #50
            While the car was being painted I finished building the motor and sourced/overhauled a Z3M rear suspension setup. Those will be my next updates. It's 4 AM and I'm exhausted. Stay tuned

            Comment


              #51
              Damn, Im so glad you took plenty of pics... what a transformation!
              Simon
              Current Cars:
              -1999 996.1 911 4/98 3.8L 6-Speed, 21st Century Beetle

              Make R3V Great Again -2020

              Comment


                #52
                Originally posted by 2mAn View Post
                Damn, Im so glad you took plenty of pics... what a transformation!
                I have sooo many pics. Trying to keep it reasonable on here so just putting up the ones that help tell the story.

                Thanks for following! I’ll be on break from school in about 10 days so I should make a lot more update progress.

                Comment


                  #53
                  I’m back!

                  On to the rear suspension and driveline…

                  The huge 210mm diff required one of two options. I could have had The Driveshaft Shop make me a set of custom rear axles that would allow the E30 rear trailing arms to be used at a cost of $1600. Supposedly they would have been strong enough to hold up to my power goals but then theres always the issue of smaller wheel bearings and the need for some kind of “kit” to get 5-lug and large brakes back there.

                  The unicorn Z3M rear trailing arms and axles are a plug and play option with huge axle shafts and wheels bearings. Also, the rear brakes are massive and 5-lug comes standard. Of course there is a premium price that comes with these uber rare parts but I felt it was a worthy expense considering the car they’d be going on. So I searched high and low until I found a nice clean set of arms, axles, and brakes. Finally found a set. Cost was only my left arm and one testicle.

                  They were in good shape, but a little dirty and in need of an overhaul. They came from Texas so rust was not an issue. Score. Here’s what everything looked like when I got them.

                  E30 Build by Jason H, on Flickr

                  I pressed the hubs and bearings out of the trailing arms and sent them to the powdercoaters who I was becoming very familiar with. They did a great job and decently quick turnaround. I ordered brand new wheel bearings and hubs for them and pressed them in. I also picked up some brand new brake dust shileds since the old set was a little bent up and very nasty from years of use. Here they are all pretty and waiting to go on the car.

                  E30 Build by Jason H, on Flickr

                  Once the trailing arms were all sorted I set to work on doing a compelte rebuild of the rear axles. I ordered a brand new set of inner CV joints for a Porsche 930 which happen to be identical to the Z3M and I believe the E36 M3 as well. The outer CV joints are not available new so I figured I’d see what they looked like after I cracked them open and go from there.

                  What a MESSY job this was. I used straight gasoline as a solvent and man did it knock that grease right down! Everything was cleaned to spotless in preparation for reassembly. The outer joints looked great with no abnormal wear and the bearings looked perfect too. I used Redline CV-2 grease for both joints and began reassembly. Getting the balls back into the cages was very tricky but can be done with tons of patience and a steady hand. I used Hysol sealant on the inner CV joint metal caps to keep the grease where it belongs. Critical step if you ask me but not everyone does it for whatever reason. Anyway, here are some progress and final product pics of the rear axle rebuild. I used all new boots and Oetiker clamps as well for a factory new assembly. It’s a terrible job but I would do it again in a heartbeat before using those junk rebuilds out there!

                  E30 Build by Jason H, on Flickr

                  E30 Build by Jason H, on Flickr

                  E30 Build by Jason H, on Flickr

                  E30 Build by Jason H, on Flickr

                  E30 Build by Jason H, on Flickr

                  E30 Build by Jason H, on Flickr

                  E30 Build by Jason H, on Flickr

                  E30 Build by Jason H, on Flickr

                  Comment


                    #54
                    Jumping ahead a little here but the driveshaft is a nice next step following the rear axles and trailing arm portion.

                    I have a pretty unique combination of driveline parts under the car at this point so a standard BMW driveshaft likely wouldn’t stand up to the power for long and who knows what combo of driveshaft halves would have been required to mate together to be the correct length. So E46 M3 6-speed to E28 M5 rear diff was what I was trying to link up. I took like 10 different measurements with the car at ride height and suspension loaded to get the required length to provide to The Driveshaft Shop (DSS). The tolerance is around +/- 1/8” so I used both string, a tape rule, and a stick rule to take measurements until I kept pulling repeatable numbers off all of them. No pics of this because it was hard enough to do, let alone takes pics of it.

                    I contacted DSS and gave them the trans output and diff input flange specs and the measurement I took for length. They handled the rest. The guibo is not used with this driveshaft since a 1” thick machined aluminum spacer fills that requirement. The driveshaft is 1 piece so no more CSB to much with and create problems. The front flange that joins the machined spacer at the trans output shaft is a beefy u-joint and the rear that meets the diff also has a very tightly machined spacer to maryy the diff flange and CV joint on that end of the driveshaft together. This thing is a huge 3” in diameter and is said to hold something like 1000 horsepower. Holding it in my hands I felt this was accurate. Goddamn this thing is a tank. An expensive tank at that.

                    So here’s the DS when I first got it six weeks after ordering.

                    E30 Build by Jason H, on Flickr

                    E30 Build by Jason H, on Flickr

                    I was excited to see if my measurements were precise enough. Turns out they were but now I had other problems. No surprise there. The large CV joint on the driveshaft coupled with the monstrous diff output flange and snout wouldn’t allow the driveshaft to fit into the subframe opening to marry up with the diff. It really was a nightmare come true. Here the adapter for the DS mounted to the diff. This is front the front looking toward the subframe. You can clearly see this is an issue.

                    E30 Build by Jason H, on Flickr

                    So I sucked it up and pulled the entire rear end out in one shot. What a pain in the ass. I had to get the subframe out to be able to have it modified to clear the new driveshaft.

                    E30 Build by Jason H, on Flickr

                    This work was beyond the scope of my abilities or equipment so I brought it to a local fabrication shop and showed them what I was trying to do. They did an amazing job, albeit a long turnaround time but I couldn’t complain. I stressed the importance of keep the subframe from warping or moving when cutting/welding so they made a jog for it to keep it perfectly straight. They cut the top section off the driveshaft opening, bent some 1/4” steel in a semi-cirlce on their hydraulic press and fit it up and did a nice welding job putting it all back together. Unfortunately the powdercoat in this immediate area had to go but a quick lick of paint and clear and it’s all good. When I picked it up from the fab shop. Much more clearance now!

                    E30 Build by Jason H, on Flickr

                    E30 Build by Jason H, on Flickr

                    It was a perfect fit back into the car. I was a little worried about the top hoop contacting the underbody but there’s a good amount of clearance so no sweat there. Once I got the rear end all back installed I made another attempt at the DS. Victory. It fit perfectly. Damn that was a good feeling.

                    E30 Build by Jason H, on Flickr

                    E30 Build by Jason H, on Flickr

                    E30 Build by Jason H, on Flickr

                    Comment


                      #55
                      Next installment will be the engine build! Stay tuned...

                      Comment


                        #56
                        Sweet! Awesome work!

                        Comment


                          #57
                          Originally posted by Ludwig View Post
                          Sweet! Awesome work!
                          Thanks brother!

                          Comment


                            #58
                            With all the strength built into this driveline and knowing the power it makes, I feel really bad for the tires lol
                            Simon
                            Current Cars:
                            -1999 996.1 911 4/98 3.8L 6-Speed, 21st Century Beetle

                            Make R3V Great Again -2020

                            Comment


                              #59
                              Originally posted by 2mAn View Post
                              With all the strength built into this driveline and knowing the power it makes, I feel really bad for the tires lol
                              It definitely turns them up with ease :devil:

                              Comment


                                #60
                                Great attention to detail. I love how you not cutting any corners on your build.
                                sigpic

                                https://www.r3vlimited.com/board/sho...d.php?t=420591 5.3 LSA build in progress :devil:

                                Comment

                                Working...
                                X