

I wanted to completely do away with any pump actually inside the OEM tank and treat it more like a fuel cell. A Weldon 1100-A fuel pump draws from the OEM tank using a -8AN size line that filters through a Weldon 100 micron stainless steel mesh fuel filter. I put a check valve on the pump’s outlet to keep pressure on the rail after the car is turned off. It goes from the pump through another Weldon 10 micron stainless mesh filter and then straight to the fuel rail. The pump operates on a dedicated relay using 10 gauge wire and triggered on by the relatively tiny OEM fuel pump wiring.
To pull and return fuel to the OEM tank I placed two -8 AN bulkhead fittings in the top of the tank and made a pickup and return tube out of the same half inch cunifer tubing the fuel hardlines are made from, complete with 37 degree flares. They both drop into the pickup bowl inside the OEM tank. The return line is angled a bit to dump fuel away from the pickup and drops nearly all the way down to the bottom of the tank to reduce aeration from fuel flowing back into the tank. The pickup is about 5/16” from the bottom of the tank to hopefully remain submerged in all conditions of braking, launching, low fuel level, etc. I also dropped 5-6 tiny rare earth magnets in the pickup bowl to try and help contain any metal that may get in there. Cheap insurance I guess.
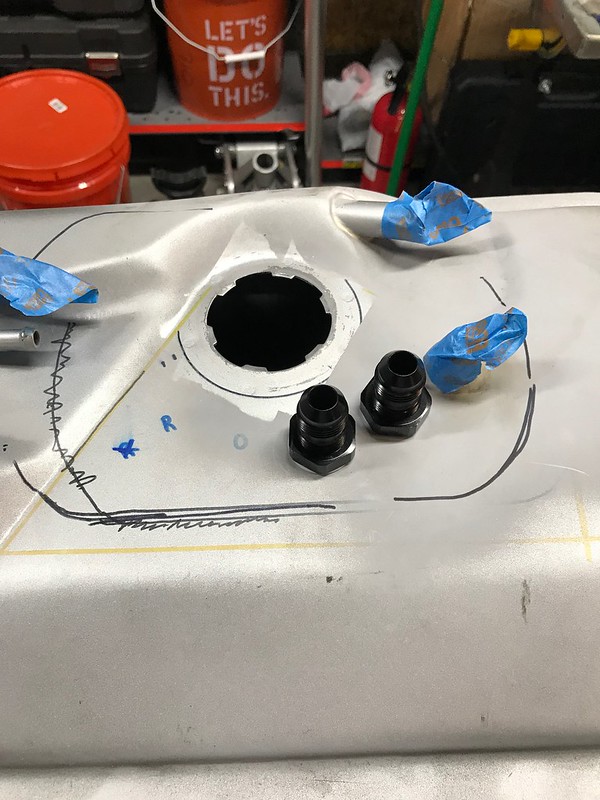 IMG_8673 by Jason H, on Flickr
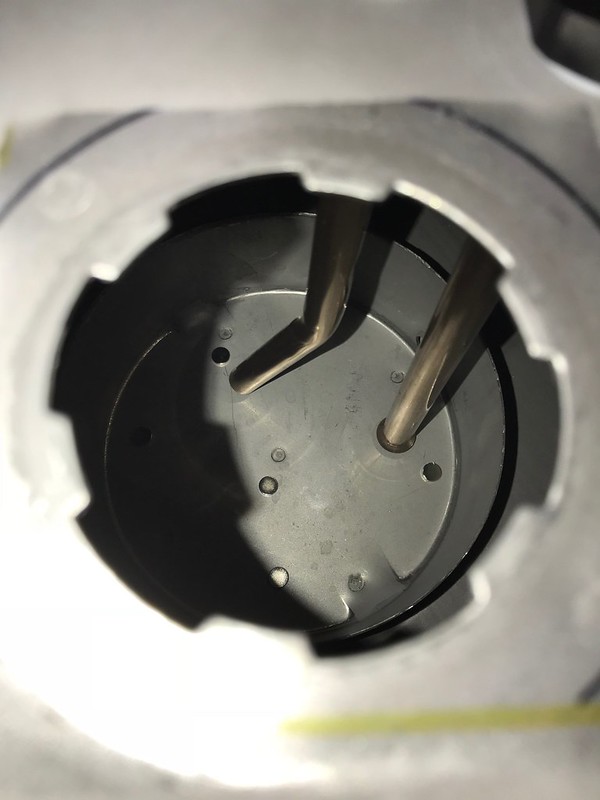 IMG_8675 by Jason H, on Flickr
While I’m waiting on the XRP braided hoses I mocked up to be made I went ahead and pulled the 10 micron filter apart and cleaned it. Again, cheap insurance and I like tinkering.
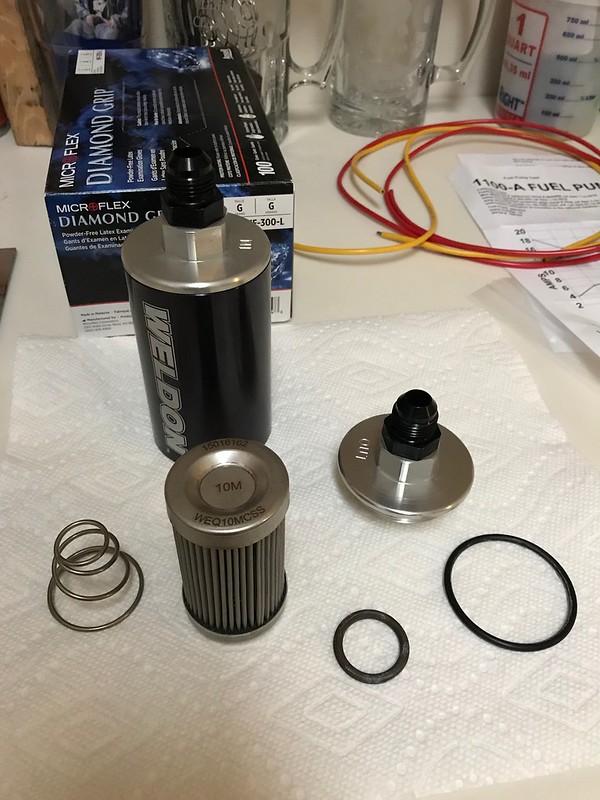 IMG_8520 by Jason H, on Flickr
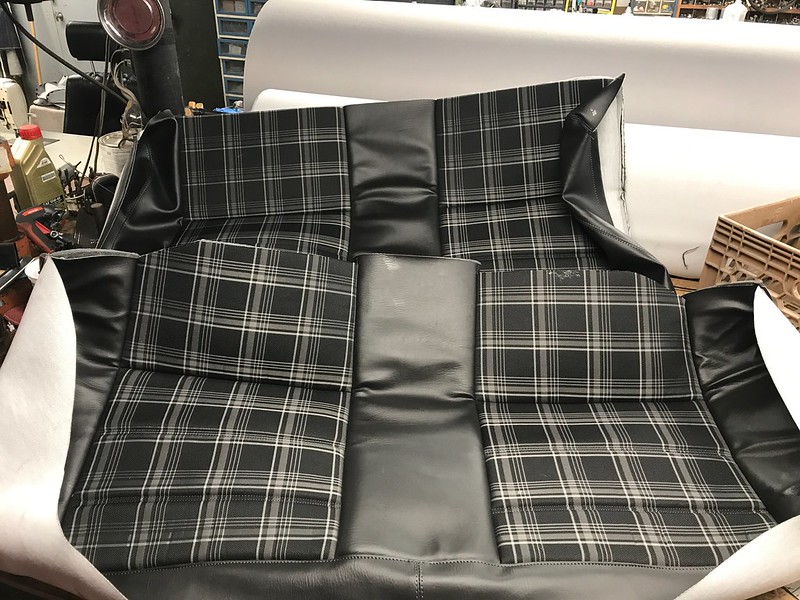
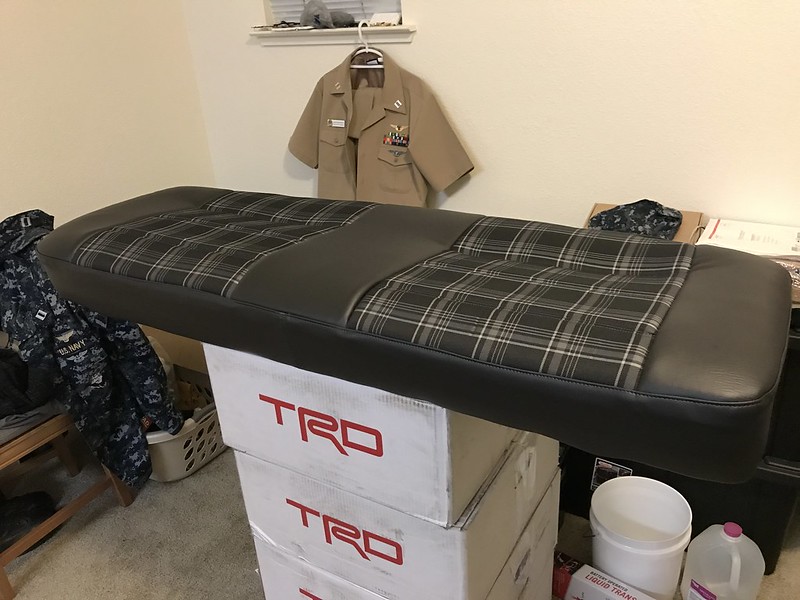
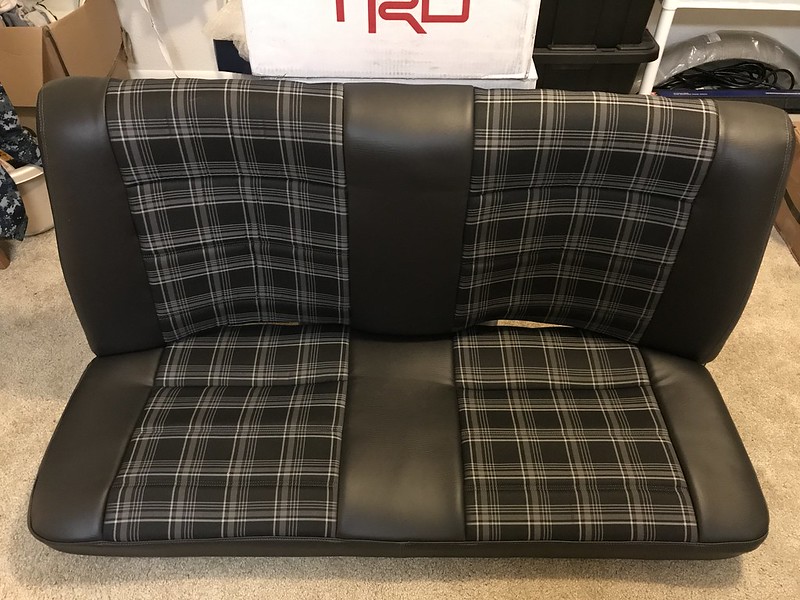
Now that I will have two short runs of braided hose running under the rear seat they will need some clearance. Looks like I removed the seat foam with a teaspoon but even trying to cut it cleanly proved impossible. This works though and provides the clearance the lines need. I needed to cut the rear wire frame on the seat bottom to clear the bulkhead fitting that drops out under the car to feed the lift pump. If you look close at the seat bottom pic with the foam cut out you’ll see where there’s a gap that I capped off with vacuum plugs. You’ll never see it with the seat installed. I also went ahead and installed the rear seat upholstery kit John from Ninestitch made for me. Notice how I didn’t cut out the seat belt holders on the seatback. With the fuel lines under the seat it’s now a two-man machine so kept it clean with no seat belts.
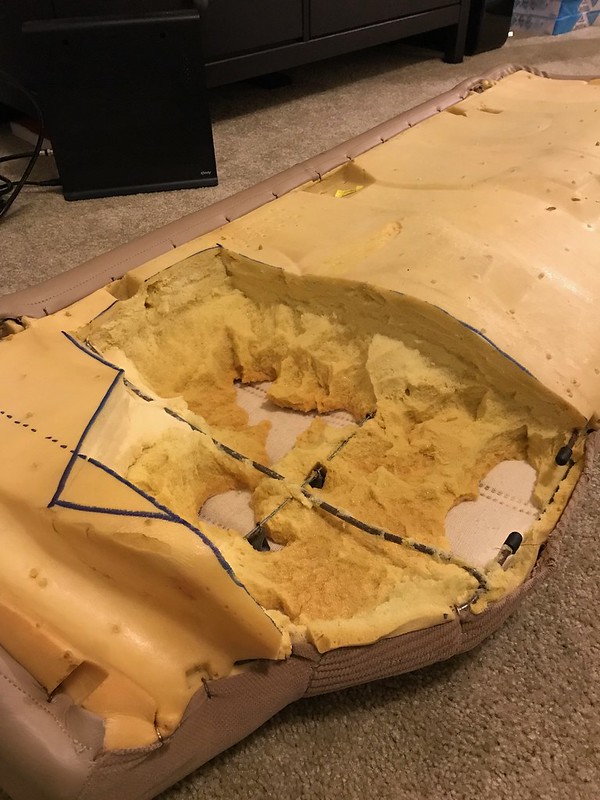 IMG_8631 by Jason H, on Flickr
 IMG_2664 by Jason H, on Flickr
 IMG_8636 by Jason H, on Flickr
 IMG_8637 by Jason H, on Flickr
That’s it for now. More to come soon!!


Leave a comment: