-
I got it sealer primered! hopefully color and clear this weekend!
Leave a comment:
-
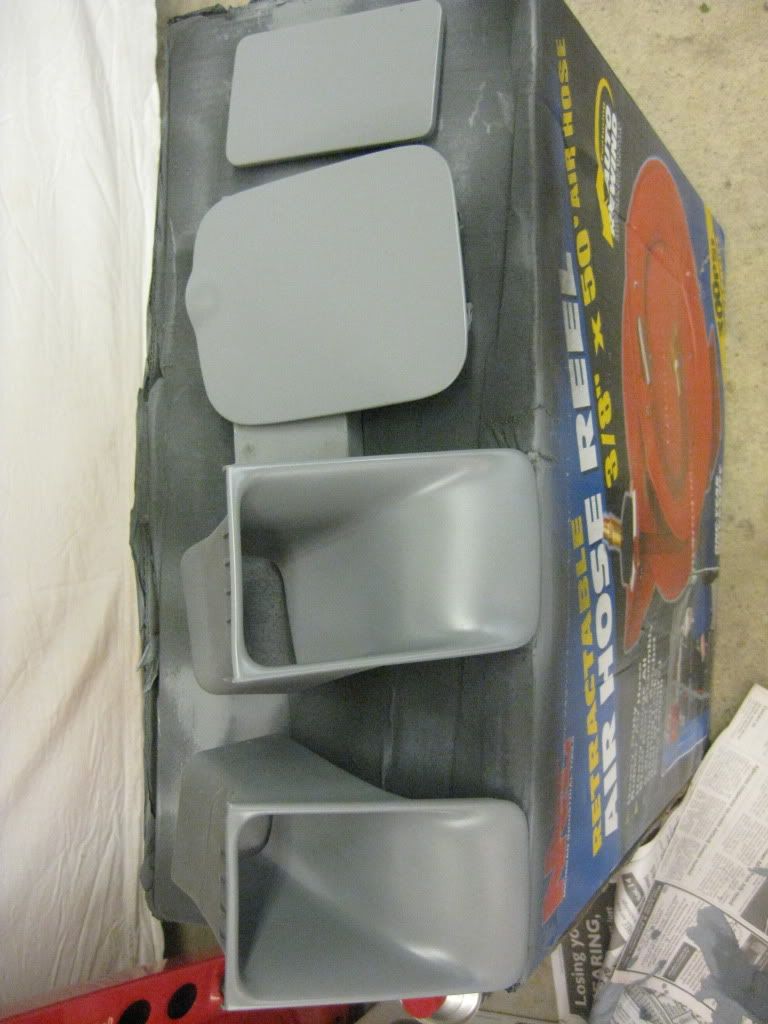
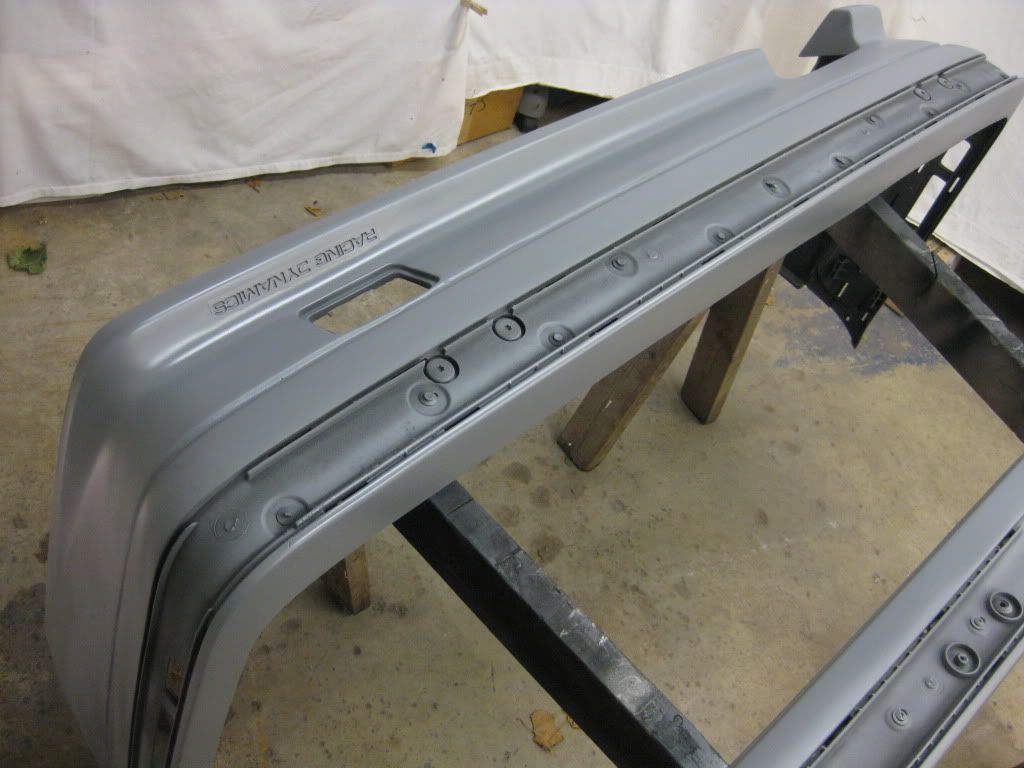
I owe everybody an update... I wetsanded the primered front bumper, mirrors, gas door, brake ducts, etc. Also, i have had a hell of a time with the proper material to fill between my RD rear apron and the bumper. Tried Butyl Rubber- too soft. Latex-too hard, cracked. Had to scrape all that out which was not fun, and now have an acrylic urethane filler. Its the stuff they seal RV roofs with, and it's paintable. I'll know if its the ticket when I primer it.
Im taking a half-day of vacation today and going to sealer primer everything. Its supposed to be 85 today, but Im sick of waiting and still driving my pickup. I'll post pics of the progress this weekend.... stay tuned.Leave a comment:
-
E30this- I appreciate the help. I definitely do want to sand between primer and base though. The research I did after reading your post said a 400 wet should be used. I think I will go that route.
In other news, I was not able to spray sealer this weekend... it was 94 and extremely humid. This whole week is looking pretty hot and humid so Im pretty pissed.Leave a comment:
-
You dont want to spray the primer sealer and wet sand with 600. Your paint will have trouble sticking to anything less then 320. So you should just spray the sealer primer, let it tack up and then spray your base/clear. S10forum.com has a great body section. You should check it out.Leave a comment:
-
Nice. How do you do the cowl area?
What the reason for wetsanding?Leave a comment:
-
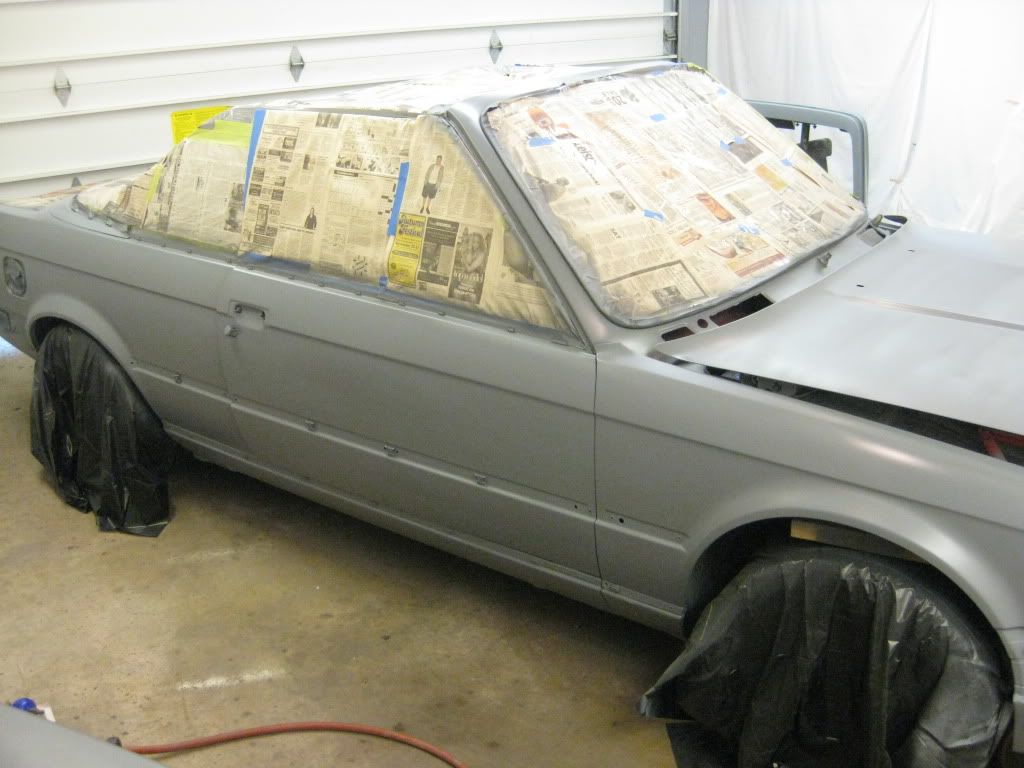
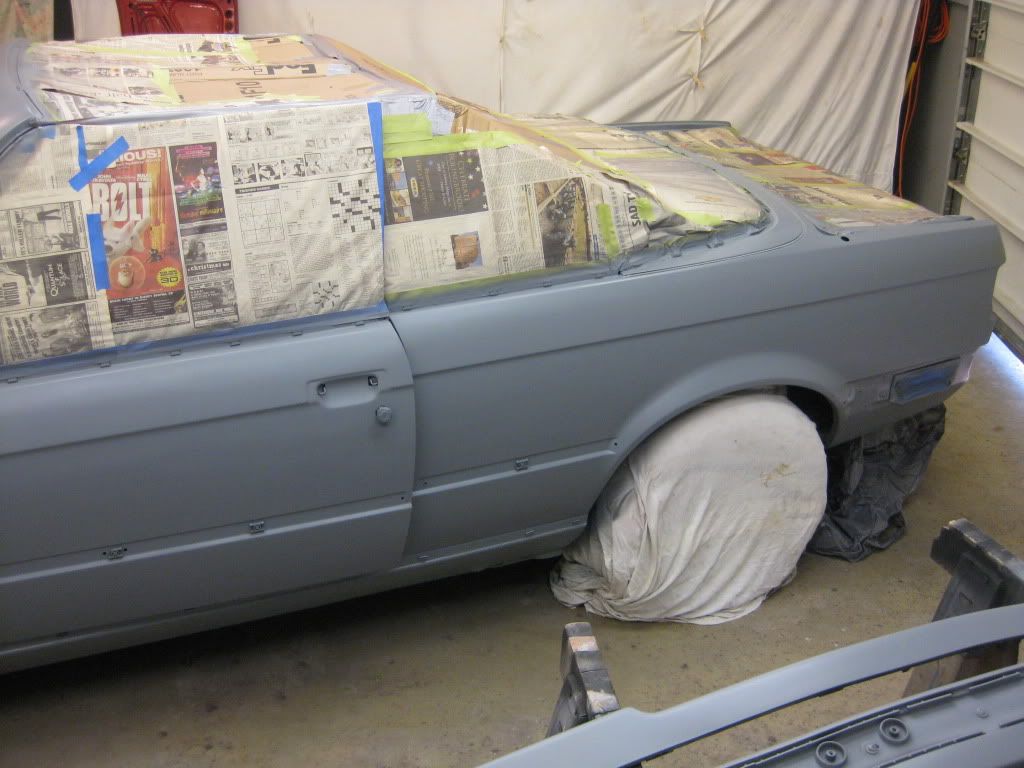
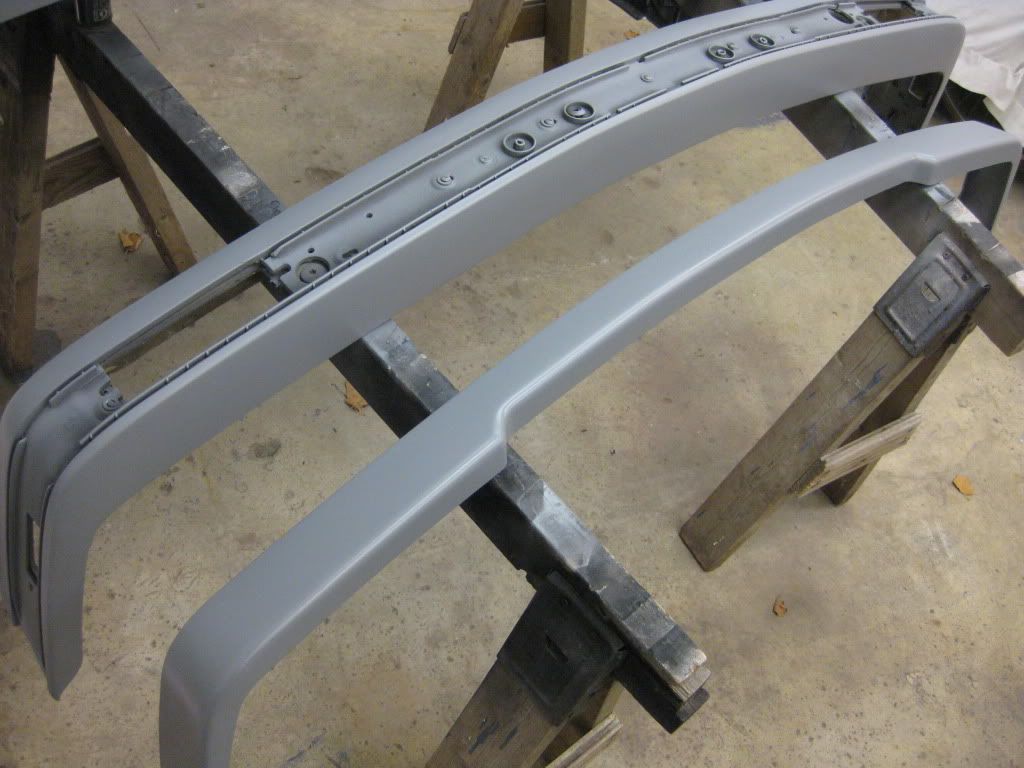
OK, here are the latest pictures, first coat of filler primer and 320 wet.
in action. This is best done outside when its a beautiful August day. TIP: KEEP A CONSTANT FLOW OF WATER ON YOUR SPONGE AND PAPER. It makes it so much easier and avoids caking that is a major pain to clean up afterward.
Yes, that hot F150 Nite Edition in the background is mine. My work truck for projects but DD right now. 351W not great on the gas.
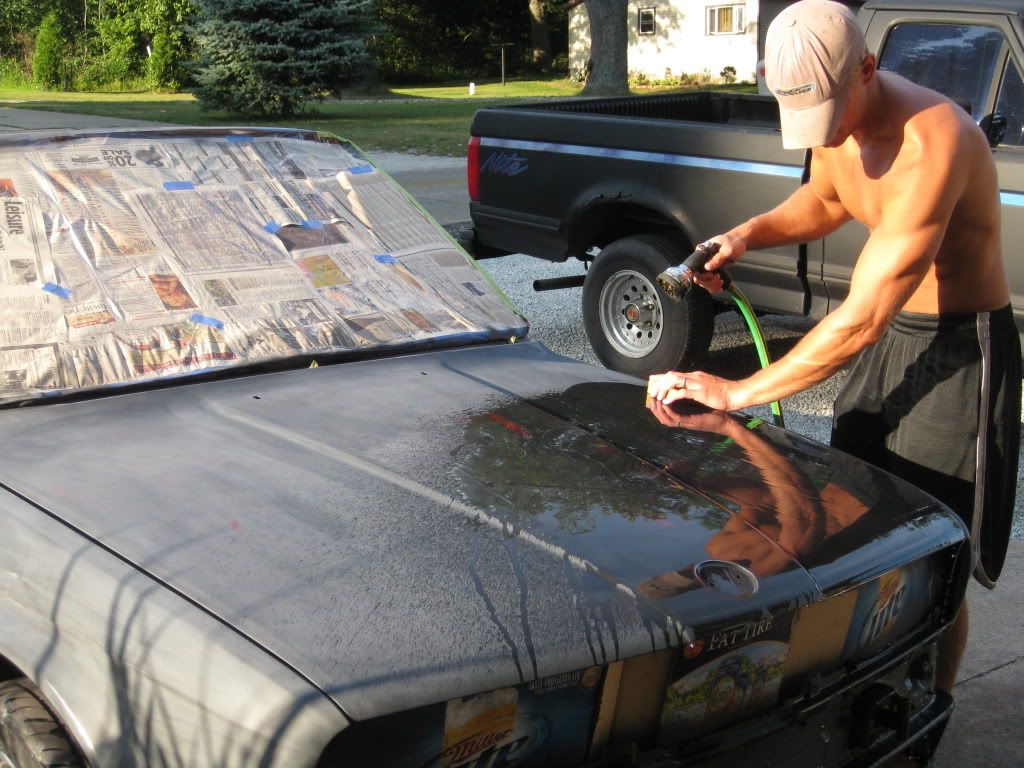
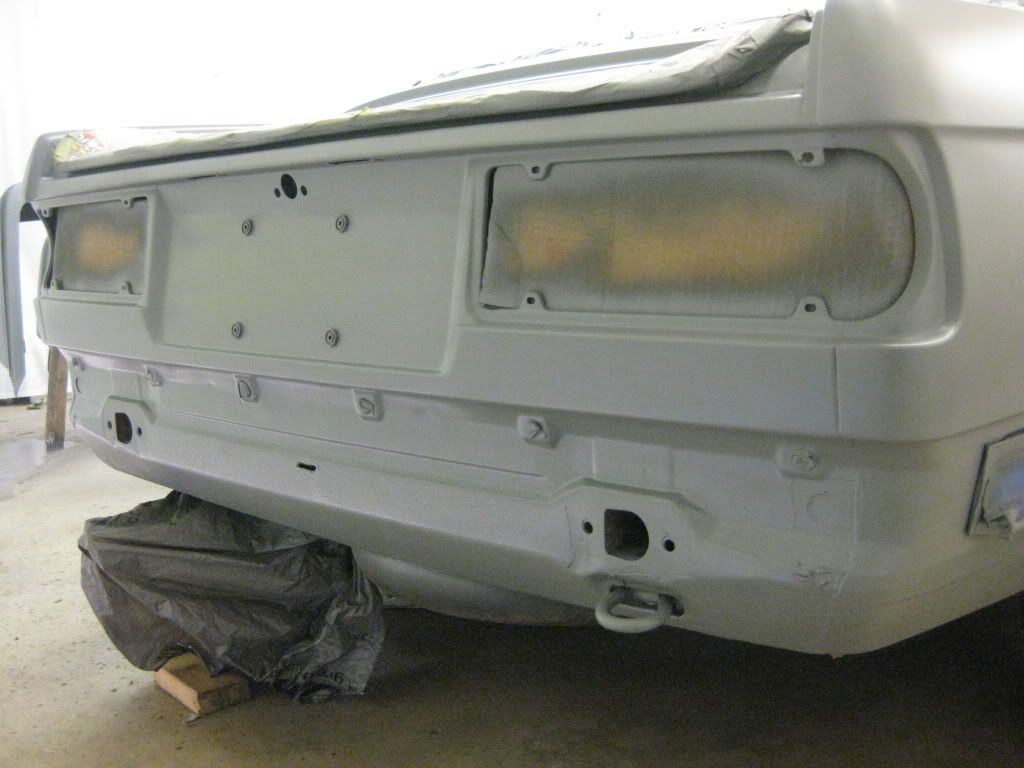
All clean and ready for an alcohol wipe and sealer primer. Those bare spots are where I had to get rid of drips. TIP: DON'T GET IMPATIENT AND SPRAY TOO THICK. Drips take more time to fix than taking the time to layer properly. Even after 320 wet, it is SILKY SMOOTH. It's gonna be so money after sealer and wet 600!

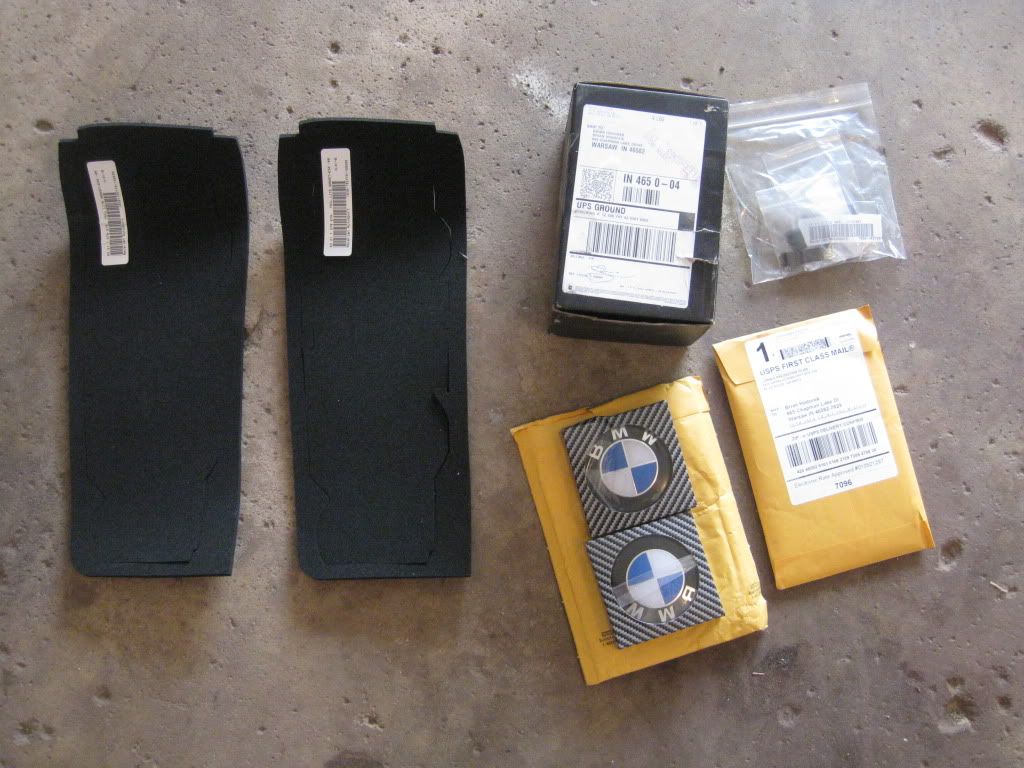
more fun stuff arrived from Bavauto today... taillight seals, emblems, grill clips, various molding fasteners... oh yeah and 5000K HID's with 55W slim ballasts and clear Lamin-X for all 6 lenses!
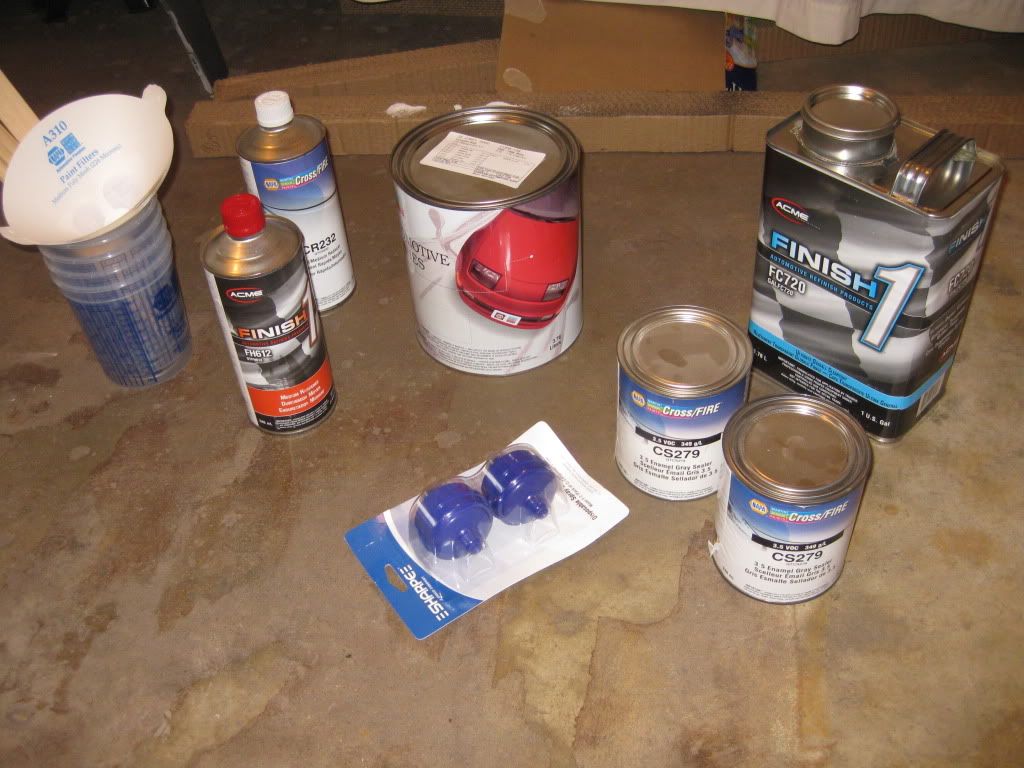
Now the crowning photo: went and got all my paint! I know the guy that runs the paint shop at NAPA and he hooked me up FATTY. Got two quarts of sealer primer and a quart of reducer for that, a gallon of 138/3 zinnoberrot with reducer already mixed in, and a gallon of the TOP SHELF clear with a quart of hardener for that, mixing containers, stir sticks, strainers, and in-line air filters. Price tag for this: Expect to pay $300. I didnt pay that though. :) btw red is one of the most expensive pigments.
Another tidbit of knowledge if you are venturing towards a complete paint job: REMOVE ALL THE MOLDING CLIPS. They are a major pain to sand and wash around, and I've got cuts all over my hands from nicking them while sanding. They aren't cheap, like a buck each though from bav and I think a little cheaper from Pelican.
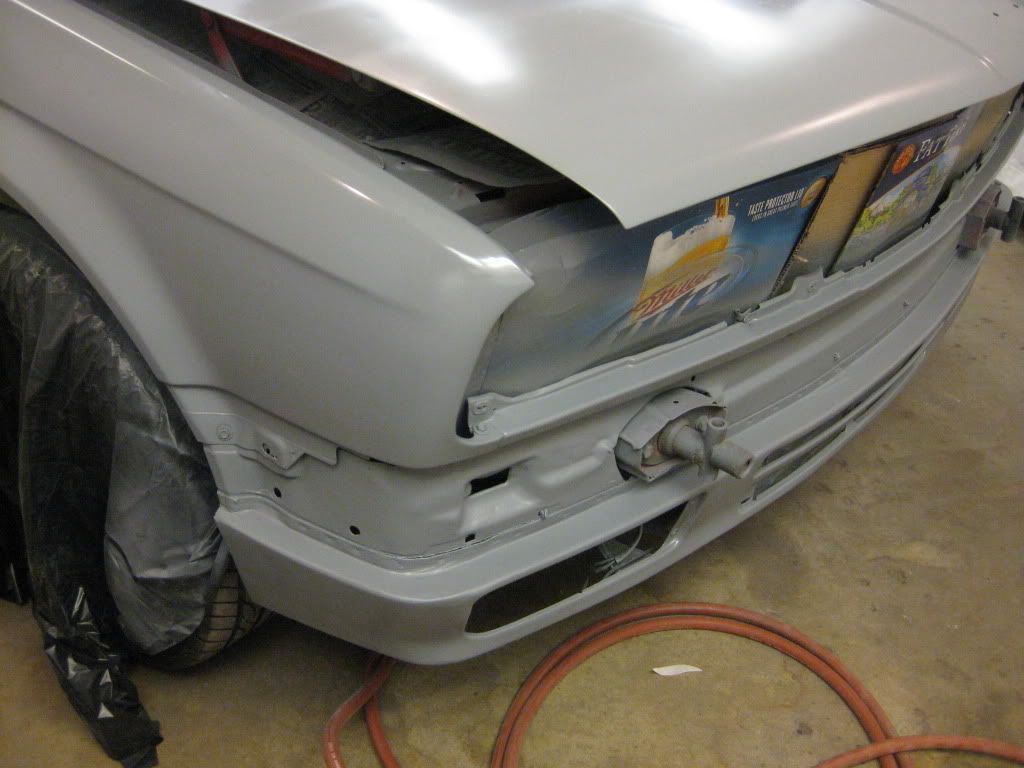
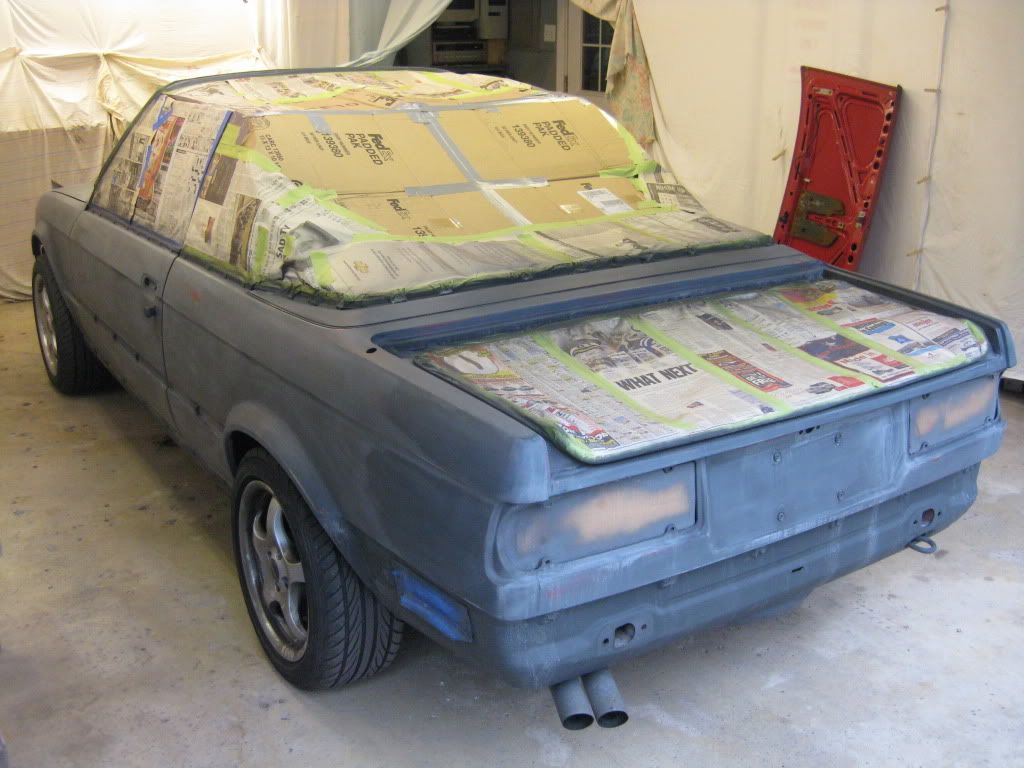
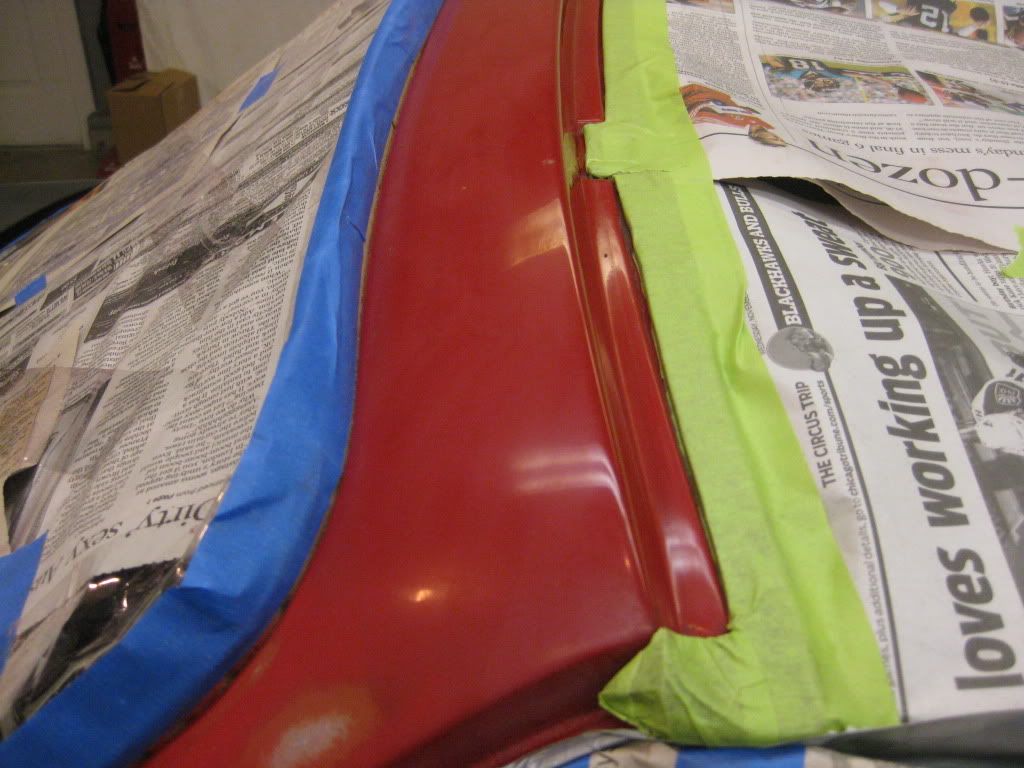
And another tidbit: YOU DON'T NEED TO REMOVE YOUR WINDSHIELD OR THE RUBBER SURROUND! I removed the "chrome" plastic strip that expands the rubber seal, and cut strips of cardboard, wedged them between the windshield frame and the seal, which collapsed the seal and exposed the metal for painting. When I pull the cardboard out after painting, it will overlap the new paint by a good quarter inch. Picture says it better...
I will be spraying sealer primer this weekend and wet sanding 600 grit. I think I see a light at the end of the tunnel...
ALMOST FORGOT... POLL: Should I get a plate filler for between the taillights? They are $58 from bav. What would that look like painted body color?Last edited by bimmerboy12; 11-04-2009, 04:54 AM.Leave a comment:
-
awesome progress. Hopefully i grow the balls to do this to my car soon. Im looking forward to the final product...Leave a comment:
-
UPDATE: August 6th
Sprayed the first layer of primer and wet sanded with 320 grit. Tomorrow I spray second layer of primer and wet sand with 600 grit.
Forgot my SD card, will post pics this evening.Leave a comment:
-
good to see such a detailed vision of a cab under the rigors of paint prep. this will be happening for mine within a year or so, so this is an excellent tool for me. Looks awesome man!Leave a comment:


Leave a comment: