If this is your first visit, be sure to
check out the FAQ by clicking the
link above. You may have to register
before you can post: click the register link above to proceed. To start viewing messages,
select the forum that you want to visit from the selection below.
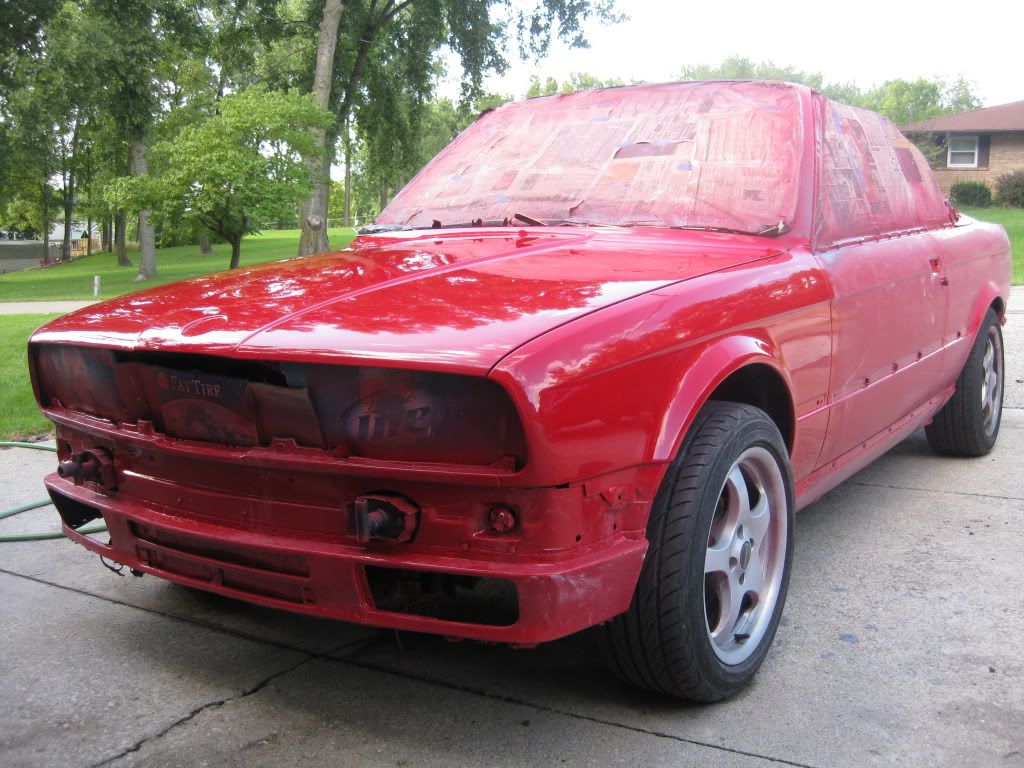
UPDATE September 5: Got all the paper and cardboard off and did some more assembly. Its starting to get there. I couldn't put my fogs in because one of them is broken... I am too embarrassed and pissed off to talk about it.. FYI I need a set of fogs lemme know if you got em.
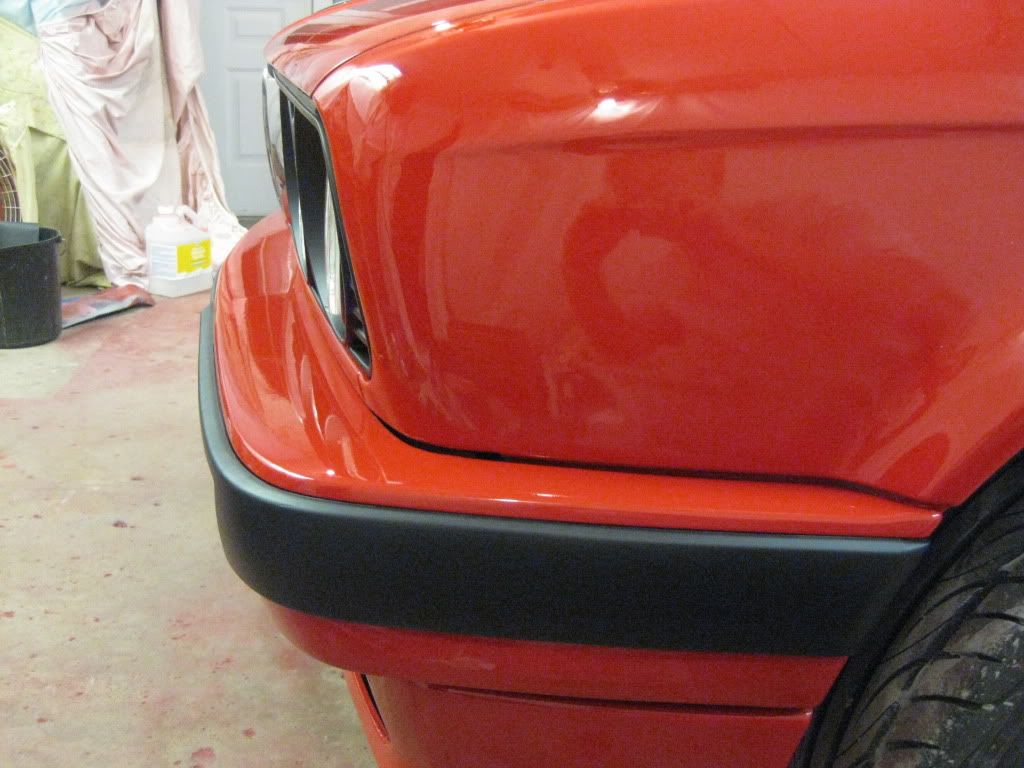
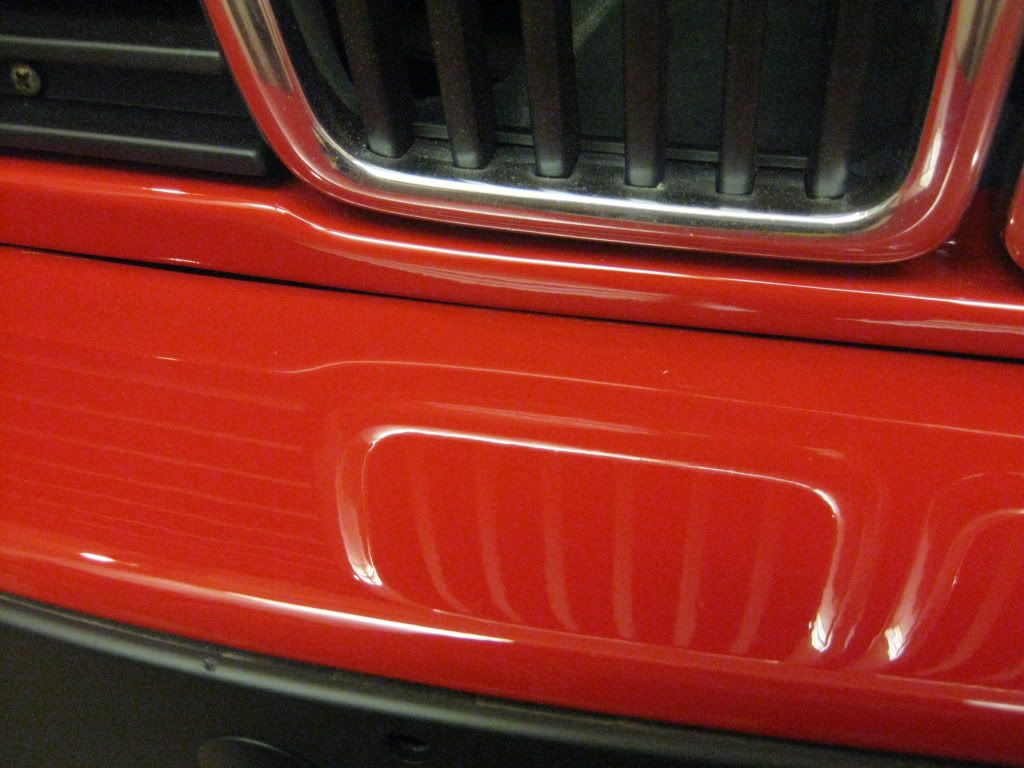
How did you do that to your molding? I'd really like to do that to mine!
Car looks awesome! Paint job turned out incredible for a garage job. I'll bet those tight spots were fun to wet sand and buff!
Thanks! I glued a piece of plastic to the backside of the trim, then bondo filled the hole to over flush, then sanded with a 16" reciprocating sander.... I tried with my 5" DA sander at first and it didn't turn out. Primed and painted flat black. It was actually a lot more work than I anticipated. If I did it again I would just buy the euro trim.
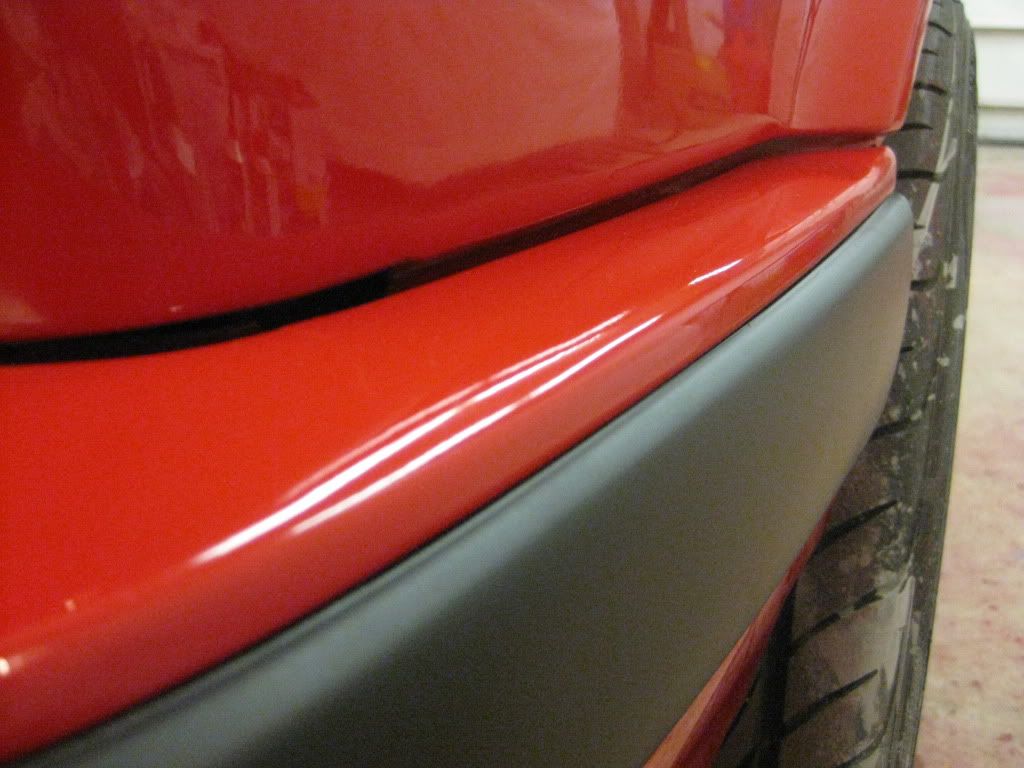
Yeah the tight spots are definitely a challenge. Mostly around the rear license plate is the worst.
Originally posted by s_ribs
Sorry if I missed it, but what was your final paint cost and what brand, etc. did you use?
I used NAPA Crossfire brand paint, with their Finish 1 brand clear and hardeners. My final cost of everything including filler and sealer primers, reducers, paint, clear, hardeners, mixing and measuring tools, air filters, rubbing alcohol, and LOTS of sandpaper = about $500. I went overboard on color and clear though so you could get away with less.
Originally posted by stevofthahill
Looks absolutely amazing. I'm sure you mentioned it somewhere in the thread, but what color did you end up using?
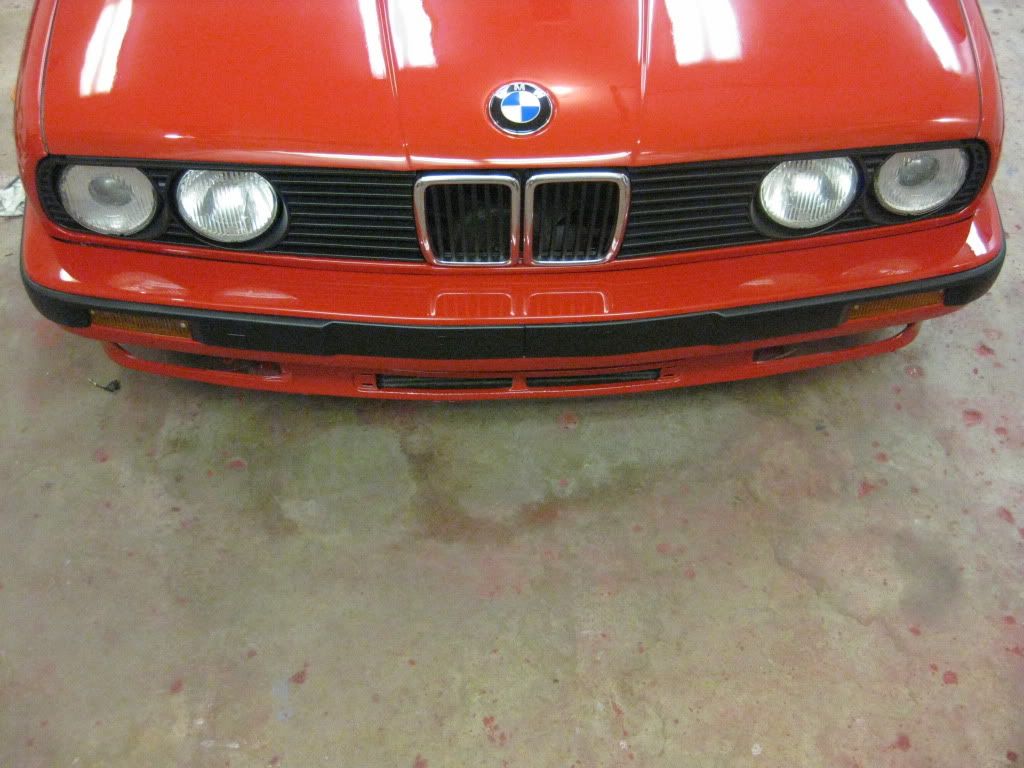
Thanks! I went with 138/3, cinnabar red (zinnoberrot) the factory color. These pictures look really orange under bright fluorescent lights... I will snap more pics tonight when I get it out under natural light, and get the IS spoiler on.
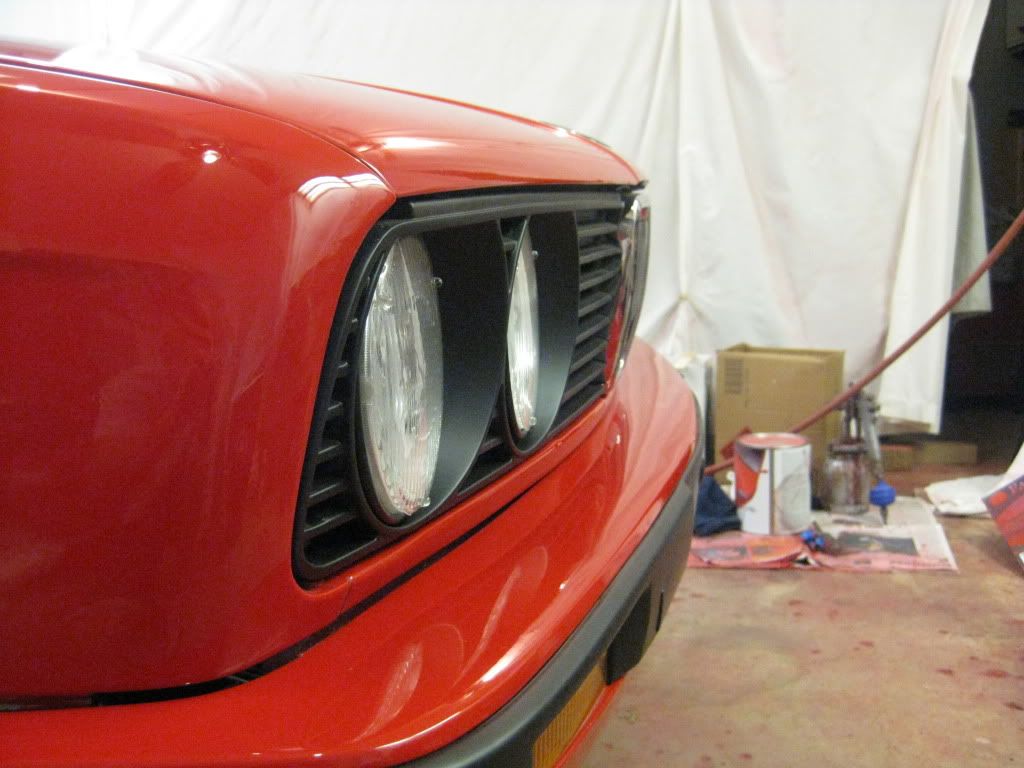
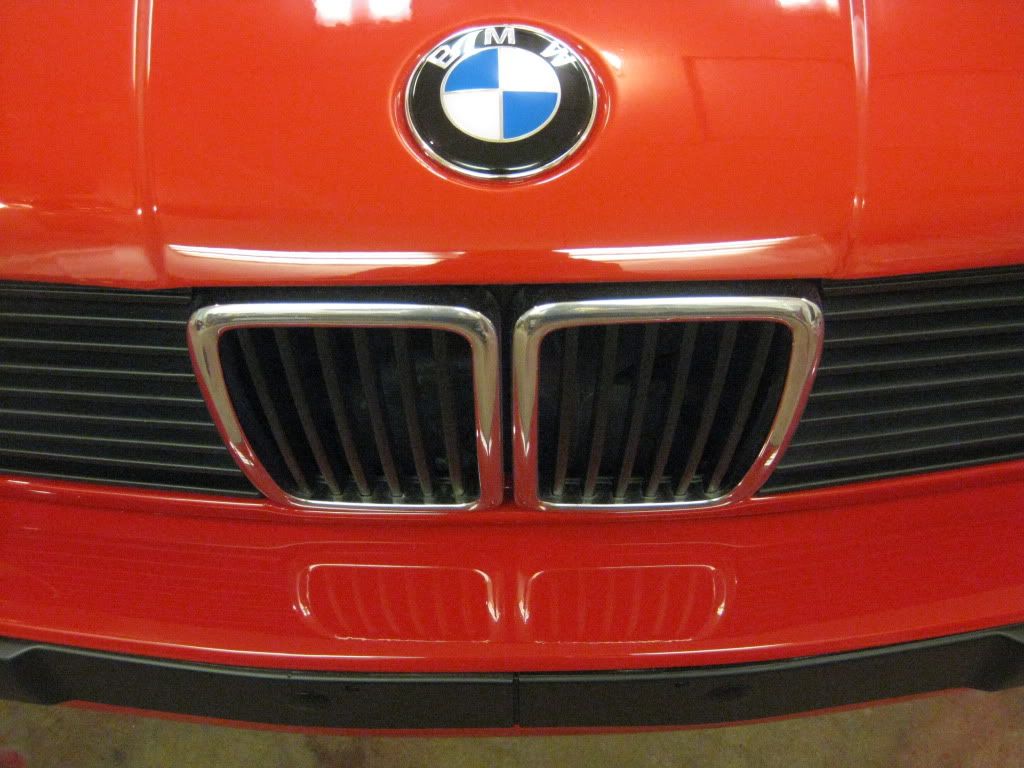
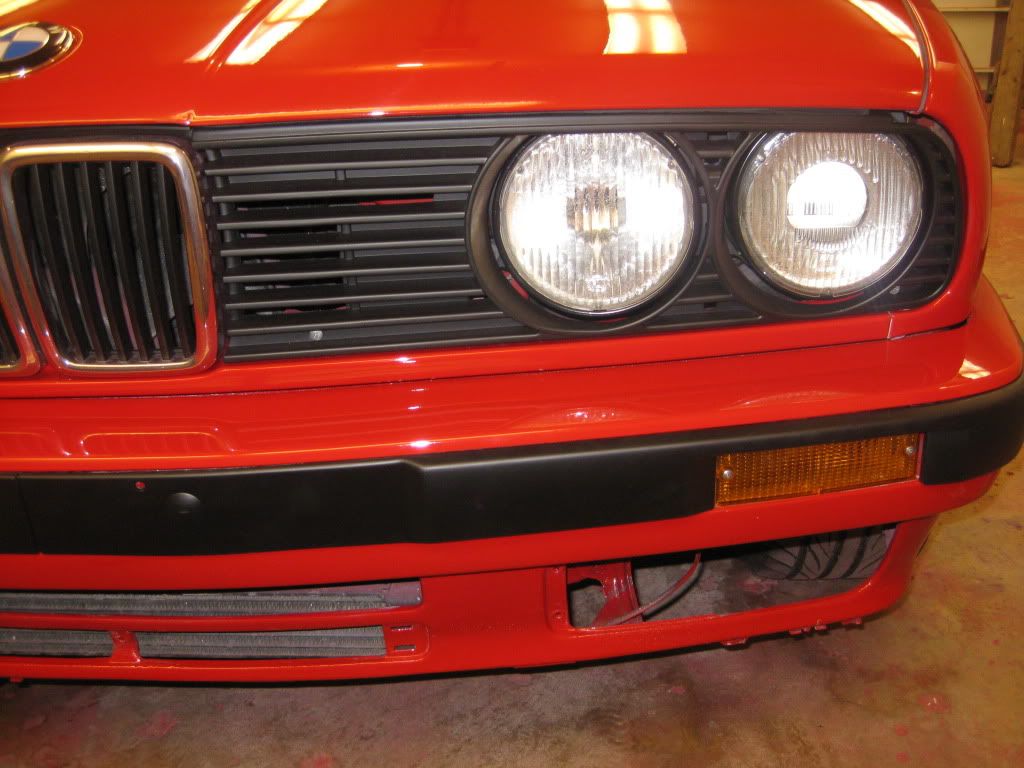
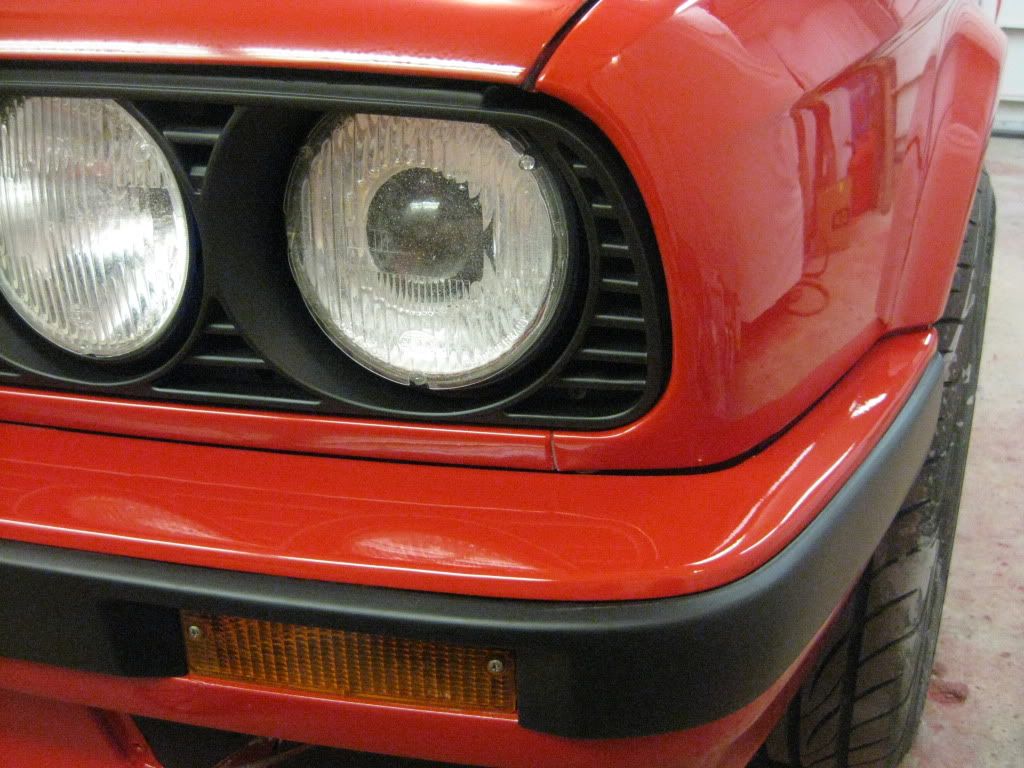
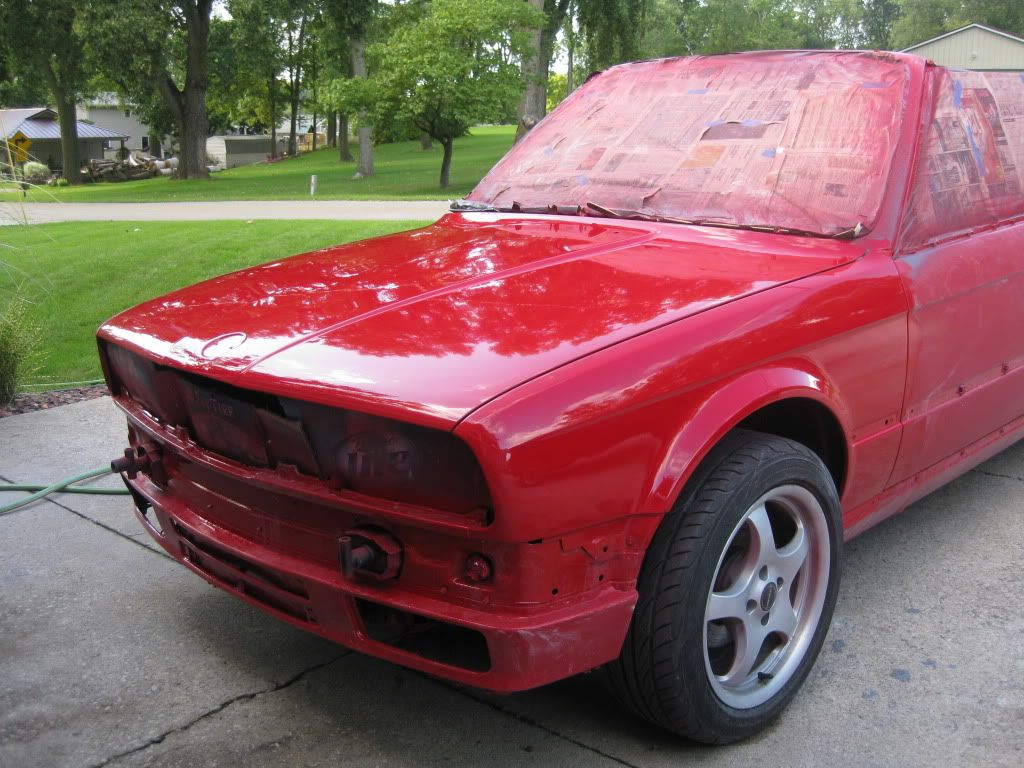
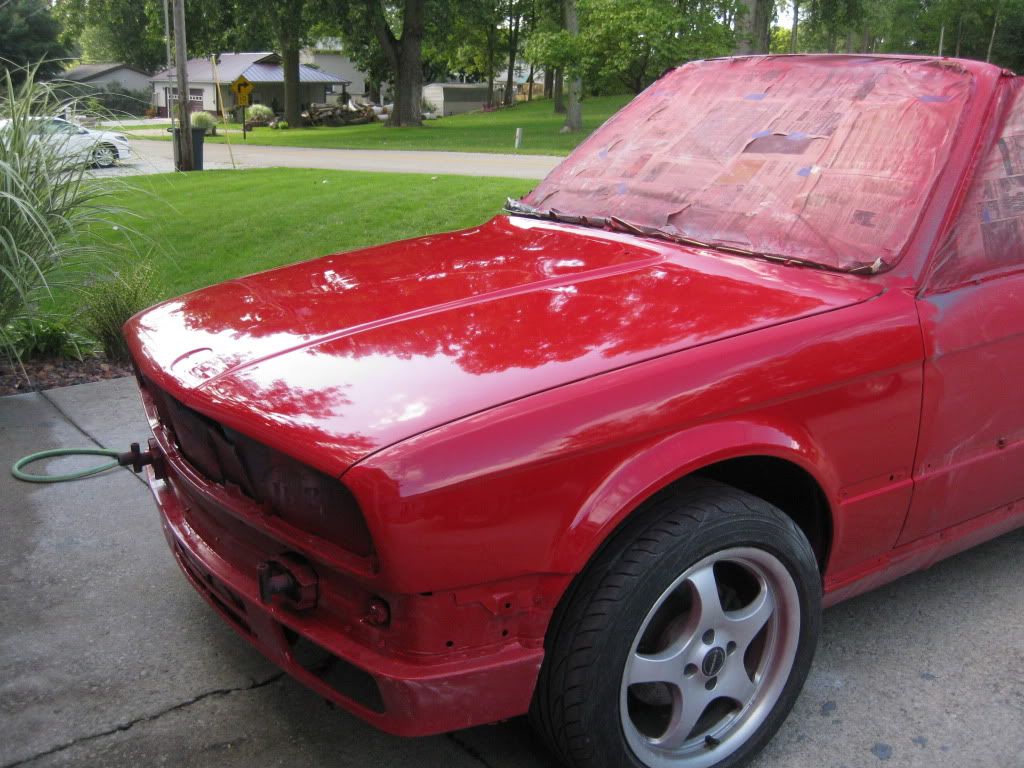
UPDATE September 2... Got the front bumper buffed and assembled most of the front end! Lamin-x put on the headlights, euro grills installed, trim installed. Notice my self-made euro trim shaving the markers! they came out perfect.
Paint looks a little orange under the 1600 watts of fluorescent lights...
UPDATE August 31: Finished wetsanding and started buffing. This is the hardest part by far... for me as a novice at least.
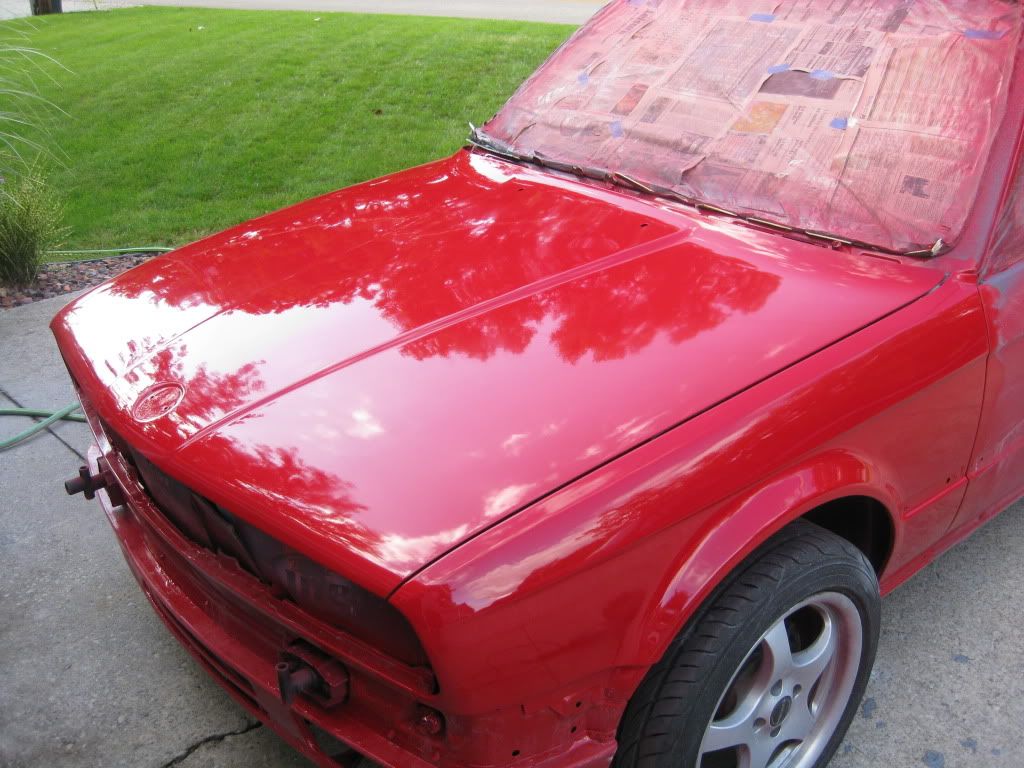
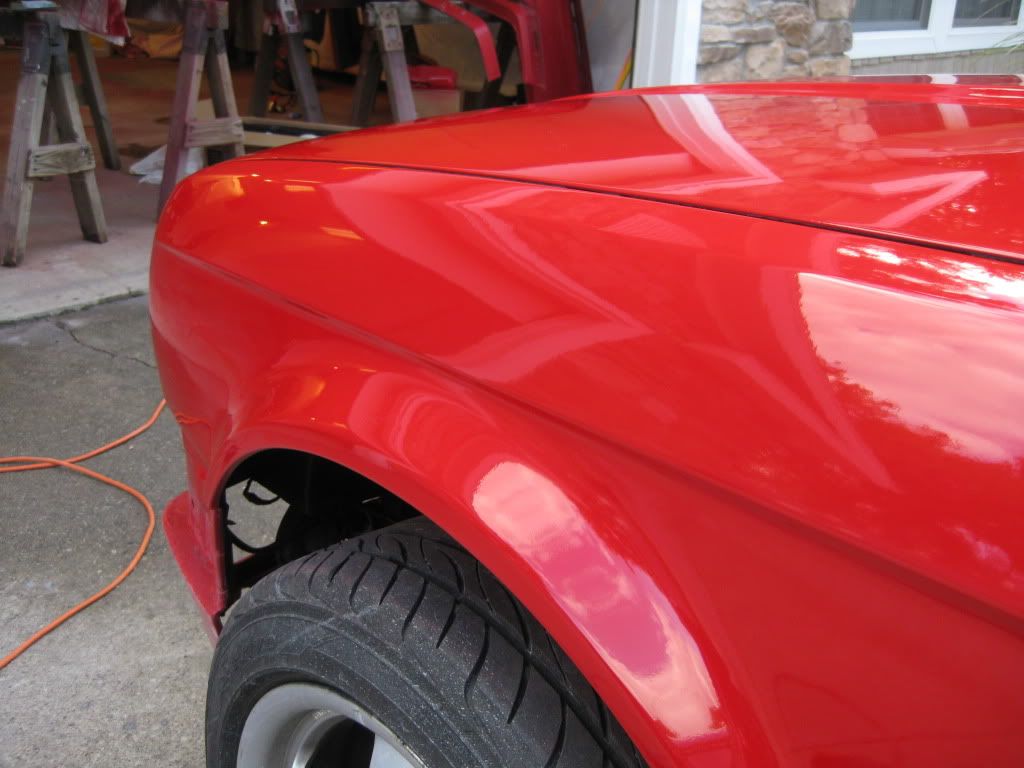
Here's with the hood and fender done.. still have to finish the car and bumpers/iS spoiler tonight.
This is the final product. No water on the car, polished and wiped. The paint has to fully cure before I can put a nice layer of wax for added shine.
I wetsanded the whole thing smooth on friday, sprayed three more layers of clear on saturday, and wetsanded about half the car yesterday. It now has 5 coats of color and 5 coats of clear. There is a happy medium somewhere between getting orange peel and getting runs/sags, all adjustable with your air pressure in as little as 3-5 psi. I think I finally found it at the end around 58 psi.
Im taking a half day vacation today and will finish the 1500 wetsanding then polish buff! May even start some assembly depending on how much I get done.
After this I start on my hardtop. Will document that closely as there are no how-to's on here for stripping/painting a hardtop.
Will post pics tonight.


Leave a comment: