-
Half tempted to take my HVAC box out now. How long did that take you w/ taking the dash off and all that -
Are you keeping the heater out? Wouldn't it be nice to have...incase you get any overheating problems...you can toss the heater on...dunno if you can do so otherwise...Leave a comment:
-
don't beOriginally posted by freeski27
dash work like that can be time-consuming as hell.Leave a comment:
-
I've always heard it was '97+ front control arms.
Two links say otherwise:
Leave a comment:
-
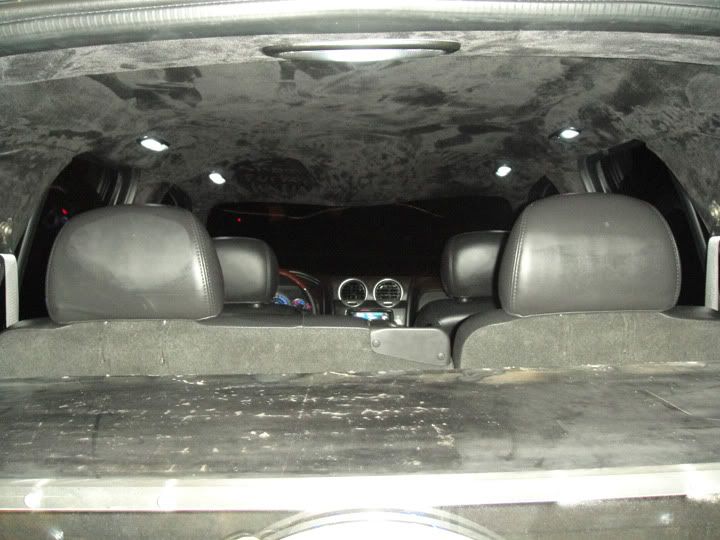
The Interior 2...
Ok. So, here is where we stand on the interior. I would love to give you guys more, but I had a crazy weekend dealing with a jealous girlfriend… Ok, enough about my personal life! So, when we left off the back seat cover/filler was just pulled out of the car. Over the past week some more resin and reinforcement was added and sat to cure. With all of that finally cured up, I moved on to trimming it to a more manageable size.
Here are some photos of how it was at this point:


From here I had to place the piece in the car again to get some more fitment sizes. I trimmed the top and saturated the remaining dry areas of glass with resin.
Here are some photos of the final saturating:


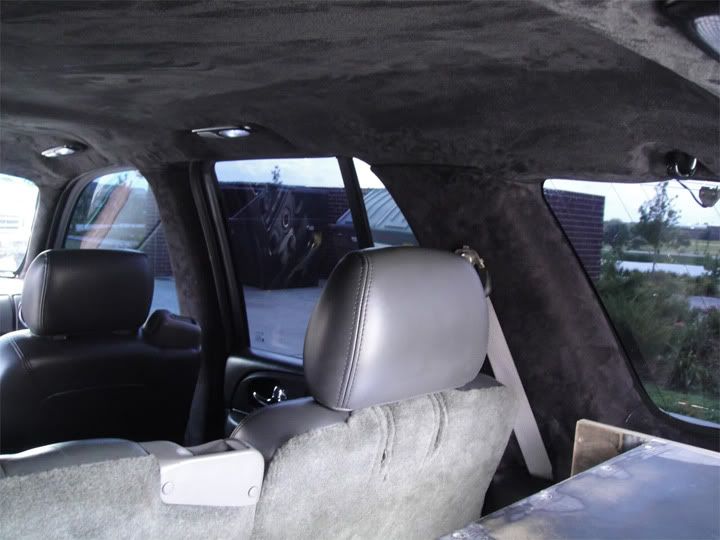
With that done, I fitted the piece back into the car to make final measurements for a bit more trimming.
Here are those fitment pictures (I placed the fire extinguisher on the piece too to ensure it would hold the weight):


Although it does look a bit messed up in the pictures, it is getting a bit better each time. Clearly I still have some trimming to do along the sides. After that, it will take the headliner foam that went on the side panels and the black ultra suede. Once again, more on that next time.
Ok so. From there I had to make a decision on what to do with my HVAC equipment. The PO had cut the heating and cooling piping at the firewall and the heater box was cracked pretty bad. So, I decided that I would pull it all out. It seems like my car is inching more and more towards a track car every day. However, I am still able to justify it; the car will primarily be a weekend/summer car, so I shouldn’t run into to many problems. The removal process is not to difficult when you car is as disassembled as mine is. First off, make sure that all the cables and wires are disconnected from your dash and remove the dash. I didn’t really think the proccess through and I pulled out the parts one by one. However, if you are removing everything, start from the blower motor. Remove the covers and the motor it self. From there, there are four bolts on the firewall that hold the heater box in. With that done, you should be able to pull out the entire assembly and disassemble it from there.
Here are photos of my step by step removal:


Sorry I’ve been slow on the updates lately but I will be back up to speed next weekend. Thanks for reading!
-NobleLeave a comment:
-
damn that will look amazing! it reminds me of the interior on my envoy.. i love suede and i'm planning on the same for the E30.
Leave a comment:
-
-
-
Watch this video and ask me again:
Read the description carefully so you know what to watch for.Leave a comment:
-
-
-
soo great to hear man! Sounds like they will be able to put up with the abuse that I will surely be putting them through!Leave a comment:
-
I have R1 concept rotor on my MK2. It is not the top of their line like yours, but it's still a great product. I have the slotted and drilled ones with posiquiet pads.
I tried them hard on track. With about 400 miles on track, they are still straight and they didn't loss that much tickness. First time I lapped them, my instructor got sick ( not because of my driving ;)) and I had to stop without doing any cooling lap. the rotors were blue and smoking! They stayed straight!
I think it as a great value for the price!Leave a comment:


Leave a comment: