-
It's good stuff though, just cause it's marine carpet doesn't mean it is rough or anything like that. I think it is like 24oz, it has a good feel, it's BLACK, and it is water/mildew resistant. -
ah, guessed I missed it!
The carpet is actually left over carpet from my boat project. It is marine carpet, but I don't remember the exact type. I have the order for back home though, Ill let you know what type it is after this weekend.Leave a comment:
-
I would totally come by and help...if I lived in CT...and wasn't putting mine in this weekend too. haha. Good luck with it! I love the thread. Everything looks great.Leave a comment:
-
looks really good. i gave your entire thread a read through. impressive.
you never did answer the one guys question on what kind of carpeting you used. im interested in the answer as well.Leave a comment:
-
I used a wire wheel first for the really tough areas, be sure not to hit any mating surfaces with the wire wheel though. From there I used "Scotch-Brite" to bring down the scratch. "Scotch-Brite" is what you want to use on the mating surfaces as well because it wont mess it up. From there I used compound to shine it up, I threw a little wax on there (not on the head...) after words to keep the shine.Leave a comment:
-
The engine looks good. What did you use on the bare aluminum parts to get them looking so good?Leave a comment:
-
Hey! I'm gunna be putting this thing in on sunday if anybody wants to come by!Leave a comment:
-
Wow, longest delay ever... good things come to those who wait :)
The Engine Swap 1...
Hey guys,
Sorry it’s been a while since my last post, but I’ve been really busy with school and whatnot. But we are on to the engine and whatnot now. I ended up picking up a running e30 M50 that had been totaled by insurance. So I’ve got all of the necessary parts at once. So I started with removal from the parts car. I didn’t take too many photos of the removal process because it was just a messy grimy job, but for the most part the idea is, disconnect everything you can find then try to pull it out, disconnect the things you missed and try again. Keep repeating this till the engine is out…
Here are some photos of the engine removal:


Well that looked easy! Haha, just take your time and it will all come out. From there I really just started to clean things up as best I could.
Here are a few shots of cleaning things up:


Some wire-wheel artwork… Haha


Now that the engine was stripped down of all accessories and relatively cleaned up I began breaking down components to replace all crank case and valve cover seals.
Here are some photos of breakdown, paint and cleanup:


To remove the crank bolt, I put some blocks of wood between the crank and the block to keep it from spinning.

Then used a really big pipe… haha, I only stood about 6 feet out.


I used a bearing puller to pull the hub:

Some touch up:


Found this when I pulled the timing case…


Covers were pretty shoddy, so I decided to repaint them flat black:


New chain guide rail:

New, metal impeller water pump:


And now as the engine sits!


Sorry for the lack of my usual cometary, but I figure the pictures speak for themselves here. If you are going to do this work, I must say, it is soooo helpful to get a manual for the car your engine comes from. I know it sounds trivial to do so, but sometimes it can be hard to drop 40 bucks on a book :/
-NobleLeave a comment:
-
You do some good work sir. I'm a biiiit iffy on your rear suede enclosure but I will see the final product to be certain. Everything looks quality however! :DLeave a comment:
-
-
i have not reinforced the fronts. They seemed way stronger then the rears. I have not heard of any street cars in so cal breaking the fronts. Maybe salt a belt cars are a different story. I do know of 4 people who have broken the rears though. A tip for the rear i forgot to mention is to weld in the bolt to the rear link bracket that connect to the trailing arms. Otherwise its a pain to torque the bolt. You either have to remove the link or wedge a wrench between the bolt and the bracket. A little tack weld removes that extra work.Leave a comment:
-
einstein--I'm getting ready to install my RD bars and wondered if you reinforced the front mounts also? I've heard the front welds can break there. btw, I'm using the IE rear mounts that bolt thru the floor along w/the TMS TA weld-on reinforcing plates.Leave a comment:
-
-
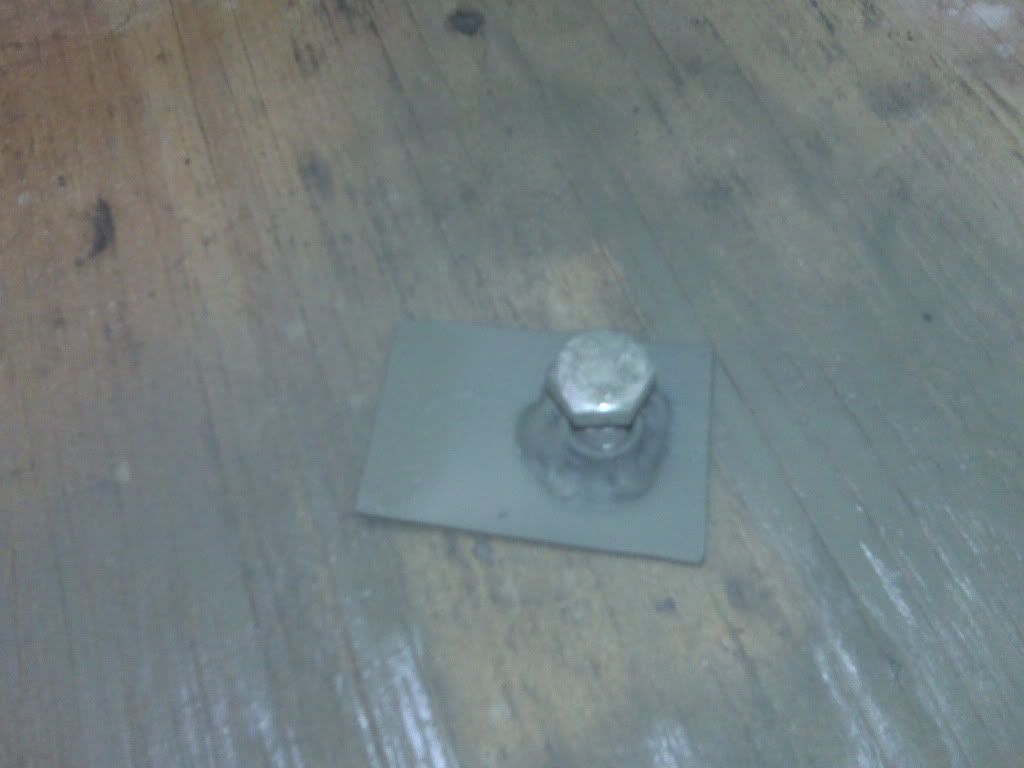
Here is the part i made. I just self etched primered it and waiting for some rustoleum.
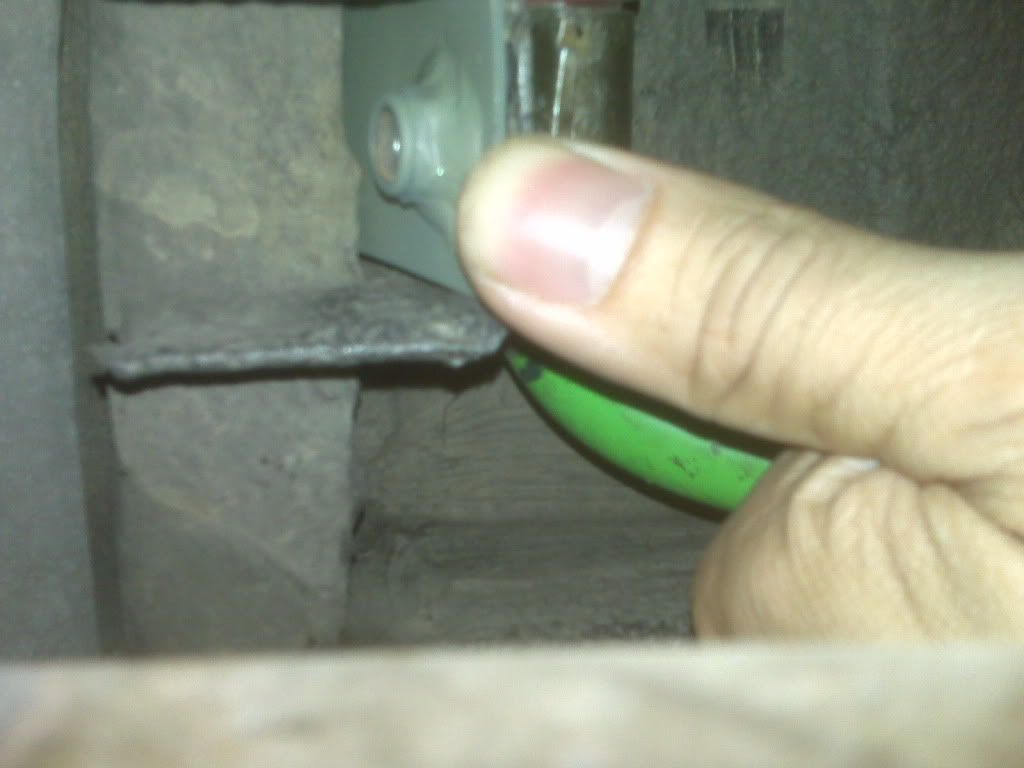
Here is where it goes when your done. Just slides behind where the oem was.
Leave a comment:
-
I'll take some pics manana and post them for everyone to learn from my pain. LOLLeave a comment:


Leave a comment: