4drPwr's 89 Alpine Project - Back from hiatus

Collapse
X
 
  • Time
  • Show
Clear All
new posts

  • 4drPwr
    replied
    Originally posted by xphiledan
    subscribed, this is a great thread! and you definitely need my rear bench to replace your icky one.
    Thanks for the compliment! PMed re: rear seat.

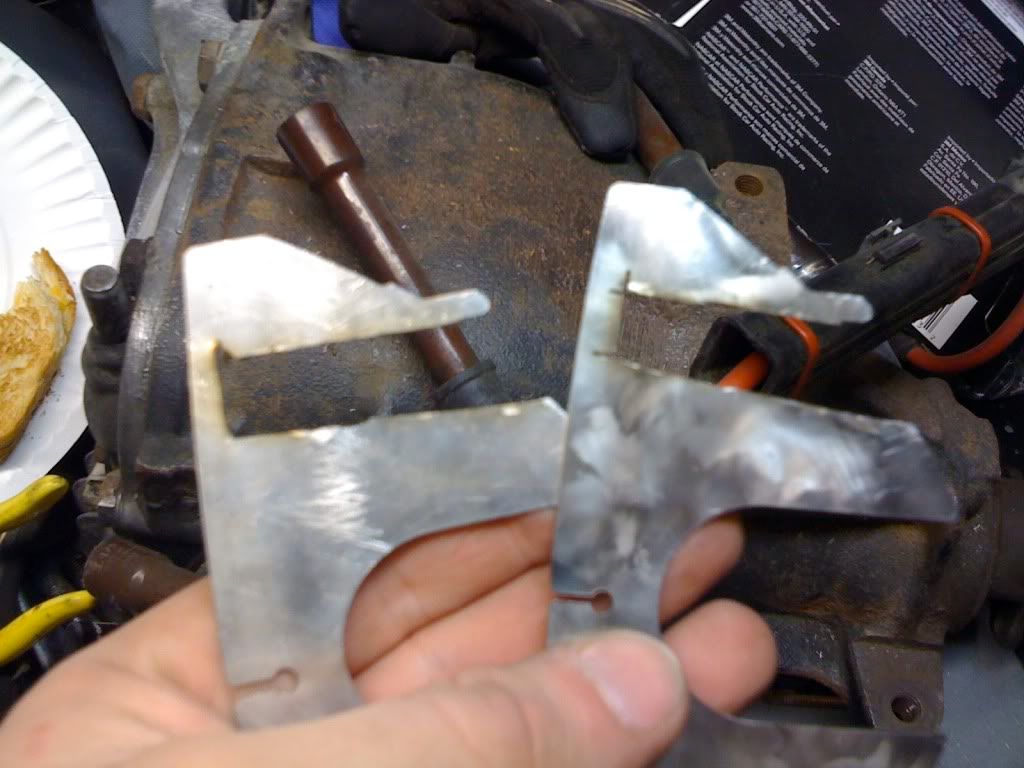
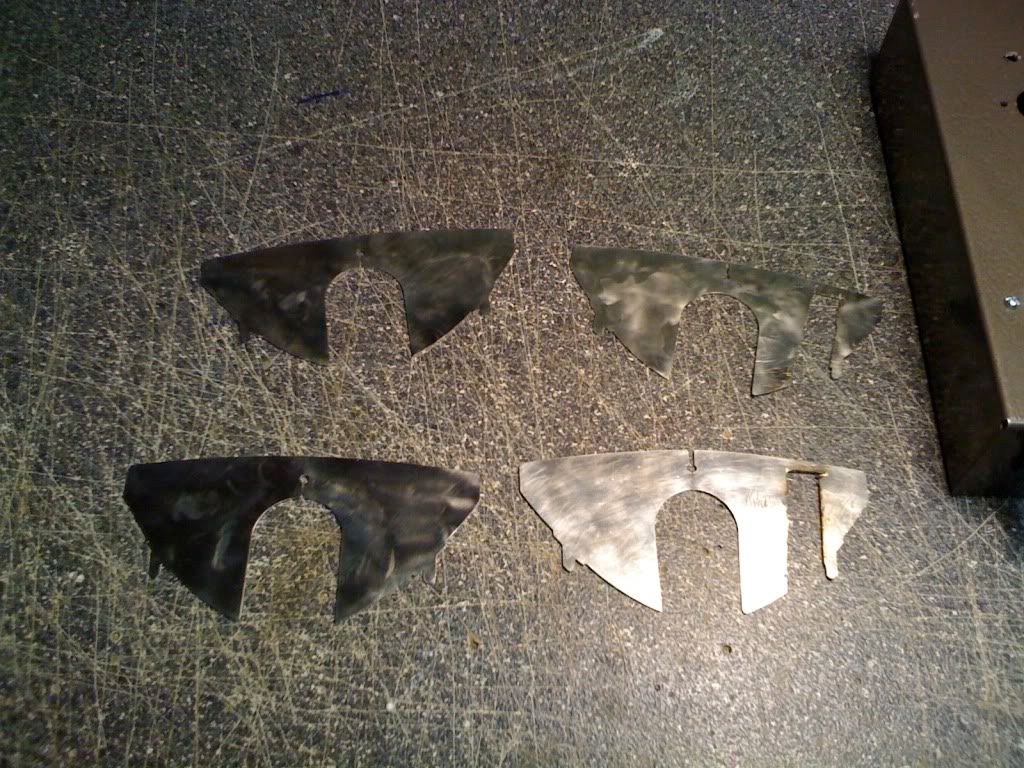
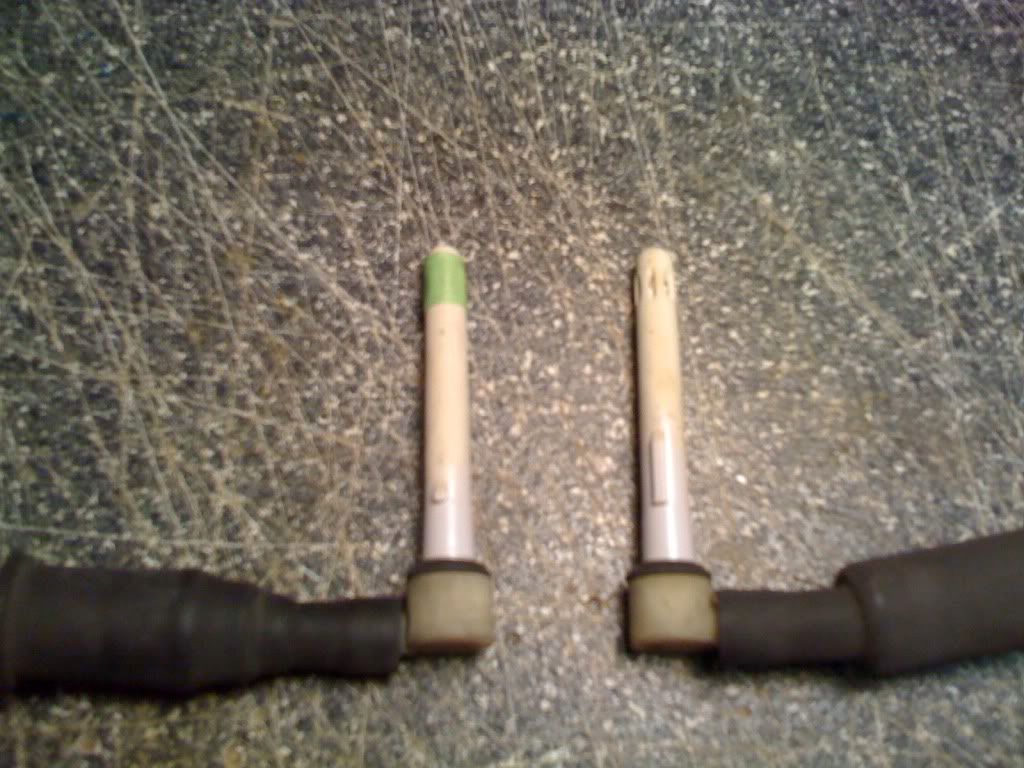
    I began work on the second restoration of my moonroof and slider the other day. Not much to show, but I broke it down to its component parts. It was riveted together everywhere, and I had to grind down several to disassemble it. I can see why some areas were riveted out of necessity since areas could only be accessed from one side, but a couple of other places are riveted that could easily be bolted together more firmly. I have a plan in my head that will allow me to replace all rivets on the slider with bolts and nuts for long-term piece of mind. More on that in a later post. Some pictures:

    Black plastic top sheet:


    Really the most important piece of the entire slider, the metal assembly and plastic shoes that slide back and forth on the track:


    Inside it's literally just an OEM panel from the regular sunroof headliner piece. You all have "rare" moonroof privacy sliders sitting right above your heads:


    Here's one of the main differences that I could see:


    That's on the actual stock sunroof slider panel, and is cut off on the moonroof one.

    Today I drove ~400 miles total and spent about 5-6 hours on the road. The trip was into MA to pick up two purchases, one from a R3V member
    and one from a member on NewEngE30.

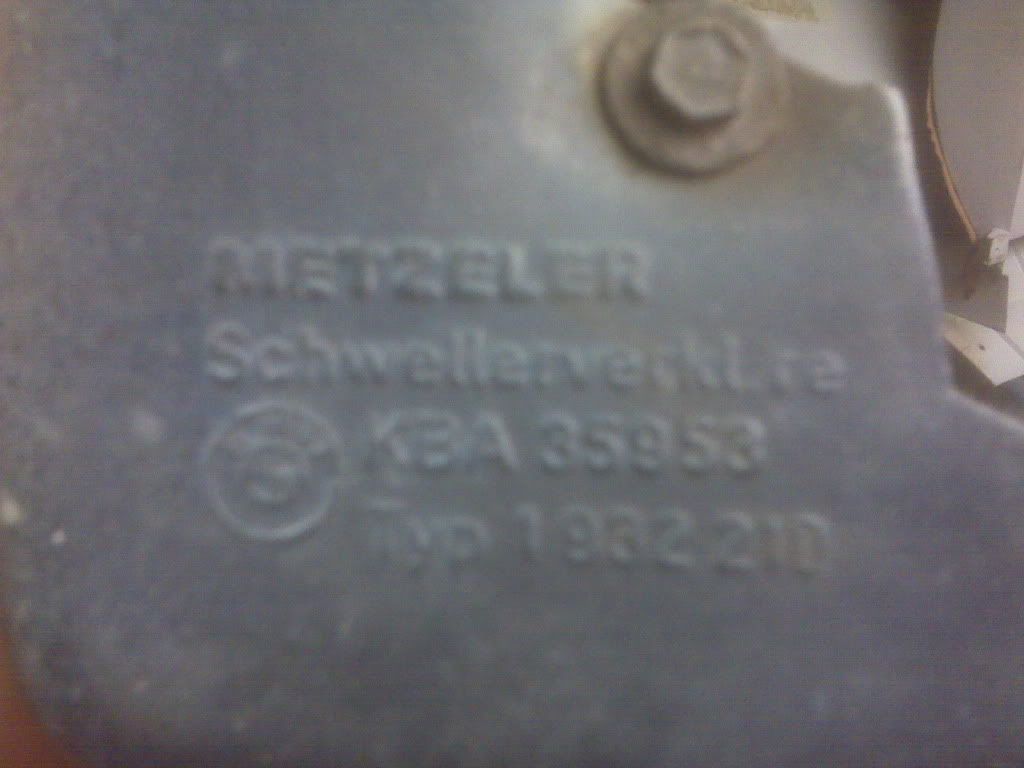
    First I picked up these little numbers, courtesy Mossman:
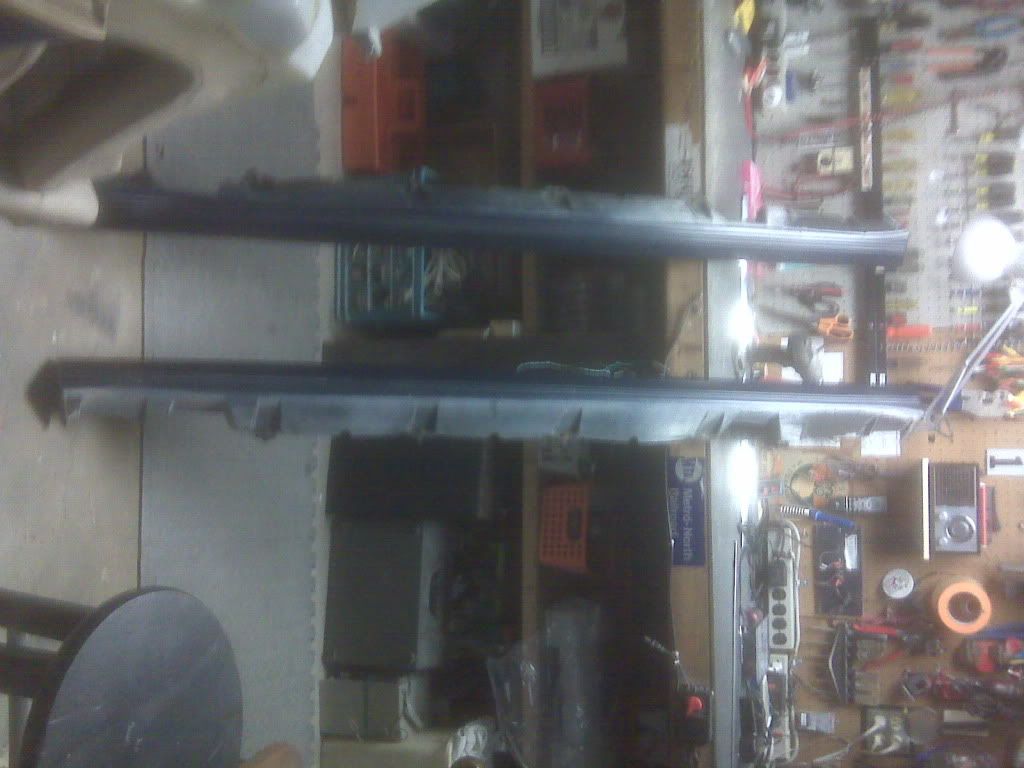


    Don't worry if your German is rusty, I'll translate. It says "These here be baller early-style genuine MTech 1 skirts." Roughly.

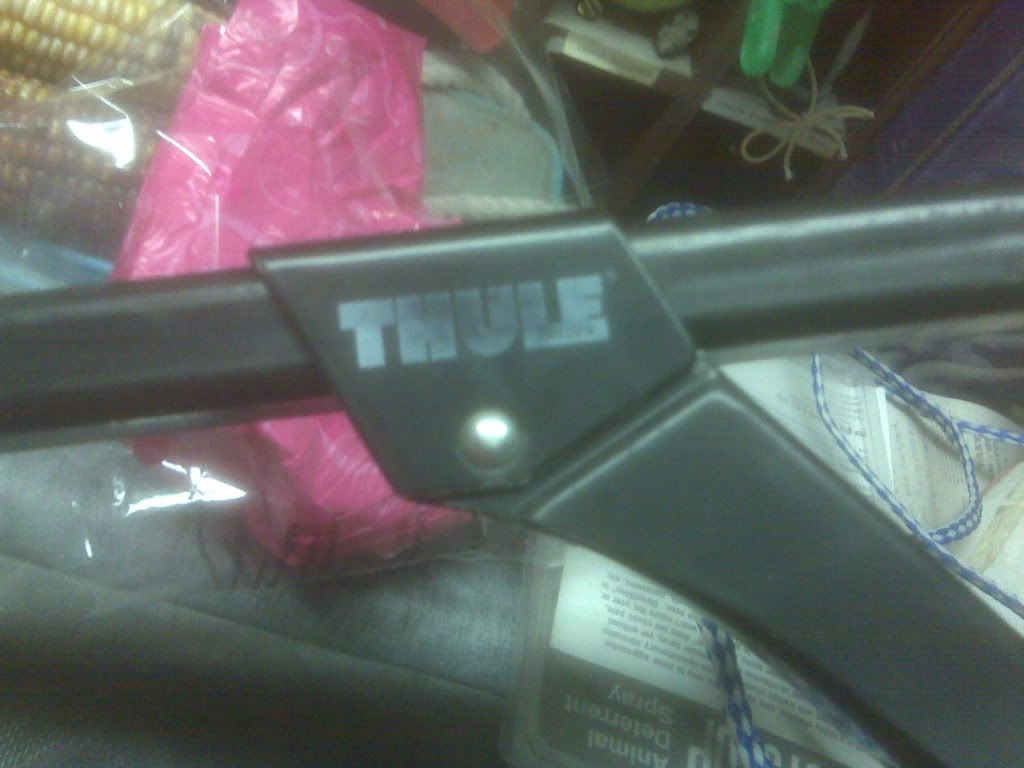
    Second stop was for this random opportunity, courtesy Thehemiman on NewEngE30.com:
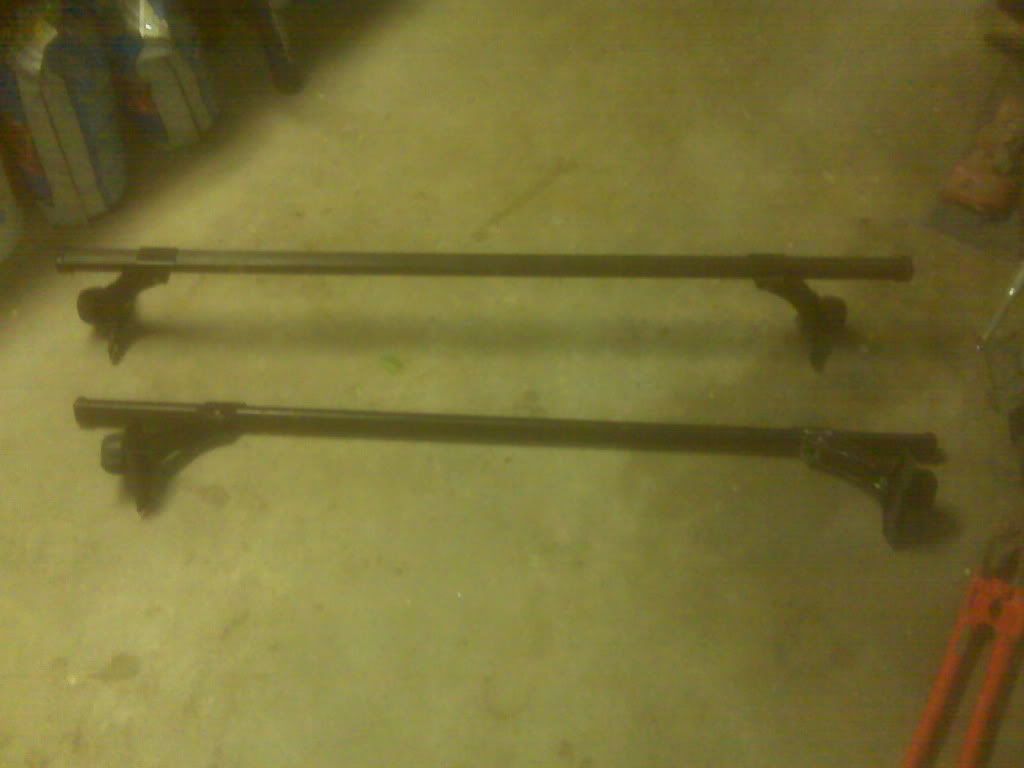


    Four Thule gutter towers and two beefy load bars for $40, how can you go wrong?

    That's all for now.

    (P.S. I have a three sheet excel workbook going right now with $1600 in suspension overhaul parts, $1640 in general maintenance items, and $1752 in miscellaneous parts. So much for pocketing any of my pay this summer, but at least I'll be rolling in a fucking tank by the end of it.)
    Last edited by 4drPwr; 06-11-2010, 05:25 PM.

    Leave a comment:


  • xphiledan
    replied
    subscribed, this is a great thread! and you definitely need my rear bench to replace your icky one.

    Leave a comment:


  • 4drPwr
    replied
    Quick little update here, but hopefully more should roll in as the summer progresses, I make money, and get more stuff done. As such, I've decided that this is the summer of maintenance on my E30, with very few aesthetic/form/non-functional mods, if any. Things like stripping the inside and dynamatting the floor and trunk, replacing all consumable suspension items (bushings, control arms, etc), re-re-restoring my leaking moonroof, and things of that nature.

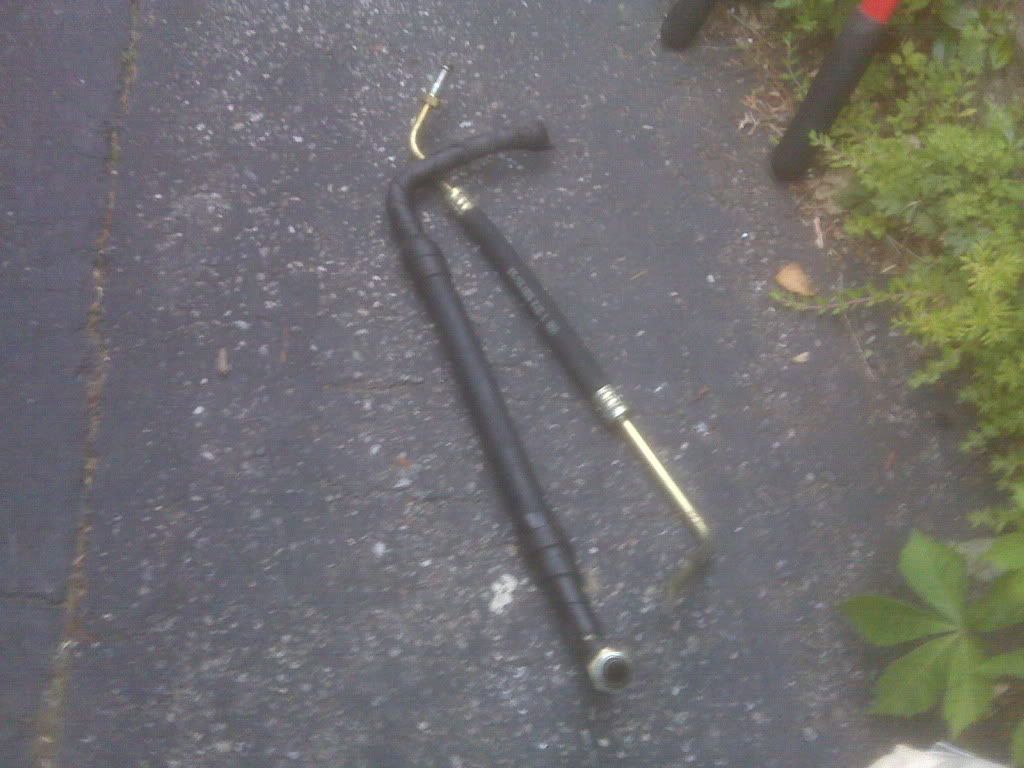
    One thing that had been bothering me for awhile was the remnants of A/C plumbing that I had left when I removed all of my engine bay hardware for that system. On a whim since I had my glovebox area half disassembled already (more on that in a moment) I decided to remove the two lines that come into the cabin. A couple of wrench turns and about 5 minutes total time later:


    Very easy stuff, definitely a more intimidating idea than task. Now, the reason I was in the glovebox in the first place is a little bit of a story: About a year and a half ago I bought my friend's alpine headunit with fullspeed iPod capabilities when his car was wrecked. The headunit has (had) a little pigtail with a kind of PS/2-ish connector that would receive the male end of the iPod cable you had to buy (of course, more $$$ for them). The cable costs like $30 or $40 from alpine, and wasn't much cheaper online at the time, so I got an aftermarket Asia-special cable from eBay for about $10 shipped. Over the course of the next year and a half, I was plagued by disconnection errors that I could not determine the cause of. From driving down a bumpy road, to driving down a straight, smooth road, to sitting in a parking lot for 15 minutes and it throwing an error on the 16th minute, I could not determine the specific reason for the disconnects, other than the fact that somehow my aftermarket cable was causing them for some reason, despite the fact that a bundle of wires should be a bundle of wires no matter where in china it's made. Fast forward to this afternoon, and I decided to bite the bullet and go to my nearest Best Buy who stocks the cable. I get home, install it, and within 30 seconds get the "Error-01" on my headunit which means a communication error. All to familiar and maddening. I came to the conclusion that the headunits pigtail was a bit beat up and might be the actual cause. In a fit of "I'm going to fuck this machine and show it who's boss" rage, I removed my headunit, took the old $10 cable, and cut off both of their connectors. I connected them, stripped the casing off the cabling, pulled out my multimeter, and set about figuring out how 14 super thin wires on the cable translated to 11 super thin wires on the headunit. Once my chart was made, I stripped all 25 wires again, this time on the actual headunit and cable, and soldered them together, heatshrinking each individual connection, as well as the entire bundle when done. At this point I was sure that I could not have connected everything properly, since there were 3 extra wires, and I have awful luck. Lo and behold, it works, and all iPod control functions are 100%. It's as if I hadn't turned into a solid-state connection all the way to the dock connector which was a nice surprise in the fact that it worked on the first try. I went for a little drive about an hour or so ago and no "Error-01" so far. Only time will tell, but I've done literally everything I can now, short of buying a new headunit. Fingers crossed.

    A picture of the almost complete splice job:


    The partially disassembled headunit can be seen on the left, the two trashed connectors are in the upper right, which I used to map out the connections.

    Leave a comment:


  • 4drPwr
    replied
    Originally posted by sandlock
    nice work man, you've detailed a few things i have to do on my end thanks for taking pictures. how easily does the rear parcel shelf come out?
    Pretty easily. Remove the two parts of the rear seat, unbolt the ends of the seatbelts, pop off the plastic seatbelt covers, slide through hole in shelf. There's one plastic clip in the middle of the shelf holding it to the metal of the body. It's pretty intuitive. Thanks for the compliment.
    Originally posted by fck
    good stuff, duder.
    Thanks!

    Leave a comment:


  • fck
    replied
    good stuff, duder.

    Leave a comment:


  • sandlock
    replied
    nice work man, you've detailed a few things i have to do on my end thanks for taking pictures. how easily does the rear parcel shelf come out?

    Leave a comment:


  • 4drPwr
    replied
    Originally posted by evilnickwong
    Yes, it's just a holder for you to clip the middle seat belt into when not in use.
    Great work on the car btw, love these little DIY work bits.
    Ahh, and here I've been rolling mine up and tucking it under the seat. I'll try out the receiver and see how it looks. Thanks for the compliment!

    Leave a comment:


  • evilnickwong
    replied
    Yes, it's just a holder for you to clip the middle seat belt into when not in use.
    Great work on the car btw, love these little DIY work bits.

    Leave a comment:


  • 4drPwr
    replied
    Originally posted by Ray Smoodiver
    Triangle is a receiver for the middle seat belt.
    I don't understand. It's held in with a plastic nut on the underside, not to mention it's installed in a piece of cardboard. How can it have anything to do with a restraint system? Is it where you're supposed to store the middle seat belt when not in use?

    Leave a comment:


  • Ray Smoodiver
    replied
    Triangle is a receiver for the middle seat belt.

    Leave a comment:


  • 4drPwr
    replied
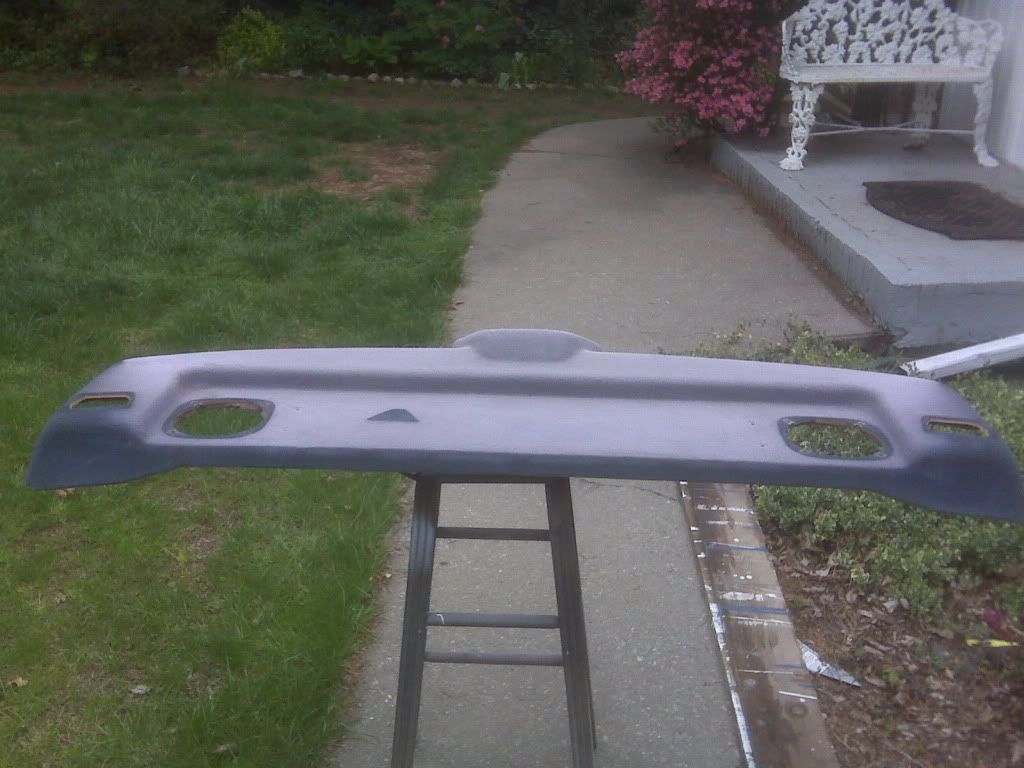
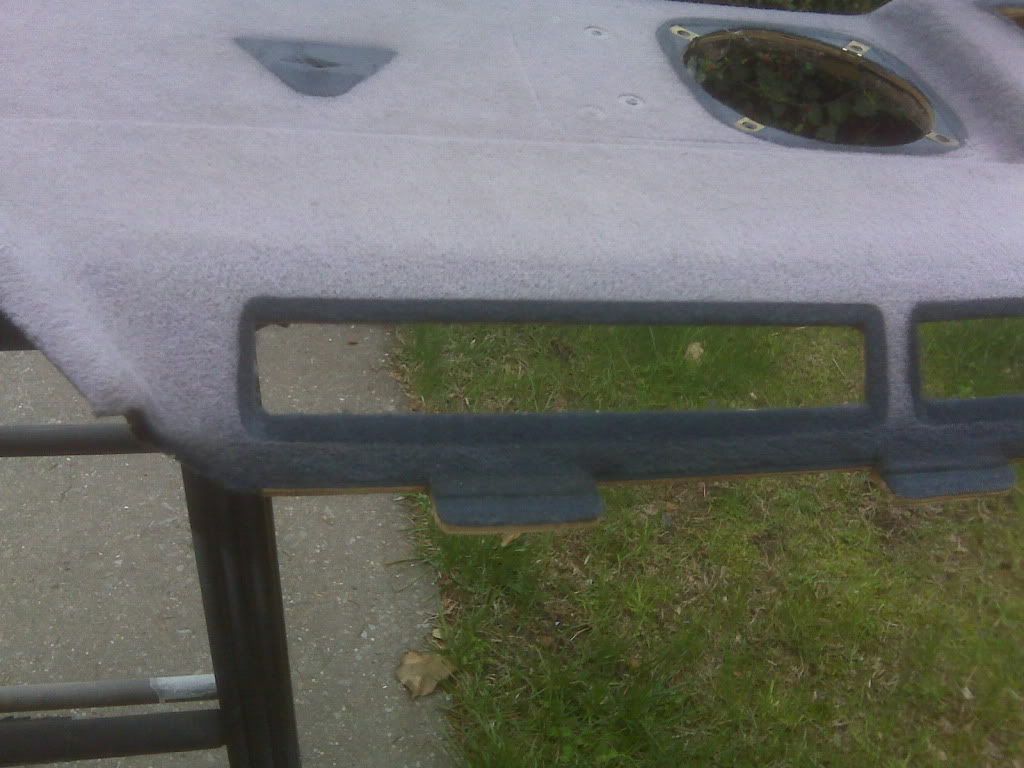
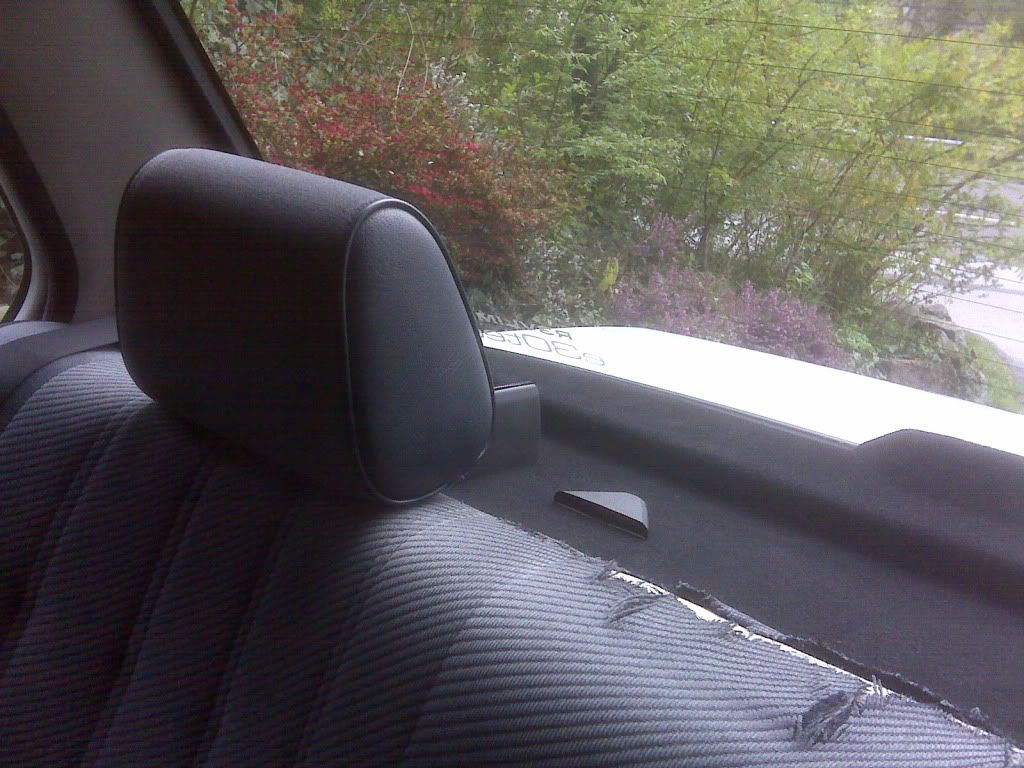
    Had some spare time at home this weekend since I went home to work. Little car projects make me feel good and take my mind off of not nice things, so I decided to refinish my rear parcel shelf, which was in the poorest of conditions. The blue interior of my car, while different, had taken a beating over the years and hadn't held up as well as other parts of the car. The parcel shelf and top of my rear seat were without doubt the two worst spots:


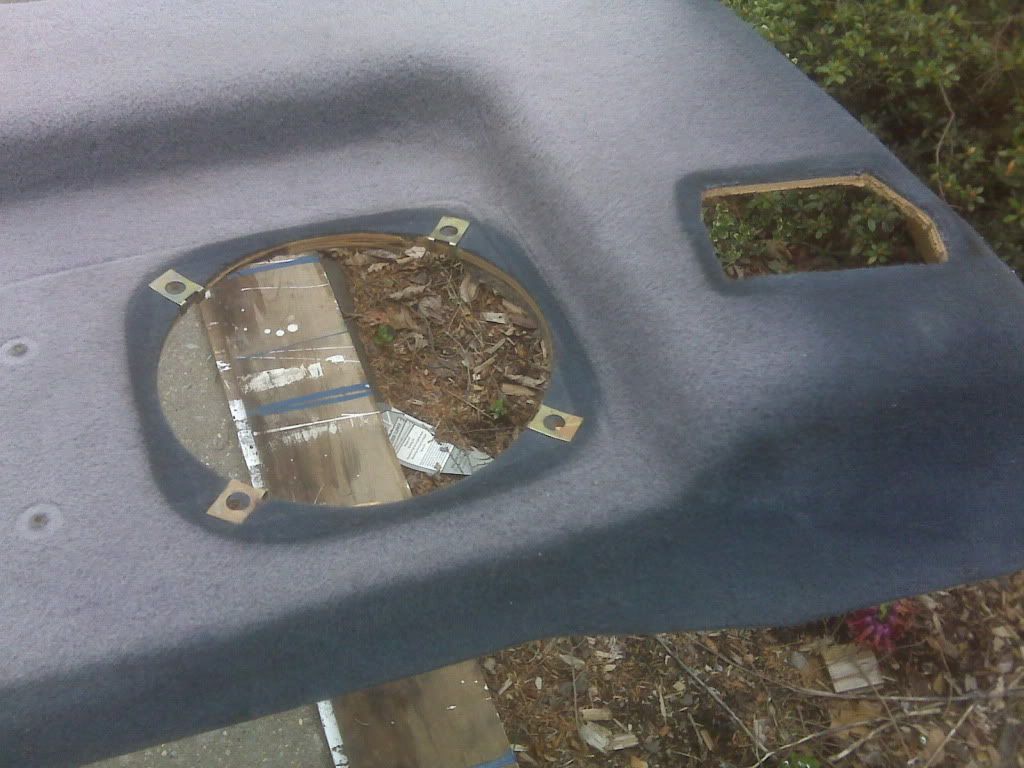
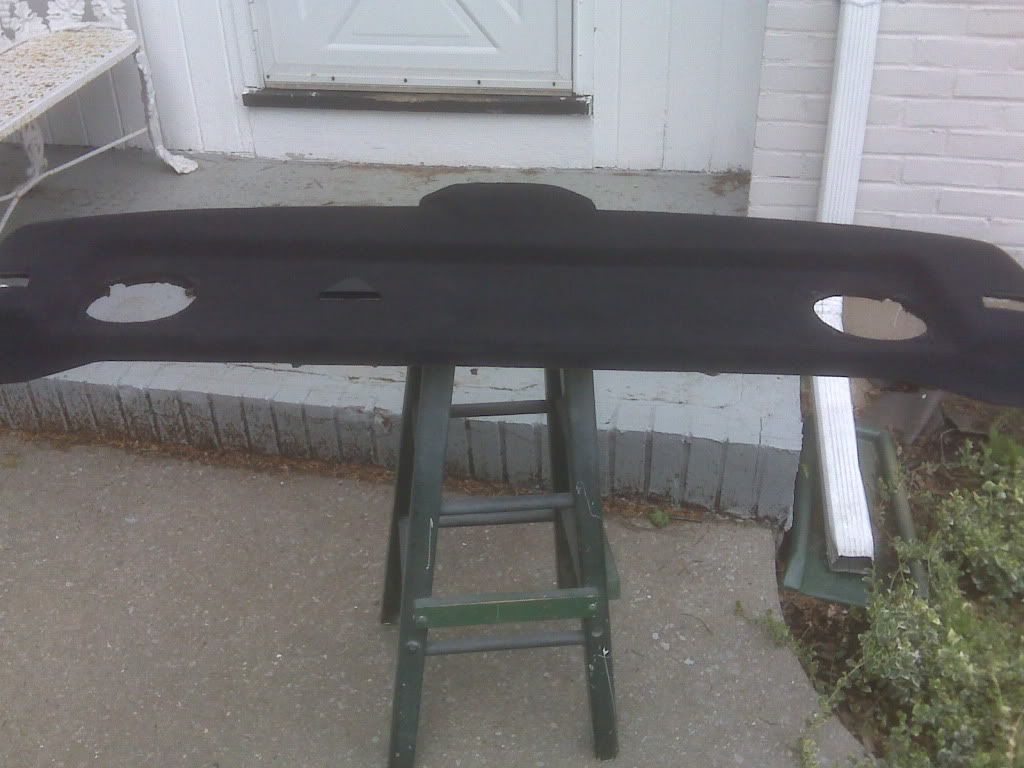
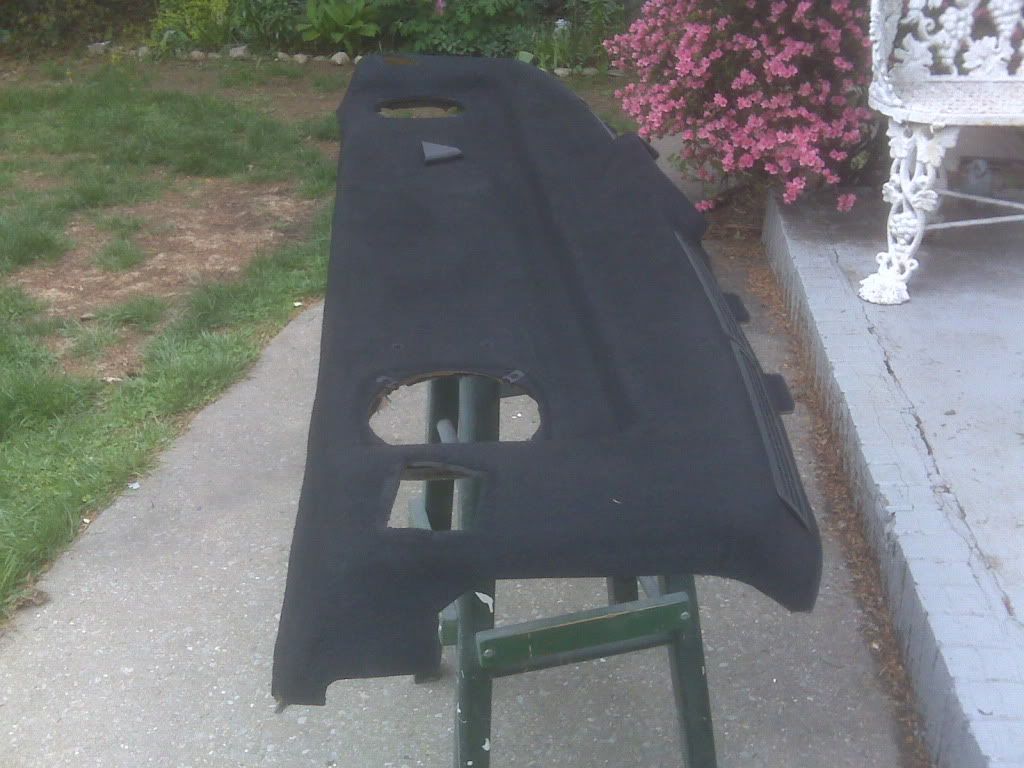
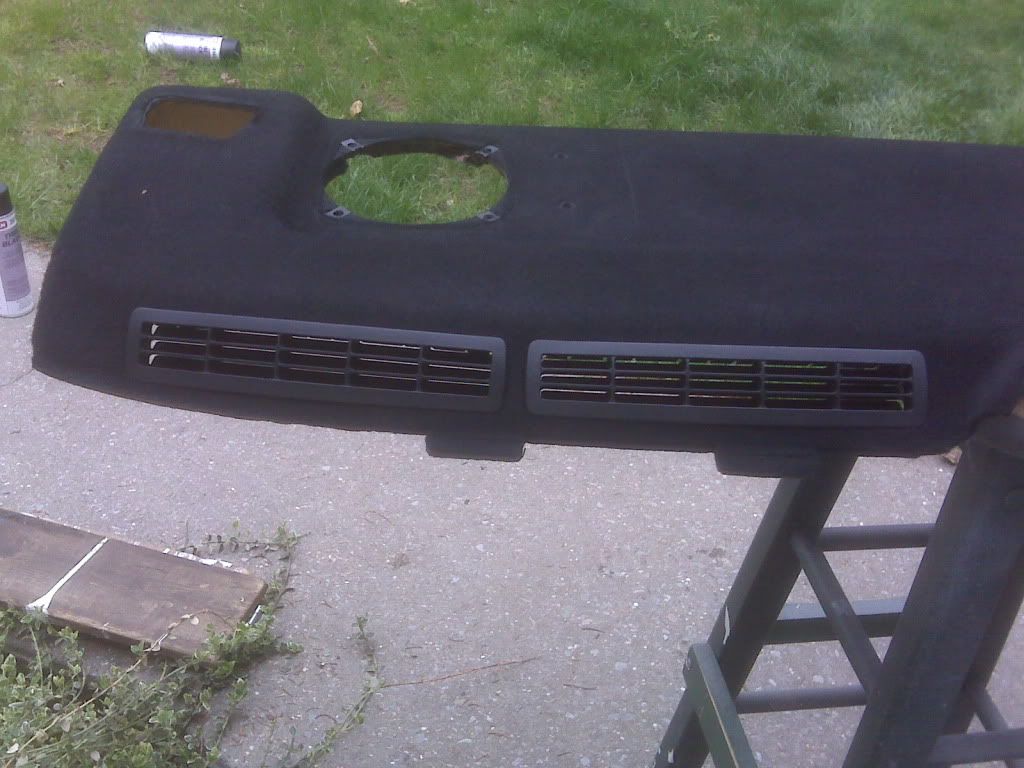
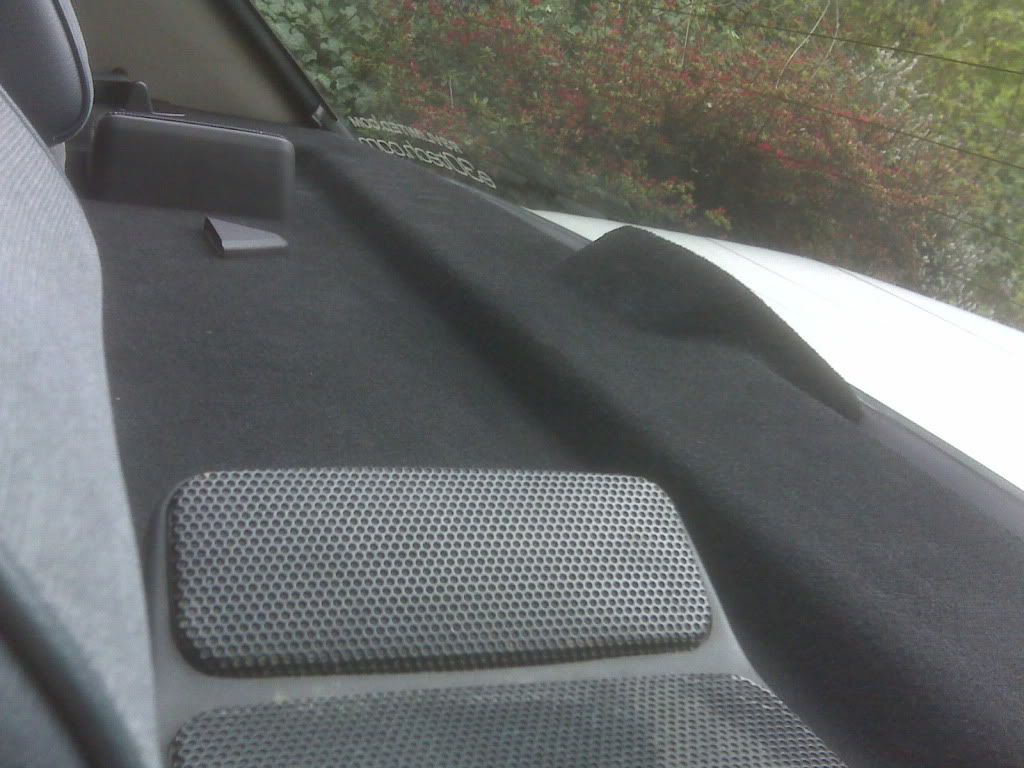
    You can see the stark contrast between the sun-bleached and covered parts over the years. A quick vacuuming and two cans of Rustoleum Vinyl and Fabric paint later:


    I think it's a vast improvement. I also touched up the four vents, the seatbelt guide pieces, and the plastic triangle (what is that even for, btw?) with some SEM trim black while I had the whole thing disassembled. Excuse the mangled rear seat, I'm working on getting a replacement for that.

    Leave a comment:


  • 4drPwr
    replied
    Originally posted by Wh33lhop
    Great work so far. Please tell me you're putting that dogleg trans in with the M90. :)
    :up:

    Thanks for the words of encouragement guys.

    Leave a comment:


  • Wh33lhop
    replied
    Great work so far. Please tell me you're putting that dogleg trans in with the M90. :)

    Leave a comment:


  • motorsports_3
    replied
    Looking good, that was a good idea to keep them +

    Leave a comment:


  • 4drPwr
    replied
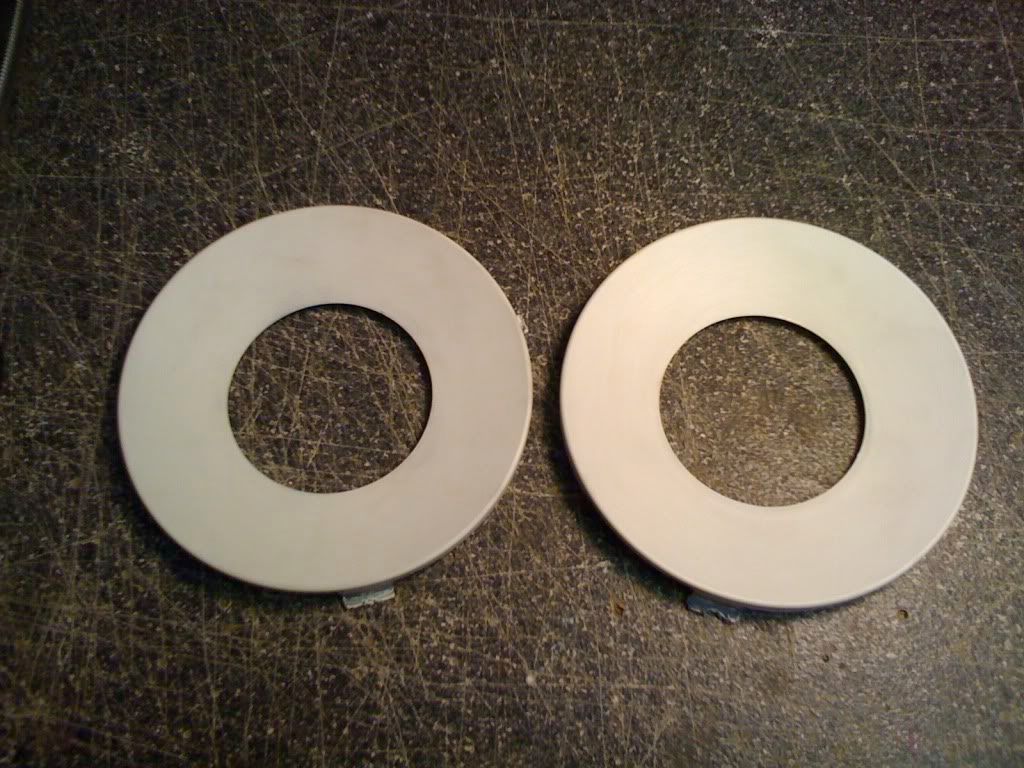
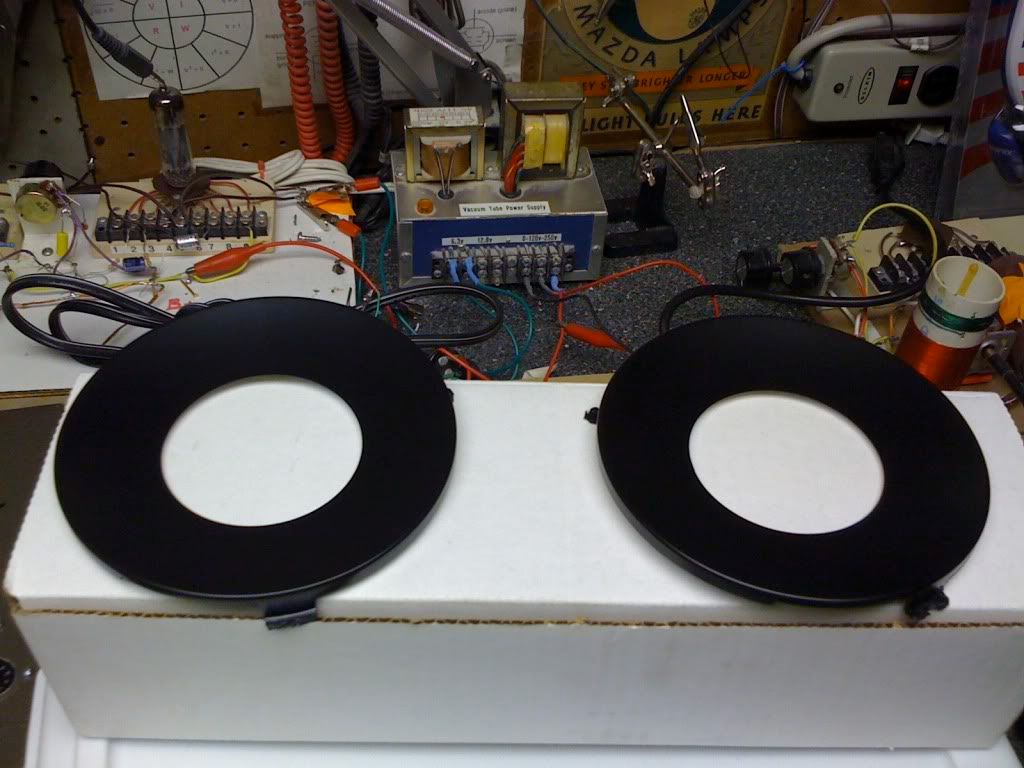
    It's been quite awhile since the last update, which no one seemed to really notice. A shame, as I was quite excited about the whole powder coated valence thing, but it appeared it slipped through the cracks. No matter, I continue unabated.

    Some weeks ago I took a trip home from school for the weekend and went through the process of smoking my US ellipsoids. I didn't document it as well as some of my other work, but I think you should be able to get the gist of it:

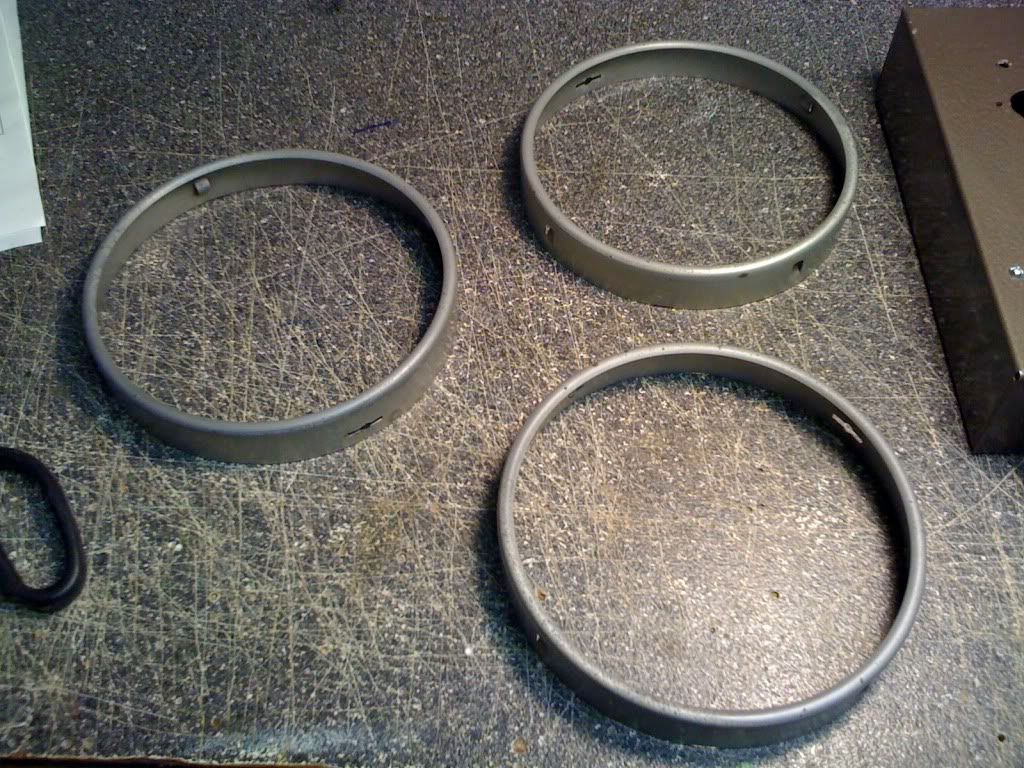
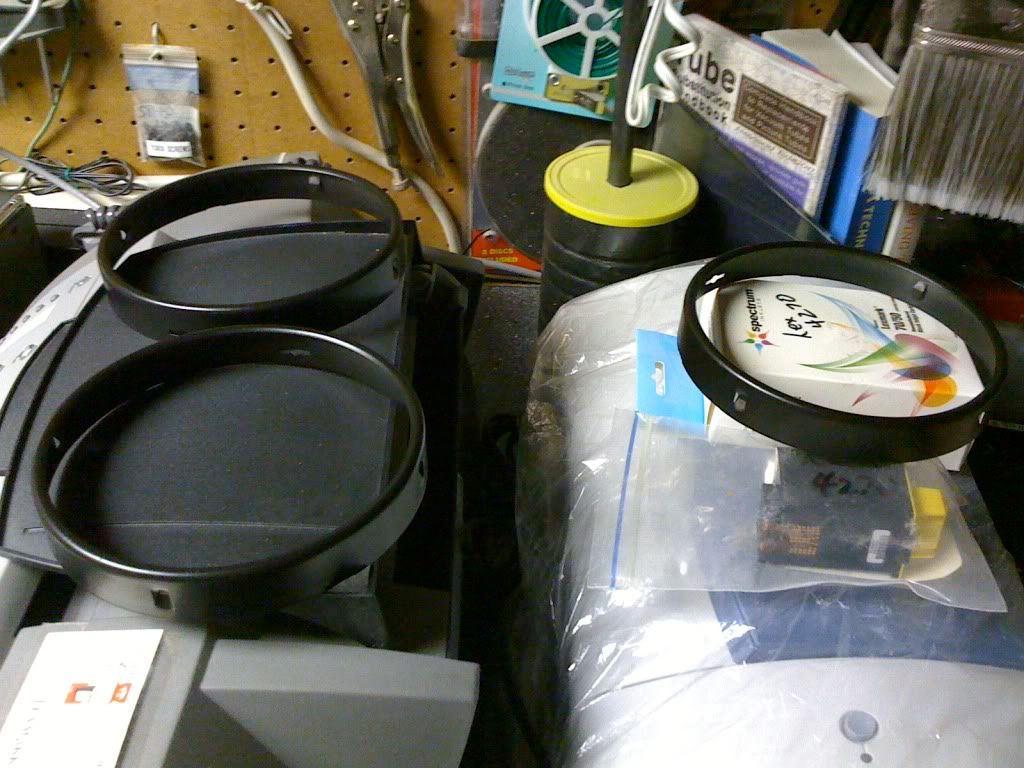
    Trim rings popped off easily and were scrubbed down prior to painting:


    For some reason my car was missing one of them, but I painted the three that were there with some SEM trim paint. Since then I've secured a replacement for the missing one and will paint it over spring break while I'm at home.


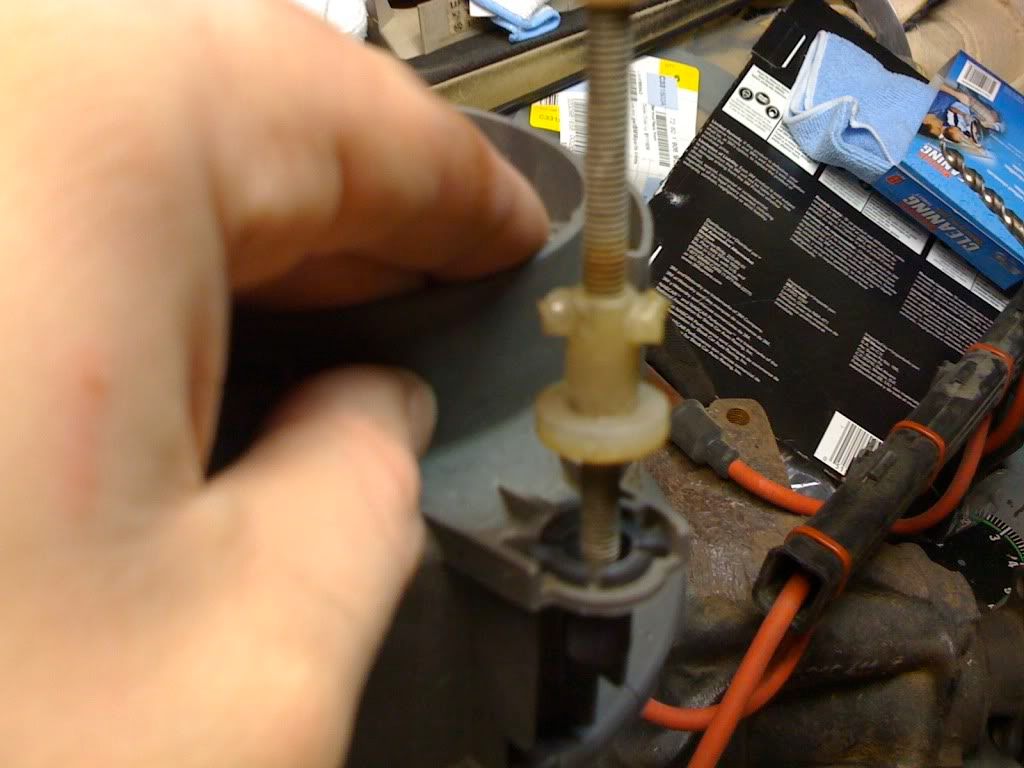
    Some people have a lot of trouble with the little black cups shown in the bottom of this picture:


    I found it easiest to simply rotate the whitish (now yellowish with age) plastic pieces until they could be slid out of the housing. I did this with all of mine, broke zero black adjuster cups, and saved a ton of hassle.

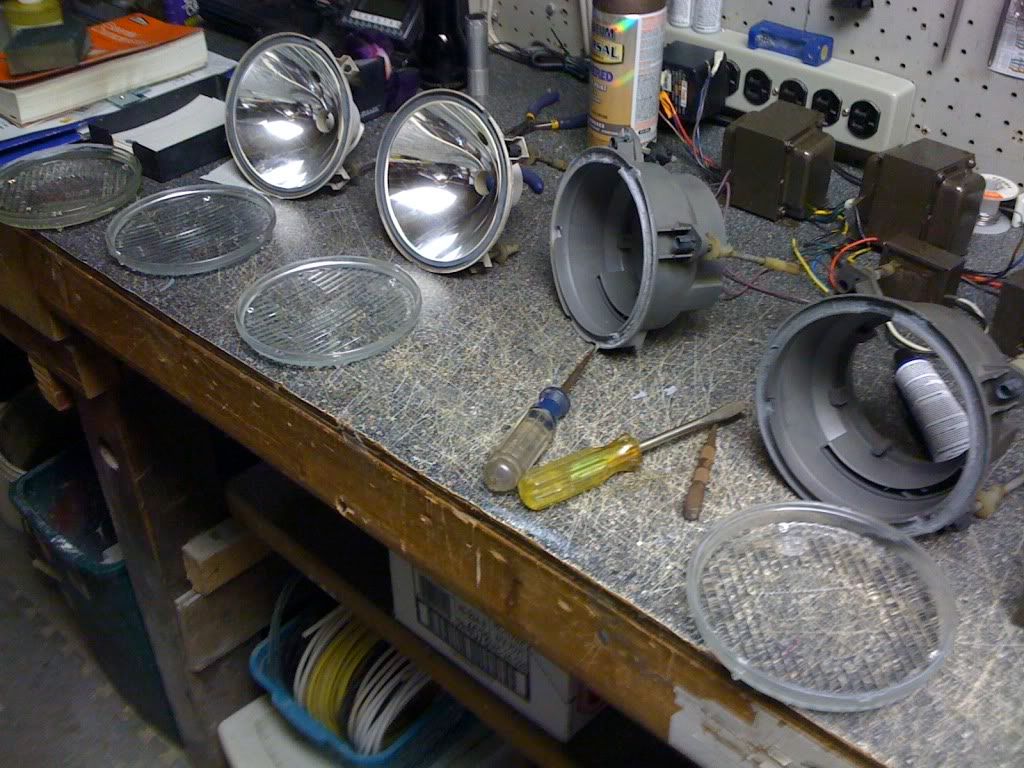
    After some time in the oven and some gentle work with a screwdriver, the lenses were coerced off the housings:


    The blinds from the low beams came out shortly after cleaning some of the adhesive off of their alignment tabs, and a little steel wool made short work of the chrome coating:


    SEM then made short work of the exposed plastic:


    This is where things took a bit of a less typical turn. OEM Hella smoked headlights use a + arrangement for their crosshairs in the high beams, which is impossible to replicate with US ellipsoids due to the evaporation extensions at the top of the housings. Trimming the crosshairs to allow space for the evaporation tubes can allow you to go with a perfect + instead of the typical X, however:


    Since I was losing a lot of material that would have been painted black and contributing to the smoked reflection effect, I figured I'd paint the evaporation tubes too, so that I didn't have white plastic hanging around what was supposed to be a predominantly black area:


    Make sure to tape up the actual openings so that you don't get paint on the tiny balls inside the tubes and gum them up, preventing moisture from escaping.

    Unfortunately I stopped taking pictures at this point for some reason, but they came out very nicely, aside from a little condensation I apparently allowed into my passenger low beam, which I'll have to crack open and dry. Over break I'll also get a couple of pictures of the finished product for comparison.

    Leave a comment:

Working...