
Dude nobody told me you bought the e30 back until I saw you on FB the other day. Anyways r3v you guys need to watch what this man can do. He is a mechanical mad man, I wish I had half the fab skills he does lol. Oh btw your old vr6 got passed to another buyer, and stu got SCREWED on the deal
-
-
awesome job dude!! i'm actually thinking about the e36 m3 exhaust setup too. didn't find much info on it but your build helped me answer some questions.1972 2002TiiComment
-
Awesome build thread!
We have very similar setups. How do you like the S2.93? I just put one in my S50/ZF swap but haven't had a chance to drive on it yet. I was initially looking for a 3.25 and I am hoping I do not regret getting the 2.93.-Justin
sigpic
Current: BMWless for now... '15 Grand Cherokee & '03 Mach 1
Comment
-
Cabin, the 2.93 is the way to go IMO...coupled with the ZF trans, it seems a lot like my stock gearing in my e92. 1st gear gets you out to 4x mph, 2nd gets you to like 65, etc....I think its perfect!!Comment
-
As you are probably aware, the S52 Z3 M Coupe and Roadster have a 3.23 final drive (they have a similar curb weight as the E30). If you are looking for a factory feel, 3.23 is the way to go.I Timothy 2:1-2Comment
-
killer build. im so jealous. M119 M42 M62 S52 S62
Comment
-
I had heard that (never researched it myself), and I would believe that would be a more fun rear end to have on that car if I were staying NA long term. In the next few months, I hope to slap a turbo on...but I gotta get to driving and enjoying it for a while...as well as saving some cash (the hard part).Originally posted by markseven View Post
Thanks to everyone for your praise and time reading...it makes it fun to post when there are people who appreciate it!Comment
-
Very nice build! I wish I could weld as good as you. Makes me miss my e30.
So you like the 2.93? I went crazy with my e30 and put a 4.10lsd in it. You want to talk about short gears... lol But my e30 has a rebuilt m20 in it so it needs all the help it can get.Comment
-
Great build man, maybe some day I can have that s50 power under my hood.Comment
-
Wow! 4 months later, I have a small update...I've been busy doing military stuff but am back in the saddle again. It's been nice to drive the e30 every day and it's performing well, all my hard work has paid off. Since I last posted, I literally haven't done anything until today.
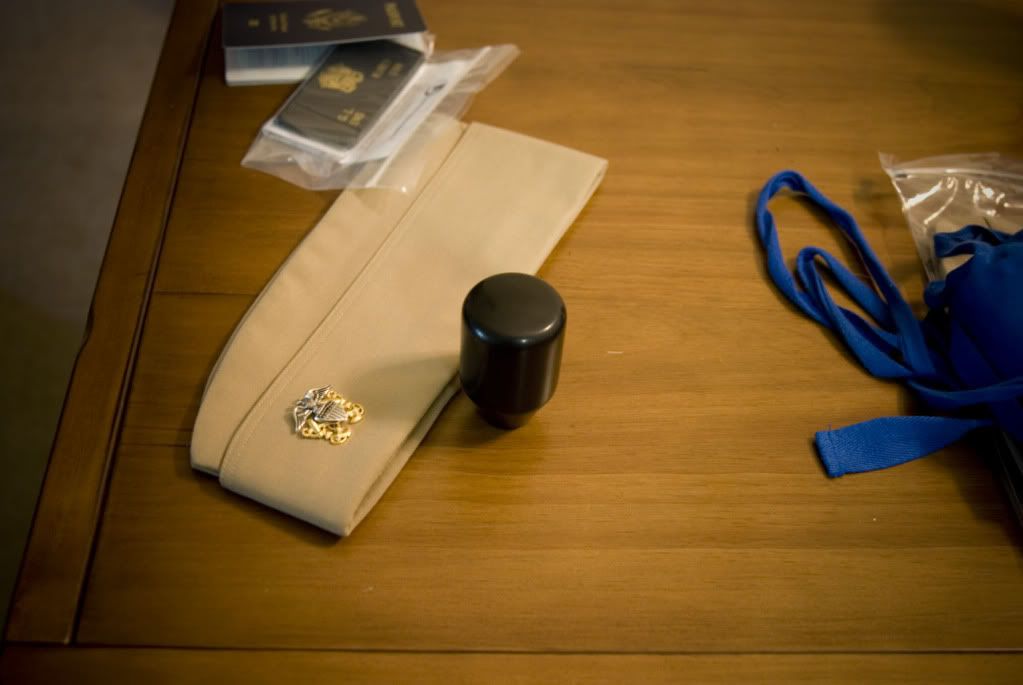
I've crossed the 1 year mark as having this car as a project and I decided to dress it up a little...do two items that I've been wanting for a while in celebration of a year and counting. I got a shift knob made by robsgotit. He sells them in the parts FS section...I got the package today after paying him late last week...fast shipping and good packaging. The knob is lathed by him and they are made to order. I was impressed by his delivery time considering it wasn't even made yet when I paid him. The price is awesome too. Going into my purchase I couldn't really tell how big the knob may be or what the exact one I ordered looked like....so I took a bunch of pics of the installation. BTW, the knob feels great in hand, and all the work it great! Thanks Rob.
As I opened the package right after work, forgive the other stuff in the shot:
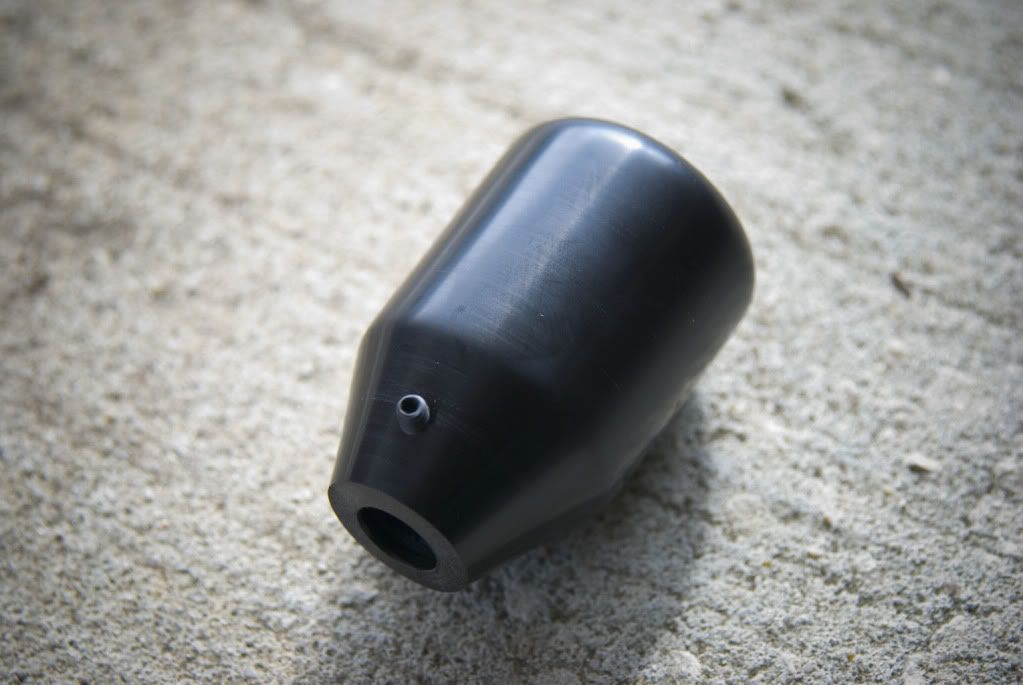
A macro on a better background...I like the light tooling marks!
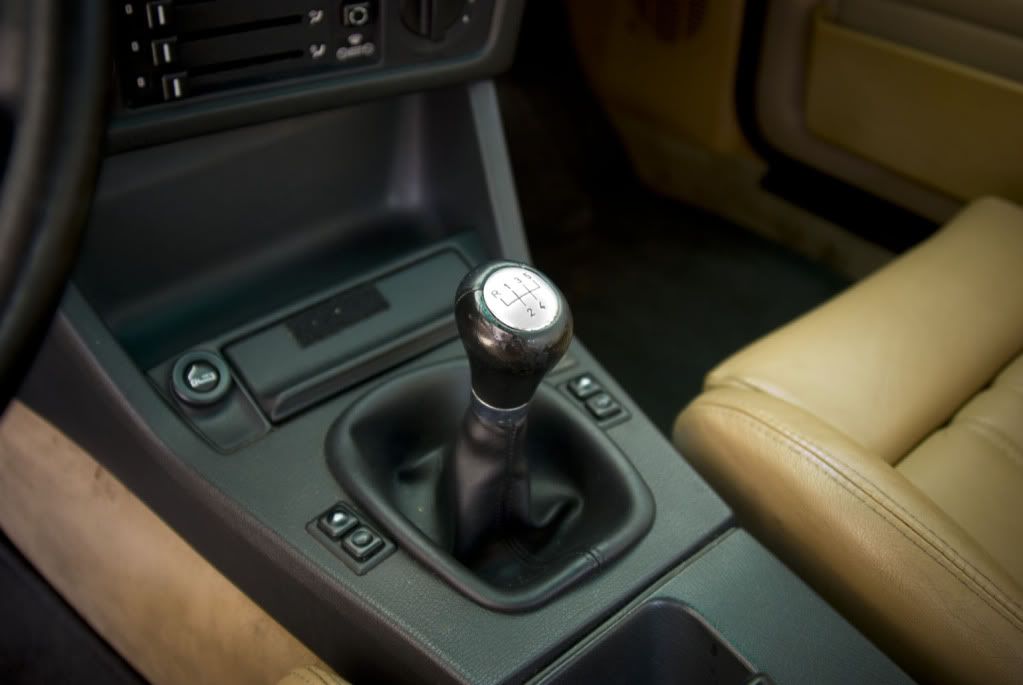
Out with the old...
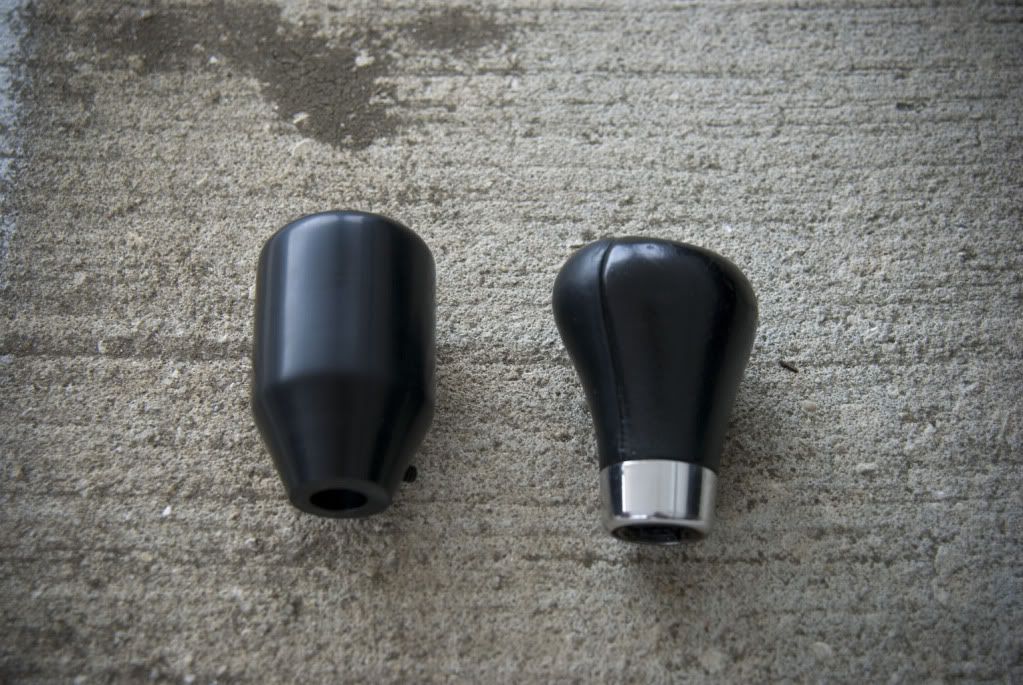
Compare size...this is his "small" knob.
In with the new!
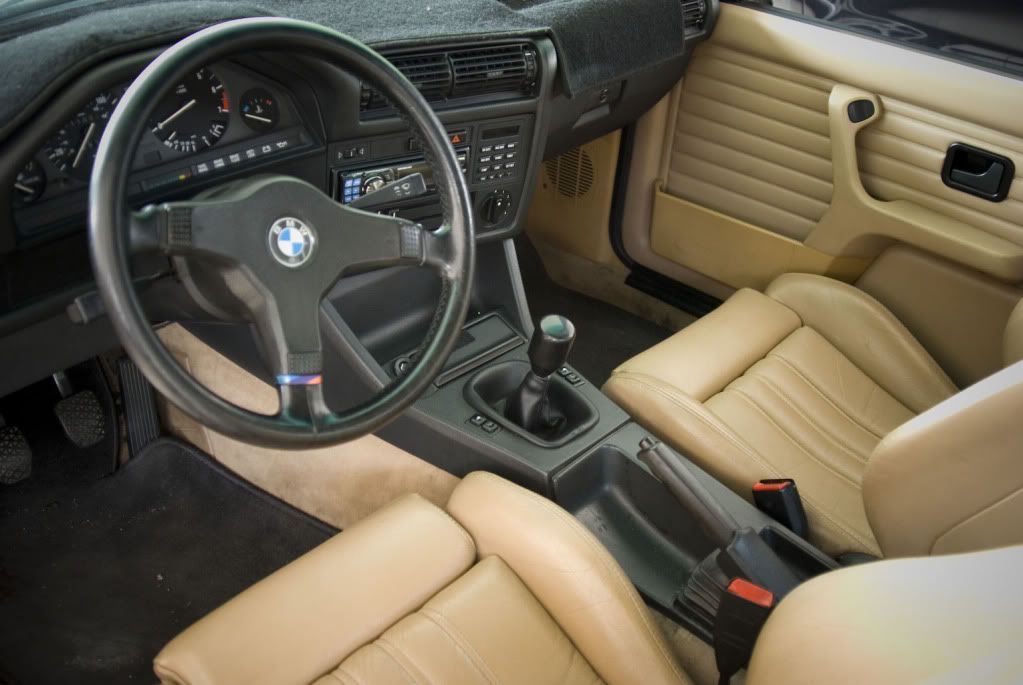
Looks and fits great. FYI, the set screw completely goes past the knob surface when tight so there's nothing hanging out!
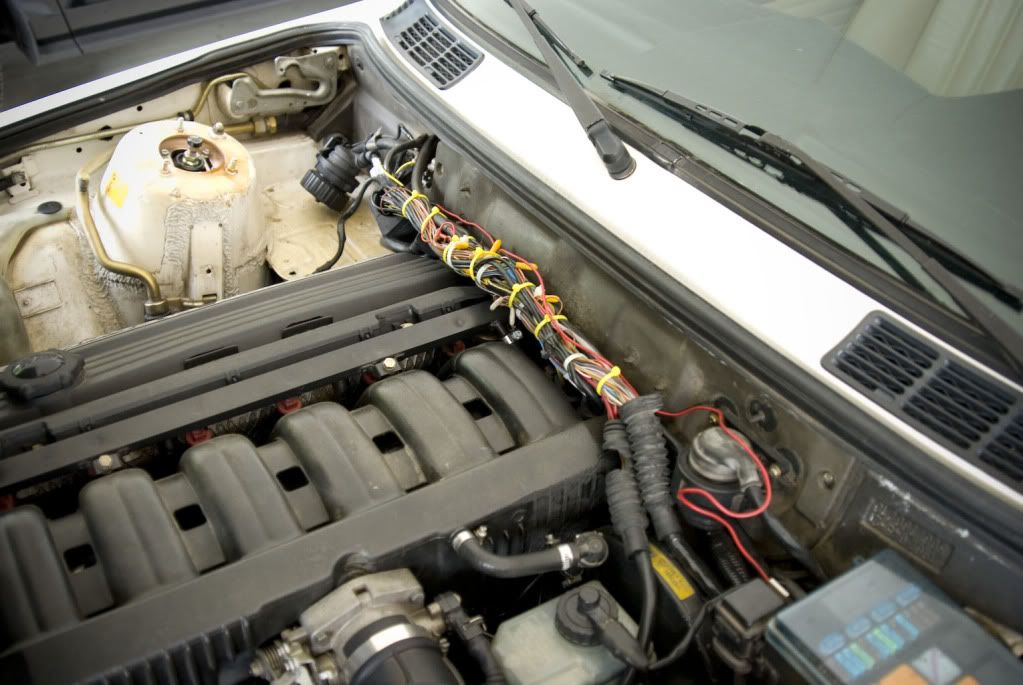
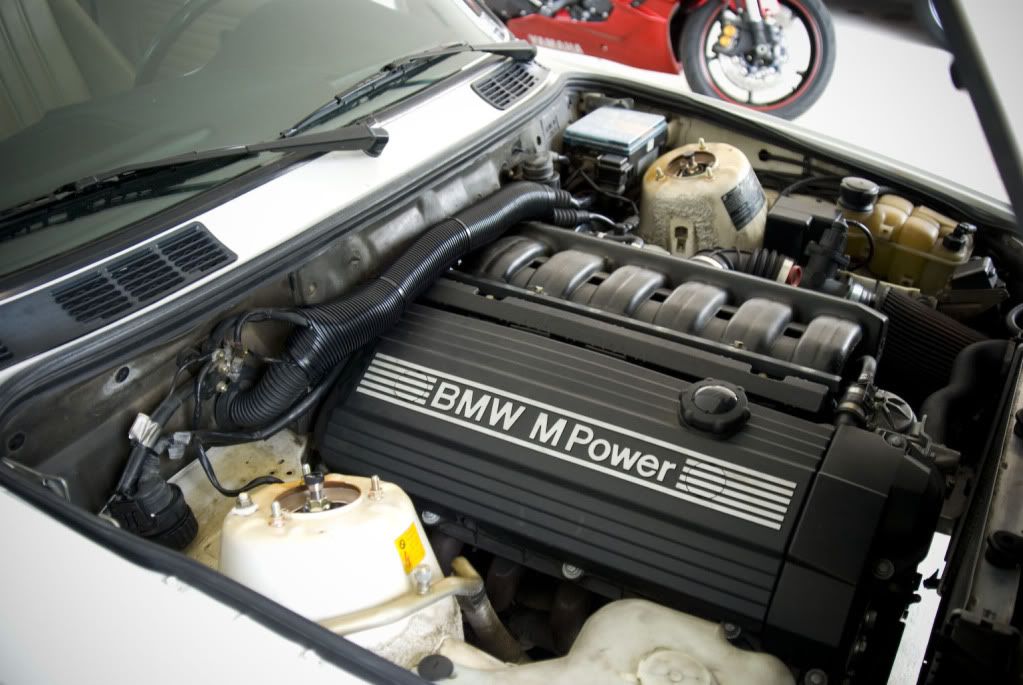
Next, I finally cleaned up my wiring harness from the swap. I know a lot of people run the 318 harness covers, but I have been having a hard time finding a clean one. I ordered some oversize loom to clean up my harness. It came out awesome for spending 10 bucks counting shipping! Pics:
Before:
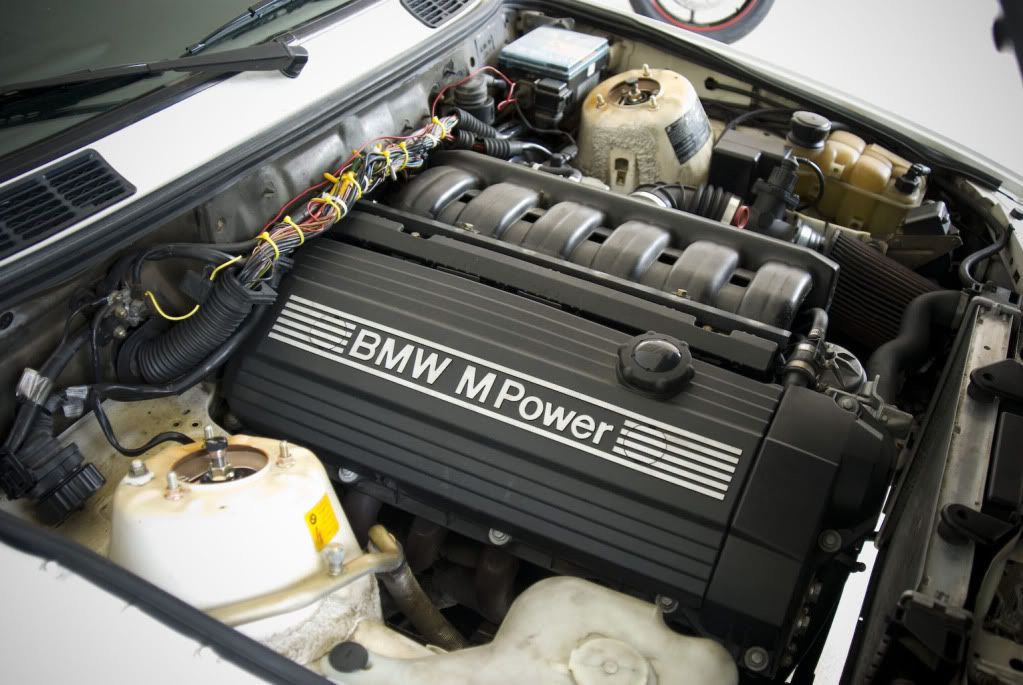
After! No longer ashamed of my engine bay...

That's all for now. I'm having a few more goodies/changes arrive soon, so stay tuned. This is the last time I post a picture of the car looking just like this. I can't wait....
Comment
-
Hey guys...pretty good update here.
So...recently relocated and I now have a garage again! Given the new work space, I decided to take care of a few things on the e30. This weekend I did the dreaded rear subframe/RTAB bushing replacement. I was really expecting it to be hard, given what I had read on here. I was expecting my subframe to be stuck to the car....for the studs to break/sieze, to not be able to press the bushings easily, etc.
Well, I'm happy and lucky enough to report that everything went well, and surprisingly easy! I guess it helps that for 90% of the car's life it was in the deserts of NM and didn't have any corrosion! Lucky for me! This round of work was done because of a passive rear steering issue that became very noticeable after refreshing the front suspension. I decided that with the front being stiff and new, and sloppiness of the rear became exaggerated, and it felt almost as if I was towing an out of control trailer or something....the rear had a mind of its own! Scary at anything over 40 mph.
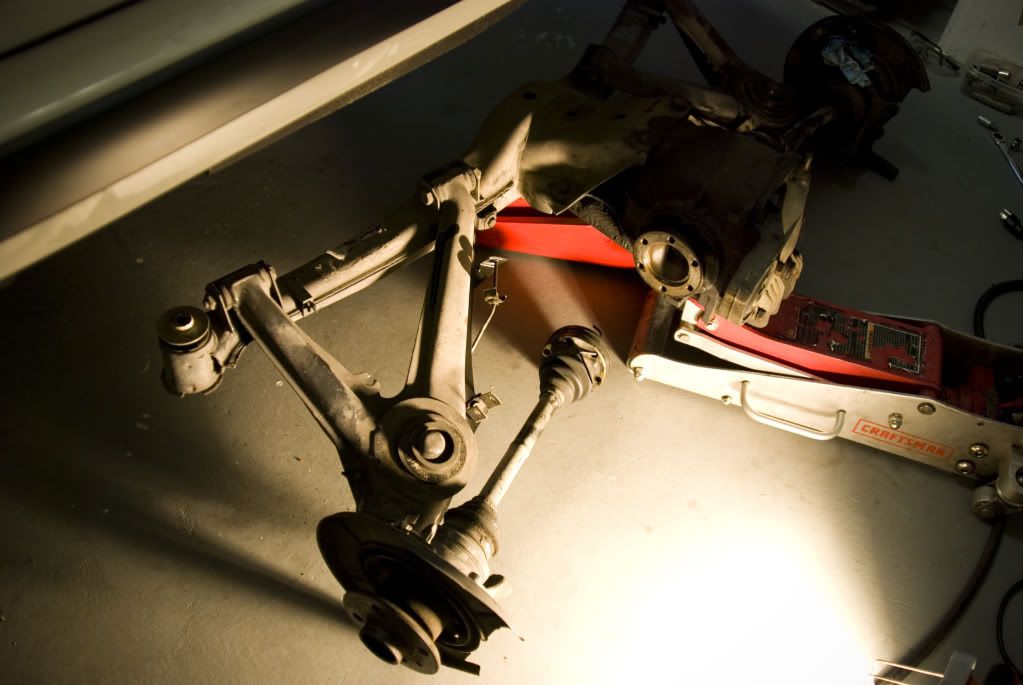
I'm proud to say the new subframe bushings, and more likely, the new RTABs have solved this instability and the car feels great! Here are a few pictures to chronicle my adventures:
I'll spare the tear down pics...but here is the nasty subframe off the car
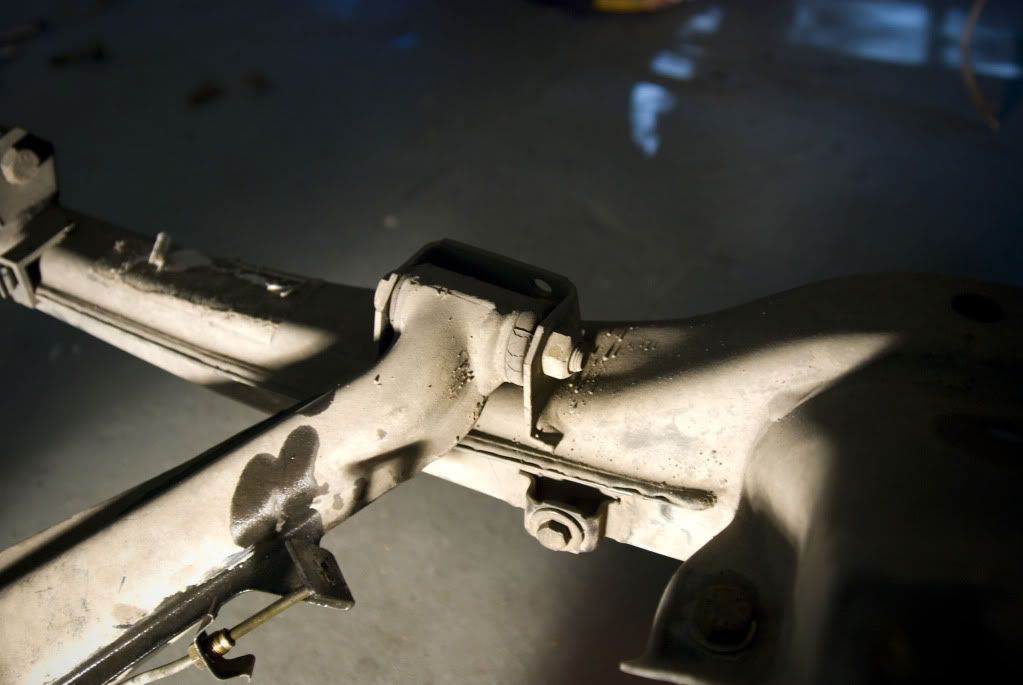
Junky RTAB
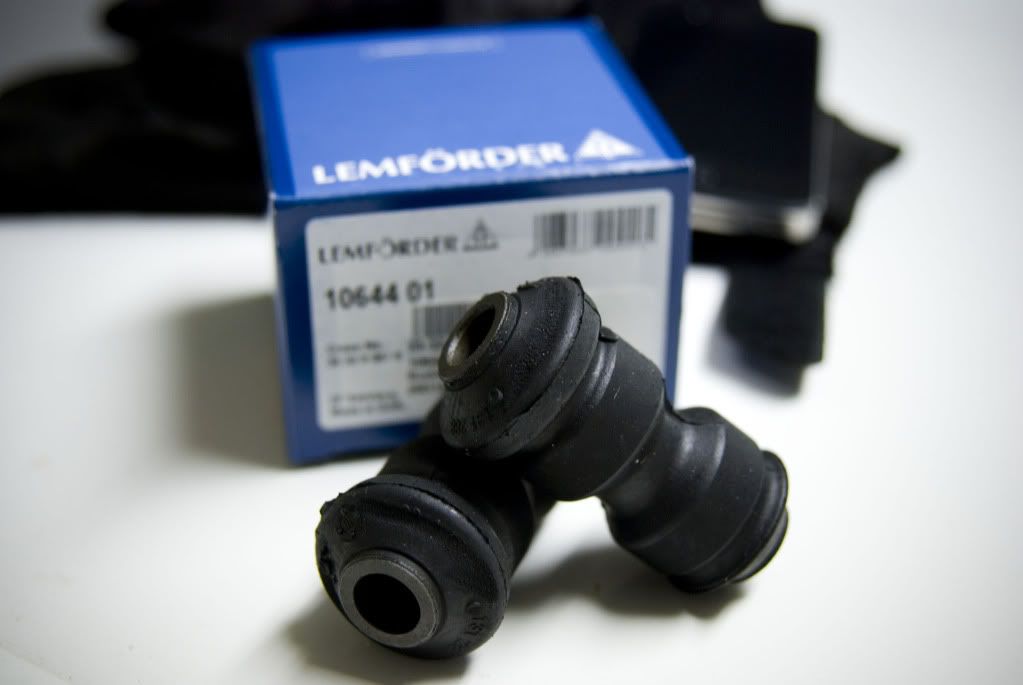
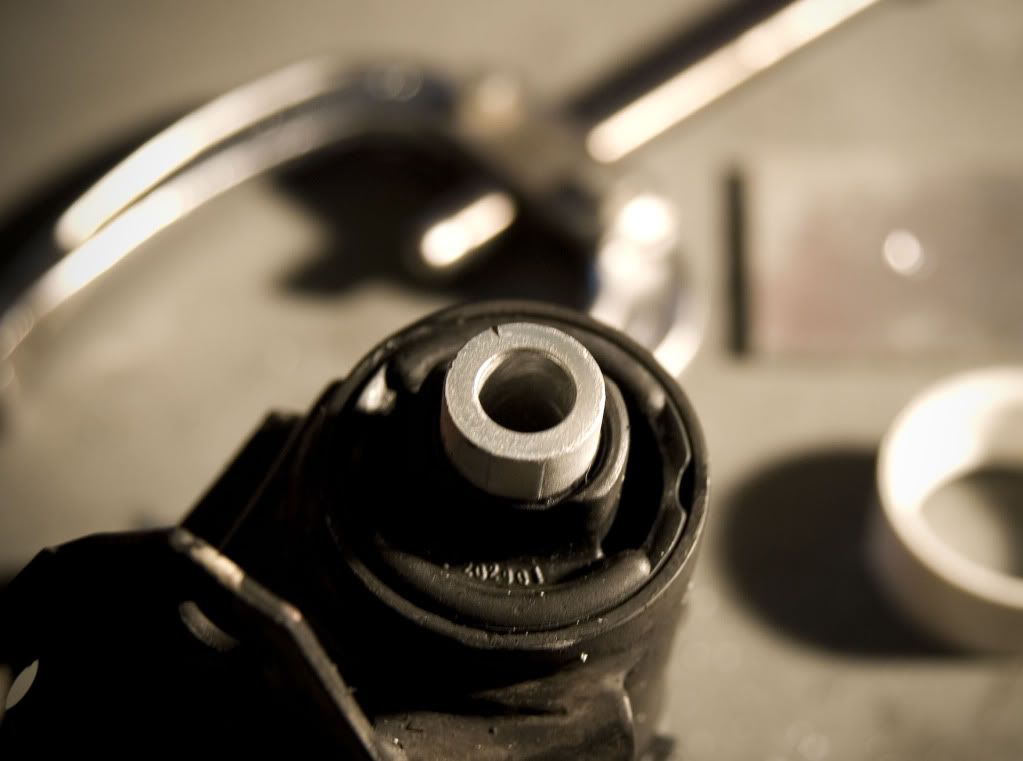
I used all new OEM rubber bushings...I figured I pretty much just have time to drive on the street so why spend more...
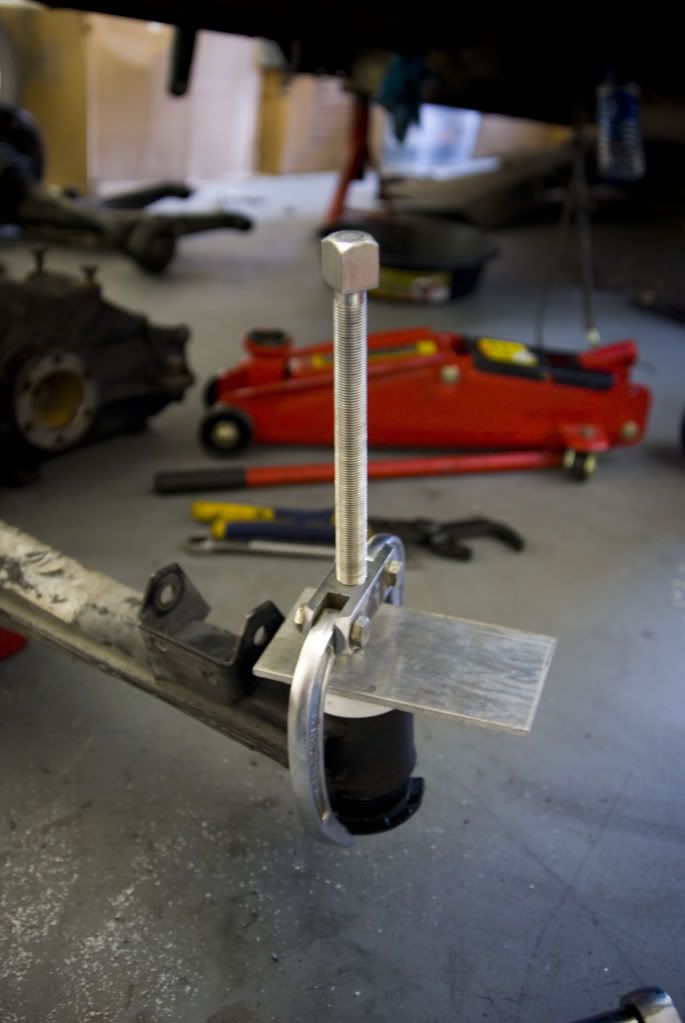
Props go out to KenC...I copied his homemade tool. I sourced the parts from Lowe's motorsports aisle, haha! Total tool cost...less than 4 dollars. Pulled the bushings in with the aide of warm soapy water. Burned the old ones out!
A conflagration it was, too.

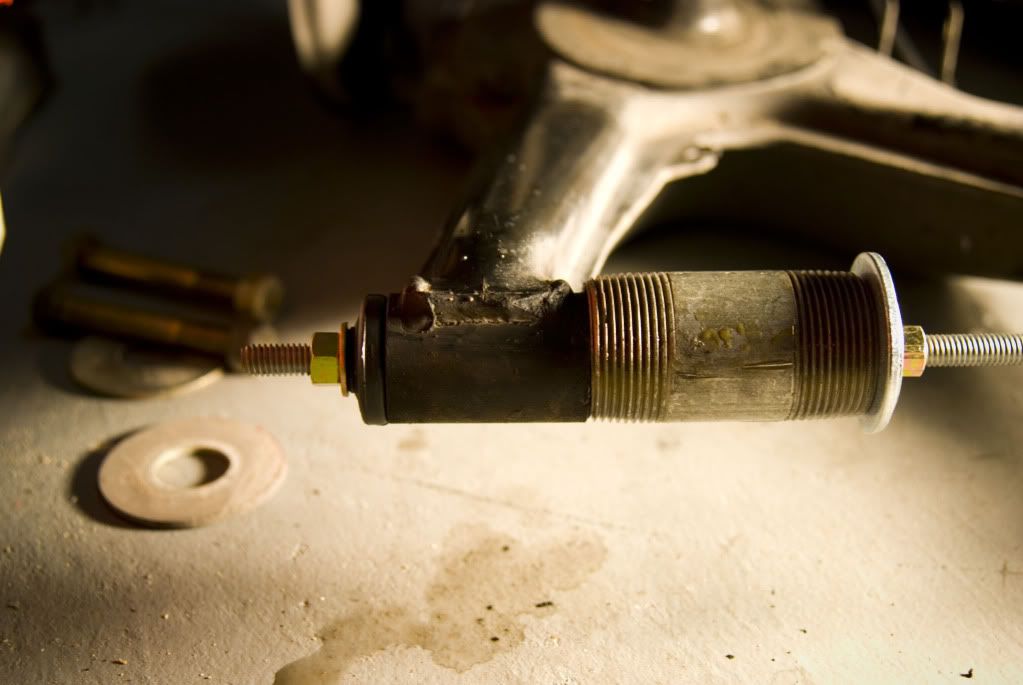
The apparatus to pull in the new subframe bushings. I already owned the 2 arm puller (8") and had the aluminum plate lying around. Spent a dollar on the pvc section I needed to gain the required clearance to pull the bushing all the way in. Also aided by hot soapy water.
Great success!! /borat
No pics...but while I was in there, I replaced the soft brake lines over the subframe and also did new ebrake shoes.
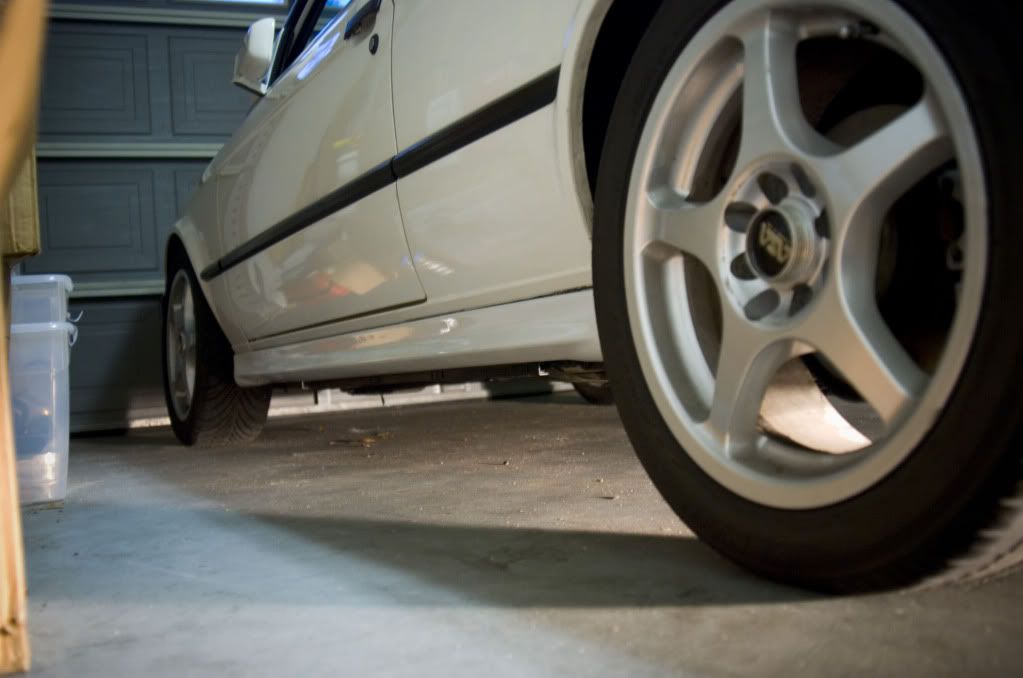
And for some more interesting items...I did some legit cosmetic mods!! About a month ago, I put on an is lip and pair of matching skirts. They came back from paint, but the complete painting of the skirts looked a little silly...so I went back and 'blacked' out the nasty white edges. You'll see below. I also painted my mirror bases black. Next up is shadowline trim and other little things. Saving up for some new wheels....here are the rest of the pics:
Skirt before
Skirt after...way cleaner IMO
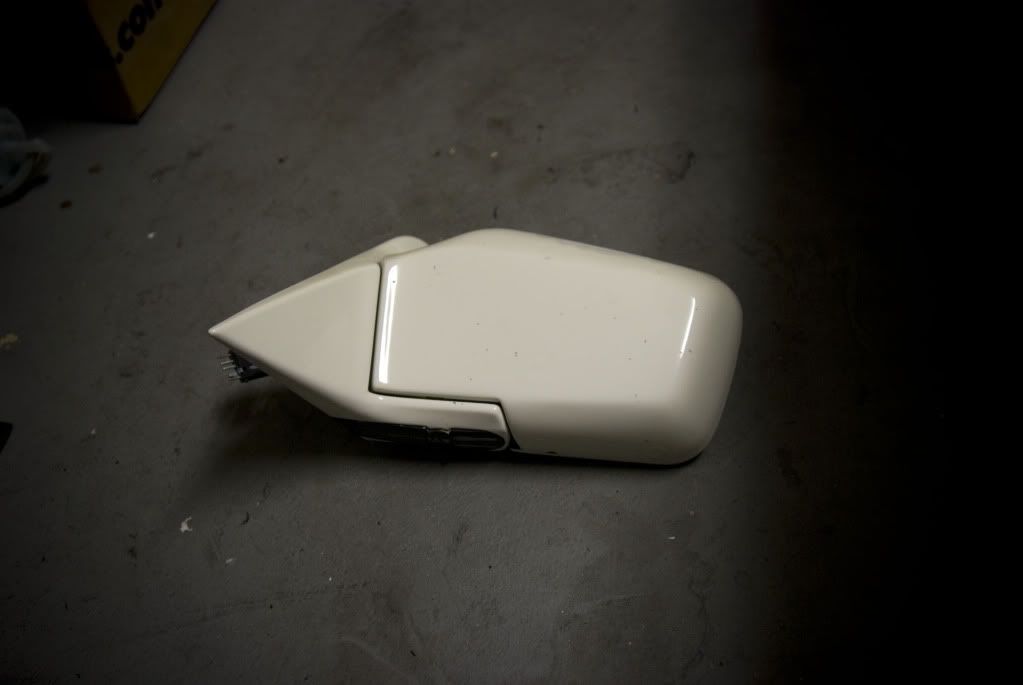
Mirror before
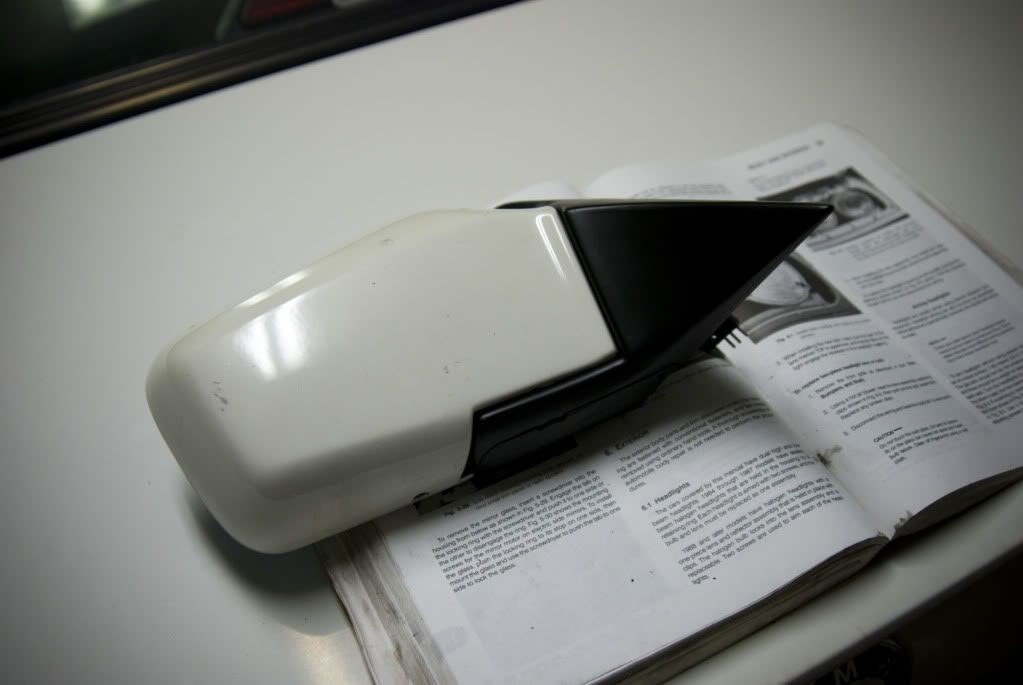
Mirror after
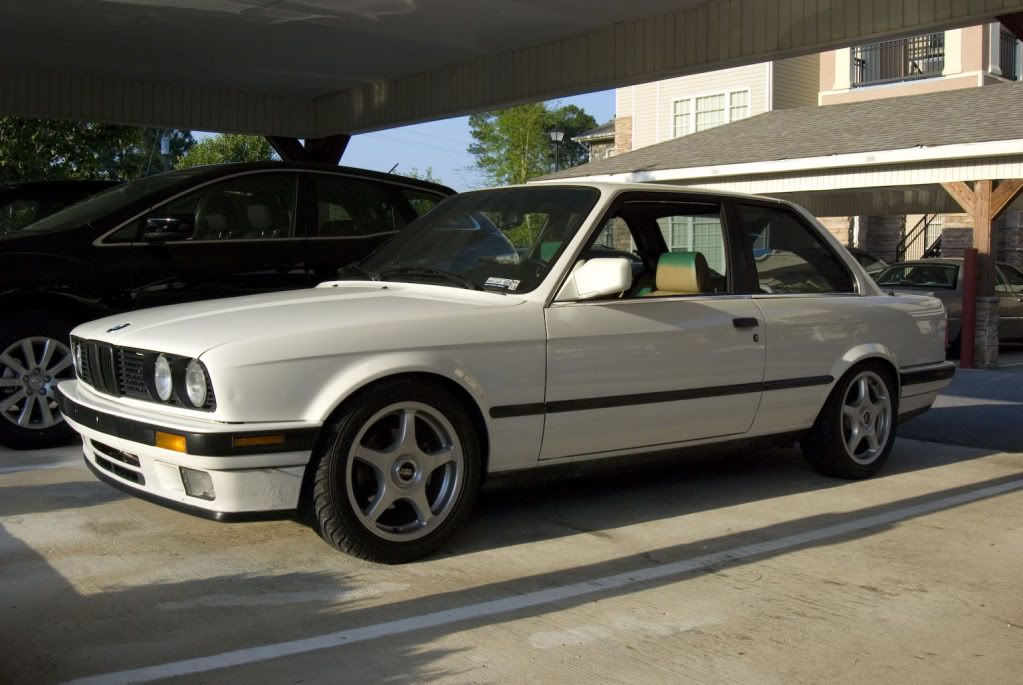
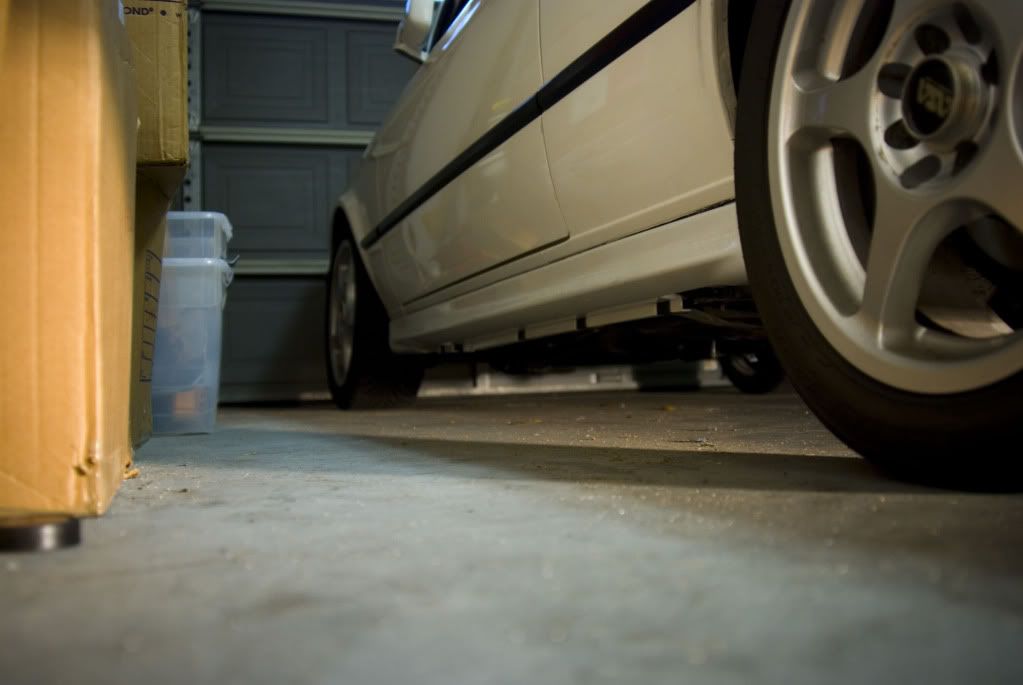
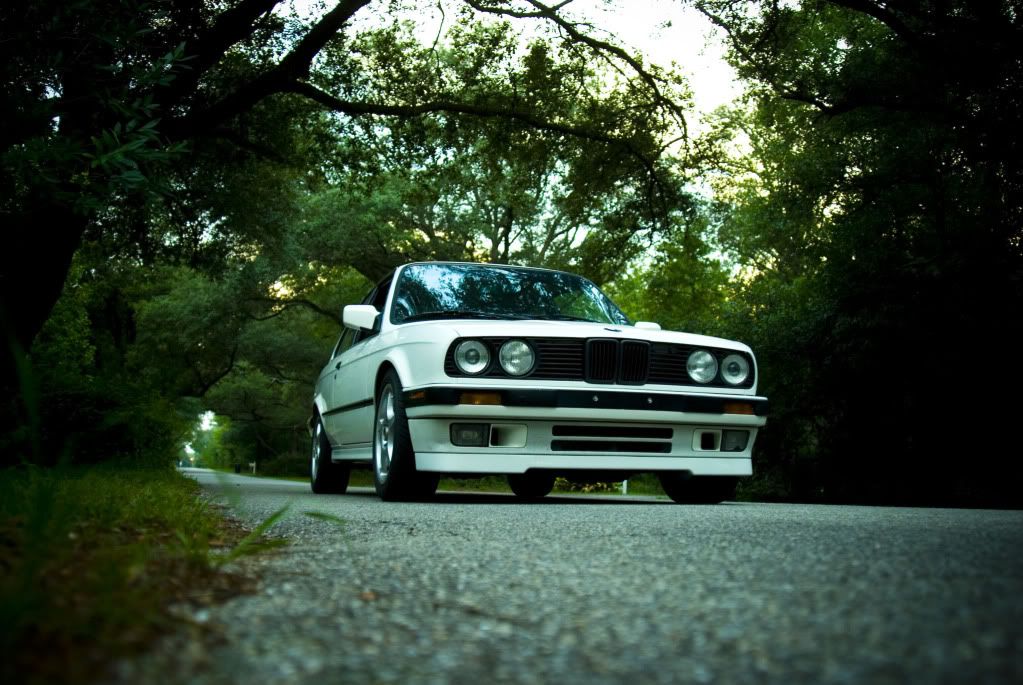
And, the new look!

My favorite new pic of this thing!!
Hope you guys enjoyed reading...I'll keep it up as I do more.Comment
-
Nice work there sir. Wish my subframe job was as easy as yours!
I'm reassembling my car after a total repaint and also need to install the "is" skirts, but initially am a little confused on the installation process. Did you happen to take any photos of the install by chance?Comment
-
Thanks, TrentW. To install the is skirts properly, you need a hardware kit and a template to drill up your precious e30. I got the hardware but couldn't find the template/didn't really look around for it. I decided only to use the bottom 4/5 clips on the lower edge and to use 3M double sided body panel tape on the top edge. Nothing else, and they are on there very firmly. You could throw a self-tapping screw/sheet screw on each end to be safe. IMO this is better because its fully reversible if you want to get rid of them.Comment
-
Have the mounting hardware but was looking for a mounting template also, but I don't think one actually exists. I've heard from others who have used the 3M tape on the top edge, think I'll go that route also.Comment

Comment