
Its the flange that sits in the trunk that needs to be modded but only
if you have a touring.
Now I'm starting to wonder if the bracket+bolts will be too thick to be
able to install the trim back on. Might have to make some new thinner
flanges and buy some bolts with lower heads.
Haven't noticed till you mentionned it... I have some spares around
Might try to smoke a set and try them out.
That would have been another way to do it.
Should I just cut the bushing even with the subframe?
-
Might want to notch those bushings so your can get to that outside bolt easier and make adjustments easier.Leave a comment:
-
I feel your pain on those e-brake fittings. The trick is to cut the cable off and drill them out.
Now get that subframe installed. If I can do it by myself you can too!Leave a comment:
-
It looks great, but I think your yellow fog colors clash with the orange of the blinkers. Some smoked blinkers may look good.Leave a comment:
-
so the rear sway bar bracket had to be modify? I'm getting the same rear sway bar...
I'm getting a lot of maintenance done to it first. I'm hoping that in the next moth H&R cup kit is going in.
Great job man!Leave a comment:
-
Only had one day to work on the car this week but a few things got done.
-Prep/painted the subframe and trailing arms
-Installed bushings
-Installed rear sway
-Removed the old e-brake cables
-Installed studs on the rear hubs
Pictures:
Finished and ready to go in. Waiting for help to put it back in. Did it alone
once and not doing it again.
Notice the reinforced sway tabs and camber/toe correction kit.
Also notice that the trailing arms have different brake line bracket.

Street 80A AKG subframe bushings. I flipped them to raise the subframe
a little (approximatively 4mm) will help to correct a bit of camber and
it was free.(not the bushings..flipping them). Diff also has a 80A bushing
Also notice how close the adjuster is...I can easily get a wrench on it now
but I'm wondering if the bushing will compress once installed.
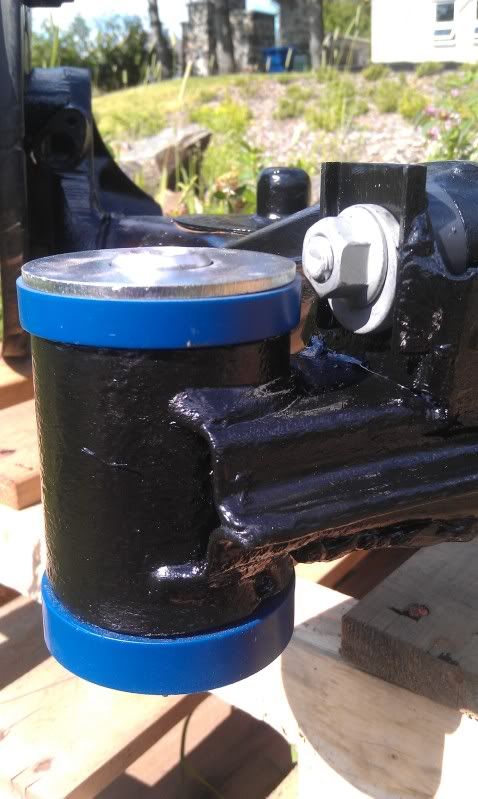
Used 75D AKG bushings for the trailing arms. The "idea" is that the
trailling arms won't loose there camber/toe adjustments even on heavy
loads. Those are then mounted on the subframe which is on 80A bushings
so if the back end wants to move it will move all together.
Also when installing those don't press them in with the sleeve inside or
the bushing will never be flush no matter (at least for me) you press
them.
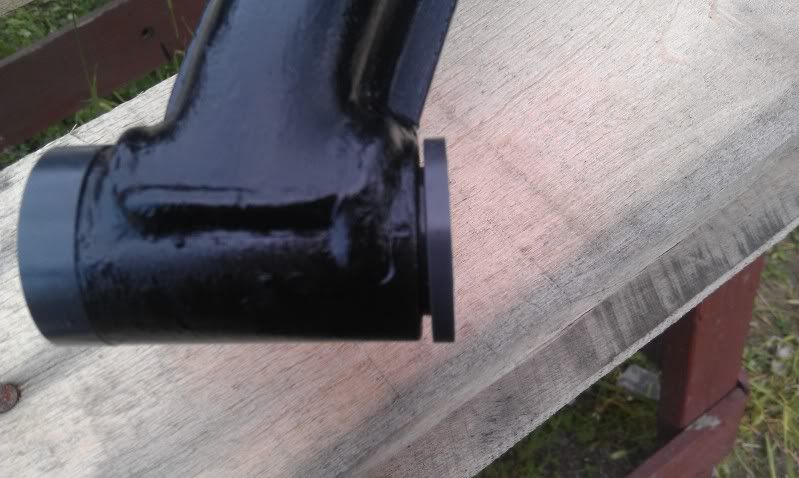
With the sleeve removed it is easy to press them all the way in,then
drive the sleeve in. (blurry pic I know, phone pics)
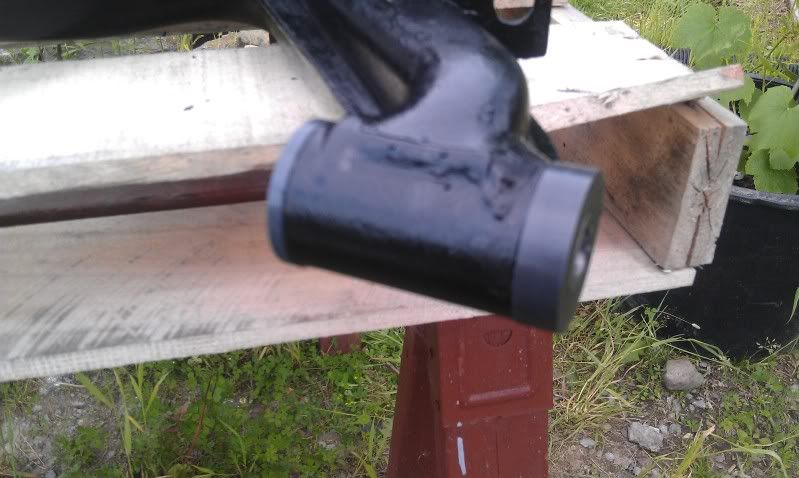
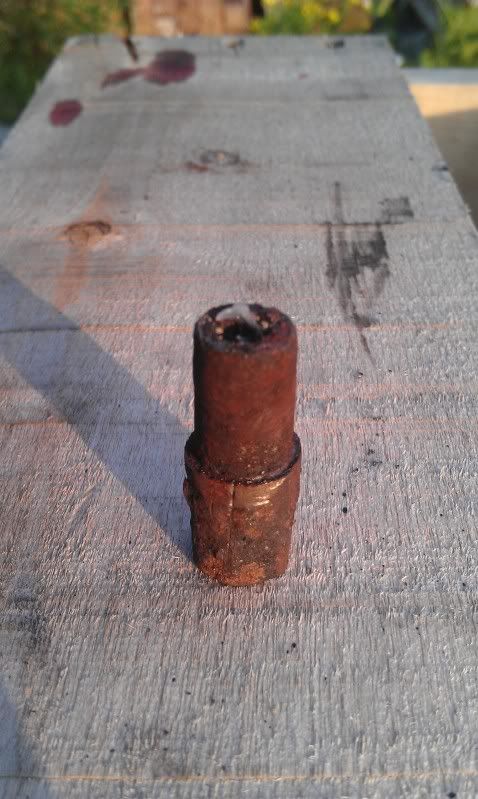
These took me about 1 hour to get them off the car. they are the ends of
the ebrake cable where they meet the body... A LOT of cursing, pb blaster
and heat finally worked. What a pain that was.
Also installed my rear IE 22mm sway. I was still running the stock rear
sway.
Installation was easier the second time (these were on my 318is before)
And now that I'm writing this I just rememberer that I did not greased
them .
.
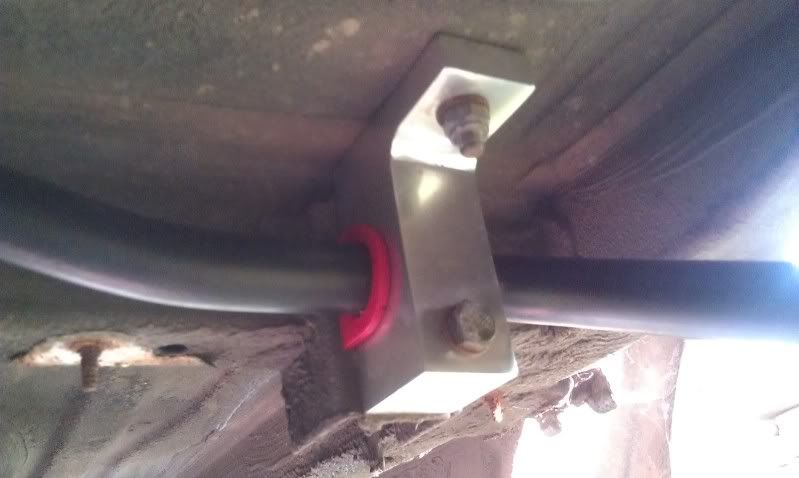
Also I think this is the first time that the fact that the car is a touring is
a problem. Its not a big problem but it is the first time I have to modify
something.
This drilled piece of metal (black):
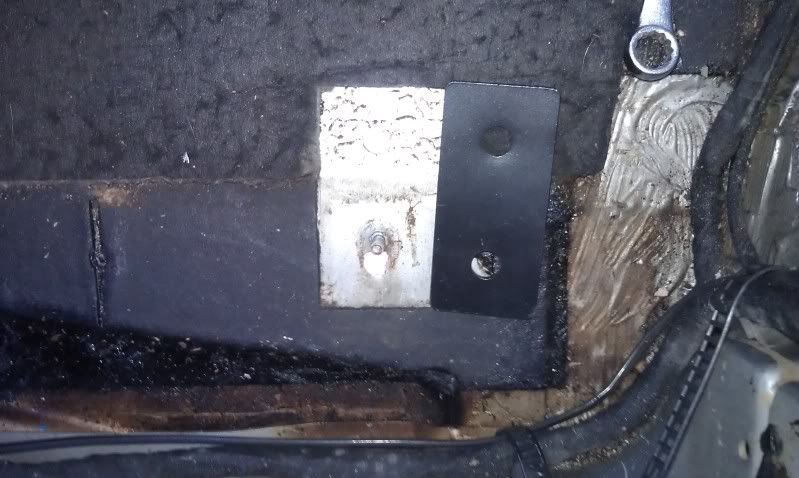
Is supposed to be under those bolts, now there is a stud RIGHT in the
middle that is there to hold the piece interior trim (2 pics down).
So I need to modify the bracket didn't had time to do it.
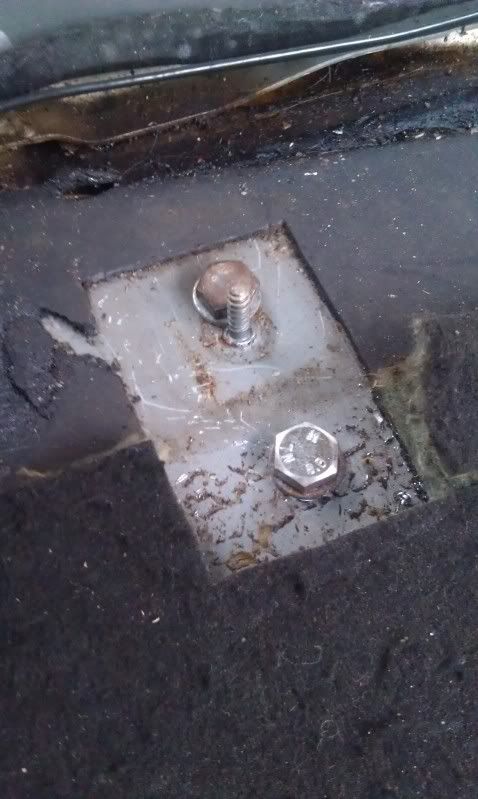
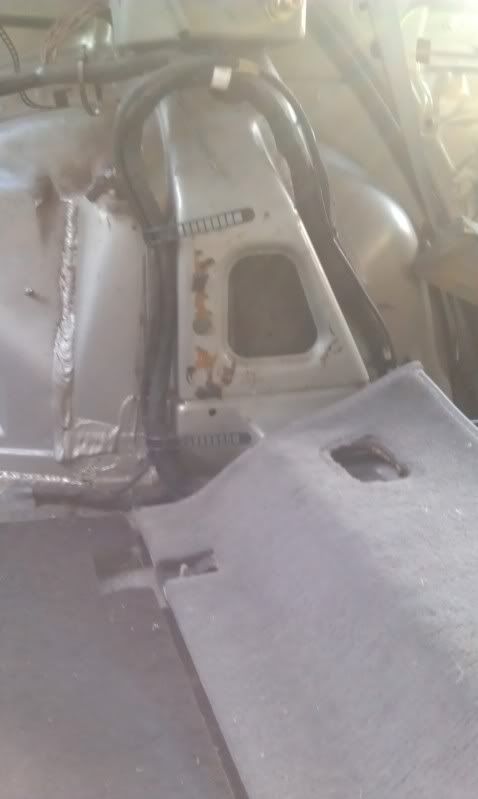
What took the most of my day was prepping and painting the
subframe and the trailing arms.
Also I was supposed to have my calipers back (powdercoated) but
I had to replace the rear left one. More delay... luckily the shop
found one for cheap to replace it. should have them on Friday.
CharleyLeave a comment:
-
It looks great! I had the same problem with the rear wiper but I ended up finding it at part store.Leave a comment:
-
Updates for this week.
First couldn't do much since I am still waiting on parts that are in the mail
or that are not in the mail due to lack of funds.
Started with Laminex for the fogs. Also swapped in a beat up pair
of black brake ducts. I like the black ducts more than the color matched
ones. At least with the yellow fogs and smoked headlights.
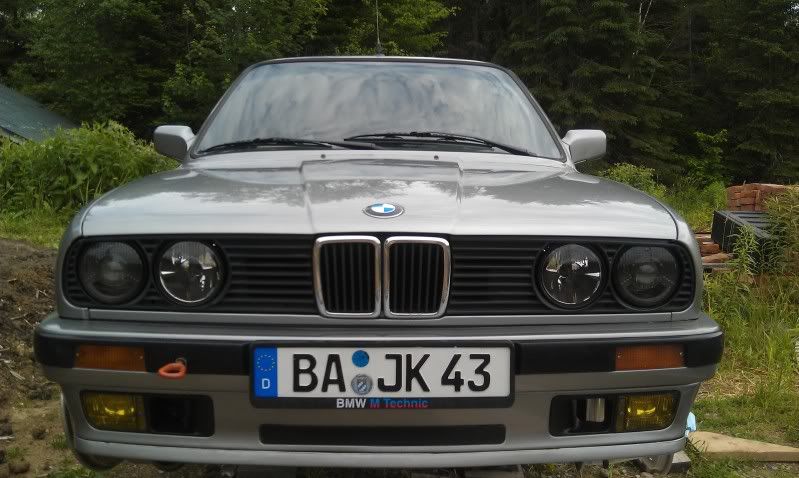
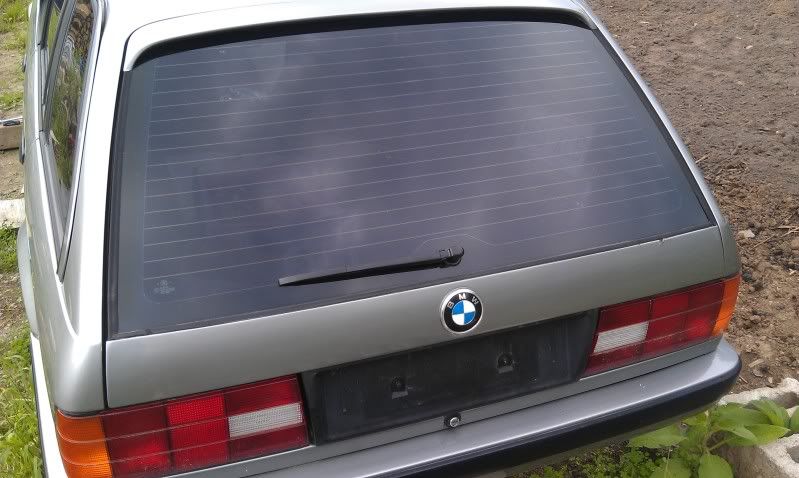
I then reinstalled the rear wiper motor and the brand new bushing/arm/hardware. The PO had removed
it because it looked better :-? ... Well this car is a summer only car but is used as a dd so a rear wiper is usefull.
Even if the rear window doesn't get that dirty.
It was easy to reinstall but I still need to run a need hose for the washer
fluid. Also need an actual wiper blade (oem is NLA)
Then started what took an entire afternoon for what should have taken
30 minutes top.
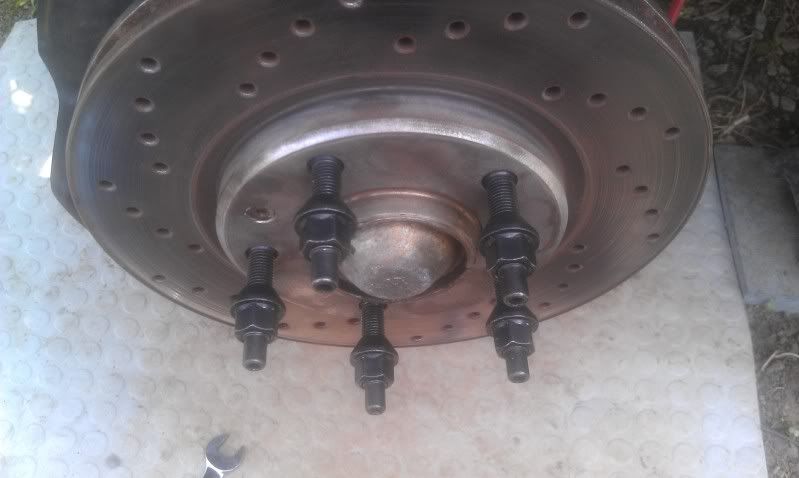
They are the BimmerWorld 75mm stud kit. They were easy to install BUT
the machining on the ends where you use an allen key to tighten them was not consistent at all some were super tight
(had to trouble to get the key in) others were normal and two out of the 10 I installed were so loose that I thought they were stripped.
I used double nut method for those two.
Once installed they are great!
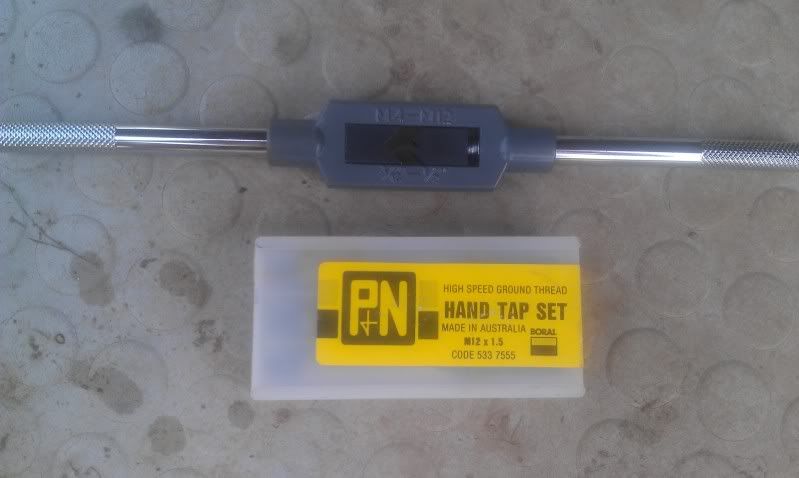
Also what took so long is that one of the hub had one hole that was cross threaded and I had to find a M12x1.5 tap.
And getting that tap ended in a journey across the city. 5 shops later I finally found someone that had a kit in stock.
(I was also looking for a M7x1.0 tap that no one had either
ordered that one)
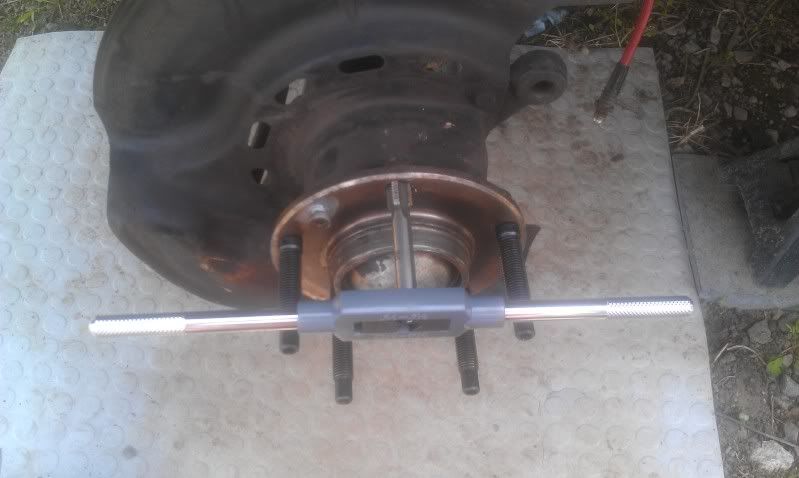
I did do something that could have been a problem. I had installed the other studs first. The handle of the tool was barely clearing the studs.
Also I guess the reason the M12x1.5 tap is so rare is because its made
in Australia!
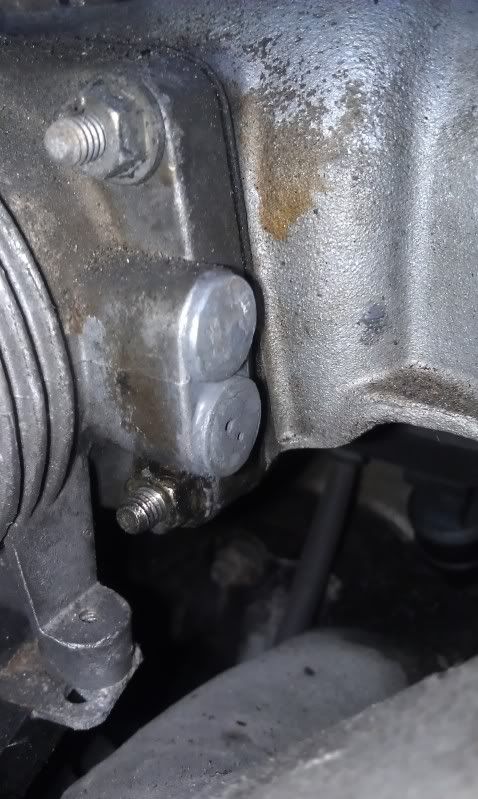
Also a pic of the two vacuum ports that I had to plug because I deleted
the booster. The fittings were "L" fittings that I cut and filled with JB weld
then I JB welded them back in there spot. (the fitting were pressed fitted
when the car came out of the factory but were not anymore so I fixed a vacuum leak at the same time!)
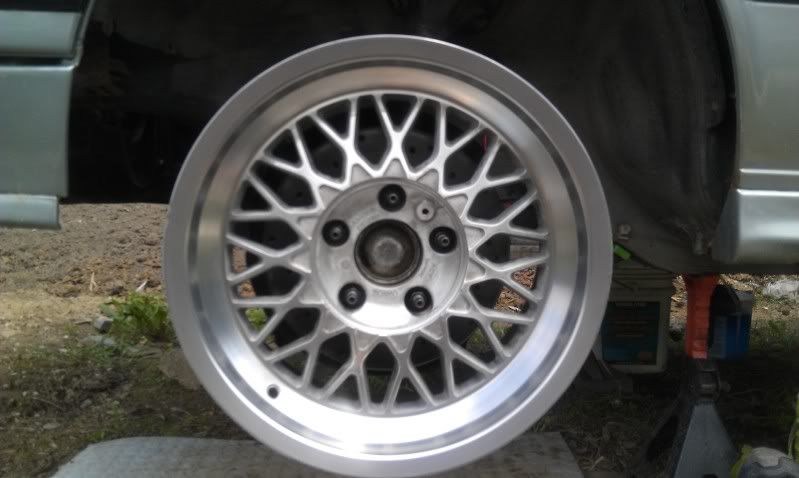
I also polished the lip on one of my ACT. The lip was quite pitted. I bought them from Lee (Massive) who used them on his track car.
I used 400/600/800/1000/1500/2000 and I it did a better job than
I thought it would. Now I think I'll paint the centers something similar
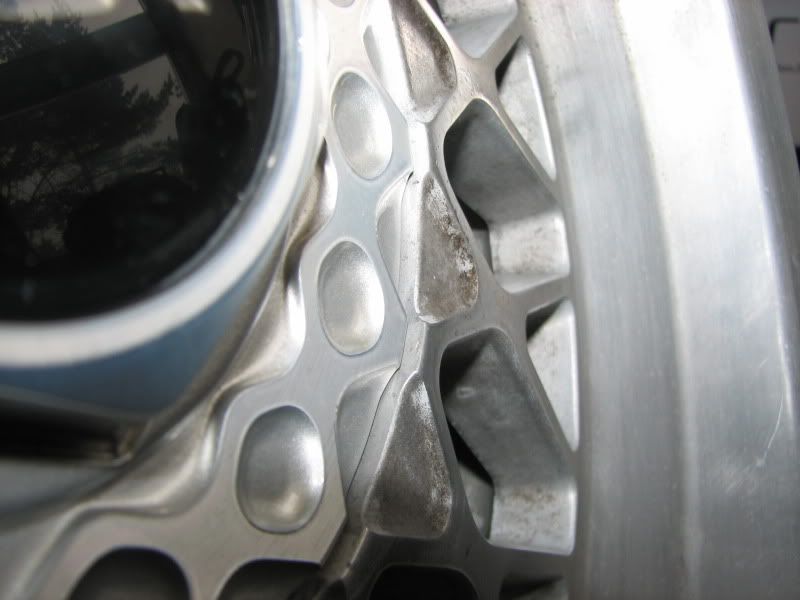
to nogaro and keep the lip polished. I also need a 5mm spacer to clear
the studs so I can install the center caps.
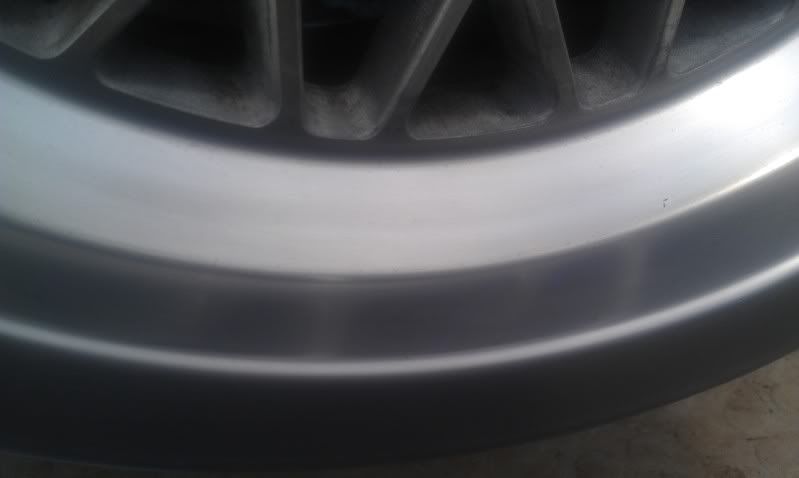
I also hate to polish wheels and the fact that I still have 4 others to do
is kind of depressing.
Also my calipers are officially at the shop (UNIX) doing the powdercoat and I'm
also having the last welds needed on the subframe and trailing arms done
as well
Now I'm back at either waiting for parts or waiting for money to order more parts...
CharleyLeave a comment:
-
It's time to start updating this thread again. School is over and I now
have time to work on the car again.
Installed the new ellips
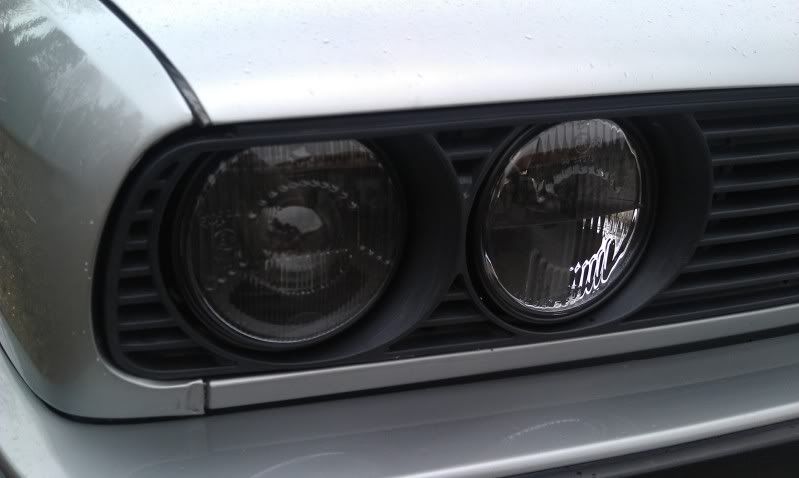
Now that I have installed darker lights, I think I going to paint the brake
ducts black to "match". I'll test fit one of the spares soon.
Installed the front 5lug. Aluminum control arms were part of the deal but
on one of them had its boots ripped(I knew that when I purchased it)
Couldn't find replacement rubber one so I picked up some Energy poly
boots. They were easy to install but don't have anything holding them in
other than being jammed between to parts.
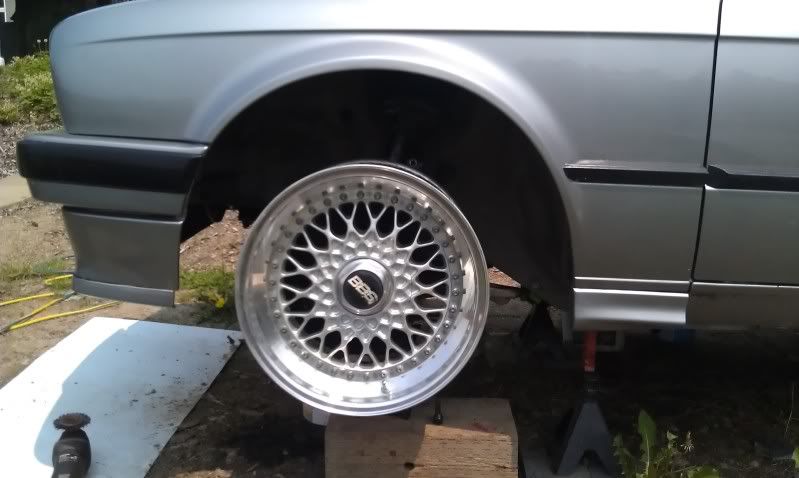
I did have a WTF moment when I tried to mount a wheel only to realize
that it wasn't sitting on the hub correctly... I can be so dumb sometimes
that I forgot to install the rotor first... It was a quick fix...
I also deleted the power steering. I think that it was leaking from every
possible place it could leak from.
I followed the instructions of this DIY: http://flyinmiata.com/tech/depower.php?x=1
The DIY is for a miata steering rack but its exactly the same on an e30.
I completely disassembled the rack to remove the piston. It was easier
than I thought it would be. I don't have a picture of the finished product
but it's just a rack with no more lines on it.
Then I redid the brake lines to fit the new location of the master cylinder.
(Massive Booster delete kit). I had forgot how much I hate to do brake
lines. I also removed about 3" from the clutch line.
Also:
-New throttle cable
-Plugged the 2 port on the throttle body where the lines
from the booster plug in.
-Plugged the unused port on the intake elbow with a huge bolt
still need to find a suitable replacement.
-Quickly cleaned the mess that the PS leaks did
Missing in this pic: Booster and PS reservoir
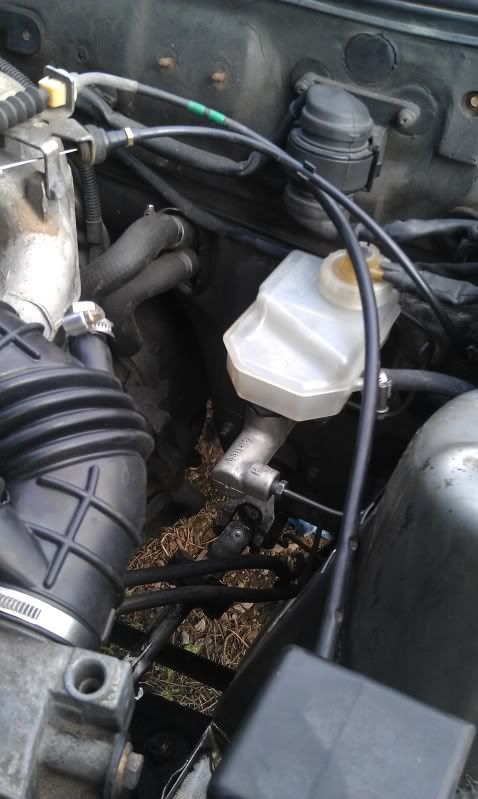
It doesn't really show but the ABS is removed as well
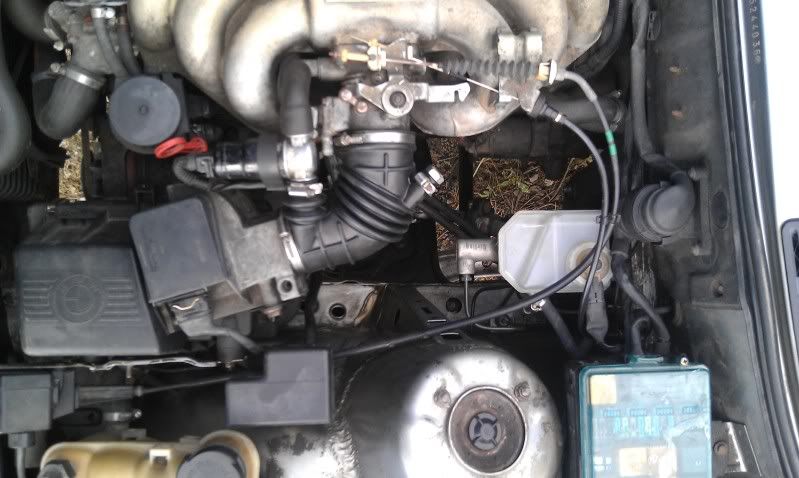
Cellphone pics are not great but the cellphone can fit in places a
regular camera wouldn't. You can see I used the third port on the
master.
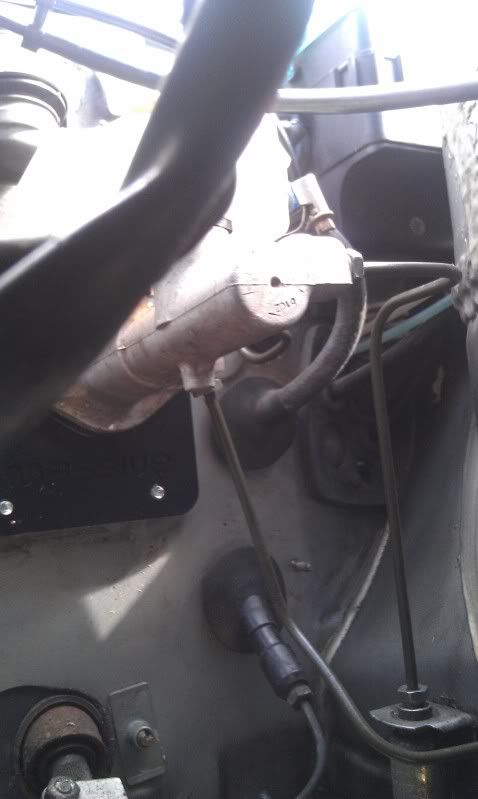
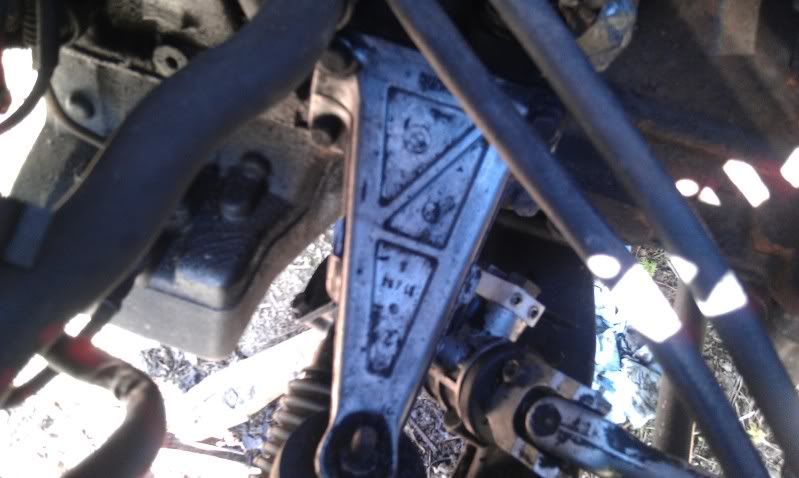
After removing about 1/4" of oily dirt the engine arms looks like aluminum again. Still need to do the side of the engine/oilpan.
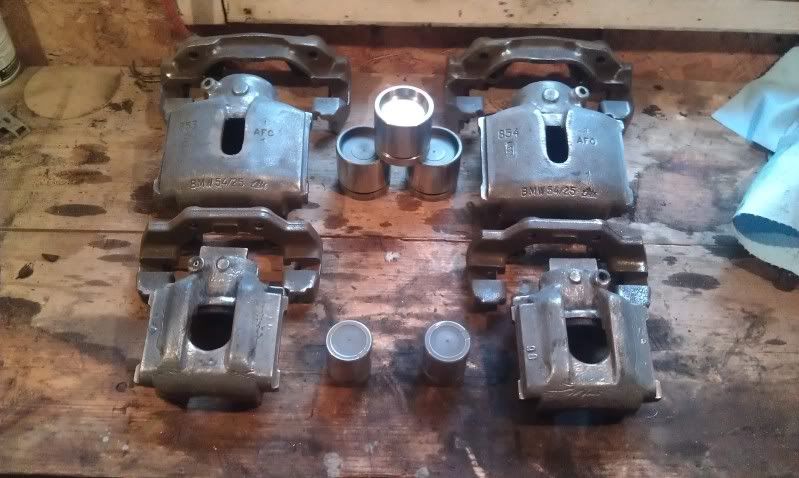
Also disassembled the M3 calipers I have solid brass bushing for the 4 calipers.
And new SS pistons for the front
They are gone to the powder-coater for now
And of course the last bleed valve I removed snapped in the caliper...
And also a friend called me to ask me what I was doing in town the other
day. I was like I'm not in town at all why do you think I am? He sent me
this picture:
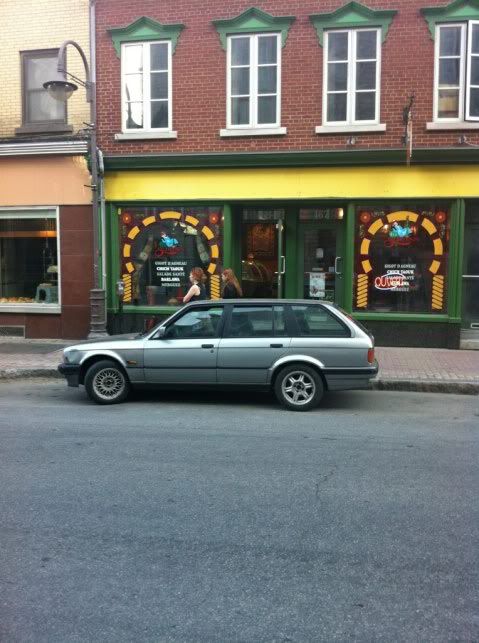
Look at that another touring in Quebec city! looks to be the same color
as well. It does look beat up...did not get to see it myself.
Not much will be done till next Monday, I'll be working close to 60hrs
in the next 5 days...
I can't wait to drive this thing it's been up on stands since November now.
I hope to be done within 3 weeks but the stupid Canada post strike doesn't help me either.
I also NEED a drive shaft so if anyone local has one it be great!
CharleyLeave a comment:
-
Thanks
The Crashed Ice is bonkers!
Also test fitted the caps to compare them.
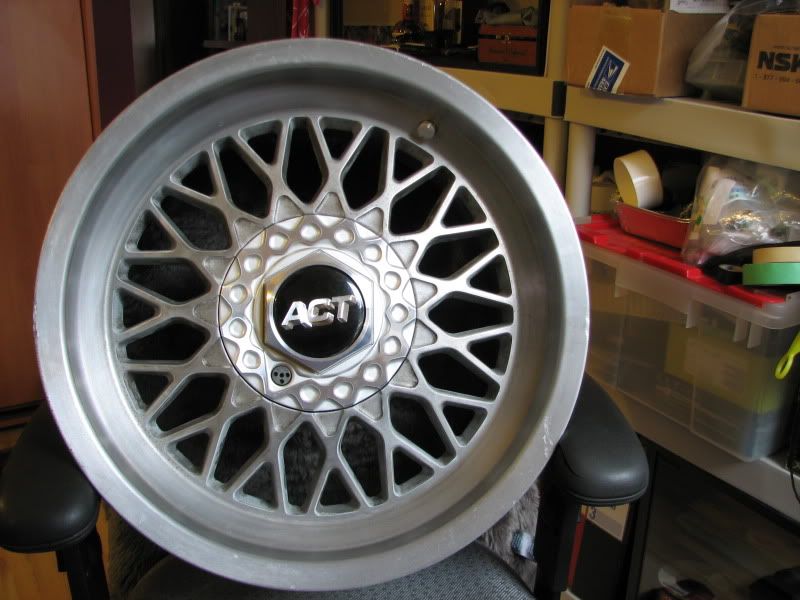
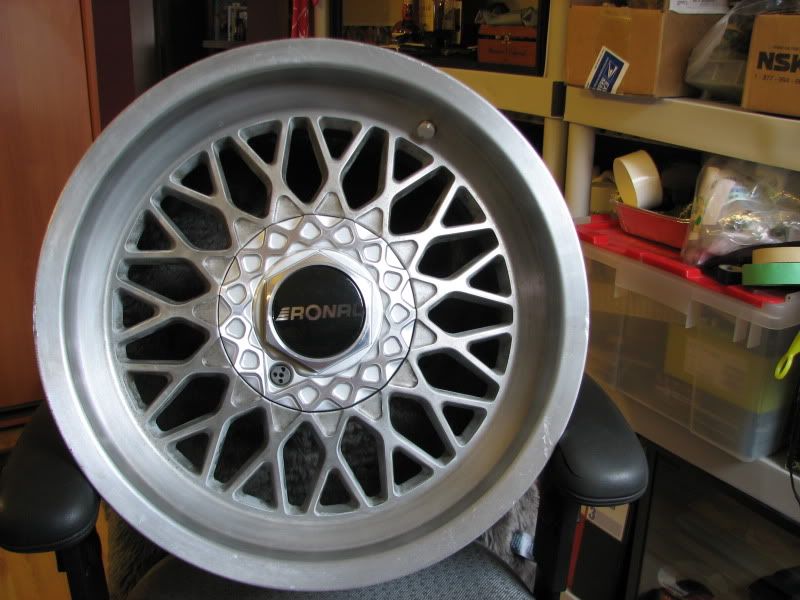
And if you don't use the spacers the caps will be recessed like so:
Leave a comment:
-
I appreciate your build documentation sir. The Red Bull Crashed Ice event looks pretty wild also.Leave a comment:
-
Amazing job man! I wish I had an E30 Touring.... Keep it up.
SubscribedLeave a comment:


Leave a comment: