-
Nice! I'm looking for suspensions setup and yours sold me on my wagon. Getting the H&R sports tonight. -
today's update.
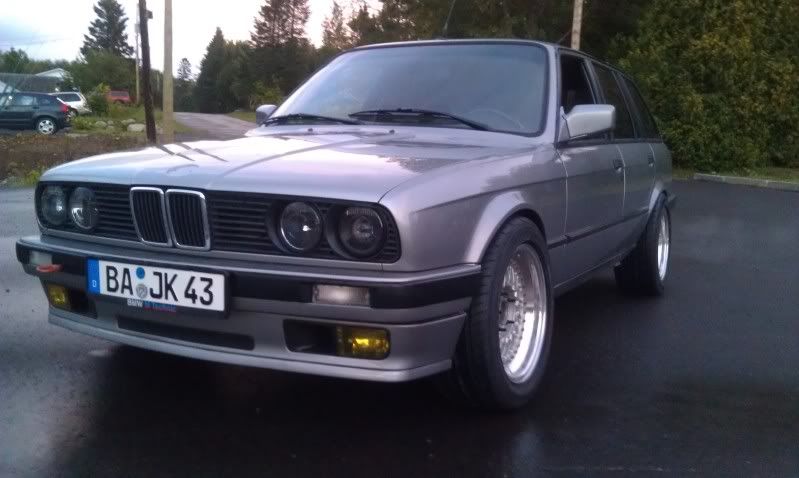
New tires! Manly ones at that.
Usually a friend of my dad mounts and balances my tires but his balancing
machine wasn't working right right now so off to the tire shop.
Showed up there with my wheels and my old(still ok tires) and while waiting
I noticed a sign..."Clearance Yokohama S-drive 99$ each..." They didn't had a lot of sizes left but they did have 4 225/50r16.(I had driven a GTI
really hard last year with a set of those and they were awesome.)
In the rear they fit perfect. In the front thought its tight, like really tight.
I was planning to roll the fenders to be "safe" but I was also considering 215/45r16 at first... now its necessary.
I will also switch the THR Cabs for some AKG poly non offset ones to
restore the caster. It's a really tight fit in front of the front wheel and
I don't feel like I need more caster than stock.
Also I wasn't planning to buy camber plates this year but it would help.
Looking at the GC touring plates right now...( And H&R race)
Picture of the drop:
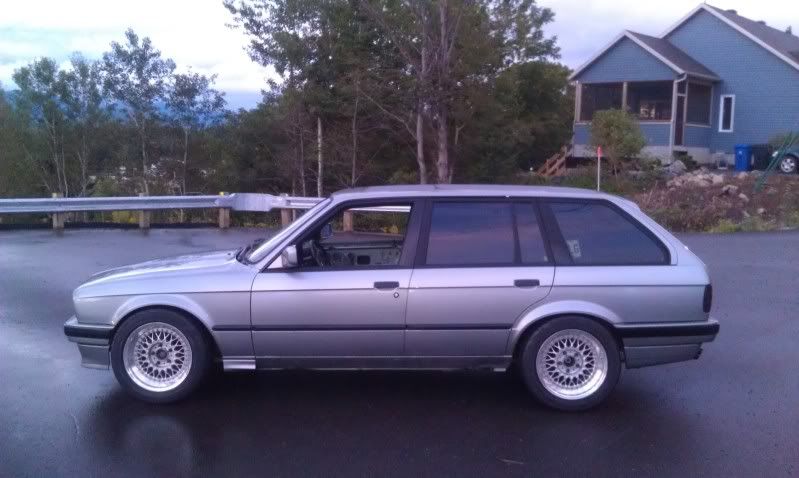
H&R sports+e90 drop hats
Spring pads in the front and spring pads+1 in the back
I know I need to reinstall the side skirts.
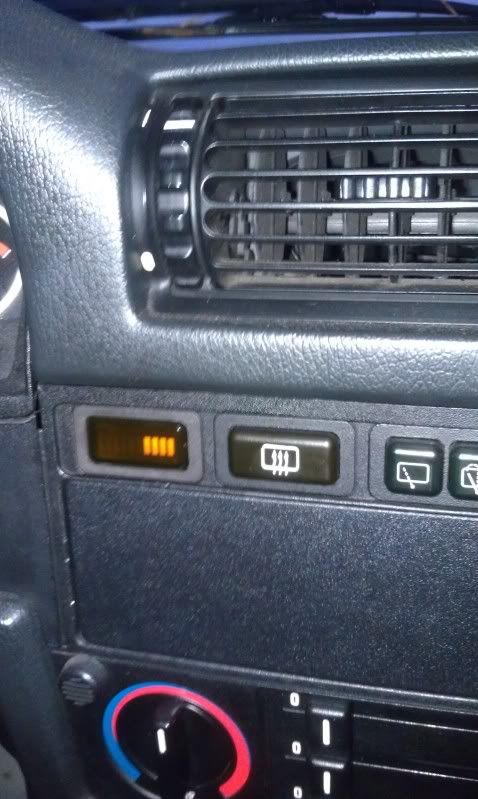
Also wired my GG voltmeter, its really nice.
I did a little test drive and here is what I notice:
I need to flush the transmission oil. The trans as a lot of "rattles". I think
it has synthetic 75w140 in it right now and it doesn't seem to like it.
I need to adjust the valves.
Also need to check why is my idle lumpy.
No interior=noisy.
Thats it for todayLeave a comment:
-
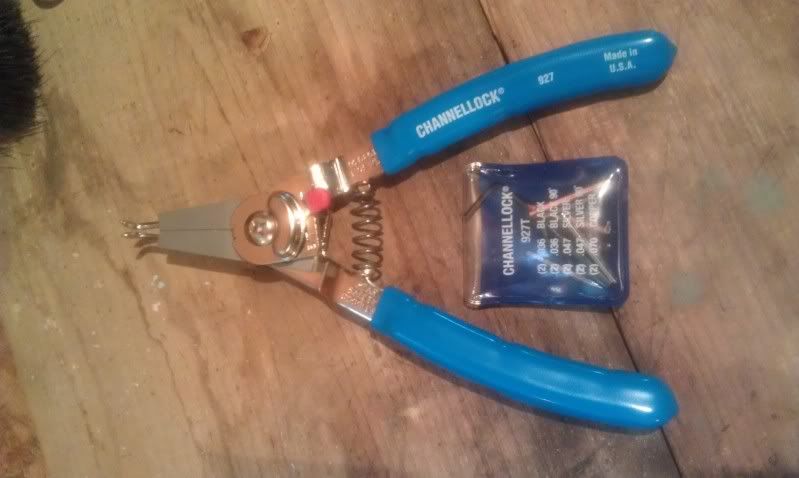
Bought new tools
It was on sale:
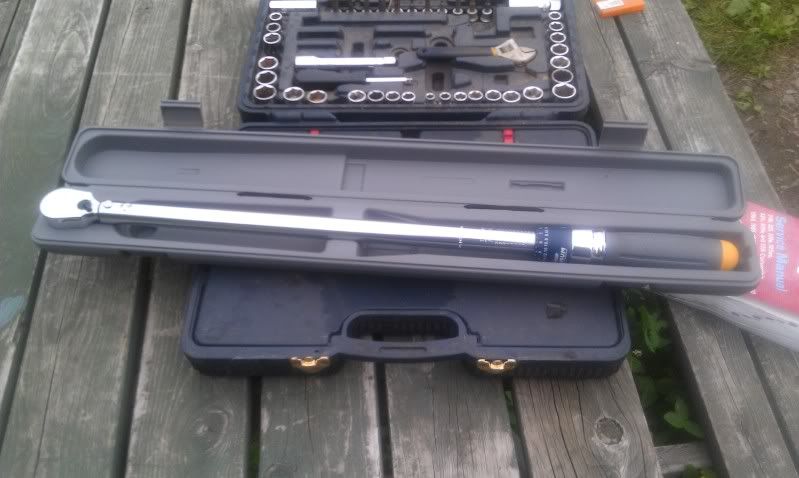
Got pissed off at my old cheap one so went and bought a good one:
Is that a Mastercraft from Crappy Tire? If so, return it immediately - it's a shitty tool and not worth a damn. They don't hold their settings and will do damage (I've retruned 2 already and now have a quality Husky brand) Spend some money and get a quality torque wrench from a decent supplier.Leave a comment:
-
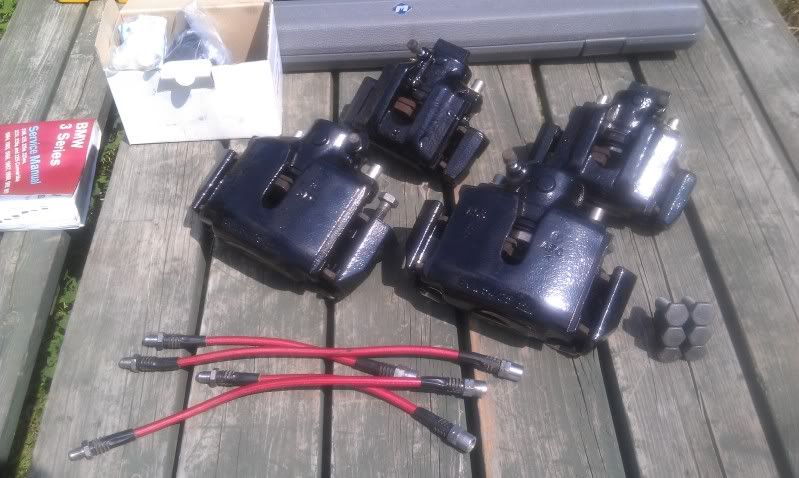
Brakes are installed, still need some bleeding(system was completely
empty).
Bought new tools
It was on sale:
Got pissed off at my old cheap one so went and bought a good one:
And stopping to take pictures every now and then takes time... So I
stopped for a while since I need my car on the road asap.
So a little while later, Tada:
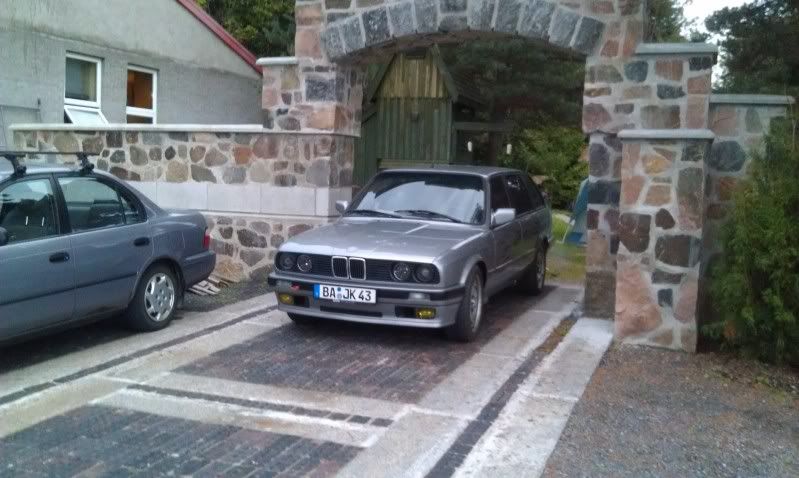
The car is in the drive way for the first time in 8 months.
I still have to get tires mounted on the BBS, have it aligned and fix an
exhaust leak before I can drive it on the street.
Right now it is sitting on e46 xi steelies (17x7 et47 205/50r17).
Also the car started right up after 8 months.
Still plenty of things to adjust, I have changed, fixed, replaced so many
things since the last time it was on the street its crazy.
Next will be new oil for engine and trans, valves adjustment and
reinstalling the interior(only the center console+the 2 fronts seats are
int the car right now)
More updates next week.Leave a comment:
-
My car had two different keys since I bought it. One for the ignition
the other for the driver's door... Passenger lock doesn't work with
the key and I can't even get the key in the lock of the hatch...
So I started to change the locks with the ones of my old 318is. I
had a brand new key cut before the part out and I have two other
keys as well. 3 keys is better than the two single ones I have right
now...
Only had time to do the ignition one before I ran out of light.
To change this lock you have to use a small rod of some sort.
I used a cheap 11/64 drill bit from the the tool set I won at
the work Christmas party. I think that there were 6 or 8 of
the same size so breaking one wasn't a problem.
To get the old one out just put the key in and place it at acc. then push
the rod in the hole with a little bit of pressure than wiggle the key.

You can see the pin that holds the lock in on this pic.
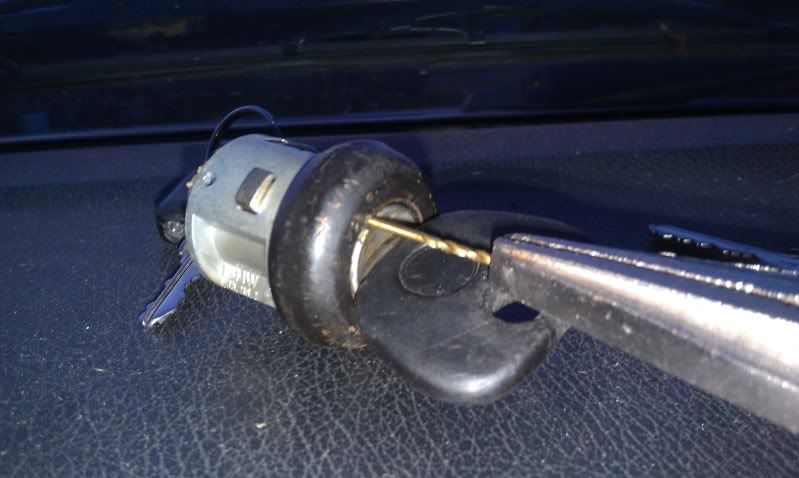
Once that pin is lowered the lock just pulls out. Install of the new one is
the exact opposite of the removal. Also the smaller the key, the easier
it is to maneuver the rod in the hole.
Also when I came back from work, I had this box waiting for me.
What could it be?
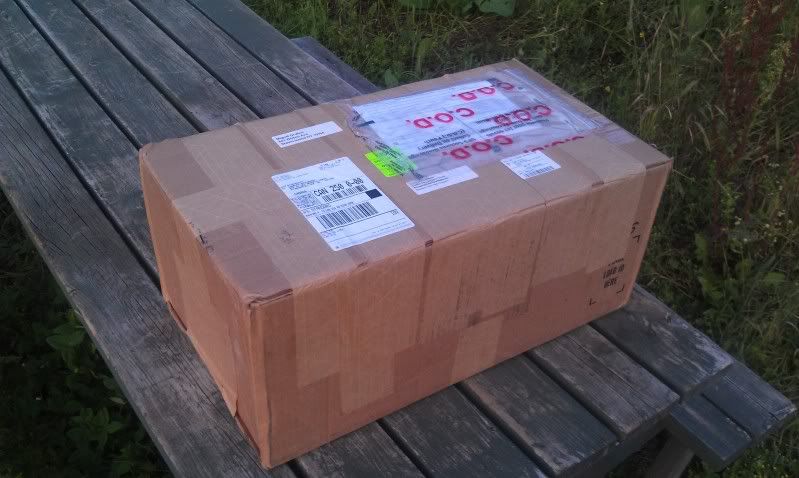
Oh nevermind its just a box full of packaging materials.
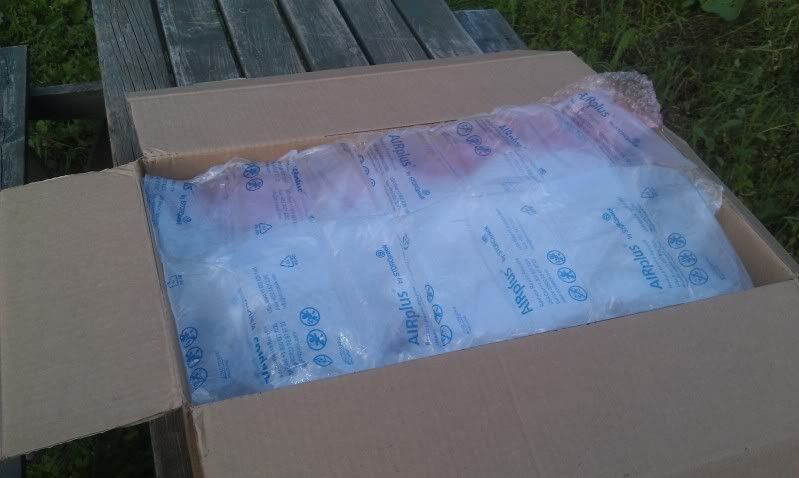
Oh wait there is some plastic parts in there!
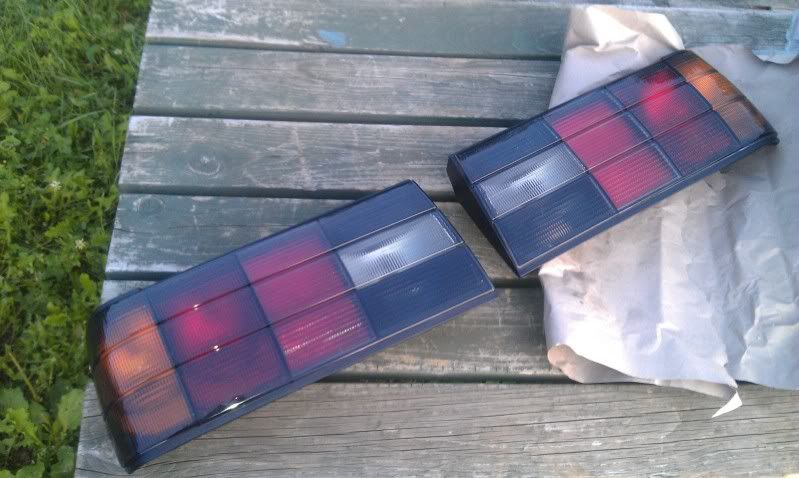
Old school lights/old school pic
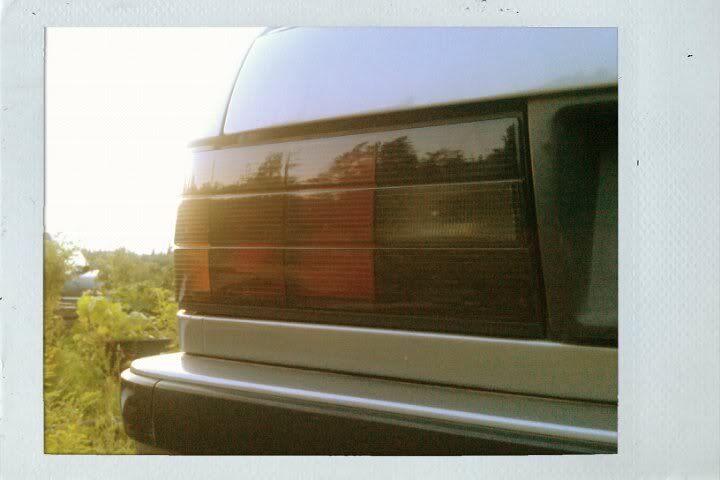
Very happy with those, perfect fit with the Hella'sLeave a comment:
-
Yeah sure. But I don't really know when the car will be ready, probably
another 2 weeks.
Today's update;
Well we got some rain showers that slowed my work a bit but otherwise
I think I did well.
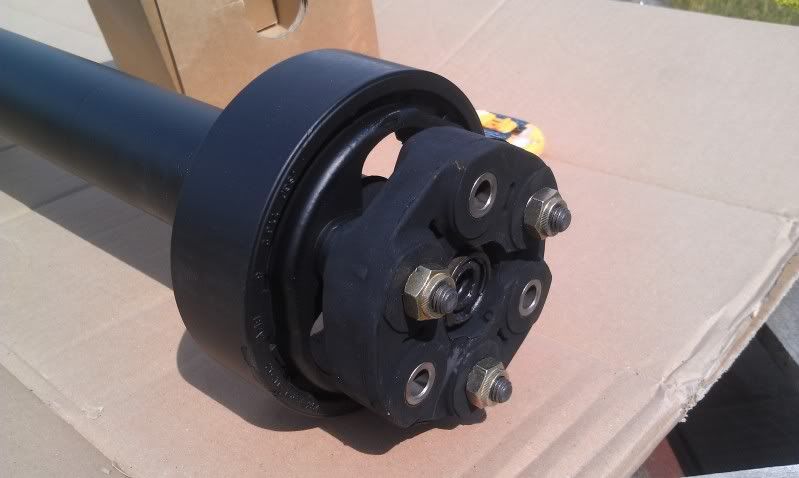
Installed the drive shaft:
I removed the damper first. This is how it is "stock"
Removed:
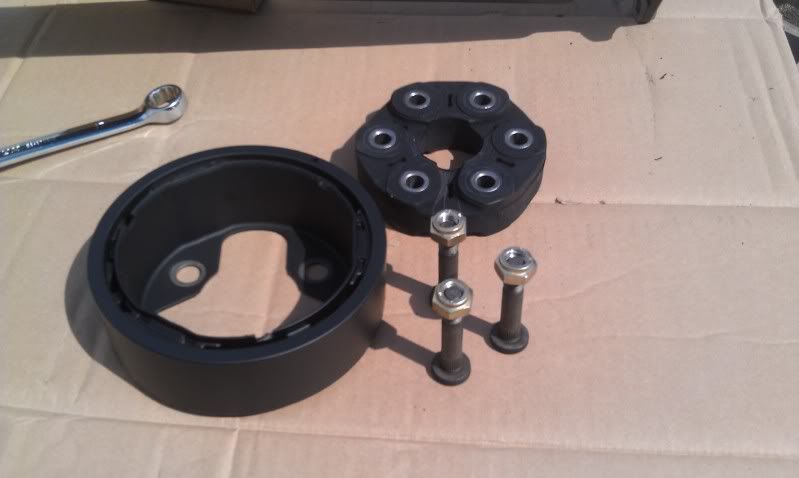
I first reinstalled the giubo with the original press in studs that the driveshaft came with:(notice the amount of thread that is sticking out)
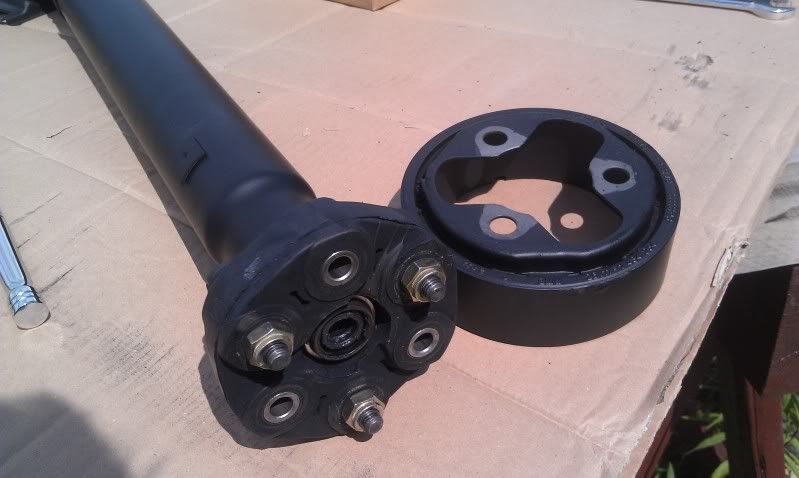
I had already ordered new bolts last fall so I tried them on:
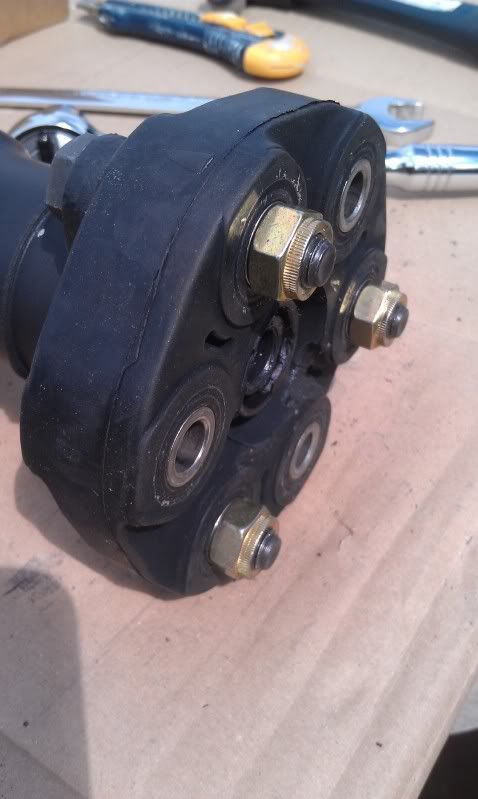
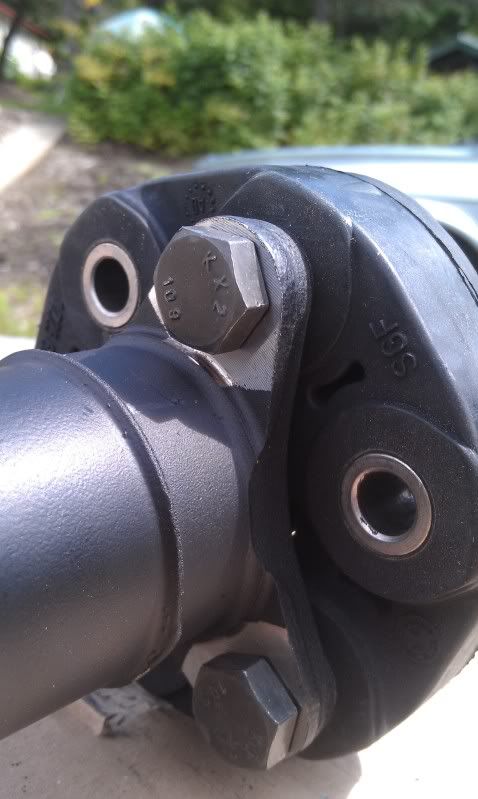
They poke a little less so I used those instead.
Then installed:
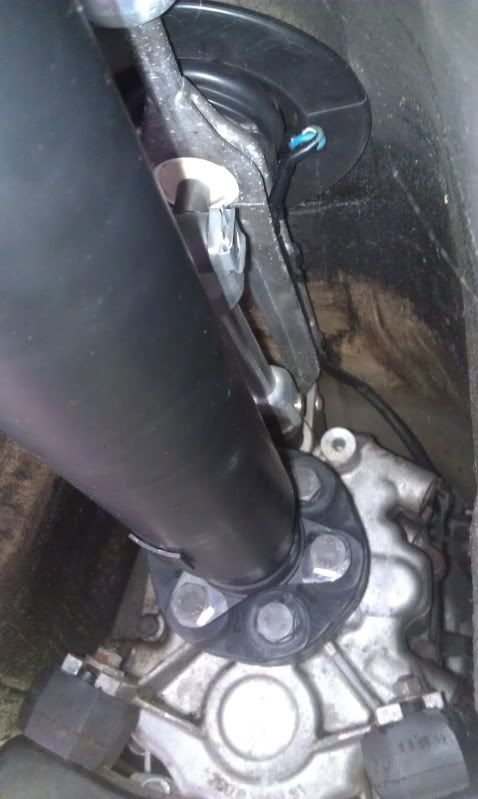
Sorry for the out of focus shot (cell phone pics ftl)
Also notice that I have all the bolts facing the same side. I know
some people say that the bolts should be placed acording to the arrows
on the giubo but if you check the first pic that shows the "stock" driveshaft, you will
notice that the studs are not in the right direction. Also you could not mount the bolts on the transmission side if you were
to keep it in this position...
Also the pictures in the bentley show the bolts all facing the same direction. So I don't think it actually matters.
I know the transmission mount on the right seems tired...I will order
some e21 units in my next blunttech order. (already have the AKG cups)
Next was reassembling the e-brake assembly+new cables.
The new cables were a breeze to install unlike the removal of the old ones. I did coat the ends with anti-seize before installing them.
Then I went to put the pads/shoe? in and found out that the new ones
I had ordered were 28mm (standard 325i I thought they were the same
since the pads are) and the M3's are 33mm...
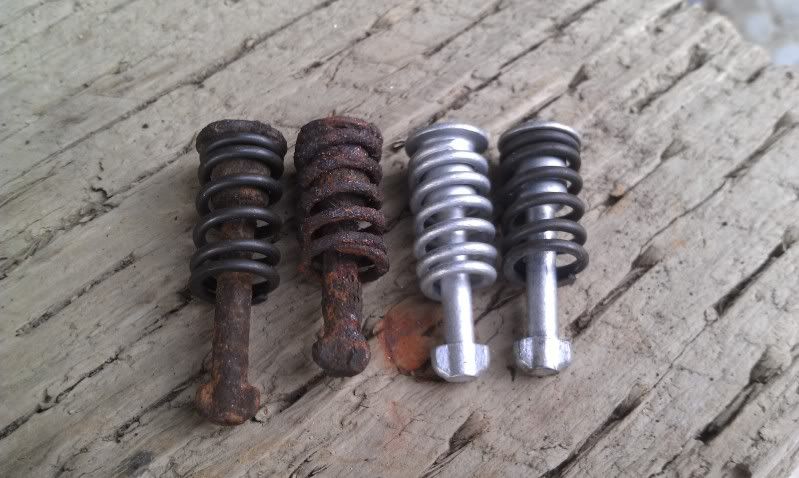
from left to right: M3+new spring, stock 325i, brand new 325i and new pin with new replacement spring.
So I reused the old ones. Also had to fix this:
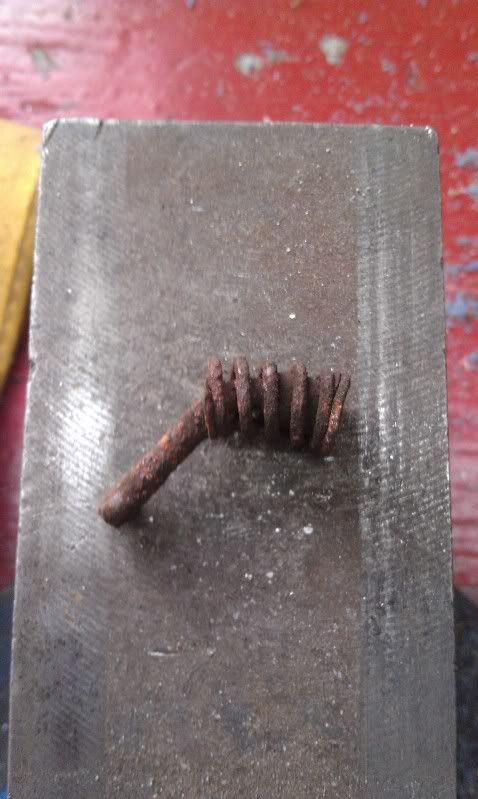
It was like that when I took them apart last fall...
Then cleaned:
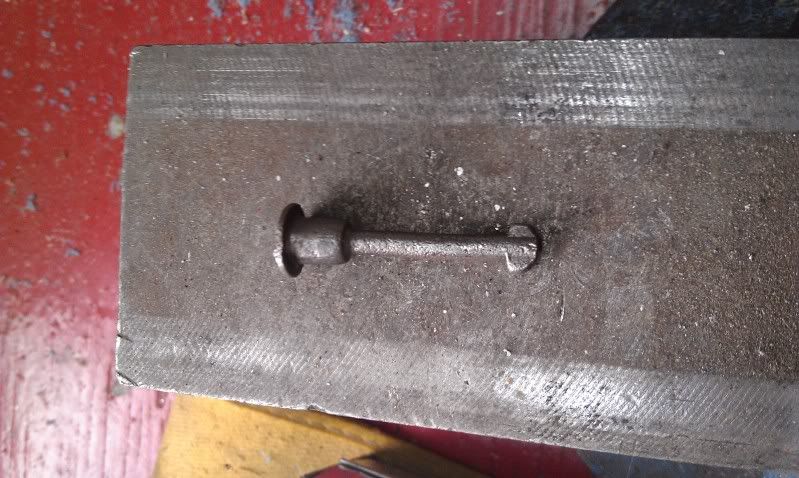
All reassembled

Then I put the halfshaft in. One went in super easy and the other was a pain to install. I think it was a rebuilt unit...
Also I had bought new nuts and securing plates... the securing plates
are not big enough to fit around the nut

I think I'll just grind them a bit on the inside to fit them..
Also installed this:
New oem filter +new hoses+new clamps.
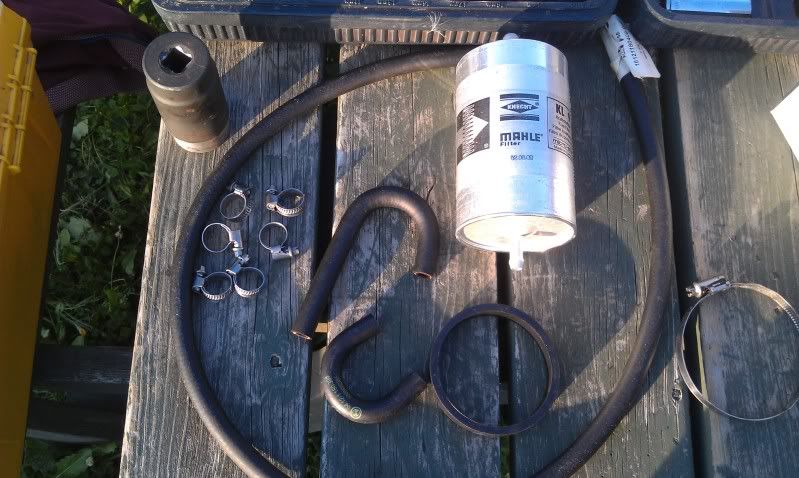
The old hoses were all cracked, the old clamps were rusted and the old filter was on there since who knows when.
This car had very little maintenance made before my ownership...
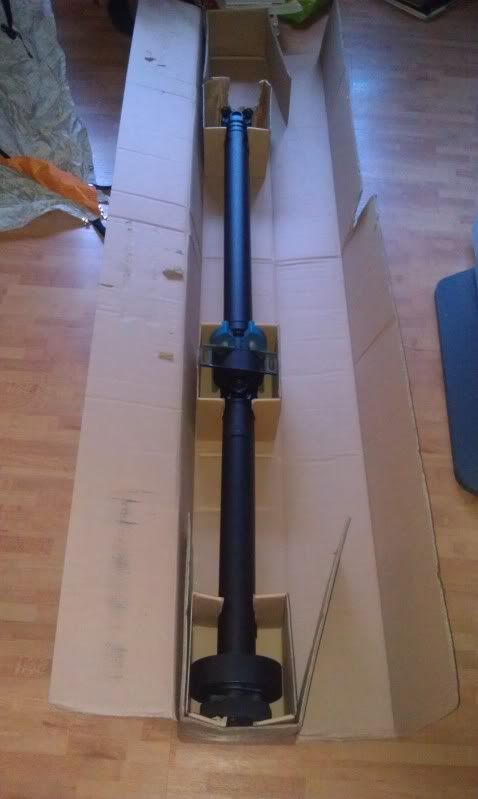
Also when you buy a new driveshaft it comes with one of these:
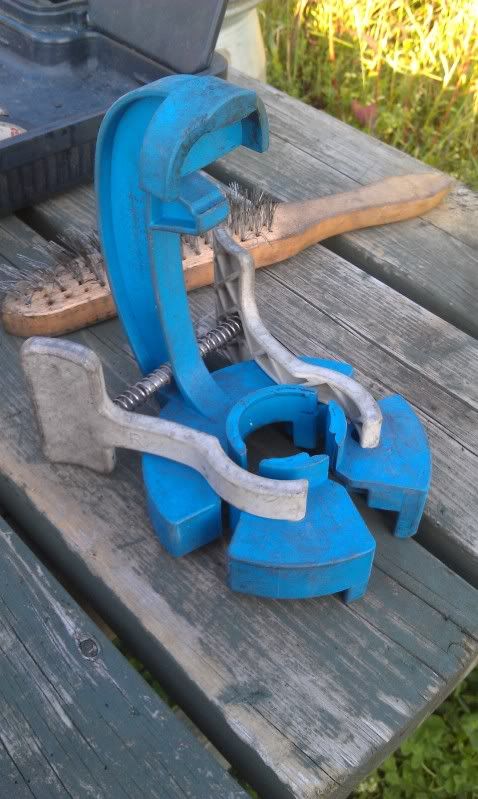
It keeps the two halfs of the driveshaft together so they don't split during
the shipping... Now I need to find a use for it.
Only the trailing arms hard lines are left to be made and installing the
calipers. Then the back end is done!
I might be able to get the car on its wheels next week :D
Also bought a set of clear turn signal lenses to clean up the front. Its a
little busy with the yellow fog, smoked hellas and orange turn signal. If I don't like the clears I'll smoke them.
http://cgi.ebay.com/ebaymotors/ws/eB...K%3AMEWNX%3AIT
Also received my replacement brass bushing to replace the defective
one. Bimmerworlds really has a great customer service (at least when you talk/email with Garey). It's also funny to see the UPS guy show up at
your door with a 4"x4"x4" that weight nothing...
CharleyLeave a comment:
-
I reassembled the the calipers as much as could. Still missing a caliper.
One rear, two fronts are done.
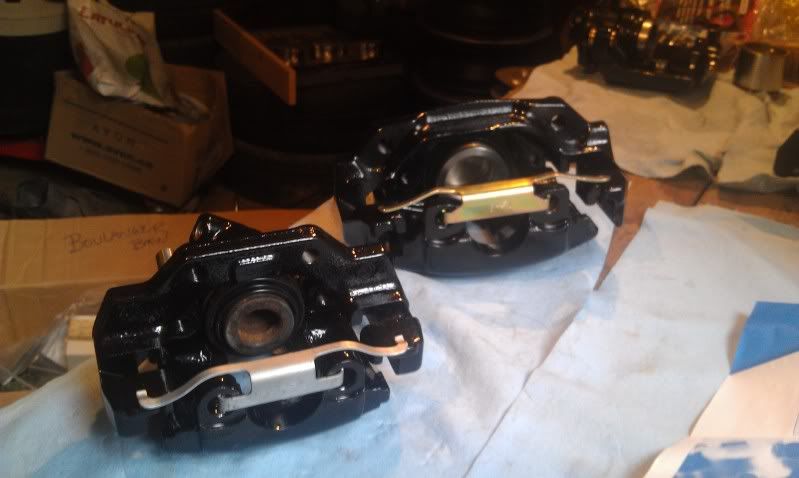
I couldn't finish the reasembly as I didn't have a 7mm allen socket to
use with the torque wrench... will buy one tomorrow.
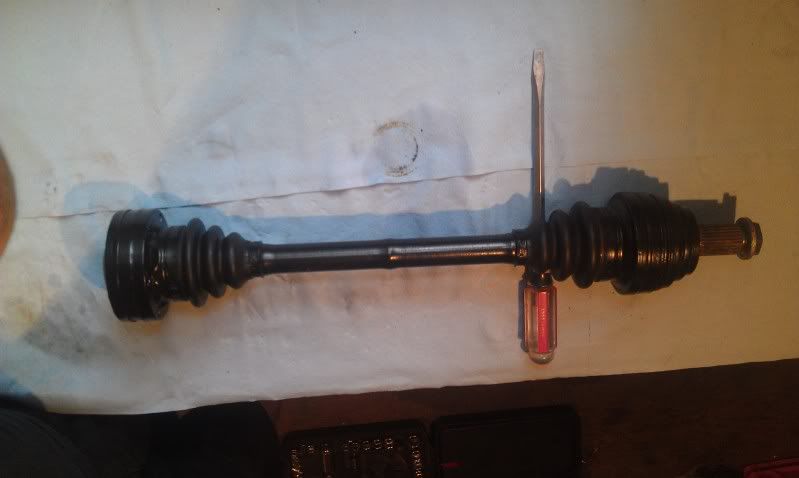
Then I replaced the boots on the half-shafts, the old ones were cracked
and about to rip open.
Started with this. I painted them a while ago so they still look good.
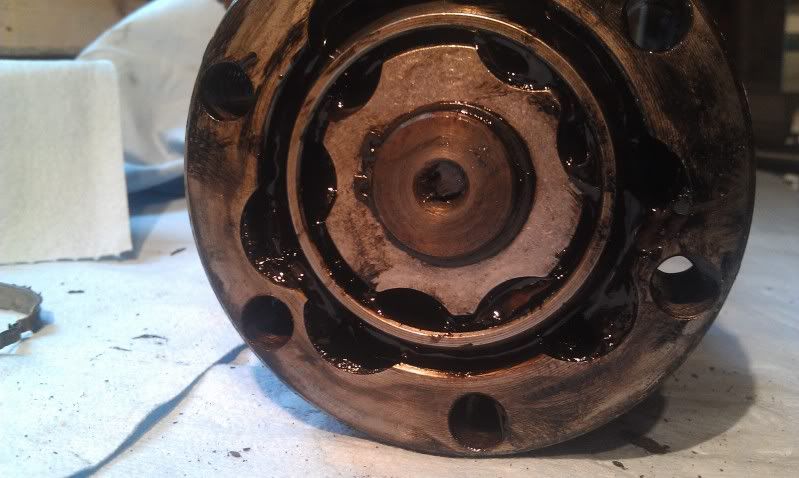
Then popped the cover. Nasty grease...

That grease smelled BAD
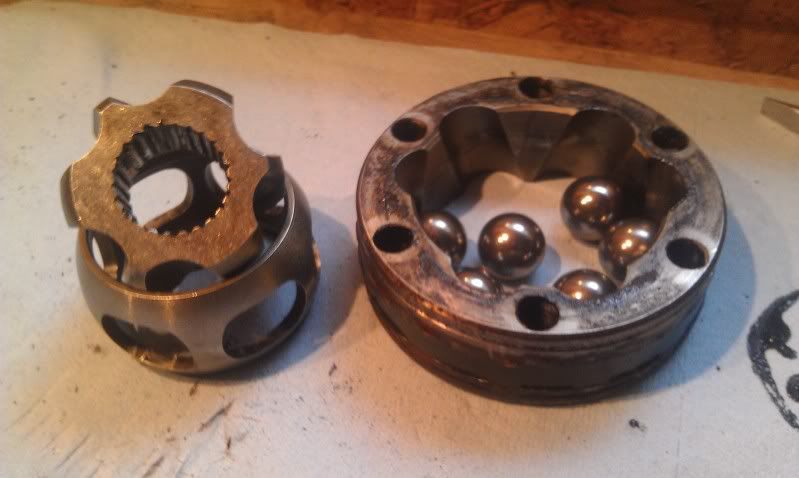
Cleaned a little so I could see where the circlip was.
Disassembled:
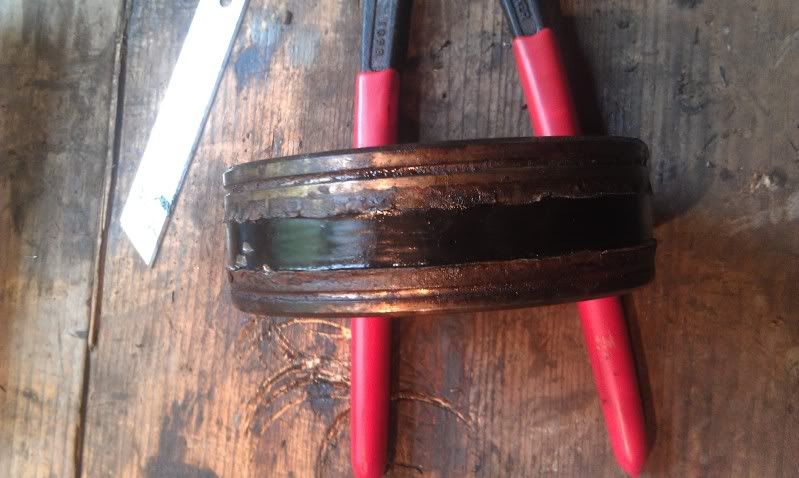
Dirty:
Cleaned:
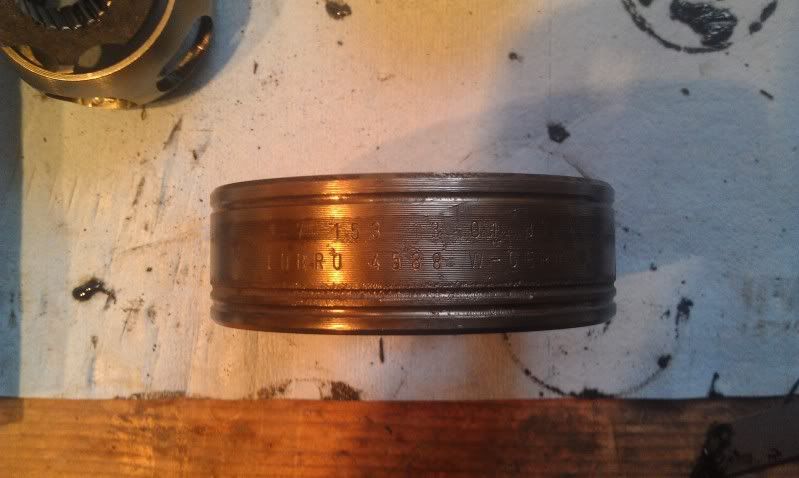
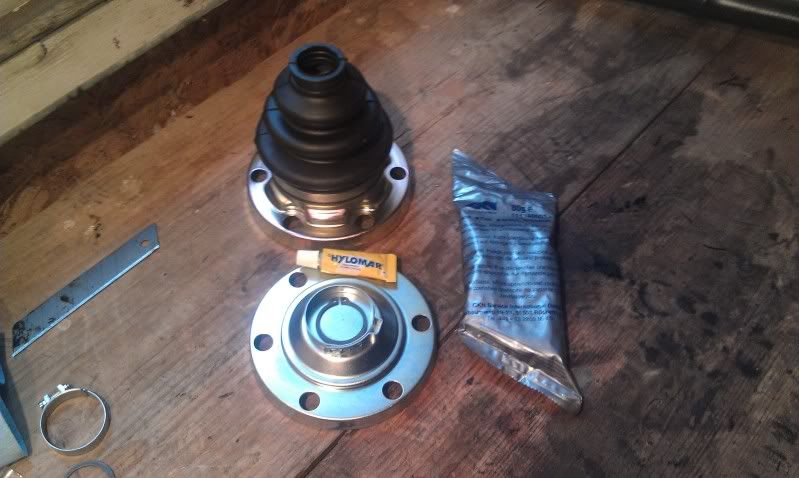
New boot, clamps, grease and some Dauerplastische Universal Dichtung!
Dauerplastische Universal Dichtung=Permanently plastic universal seal(google)
Fast forward:

Bam all 4 boots replaced! This job ended up taking a lot more time than I
thought it would. Cleaning being what took most of the time. Also this
is a pretty messy job.
Also to tighten the OE clamps you need one of those tool:
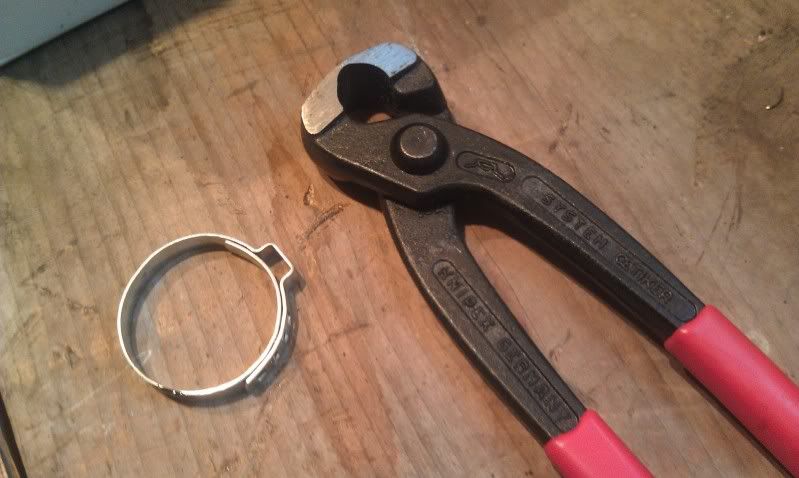
They look like unsharpened wire cutter.(mine are stamped Germany so they must be good)
Also pick-up this little buddy from the dealer today:
Brand new CSB and Giubo already installed. The giubo will have to come
off so that I can remove the damper. I had already bought new hardware.
Also, I bought these from Replicam3cabrio. I had been looking for a set
since I bought the smoked Hellas.
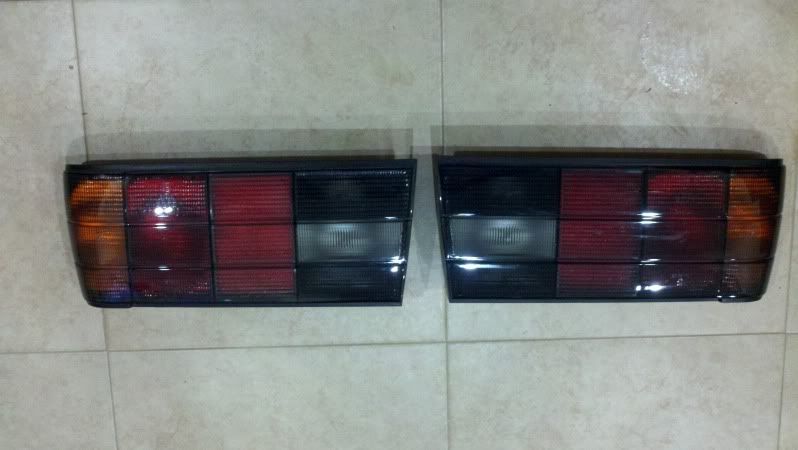
I should be able to work on the car all day tomorrow so hopefully a lot
will get done.
CharleyLeave a comment:
-
My order from Blunt came in :p :
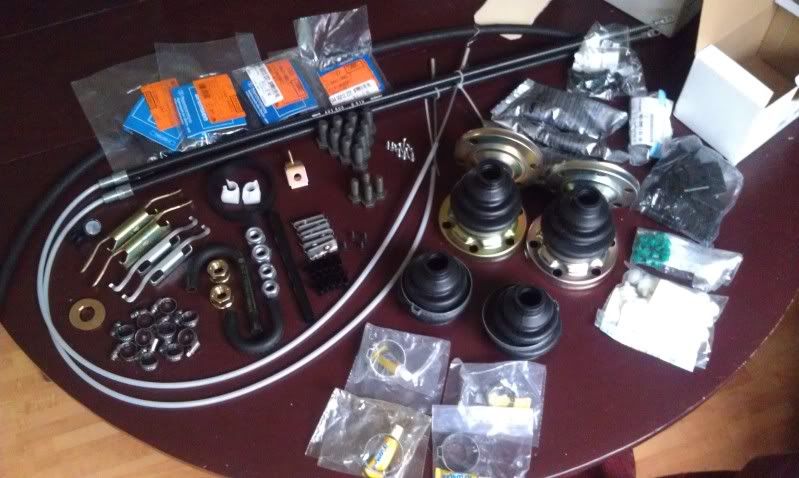
It doesn't look like much but aside from a drive shaft this all I needed to
get the car back on the street.
Also I now Rep Blunttech to the fullest

Signed by the man himself!
Then got all my brake caliper parts together to start reassembling them:
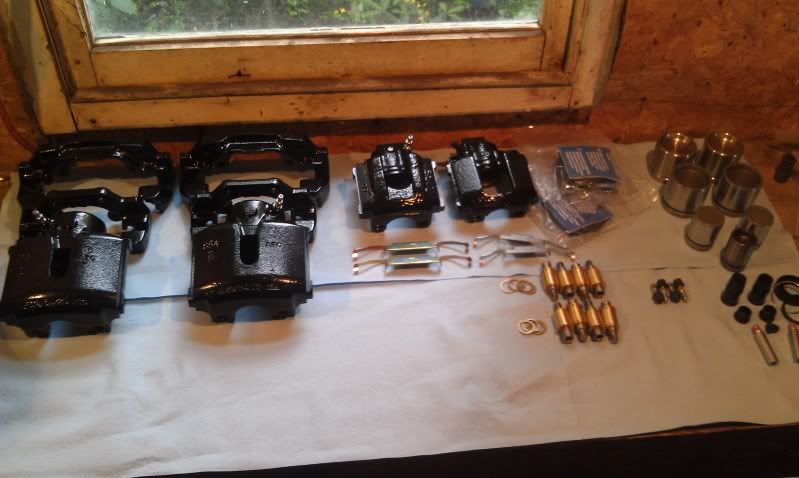
Then I quickly noticed something was wrong. When I sent my calipers to
be powder coated one of them ended up being bad I needed to be
replaced. The shop offered to source a new one for me which I agreed to.
Few days later I picked them up and brought them home. Thing is I did
not even bother to check if everything was fine, I just left them in the
bucket they were in till today. This is when I find this:
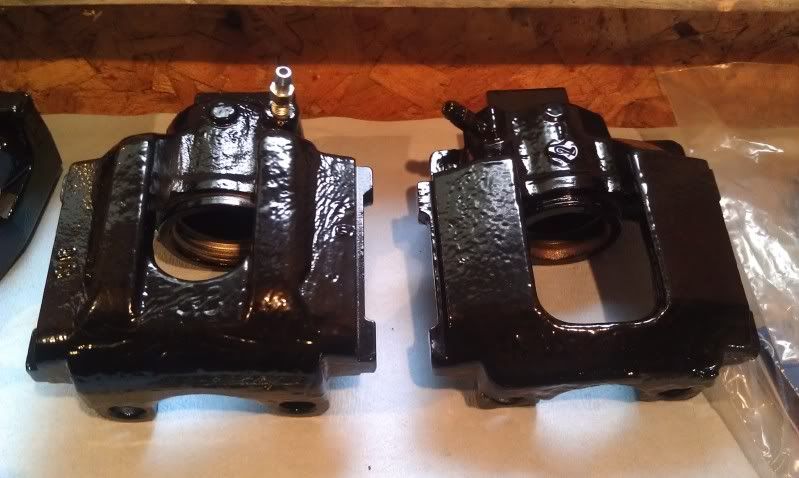
Left is m3 right is what I believe to be plain stock 325 caliper... I DID
mentioned a few times that the calipers were from an M3 to the shop
owner...( I don't have my old rear calipers at home right now to check
if it is indeed a stock 325 caliper)
Now I need to call them up tomorrow and sort this quickly.
So after this I decided to go forward and install the solid brass bushings
and well this didn't go well either.......
First this:
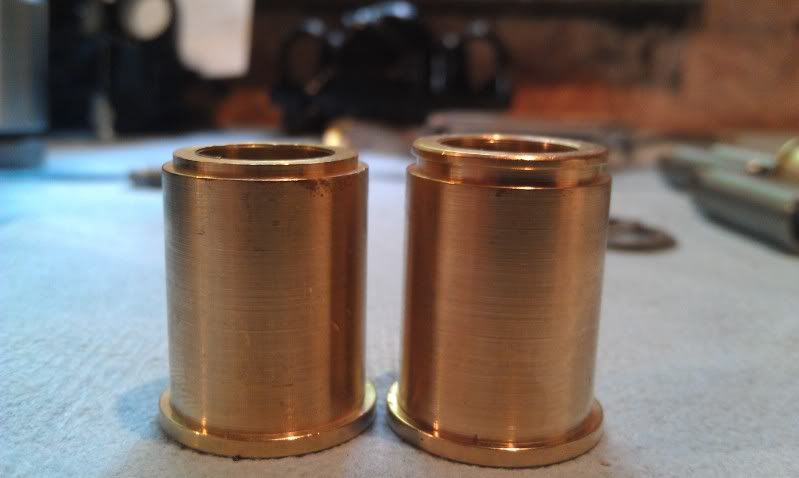
And then :
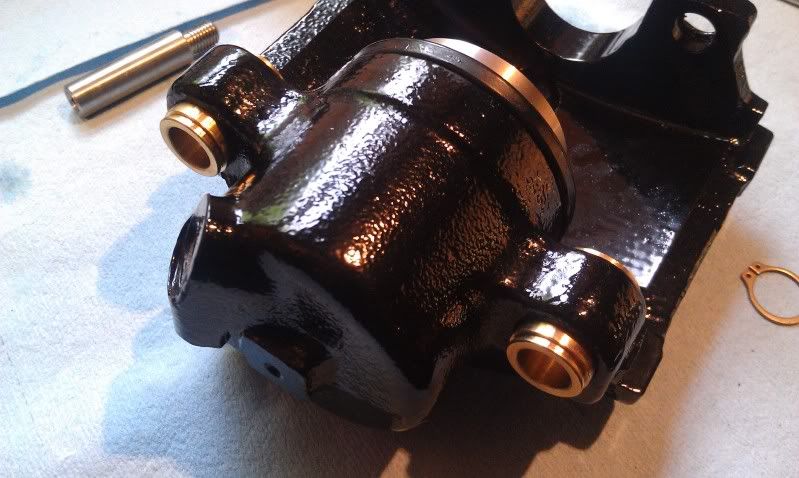
Seriously WTF?
Now I'm tired, pissed and heading to the movie theater to see Captain
America...
I'll deal with this tomorrow after work..
CharleyLeave a comment:
-


Leave a comment: