
Plenty of room for my future swap, better brake feeling and cleaner
bay. At least those are my goals. You can add a slight weight reduction,
the booster is heavier than I thought.
-
Also I received my new smoked Hella smileys last week and center caps
for my ACTs.
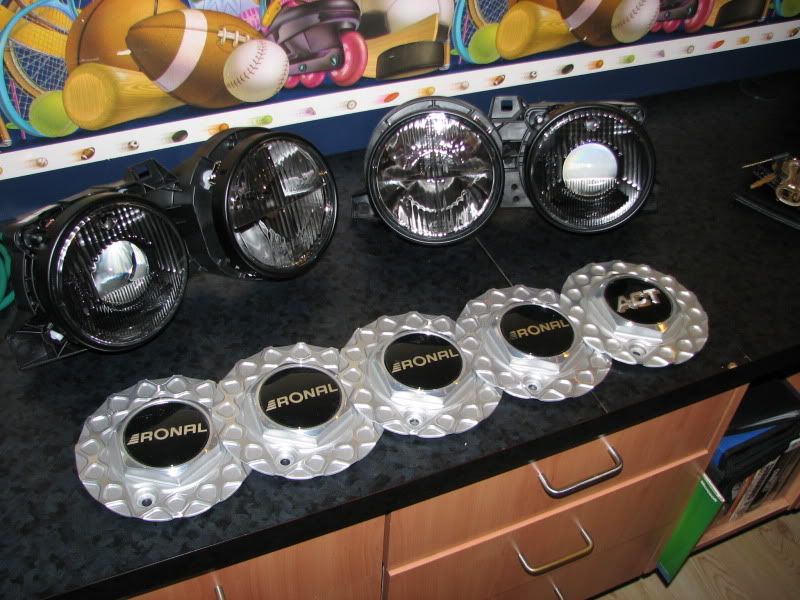
I already had one cap but since I have five wheels I wanted another four.
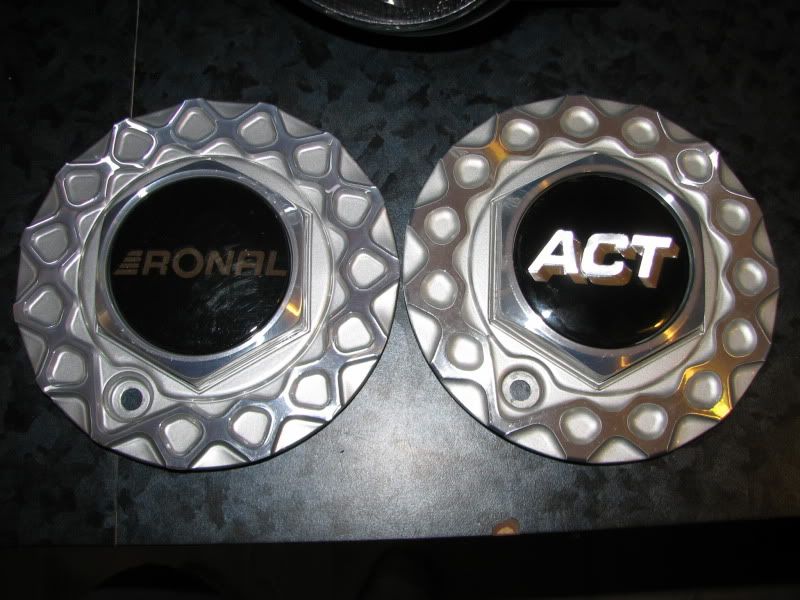
Levent hooked me up with four new caps and spacers. The caps have
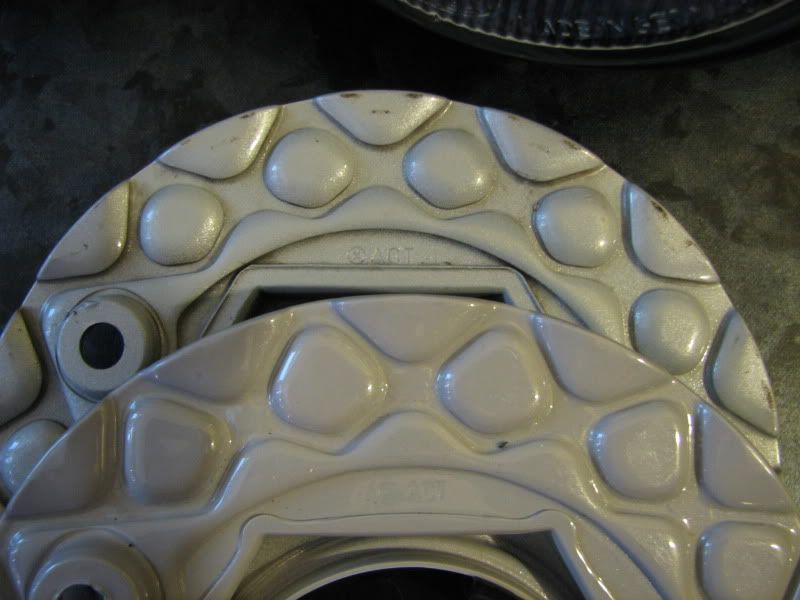
Ronal logos but but they are ACTs. The caps are not exactly the same
so they was probably a different batch of them but unless you really
know what to look for nobody should notice anything once they will be
installed.
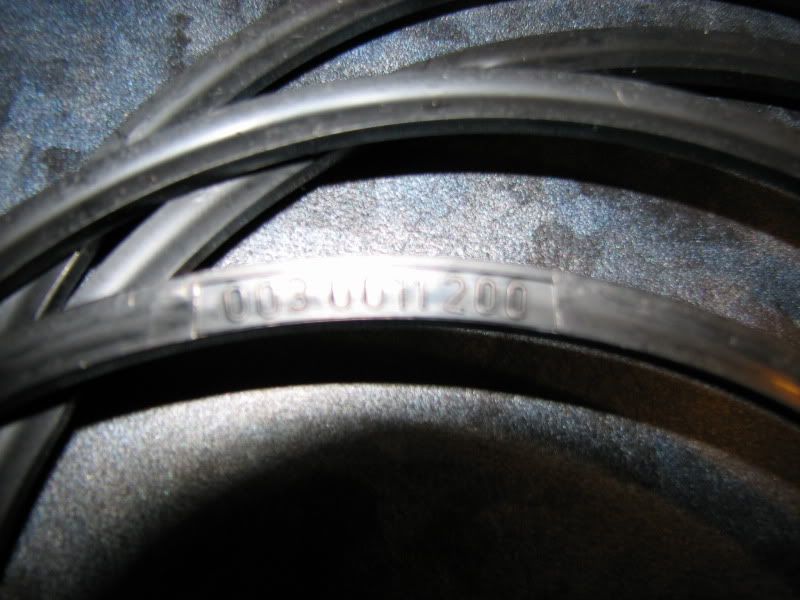
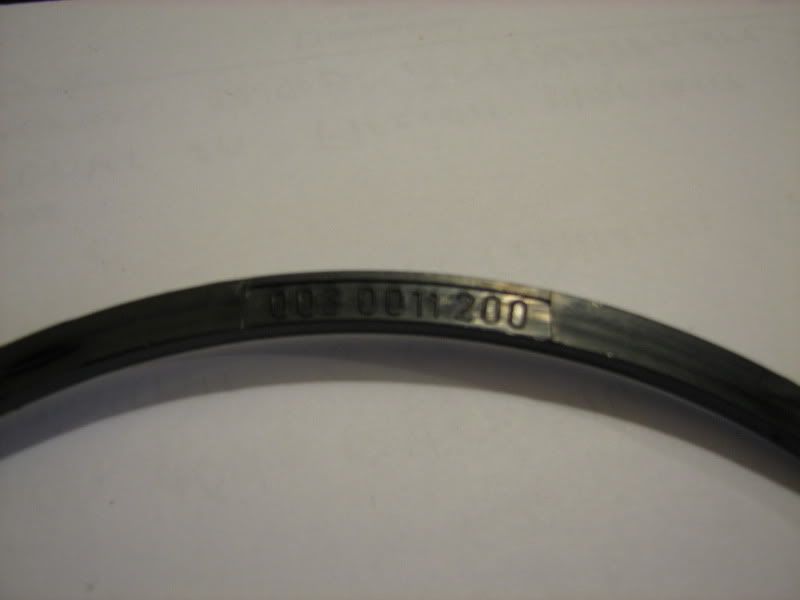
Also you need spacers to install those caps properly. I never found any
info on them so here are a few specs:
-3mm thick
-164mm OD
-153mm ID
-3mm radius on the outside
-P/N stamped on them is 003 0011 200
-They are made of a hard plastic. its a little bit flexible but not much.
I should send the wheels to be refinished as soon as I have money.
Nogaro center and brushed lip :D
CharleyLeave a comment:
-
Little update:
Its spring break for me now so I'll try to get everything that
I can get done with no money done this week. My leg is
healed now so I'm back to work and should have a good regular
cash flow again so that will help.
Also Its the RedBull Crashed Ice this week-end in Québec city...
I will miss most of it though.
So I dissembled my calipers and decided that I'm getting them powder
coated black, SS pistons for the front and solid brass guides on all of
them.
Then I removed the booster in preparation for the booster delete kit that
Lee (Massive) designed.
When I removed the hoses between the booster and the TB, I found one
of my vacuum leaks source, I just pulled them out.
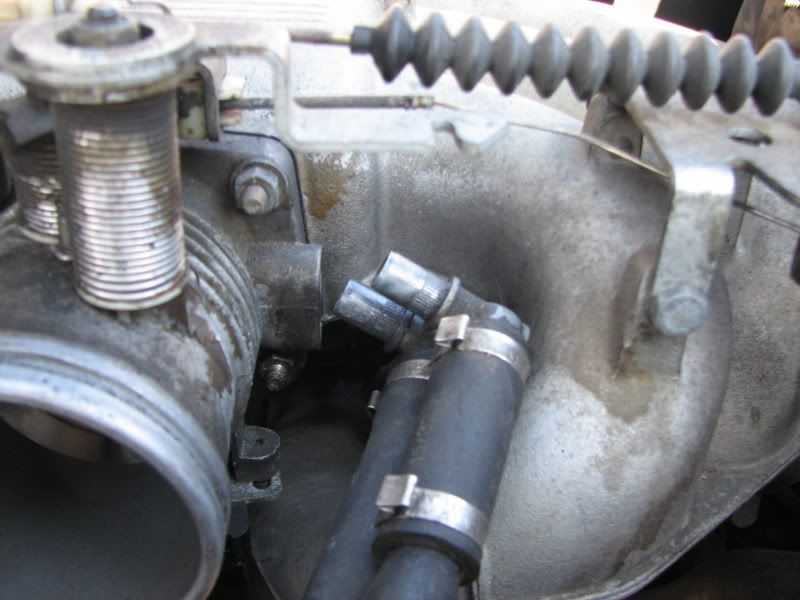
This is how my setup looked like after my ABS delete I did early last fall.
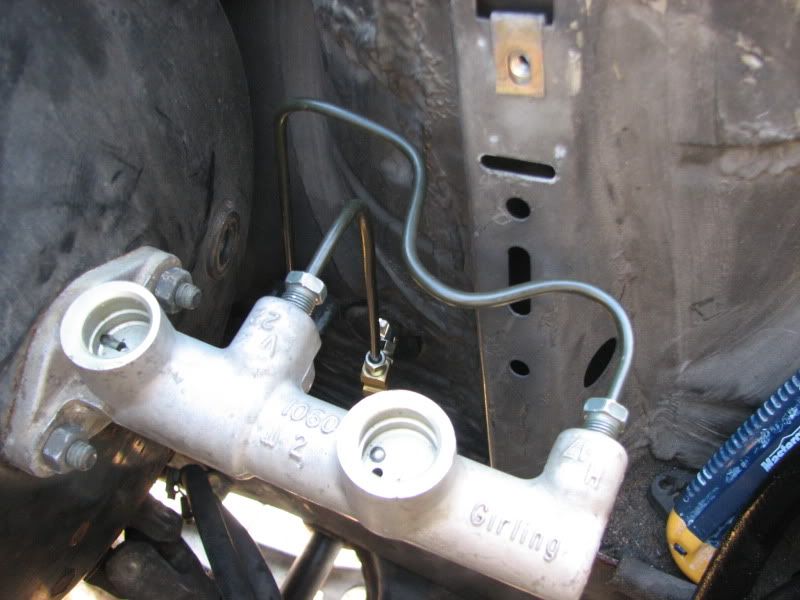
Those of us who have already removed/swapped a booster know that
getting the 4 nuts out can be a pain. But today I went really well.
Since I'm installing the Massive booster delete bracket, the brake pedal
needed to come out sooner or later so I started by this. The brake pedal
and the clutch pedal are on the same axle/bolt but its possible to slide the
bolt only half way out and take the brake pedal out without taking the
clutch one out.
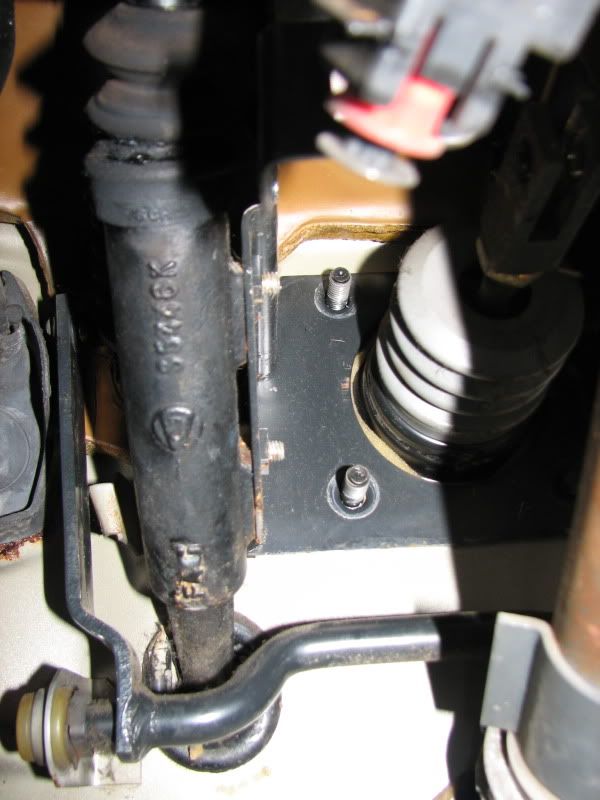
Caution: If you are not careful you can damage the wiring with the head
of the bolt when you slide it out. I also broke my brake light
switch wiggling out the pedal...
Then when the pedal is out and the knee panel as well reaching the four
nuts is very easy with a deep 13mm socket+extensions+swivel+ratchet.
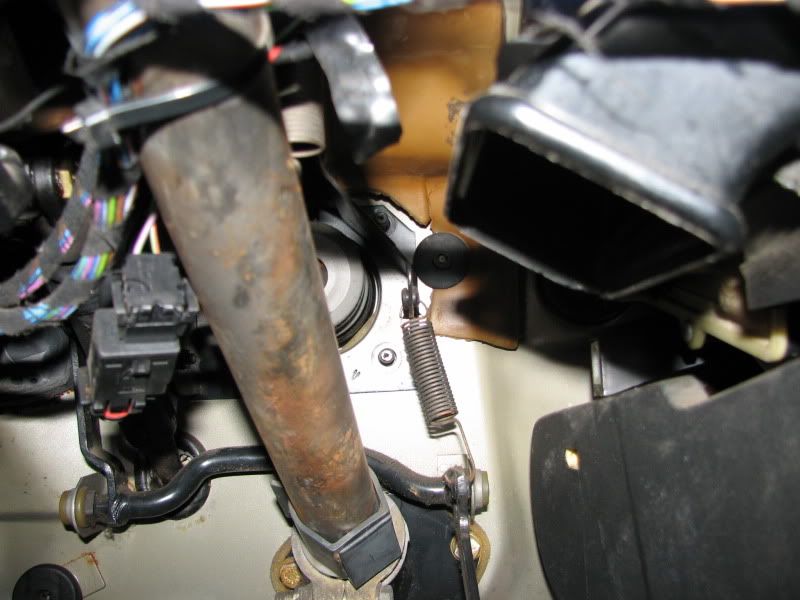
Getting the booster out of its spot ended up being some kind of puzzle but
I got it out eventually.
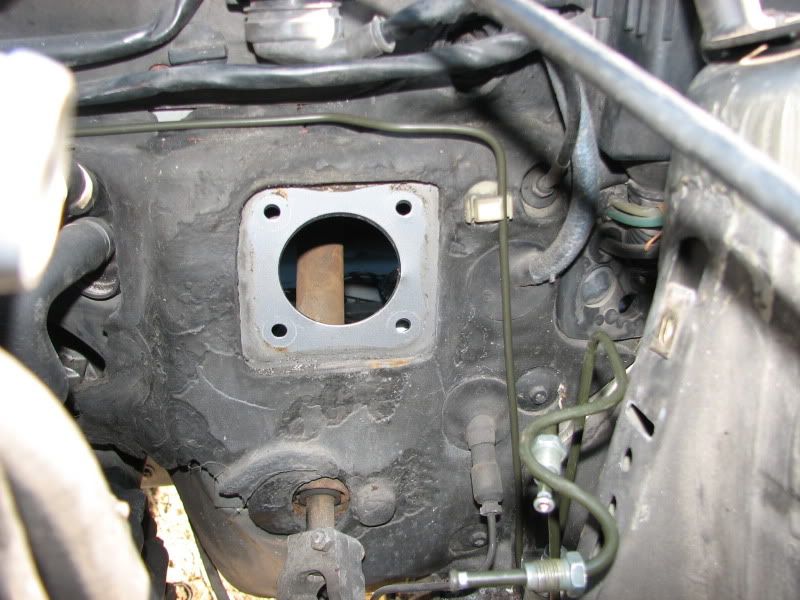
I also removed the insulation that was behind the booster
and the fuse box. I had the impression that I was removing play dough.
I did find a small rust hole behind the fuse box that was hiding behind
the insulation. One more thing to fix....
Trying to figure out the cleanest way to reroute the brake lines. I will be
neat when done
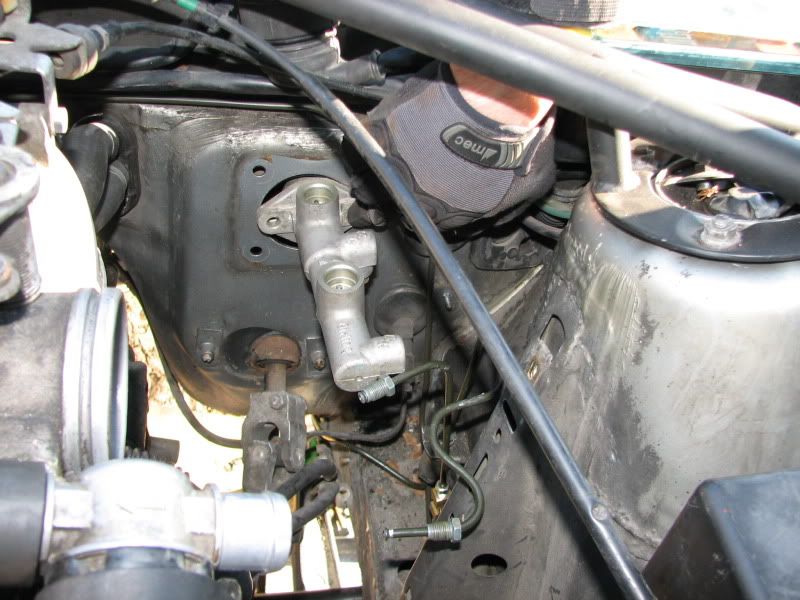
Charley
Leave a comment:
-
So its time for a little update of the situation.
For the past two months I have been crawling around with crutches because
of a ski accident. I have not been working either for those two past month.
Employment insurance is only giving a 1/3 of what i usually make. So yeah
not a lot of funds right now. Also I started school a month ago.
Now I should loose the crutches and the splint on tuesday. So its time
to make a plan of attack as my plan is to attend Guten fest this year.
Stuff to be done:
-Install the 5lug -Rebuild the brakes (powdercoated+new seals)
-swap the H&R+bilsteins over from the 4lug
-I may buy GC camber plates not sure yet
-Dye the carpets: front carpets/rear and the rear side panels
-Have some rust taken care of I have a nice neighbor who offered to help
with that.
-Front end refresh: Install new smoked Hellas + yellow laminix
Source and paint an Is lip (might get a spliter if
the funds allow it)
-Decide what wheels to run: I have a set of 16x8.5 ACT that need a
refinish and I need to source center caps
Or I could run the RS as is without refinish
them, I really don't have the funds for it
right now.
-Buy tires: I want 225/45 but they are pricey and very few. I might go
with some 215/45 if I can't find anything reasonable.
-Drive shaft: I'm pretty sure mine is toast I had a vibration at end of
the summer and I'm pretty sure its my problem.
-Door cards:I need source some stock ones.
I'm pretty sure I'll find other stuff that need attention but so far thats it.
I should start updating this thread weekly in two weeks or so.
CharleyLeave a comment:
-
So its christmas early for me! :)
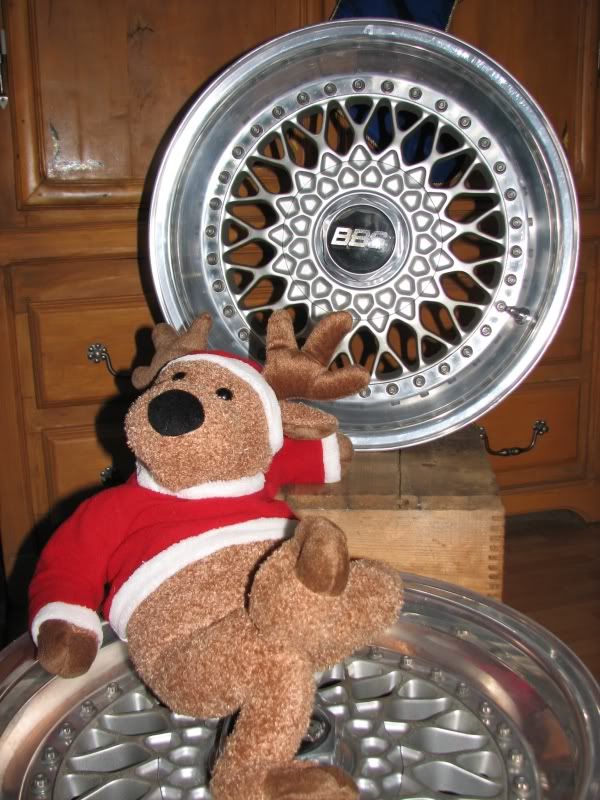
BBS RS 211 - 16x8 et11 5x120
I only received two and the two others are still in the mail. I was planning
on completely refinishing them but they are in better shape than I
expected. So far I need to get new bolts and BBS logos. One of lip has two small bends that need to be fixed but thats it.
The original plan was to have the centers powder coated nogaro and have
everything else polished. But I'm not sure about this anymore .
.
I have to thank Levent as he helped with shipping and James the seller,
I'm not sure he's on R3V though.
Christmas is in 10 days!
CharleyLeave a comment:
-
-
The only thing this car needs are some sick wheels. Oh I don't maybe a set of Bbs Rs 211's would do.Leave a comment:
-
I won't do this job soon since the car is in storage for the winter.
But I was going to use spray can dye but after talking to a friend of
my dads I might use some dye from a upholstery shop. He said it is
sold by the gallon and that it lasted for ever in his f-150 never faded
(he went from red to black). It is also cheaper.
CharleyLeave a comment:
-
-
Small update:
I installed my light dimmer from GG:
This is what you get from GG
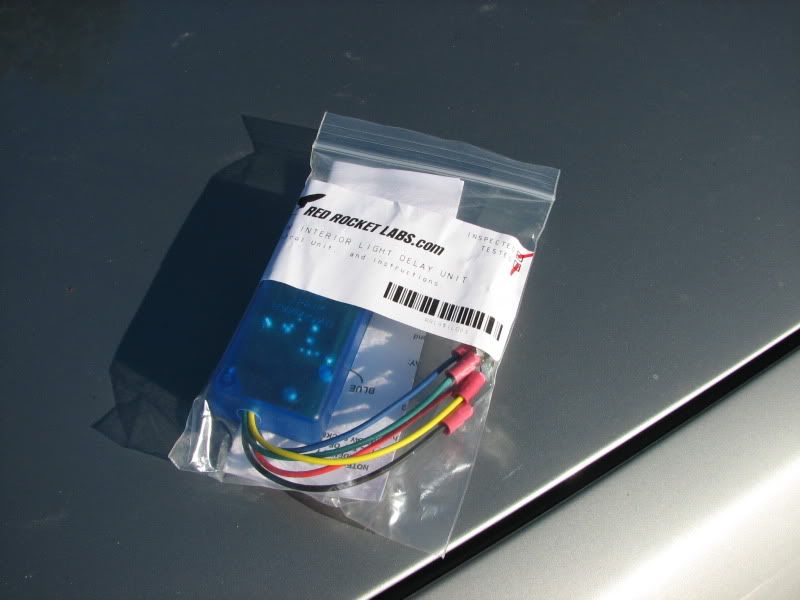
Instruction are really simple, easy and well written so even an electrically
challenged person like me could do it. Only 1 step wasn't mentioned but
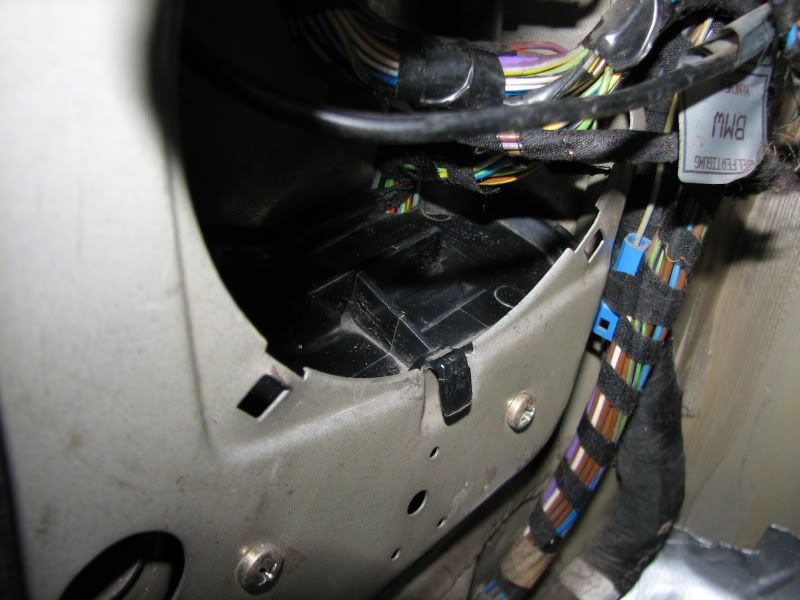
it is so obvious that its not necessary to write it down.
The step that is not mentioned is to remove this cap to access the relay
socket.
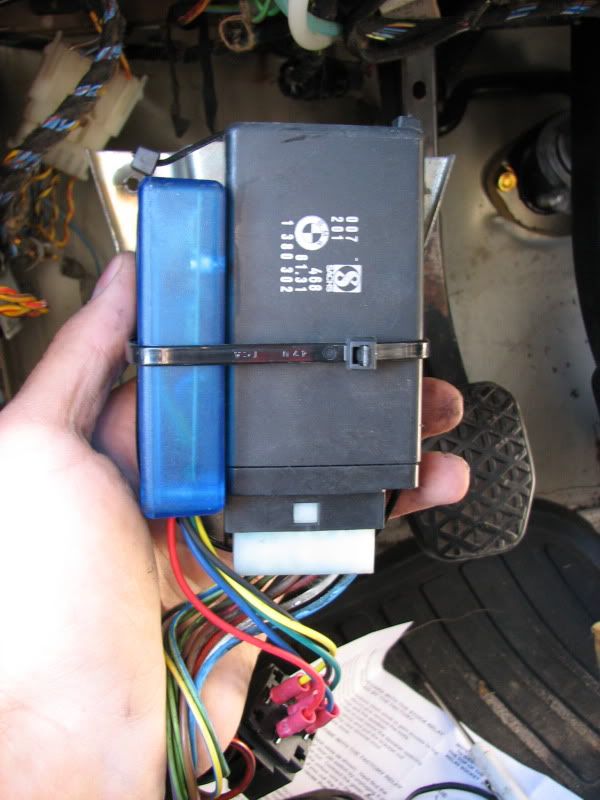
I used tie wraps to secure the dimmer module to what I think is the
control module for the door locks. I wired it wrong the first time(pic)
There is two way of connecting it. One way(pic) if your car has the relay
from the factory. And the second way is that you have to splice in the
door switch. Its only one wire so you can't really mess this up.
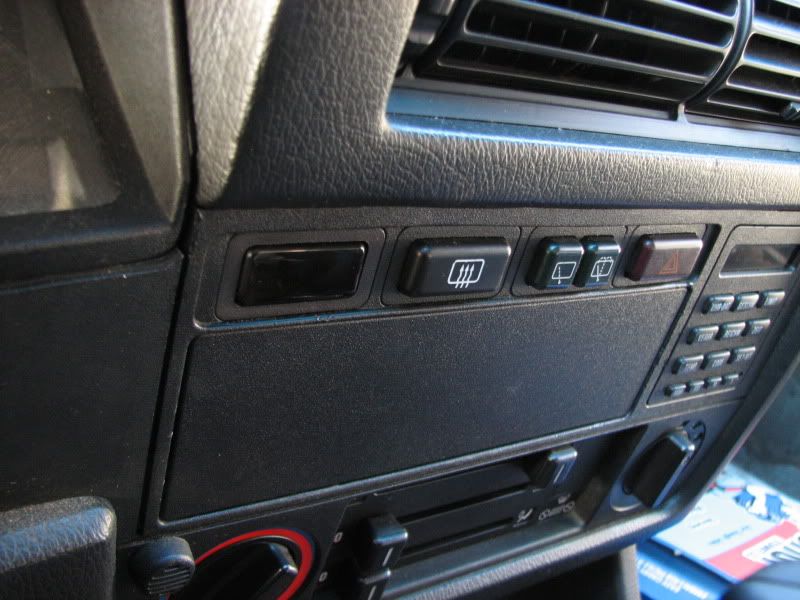
I also fitted the voltmeter I had ordered as well to see how it looked with
the rest of the switches. It is not wired yet since I still need a fuse holder
to install it properly and I didn't had any... I will try to get one this
week-end.
So all you get for now is a pic of it. It kinda stands out in the pic but you
really don't notice it when its off.(I had my brother sit in the car and
asked him what was different since the last time he drove it... he only
noticed the shifter... so yeah its stealth.
I also bought a wideband from George but I will need to relocate one
switch elsewhere since I don't have any slots left(already took out the
fader) I have an idea of what to do but I don't know if it will work yet...
EDIT: I will mount the voltmeter where the A/C switch usually mounts,
this way I don't have to relocate any switch.
Also I should have my modded subframe+trailing arms back on Monday
CharleyLast edited by Charley; 11-03-2010, 05:03 PM.Leave a comment:

Leave a comment: