If this is your first visit, be sure to
check out the FAQ by clicking the
link above. You may have to register
before you can post: click the register link above to proceed. To start viewing messages,
select the forum that you want to visit from the selection below.
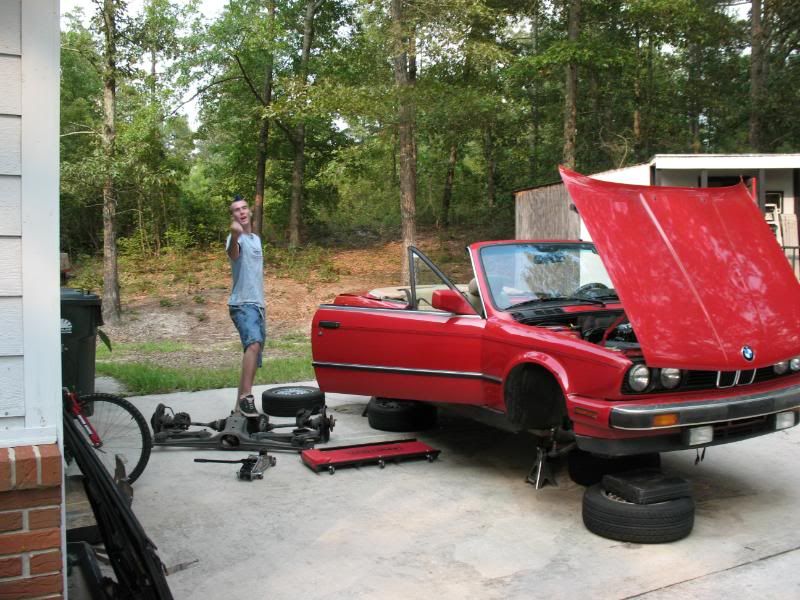
Today was a major turning point in the entire project of the car. For the first time, other then little odds and ends, something major has been completed and installed back on the car. The project was the rear subframe. This is bouns because it was one of the first main hurdles of the project as removing it is said to be one of the biggest projects on e30s. I felt overwhelmed and let it sit for months until one day finally deciding that it is going to come out.
It was exactly 1 year ago Ted came over and helped me remove the thing. In a way it dosen't seem that long at all - but I spent 10-months doing nothing on the car.
September 2009
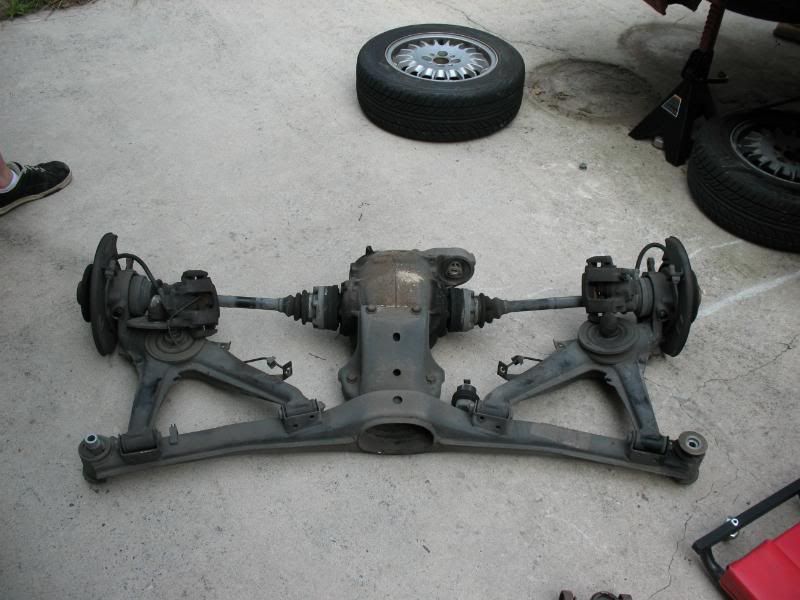
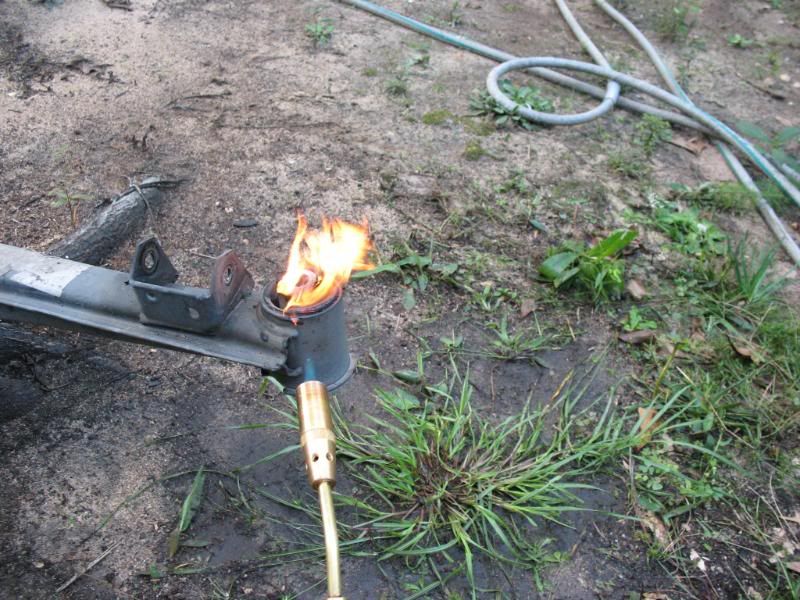
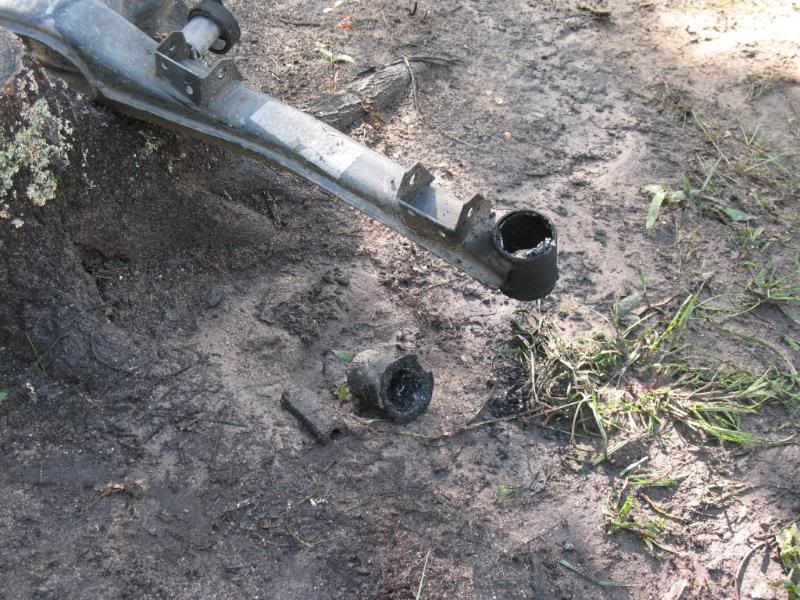
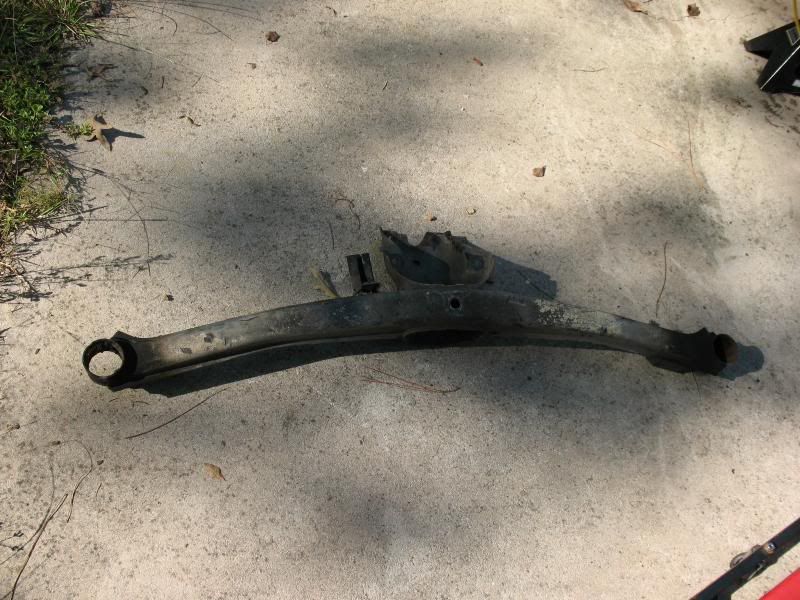
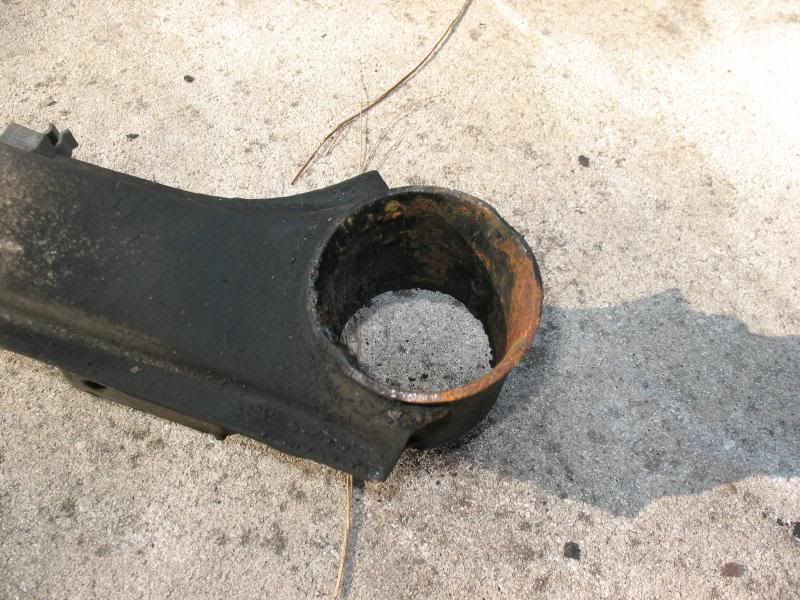
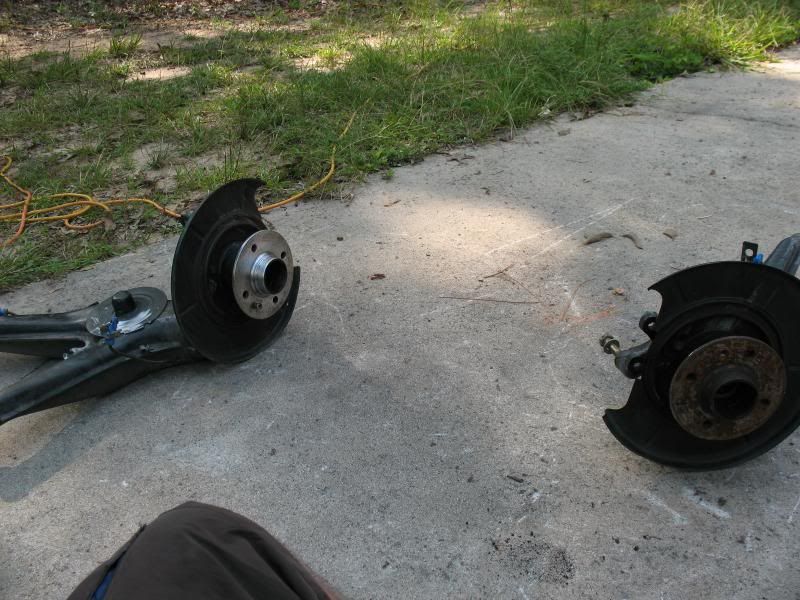
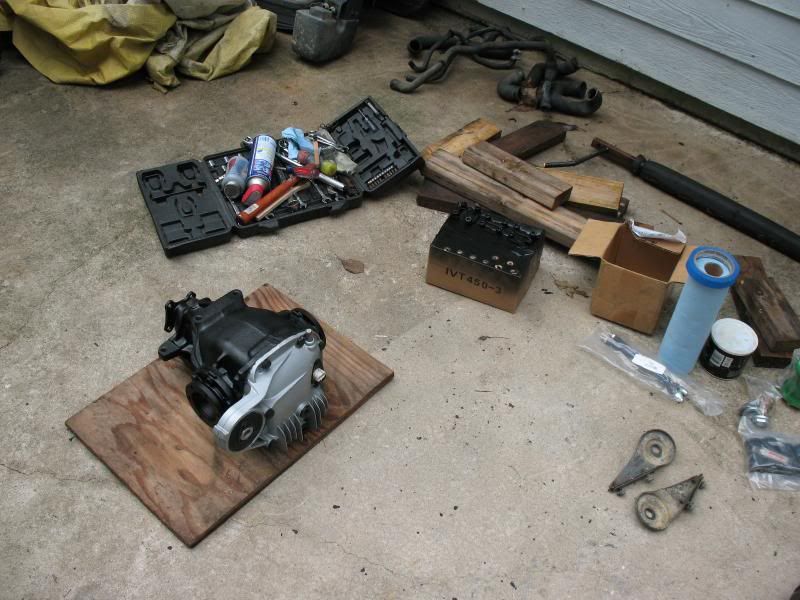
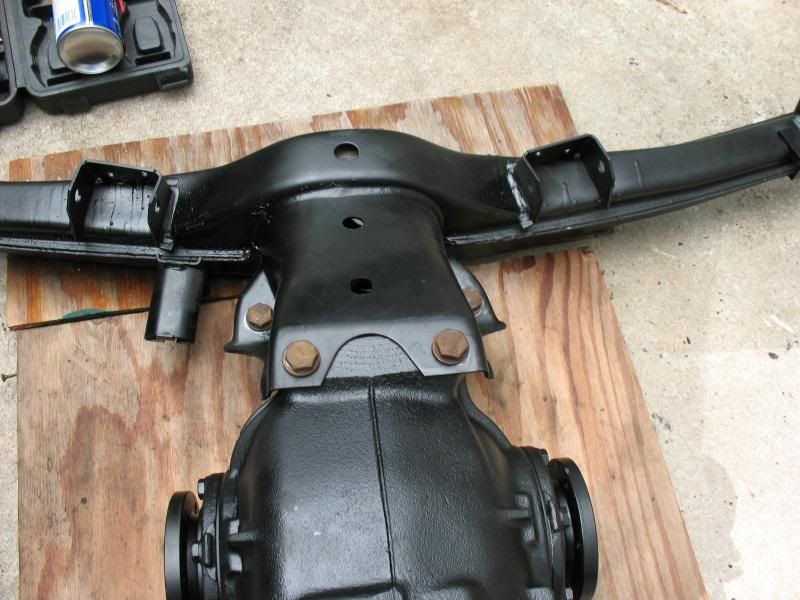
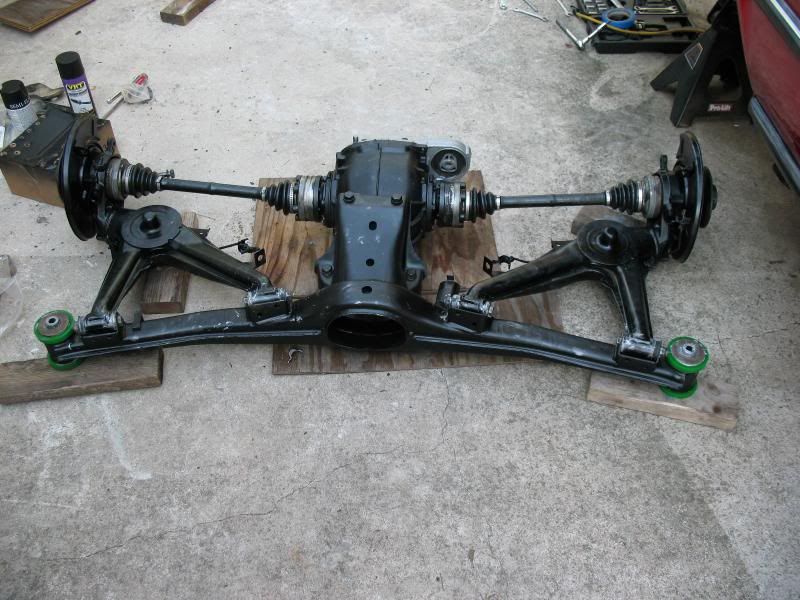
The drivers side bushing broke off in the car upon removeal. I removed it using a method that I should have did when the sub frame was still attachted to the car, before the bushing broke. Here is the 20-year old subframe assembly, worn out rubber bushings, leaking, torn [COLOR=blue! important][COLOR=blue! important]boots[/COLOR][/COLOR] and all.
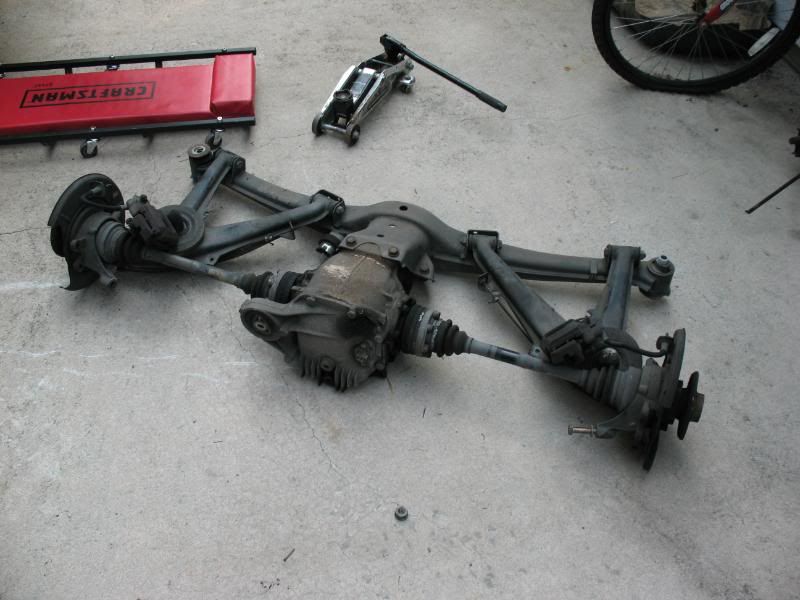
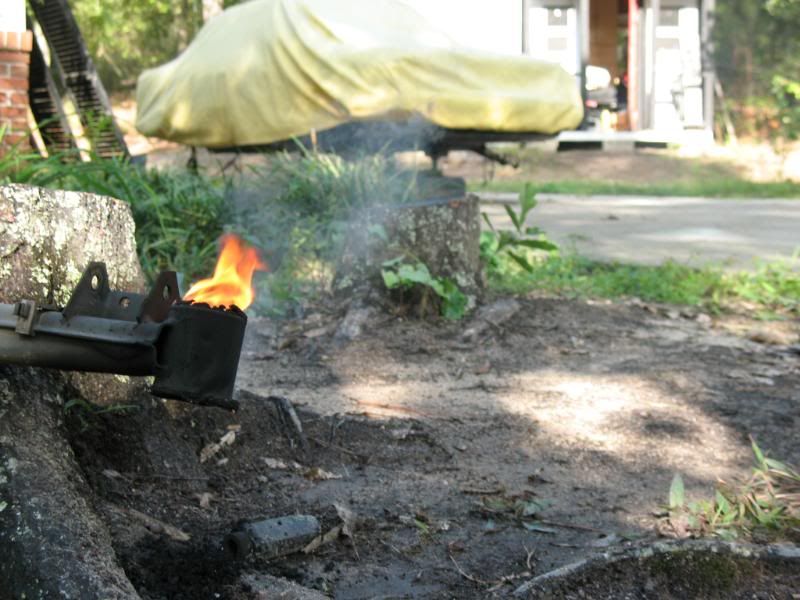
I then removed the subframe from the trailing arms and diff. The factory bushings are rubber, which are pressed in. This is by far the cheapest, quickest, easiest and most fun way of removing them.
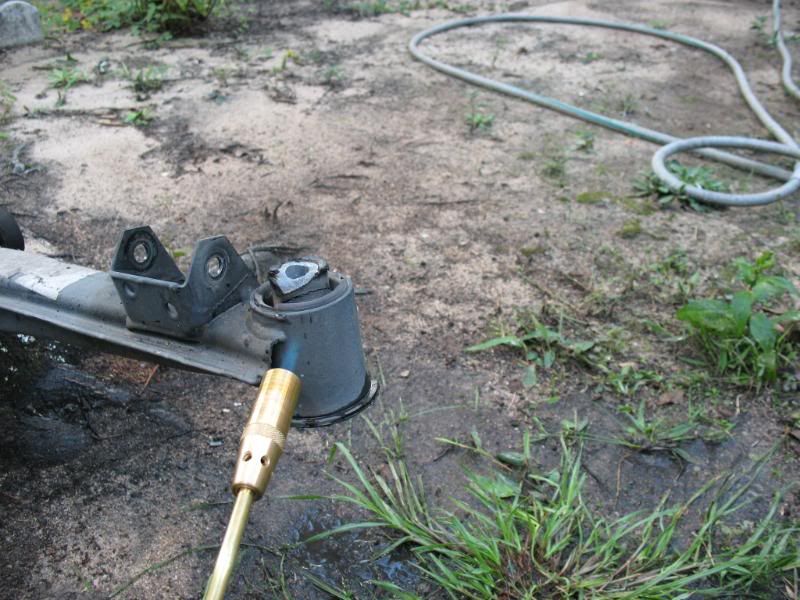
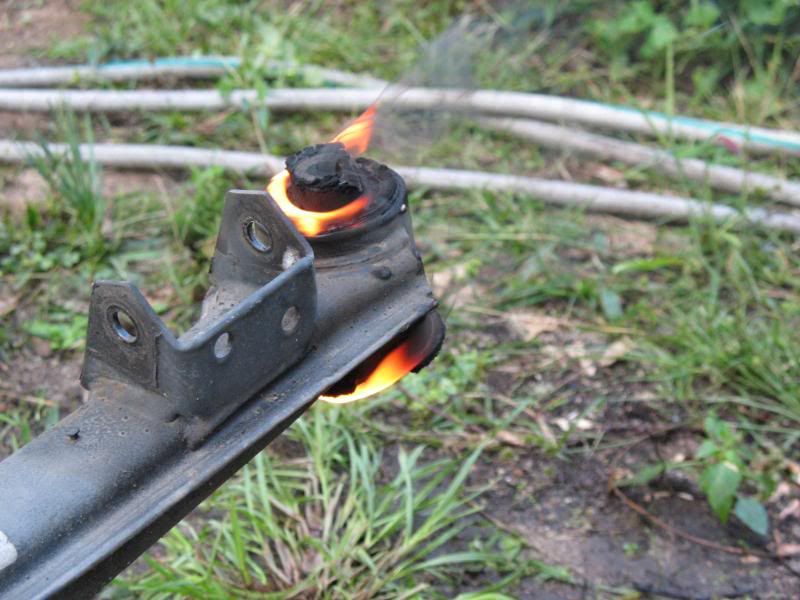
After it burns a while the metal center core drops out
But it still leaves the outter sleeve. Once it is nice and hot a BFH and screw driver get it out.
After that was done, the subframe was stored in the shed while the diff/axles/trailing arms remained outside and I didn't touch the car for 10-months, mostly because I got overwhelmed with the "I'm never going to finish it" feeling, until this past July when I had enough of it and told myself it is getting done. That is when this thread started.
Today, September 12, 2010
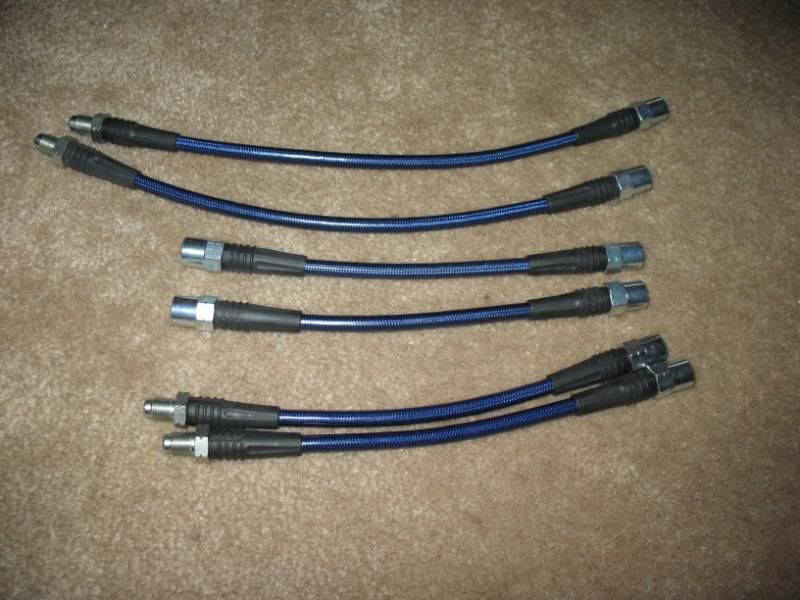
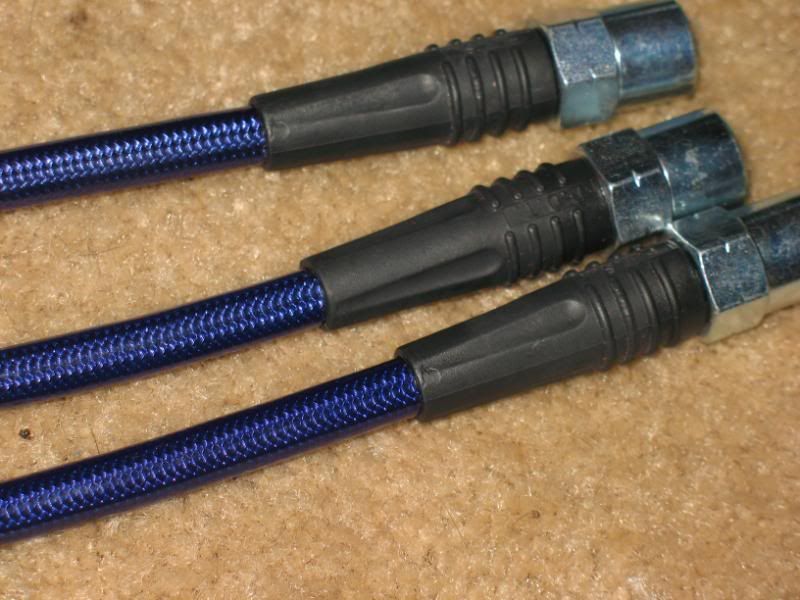
My braided stainless steel brake lines came in from being on back order. They are from UUC, a high quality company right here in GA. These lines have a cool blue plastic coating on them to keep dirt/debris from getting into the sttel braid, which in turn can wear into the lines and cause leaks. They are also DOT approved. $120 for all 6 was a fair price.
For the first time in 10-months I pulled the subframe out of the shed. I then went on a hunt to collect all the parts for it. Most I found in the shed, the new poly trailing arm and sub frame bushings were still in their new packaging and in a box of new parts in the workshop shed (bushings were bought 1.5yrs ago). The only thing left to find was the hardware for the diff and trailing arms - I could not locate them. After looking through both sheds I asked myself "Where would I put the hardware to store for later use - 1 year ago". My answer was "the trunk" Sure enough right on top of a bunch of other stuff was the bag of hardware. Funny thing since I had the trunk emptied out not too long ago. I simply removed everything and put it on the ground then put everything back in with out thinking much into it.
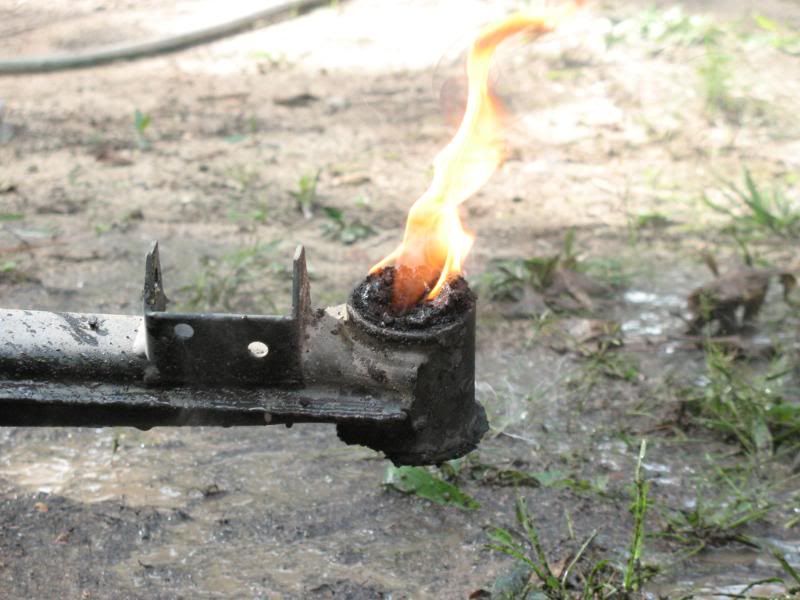
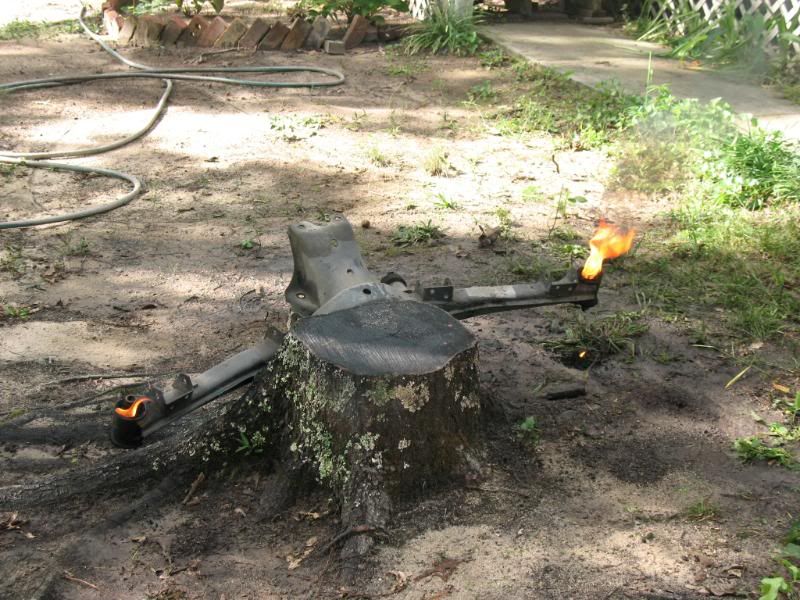
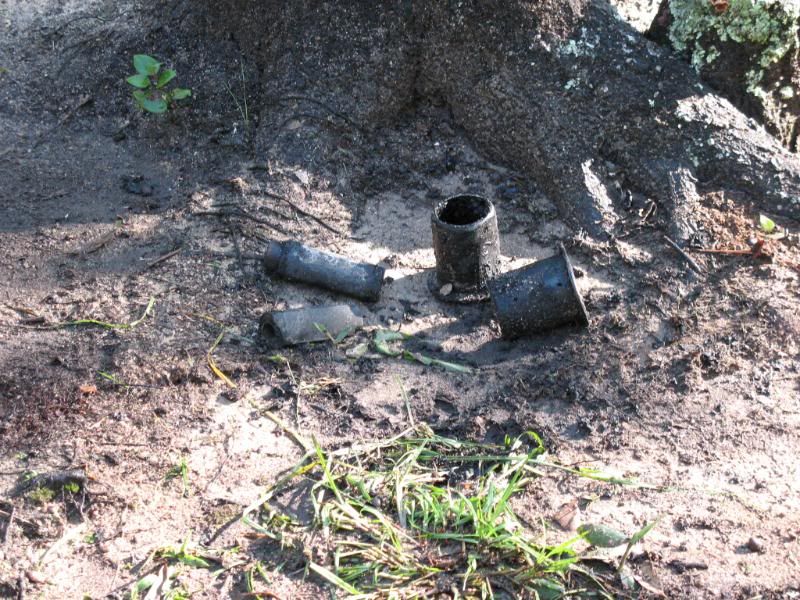
mmmmm yucky subframe
Between lots of heat, melting rubber and rust, it wasn't looking so good.
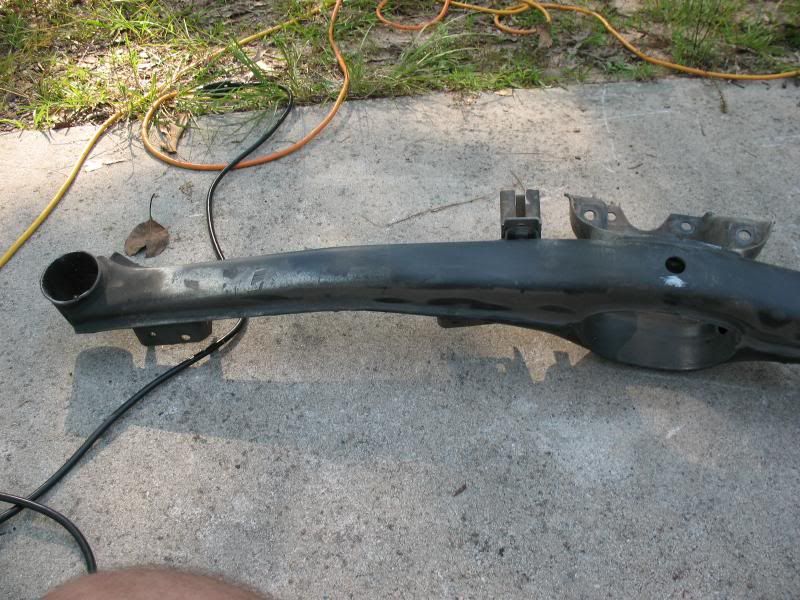
I used a steel wire brush ans tried cleaning it up, but it wasn't doing a darn thing, whatever rubber was left was just globbing up. I then took a selection of wire wheels and sanding discs and my 18v corded drill and had some fun
I didn't get them perfect, as that is not the goal. The rust is removed any the surface was gone over to prepare for paint.
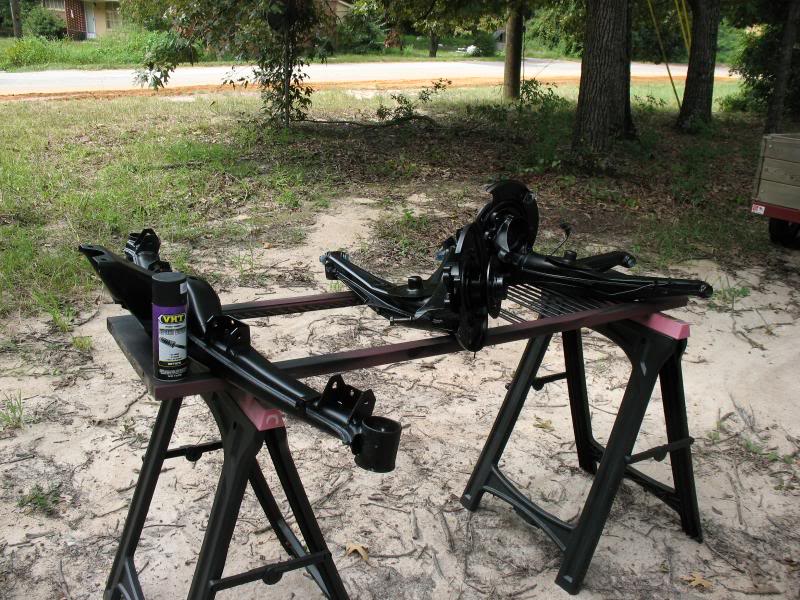
Over to the hi-tek paint lab we go...
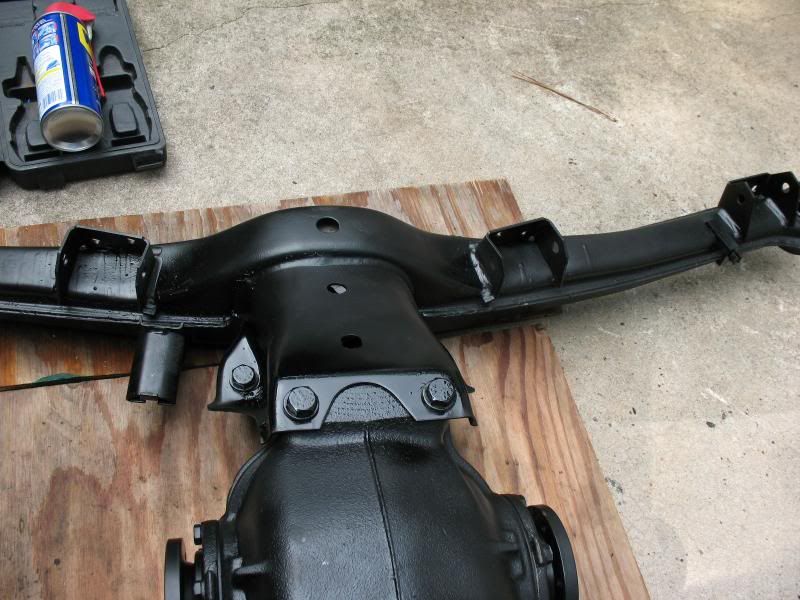
Overall they came out good. Plenty good enough for pretty much never being seen under the car. I knew these parts would take some scrapes/chips during the install process but touch-up would be easy.
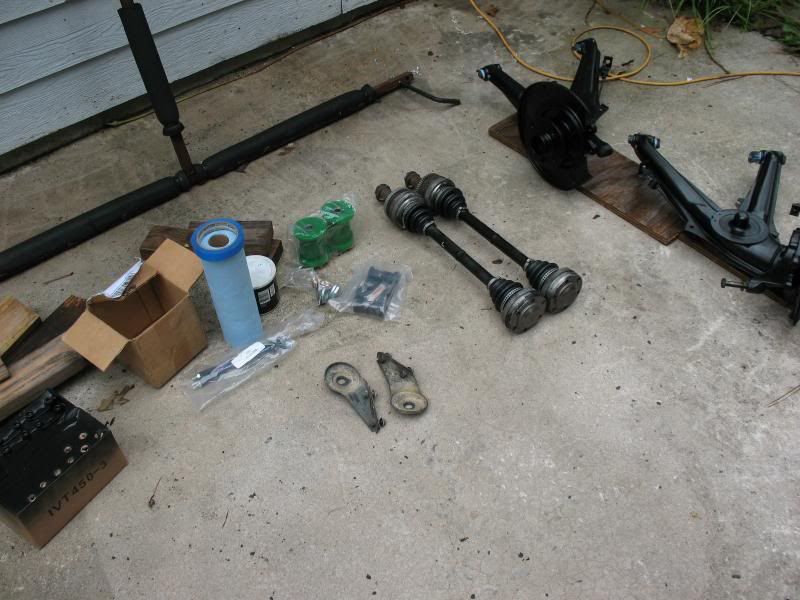
Got the parts together
including the hardware bag that took about an hour to find
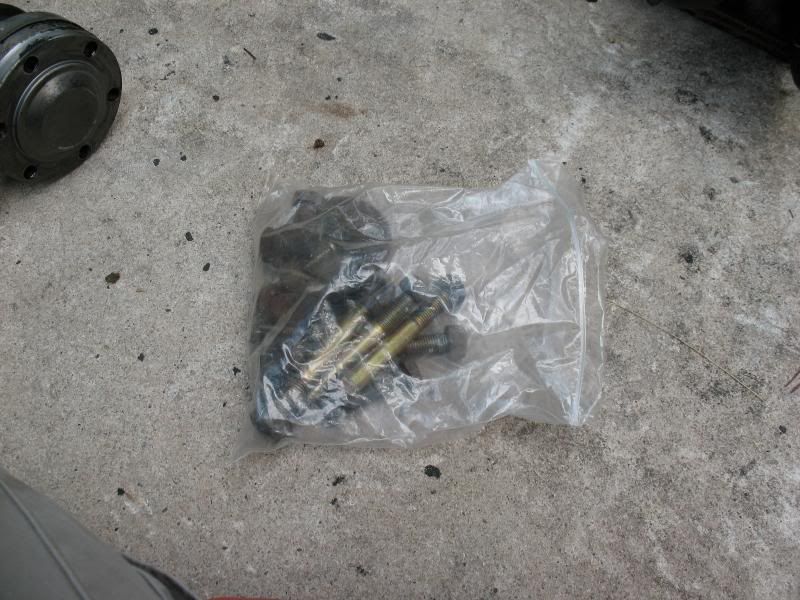
test fit of the bolts - still good. I cleaned the threads up with the steel wire brush and applied anti-seize.... today was a good day for anti-seize
To prevent the poly bushings from squeeking they need to be liberally greased. I was going to use a synthetic lithium chassis grease but then did some reading any many reccomended to use regular anti-seize. From what I gather, the grease will dry up over time and cause squeeks, when the anti-seize dries up it leaves behind a residue that should prevent squeeking. Being liberal with the anti-seize means things are gonna get messy.
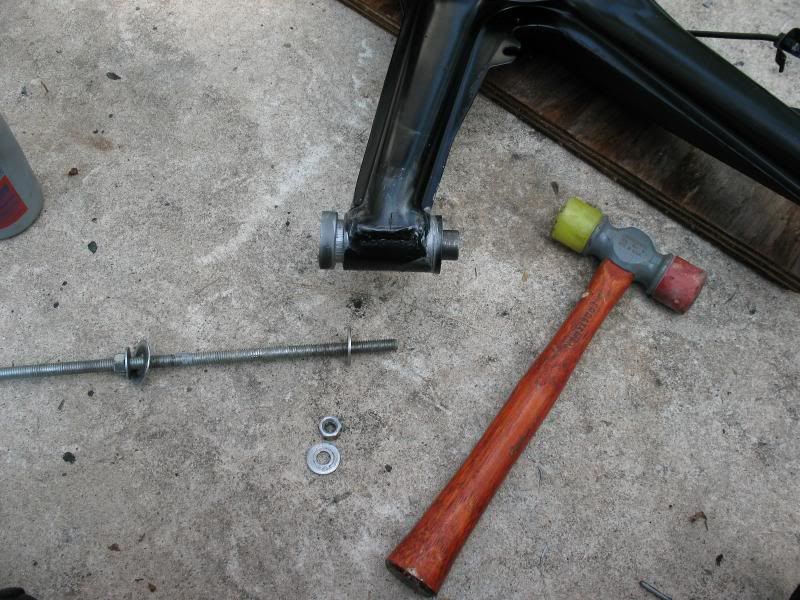
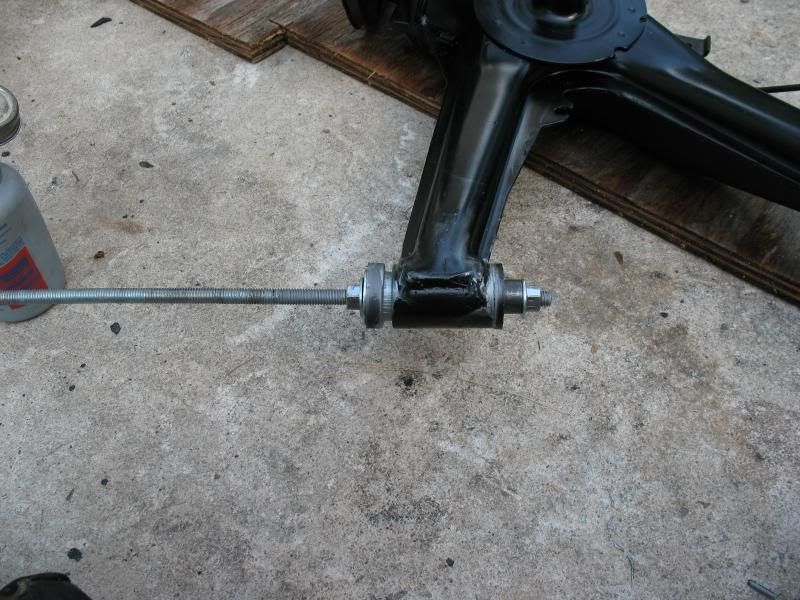
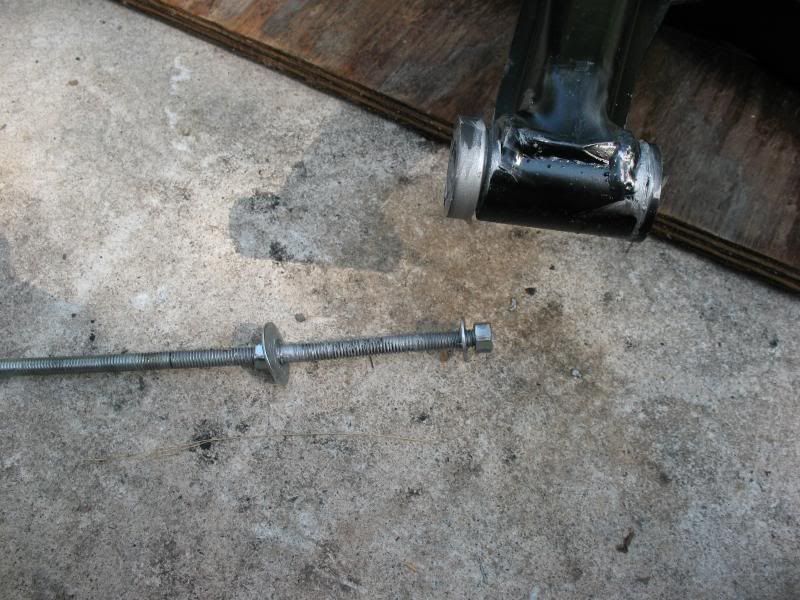
I was able to easy bump the poly trailing arm bushings in with the small hammer, but trying to get the inner metal sleeve in with the hammer was not working... so I pulled out my trusty 3/8" all-thread that has been over stressed and not used for its intended purpose. What a good little group of hardware.
Once the entire e30 project is done, I don't think this thing is going to have much useful life left - but it treated me oh so well
BAM!
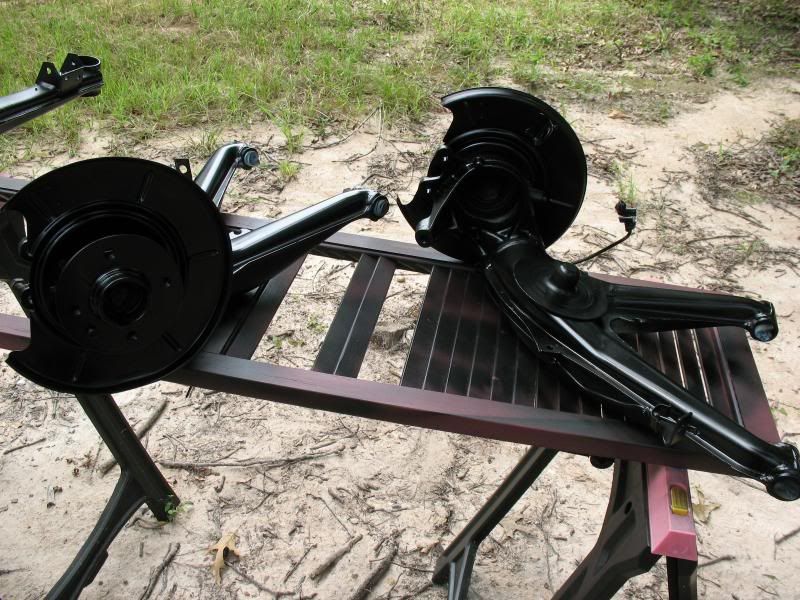
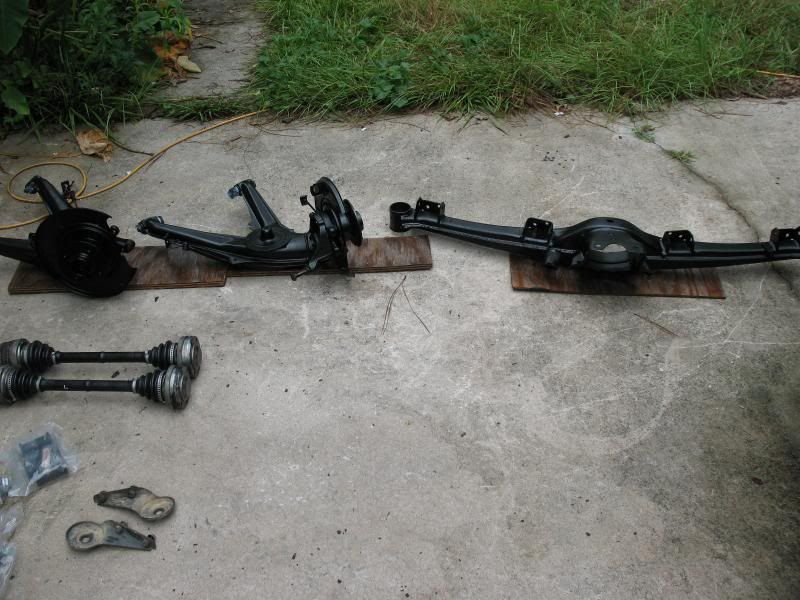
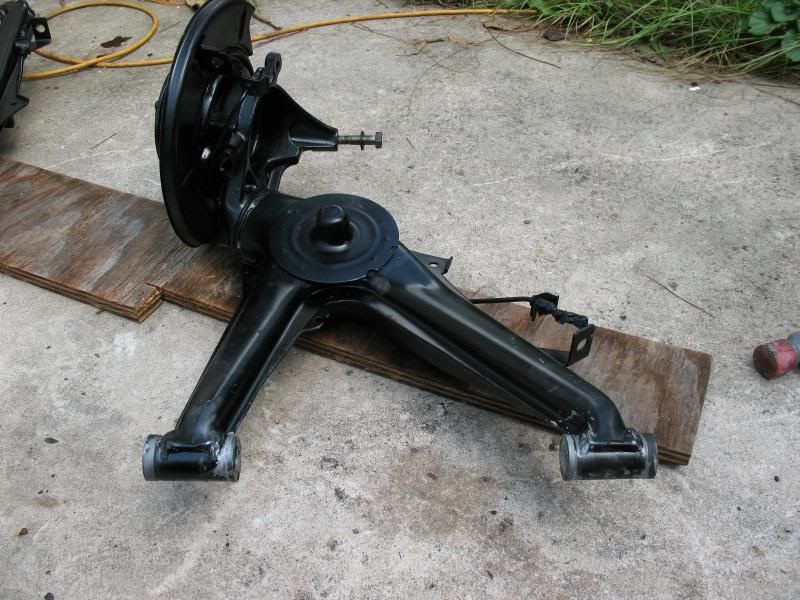
Then it was time to put the trailing arm on the sub frame. I was first fighting with it to line up then trying to hammer it in - all that was doing was starting to tear up the poly bushings. Realizing that once it is all together it is going to tighten up against the inner metal sleeve, I then took the hammer and tapped the slots apart a bit - trailing arm slipped right in and when I tightened it down it all came together very nice.
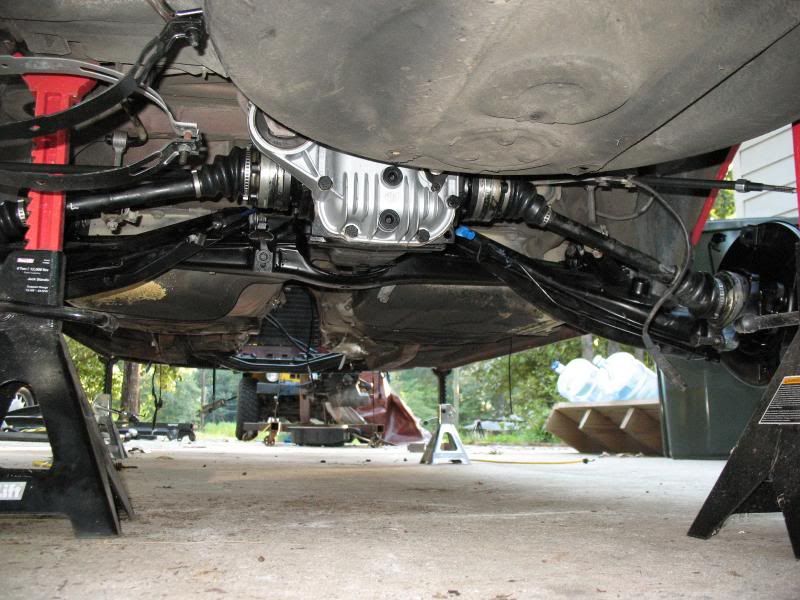
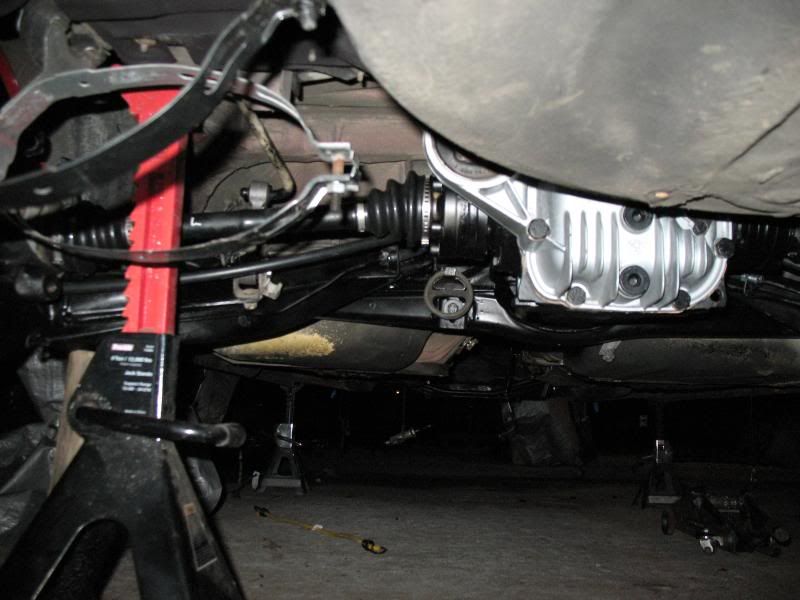
Then the CV axles went in. I was only able to get the bolts holding them to the diff so tight before it kept turning. Not a big deal though as once the car is back on the ground with tires, I am going to go over all the hardware for the rear subframe and tighten them up
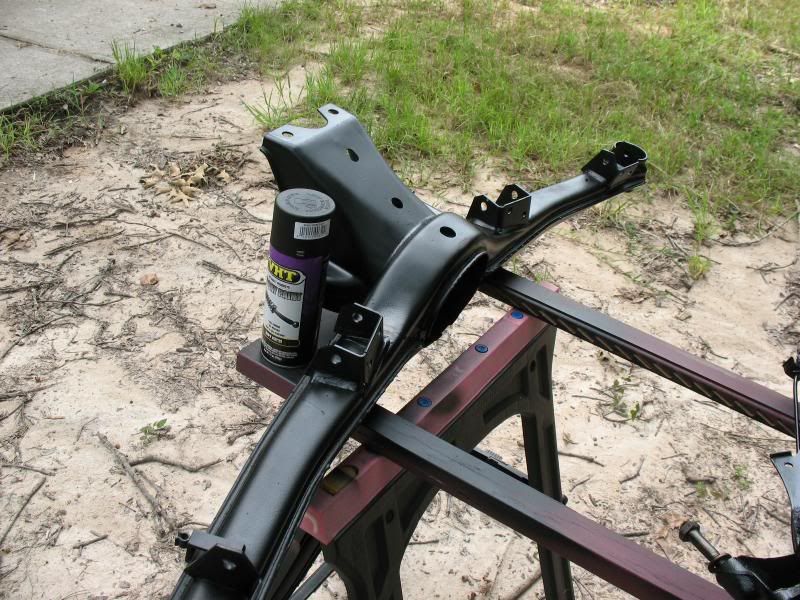
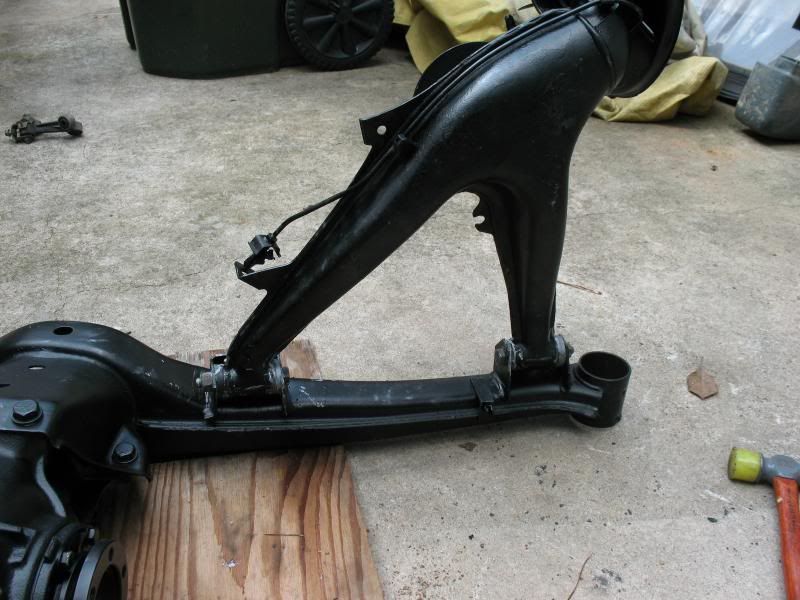
The poly subframe bushings were easy enough - again liberal amounts of anti-seize was used. They are a 2-piece design and just slipped in. The steel washers on top had to be slightly opened up with a file to fit over the center sleeve.
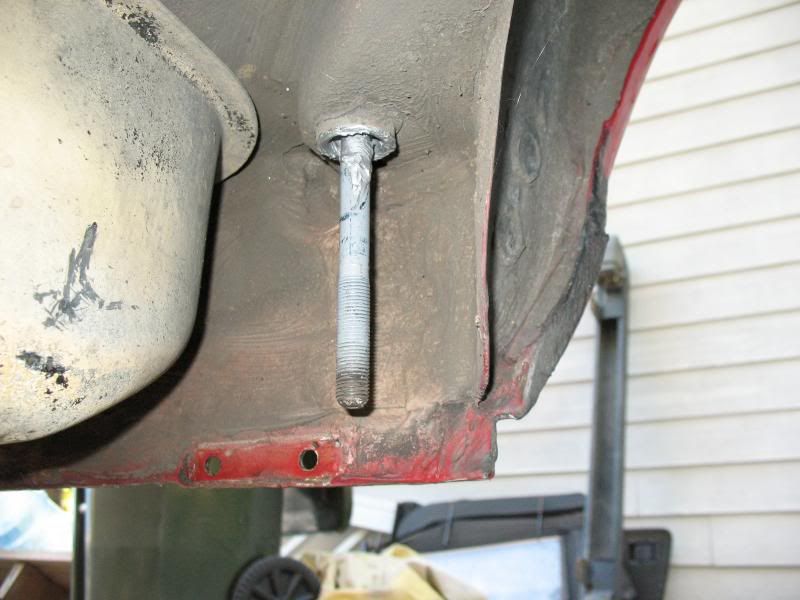
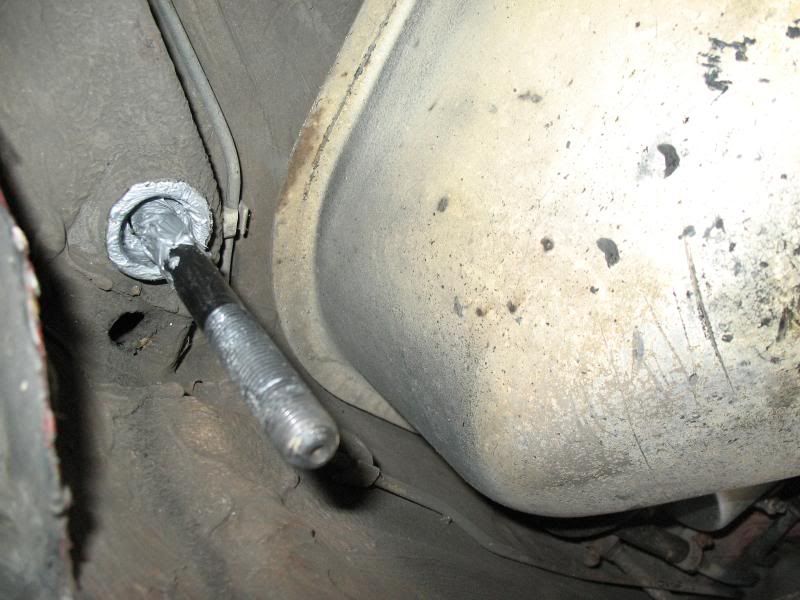
The subframe mounts to the chassis in two places. This long "bolt" gets installed from the inside. Normally it is under the rear seat but on the convertible it is tucked away in the corner. The head of the "bolt" has splines that fit into the body, so it dosen't need to be held. I put them in and felt them engage then used the same purpose-bent steel rod I used for removing the broken bushing from the chassis. I placed the rod in the hole above the head of the "bolt" and hit it with the hammer to get it to seat.
Then, again liberal amounts of anti-seize were applied
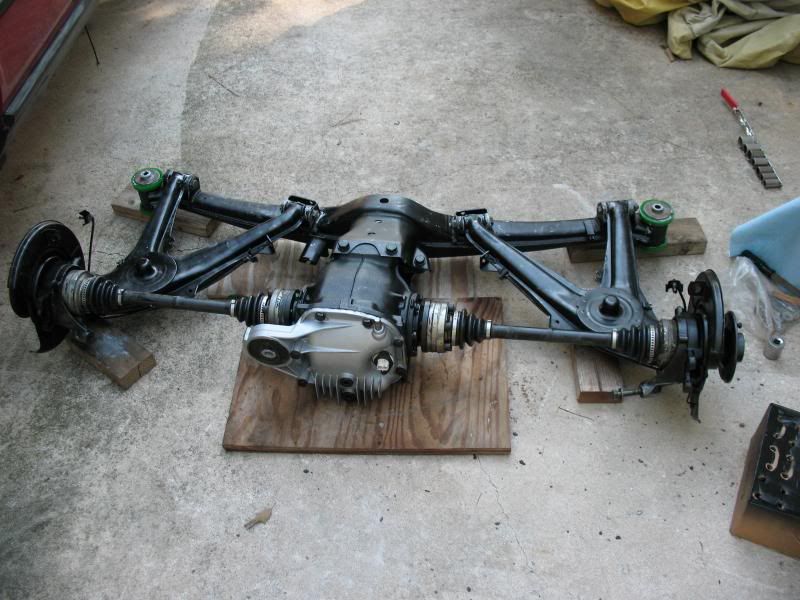
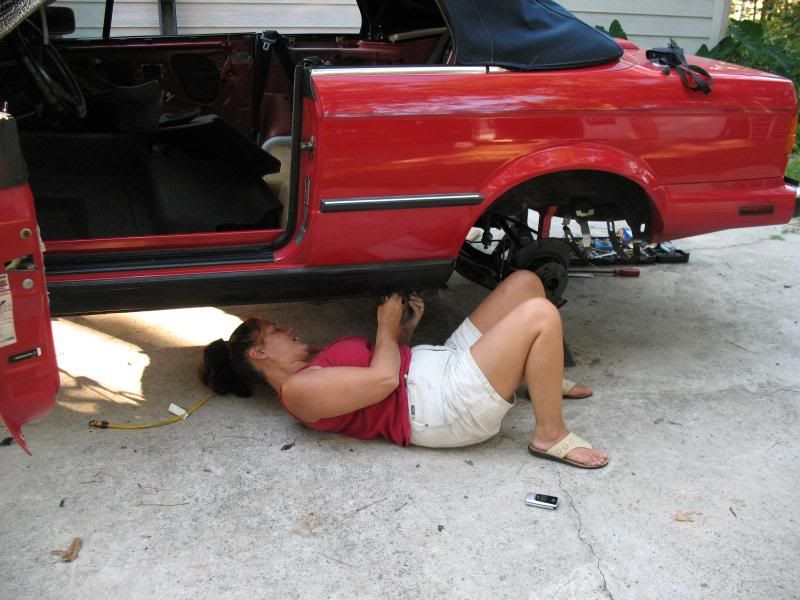
Now it was ready for the big show.... to get the subframe back onto the car. Getting it down was easy enough as it was already on the car. Getting it from the ground to the car was the difficult part. It was slid under the car and through a series of events with ply wood, pieces of 2x4, a pry bar and the jack we got it supported by the jack, and were able to move it around, and of course use the floor jack to raise it.
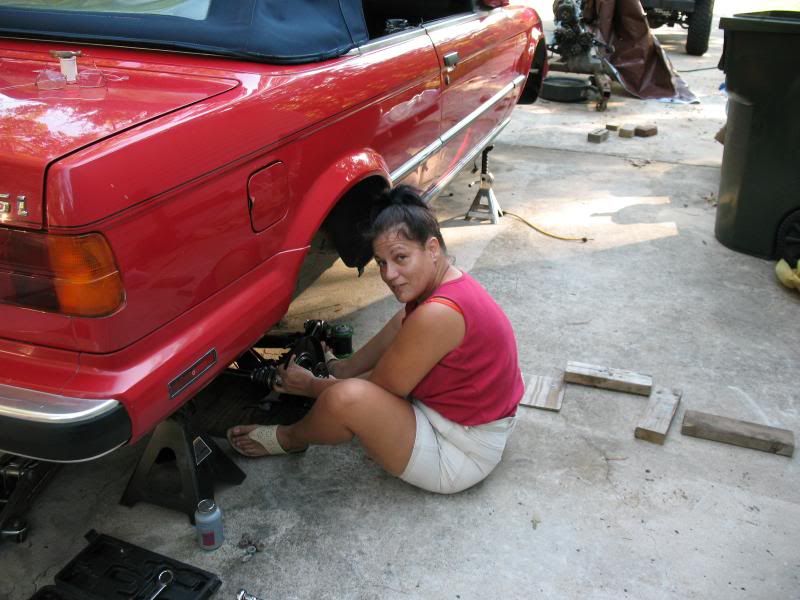
My mother is visiting me for a few days, and I knew this task would require two people, atleast one to help support the whole thing (balancing on 1 floor jack) and help line up the rods into the bushings etc...
I wasn't expecting my mom to get so into it and have fun working on the car though. She was an aircraft mechanic in the Air Force and later the Air National Guard - she loved her job but was medically discharged in 1998 due to a bad car accident. She came up with pretty neat ideas to help get the whole subframe assembly on the plywood from the ground, to resting on the jack (including the plywood). Due to the weight and design of it, it is very difficult, if not impossible for us to simply lift it up. As we were working on the car she said "this is fun.... it reminds me of working on the airplanes" then in typical female fashion commented about not wearing makeup when I took some pics of her working on the car.
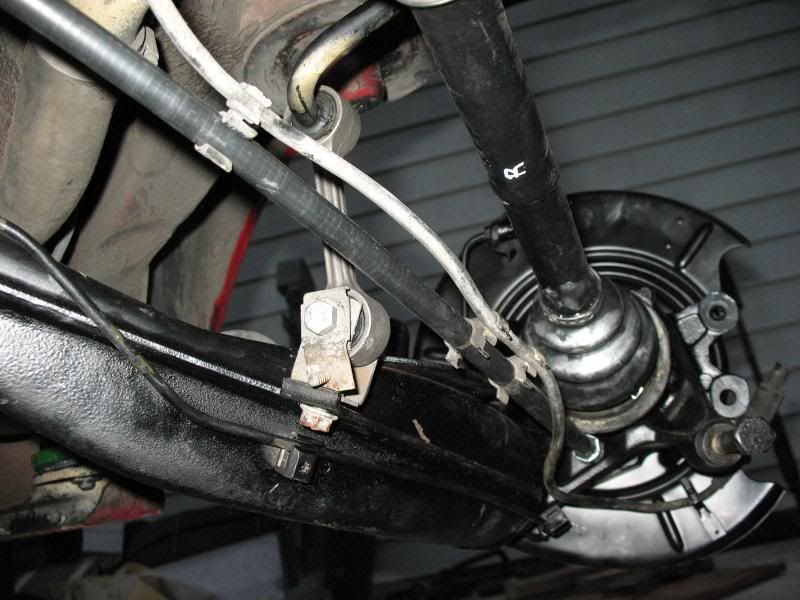
and with that, the subframe assembly was now once again part of the car
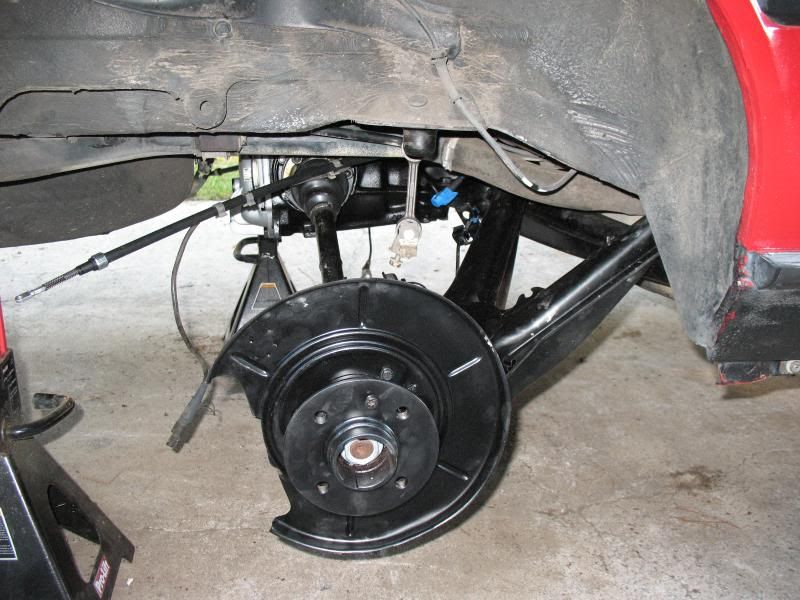
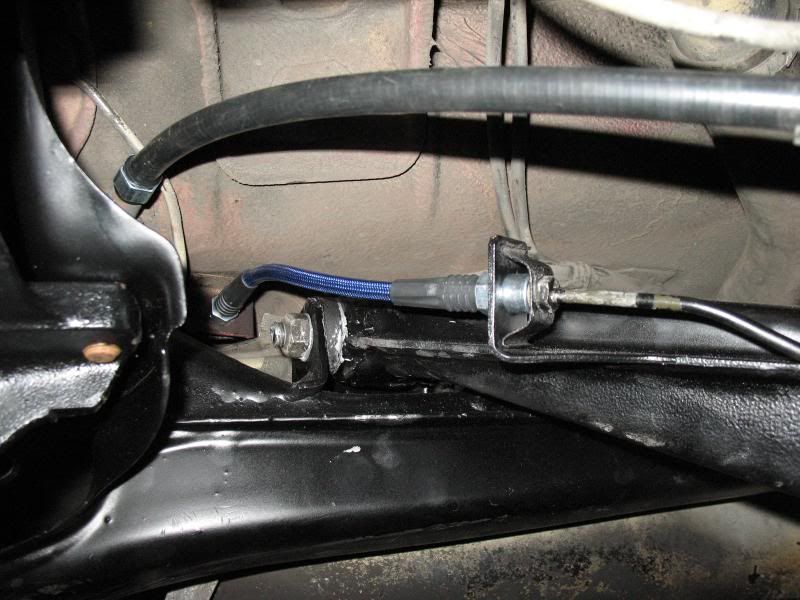
The new inner rear brake lines, also the new parking brake cables. These brake lines are not as hard to get at with the subframe installed as I thought they would be.
I then loosely installed other things like the sway bar brackets etc... It is all going to get tightened when the car is on the ground, but atleast it is together now.
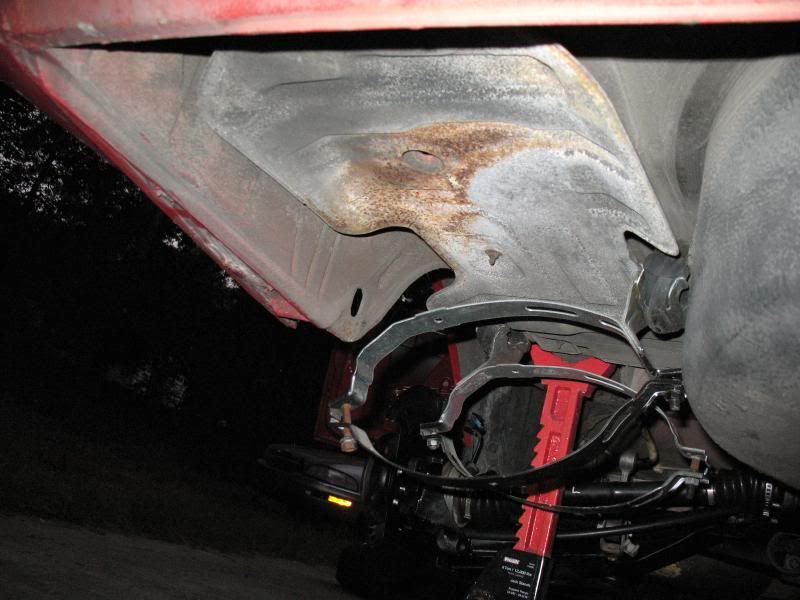
While laying under the car, I couldn't help but notice how ugly the heat sheild for the muffler looked
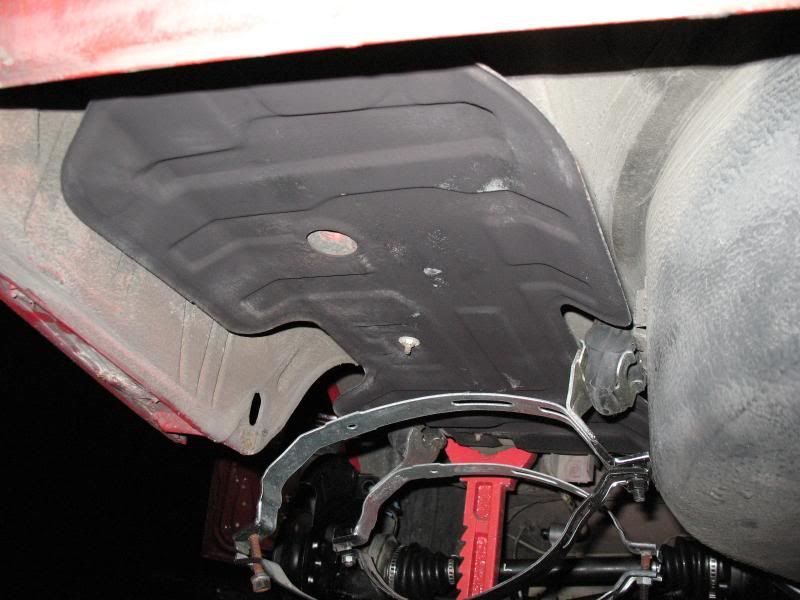
So that was removed and painted with hi-temp paint. I didn't let it dry long enough before handling it, but it dosen't really matter, there will be a muffler under it.
I then had a bit of the paint left over from painting the subframe and trailing arms, so I went back and touched up the areas that got scraped from installing it. I also painted the inner portion of the CV axles that bolts to the diff, spray a section turn the axles spray and it was done.
This is major progress. If I did not decide to pull the engine, the only thing left would have been to install the driveshaft, front steering/suspension, exhaust, then springs and shocks. But now it is a bit more with various engine work getting done, clutch replacement, steering rack swap etc... It'll be worth it though. I am so glad to get the rear subframe assembly back in the car.


Comment