

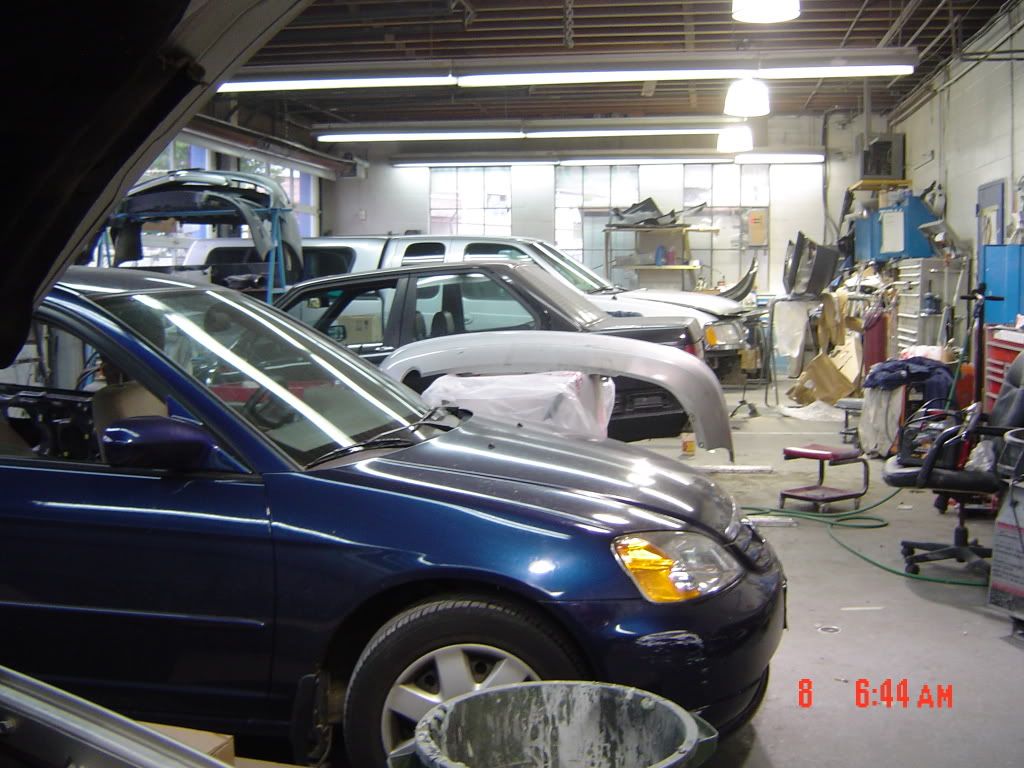
An Appropriate name for a project that came so close, but never happened...
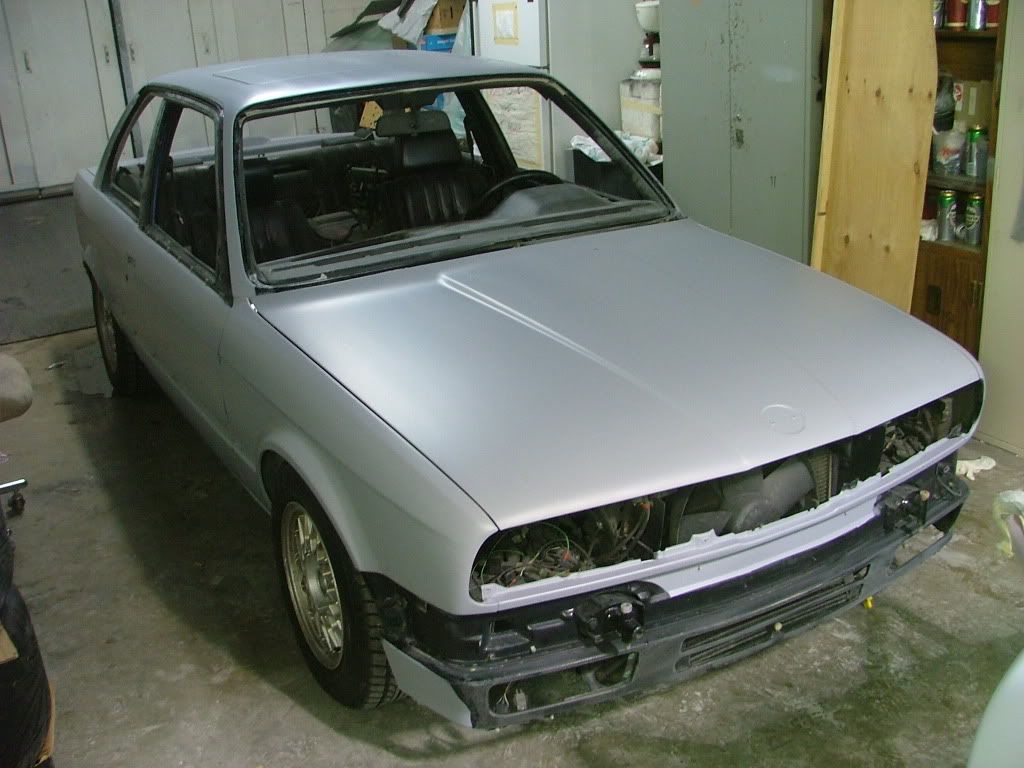
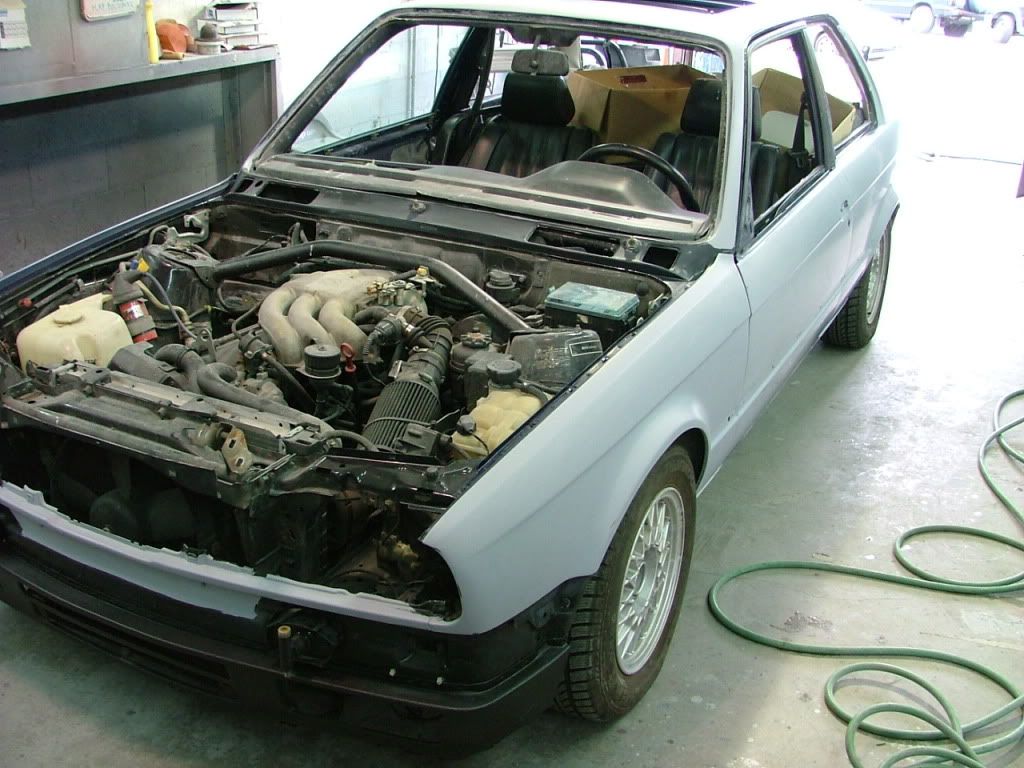
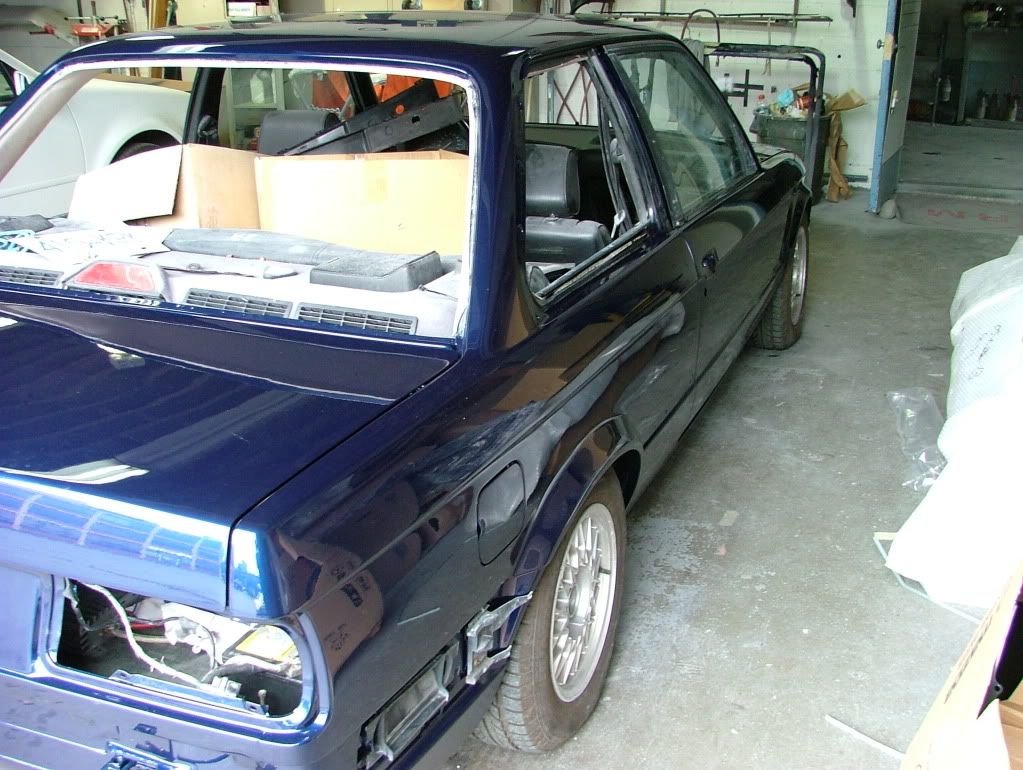
Started like this over a Year ago
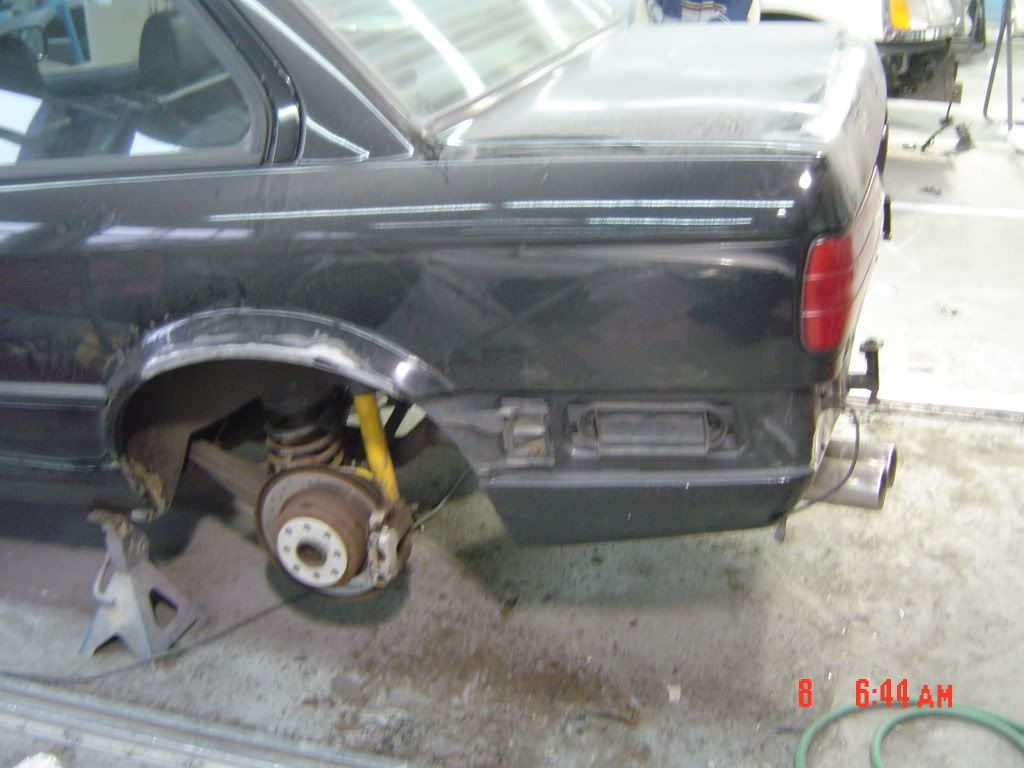

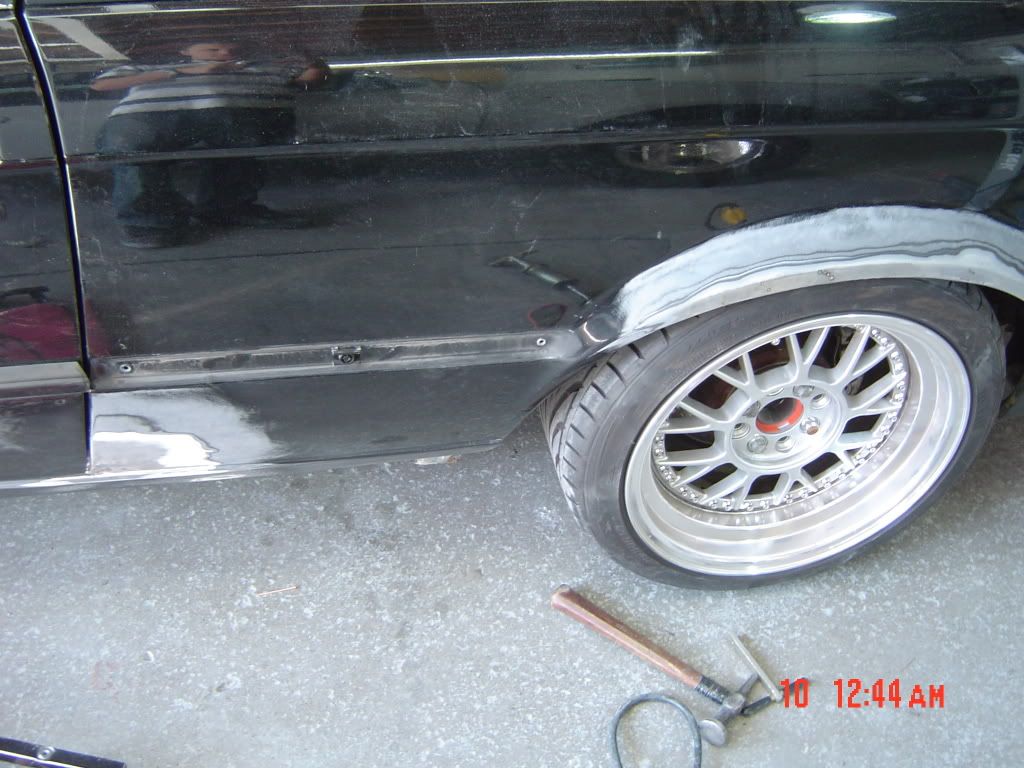
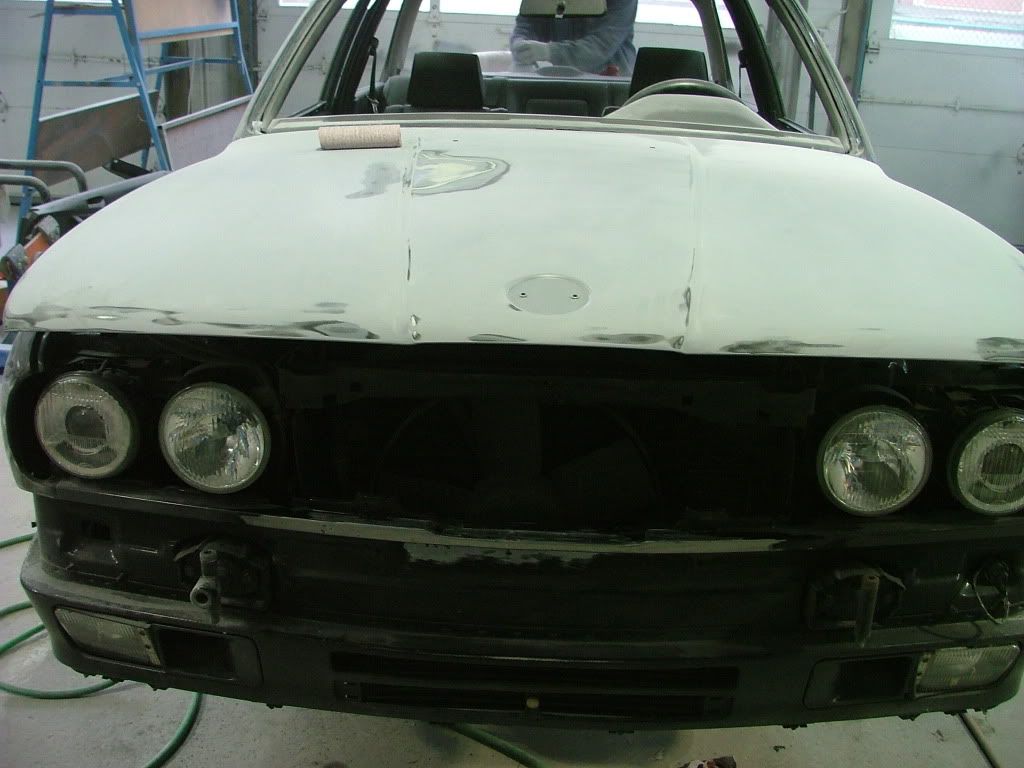
getting her ready for BONDO, patches were chopped out and the new peices welded and bonded in, inner wheel house hasnt been done yet, im dreading that
we used a peice of aluminum to go behind the holes to weld over so the weld didnt stick to it, but didnt blob out the back

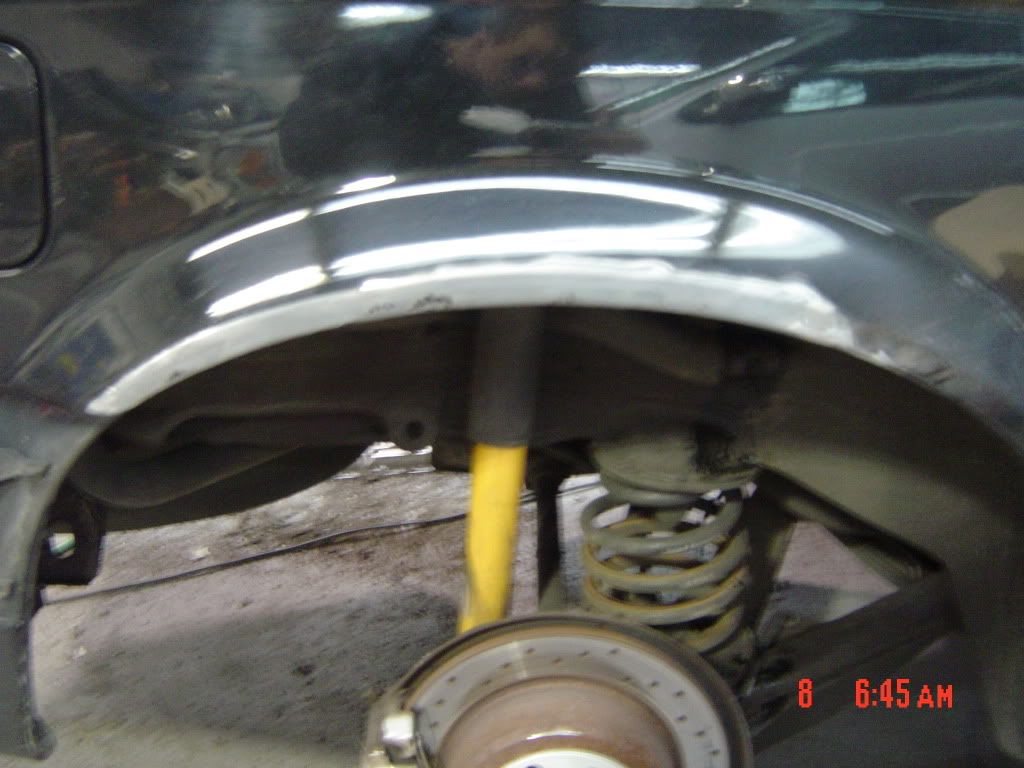
small peice of Sheet metal went behind the antenna hole and go spotted in
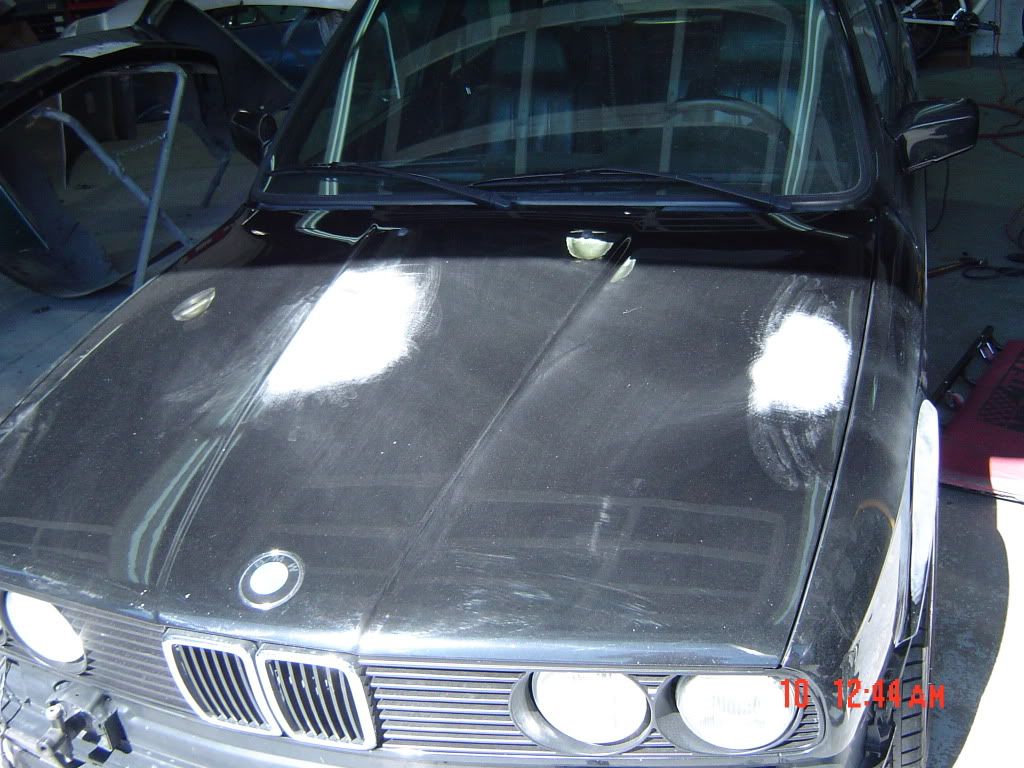
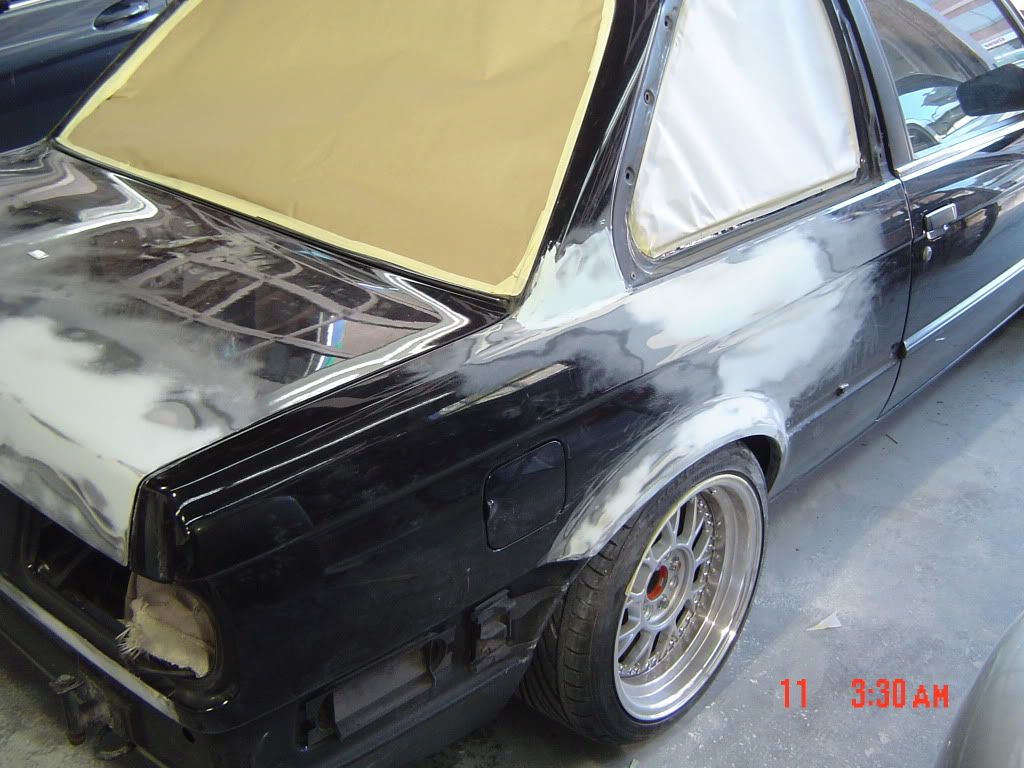
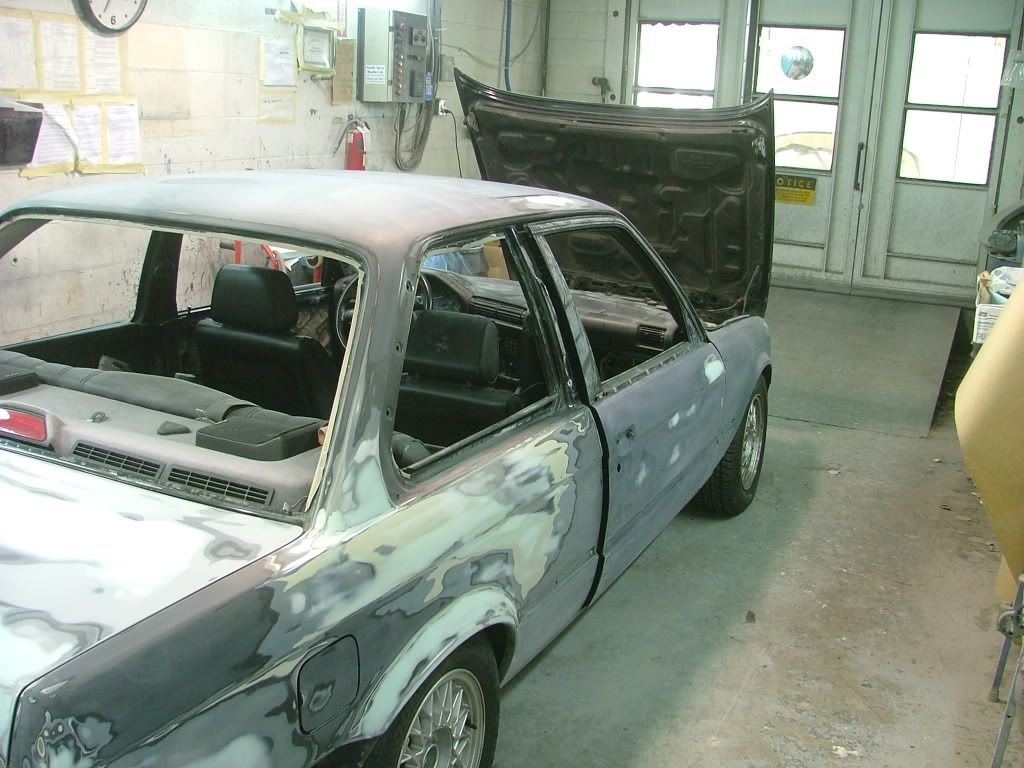
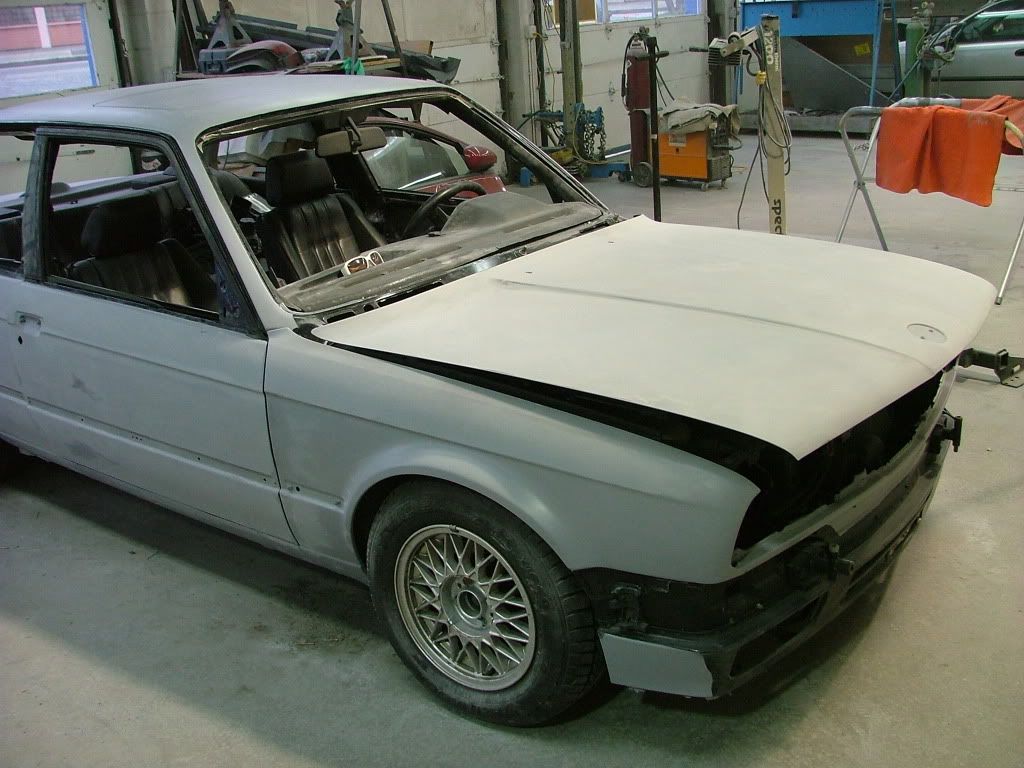
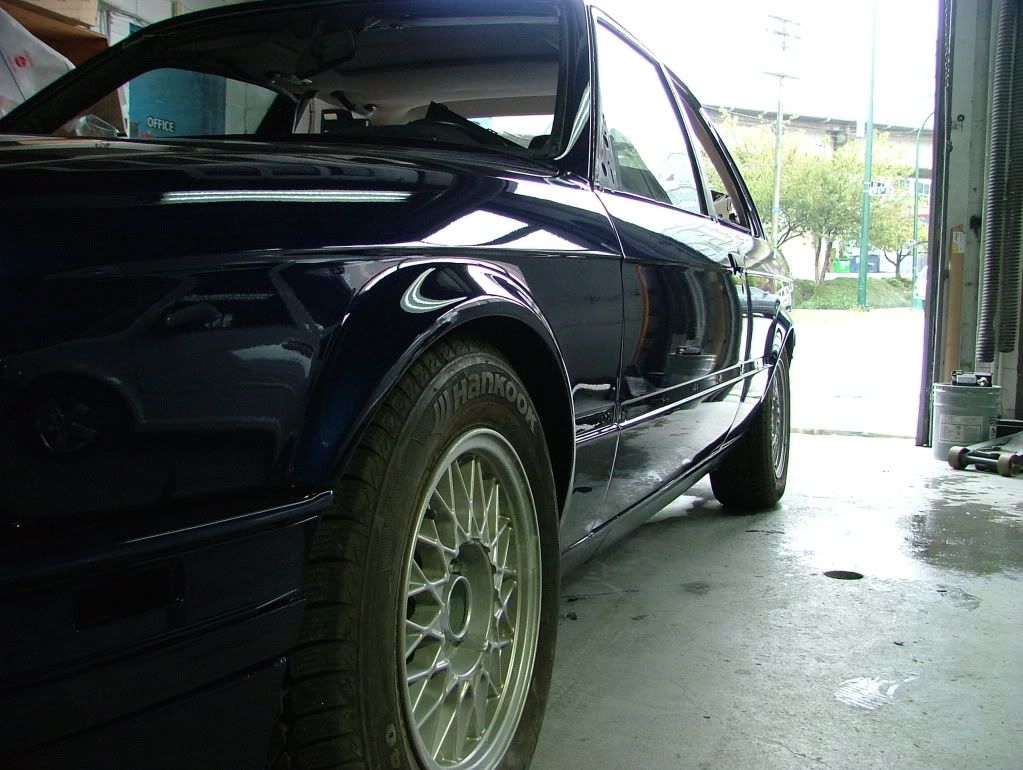
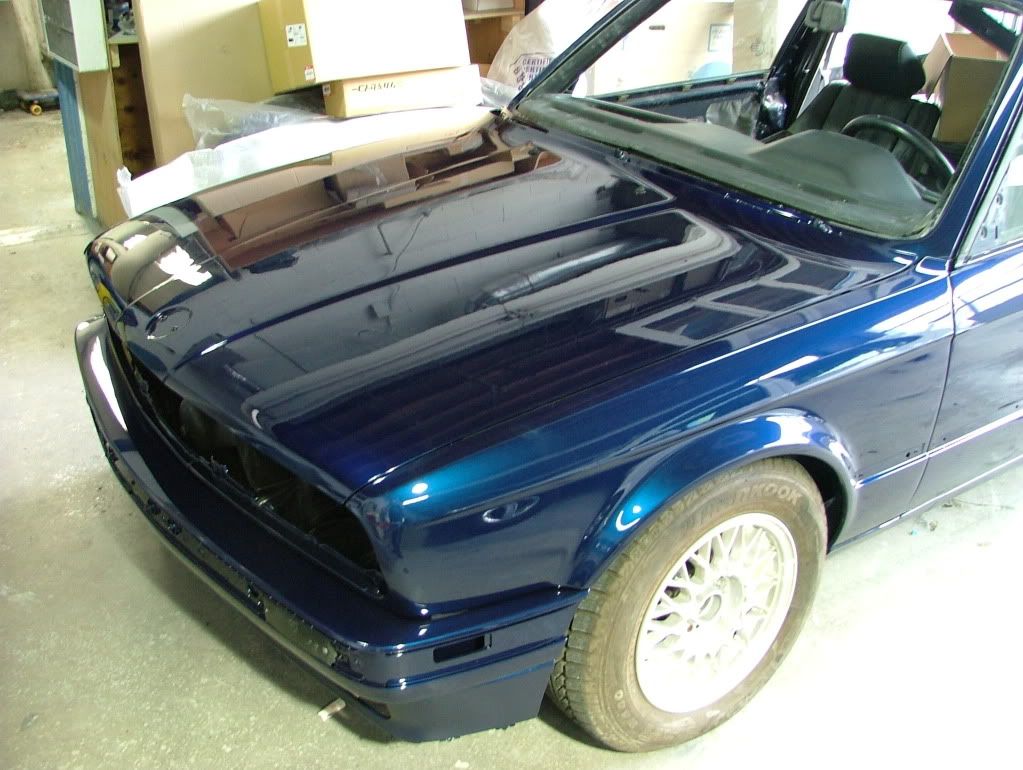
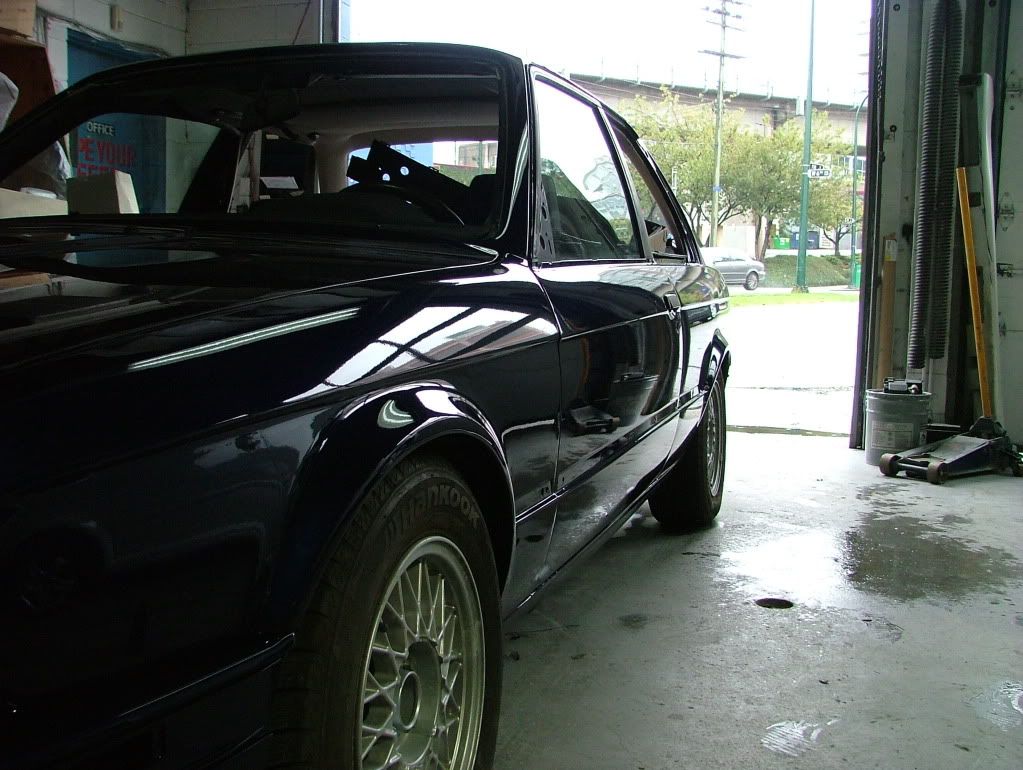
Well, the major body work is done, it wasnt too bad, lots of waves though, so there will be many a long night long boarding the car, i also slapped on the doors of my old car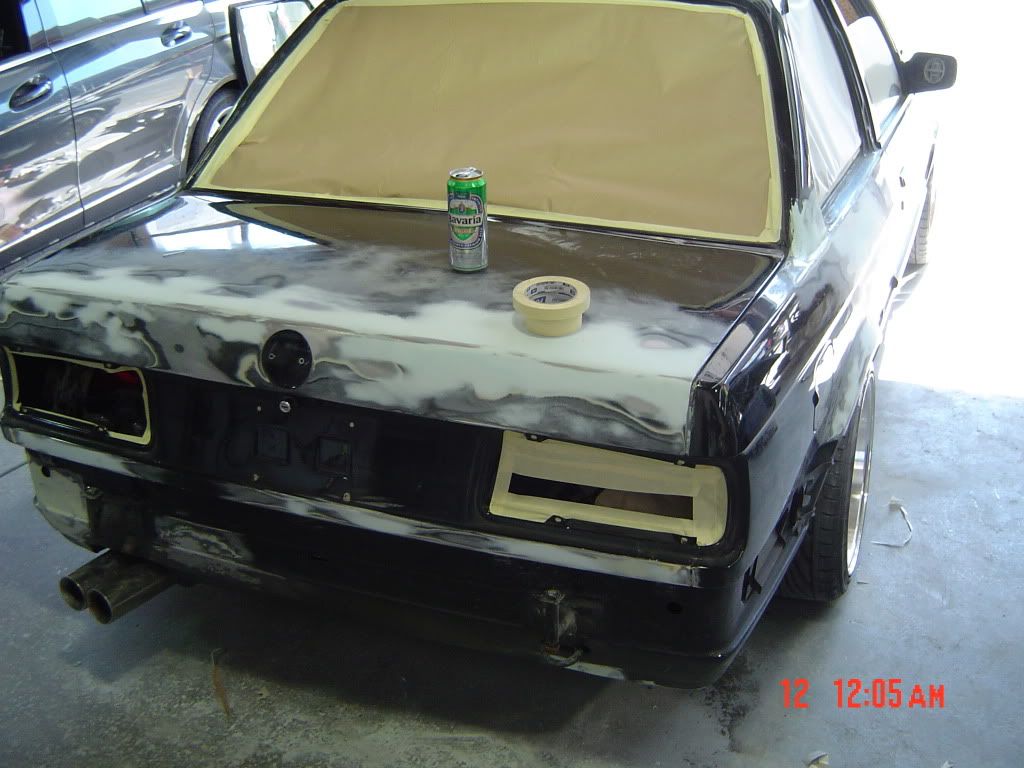


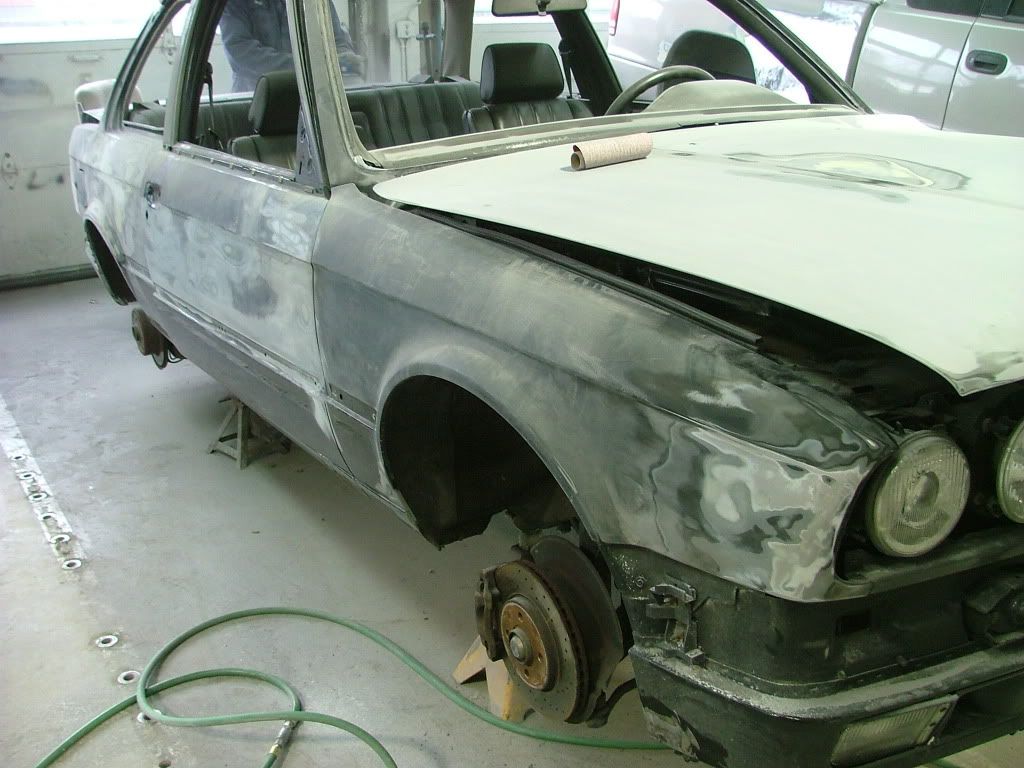

currently its awaiting primer.... ill post more pics of the progress i make today
final prep work is beeing done, 320 grit on a D/A sander over all to be primmed area, then by hand with 320 in harder areas, then once over entire with a red scotch brite pad (coarse grit) then mask and 3 coats of primer

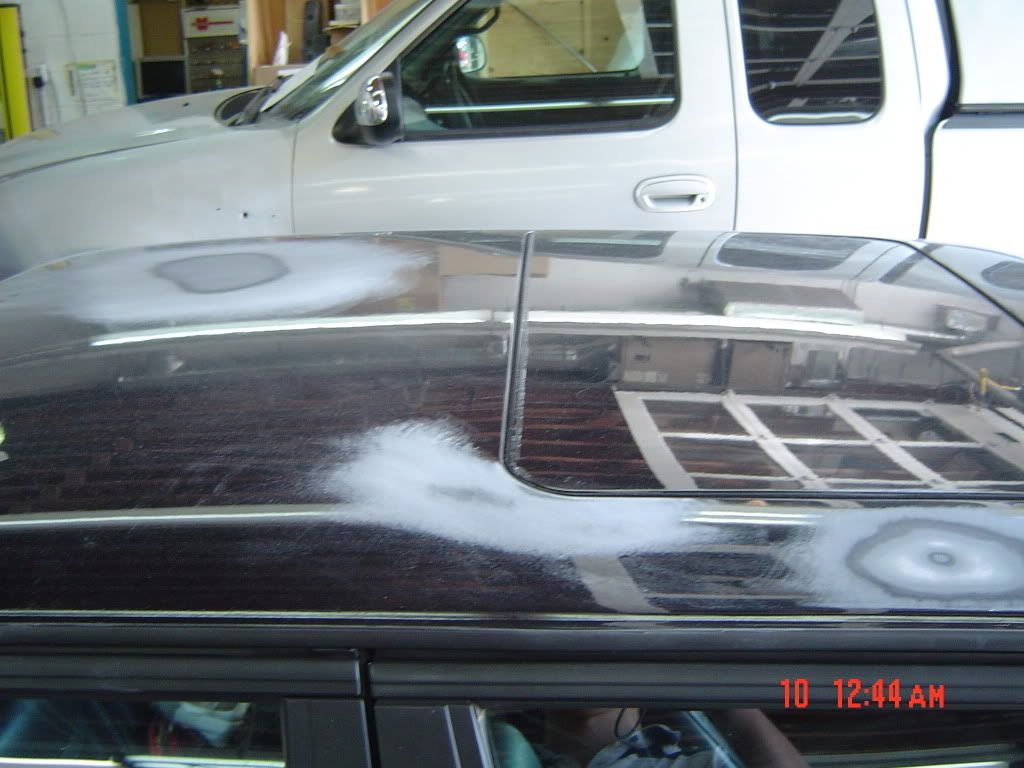
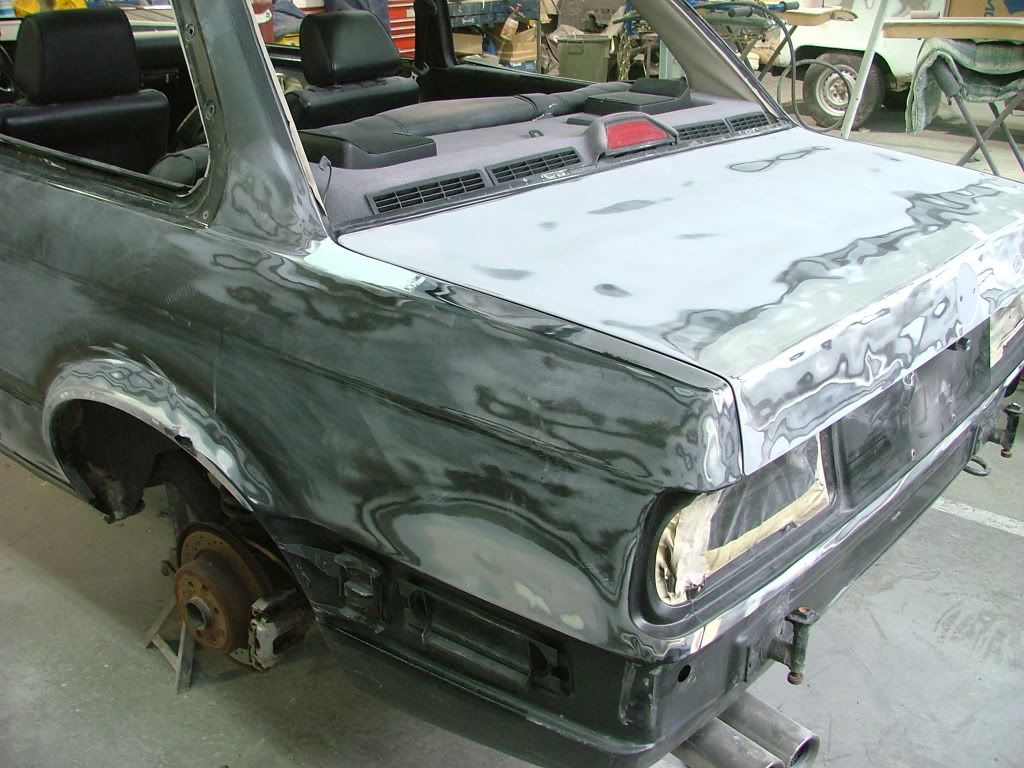
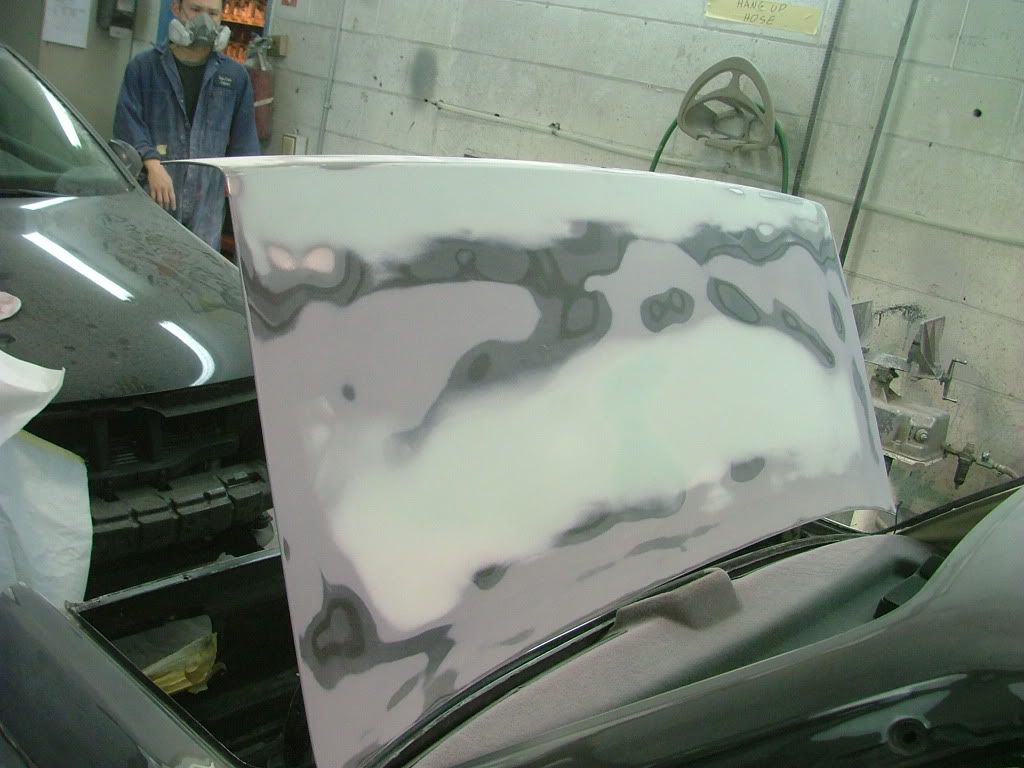
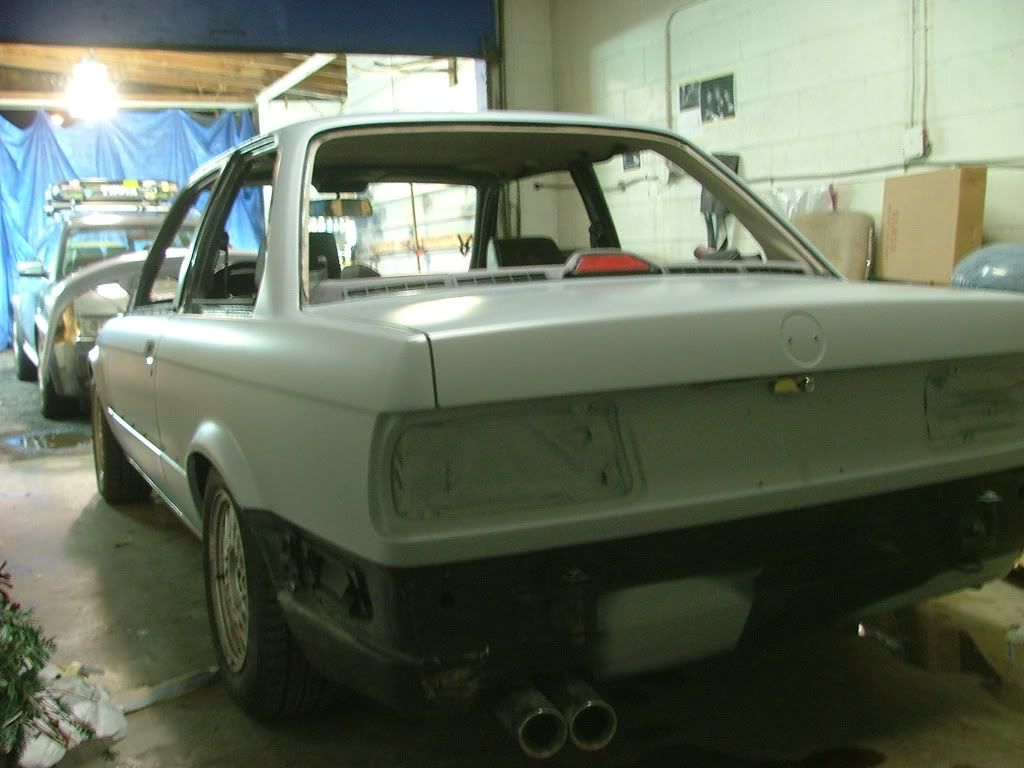
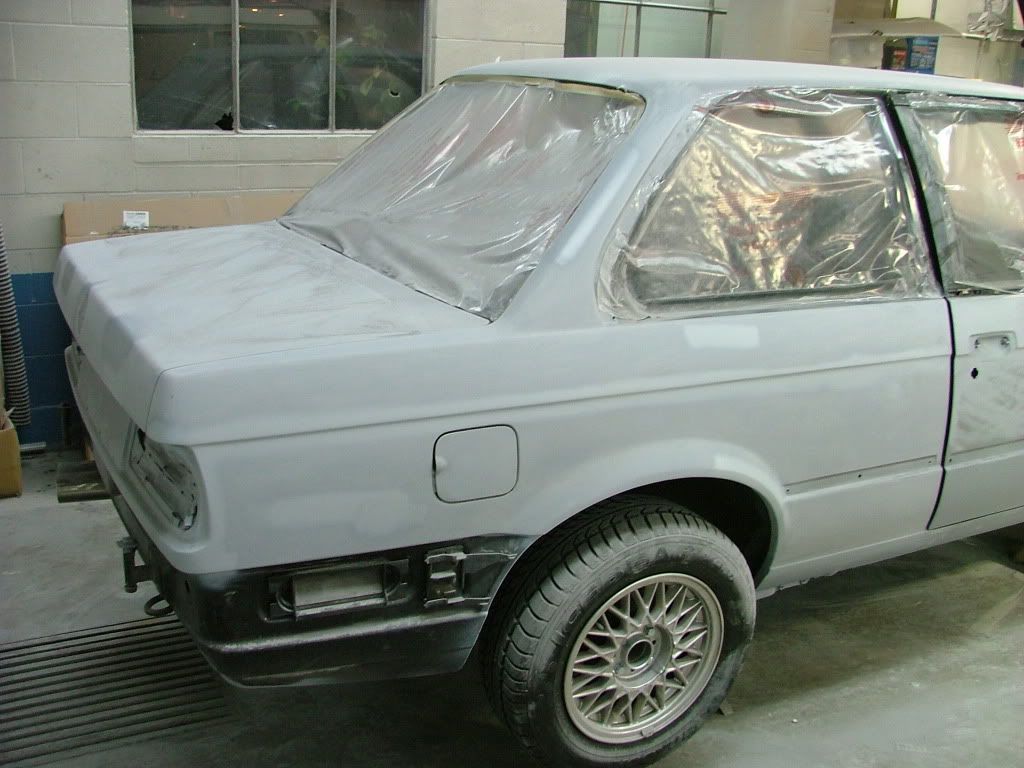
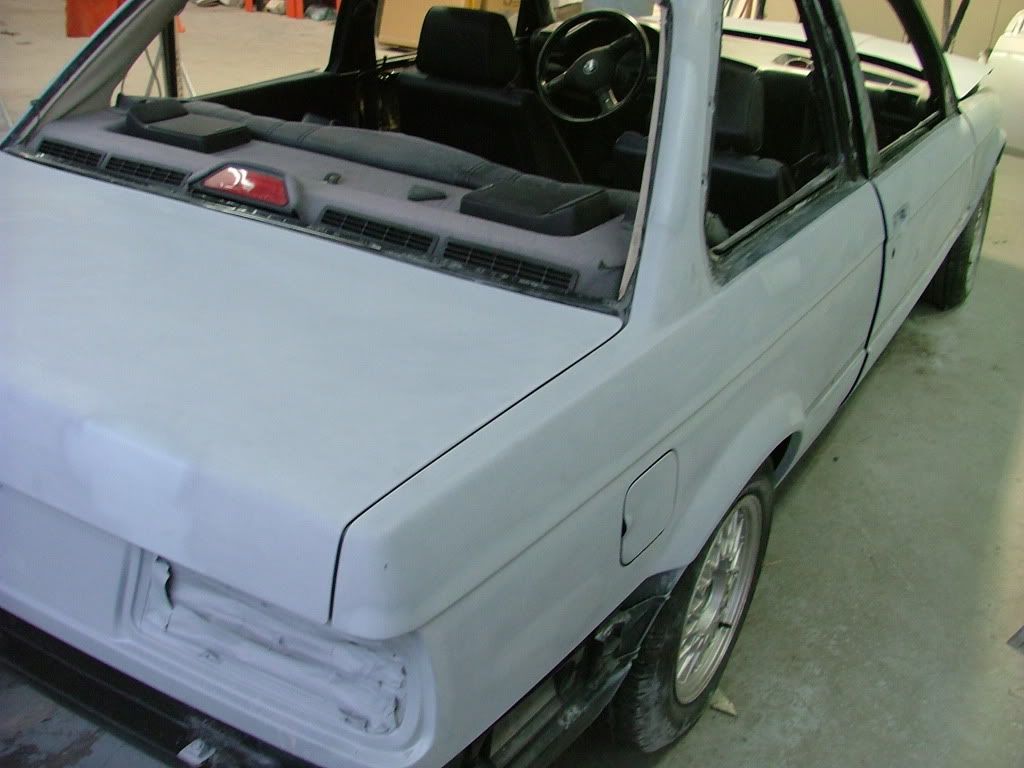
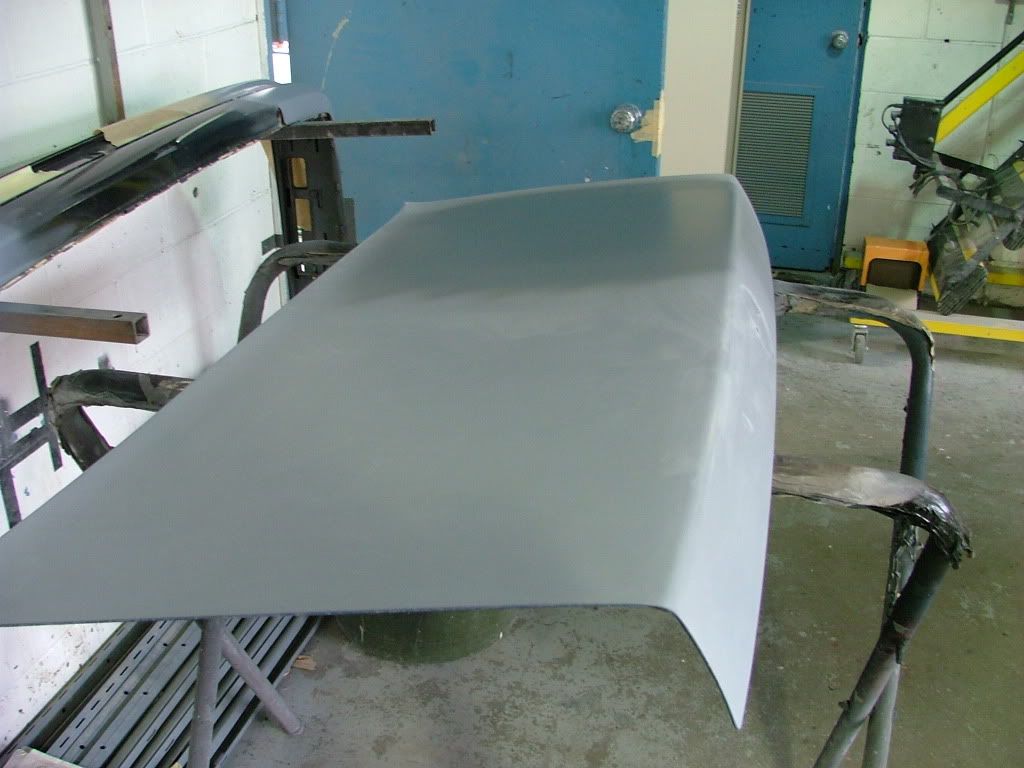
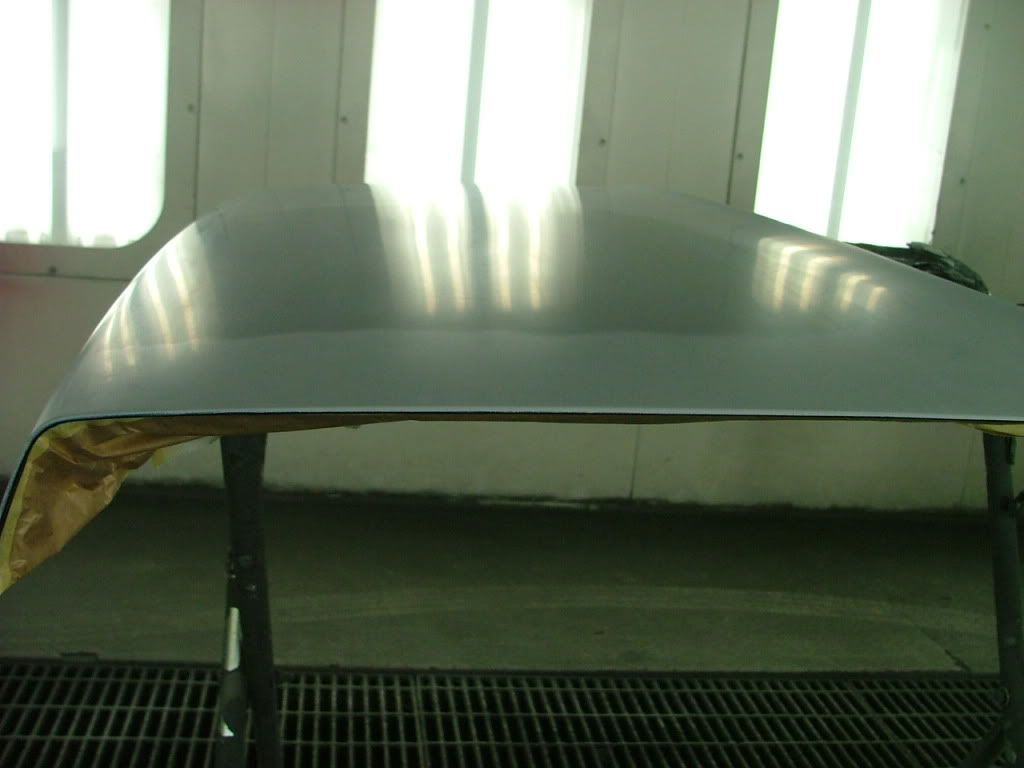
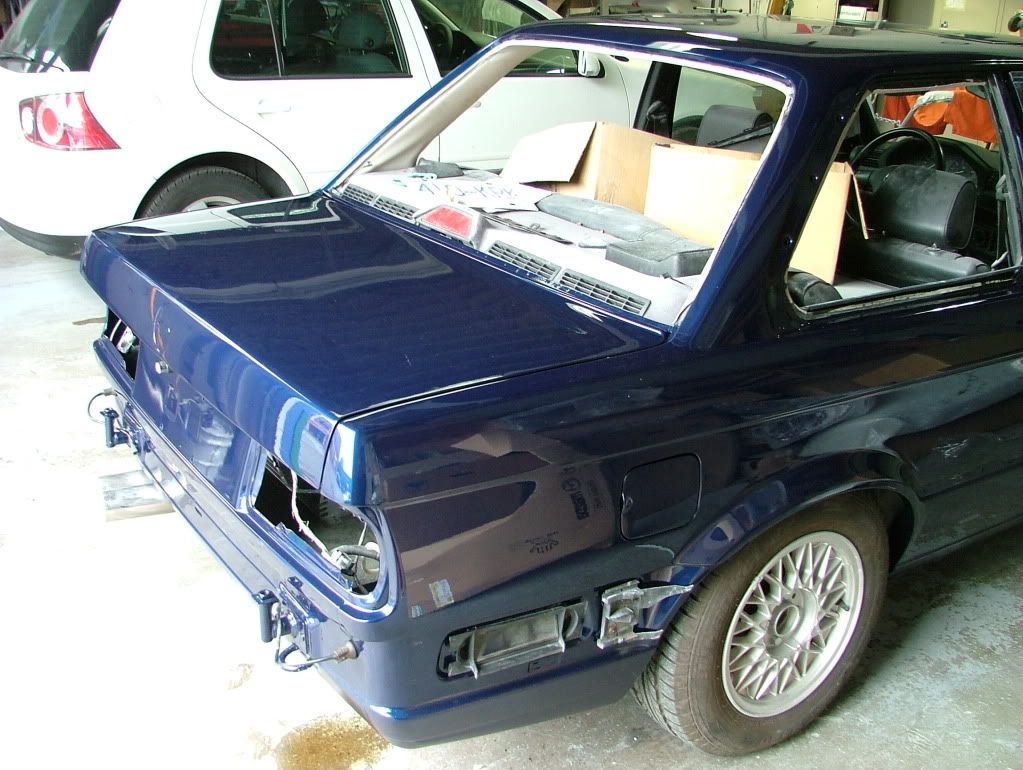
you can see here how the bracing of the trunk can cause humps and valleys if previously repaired
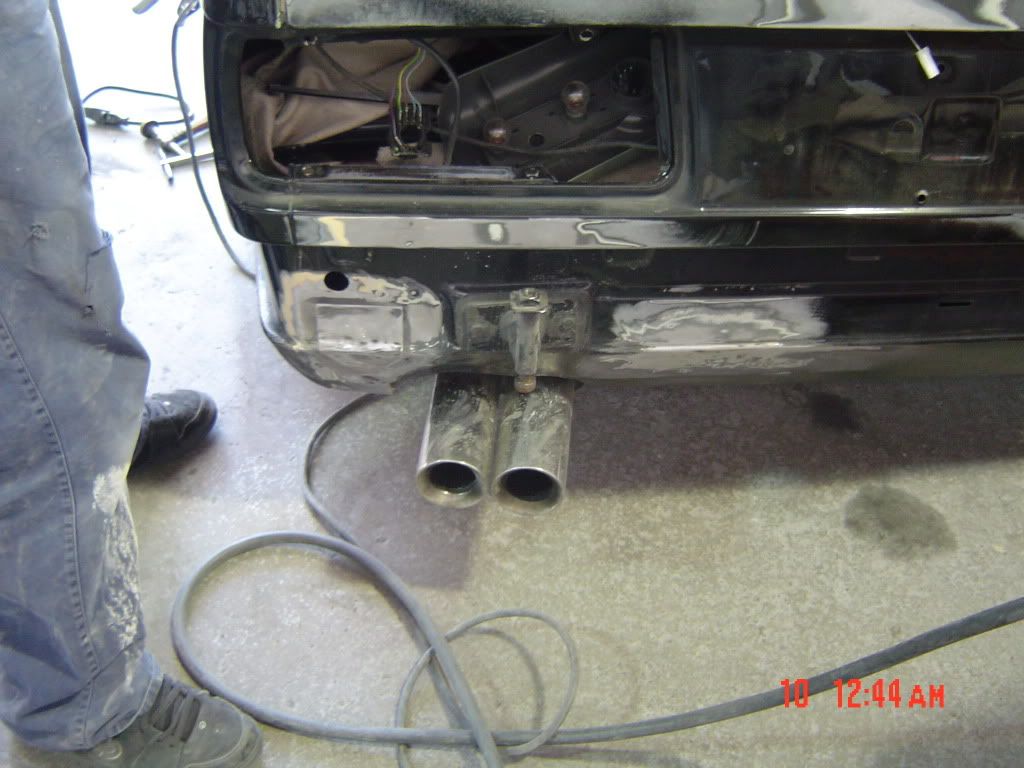
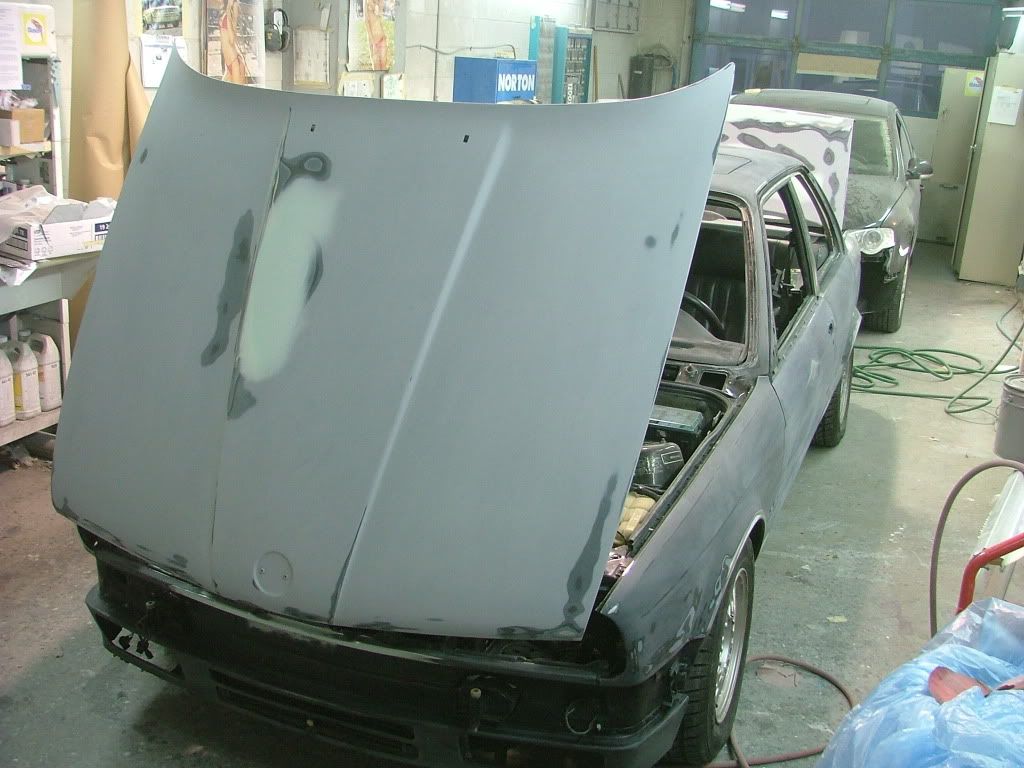
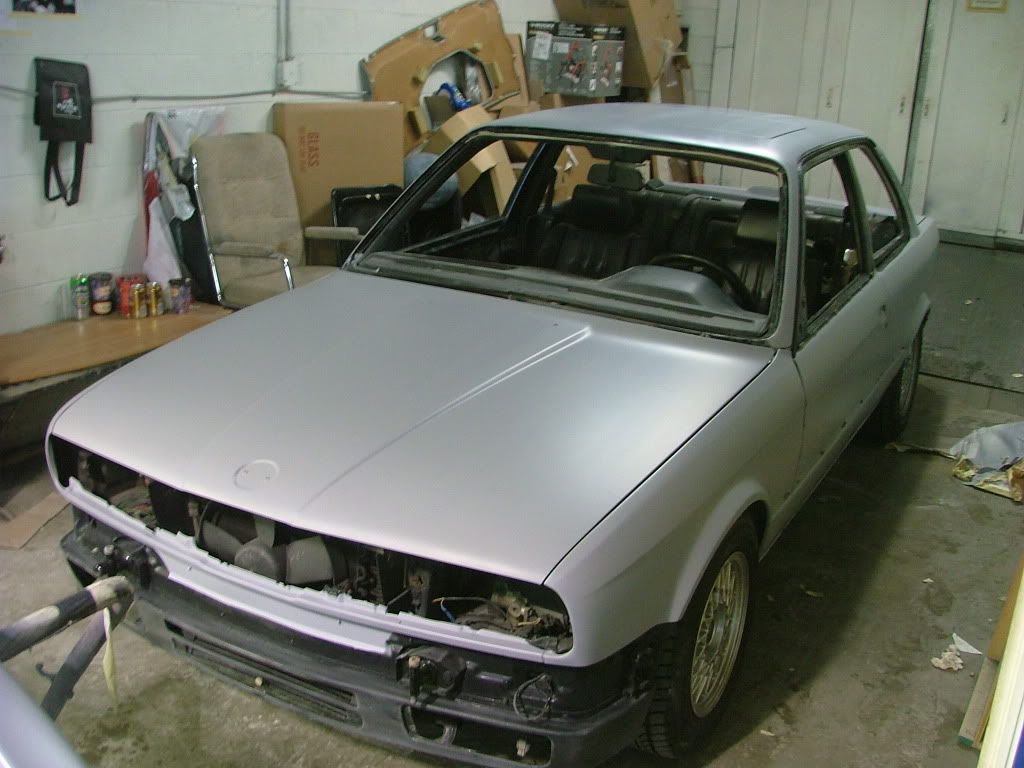
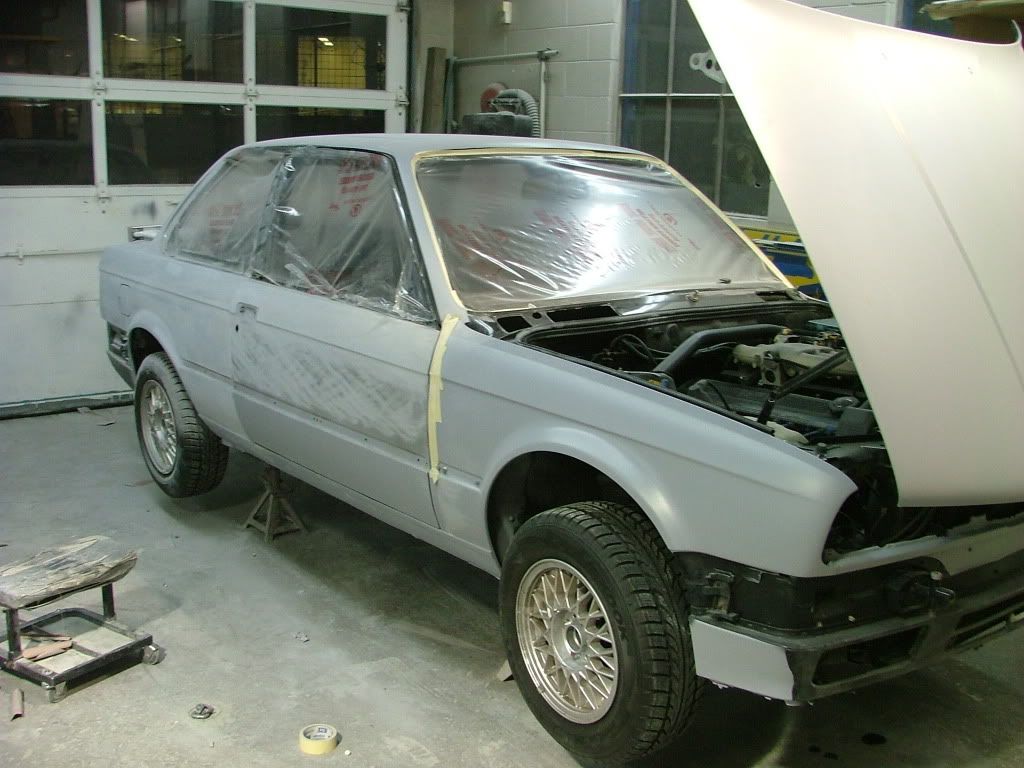
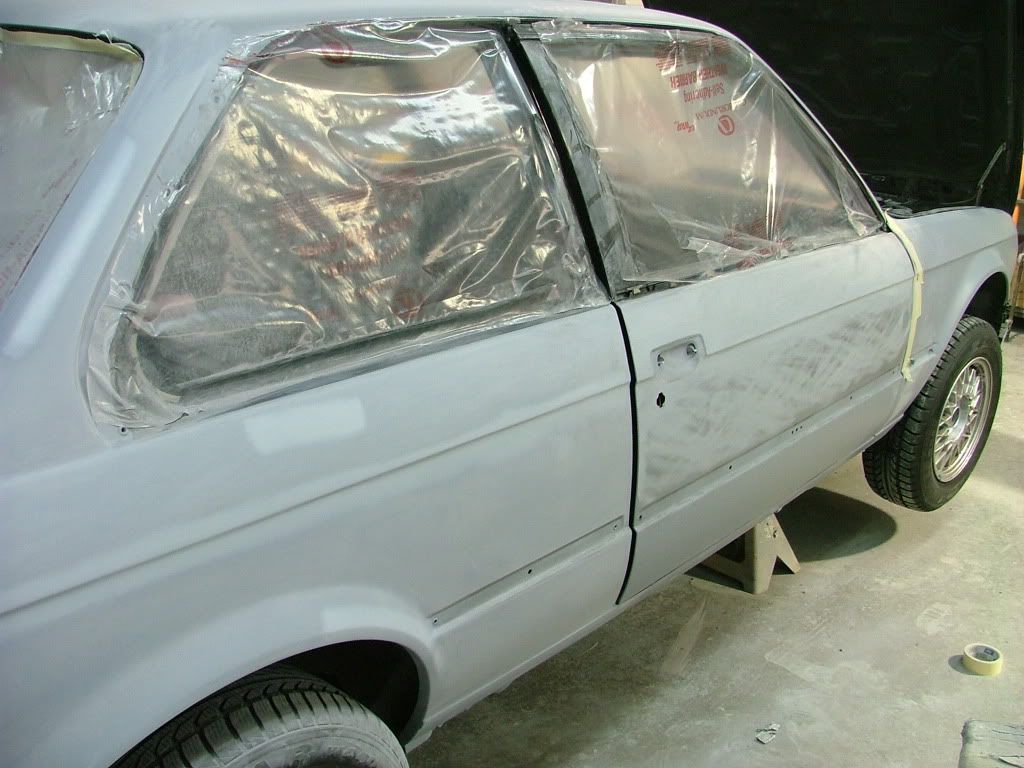
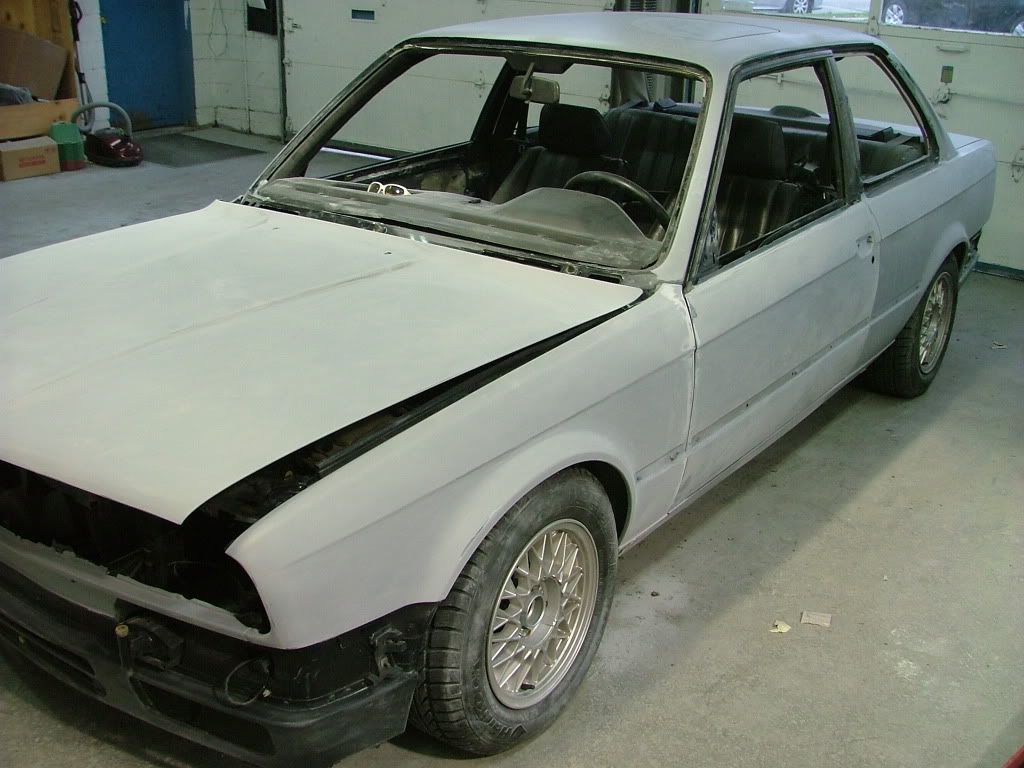
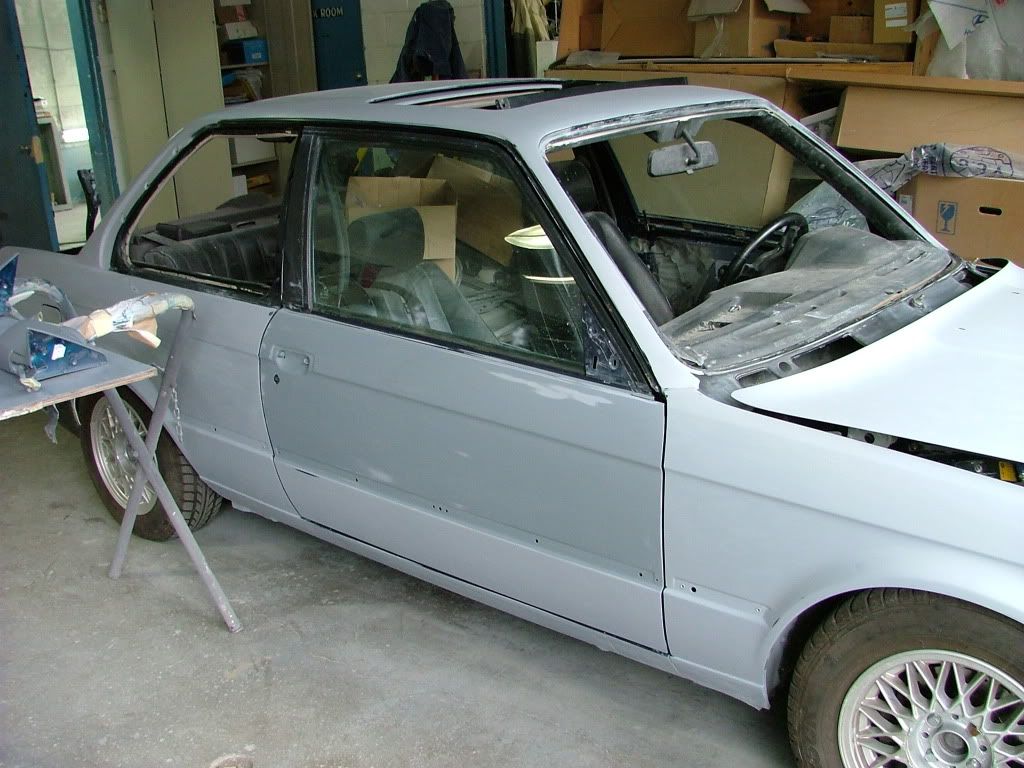
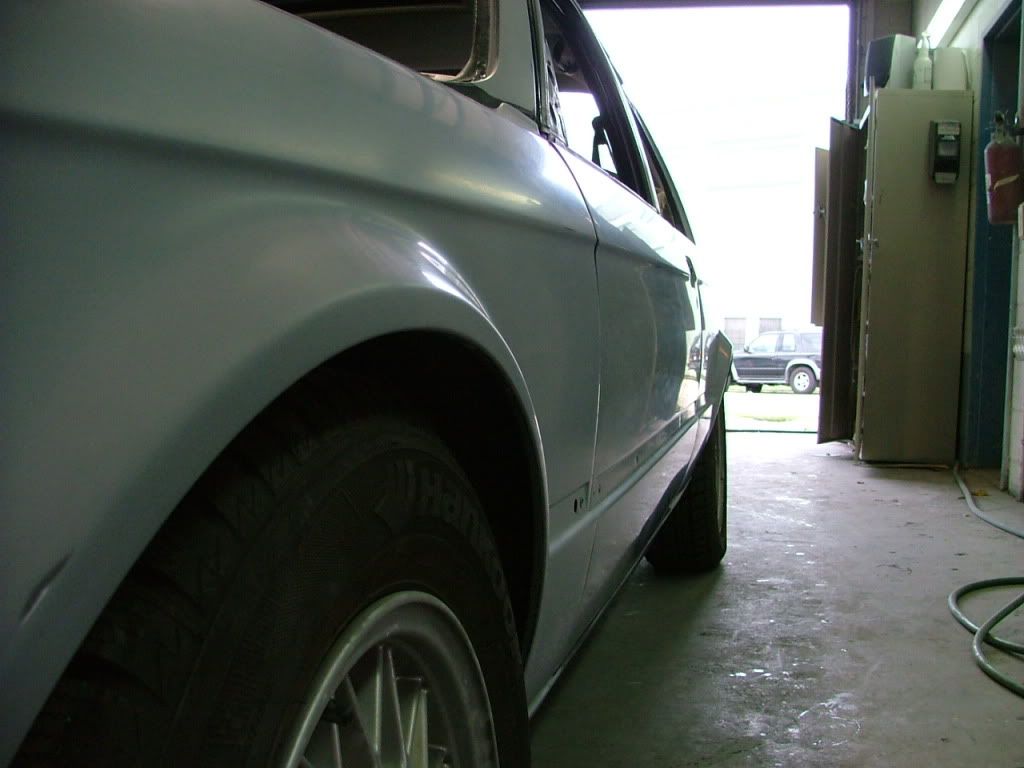
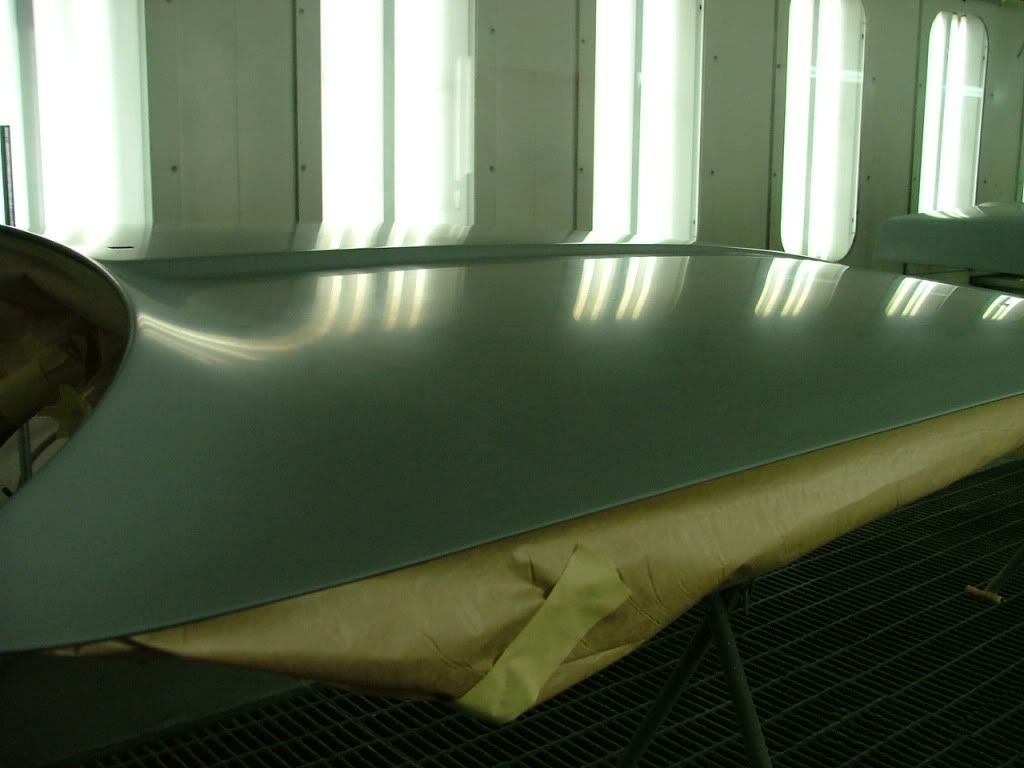
now finally in mostly gray, we stayed away from the lower portion as it will be gravel gaurded, and there is no need to prime up hidden portions etc... just mainly bare metal and exterior panels
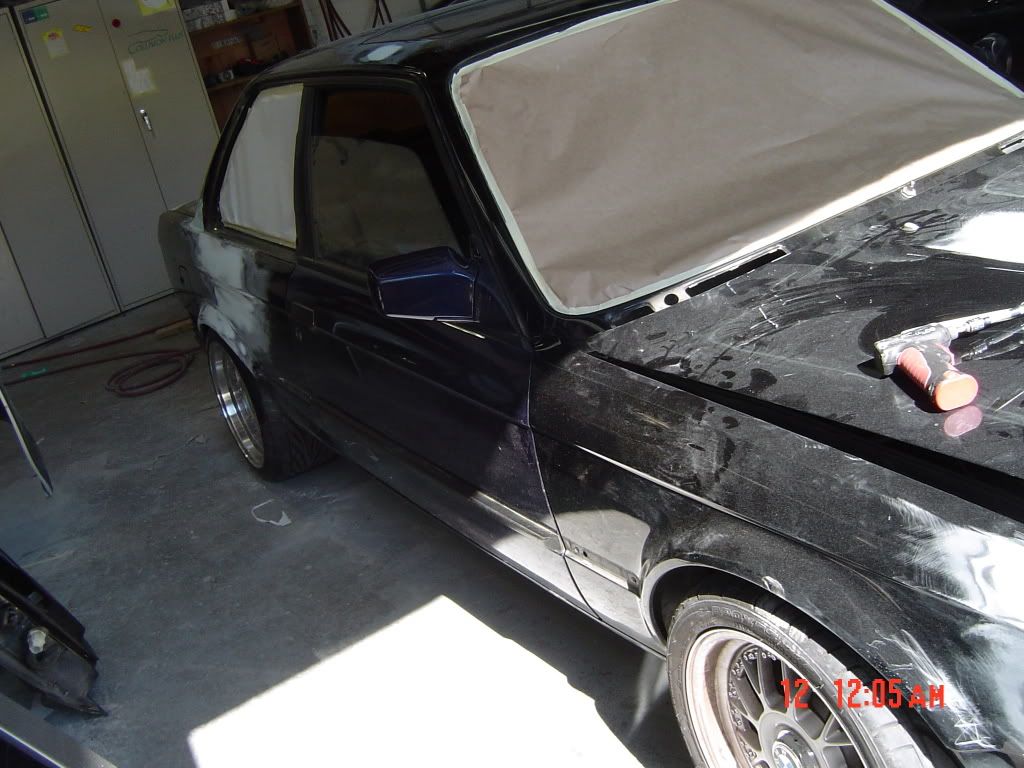
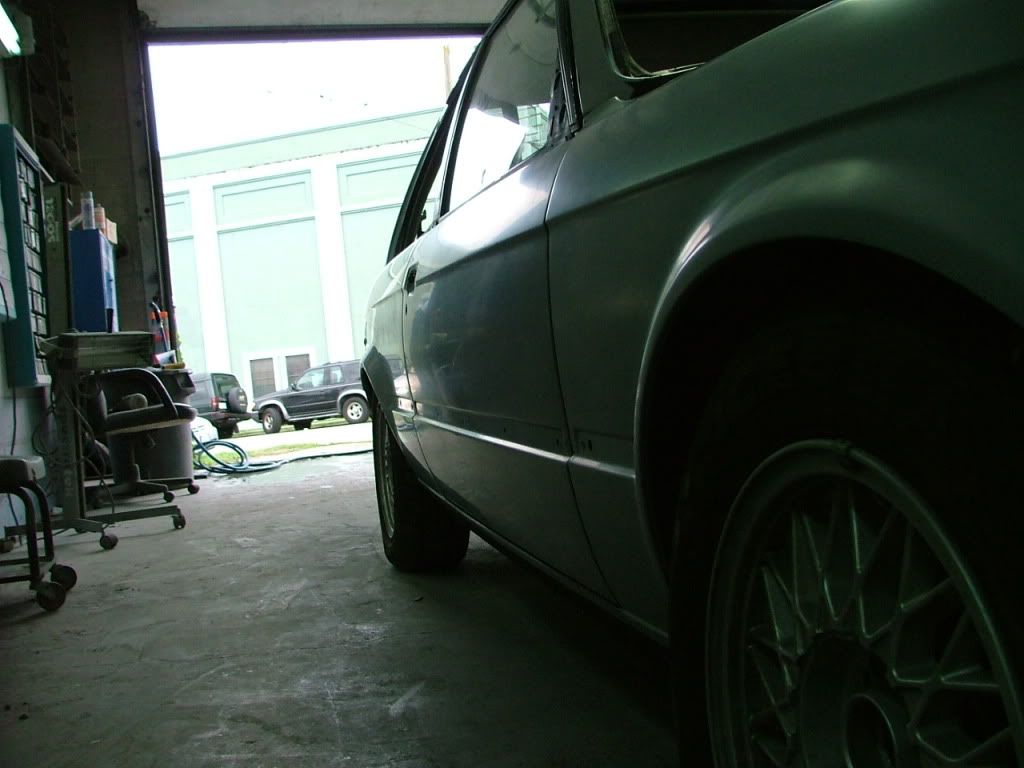
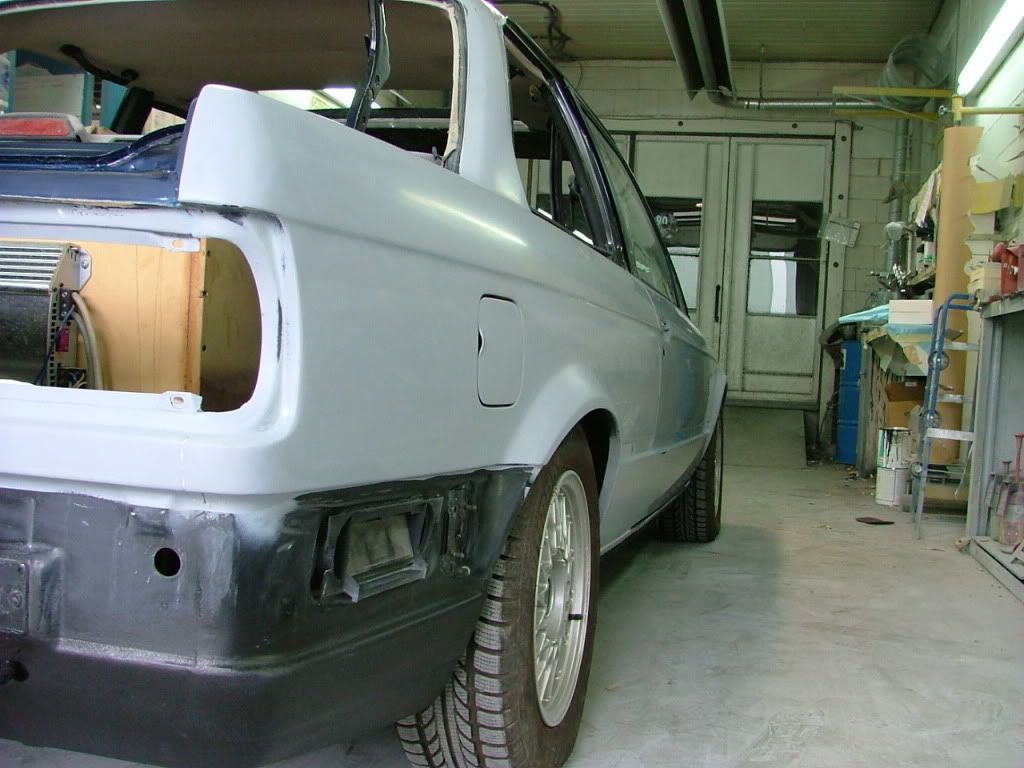
Well not a huge amount of visible progress but much was made... i finished long boarding (second time) the trunk and 1/4 and moved to the door... nearly done but its 6:30 and im still at work (i start around 7) so i said, fscrew it, and called it a day... All in all it was a DUSTY DUSTY day
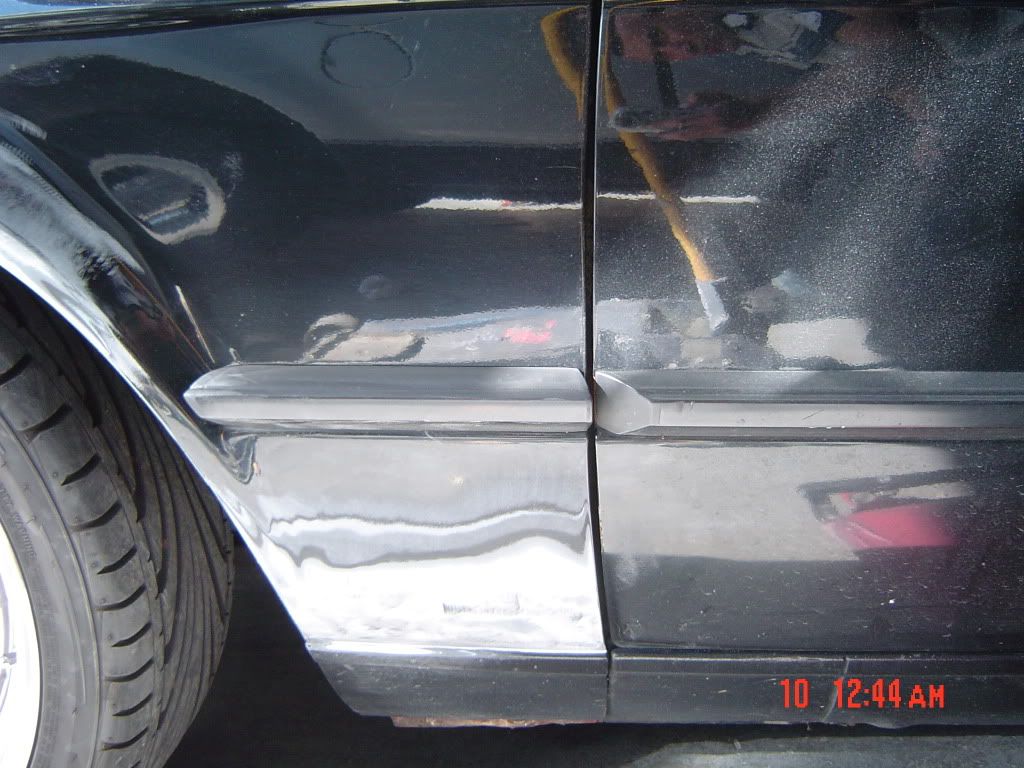
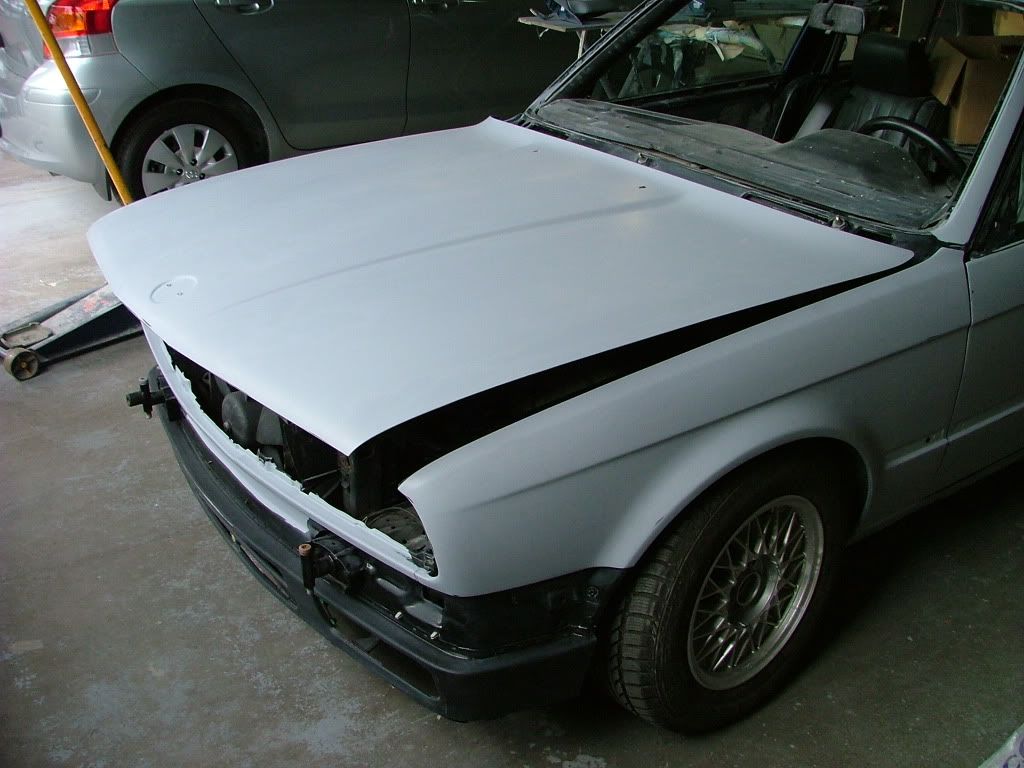
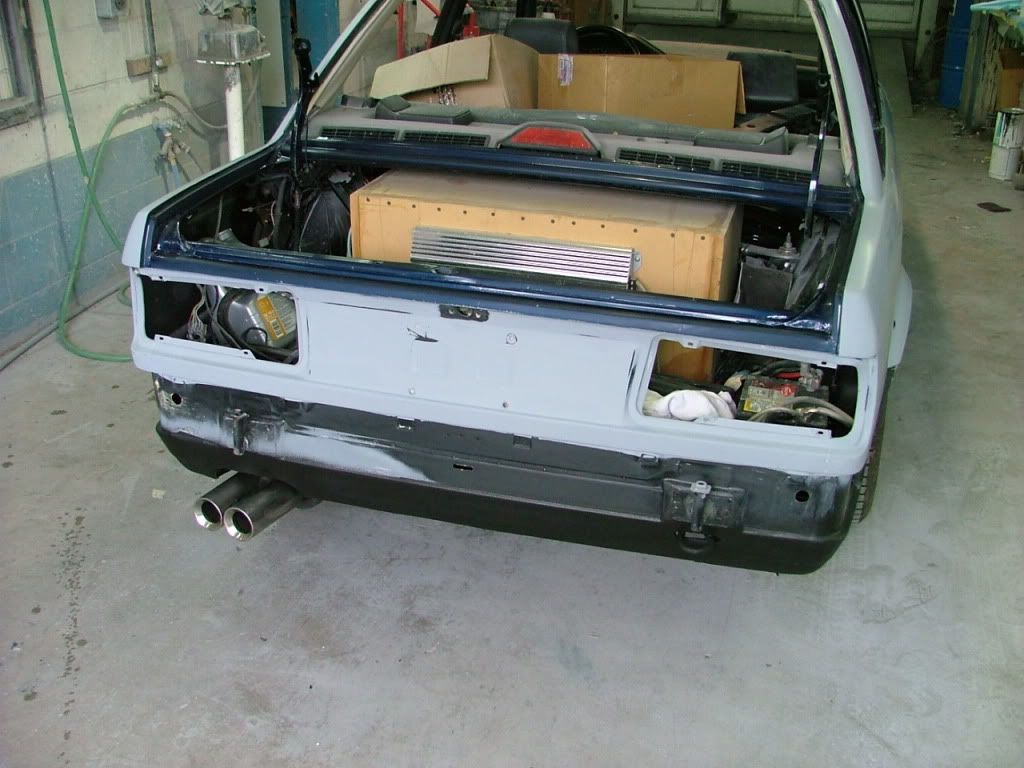
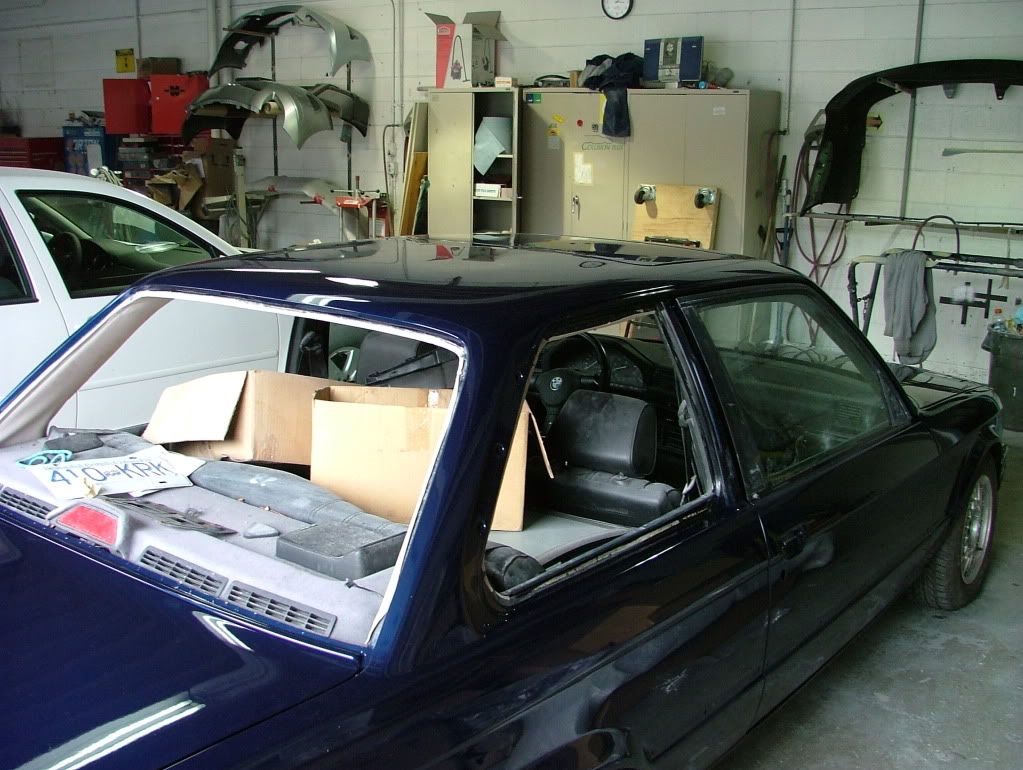
the light gray parts are just temp primer spots to save it from the elements (moister is a BITCH)
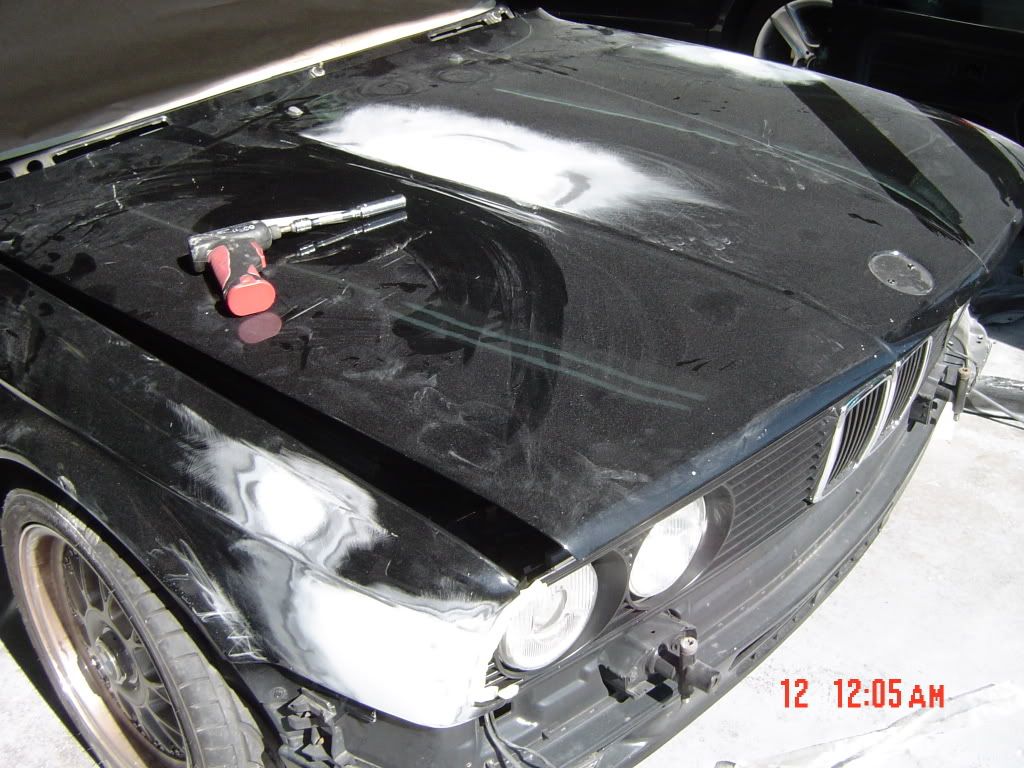
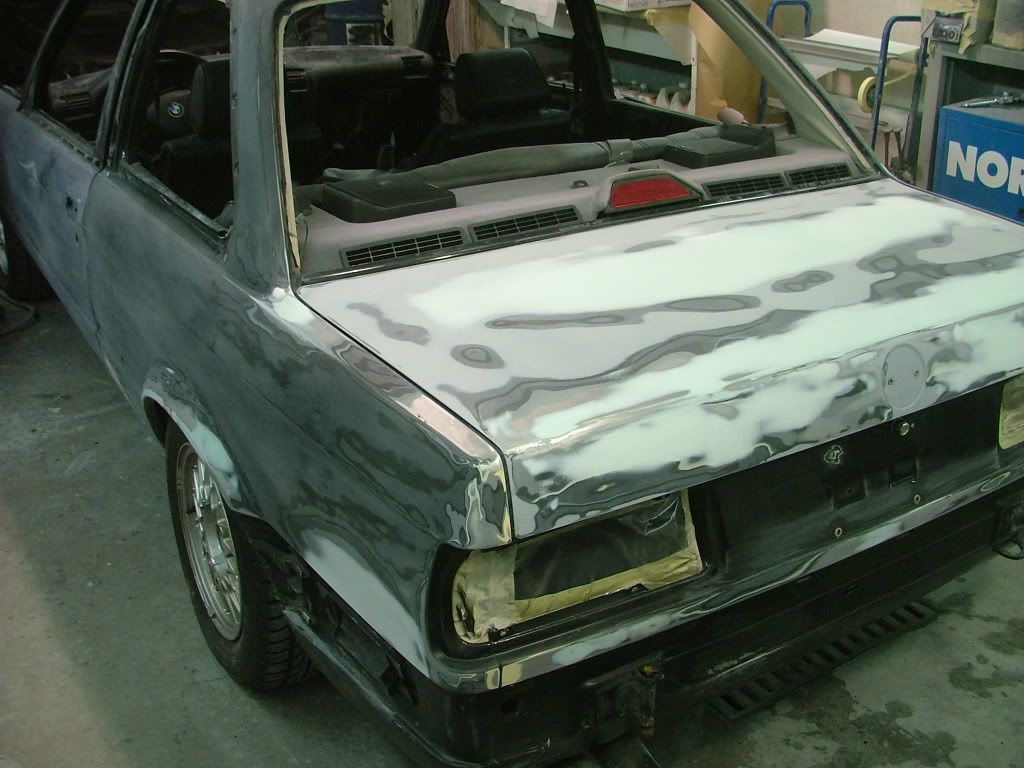
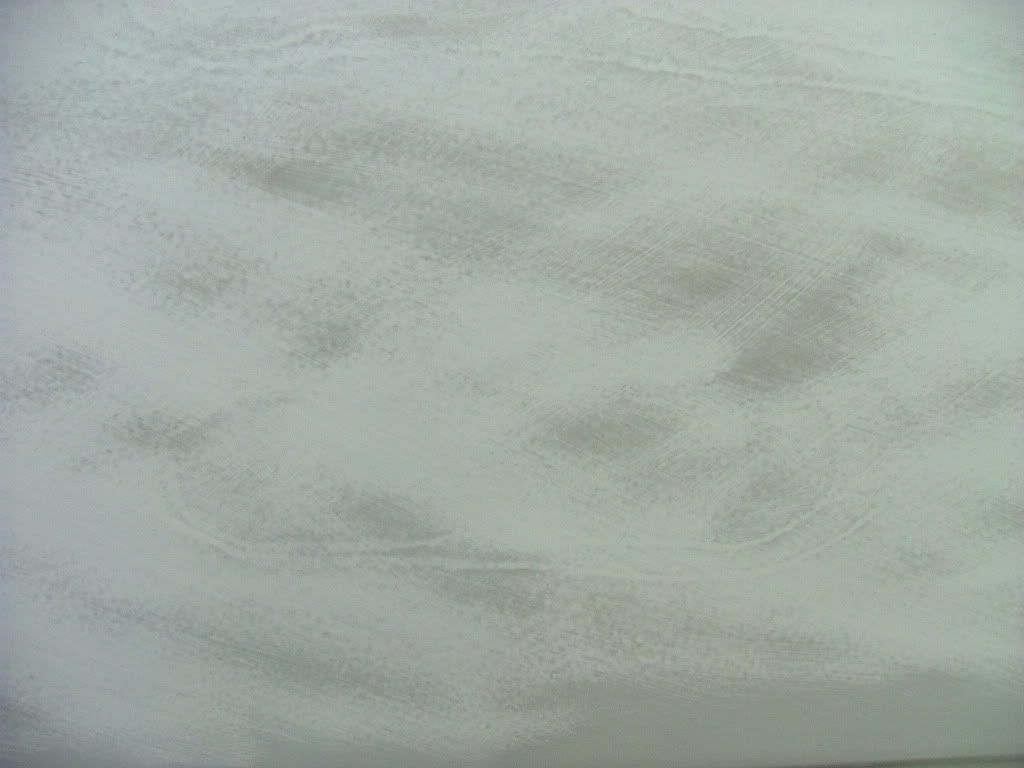
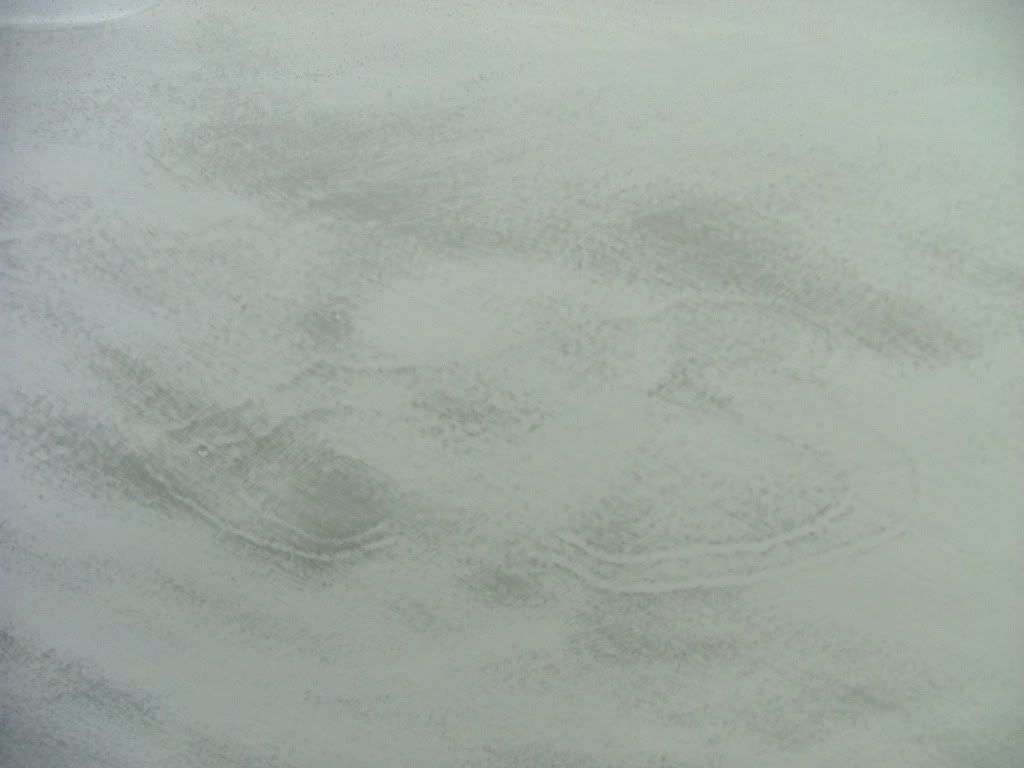
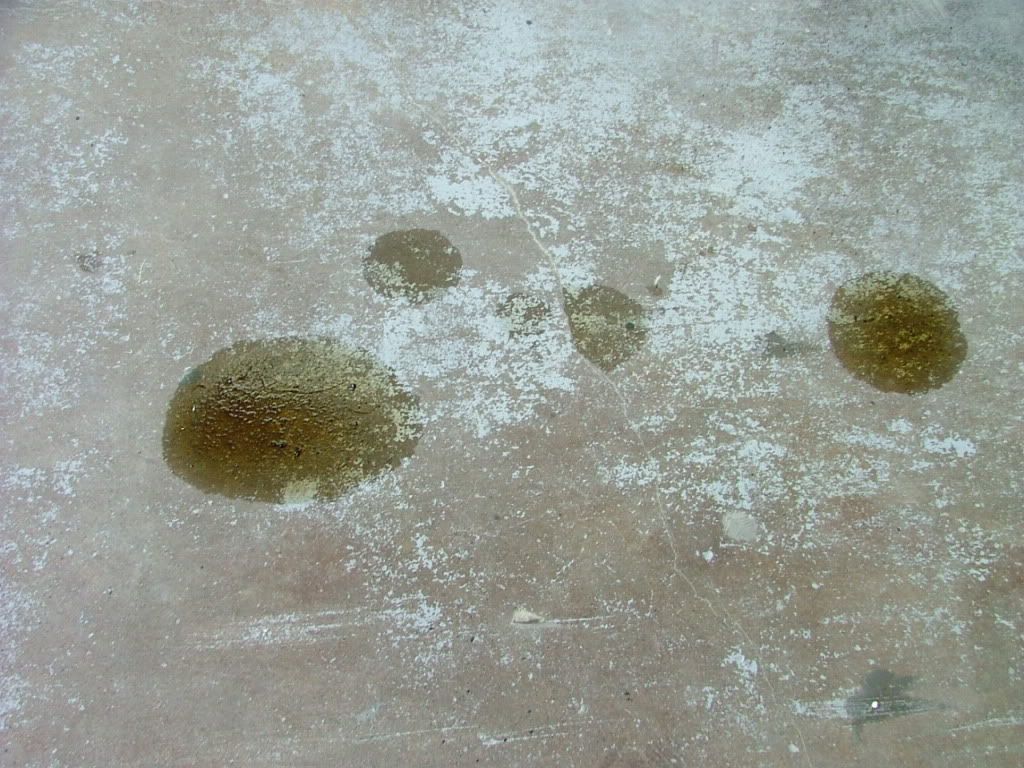
this picture shows the importance of time... time to let things sit and settle, those spots are where the bondo/puddy was put, it contracts over time and if you dont let it sit for long enough and shoot color over top you can be left with barely visible "crators"...
and as a final word of warning, i thought i knew what i was getting into... but fhell... im prob 60-70 hours of work into this... and got another 80 to go..... it aint fun and it aint easy.... but if you got the time go for it
next the left 1/4 and roof then the final touchup bits, then into final stage thinned out primer... then inners... then long boarding.... then final paint....

so anyways to keep you all interested... have a gander....
Started like this over a Year ago
getting her ready for BONDO, patches were chopped out and the new peices welded and bonded in, inner wheel house hasnt been done yet, im dreading that
we used a peice of aluminum to go behind the holes to weld over so the weld didnt stick to it, but didnt blob out the back
small peice of Sheet metal went behind the antenna hole and go spotted in
Well, the major body work is done, it wasnt too bad, lots of waves though, so there will be many a long night long boarding the car, i also slapped on the doors of my old car
currently its awaiting primer.... ill post more pics of the progress i make today
final prep work is beeing done, 320 grit on a D/A sander over all to be primmed area, then by hand with 320 in harder areas, then once over entire with a red scotch brite pad (coarse grit) then mask and 3 coats of primer
you can see here how the bracing of the trunk can cause humps and valleys if previously repaired
now finally in mostly gray, we stayed away from the lower portion as it will be gravel gaurded, and there is no need to prime up hidden portions etc... just mainly bare metal and exterior panels
Well not a huge amount of visible progress but much was made... i finished long boarding (second time) the trunk and 1/4 and moved to the door... nearly done but its 6:30 and im still at work (i start around 7) so i said, fscrew it, and called it a day... All in all it was a DUSTY DUSTY day
the light gray parts are just temp primer spots to save it from the elements (moister is a BITCH)
this picture shows the importance of time... time to let things sit and settle, those spots are where the bondo/puddy was put, it contracts over time and if you dont let it sit for long enough and shoot color over top you can be left with barely visible "crators"...
and as a final word of warning, i thought i knew what i was getting into... but fhell... im prob 60-70 hours of work into this... and got another 80 to go..... it aint fun and it aint easy.... but if you got the time go for it
next the left 1/4 and roof then the final touchup bits, then into final stage thinned out primer... then inners... then long boarding.... then final paint....
so anyways to keep you all interested... have a gander....


Comment