
Subscribed!
-
Projects Hartge,Alpina & AC Schnitzer Builds.http://www.r3vlimited.com/board/showthread.php?t=280601
http://www.r3vlimited.com/board/showthread.php?t=227993
http://www.r3vlimited.com/board/showthread.php?t=289362
 DSC04926 by Raul Salinas, on Flickr
 DSC03413 by Raul Salinas, on Flickr
-
what he said ^ , great looking build just went through the whole thread ;)ლ(ಠ益ಠლ)Be Afraid Of The FutureComment
-
Thanks again everyone for the kind words.
Over the last two months I have been trying hard to find a style 5 again. As hard as it tried I couldn't seem to find someone selling a single style 5 in my area Last week a guy hit me up saying he had a single style 19 and that they share the same barrels and bolts as style 5s. I scooped it up, broke it down, and polished it. Style 19 face on bottom.
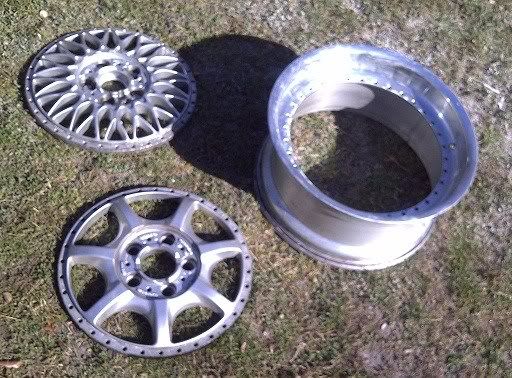
Now that's better looking then 14'' weaves.

I've been having hard shifting issues lately. Seems like the clutch hasnt been disengaging. It will creep forward then in gear and the clutch depressed and is reluctant to go into and out of gear (especially 1st). So since i have already replaced the master and slave i decided maybe its the rubber line connecting master to clutch. A aftermarket stainless steel one cost about as much as OEM so I ordered one from Turnermotorsport.
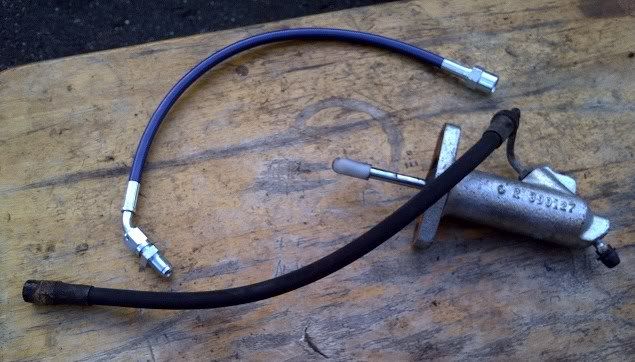
Unfortunately it didn't do sh*t to solve my problem. Maybe its because I'm using a G260 slave with the 260/6? Advice?
Now I'm sure you're itching to see updates on the s38. Well im still in the breakdown stage.
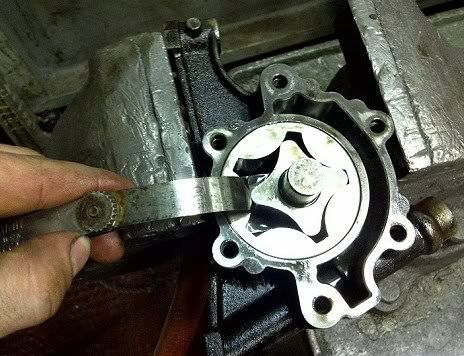
Worked on the oil pump while at work.
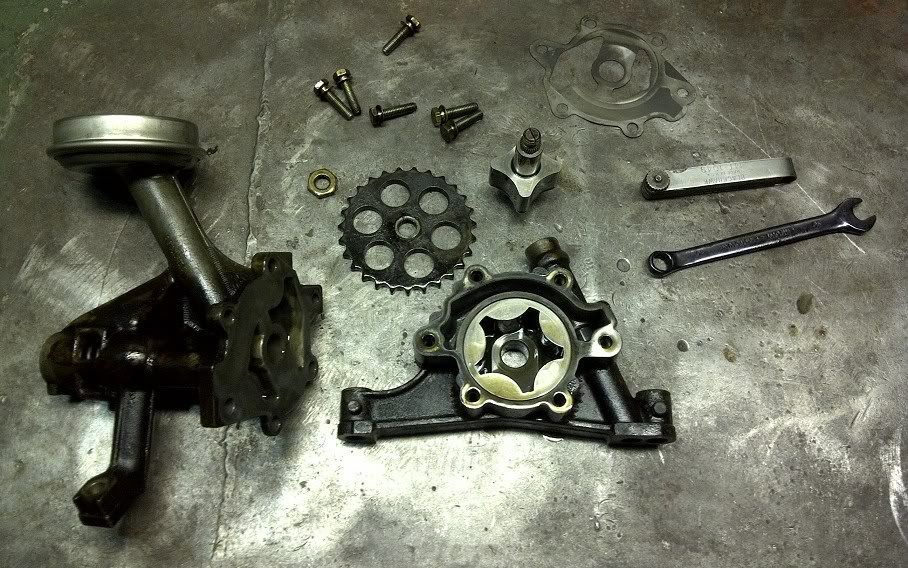
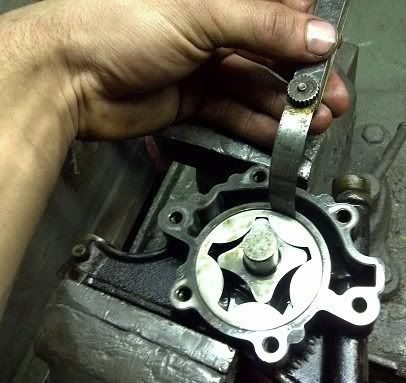
This is a rotor type pump and has two spinning rotors, The inner rotor and outer rotor. My engine rebuilding book said max clearance is .010" between inner and outer rotors and .012" between outer rotor and casing. I'm sure a high performance engine like this has smaller max clearance. Turned out my measurements were a good bit lower then max clearance stated in the engine rebuilding book.
Measuring inner to outer rotor clearance.
Measuring outer rotor to casing clearance.
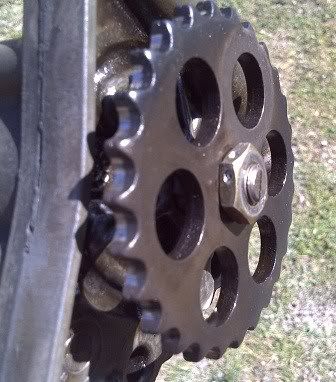
I will using wire to keep nut from backing out. I will be ordering a new oil pump sprocket.
Cleaned up items. Everyone loves shinny.

Turned attention back to the block. Removing the always stubborn "jesus nut"
Timing chain and oil pump chain and respective rails, tensioners, and guides. Sorry in advance for not turning the picture 90.
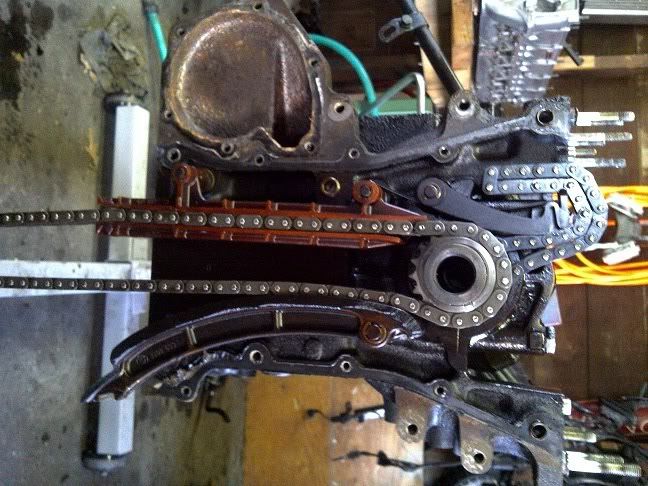
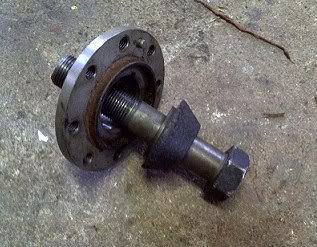
"jesus nut", washer and vibration dampener hub located on front of crank.
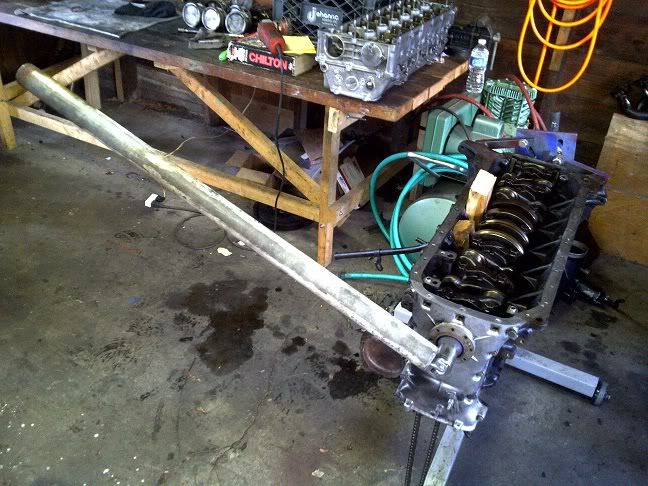
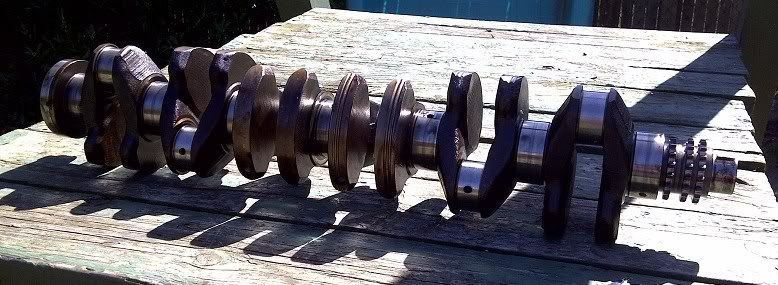
Crank out. If you have never held one by itself you will be amazed how heavy they are. No scratches or defects visible in any of the journals.
Main Bearings
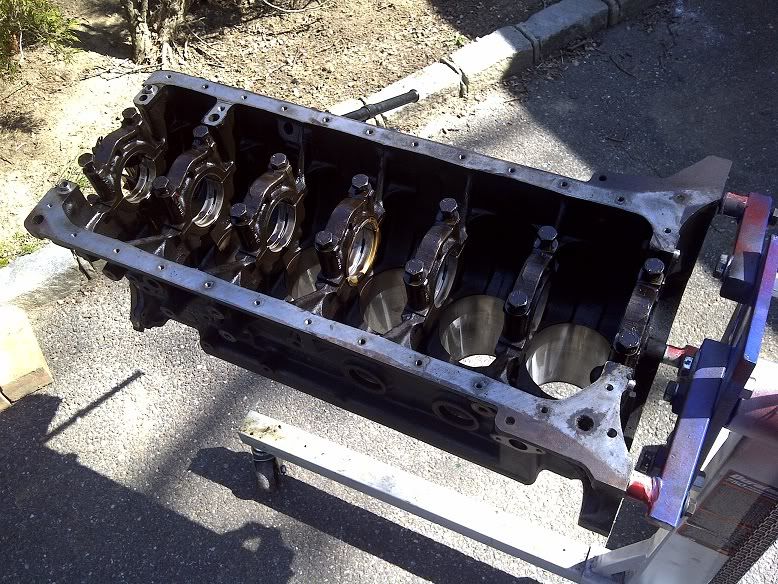
Now that she is all broken down the next stage is measuring everything so I know what to order. Stay tuned and thanks for viewing.Last edited by ttrousdell; 09-17-2015, 12:02 PM.Comment
-
Quick question, what are you using to cut your patch pieces from the hood (scrap part, I assume?) and what sort of welder (mig?, tig?) are you using to patch?Comment
-
proper engine build is proper. very nice work hereComment
-
Just an angle grinder with a cutting disk. For welding Im using a small 110v lincoln mig. Type "lincoln handy mig" into google and I'm sure you will find it. There is a picture of it a few pages back on my build thread.Originally posted by Cha Ching View Post
Thanks dude. I didn't have any maintenance records on it and since this is the engine I plan to keep in the car for more then a year this time, I figure I'll do it right.Originally posted by Dj Buttchug View PostComment
-
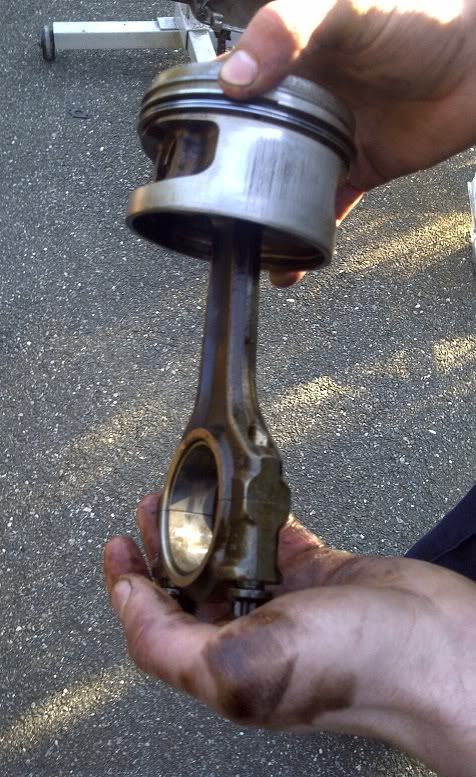
Be careful with that... if you hone the bore and reuse the stock pistons, you're increasing the piston to bore clearance and piston ring end gaps beyond specification.Originally posted by ttrousdell View Post
Those pistons are quite heavy compared to modern slugs. Made to order forged pistons are really not *that* expensive... I've had CP make a set for my Caddy Northstar for $110ish each with pins.
Also IIRC, the stock B35 compression ratio is 10:1. That's not great for either all motor or boosted performance. Decide now if you're going to boost. If so, drop the CR to 9:1. If not, bump it up to 11:1, possibly 11.5, although you do have to take some care since you only have access to Kalifornia cat pee 91.
Either way, you should have the block surfaced for an MLS head gasket and measure the exact block deck height. Use that dimension to calculate what your piston compression height should be and order your custom slugs to that dimension. When you install them, *MEASURE* the piston deck height and order an MLS gasket with the appropriate thickness to give you .035-.040 piston-to-head clearance.Comment
-
Just wanted to say I love what you've done, very inspirational.
Awesome build!Comment
-
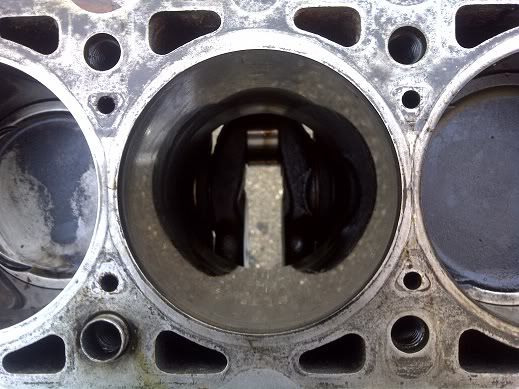
Thanks again for the kind words and sorry for the lack of updates. After the hone we discovered that there was minor rust pitting and some scoring so an overbore from the stock 93.4mm is necessary. As of now I'm going with a set of Ross pistons in one size overbore of 93.6mm. The CR will stay at 10:1.
I would have liked to bump up the CR but for some reason Ross doesn't let you change it. The spec for the head is 96.07mm-95.93mm range. Anything less then that and a thicker gasket is needed. I have to measure the height of the head now and what we end up cutting off the block and what thickness of gasket to figure out the depth of cut on the head to make still. VAC sells them from the stock thickness of .07" to .14".Originally posted by The Dark Side of Will View PostLast edited by ttrousdell; 04-11-2012, 05:40 PM.Comment
-
I passed by your house the other day while I was on the job but I was in a rush so I didnt stop. I must say that with the style 5s back on the car it looks awesome!'90 325is DD, 5 spd swap-H&R springs-Euro Headlight Fully Built OBD1 M54b30. Ox Blood interior, 3.46 LSD with Z3M Diff Cover. Custom shifter, every bushing replaced.
'86 325e- Donor car for swap/parts car
'00 323i- BBS 197s Totalted
'89 740 turbo Volvo- Donated


Comment
-
1. Go to CP, not Ross. CP will build whatever you want and their pistons are of a superior design to Ross'. Ross pistons have very stiff skirts that beat the bores up and contribute to premature ovalling of the bores in the major/minor thrust axis. CP's pistons also have better surface finish inside the ring grooves. This contributes to better ring seal and more power.Originally posted by ttrousdell View Post
2. You can order MLS gaskets direct from Cometic; you don't have to go through VAC. If you keep the stock specs, you'll end up with .050 or more piston-to-head clearance. That clearance should be .035 to .040 for the engine to run at its best. If you bring the piston-to-head clearance down to that range, the engine will be more resistant to pinging in hot weather and able to tolerate more compression overall.
Cometic can build your gaskets to order both in terms of thickness AND the bore of the fire ring. Their standard fire ring for the M30 gasket, for example, is 93 mm. The block has a 92mm bore. By ordering the gasket with a 92.5mm bore instead of 93mm, I was able to reduce crevice volume that can trap fuel.
As an example, I have a Cadillac Northstar V8 in my Pontiac Fiero. Stock the engine put down 255 RWHP. It had 10.3 compression and a .068" thick head gasket. I rebuilt it with Eagle H-beam 4340 connection rods, CP pistons and Total Seal rings with a gapless top ring. I had the piston crowns ceramic coated and the skirts moly coated. Compression was 11.5:1. I specified the piston compression height to put the pistons .005 in the hole and used a .032 thick head gasket for .035 piston-to-head clearance. The engine made 300 RWHP, which is a gain of 45 RWHP, from *ONLY* the built short block. The heads were not ported. The cams, manifolds and tune were all the same.
Paying serious attention when building your engine will pay big dividends for every mod you do down the road. Start with a solid foundation.Comment
-
Wow. Youve been through a lot with this car. It looks great. Keep it up! S50'd
S50'd
Originally posted by TDE30Originally posted by slammin.e28Comment
-
Thanks for the advice. From the start I was going to to run CPs in 94mm with 10.5 or 11:1 CR but my machinist said the Ross pistons were good quality and 300 dollars cheeper for set. From what you are saying they seem to be worth the extra bit.Comment
-
I've had both CP and Ross pistons for the Northstar... the CP's were ~20g lighter, in addition to the previous advantages I mentioned.Originally posted by ttrousdell View Post
You get what you pay for.Comment
-
Loving this, nice to read through again and see the progression :)Comment


Comment