
EDIT: I'll keep this first post up to date with a current pic and quick update on status.
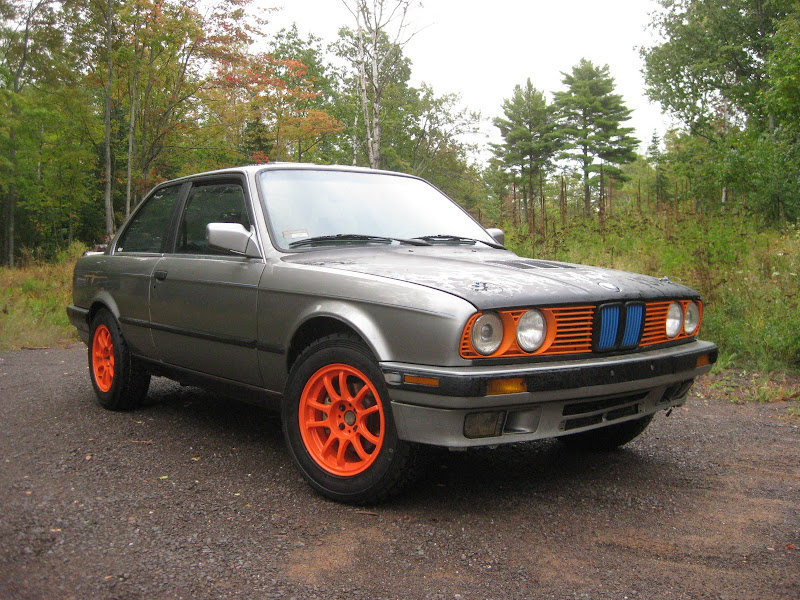
So far:
Complete interior strip
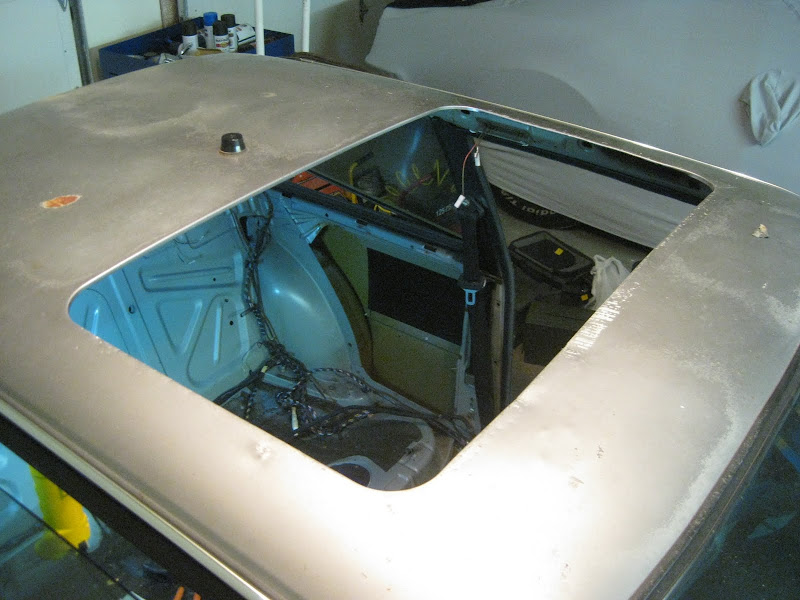
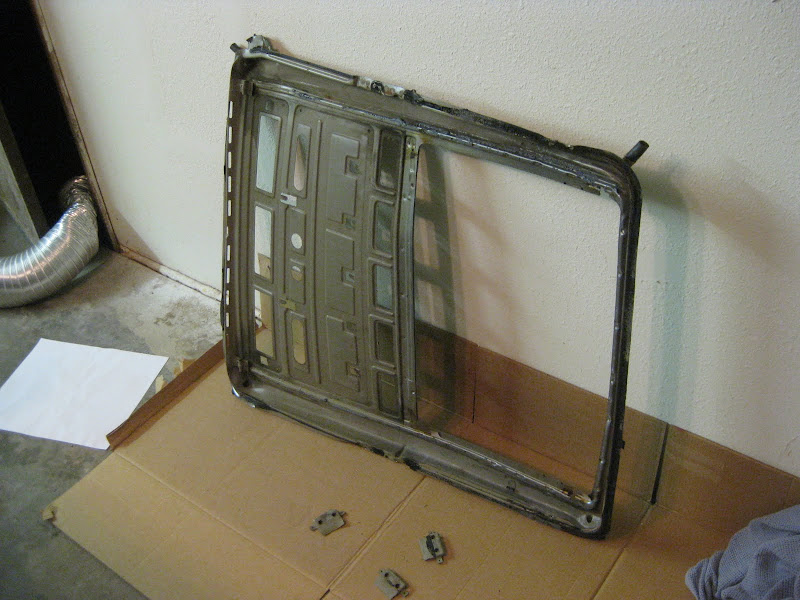
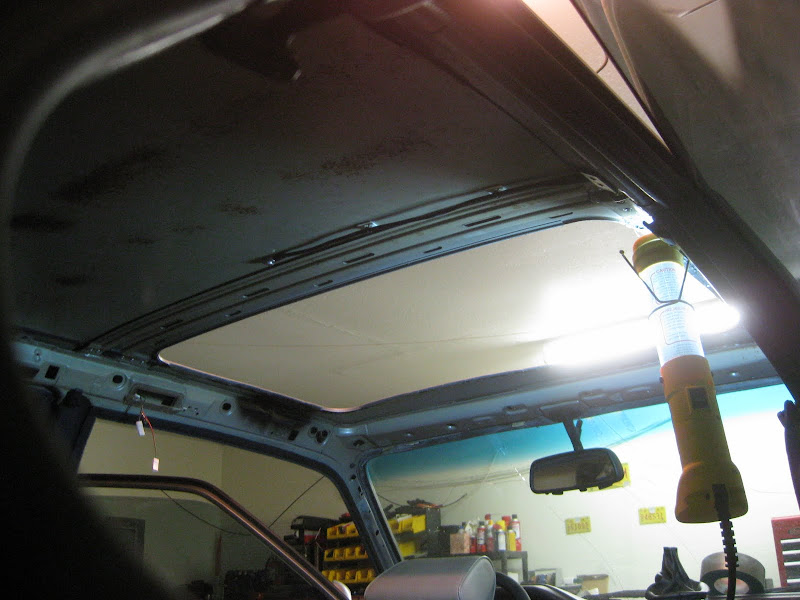
Sunroof delete and patch w/roof vents
AC delete
Bilstein HD shocks and stock springs
Flocked dash
Shift light
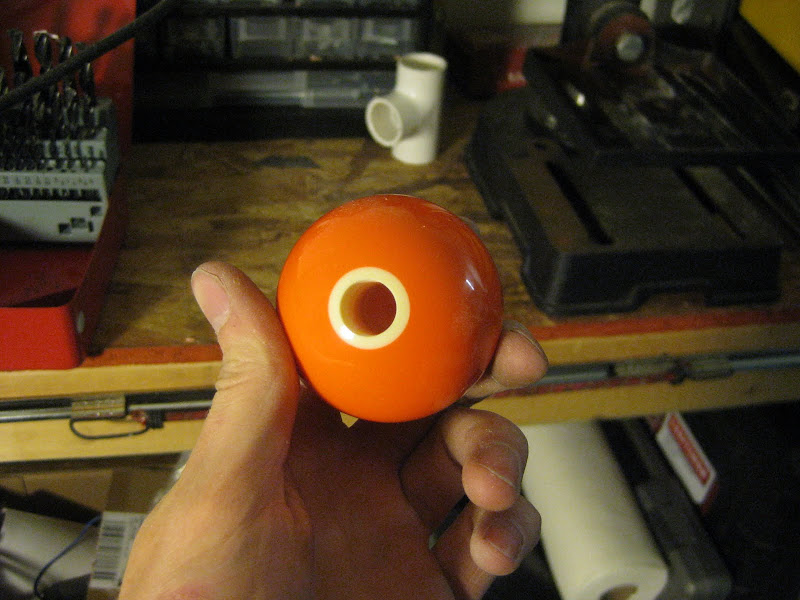
Shift knob (5 ball)
Wheel studs
Hood paint and vent
Hood pins
Lassa Rally 3 tires
TRM C1 wheels
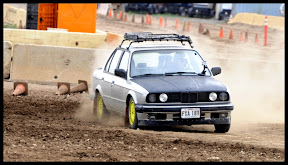
I've been hunting for a while for an E30 to turn into a stage rally car to meet Rally America rules. Now that I have a car, it's time to start the build and thus time to start the build thread. I'll continue updating over the next year or so as I transform the car into a rally dominating machine.
Here's what I'm starting with:
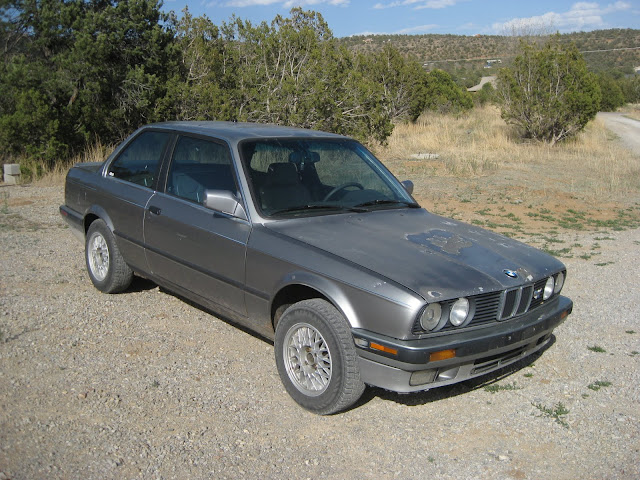
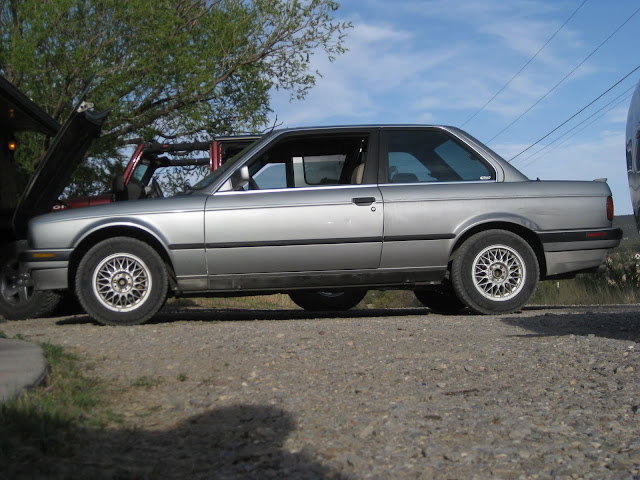
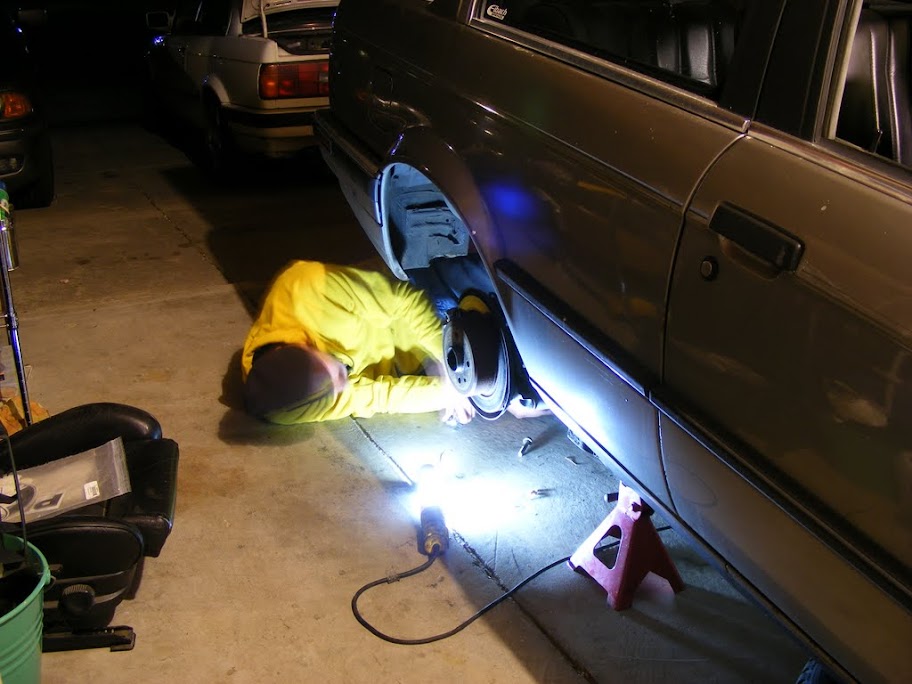
It's an '89 325is with 270k on the clock. Has some mods done including a 4.10 LSD from an E30 M3, short-throw shifter, a strut tower brace, and a bigger throttle body. Currently sitting on stock springs with Bilstein HD shocks. With that setup, here's how the ground clearance looks:
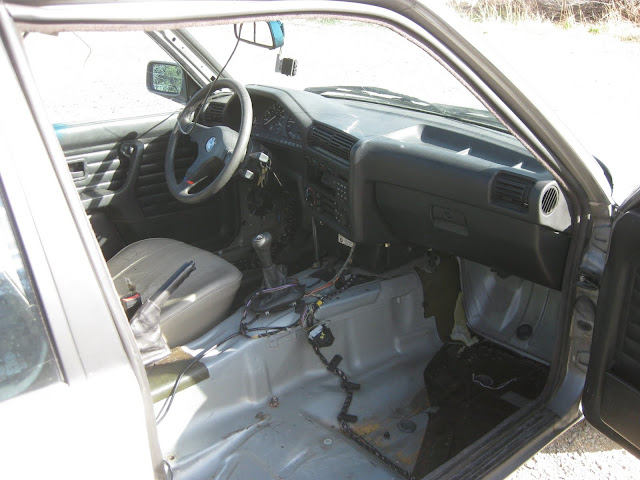
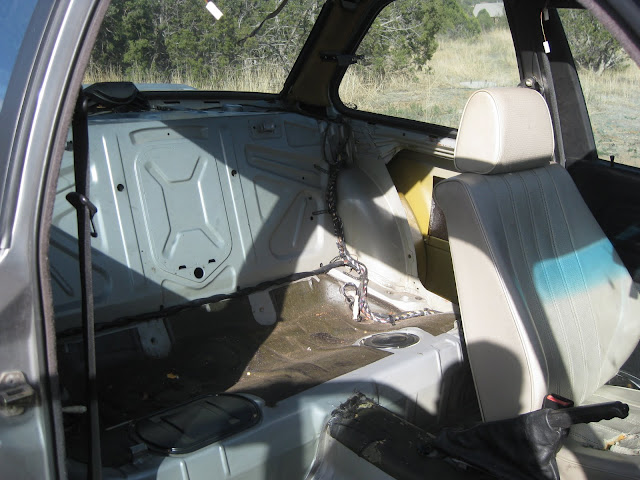
The interior has already been pretty well stripped by me and Mr. CreepingDeath; pretty much all that's left is the dash and a crappy driver's seat. I even removed the power sunroof (PITA).
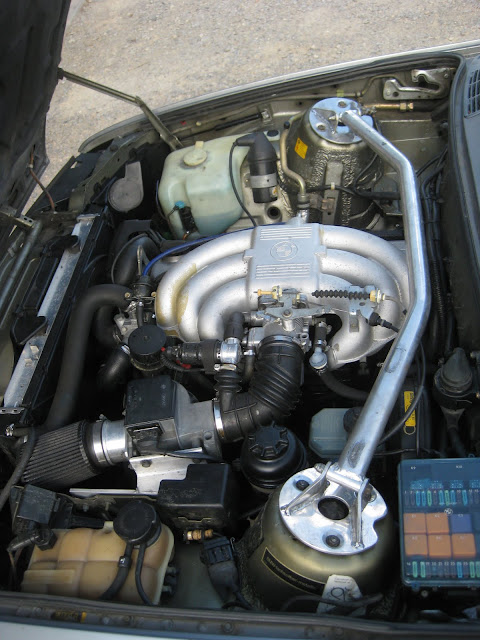
The engine bay is pretty clean and pretty stock.
I'll post more as I make progress. Coming up in the immediate future are AC delete, hood vent install, sunroof hole patch, and hood paint to flat black. Long term I'll have a big coilover swap, DIY cage, and maybe even an S50 somewhere down the line. Stay tuned!
So far:
Complete interior strip
Sunroof delete and patch w/roof vents
AC delete
Bilstein HD shocks and stock springs
Flocked dash
Shift light
Shift knob (5 ball)
Wheel studs
Hood paint and vent
Hood pins
Lassa Rally 3 tires
TRM C1 wheels
I've been hunting for a while for an E30 to turn into a stage rally car to meet Rally America rules. Now that I have a car, it's time to start the build and thus time to start the build thread. I'll continue updating over the next year or so as I transform the car into a rally dominating machine.
Here's what I'm starting with:
It's an '89 325is with 270k on the clock. Has some mods done including a 4.10 LSD from an E30 M3, short-throw shifter, a strut tower brace, and a bigger throttle body. Currently sitting on stock springs with Bilstein HD shocks. With that setup, here's how the ground clearance looks:
The interior has already been pretty well stripped by me and Mr. CreepingDeath; pretty much all that's left is the dash and a crappy driver's seat. I even removed the power sunroof (PITA).
The engine bay is pretty clean and pretty stock.
I'll post more as I make progress. Coming up in the immediate future are AC delete, hood vent install, sunroof hole patch, and hood paint to flat black. Long term I'll have a big coilover swap, DIY cage, and maybe even an S50 somewhere down the line. Stay tuned!


Comment