Thanks man. I definitely have learned a lot. It's not so much that I can lay a perfect bead every time (far from it, actually), but I'm starting to be able tell when I'm not doing it correctly, and more importantly, know what to do to correct it.
Announcement
Collapse
No announcement yet.
The complete repair, rebuild, repaint, and v8 swap of my early model sedan
Collapse
X
-
Holy shit Justin. Looks great. Looks like you're getting the hang of the welding. Do you have any idea when you plan to start the actual m60swap?Recent Rebranding!!
Visit Garageaholic for all of your E30 Swap Needs!
E30 SM62/S62
E30 M60 V8
E30 M30 Big 6!

Check out this E36 N54 Swap Build
Instagram.com/garageaholic
Youtube.com/garageaholic
Comment
-
Thanks guys. Frank, there really is no "start date". Everything I've been doing so far has been done in anticipation of the new engine (cutting out brackets from the bay, welding DME firewall hole closed, removing the battery tray, removing the core support, etc...). I have began cleaning the engine, and as soon as the e34 V8 remote brake booster linkage parts that I ordered arrive, I'll begin trying to mount those in the bay as well. So i suppose the swap has already begun, but don't expect pics of the engine sitting in the car next week or anything, haha!
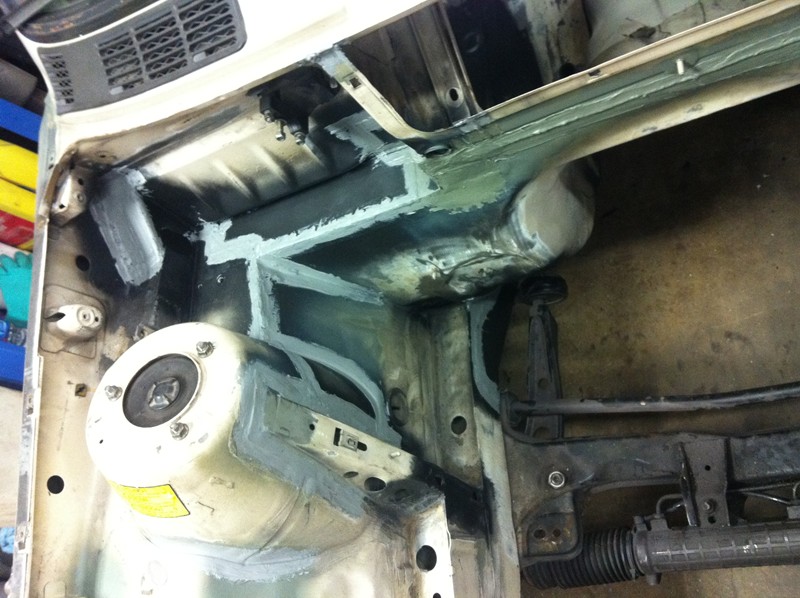
Worked on the battery tray/firewall/wheel well junction today. I knew this was going to be a PITA, so I woke up early to tackle it and knock it out in one morning. This is what I was dealing with:
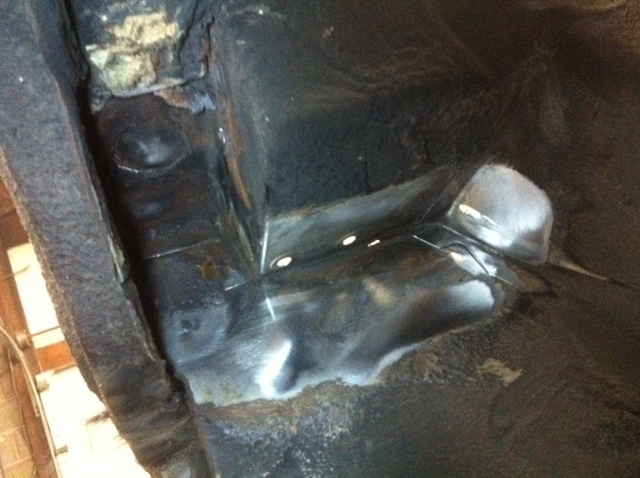
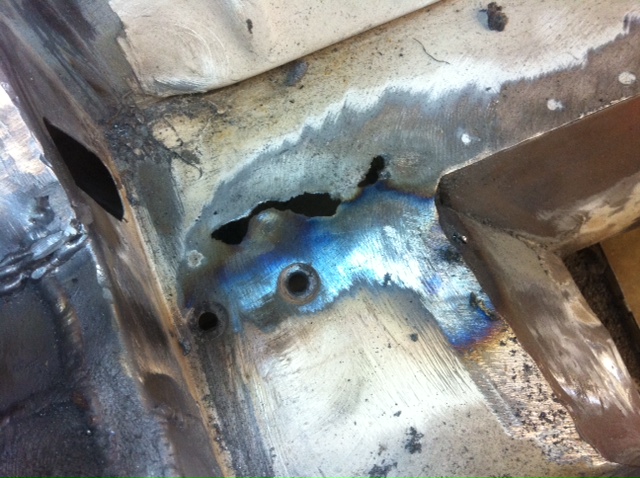
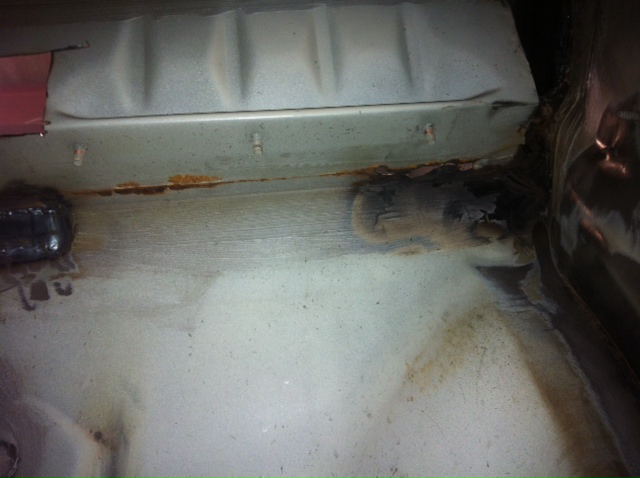
I figured it would be best to remove the remaining part of the battery tray since it had rust all around it, and weld new metal in.
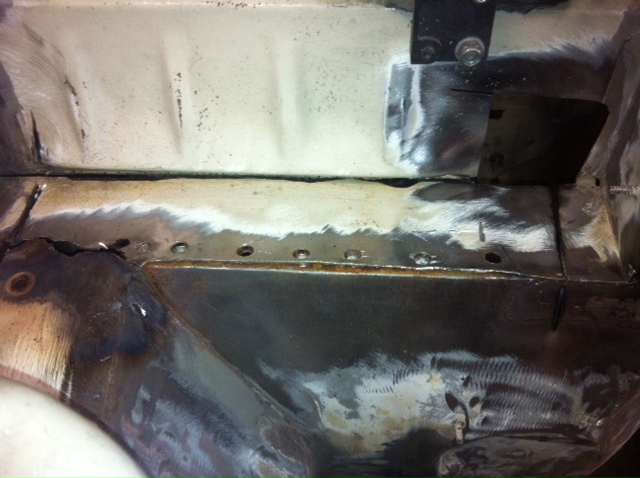
After doing so, I realized this thing has the 3 mounting studs for the glovebox, which would be hard as hell to duplicate without causing binding in the glovebox movement, so I promptly welded this piece back in, lol. It was only surface rust, so I just cleaned it up, plug welded it at the factory spot welds, and the welded the seams. Probably just as good as using new metal.
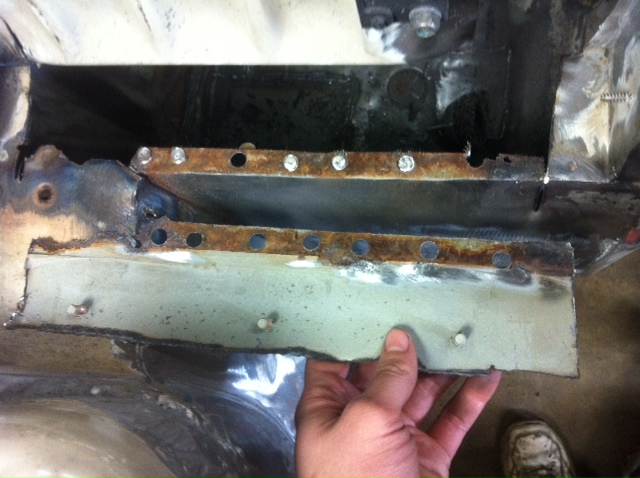
Everything cleaned up and welded together:
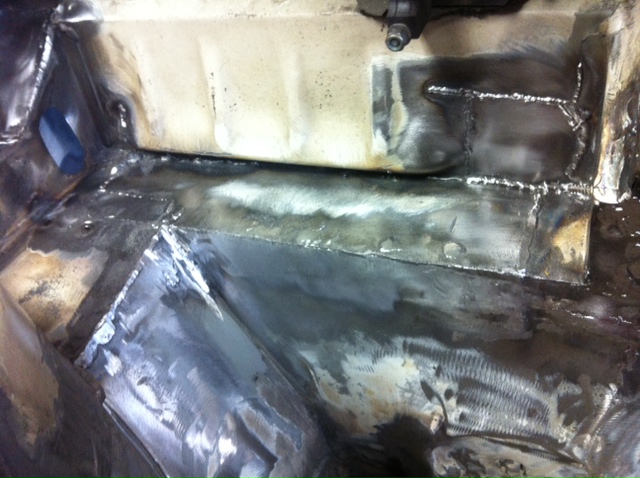
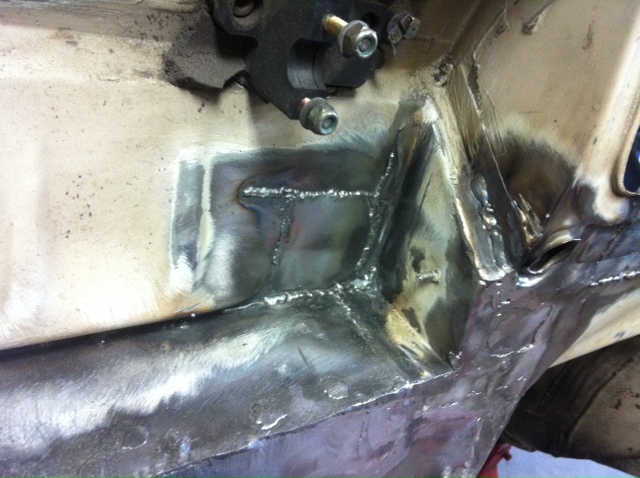
I wish I could put my feelings into words to describe the work that was required in this next pic. Welding upside down, up under the dash area, thin sheet metal, upside down, with a huge helmet, at a ninety degree corner, and did I mention UPSIDE DOWN? This combination of things made this job impossible. There was no welding technique here. It was just... hold the gun somewhat close and squeeze the trigger for 3 minutes until the two panels are connected.
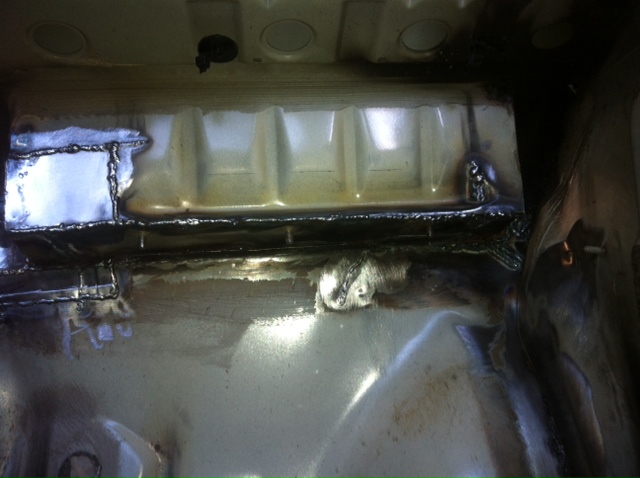
Looking at the pics of the engine bay, that all looks pretty ugly. I'm going to grind some more of the welds down, and seam seal it all, so it shouldn't look so bad when it's finished and painted.Last edited by JGood; 01-06-2012, 12:11 PM.
Comment
-
Thanks man. Yeah, the welder seems to be working great for my purposes.Originally posted by kts View PostImpressed with all of the work you are doing. Nice welder and setup too. I'm still going back and forth with what to pick up for my own use.
I feel you on the welding upside down in a tight area, my friend had to do a ton of that for our 2002 Lemons build and it did not look like fun. :(
Welding upside down in itself is pretty hard. Welding upside down when your body is crammed and twisted up inside a car so tight that you can barely breathe, while trying to do a 90 degree butt weld of thin sheet metal, is just impossible, especially when you're inexperienced. It was ugly, to say the least. I used a good chunk of that 2lb spool of wire, LOL!
One thing I forgot to add earlier. Before I started repairing the rust, I noticed the frame rails were extremely flimsy after I removed the subframe and rad support. I was able to flex them up/down and side to side with one hand. I figured that was normal. Now that everything is all welded up, the holes are patched and panels are stitch welded, they don't budge... at all. I can't believe there wasn't serious alignment issues with this car. And it makes me scared to think there are cars like this on the road. If I would have been in an accident, this thing would have folded up like a tin can.Last edited by JGood; 01-06-2012, 02:36 PM.
Comment
-
Dude you are fucking nuts. You deserve the member title beast mode.
1991 BMW 318i (Old Shell RIP, Now Being Re-shelled & Reborn)
1983 Peugeot 505 STI
1992 Volvo 240 Wagon
2009 Toyota 4Runner SR5 Sport 4WD
Comment
-
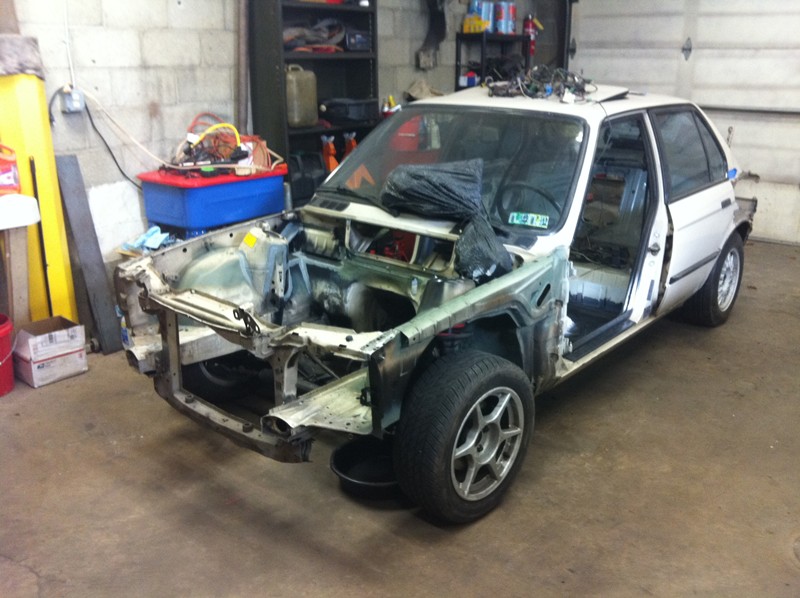
For the first time in three months, she's standing on her own feet again :)
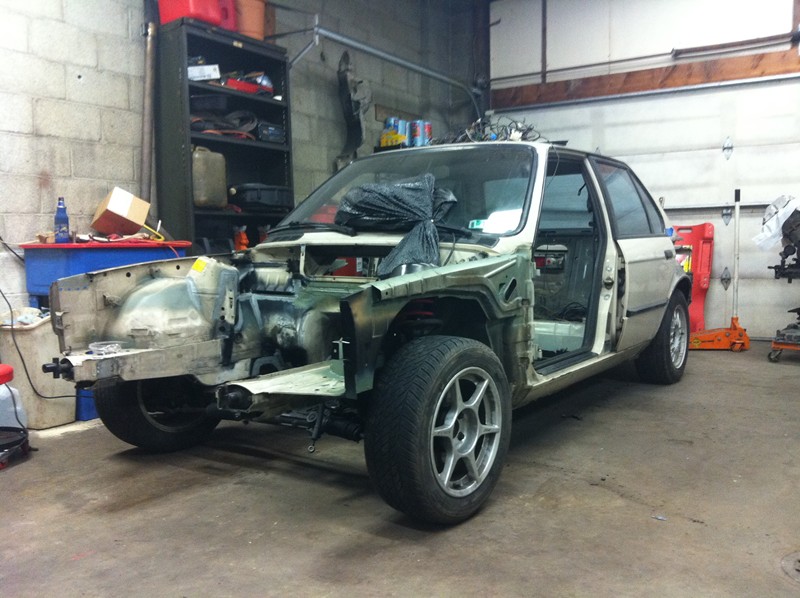
Finished up both the passenger front floorboard, and the drivers rear floorboard. Everything is covered with rust encapsulator and seam sealer. All of the rust repair I set out to do, is finished. There's a bit more in the trunk, but that's cake compared to what's already done.
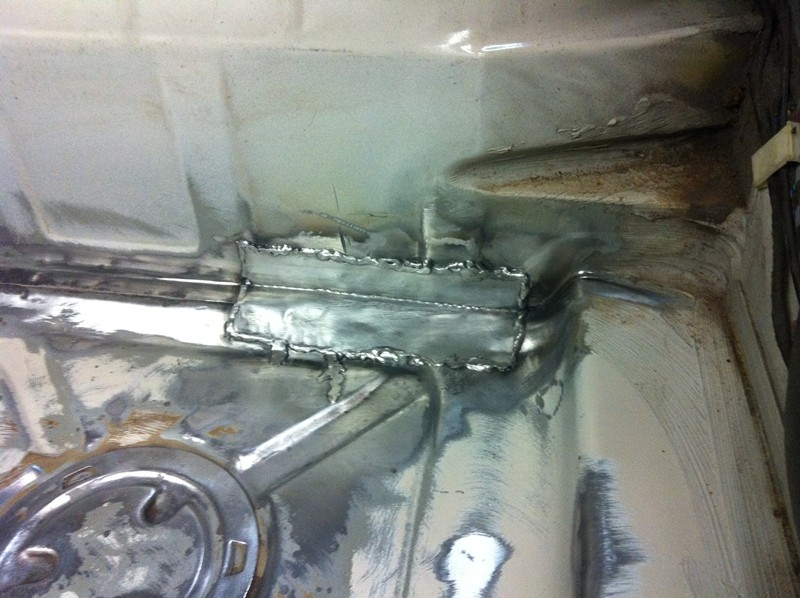
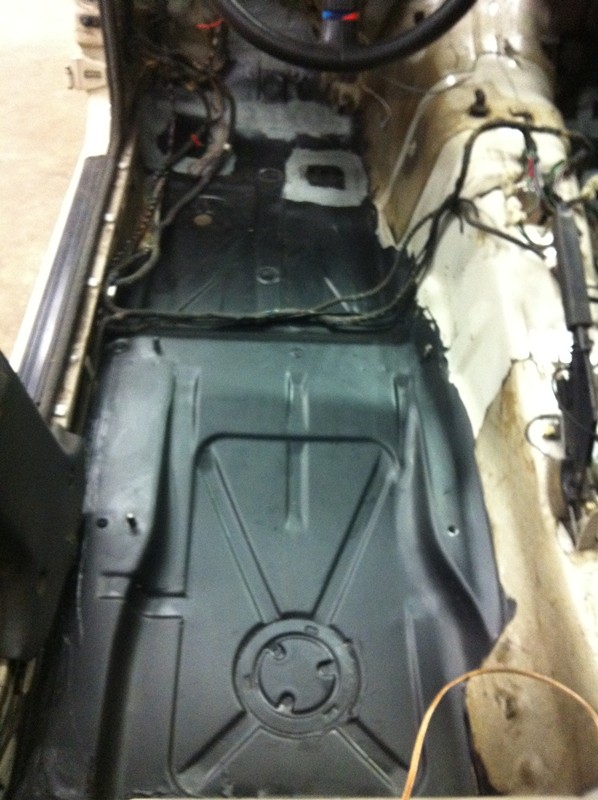
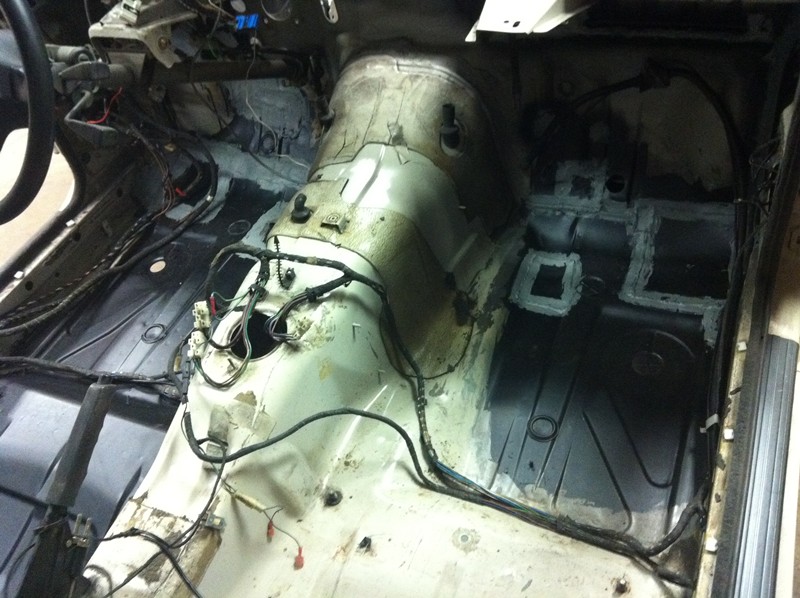
Next major things to attack are the rear quarter panel and the rust on the rear passenger side wheel well (just three tiny spots). The quarter panel will probably take a while, and the help of a friend, as I'm not up to body work quite yet. In the meantime, I'm going to get the engine in the bay and get the mounts fabbed up, so when my brake booster and linkage arrives, I can begin mounting that and ensure I have enough clearance. I also need to work on the rad support, fab up some brackets to make it removable in the future.
Once the quarter panel is back on, I'll begin prepping the car to be resprayed. Hopefully by the time that's done, I'll also be done getting the remote booster set up in the engine bay, so I can paint the car and the bay at the same time. Once it's back from paint, I'll install the engine and put the car back together.
Goal deadline: End of June.Last edited by JGood; 01-09-2012, 05:37 PM.
Comment
-
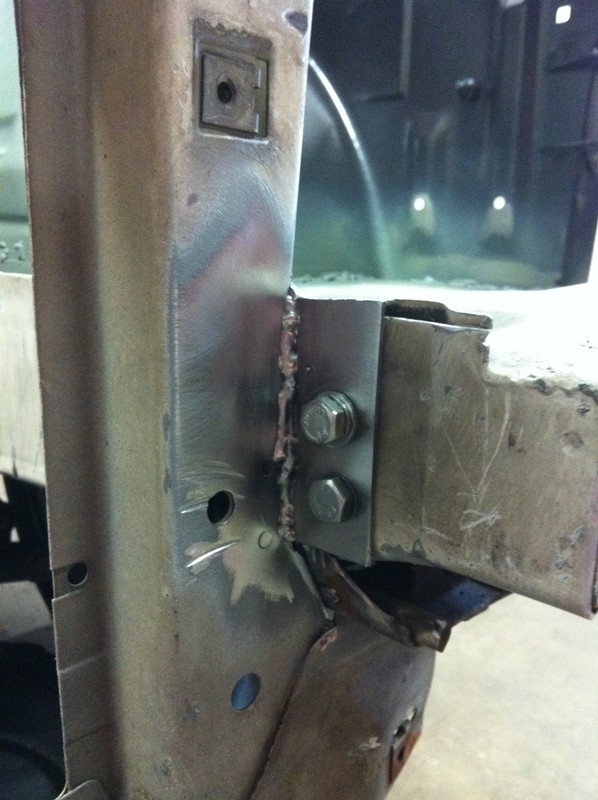
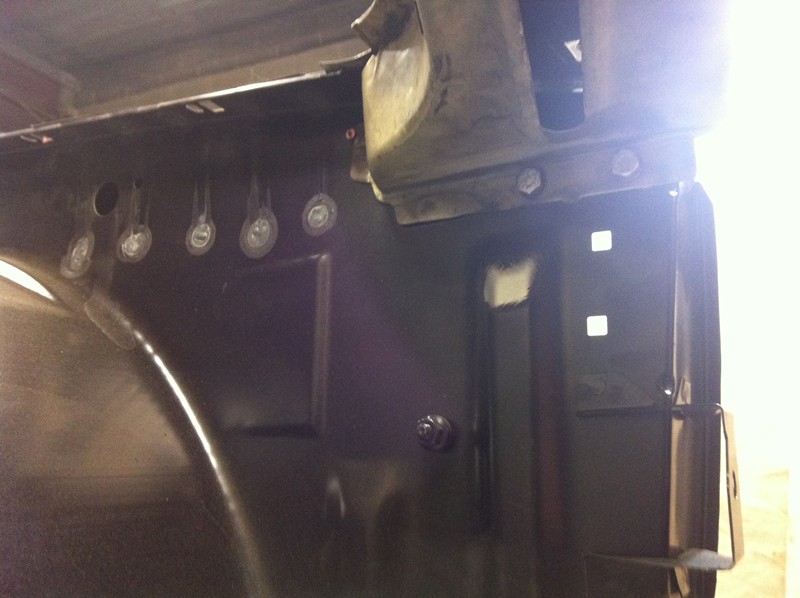
Got the rad support mounted this morning. I just copied Garey's idea from the previous page of this thread. I think I'm going to weld a whole new tab at the upper points, as I'm not confident in the thin factory sheet metal tab.
The tabs that I welded on look kinda flimsy in the pics, but it's 14 gauge steel that actually runs the entire depth of the rad support, and are welded the hole way around.
The welder was putting up a fight with me. Turns out the wire was tangled on the spool and kept jamming. Hence the terrible looking welds. I'll grind them down and run another bead I think.
Comment


Comment