
ave")
Emphasis mine:
You might be surprised to learn this, but your throttle pedal has an entire linear range of motion which allows you to input infinitely variable amounts of power, thereby giving you the ability to accelerate at a reasonable pace that won't keep breaking your damned car. :p
I've never seen a more involved restoration project that resulted in more breakages than this one, especially given that it's a street car. It's enough to make any sane reader want to avoid huge increases in power. ;)
-
With the amount of power your car is making I wonder if adding a second diff mount would help prevent more cracking in various places.
Like this one: https://store.garagistic.com/e30-per...ary-diff-mountLeave a comment:
-
Wasn't totally paying attention to which thread this is. So yeah the v8 could play a role in this lolLeave a comment:
-
Well I don't believe BMW designed them to crack haha. But the car is 32 years old, has 330k miles, and has had 300 ft lbs of torque going places designed for 150 ft lbs for the past 5 years. I'd say e30's hold up far better than most other 1980's cars would under those conditions.Leave a comment:
-
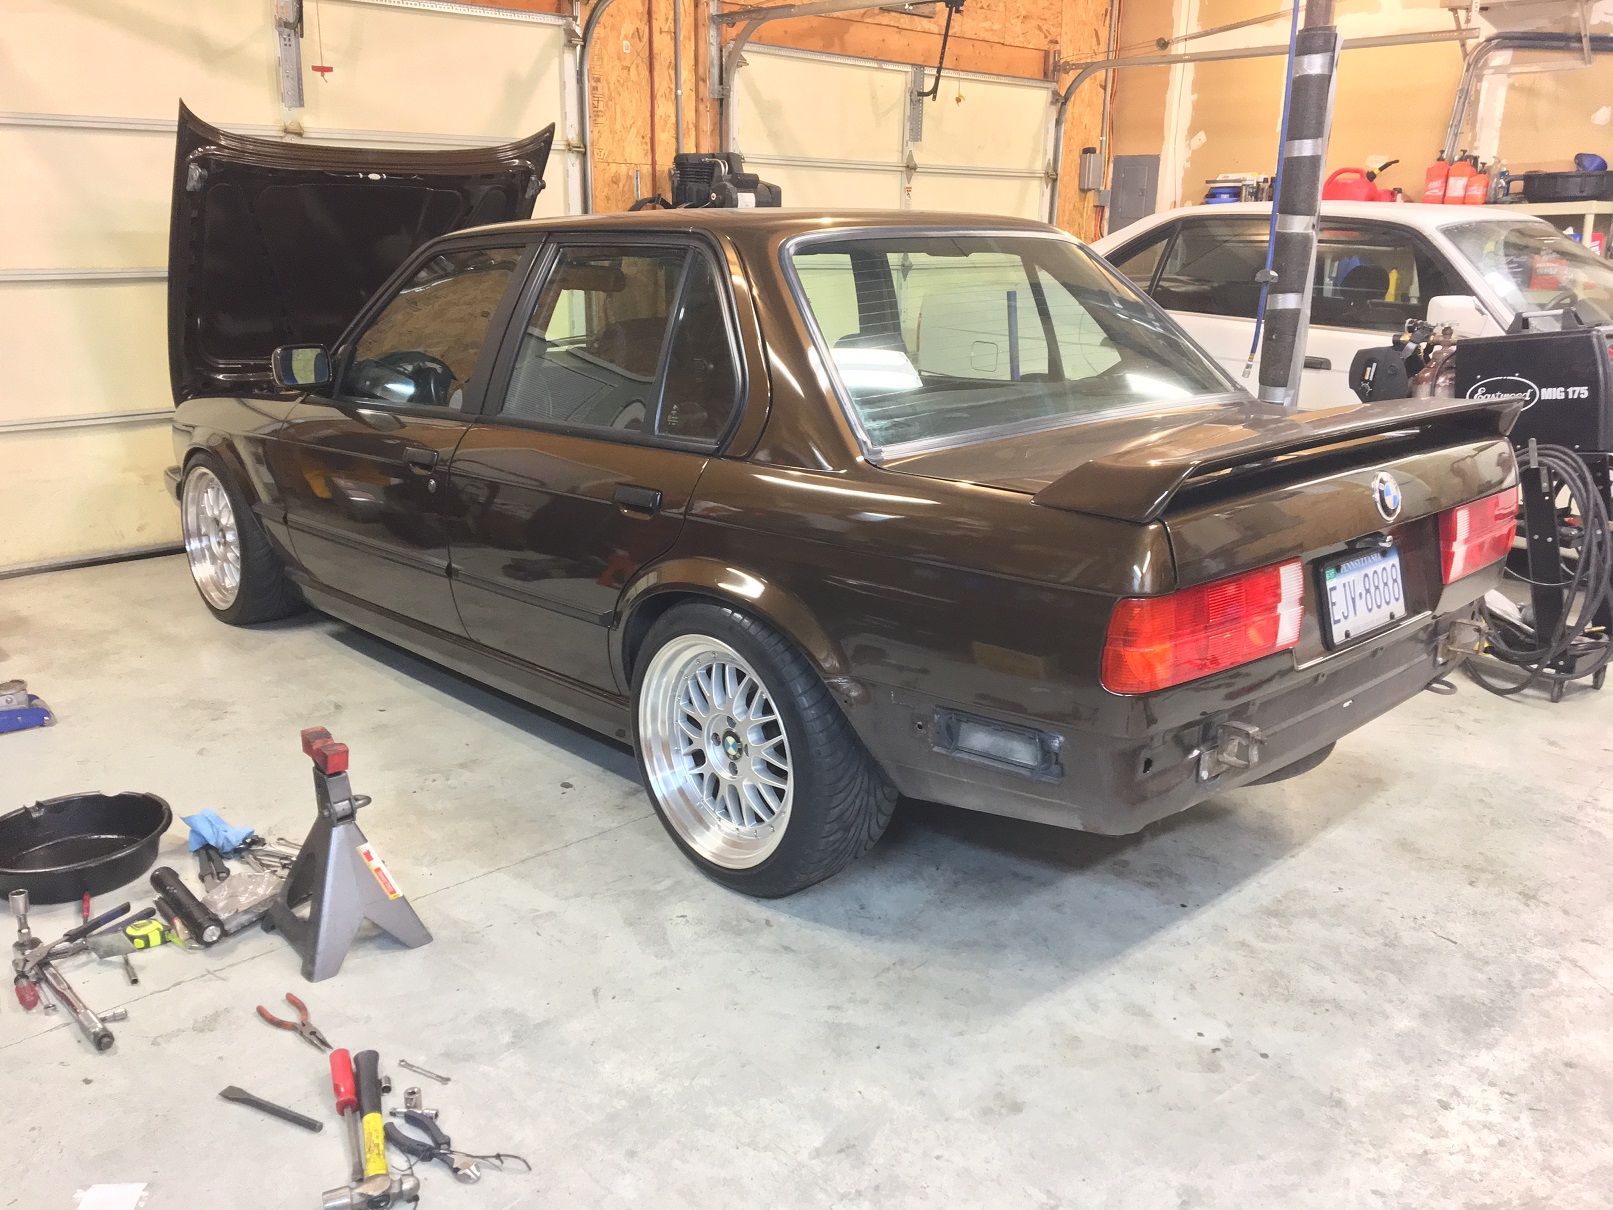
I'll try to keep this short.
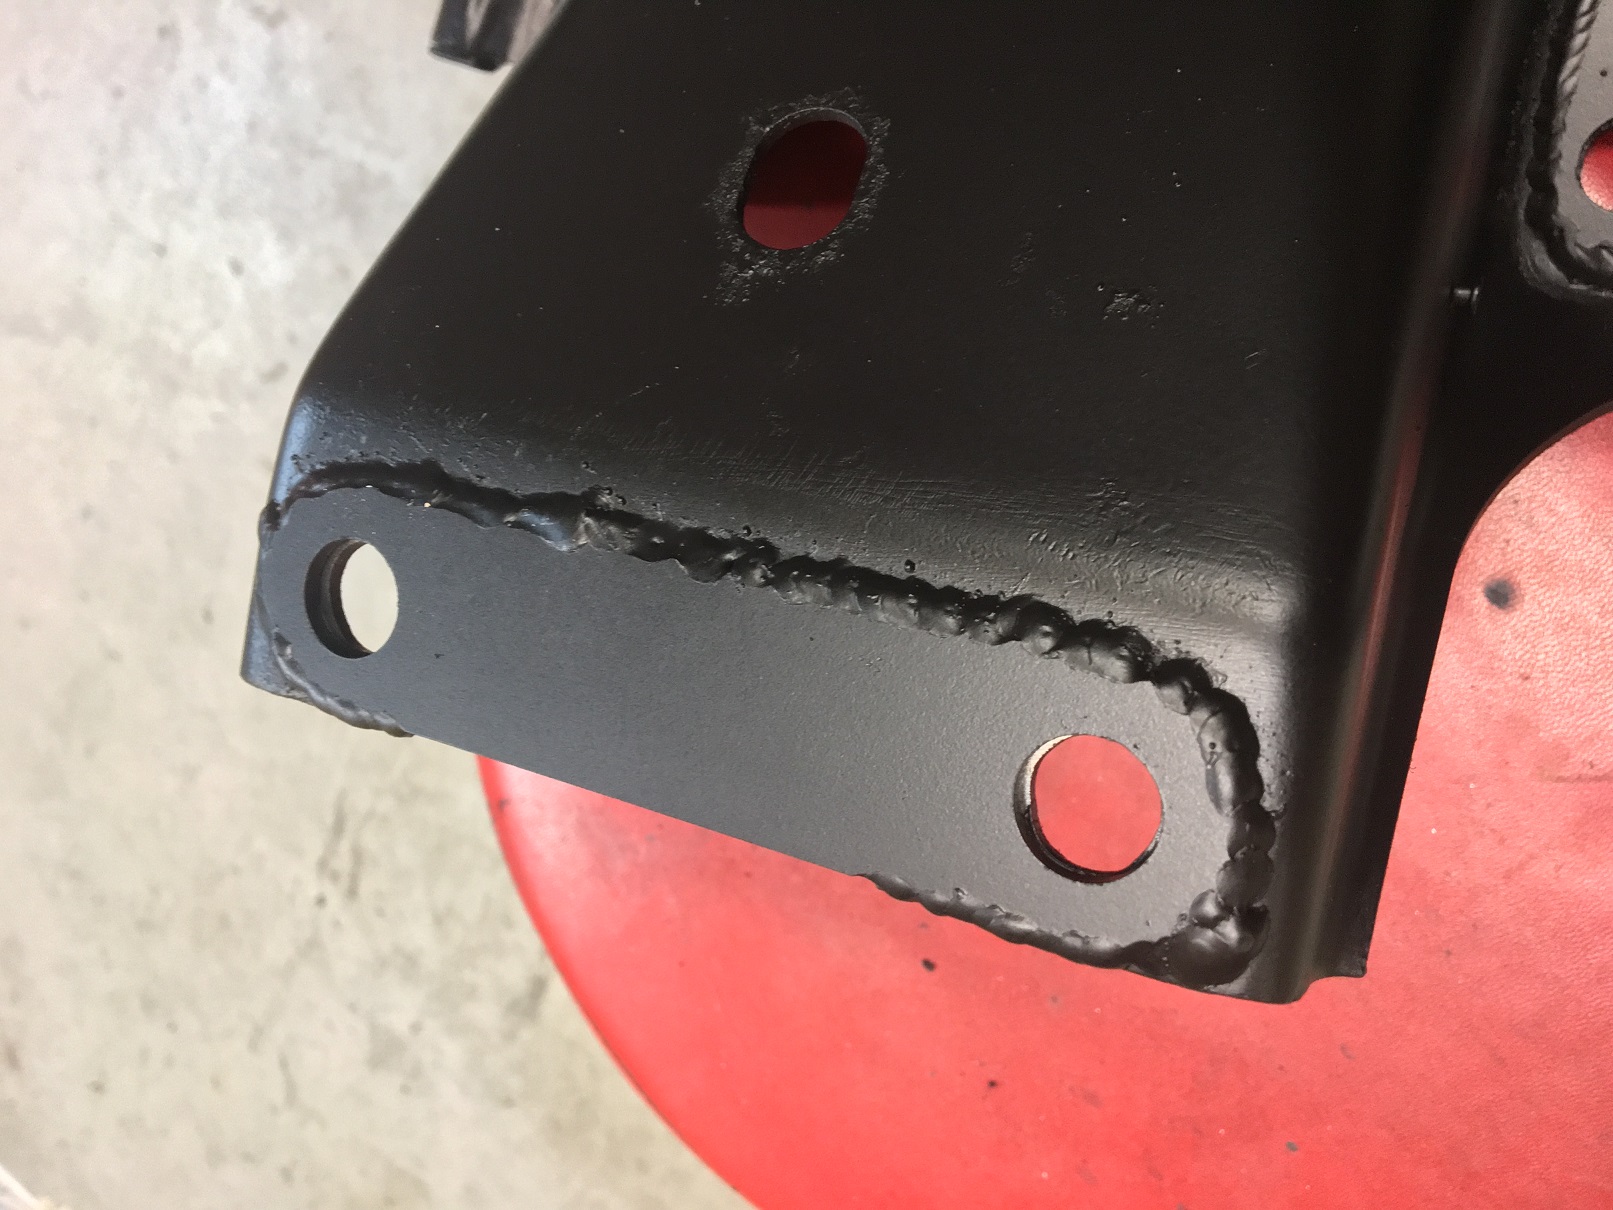
Finished the subframe. Found some hairline cracks around the diff mounting bolts, so I'm glad I did the reinforcements

I also trimmed the subframe bushings to allow for access to the trialing arm bolts.
One of my axle end caps fell off while I was messing with the trailing arm, then the outer race of the CV joint popped off, dropping the internals into a greasy pile. So I had to go research how the hell to assemble a CV joint. Turns out you can assemble it two different ways, and one of those ways fully locks it up, which is obviously what I did multiple times before figuring it out.
So, got it all back together, dropped the car on the ground, and bounced it around a few times to settle the suspension. Put the camber gauge on it. exactly zero on the driver side, -.25 on the passenger side. I'm shocked, I can't believe I got 3 degees from the eccentrics. I lowered the coilovers a little more, and am currently at -.25 and -.5. I'll need to drive it a bit to settle everything before doing final measurements/adjustments.
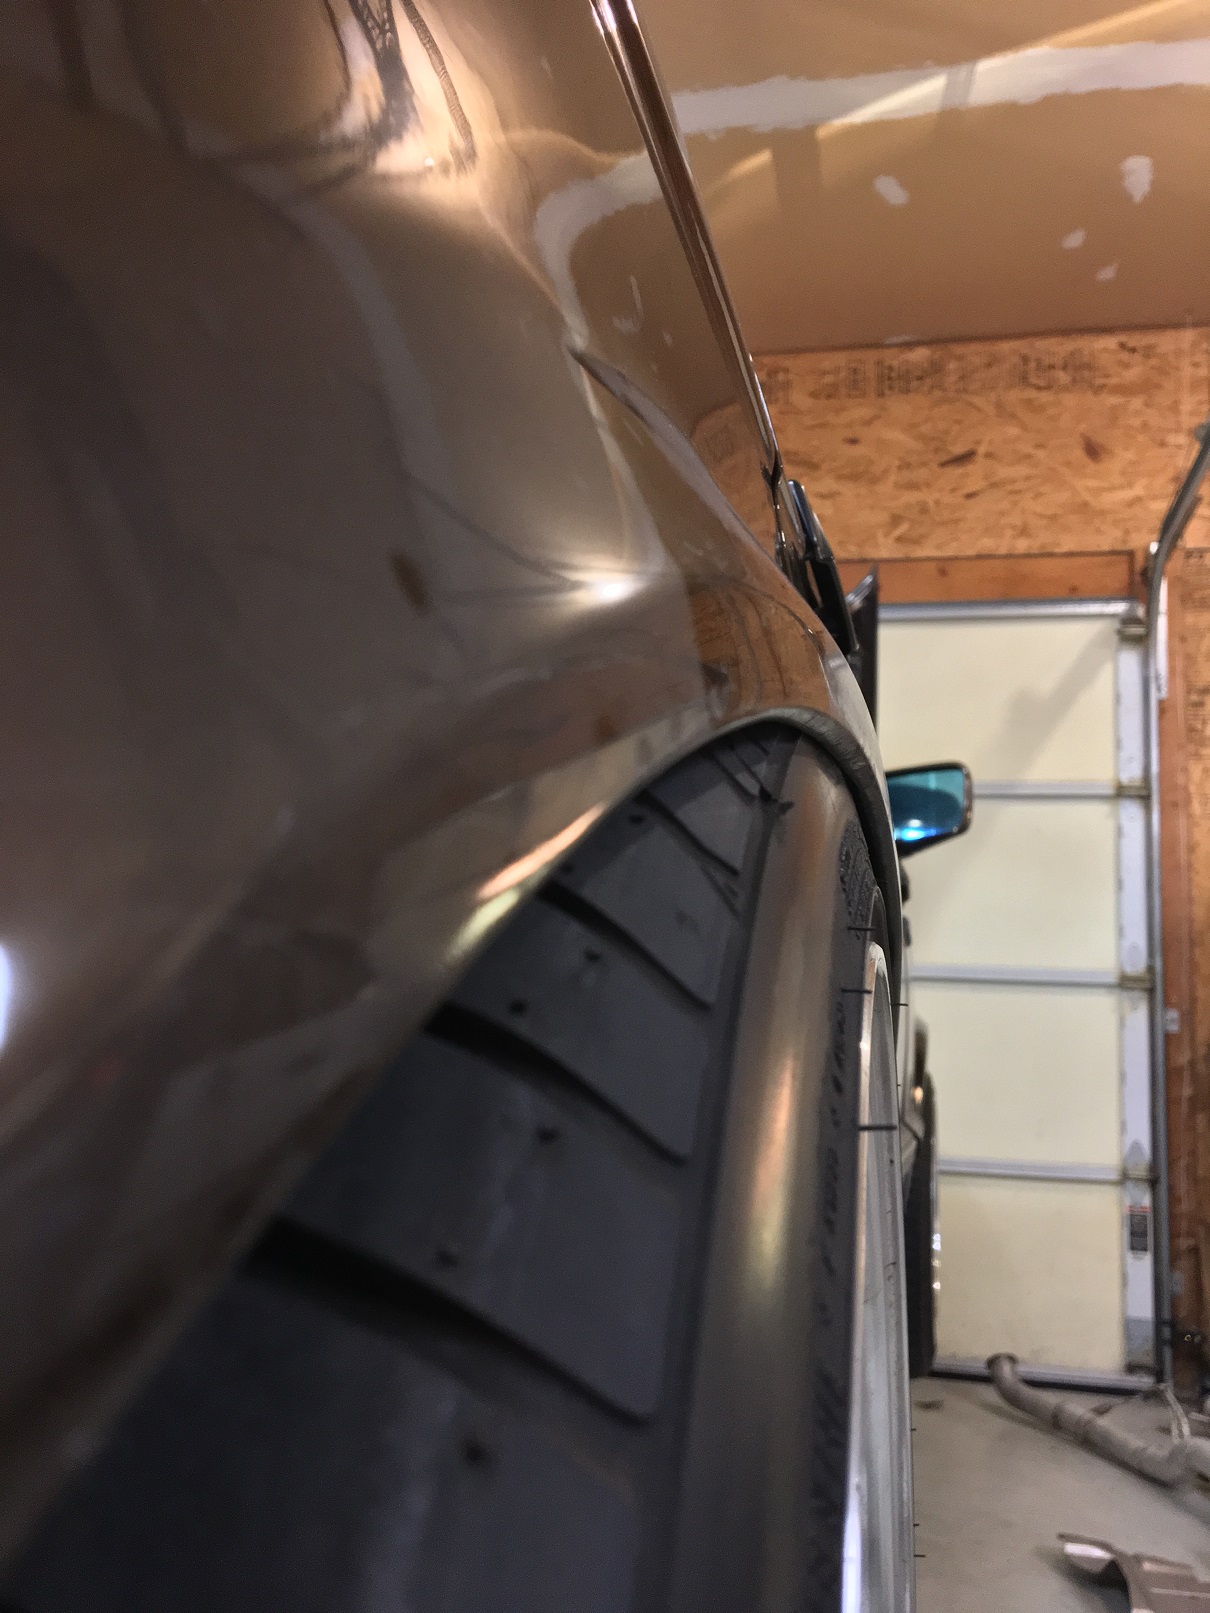
Now I'm dealing with exactly what I was expecting. Tire clearance. I had 10mm spacers before. I removed those spacers, and the tire still hits wheel well, where it didn't before due to the camber gain. I'm going to need to test drive it to see if it actually hits under normal driving conditions, and if it's anything to worry about. I might add more negative camber in anyway, I'm thinking -1 degrees, so that would help too.

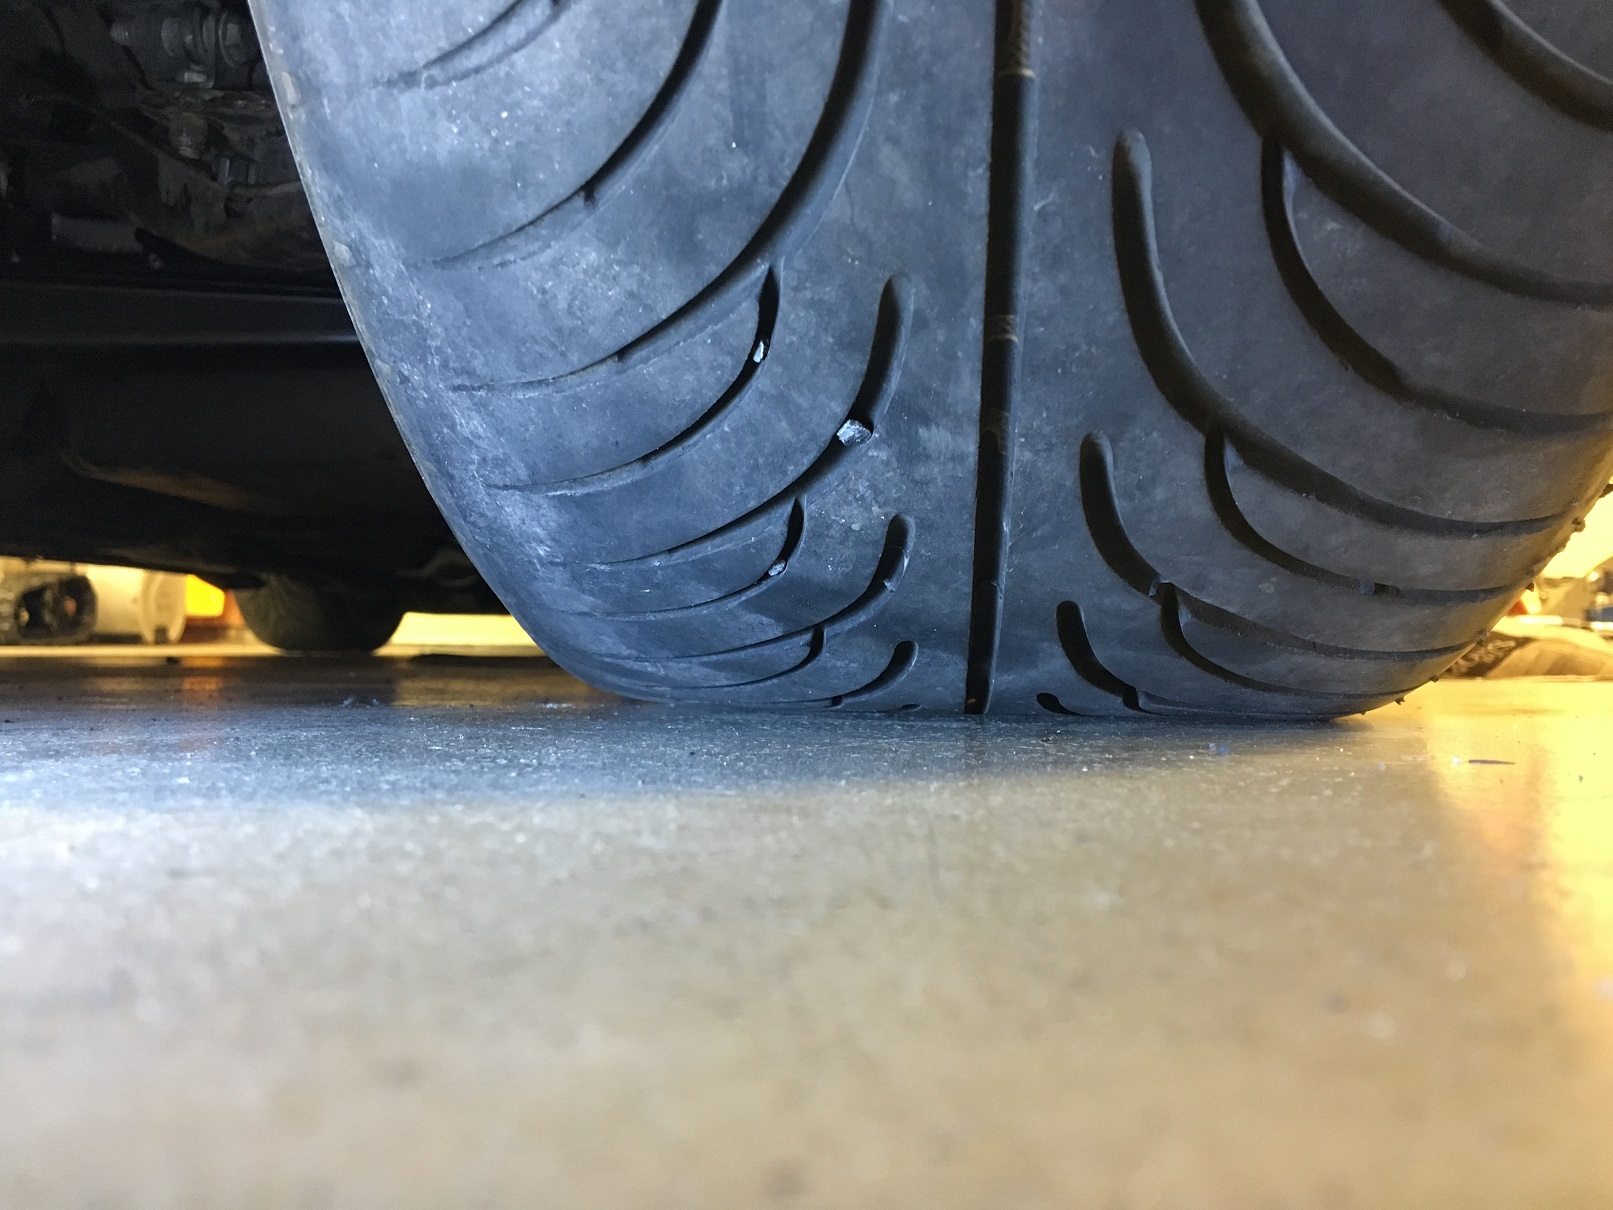
Check out the difference in the contact patch. You can see where the tire was riding before, where the inside edge was worn. That's basically the only spot that was touching the ground. Now, that part doesn't even touch the ground. With a new set of tires, the difference in traction should be huge.
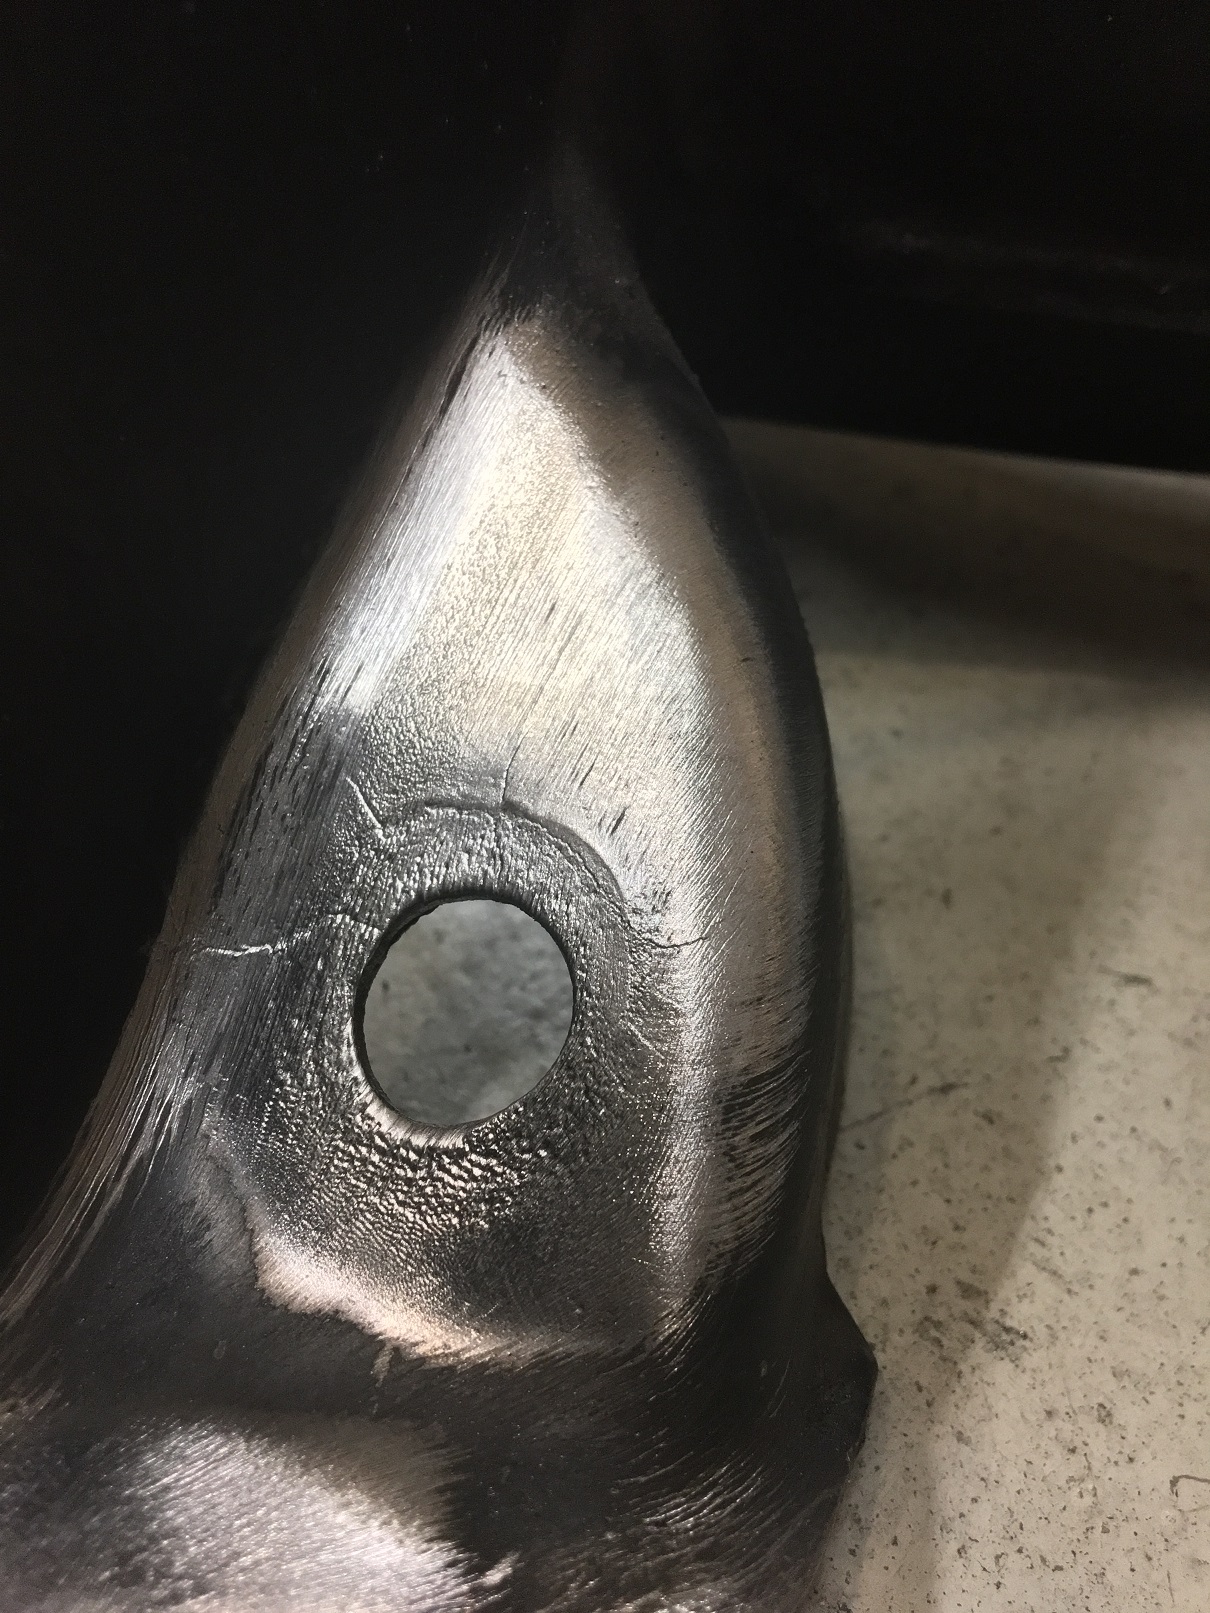
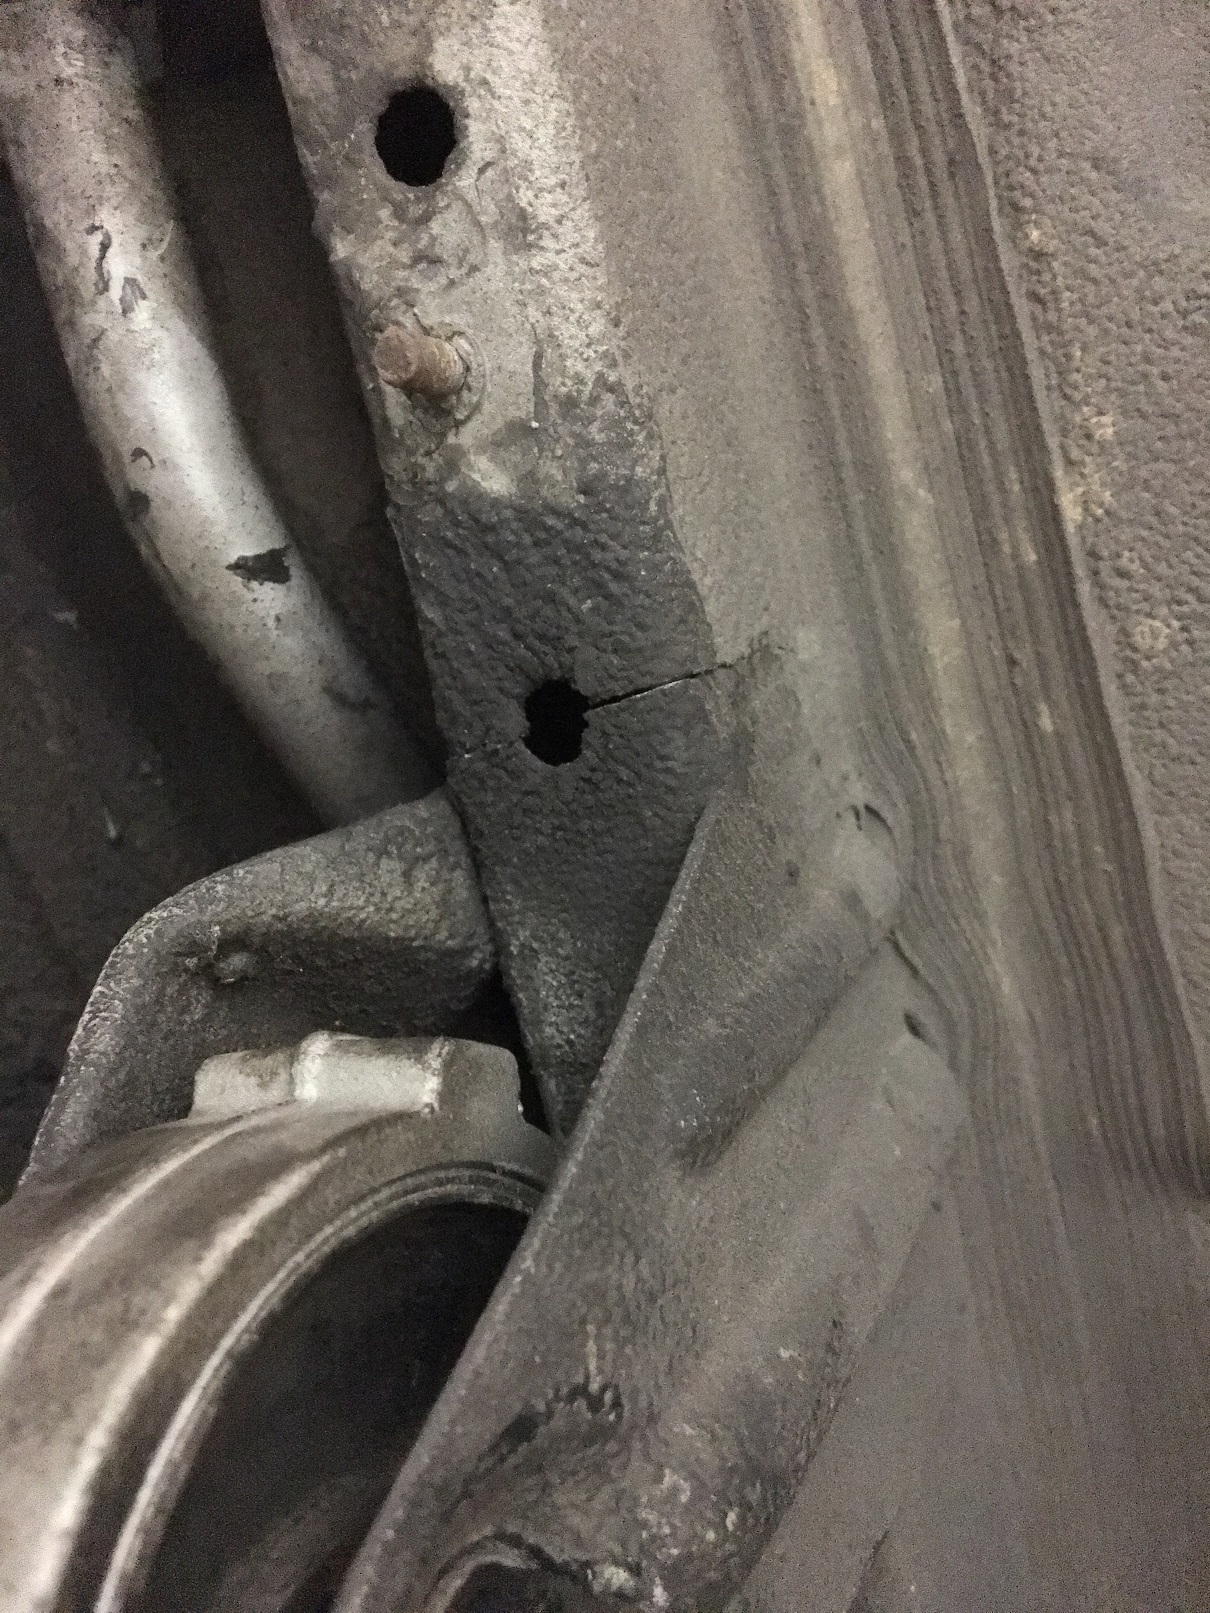
And on to the bad news. As I was cleaning up the tools under the car, and looking over everything one last time to make sure I didn't forget to tighten anything, I found this crack in the body next to the diff mount. I think this was caused by the diff bouncing around, as I have a chronic problem of diff bolts coming loose for some reason. Wish I would have seen this with diff/subframe removed. Either way, it won't be hard to weld and reinforce the area.
Leave a comment:
-
What kit did you decide on for the toe/camber correction?
Thank you for all the work you've documented in your thread btw. I've been referring back to it countless times working through my v8 swap. :popcorn:Leave a comment:
-
I replaced the steering rack with another e36 325i rack last week, rebuilt from Rack Doctor for $175 shipped. Direct drop in replacement for what I had, took maybe 2 hours.
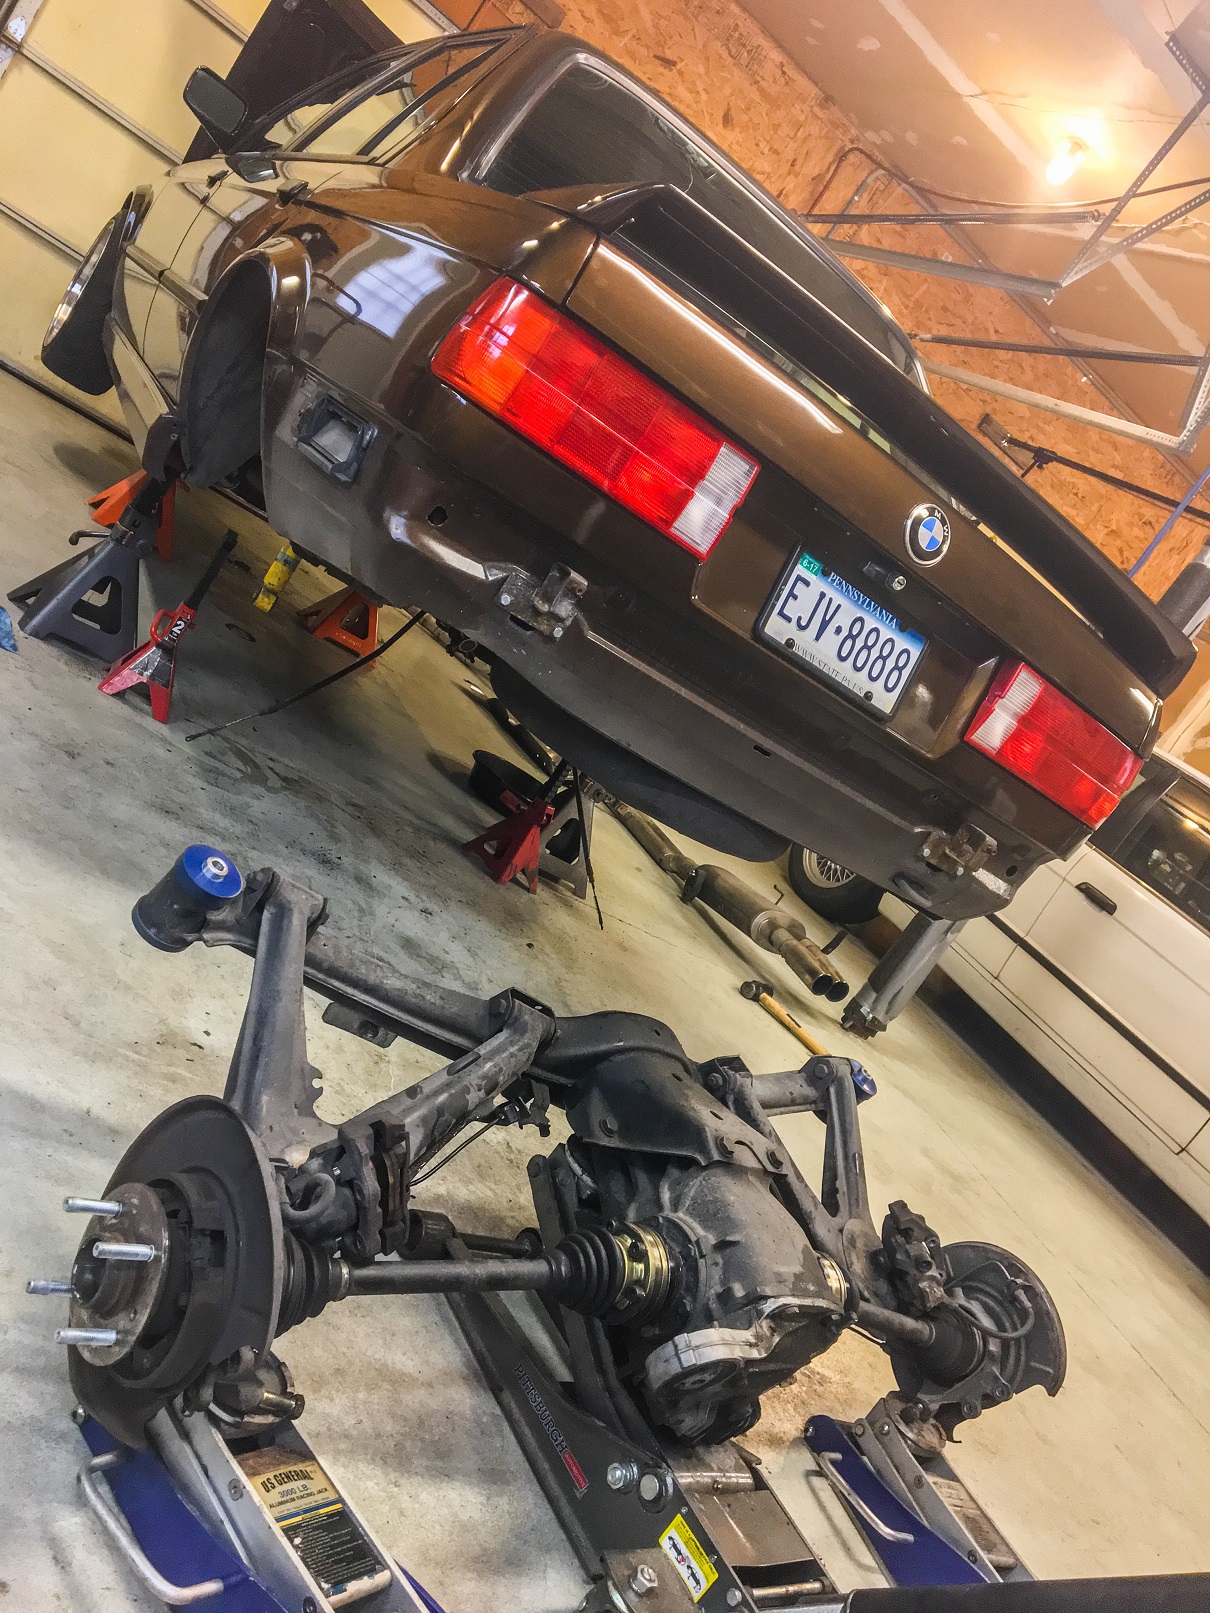
So tonight after work, I tore the rear end out. Came out fairly easily since I just had it out a few years ago. I decided to remove the whole thing at once, which proved to be a failure, as the whole assembly slid off the jack and landed on the diff cover, breaking a few fins, and then on the brake dust shield, bending it. Nothing serious, but made me realize it would have been better to take my time and remove the diff first, then trailing arms, then drop the subframe. Oh well.
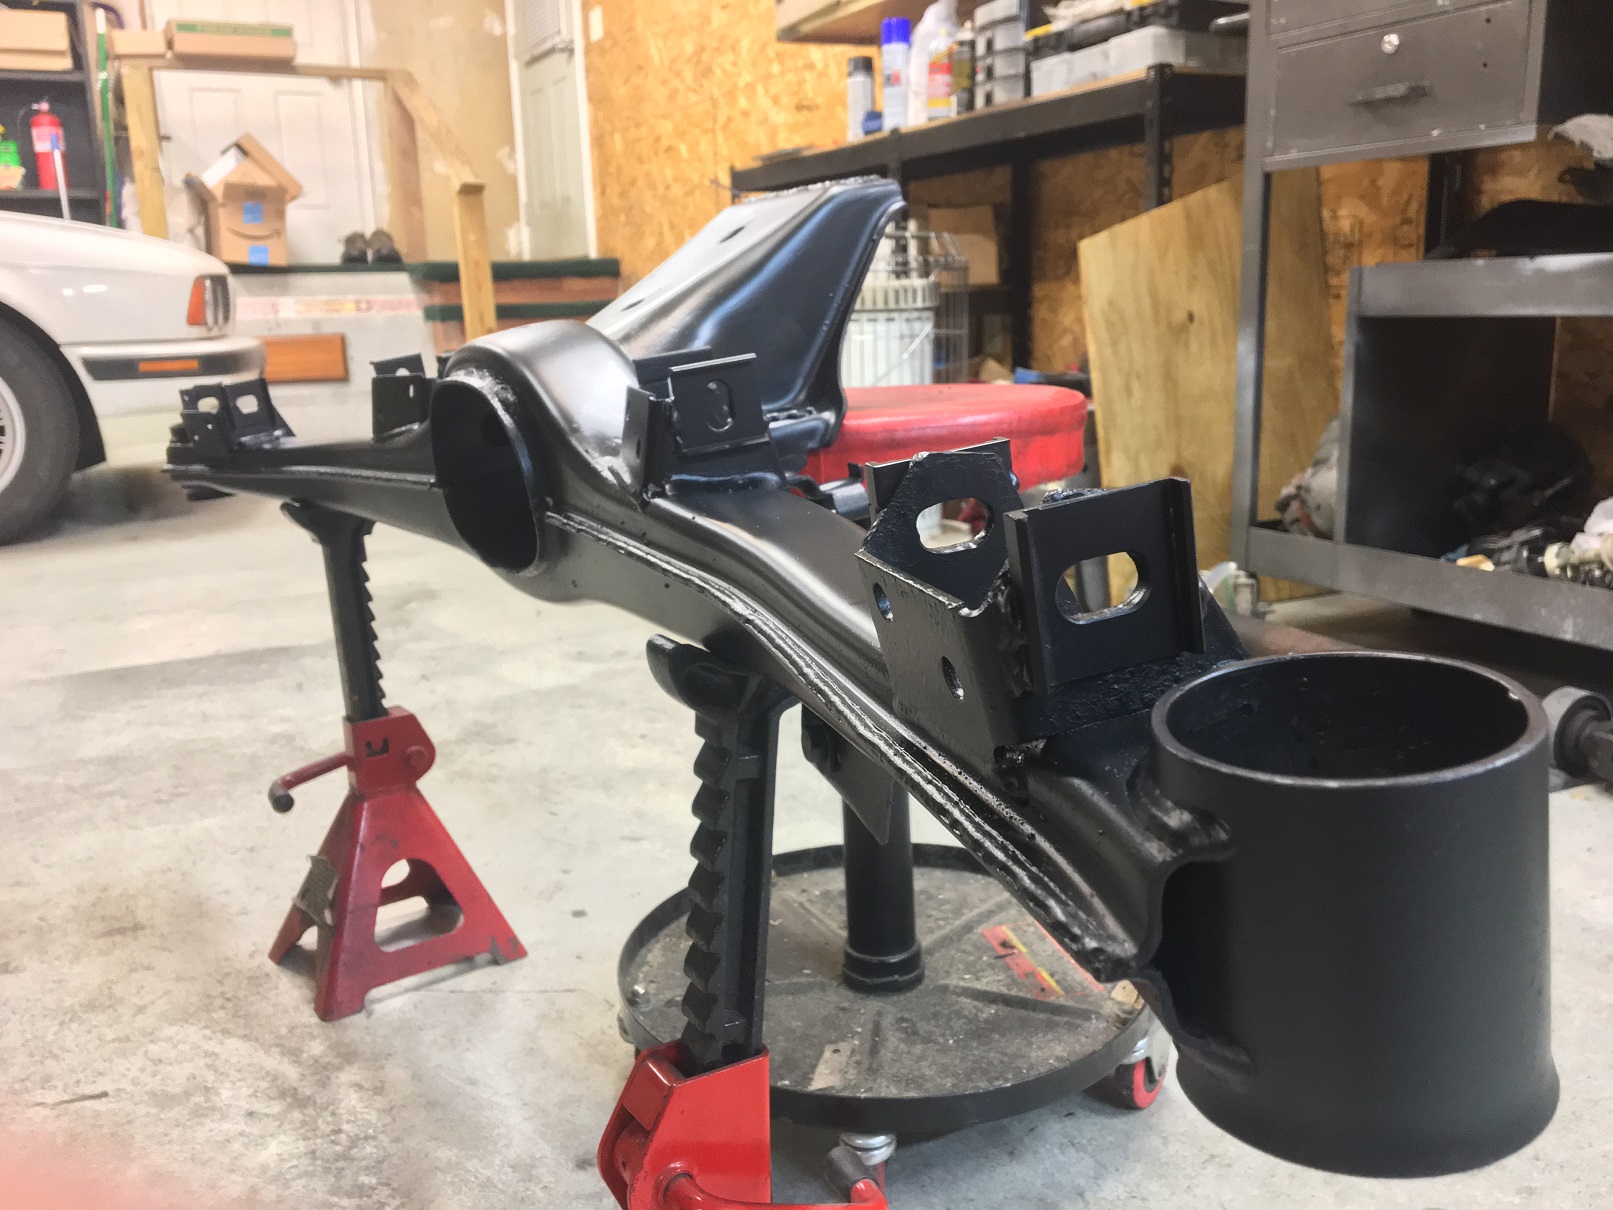
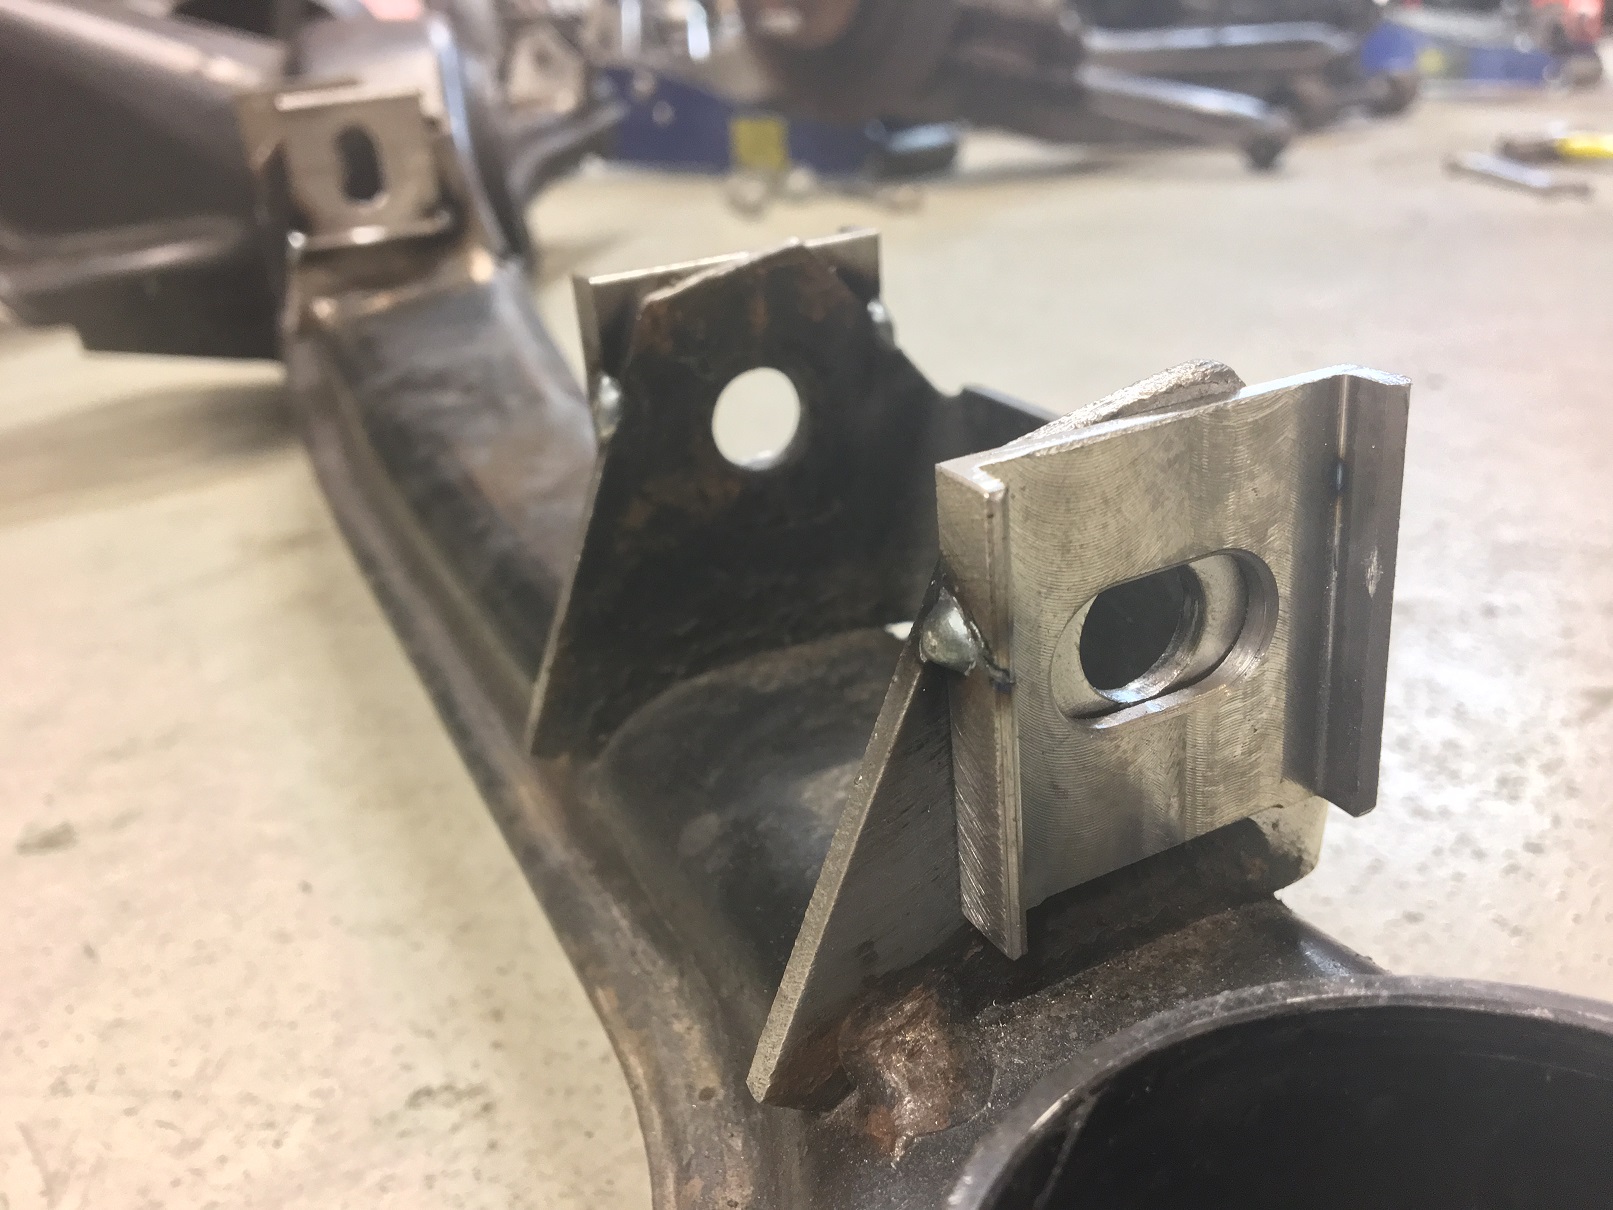
Got the subframe cleaned up, wire wheeled the trailing arm mount tabs, and went to work on trying to figure out where to mount the eccentric tabs. I wanted a bit more camber gain than what putting them in the standard 'correction' spot would be, which would be putting the bottom of the slot at the bottom of the current hole. That would be -3 plus 1.25, which would put me at -1.75. I moved it up a bit, I'm hoping for -1.5 degrees. Considering I started at about -3.5, that would be quite the improvement.
For toe, I just centered it up over the existing hole. After remeasuring a few times before tearing the car apart, I was at about 1/8" toe in, which is damn near ideal from what I've read. I was considering not even putting toe plates in, but if I did all this and then found that moving camber moved my toe and put it way off, I'd be furious to have to pull it all apart again.
I spent a lot of time trying to keep the axis of the slots correct. The existing tabs are not level in any direction, they are not parallel or perpendicular to anything. I leveled the subframe based on the subframe bushing mounting surface, which took a concoction of items to hold it steady, and then leveled the plates based on that. I think that should get me close enough.
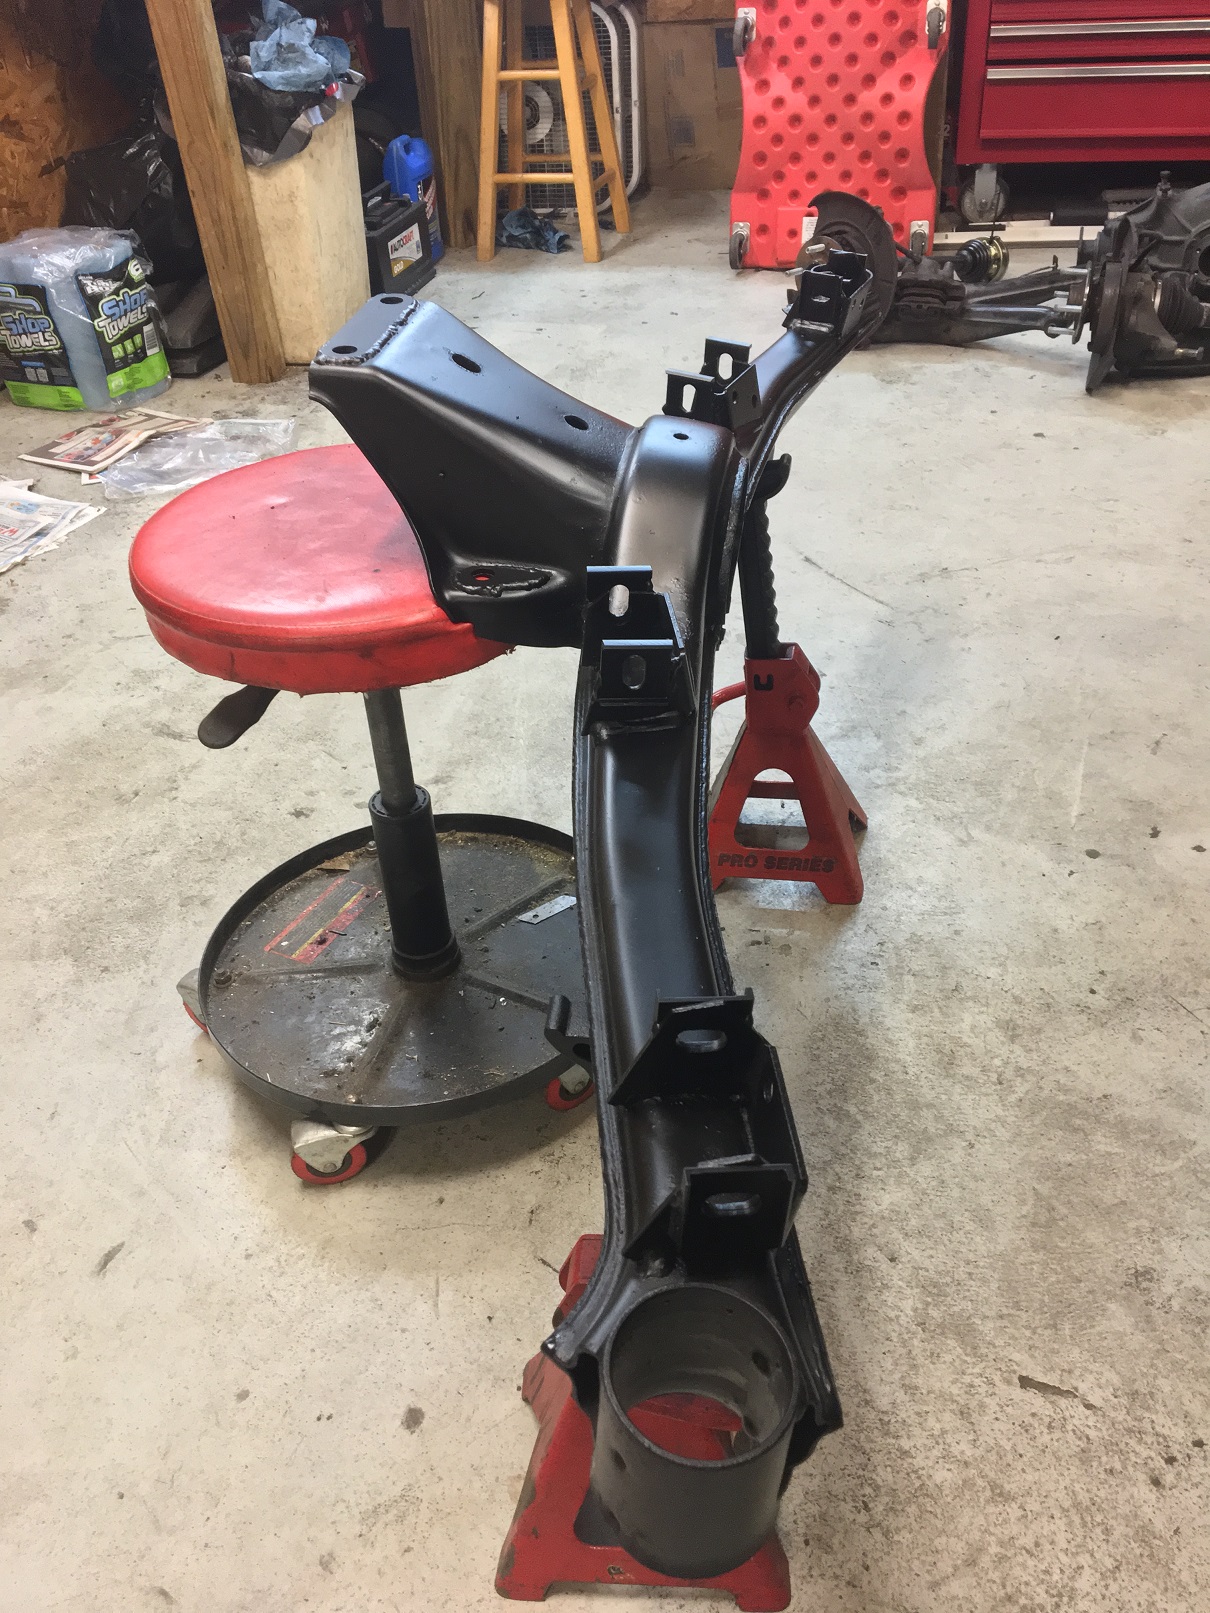
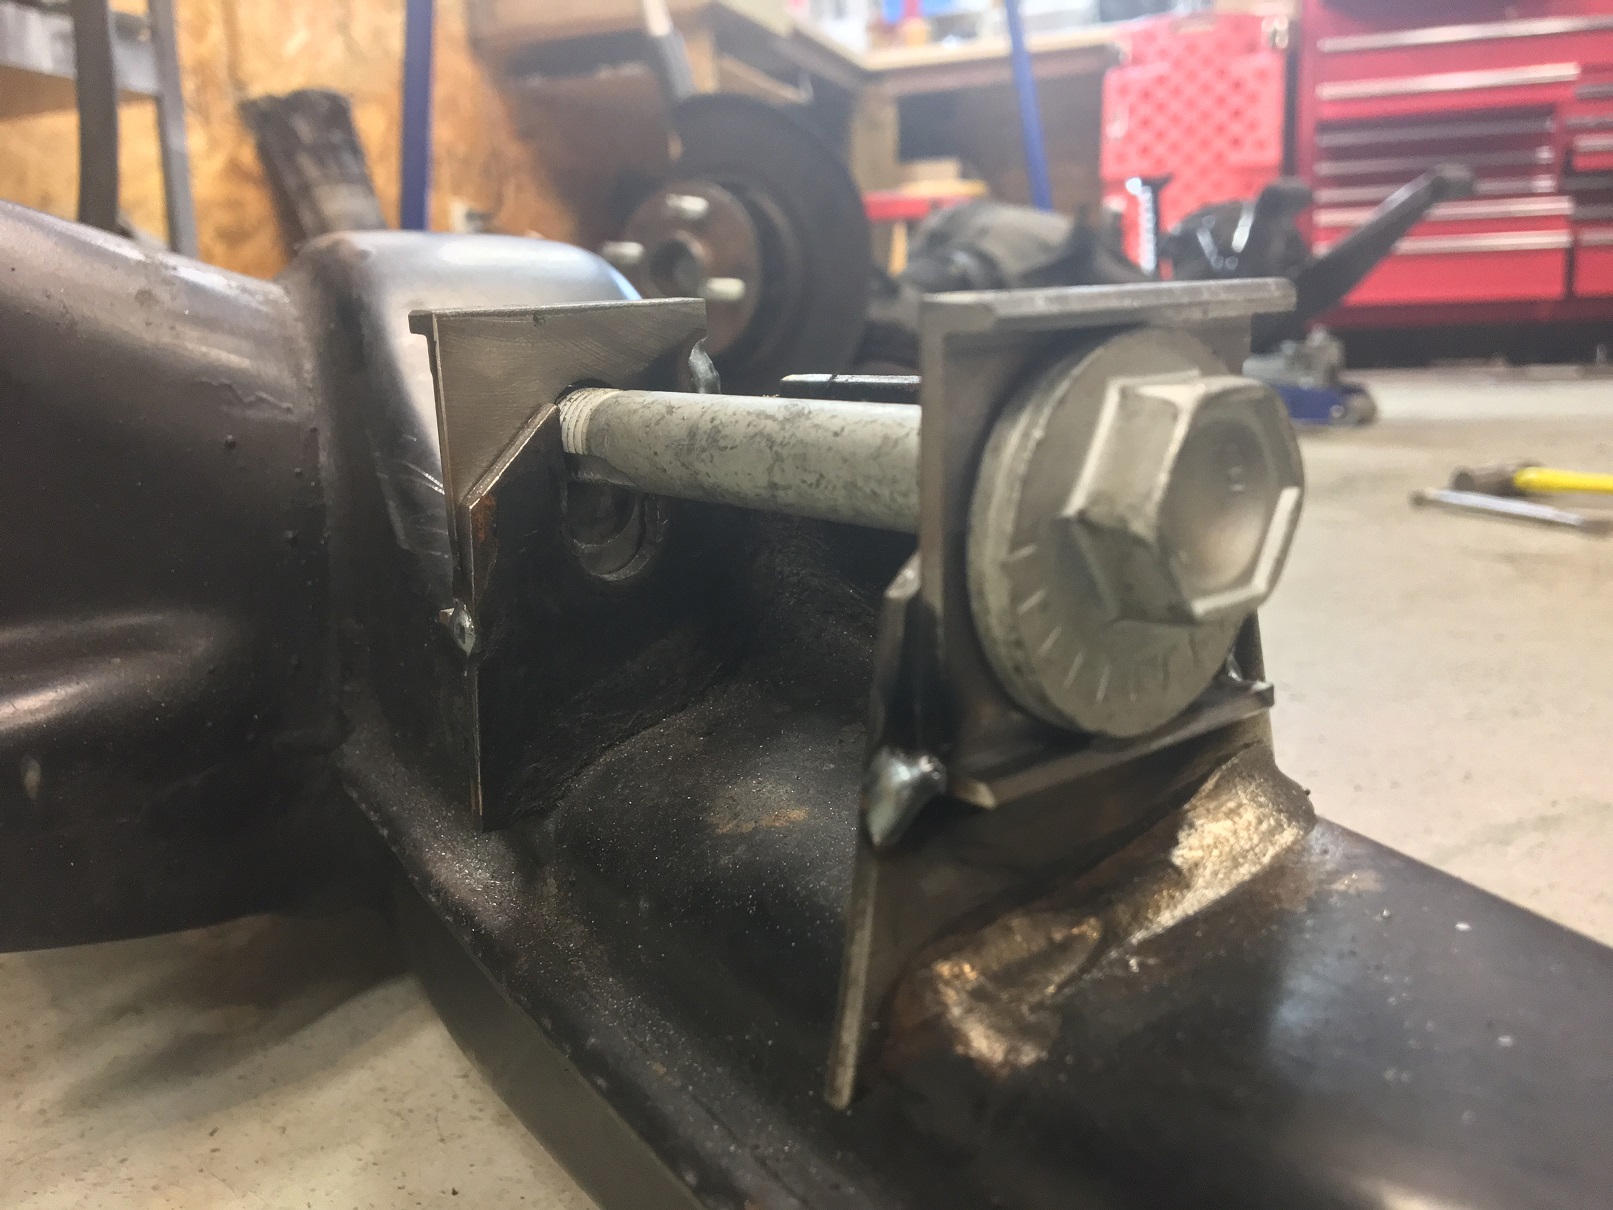
So, here I am. I have the passenger side tacked in place. Tomorrow night I'll do the driver side and get them fully welded and painted. I also got the subframe reinforcement kit for where the diff mounts to. I'm kicking myself for not getting the diff studs too.
Leave a comment:
-
-
I followed your build as you were posting it, and bumped it so my girl could find it more easily: we're working our way through all 70+ pages of it together for motivation to tackle some of our more challenging projects we'll be taking on this season. It's to your credit that you share your mistakes and crushing setbacks - makes for a very compelling read.
The car was scrap before you started this project, and you've completely transformed it.
Leave a comment:
-
I have to thank you guys for the conversation. It gave me the motivation to venture out into the garage and start playing with the rear suspension.
I had the rear coilovers all the way down, with 23" fender to ground distance. I raised the coilover adjusters exactly 10mm, which raised the fender to ground clearance to 23-5/8", which should be about right, given the springs location on the lever arm.
Anyway, my camber prior was -3.6 driver side, and -3.1 passenger side. After, it is -3.0 drivers side, -2.6 passenger side. So that's interesting, I corrected camber about .5 degrees by raising the springs 10mm.
What's more interesting is the half degree difference between the drivers side and passenger side. I suppose that's a bent trailing arm or subframe, as the TA and subframe bushings are new.
But, this gives me hope that eccentric TA bolts will be sufficient. That should get me to -2 on both sides (to keep them equal).
I wish I knew which trailing arm was bent. If it's the one with more negative camber, I'd replace it. Then I could get to -1.5* on both sides.Leave a comment:
-
Nope, and hadn't considered it either. I remember reading that it would only correct around 1/2 a degree, which sounds about right. Garagistic claims 4-4.5 degrees, which I simply do not believe.
Obviously it's dependent on the starting point, as our camber gain is exponential, but I'd like some accurately measured before/after results to reference before spending the time/money. If that won't be enough, and I need to do trailing arm adjustment plates anyway (which will be harder/impossible to adjust with the subframe being higher)... then.... meh...Leave a comment:
-
Not much to update, I still drive it when there's isn't snow/salt on the ground!
The steering rack is leaking so I'll be doing a replacement from Rack Doctor. I also am looking into doing an adjustable rear camber/toe kit to dial out some of my rear camber in an effort to get more traction and stop burning through rear tires so fast. I'm currently at -3.5 degrees, which is outrageous for a street car, on street tires. I have 235's, but only 25mm of that is touching the road when I launch. Problem is, the normal camber correction tabs only offer about 1.25* of change, so I'll still be at 2.25*. That's why I've yet to pull the trigger, I'm looking into other options. IE offers a longer tab with notches to prevent slipping.
The unfortunate side of that, is that I'll lose the curve the trailing arm takes, while also tilting the top of the wheel out at the same time. So I'll need to remove my 10mm spacers, and likely have to raise the car a bit as well. The tire already rubs the inner wheel well if I hit a dip at full throttle, so it'll only get much worse with camber correction. However, 'stance' was never really my thing, and I think it'll still look good.Leave a comment:


Leave a comment: