-
it's coming along very nice, and your worksmanship is improving as well. keep it up man. very excited to see the end result.Leave a comment:
-
Very nice. I want a roundie sooo bad lol. You just make me want one even more!Leave a comment:
-
Quarter panel work, here we go.
I started out by shaving the areas that still needed it, first being the blinker holes:

Cut out some filler metal:

Welded up:

And smooth:

Next were the lower trim holes, filled and smoothed:

Then I proceeded to take everything down to bare metal. It took me several hours, as I'm not exactly using the most efficient and timely method (DA sander and 60 grit pads). A sandblaster is kind of out the question right now, so I gotta use the resources I have. Whatever, it's therapeutic, I guess haha.


And then it was filler time. I'm learning that filler work really just isn't my forte. It's proven to be very difficult to make things look perfect, but I'm doing as good as I can:

Then I laid down some primer. Like the rest of the body, I'd say it's about 90% there. I'm not sure if I've mentioned this yet, but I'm planning on doing all the body work as good as I can, and then taking it to a professional to have them finish up the body work so it's perfect and ready for paint. Then I will paint it myself. As much as I'd like to do everything on my own, I want the body to look good once it's painted:


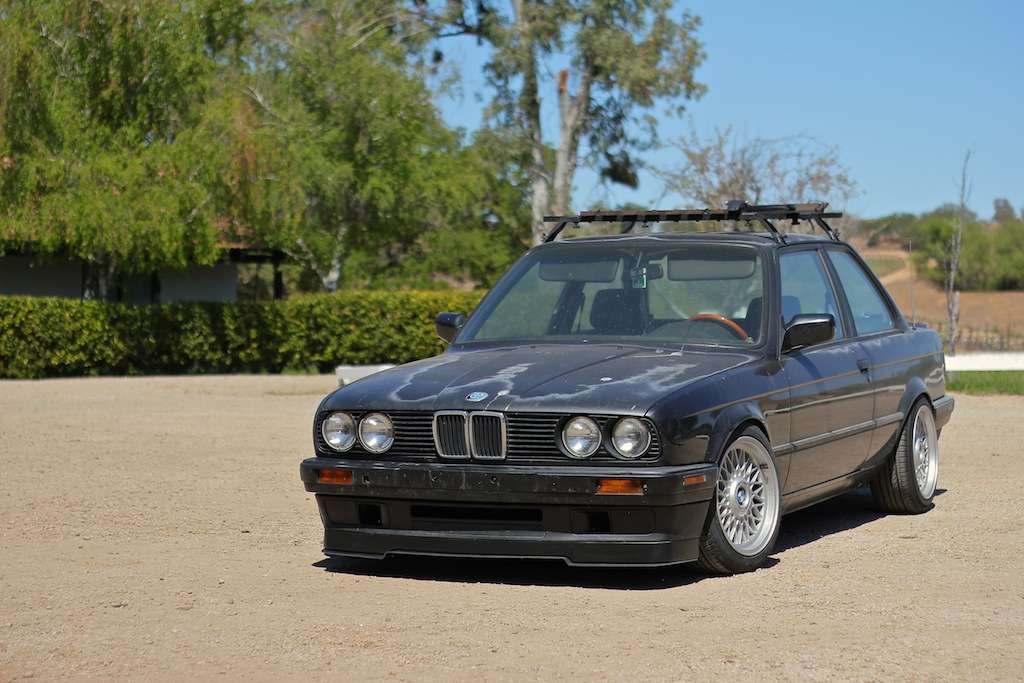
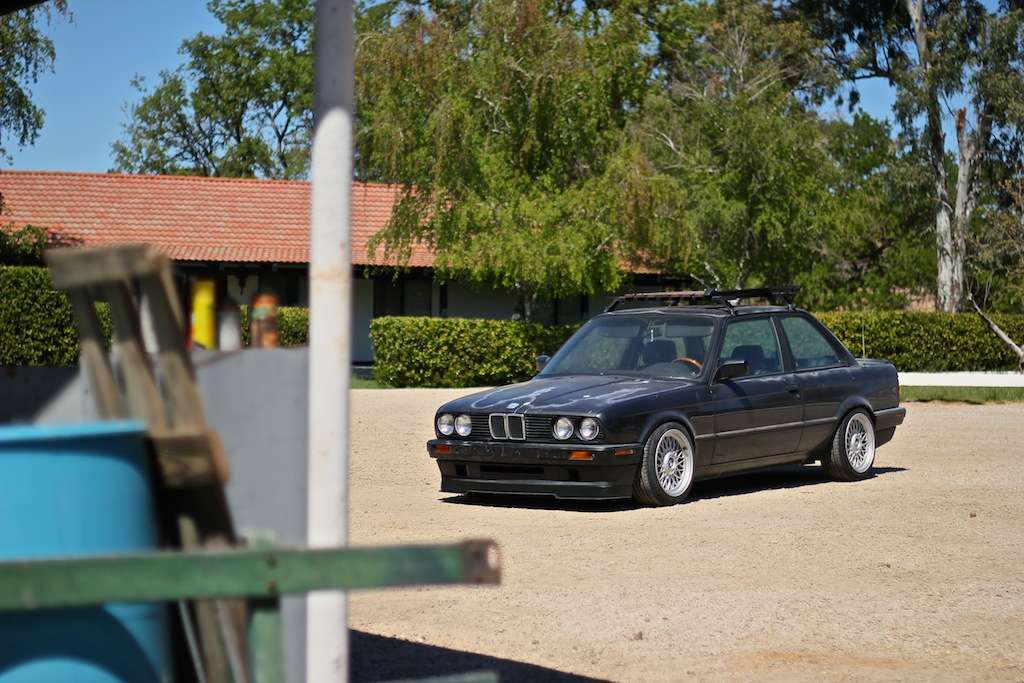
And just a few random shots of my daily e30 looking rough and grungy after installing an IS lip and splitter. I love it haha:
More to come next week!Leave a comment:
-
-
Thanks guys! I appreciate the kind words, although I feel tinkwithanr's build is on a whole different level than mine haha.Leave a comment:
-
-
Between you and "tinkwithanr" and your 2002 builds, I want one so bad. I wish I had your skills, man. Awesome work here.Leave a comment:
-
2 days off in a row = 2002 sexy time.
I rarely get two days off in a row, so I made the best of it. Got a lot of work done, nothing you guys haven't seen before but here we go...
Measure twice, cut once. The only way I could really measure where to put this fender was by eyeing the other side haha, not the most promising way but everything looks perfect to me. Tacked in:

All welded up with both ends tied in:


Grinded all the welds down and took the surrounding areas down to bare metal:


I primered it because it'll be a few days before I can get back to work on it, and I didn't want any surface rust forming, I'm over that. I still need to do some body filler work to make everything look cherry, but I'm really happy with how it looks after just grinding the welds down. This means I'll only have to use a very small amount of filler, which after dealing with the driver's side and all of it's misfortunes, is a pure luxury to me at this point.

Then I figured I'd knock out the top trim holes. There was some rust around them, so I took everything down to bare metal:

Hit it with a flap disk and got everything clean:

Welded the holes shut and smoothed them out:

Next is shaving the lower trim holes and the rear side marker holes, doing all the necessary filler work to smooth everything out and this quarter panel will be done!
And one from Instagram. "Cleanup is paramount" :D

Leave a comment:
-
Coming along very nicely! I know the feeling of having everything paid for and done with! congrats, cannot wait to see it finished and driving around.Leave a comment:
-
-
Great thread and work.
Btw, loved the beautify Bavaria video, watch it once or twice a week... Still.Leave a comment:


Leave a comment: