

So after years of use and abuse and some mishaps... My baby is getting a nearly complete redo. For those that do not know which car I speak of the original build thread is here
I have an ongoing thread in BF.c and the new work starts mid page here:

This is what is in store:
First:
The rear subframe was reinforced years ago but the design I used limited rear swingarm down travel. That was fixed (should help keep the inside wheel from lifting and spinning in a corner for sure!
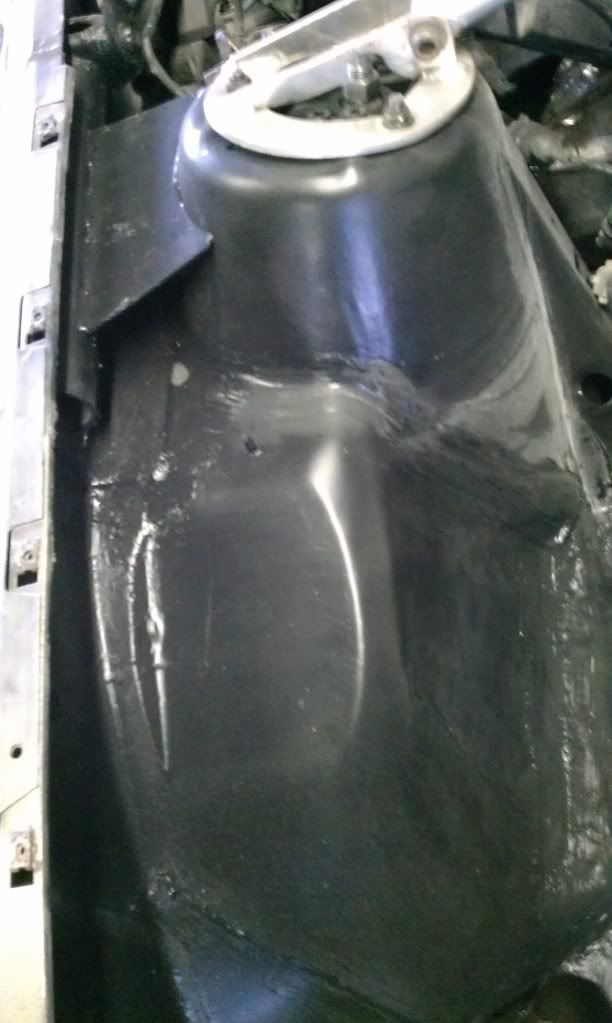
The front clip was reinforced both inside and outside of the main chassis. I have no intentions of ever putting in a FULL cage that would help keep the chassis stiff, so I capped the outer reinforcement on the apron and tied in the shock towers to the apron inside the engine bay.
The front struts were replaced with Koni Adjustables and front springs stiffened 100lbs (500's - 600's)... And why did I do this?
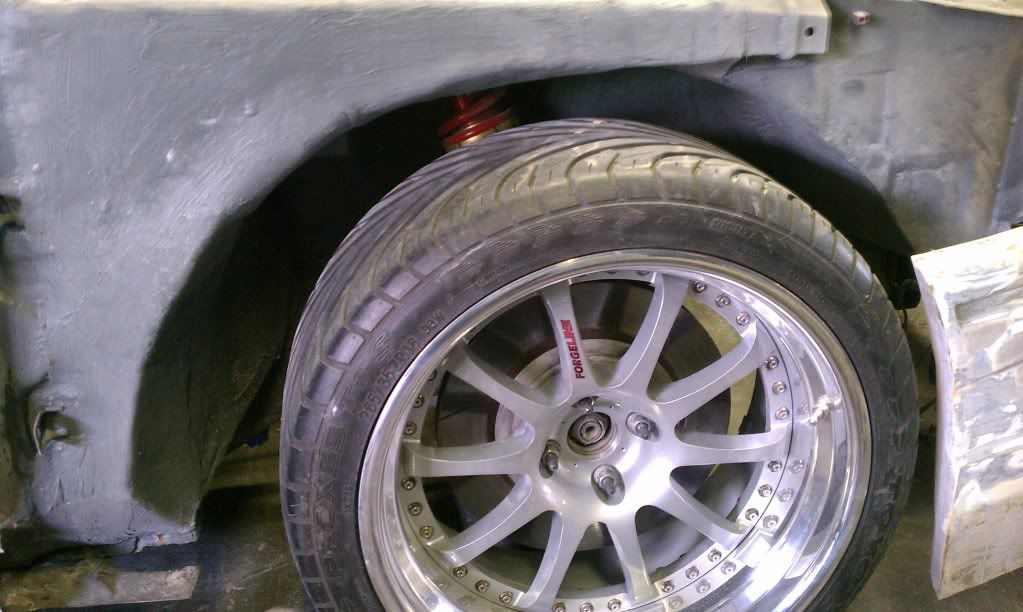
Wheels have been WIDENED... Tha's right... I went from 8.5-9.5" and 245 front rubber to 265! The rear wheels were widened from 10.5 to a proper 315 width of 11".
The car never looked right when I changed the tires sizes anyway. The fender openings had to be cheated to allow for the rubber and it always bothered me greatly! Soooo.....
Second:
Body mods...
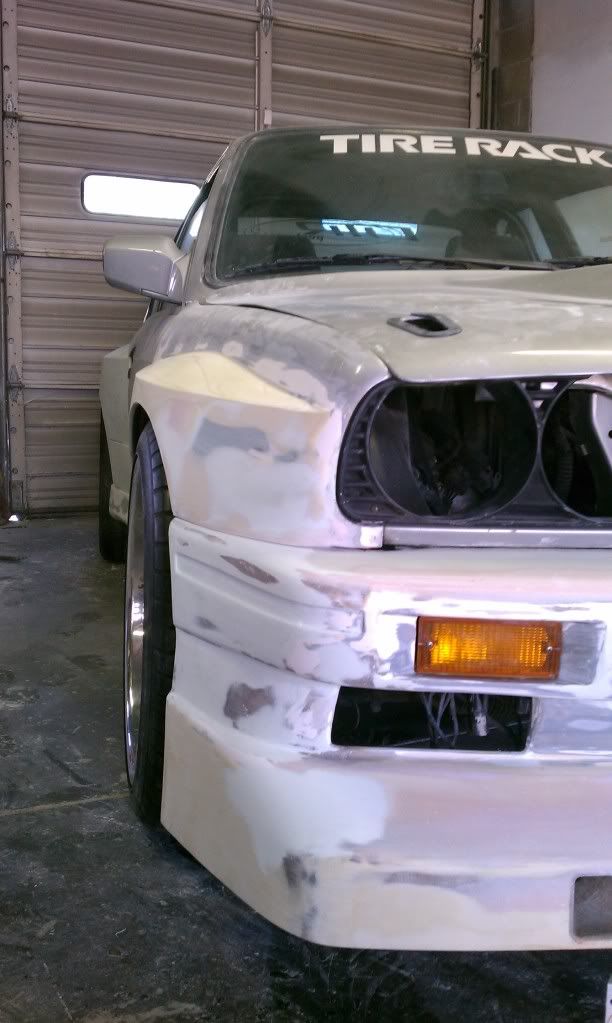
The rear fenders were stretched over an inch to just clear and tuck the rear meats including the side skirts so it didn't look strange. The fronts were stretched over 2"! Now the rear flares are over 4.5" and the fronts are 4"! The wheels look more like they are the same width, and the flares not so uneven. The front bumper is getting the most love though! I have added an air dam to the front spoiler lowering the front ground clearance by 3". I will be adding an under carriage support frame to mount a functional splitter to go under the new spoiler/air dam. Also, the drivers side lower hole was filled (not doing anything anyhow), correct turn signals have been found and fitted, and brake cooling ducts will be added to the air dam to keep the big brembo's cool under pressure! This is where I am NOW, doing the rough body mods. So far it is looking WAY better and more like a proper e30 M3 style body.
NEXT (after the body is ready for paint)
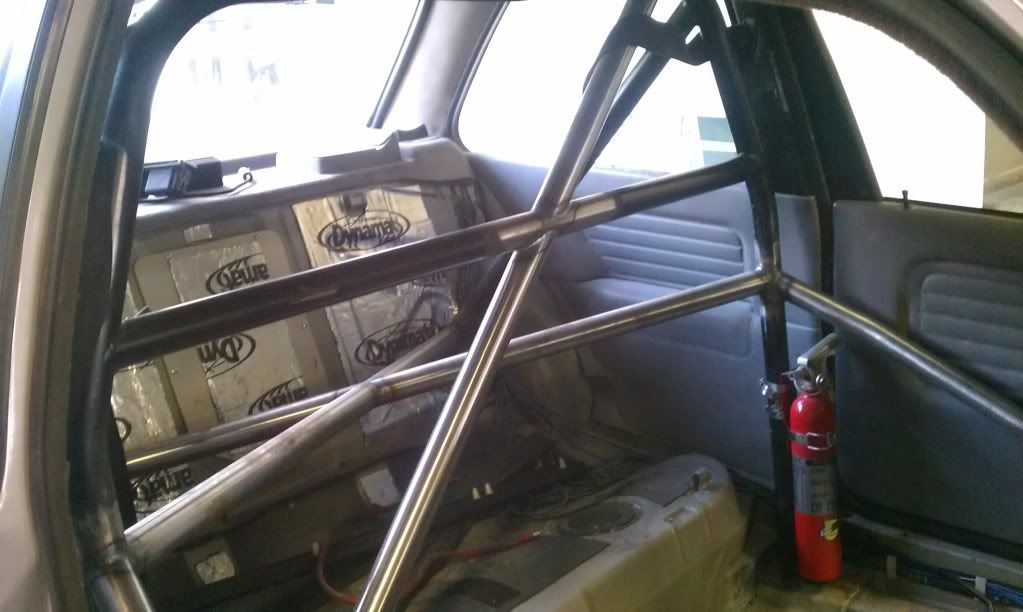
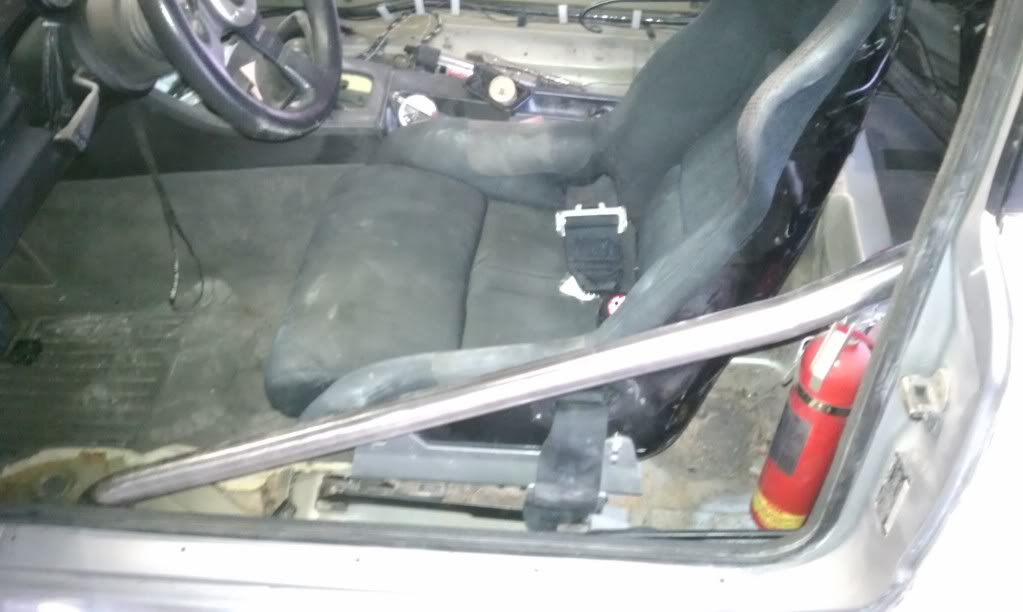
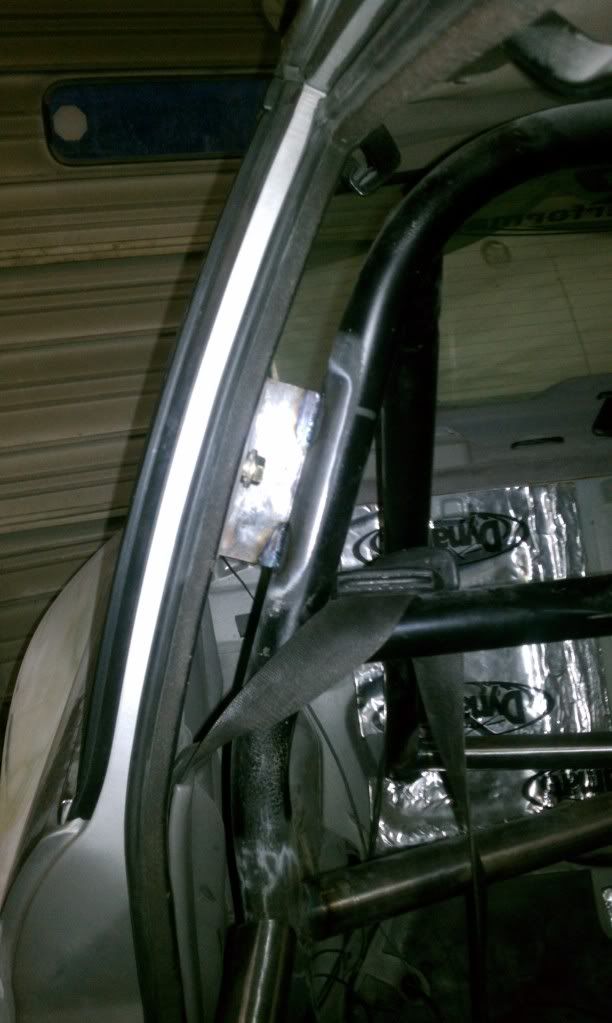
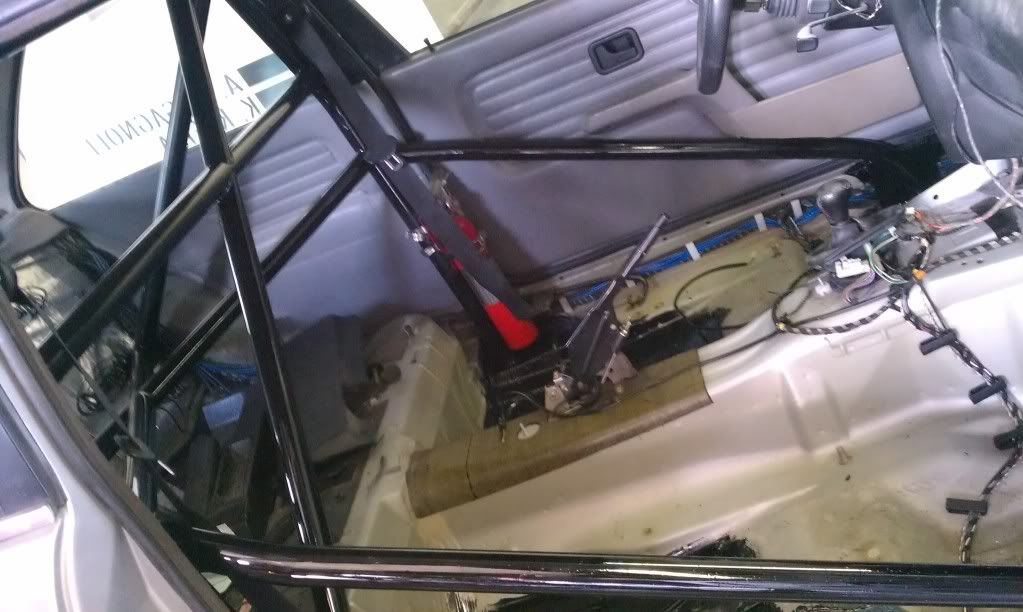
I am adding to the roll cage. I will be adding diagonal door bars, putting in an "X" in the rear section and a diagonal in the main hoop. I have a new carpet to install and hope to get my seats re covered (not imperative, but think it would be nice). I have been toying with the idea of doing a top of dash gauge pod... but may re use a gauge face plate that I will install in the upper vents. Don't know how or when that will take place as it's prohibitively expensive for me at this time to get a bunch of new gauges!
PAINT!
All of the windows and trim once again are going to be removed for a full body spray. DEF not my favorite thing to do, but it's the only way it will look as good as it should.
Engine:
I have a newer (unmolested) M52 2.8 from an auto car with low mileage that I will use as my new bottom end (the original one being saved for a future full build). I want to get my head decked for flatness and new ARP's and Cometic will be used once again. I would LOVE to o ring the block as it has been discovered that using copper o rings on the block side of a setup using the cometic gasket all but eliminates a blown head gasket. That remains to be seen as to whether or not I get that done. I will be using solid aluminum motor mounts (urethane just isn't stiff enough I have found).
Finally:
I will be replacing all of the normal wear out items, ie tie rods, control arms, wheel bearings etc... I already have installed the BW eyeball mounts replacing the M3 ones I had previously.
Goals:
I would like to have the car ready for Oktoberfest at Mid O... we'll see. Lots of money is still needed to get everything done that I would like to. Time and motivation I have right now... Money??? LOL not so much!
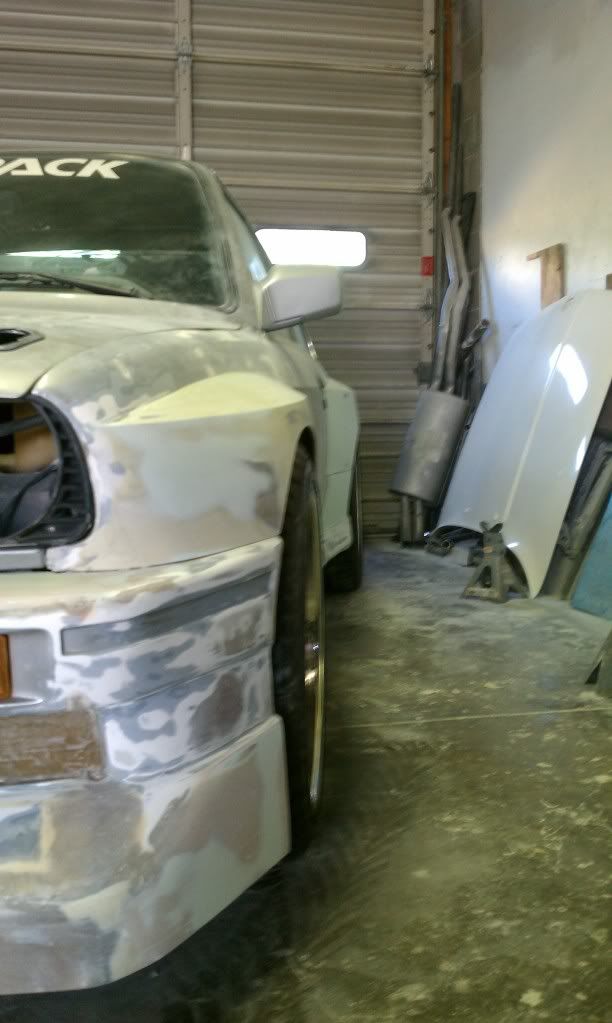
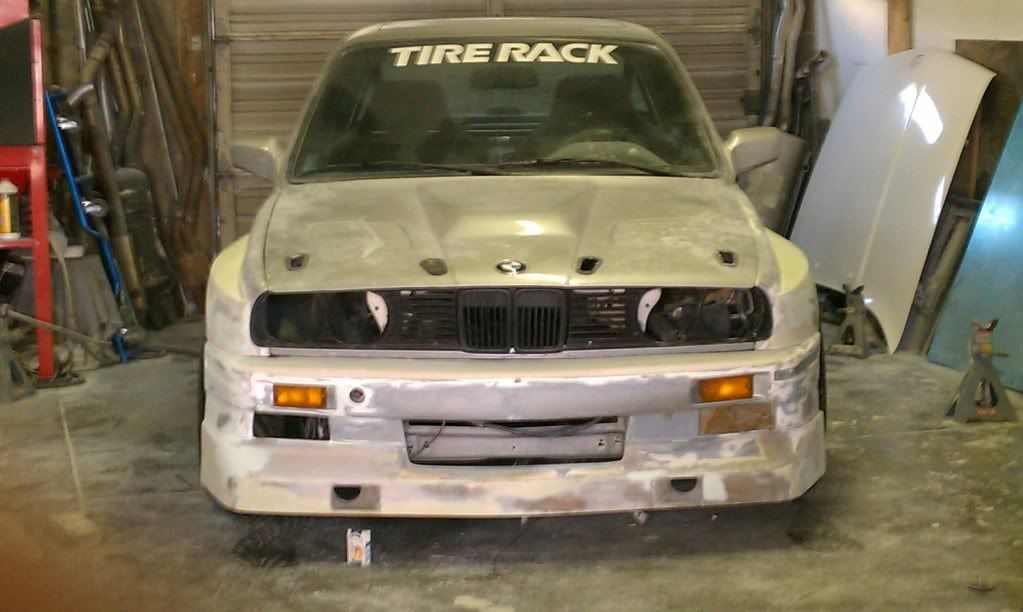
Pics of the beast as it sits now...
Well, the body is a LITTLE closer than in this pic... the hood is straighter and the fenders closer... but basically just like this (taken a couple weeks ago)

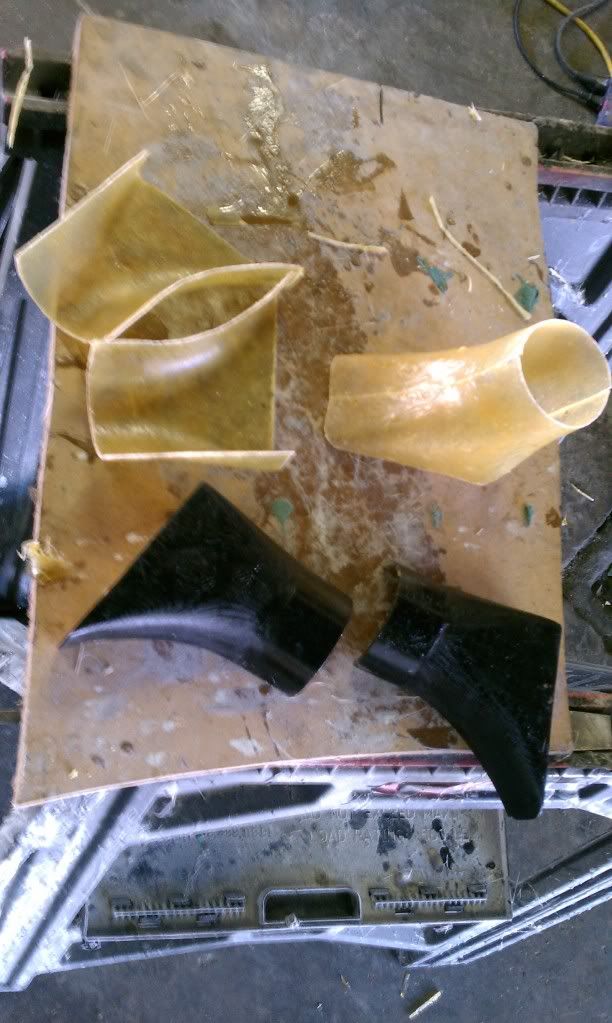
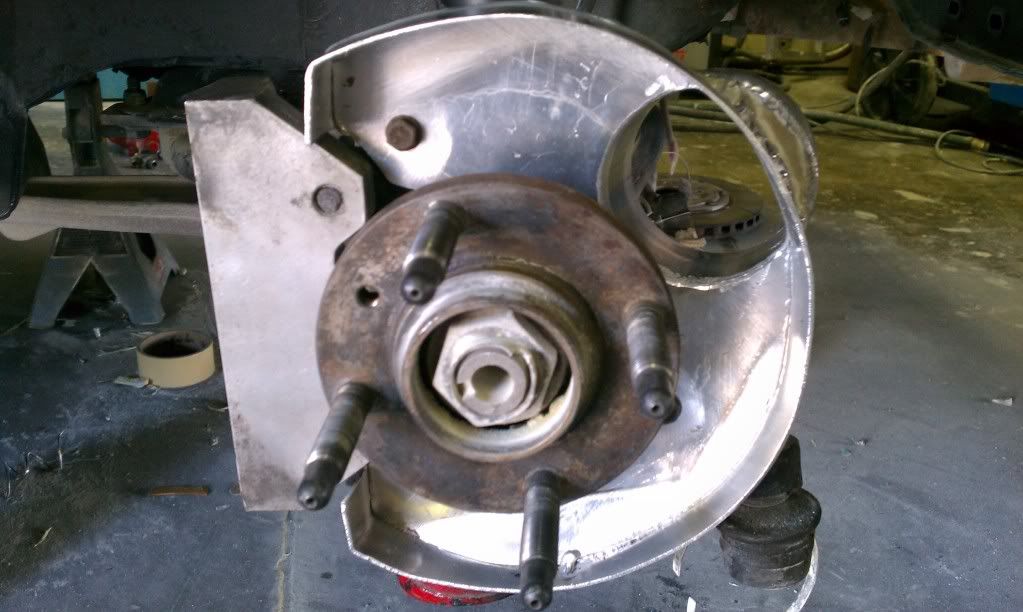
Brake cooling duct upgrade:


Front apron reinforcements:
Cage upgrade:
I still have to finish some interior items now... replacing original sound deadening, reinstall carpeting etc... Then that should be about done (maybe get my seats redone... maybe not right this moment have to see).
The next big upgrade project is the front splitter build. Once that is done I can start planning on getting the engine together and hopefully a couple good layers of primer sealer. Still hoping to get to O fest...

I have an ongoing thread in BF.c and the new work starts mid page here:
This is what is in store:
First:
The rear subframe was reinforced years ago but the design I used limited rear swingarm down travel. That was fixed (should help keep the inside wheel from lifting and spinning in a corner for sure!
The front clip was reinforced both inside and outside of the main chassis. I have no intentions of ever putting in a FULL cage that would help keep the chassis stiff, so I capped the outer reinforcement on the apron and tied in the shock towers to the apron inside the engine bay.
The front struts were replaced with Koni Adjustables and front springs stiffened 100lbs (500's - 600's)... And why did I do this?
Wheels have been WIDENED... Tha's right... I went from 8.5-9.5" and 245 front rubber to 265! The rear wheels were widened from 10.5 to a proper 315 width of 11".
The car never looked right when I changed the tires sizes anyway. The fender openings had to be cheated to allow for the rubber and it always bothered me greatly! Soooo.....
Second:
Body mods...
The rear fenders were stretched over an inch to just clear and tuck the rear meats including the side skirts so it didn't look strange. The fronts were stretched over 2"! Now the rear flares are over 4.5" and the fronts are 4"! The wheels look more like they are the same width, and the flares not so uneven. The front bumper is getting the most love though! I have added an air dam to the front spoiler lowering the front ground clearance by 3". I will be adding an under carriage support frame to mount a functional splitter to go under the new spoiler/air dam. Also, the drivers side lower hole was filled (not doing anything anyhow), correct turn signals have been found and fitted, and brake cooling ducts will be added to the air dam to keep the big brembo's cool under pressure! This is where I am NOW, doing the rough body mods. So far it is looking WAY better and more like a proper e30 M3 style body.
NEXT (after the body is ready for paint)
I am adding to the roll cage. I will be adding diagonal door bars, putting in an "X" in the rear section and a diagonal in the main hoop. I have a new carpet to install and hope to get my seats re covered (not imperative, but think it would be nice). I have been toying with the idea of doing a top of dash gauge pod... but may re use a gauge face plate that I will install in the upper vents. Don't know how or when that will take place as it's prohibitively expensive for me at this time to get a bunch of new gauges!
PAINT!
All of the windows and trim once again are going to be removed for a full body spray. DEF not my favorite thing to do, but it's the only way it will look as good as it should.
Engine:
I have a newer (unmolested) M52 2.8 from an auto car with low mileage that I will use as my new bottom end (the original one being saved for a future full build). I want to get my head decked for flatness and new ARP's and Cometic will be used once again. I would LOVE to o ring the block as it has been discovered that using copper o rings on the block side of a setup using the cometic gasket all but eliminates a blown head gasket. That remains to be seen as to whether or not I get that done. I will be using solid aluminum motor mounts (urethane just isn't stiff enough I have found).
Finally:
I will be replacing all of the normal wear out items, ie tie rods, control arms, wheel bearings etc... I already have installed the BW eyeball mounts replacing the M3 ones I had previously.
Goals:
I would like to have the car ready for Oktoberfest at Mid O... we'll see. Lots of money is still needed to get everything done that I would like to. Time and motivation I have right now... Money??? LOL not so much!
Pics of the beast as it sits now...
Well, the body is a LITTLE closer than in this pic... the hood is straighter and the fenders closer... but basically just like this (taken a couple weeks ago)
Brake cooling duct upgrade:
Front apron reinforcements:
Cage upgrade:
I still have to finish some interior items now... replacing original sound deadening, reinstall carpeting etc... Then that should be about done (maybe get my seats redone... maybe not right this moment have to see).
The next big upgrade project is the front splitter build. Once that is done I can start planning on getting the engine together and hopefully a couple good layers of primer sealer. Still hoping to get to O fest...

 ............................
Comment