
Summit doesn't list what that is, but I'm gathering that it's a single core rad? Is it any more efficient than the e30 rad? Dimensions seem to be roughly the same... you've got the turbo 5.0 car, right? How's it working for you?
On another note, just ordered a Zirgo 3k CFM fan last night. Hopefully that'll work good enough for my setup.
-
If you need a good radiator with great fitment and correct inlet/oulet order this part # GRI-1-46222-X from SummitRacing. I will post pics of this setup in my car. You can use the orginal plastic e30 mounting radiator bracket and some "L" brackets at the bottom. My e30 mount blocks were removed. I isolated the radiator top and bottom with rubber mounts (stock on top) and some others I had laying around but you could use a e30 set on the bottom as well. You'll understand with pics.Leave a comment:
-
Ok, so updates I guess. Did a bunch of stuff:
*Wired the starter into the factory harness
*Got my driveshaft made and installed it
*Fired this thing up for the first time :)
So I kind of made a rookie mistake when I was yanking the m20 out - since the main engine harness was (or seemed to be) tied into these relays at the side of the car, I was like "eff these guys" and just pulled them out with the engine. I'm sure you all might realize that I'm talking about the main relay, fuel pump relay and that third one (can't remember)
Anyway, after figuring out that the engine wasn't firing up due to fuel, and the fact that I couldn't hear the pump priming, I did some research. Turns out on the junction block side of the C101 connector there's a fairly thick purple wire with a red stripe on it. This is the fused wire that feeds power to the pump(s)[not sure which setup I have]. Anyway, hotwired that up and boom. We've got fuel. Let that run for a minute or so to make sure the bowls were filled up, then disconnected it. Fired it up and let it run for 15 seconds or so initially, then made the video - guess the bowls ran dry or something, because the engine cut off. Anyway...
Stuff left to do:
*Paint the driveshaft (yes, should have done that first... but i wanted to make sure the shop made it right)
*Put in all the cooling stuff (including heat. definitely not driving this in the winter without heat)
*Run the clutch hydraulics
*Finish wiring up my gauges
*Weld up the exhaust
*Wire up the alternator
*Misc stuff that I'm forgetting right now
Pics later, I'm tired.Last edited by jalopi; 08-26-2013, 07:46 PM.Leave a comment:
-
New updates, albeit short this time. Got the exhaust figured out for now:


Got the idea from Funfgan - amazingly simple... all I did was buy a 'spherical flare' exhaust end + flange from Salvo auto parts and a 90 degree pipe. Granted... it's not pretty or sophisticated... but it will get the job done until I get the car to the point where I can drive it to an exhaust shop. The finished product (or pre-product?) will depend on how the car sits with my xxr's. I'm also thinking I'm going to have to put a heat shield up to protect the oil pressure sending unit - I can't imagine all that heat could be good for it, or the wire coming off of it for that matter.
Coming updates:
*Installing the shifter
*Making sure the trans is straight
*Getting my driveshaft made
*Wiring up my starter, alternator, gauges
Also, anyone ever see the factory tach being replaced with say, an autometer gauge? And when I say replaced, I mean remove gauge cluster, remove tach, install aftermarket tach in its place. I've seen pictures of the tach removed, but couldn't really tell how much space there was (the diameter of the tach housing is about 2.5-3" or so) or if removing the factory tach will affect the way the rest of the gauges work.Leave a comment:
-
Hey guys,
I know it's been a while since there were any updates... SOME stuff has gotten done, but for the most part I've been pretty busy. About a month ago, my sister decided to surprise the house with this:

It's a pomeranian something or other. When she's not sleeping or eating, she's chewing my hands, the furniture or pooping in the kitchen. LOTS of puppy duty lately... which is o.k. in the end. pu$$y magnet in training? Check
In any case, here's what I've gotten done so far. The clutch went in and I got the tranny in... only to find that it was sitting about... 3 inches too far to the passenger side of the trans tunnel. I was suspicious that the engine wasn't sitting straight at first, but it wasn't too obvious until the trans went in. After slotting the mount everything looks to be OK.

Got the fuel pressure regulator in - turns out that there's a flat spot on the blower cover that is the PERFECT size for the holley FPR bracket. Not only that, it's decently far away from the engine, and if anything starts leaking (unless it sprays) gas shouldn't be running all over the headers.

FYI - couldn't figure out which one of the 'return' hoses were the actual return. The curved 3/8" hose pictured is actually an evap hose, per Funfgan.

Finally got the right tensioner sleeve from March - since it had been over a year since I purchased the kit from Summit, they couldn't find anything in their system about my purchase. I was quoted $30 for the sleeve... oh well. Later, when the part came in the mail, the attached invoice was for $48... I was like WTF?!?!?! The kit only cost me $70! Turns out they almost charged $20 for shipping and handling... I won't be doing business with them any more. :letitout:

Last pic for the day - go the starter in. Haven't decided yet if I'm going to wire the solenoid in through the factory harness or just do a toggle switch for it... depends on if I can get a good diagram of the wiring and actually find the wire for the solenoid. Guess we'll see.

Aside from all that, I hooked up my oil pressure gauge (the sending unit can be seen in the tensioner pic, right side and in the middle. MASSIVE unit compared to the factory one... although the factory ones are supposed to be super inaccurate) and spun up the oil pump - my drill battery was on the last legs of its charge and got the pressure up to 50psi in a few seconds before dying... which is a good sign. Guesstimating I'll be at least 70psi at idle.
Good updates not too far! Hoping to fire this thing up once Funf helps me build a duplicate of his exhaust!Leave a comment:
-
Build looks really nice. New to posting on the forum but have been watching for a while. Cant wait for more updates, yours is inspiring my future build. keep up the great work!Leave a comment:
-
-
It'll handle better than a Camaro when it's done.
I need to get my ass in gear to get mine back online. Once my weekend hits, I'll get in touch; really want to see this in person.Leave a comment:
-
-
-
I ran into a binding issue with my massive booster delete kit because the MC had a "tube" that extended inside the car that originally stuck into the booster for whatever reason. The rod/bolt that was threaded into the heim joint was at a different angle than the MC and was getting stuck causing my brakes to stick. I cut off about an inch and I've been fine since. If the bracket was machined to tilt the MC a few degree I think it'd take care of a lot of that binding issue?Leave a comment:
-
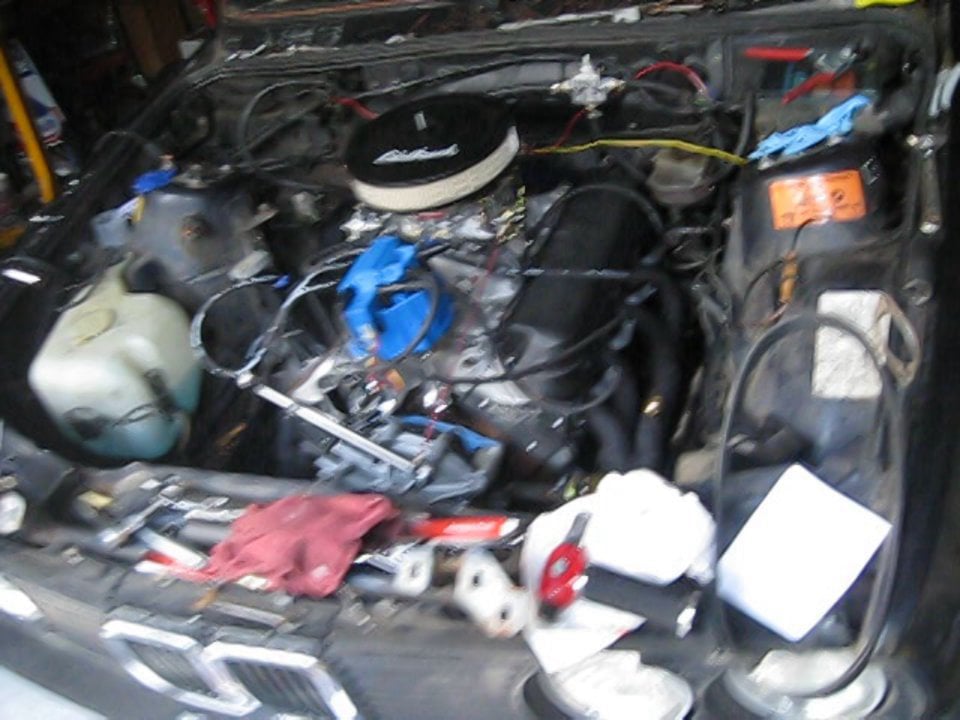
I know, right? I've seen Funfgan's car in person before, so I knew what to expect - a friend helped me drop it in yesterday and he was pretty surprised at how well it went in there too.
Also - looks like i didn't have to hack up the heater core lines as much as i did... granted, i did set the mounts in the 'forward' position (i was having trouble getting it in on the 'rearward' position)
Still though, definitely no room for a booster in that position.

Leave a comment:


Leave a comment: