'87 e30 - the American Conquest

Collapse
X
 
  • Time
  • Show
Clear All
new posts

  • jalopi
    replied
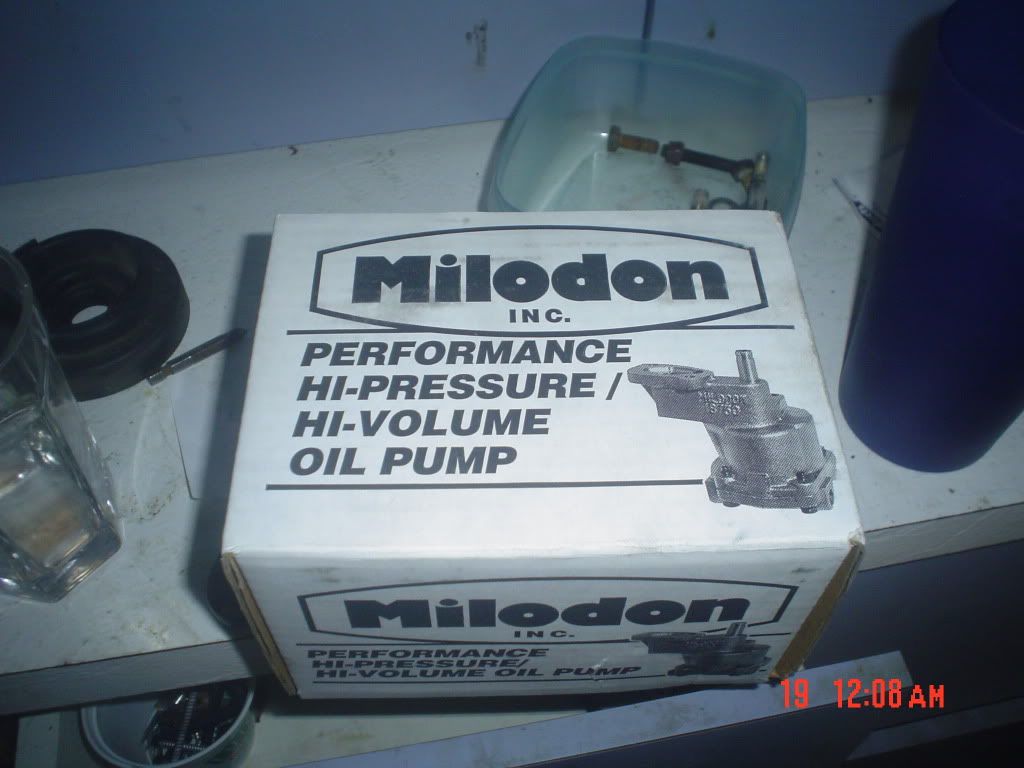
    Milodon high flow / high pressure oil pump - because it's not worth playing games with your oiling system


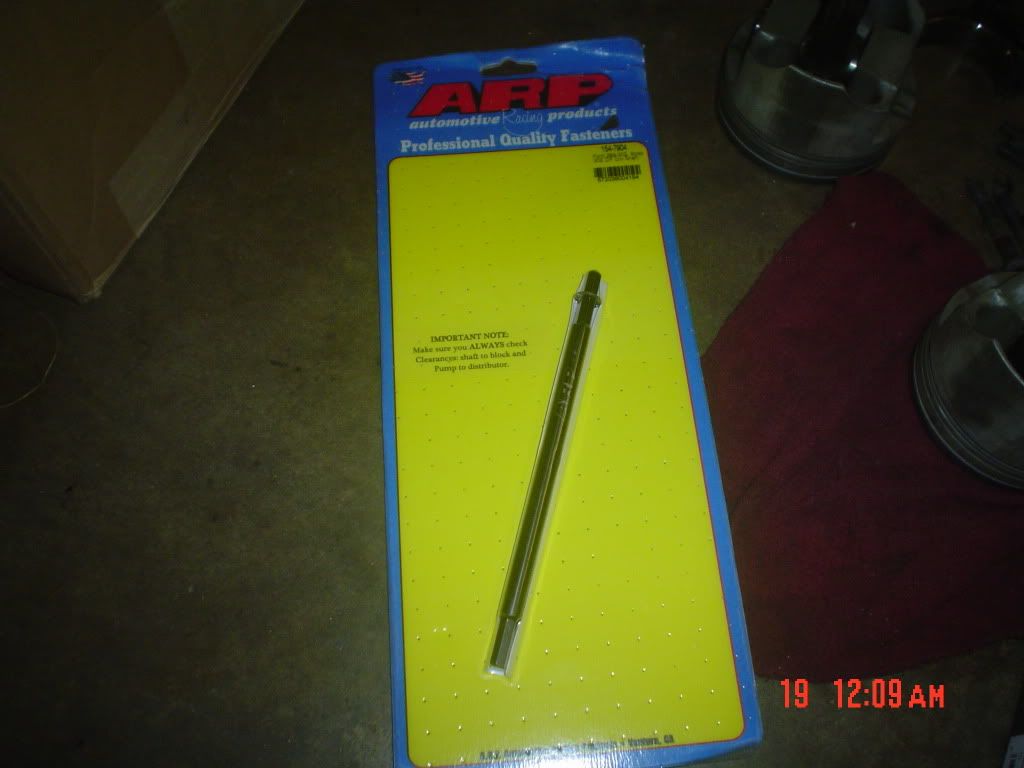
    ARP hardened oil pump driveshaft - required/recommended for a high flow/pressure pump

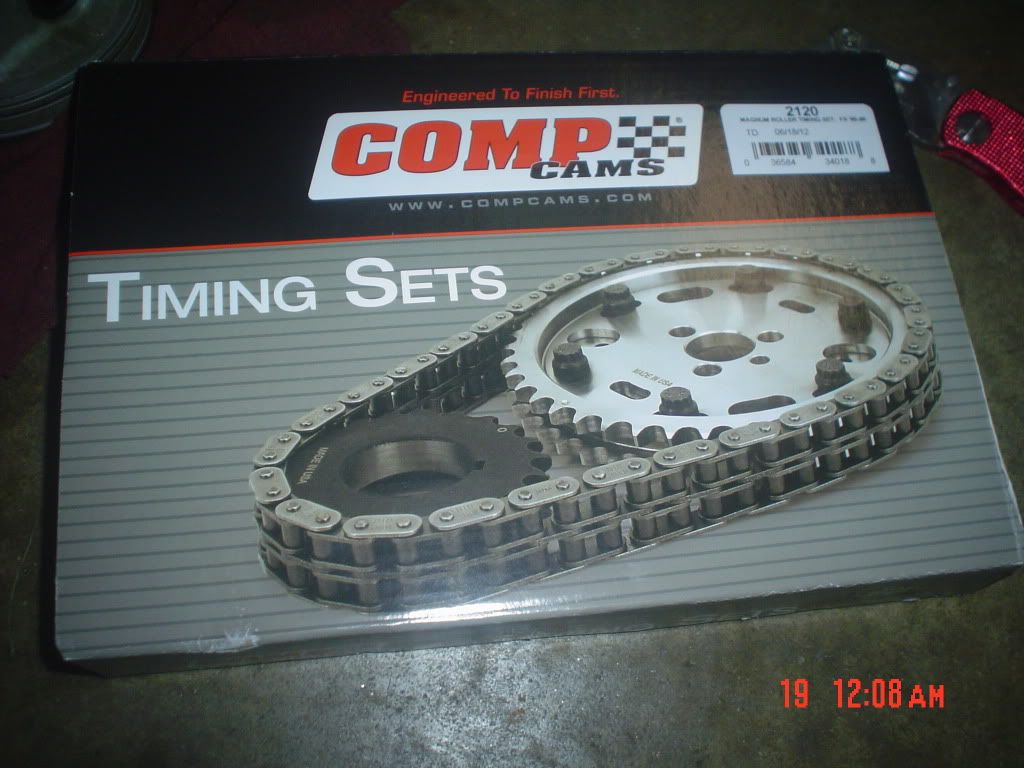
    Comp cams timing set, double roller

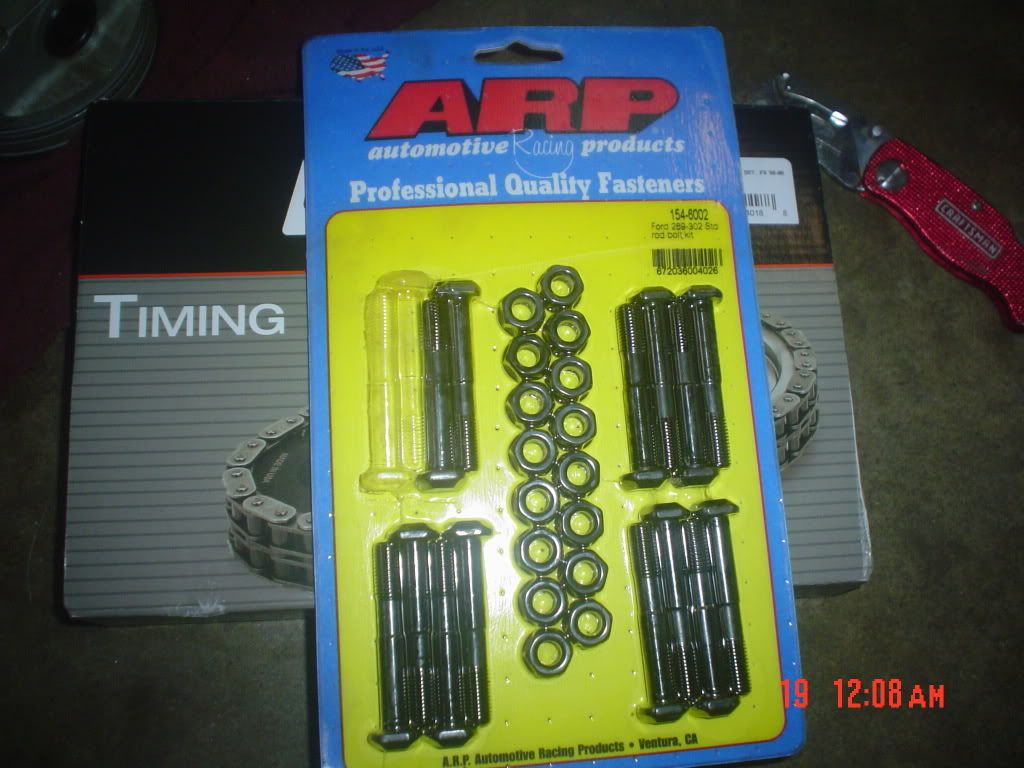
    ARP rod bolts

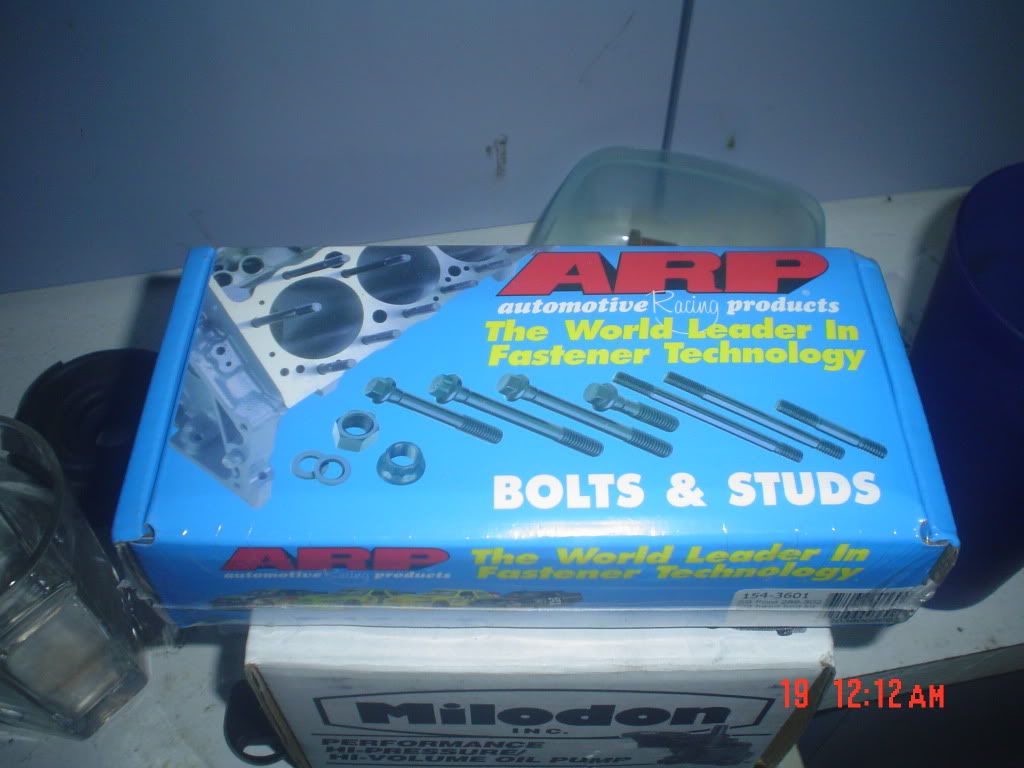
    ARP head bolts

    Mahle pre-fit piston rings
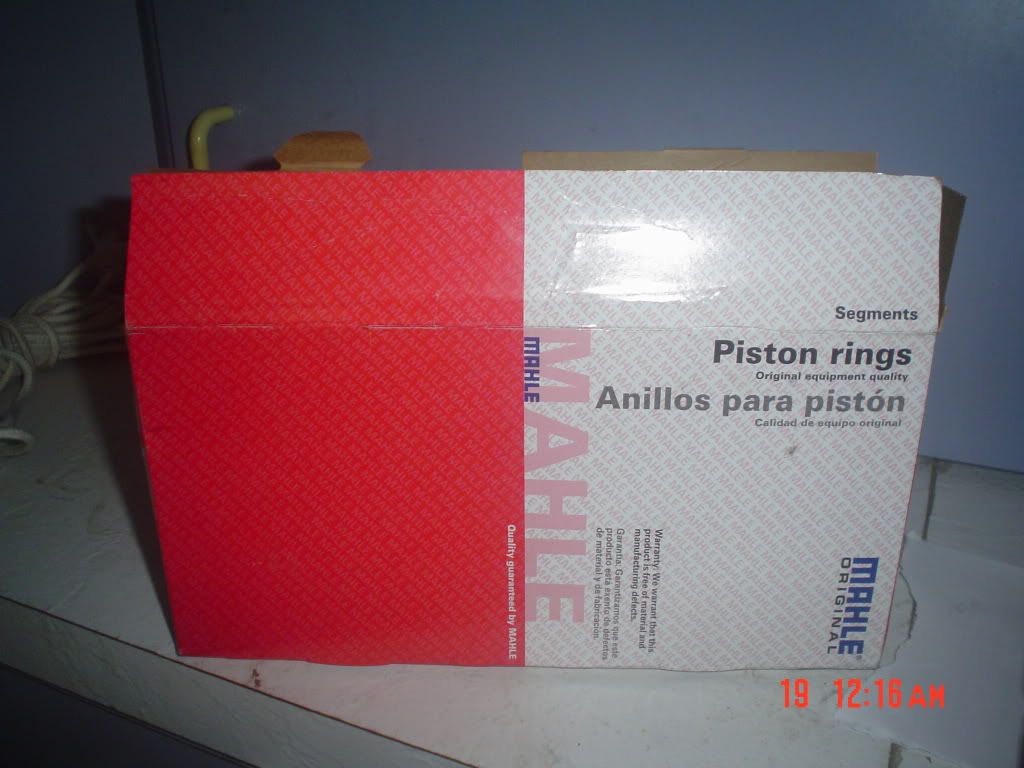

    Speaking of piston rings...
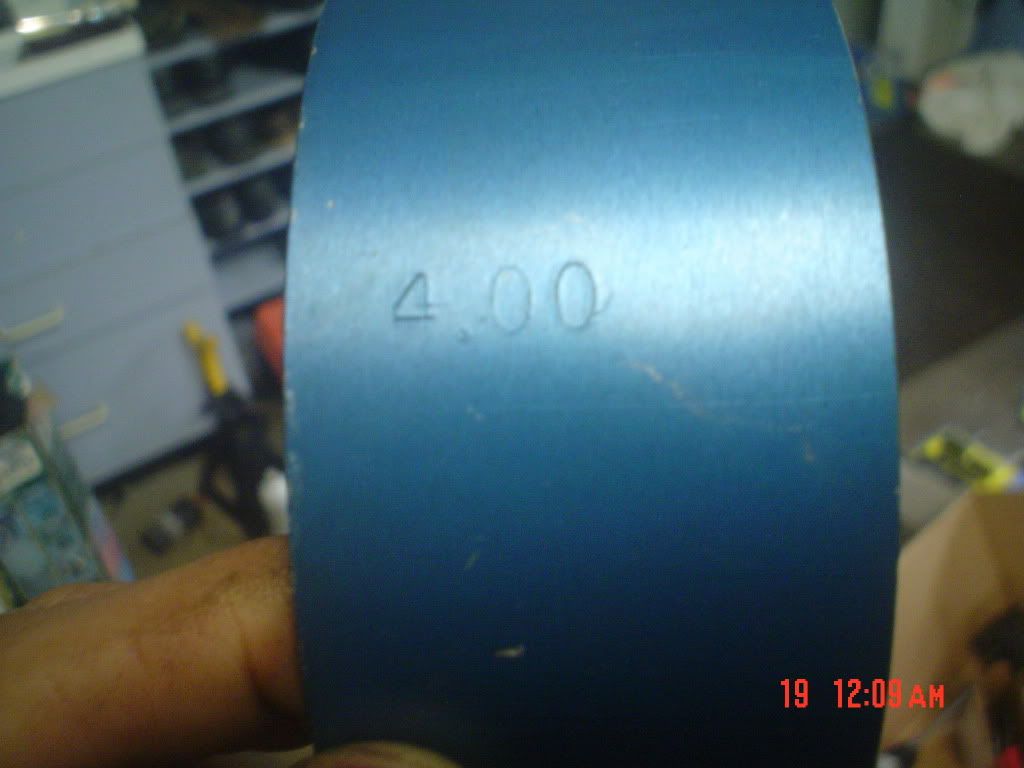

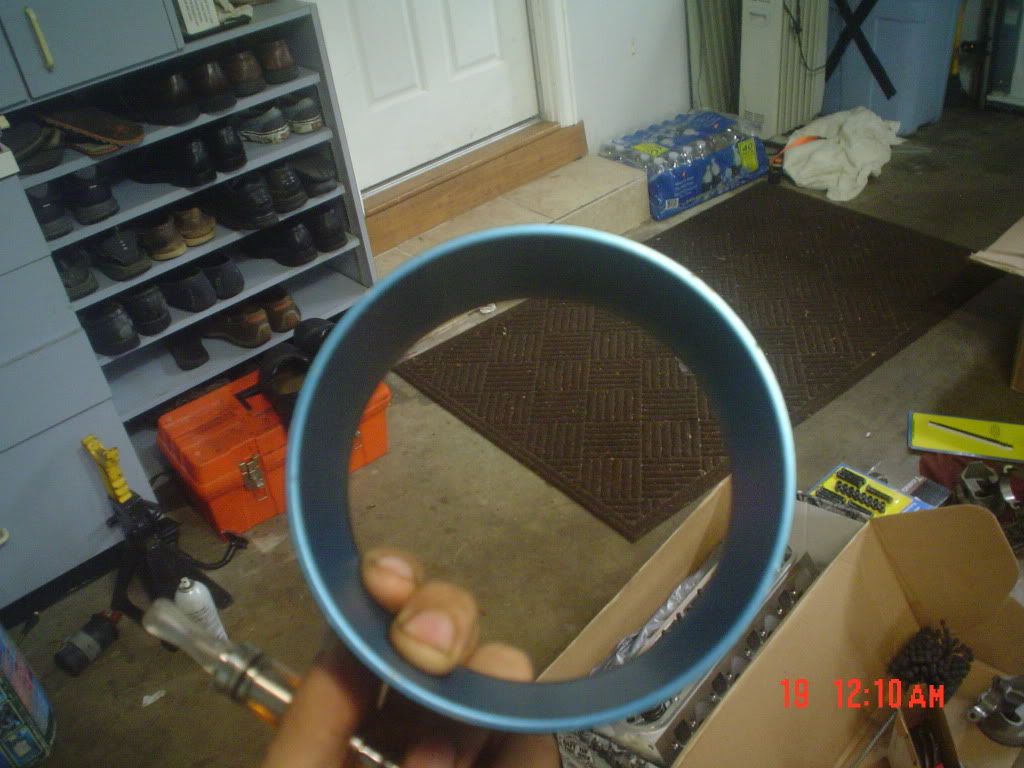
    This is one of the best ring compressors money can buy. Granted, it is 100% non-adjustable, but wow is it easy to put pistons in with this thing.

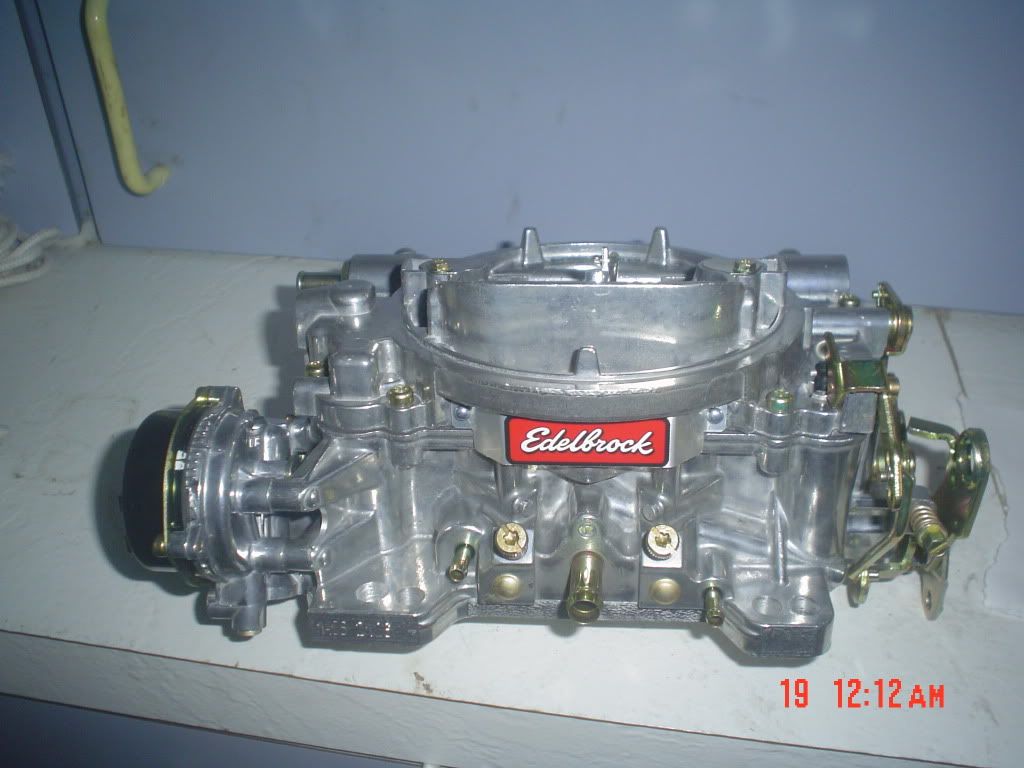
    Edelbrock 600cfm carb, "mechanical" secondaries

    The block after I pulled everything off of it. Put a couple things back on hand tight just so I wouldn't lose them.
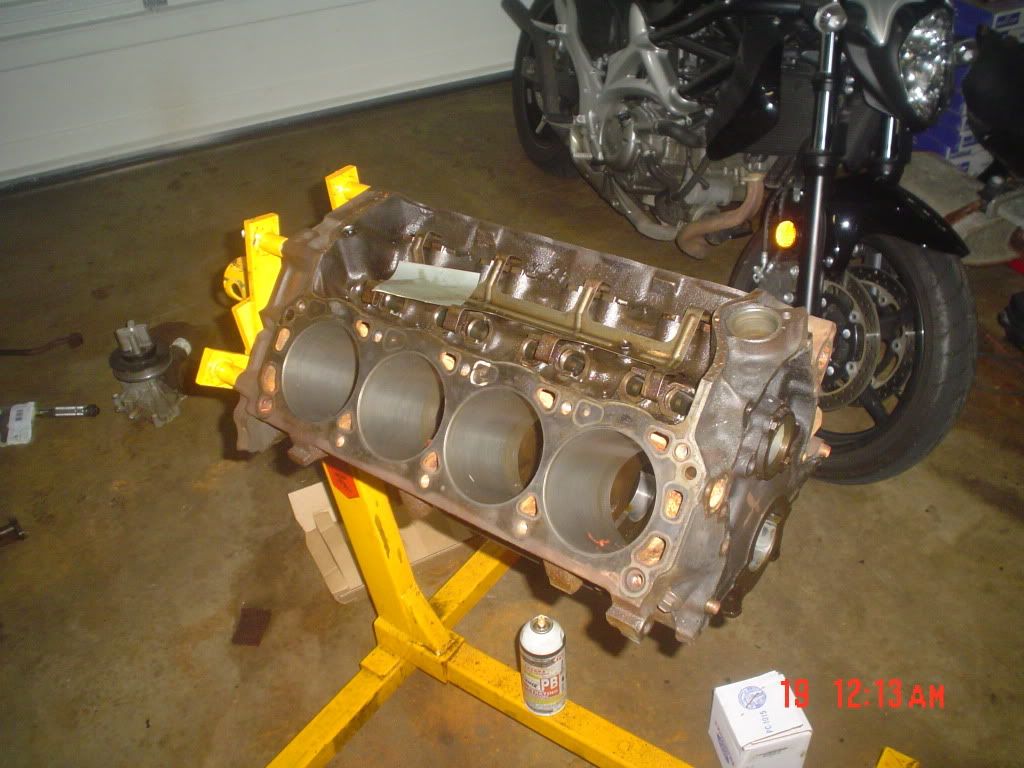
    It's still pretty grimy though. All I have to do is get the cam bearings out, put it in our parts washer at work, clean the head surface off, then wash it again.

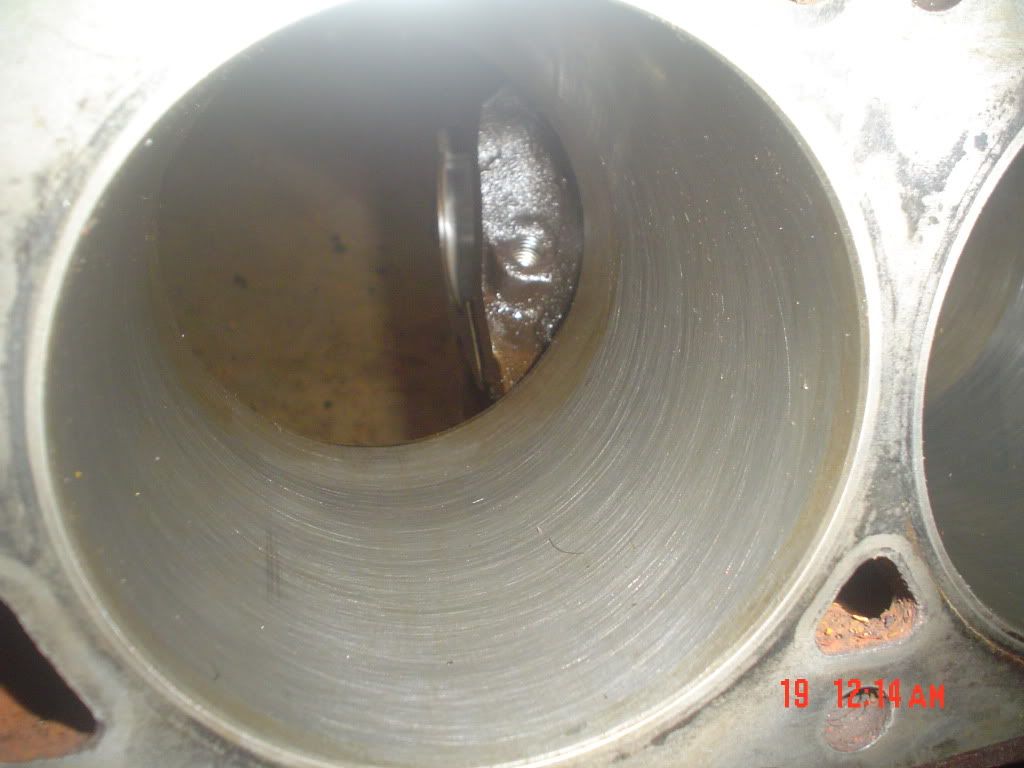
    Pretty satisfied on how the cylinder walls came out

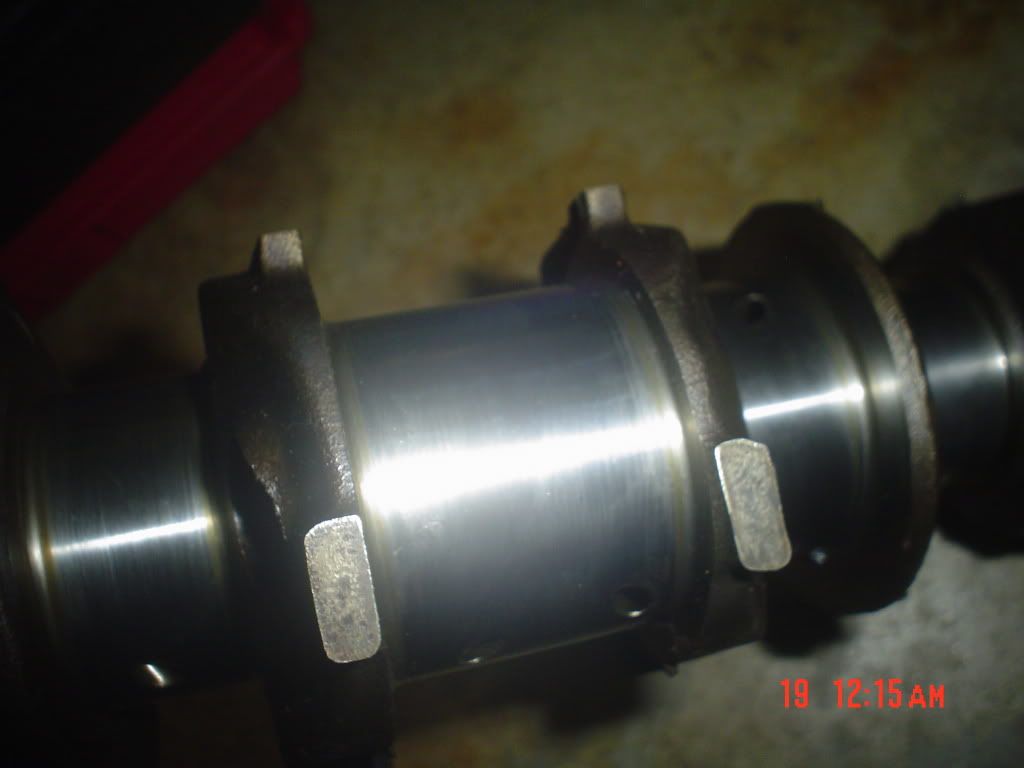
    Same goes for the crank journals. Polished them up with some WD-40 and 2000 grit sandpaper

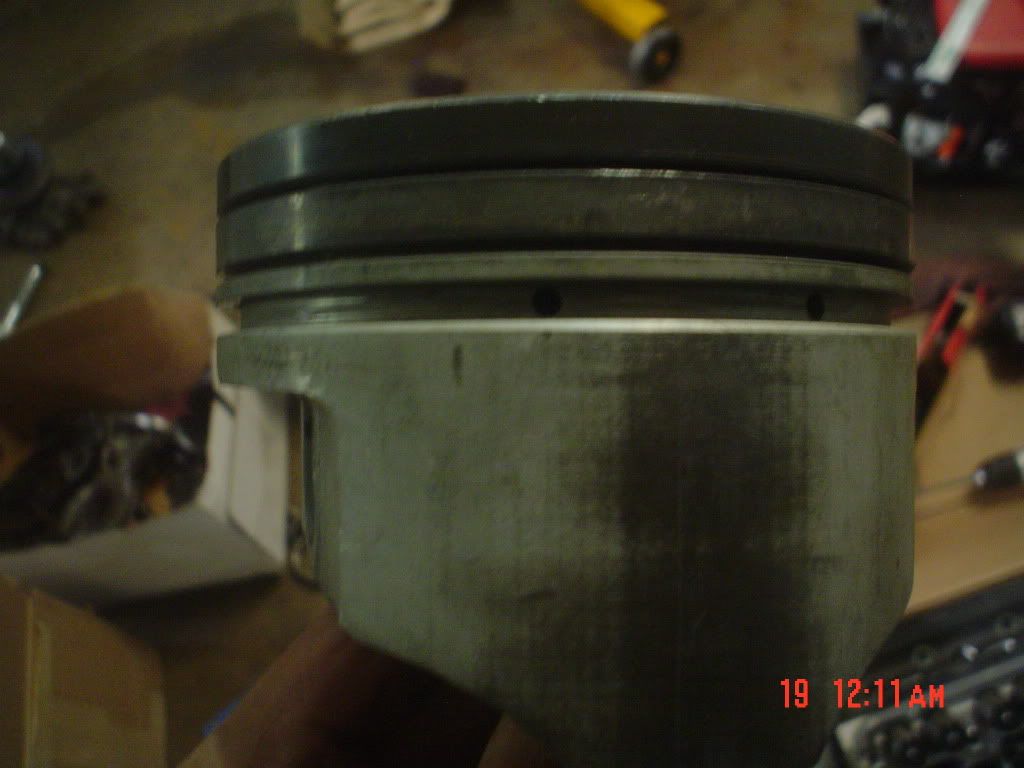
    The pistons came out pretty good too. They almost look new compared to before.
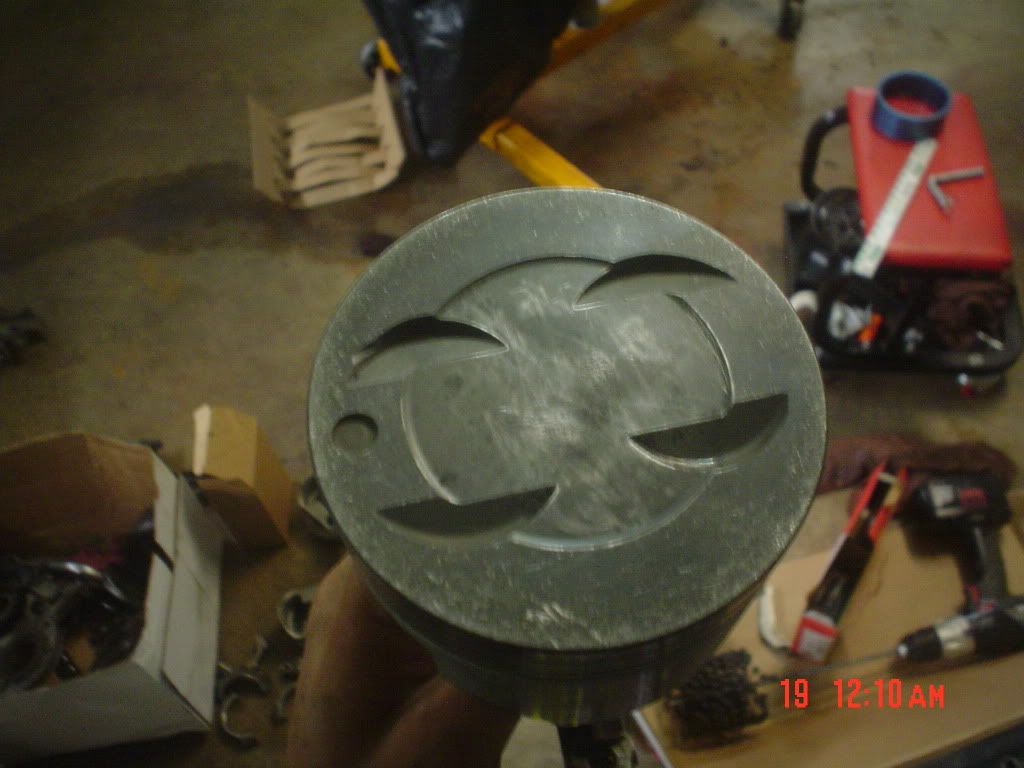

    I tried dunking these things in some parts washer solvent from work for a week. I then took them out and scrubbed them with a toothbrush. This, surprisingly, did not work. A co-worker suggested using Spray9, something we use to get grease off the lifts/walls. It worked REALLY good. The carbon pretty much immediately dissolved into nothing.


    As far as the accessories go, it's a late model block, so I can do one of two things with this: (just to get the ball rolling I'll only be using the alternator and the WP)
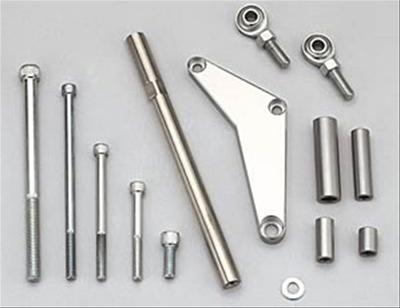
    Free Shipping - March Performance Custom Series Billet Aluminum Alternator Brackets with qualifying orders of $109. Shop Alternator Brackets at Summit Racing.


    A. Use the stock reverse rotation style WP and route the belt from the alternator under the pump and around the crank (mustang guys on their forums have said this works)
    -or-
    B. Get a Lincoln Mark 7 or 8 (whichever it is) non-reverse rotation style WP and route the belt over the WP and around the crank.

    Not too sure what I'm gonna go with yet.
    Leave a comment:


  • jalopi
    replied
    Finally uploaded some of the pics:

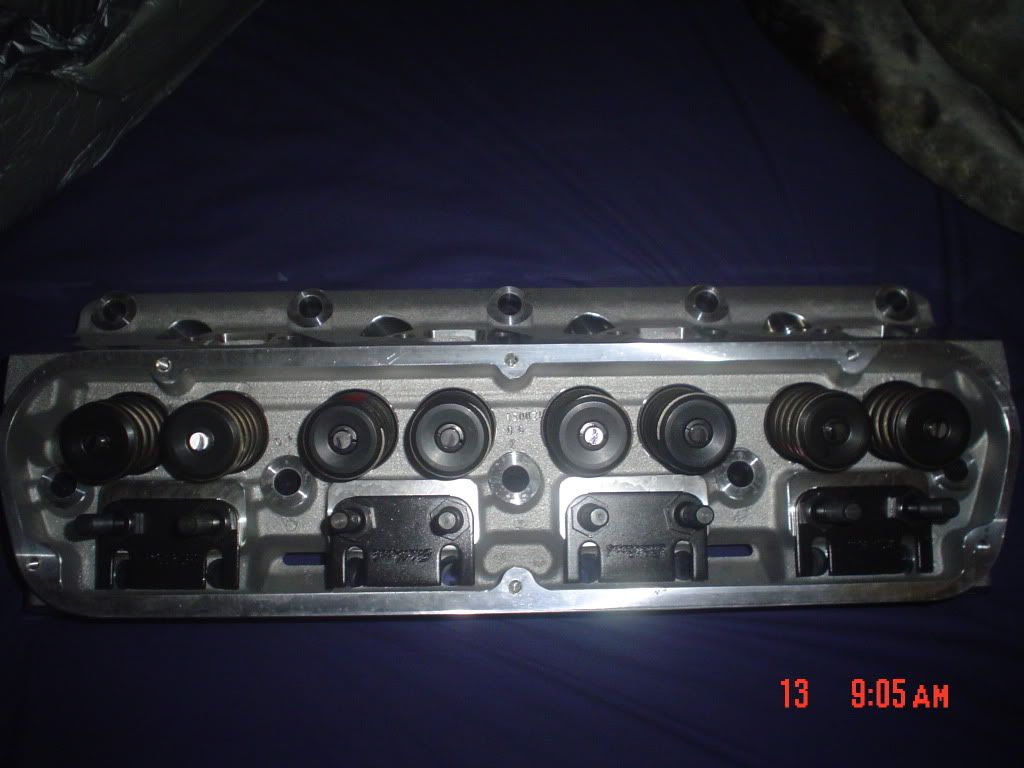
    Edelbrock heads - 175cc or something intake, 1.9" intake valves


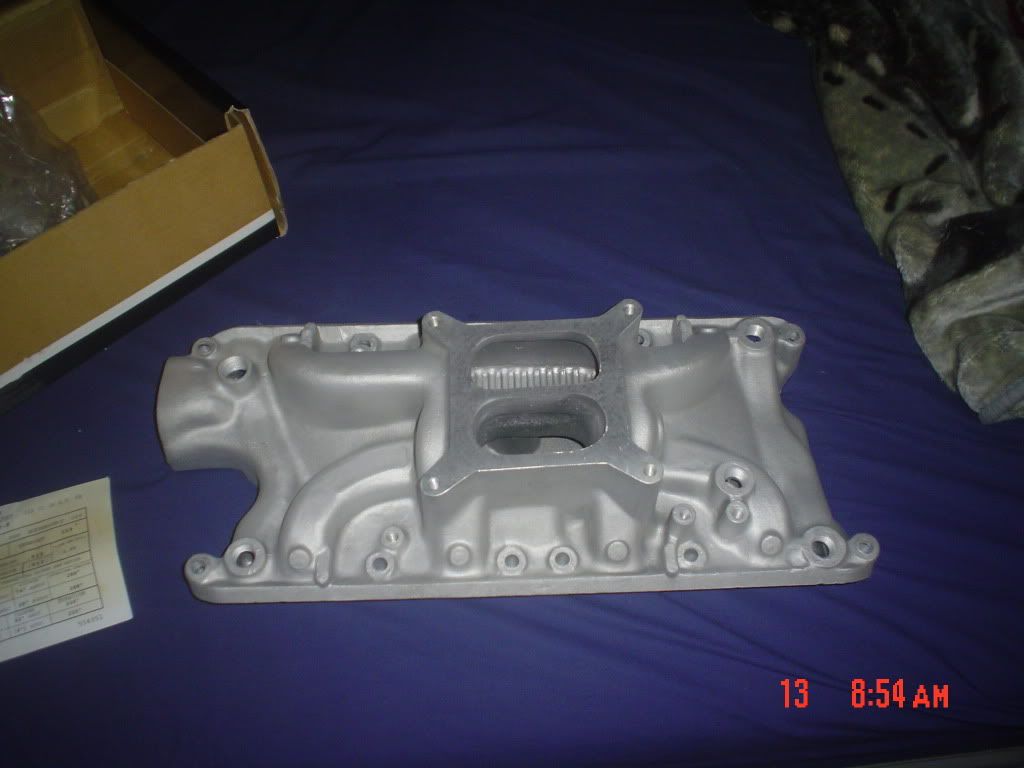
    Knockoff Edelbrock intake, apparently good for 6-6.5k rpm


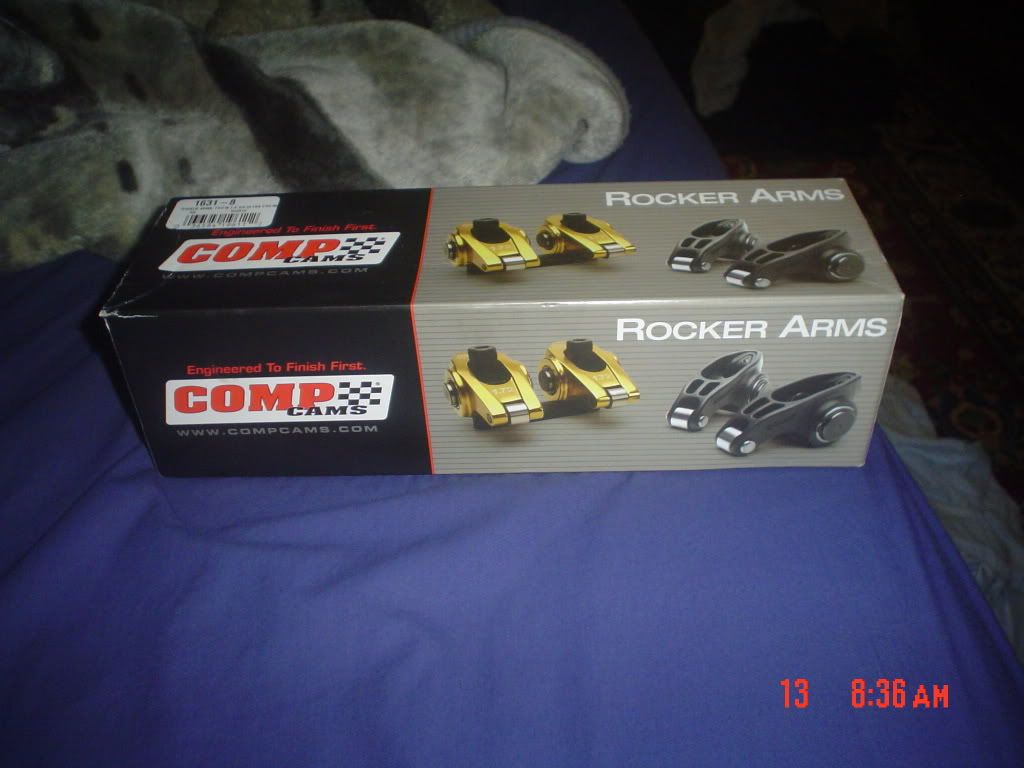
    Comp cams full roller rockers, 1.6 ratio


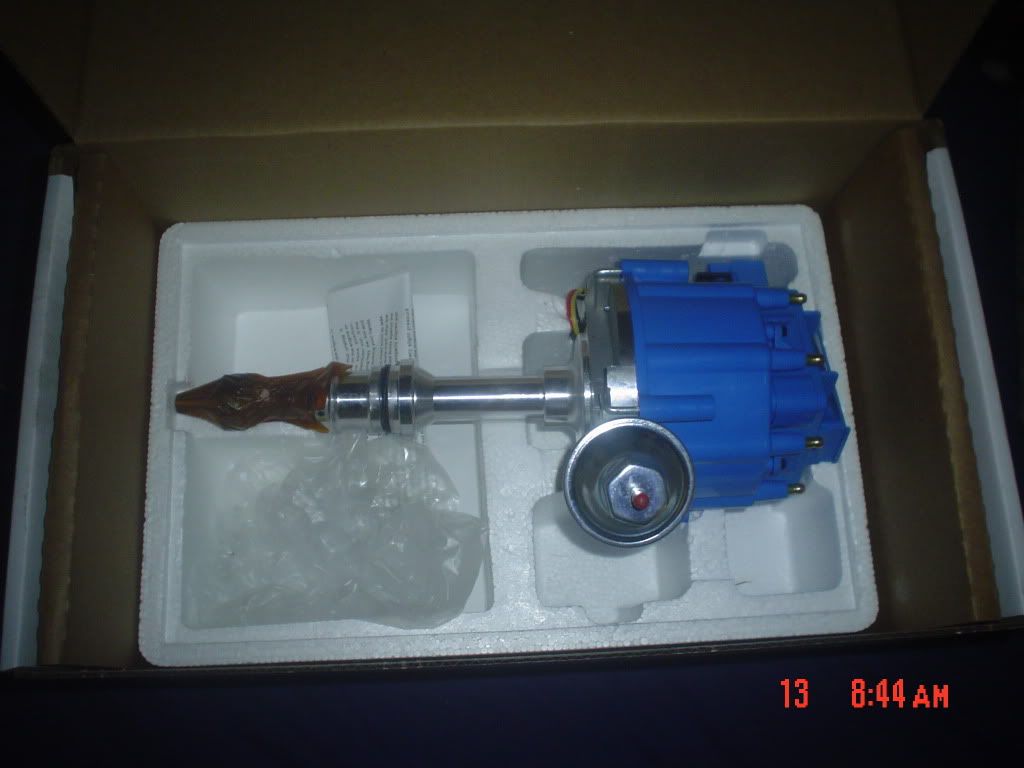
    Summit Racing HEI distributor


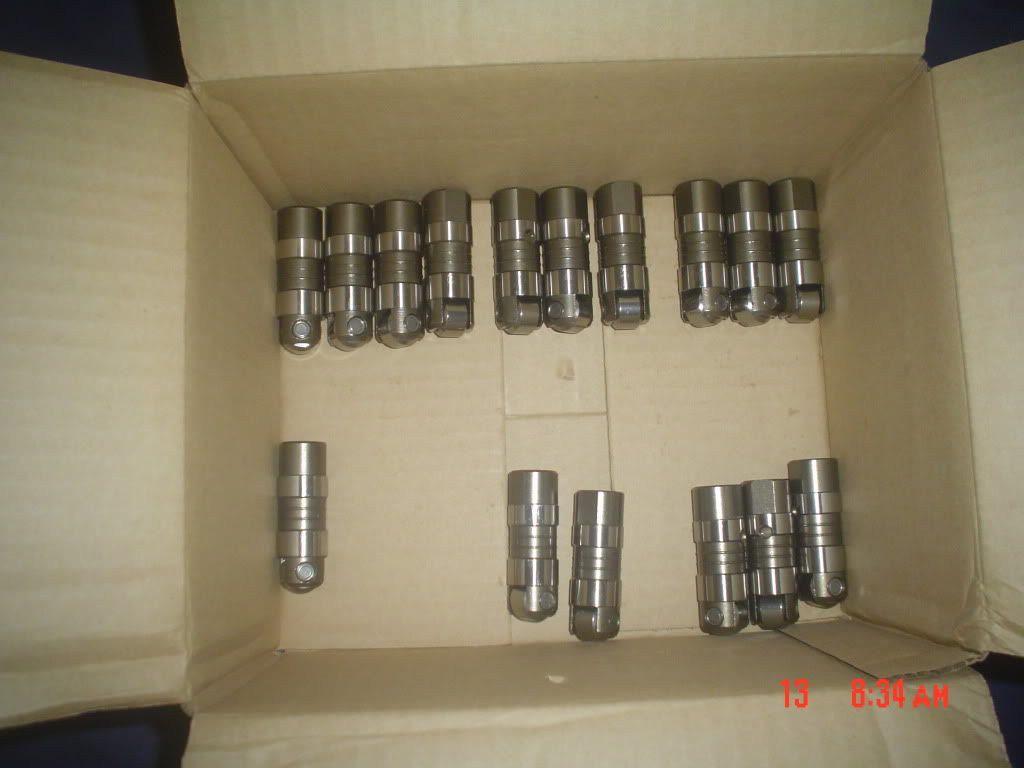
    New Trick Flow hydro roller lifters


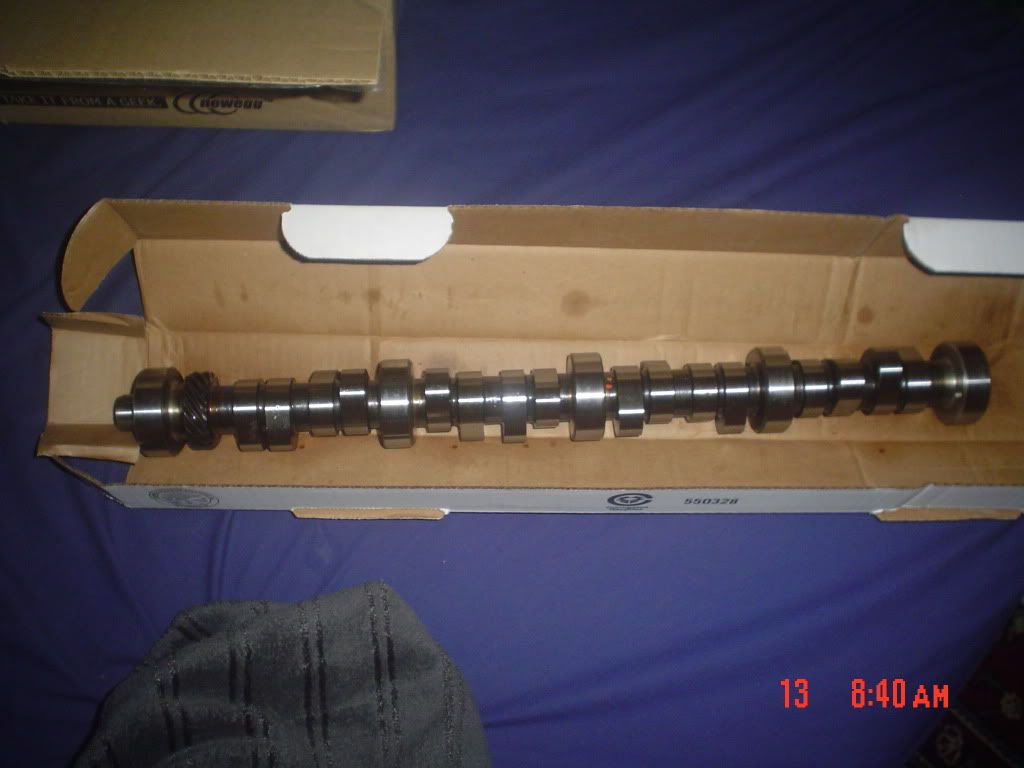
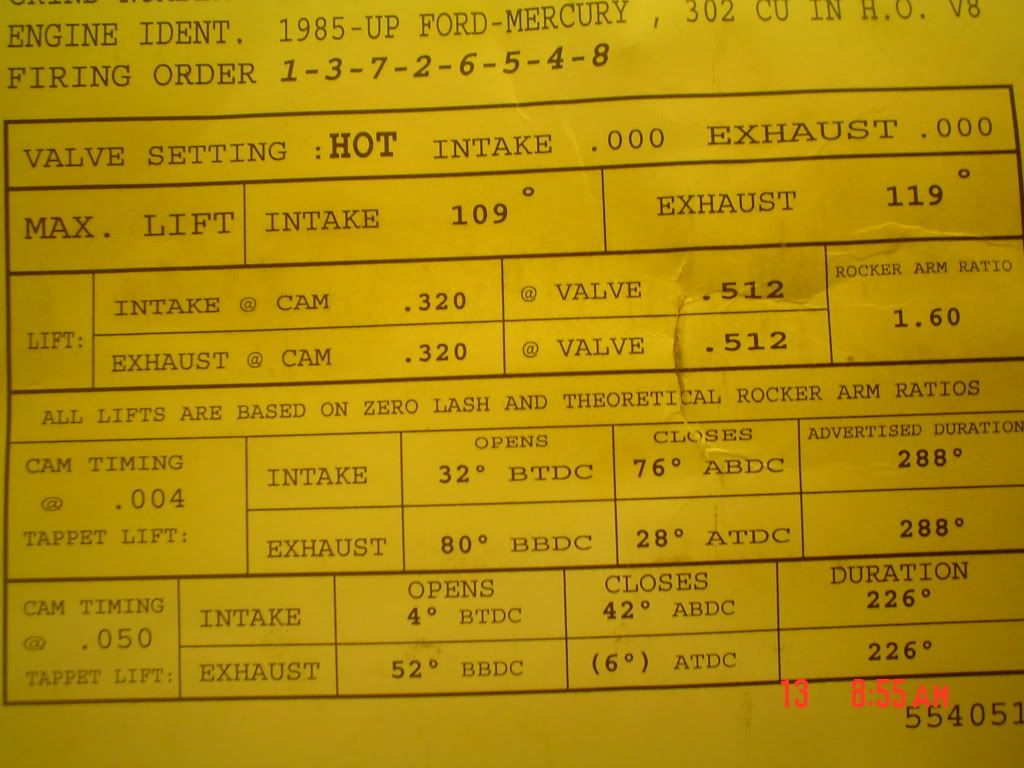
    Ford Racing cam - I didn't want something too extreme, just something that would breathe in a decent fashion and sound good too.

    Leave a comment:


  • jalopi
    replied
    Originally posted by eurotrash
    Your gonna want to get long tubes and reweld/reroute one of the primaries to deal with the steering on the driverside.
    Thanks for the heads up man - I'll definitely keep that in mind. Not really too sure what I'm doing with the exhaust yet -but- I do have a pipe bender at work and plenty of pipe that we haven't used in years... so hopefully all it will really cost me is time.

    Leave a comment:


  • eurotrash
    replied
    As one of the few that has done this swap let me gove u a few pointers.
    1: do not use cheap shortcuts from the begining. U dont want to get used to a part "working for now". Namely fuel pressure regulator, fuel pump, radiator, fan, clutch.
    2: do your research on the 5.0 side. There were a ton of diferences between sbf's its not like a sbc where everything swaps from year to year. Youve got early 3 bolt 28oz vs later 4 bolt 28oz vs later 50oz 4 bolt. Water pumps can turn clockwise or counter. Accesories can come in pretty much any configuration. You have to know how all of this works together.
    3: learn to weld. Your gonna want to get long tubes and reweld/reroute one of the primaries to deal with the steering on the driverside. Ive got around 600 into exhaust right now and i dont have a muffler or anything past the axel. Its rediculous getting the exhaust around the front and tying it together and getting 3" manderal out the back side of the pass side. Itll save u a ton of headache and money to reroute the 1 primary.
    4. Be ready to turn heads and explain whats going on. I cant get put of the car without spmeone asking me whats in the car.

    Leave a comment:


  • jalopi
    replied
    Long distance emotional support? Heh :)

    On a side note, I had some parts delivered today. Pics will be up by tomorrow night.

    Leave a comment:


  • pr0craztinazn
    replied
    I'm going to be really sad if my swap takes as long as yours, considering how simple of a job I have ahead of me. It was good to chill again today! I'll assist as much as I can from afar.

    Leave a comment:


  • jalopi
    started a topic '87 e30 - the American Conquest

    '87 e30 - the American Conquest

    Hey guys

    I'm not really new here, but I've been mainly lurking for the past year or so. Now that I'm finally going through with building my car, I thought I'd make a build thread.

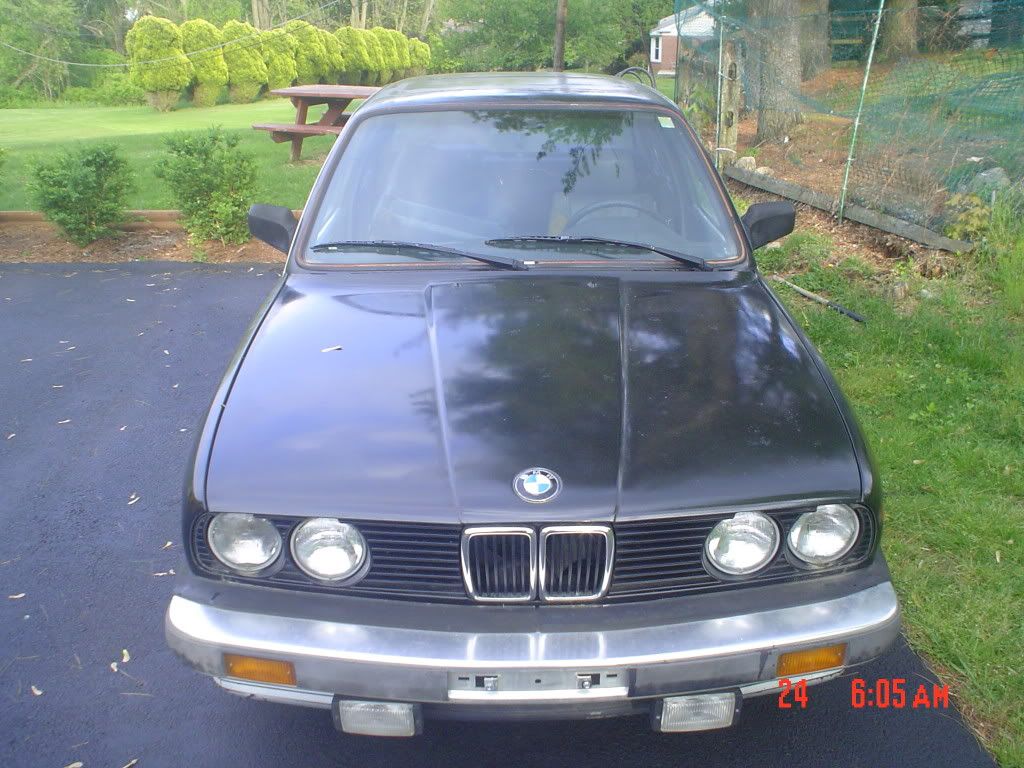
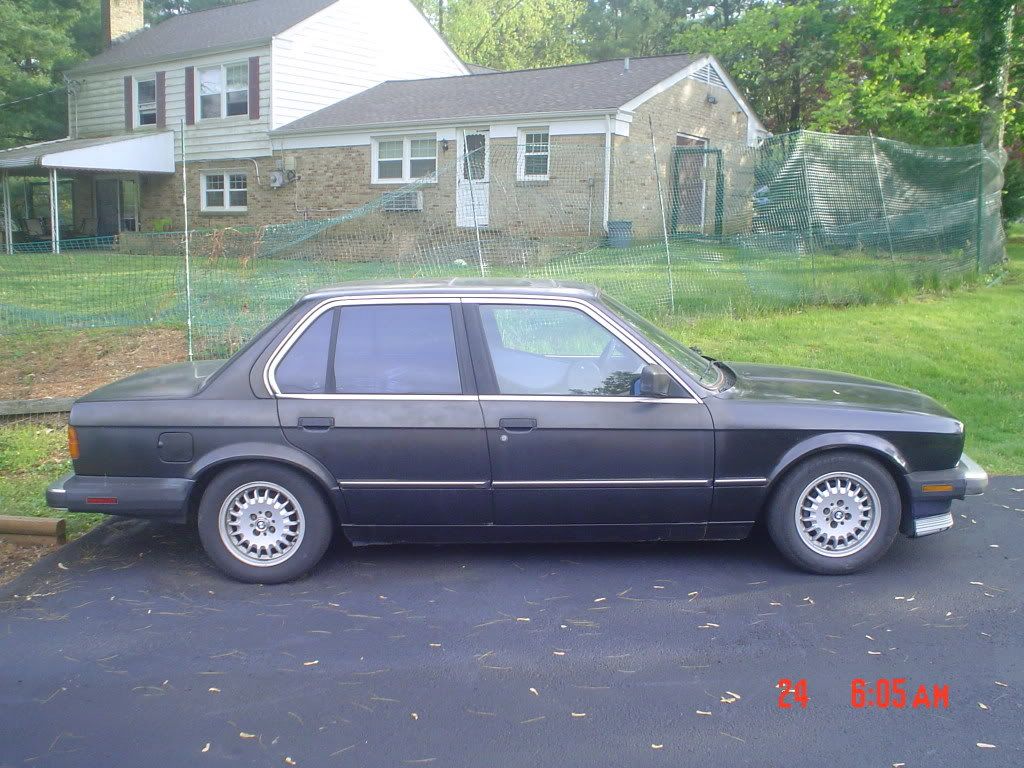
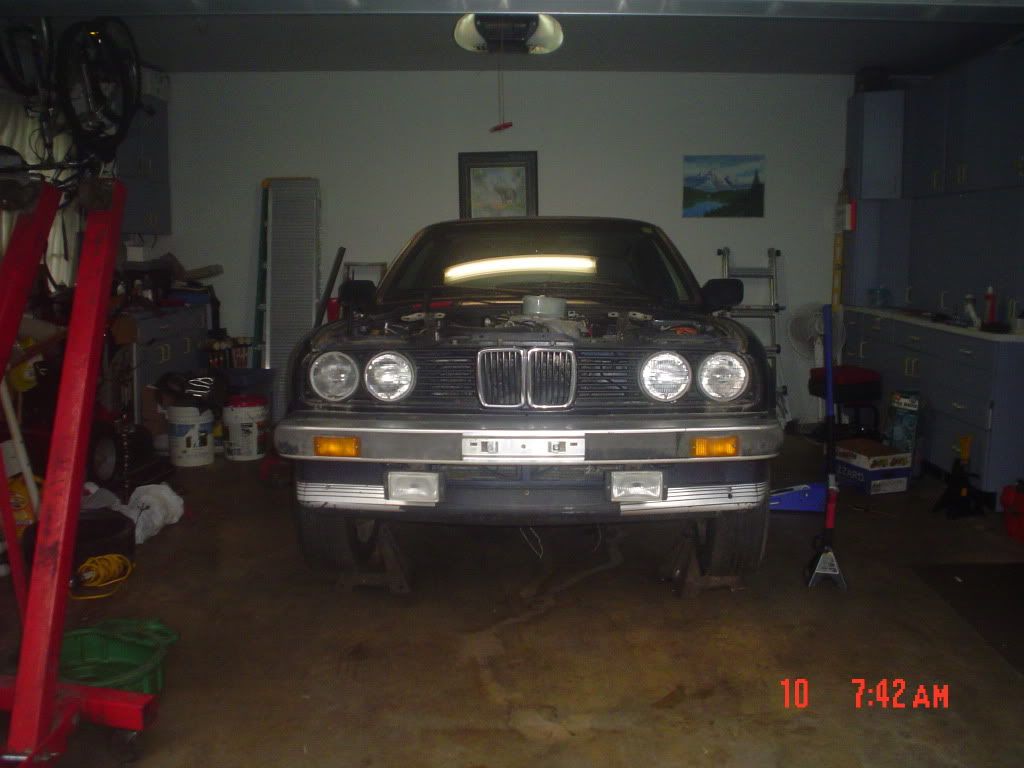
    So here's my car:


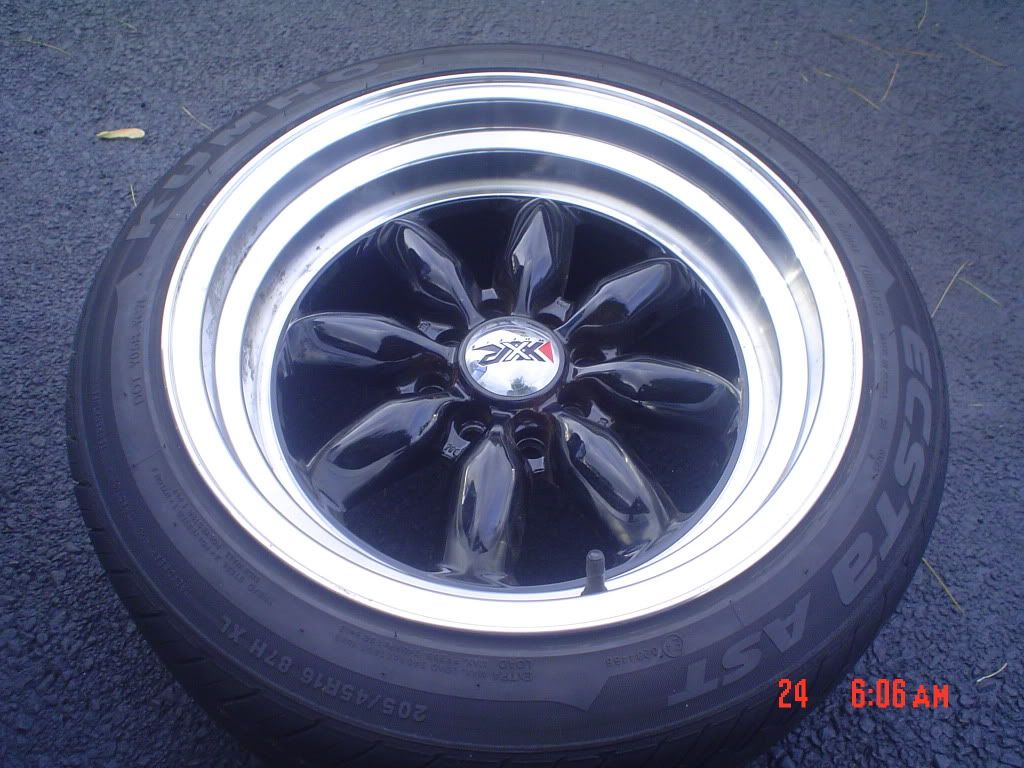
    can't forget the wheels (xxr 513's)


    And here's what's going in it :)


    A Ford 302 out of a '91 stang (this is actually a pic from FunfGan's thread, but since I bought the engine that's literally in the picture I figured he wouldn't mind). Right now the block is at work and I'm waiting on some parts to be delivered from summit racing. Pics will be had once I start the assembly process.

    So obviously the first step is to get the thing in my garage and up in the air.


    The daunting task awaits...


    Ok so after this I did make some progress... buuutt I made the mistake of going 1 on 1 with a friend who brought over a case of bud light. Needless to say, I got way too hammered to remember to take pics of disconnecting some stuff and removing the driveshaft. Oh well. Skip a day (too hung over) and I'm ready to remove the tranny.


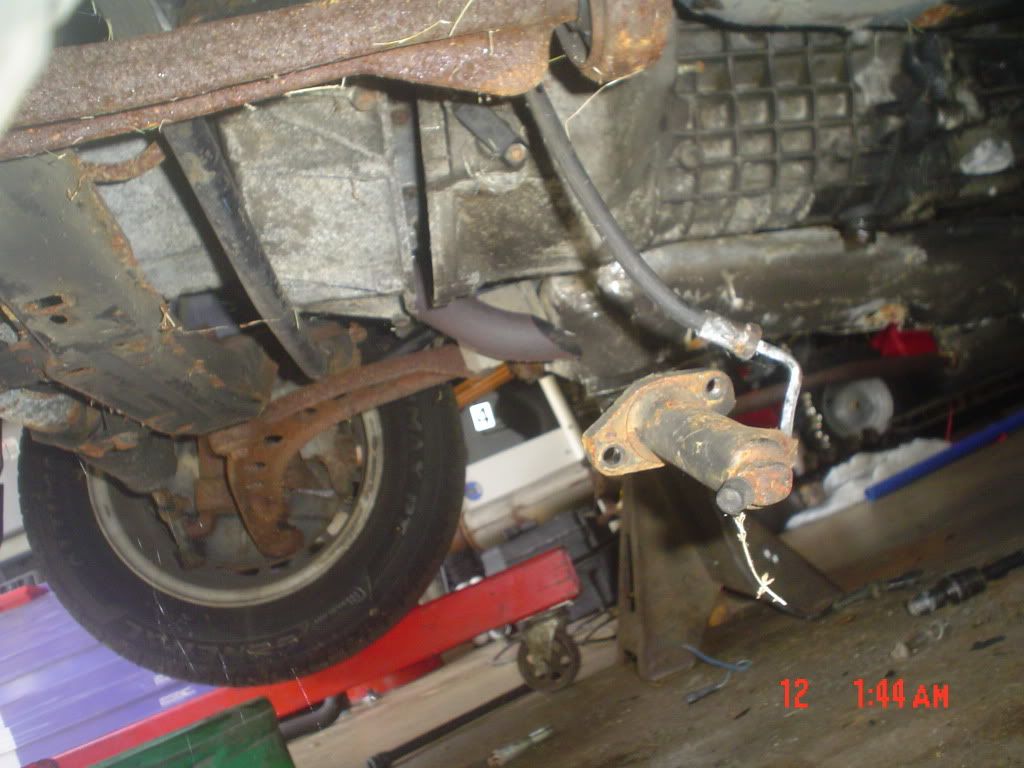
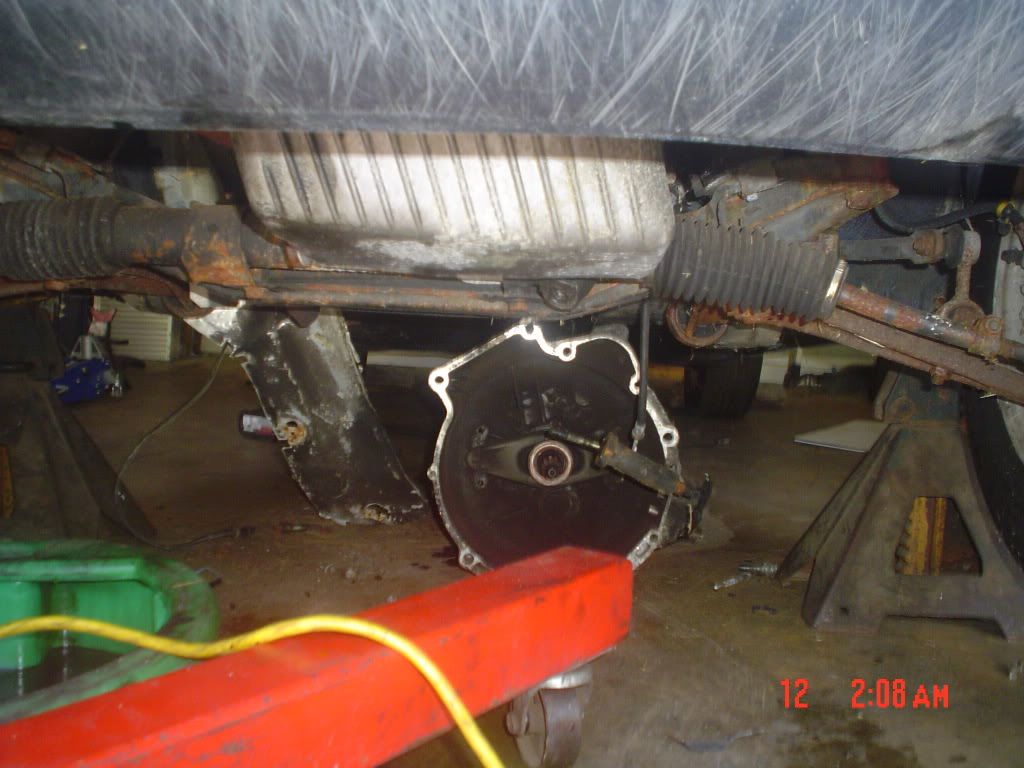
    It was after I got all the bolts out that I found out that it's a major pain to separate the two while they're in the car. I guess that would explain why I had to do this:


    Well in any case, after some "gentle" care, the tranny's out!


    And yes... it was a huge PITA, but it was quite satisfying to pull it out from underneath the car after all that fighting. Time for that wheezy 2.7l to come out!


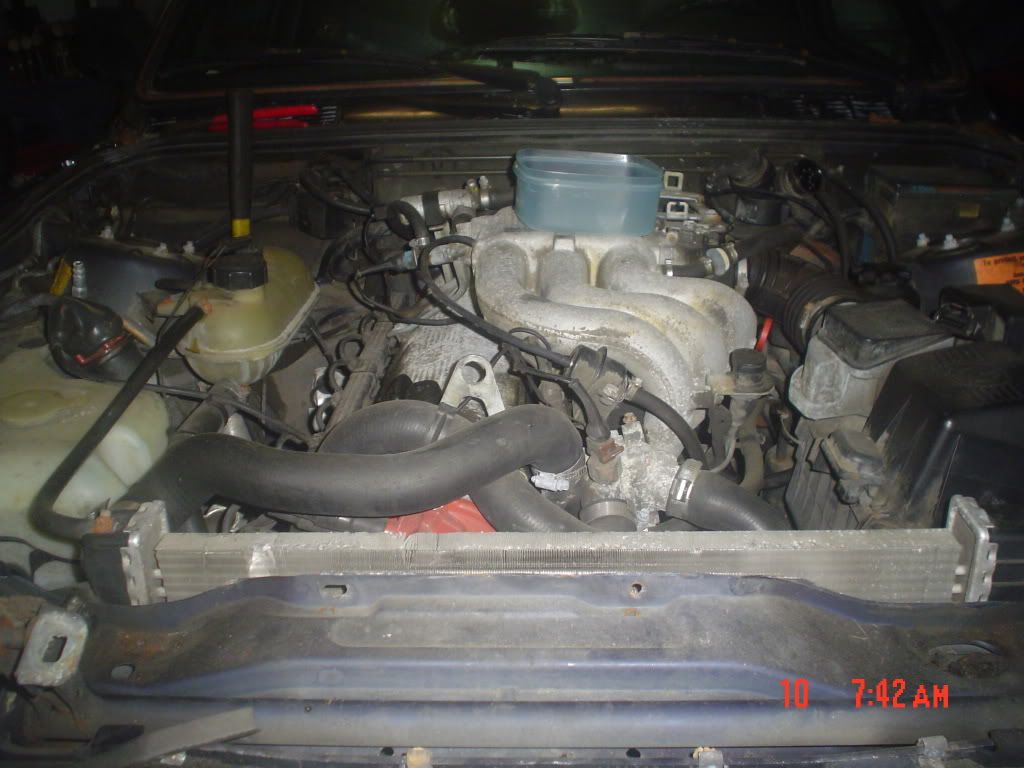
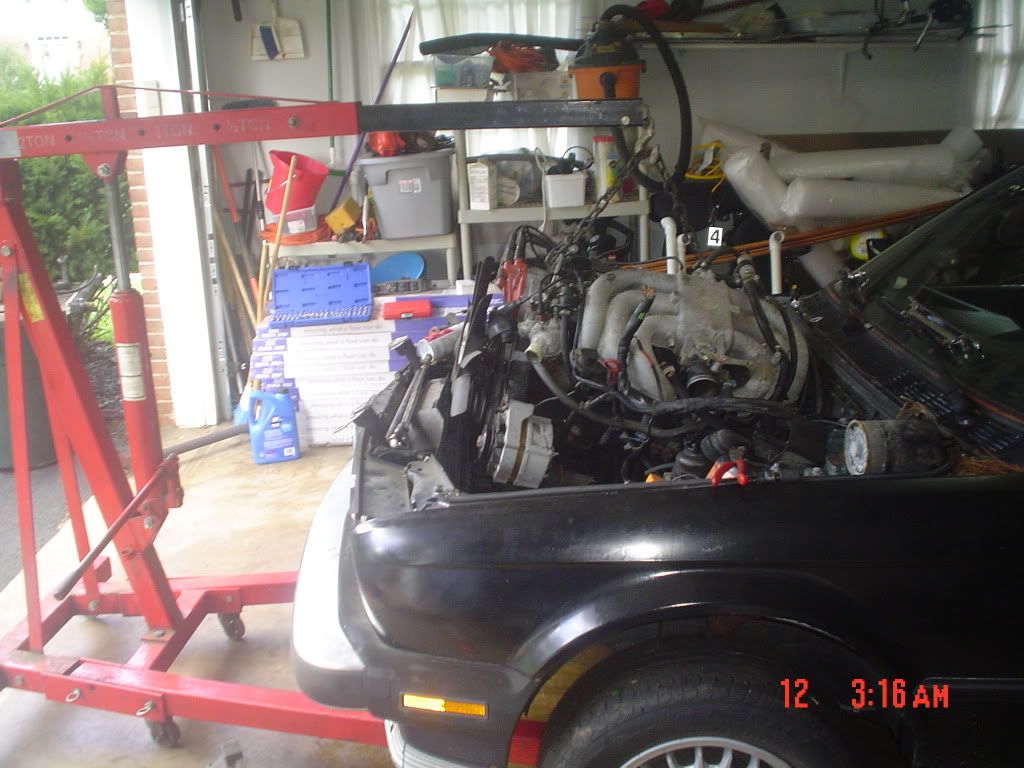
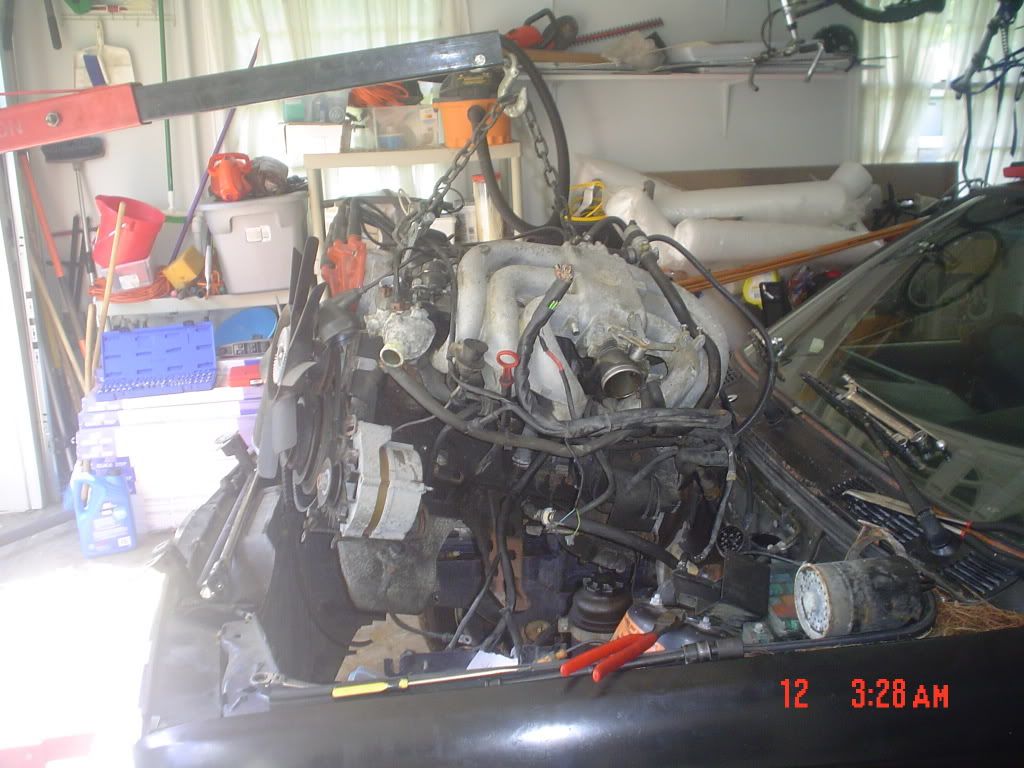
    Almost there...


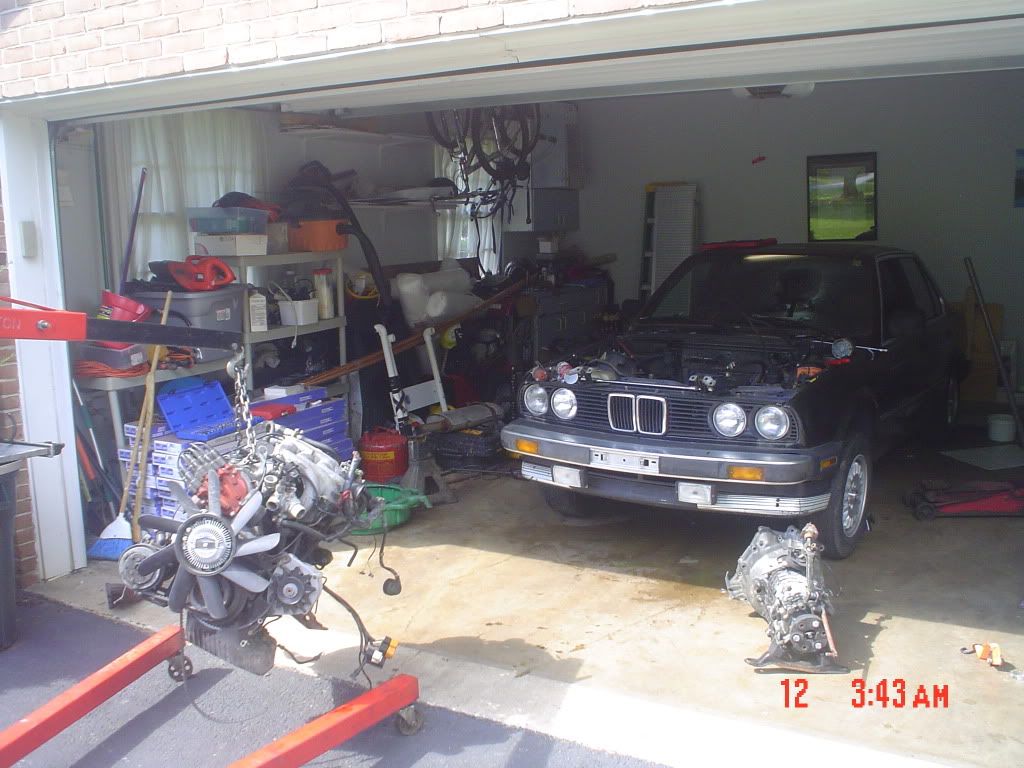
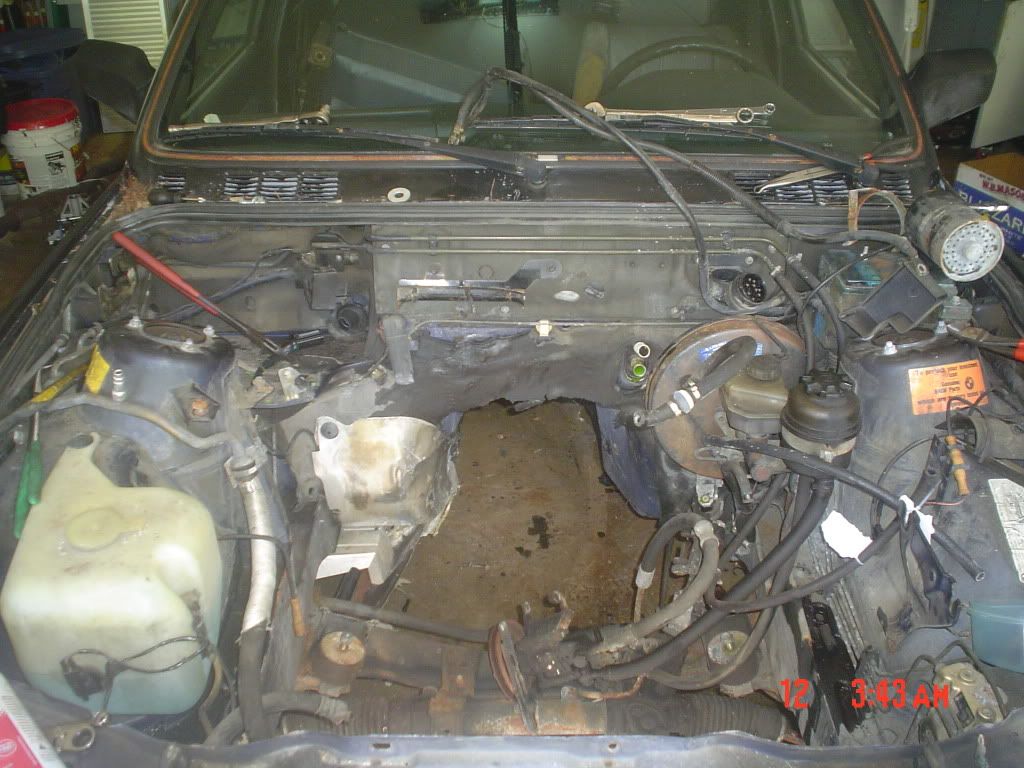
    And BOOM


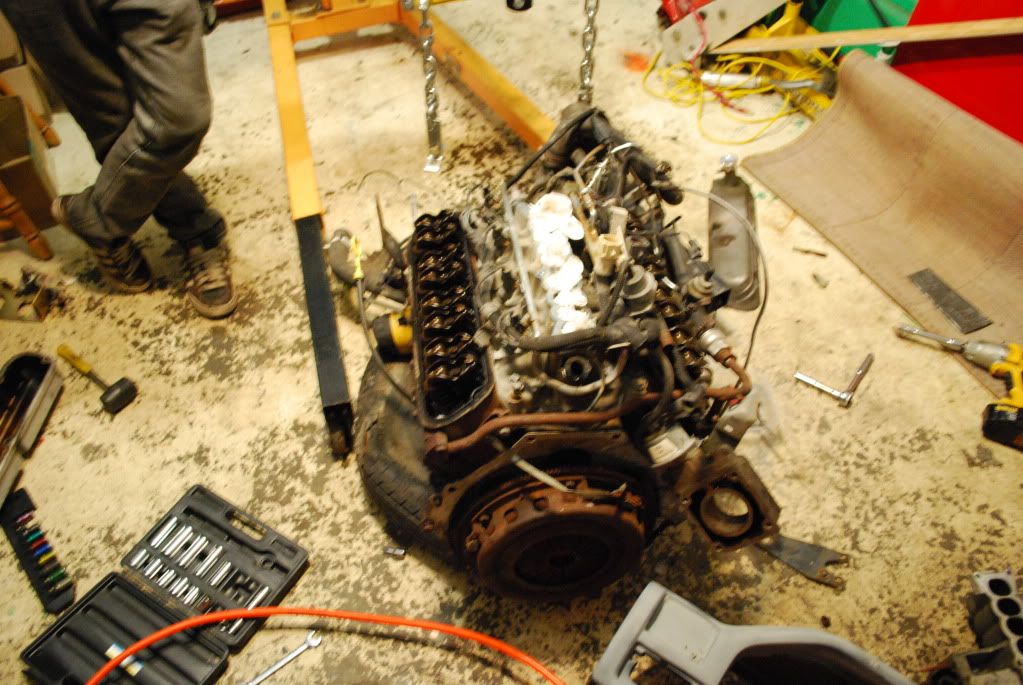
    I have to say, I've never pulled an engine by myself before and DAMN it was not easy - but seeing this made the wasted weekend seem all worth it.


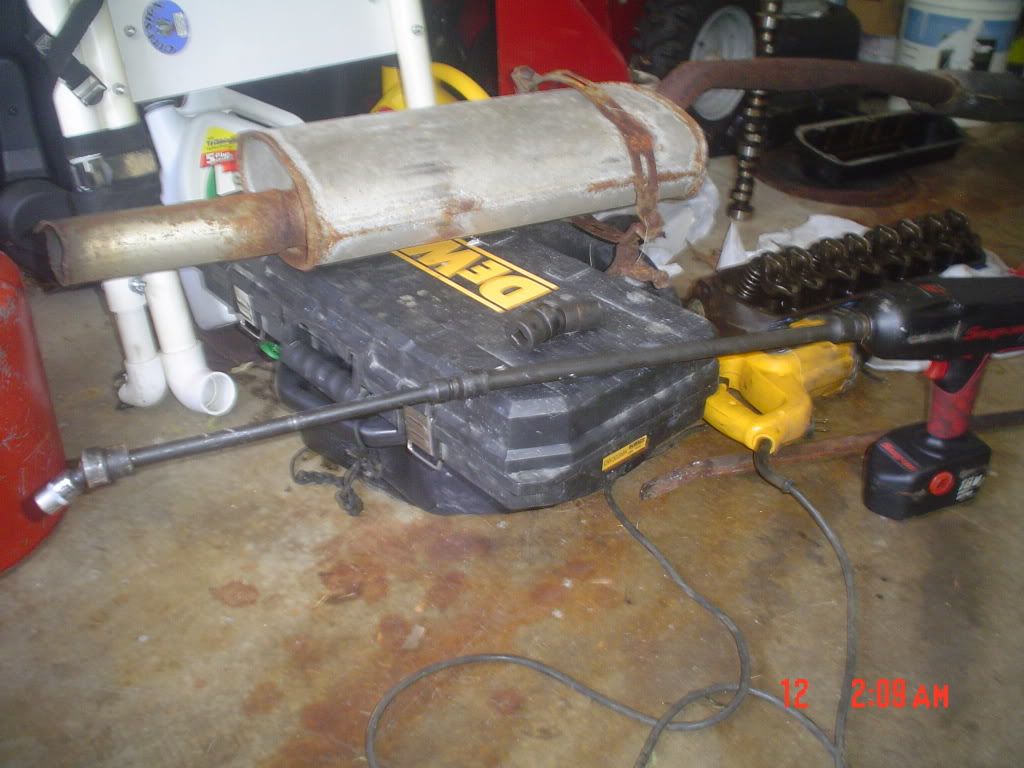
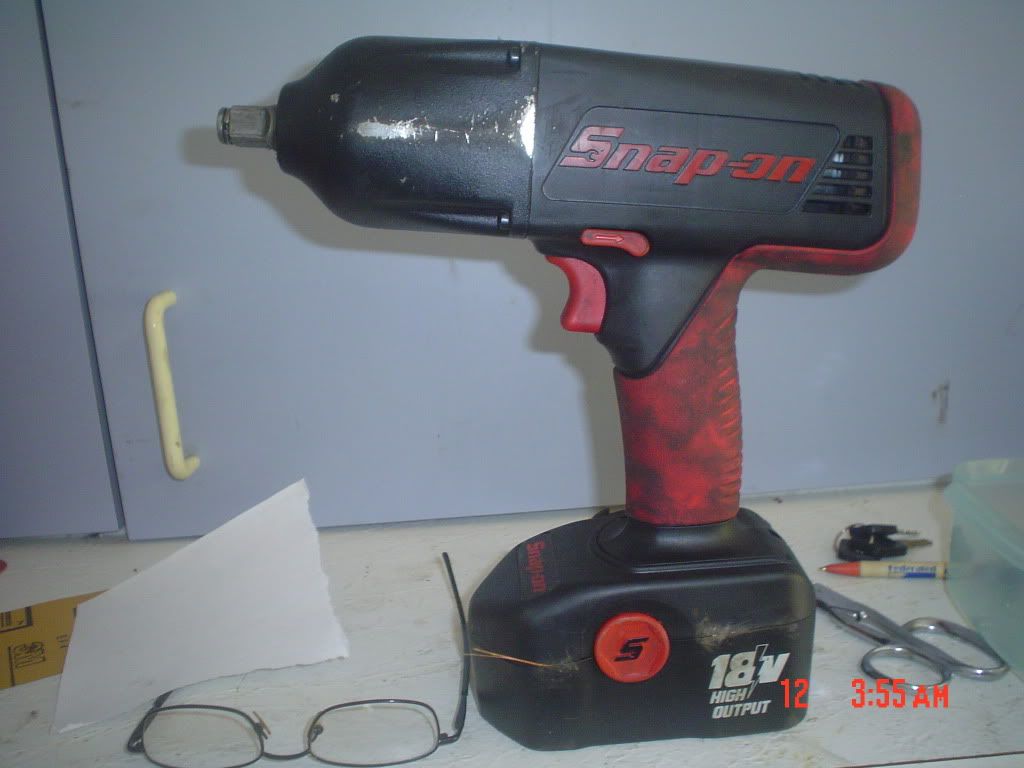
    Of course, some credit IS due to Mr. SnapOn and his overpriced but nice tools. Couldn't have done it without this bad boy.


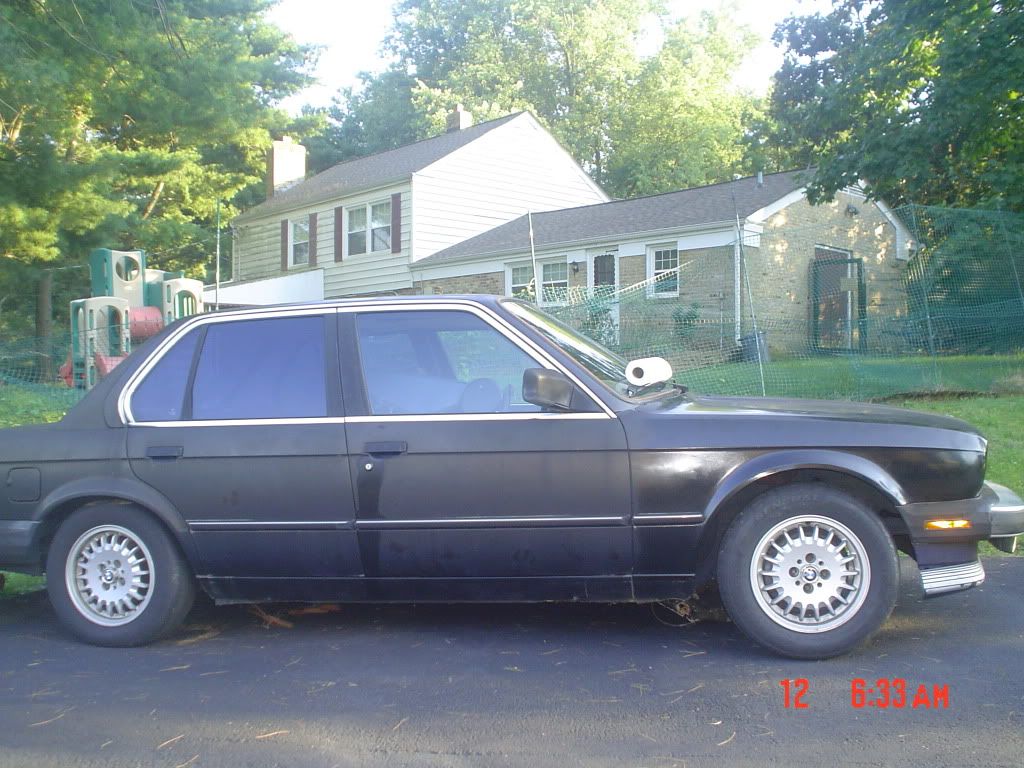
    And now, she sits outside and waits for the transplant to be prepared...


    Updates by Friday!
Working...