
Hi all,
For those of you who haven't seen the previous threads yet, about a month ago, I decided to import a 1990 325is from Toronto Canada.
The process was long and painful. I had to find a way to bring it over to the stateside, and drive it all the way down South.
Here is the thread on the import if anyone's interested:
It does have some valuable information if you're interested in importing a e30 from Canada to the US.
Also feel free to ask me if you have question. :)
July 10 2012
(Pre-import)
I was actually quite busy this day when purchasing the car. I barely had enough time to talk to the seller and negotiate on the final price. So at the end of the day, I have purchased my 3rd BMW, and had to find a way to get it brought over to my house.
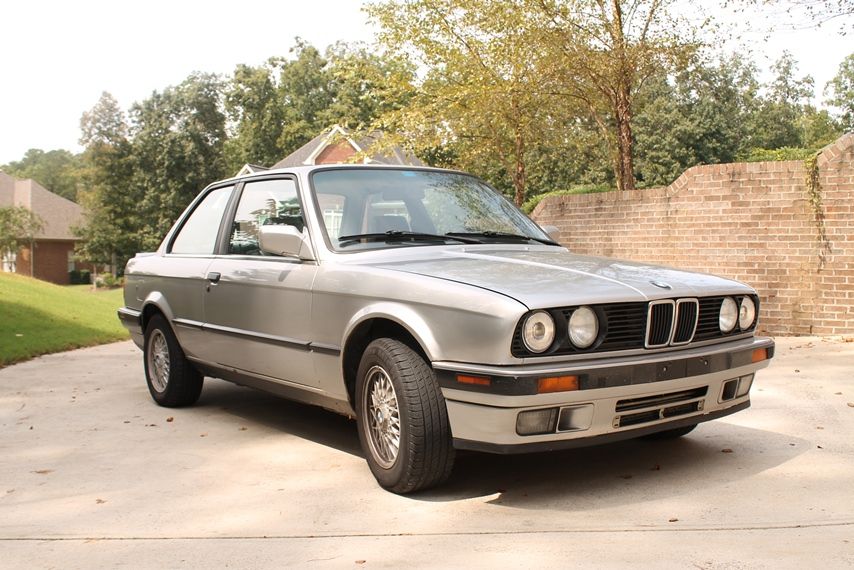
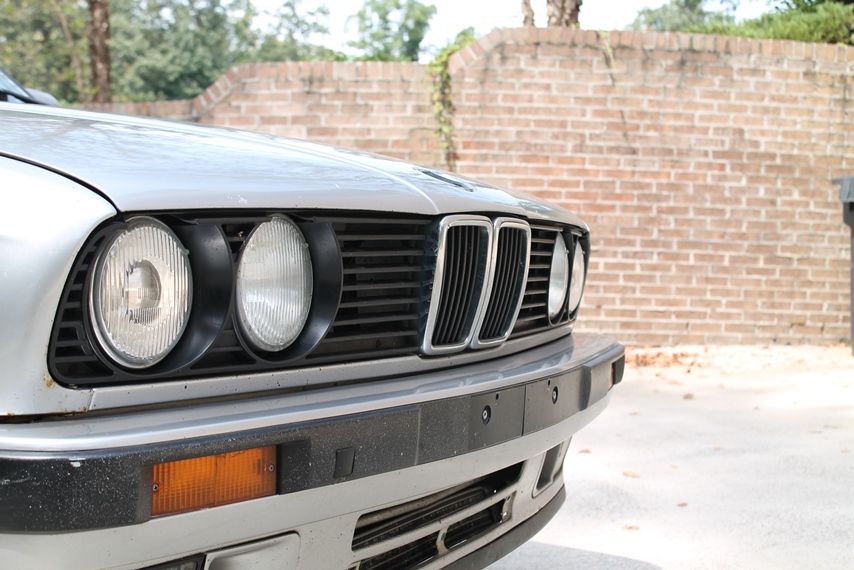
Here is some of the first photo I saw:


August 7 2012
So today I'm headed to new york! I received the letter of compliance from BMW and had all the forms ready to go. At 4:30am I rode to the airport for my 6am flight to Buffalo. I hate early morning flight, but I had to drop by the DMV in buffalo so there was no other choice. Plan is to drop by the DMV and get a in-transit permit so I can drive it down legally. Then on the 8th, I was going to head out to the customs, do all the paperwork and start the drive back.
@ around 10am, the plane arrived at Charlotte NC. Ok cool... not really. Lo and behold the flight to NY had left before I even arrived in NC! So I had to reschedule and find a new route to Buffalo. The earliest one took another stop in Philly and it finally dropped me off at Buffalo around 3:30pm. Buffalo DMV closes at 4:15pm so I wasn't sure if I could make it there one time.
I took the metro bus from Niagara Airport to downtown Buffalo, and used my handy dandy iphone to find the DMV. It was already 4pm by this time so time was tight. Unfortunfuckinately the address I googled was the old DMV location and the new location was a 15 minute walk. I arrived at the new DMV at 4:20pm and doors were closed. :hitler:
Well at least I took a picture of this place:
Buffalo NY

August 8 2012
Ok so today is the important day... Around 3pm, I went to the customs to see the car for the first time! I wanted to take some pictures at the customs, but the atmosphere was beyond crap and all the uniforms seemed to have corks up their asses. But they're paid to do that so oh well.
By 3:40pm we had customs work taken care of, and so we headed to the DMV to get the in-transit permit.
Here is the car still on the trailer, but now legal to head home.

Later that day...

Headed home!
So I was really excited to drive my e30 for the first time! After a while, I was starting to get used to the e30 gearbox. And instinctively, I decided to diagnosis car my car during this long 12 hour trip. The car front driver rotors were trashed, there was some paint flaking on driver fender, passenger fender looked to be repainted, clutch pedal felt a tad bit mushy.
On the road, it had some vibration around 50-65mph, car leans towards the left a bit, and steering needs a new column bushing. Oh yeah the cluster speedo light didn't work as well. :nice:
August 9 2012
After about 9 hrs of driving, time was 1am when I stopped at a "probably aids infested" Days Inn in Ohio. But it didn't matter. I was really tired and after a quick shower, I hit the bed.
2 seconds later, it was 8am. I checked out and ate a Waffle House near by. Continental breakfast was pretty crappy here.
Shot taken while waiting for my All-Star breakfast:

Not long after leaving Grove City, the rain stopped and temperature was starting to go up. ....I forgot to mention that A/C is not working on my e30. So windows are down when Im moving.
Later today I spotted this Porsche 912 in Ohio. Anyone know him? It looked to be in great condition.

This pretty much sums up the highlights of this long drive home.
August 11 2012
Ok so I got home, took a break on the 10th, and started doing some stuff to it starting today.
First things first, the e30 was filthy from the long trip and was in need of a serious wash. Using the 3 bucket system and sheepskin wash mitt, I washed the car. Being careful around the driver fender where the paint is flaking off.
Because the paint color is silver, its difficult to see much imperfection so I didn't clay bar or correct the paint. i was already really tired after the 4 hour wash.
Getting ready for the wash!

After

August 12 2012
Since the day I got the car, it had this rough idle at every few second interval. I wasn't sure if it was a vacuum leak or a misfire, so decided to get some new plugs.
The original plan was to buy a set of Bosch Copper plugs, but ended up with Bosch Platinum 4+. I wanted to get the plug wires while I was at it, but its $200! and was also out of stock so maybe next time.

Instantly after changing out the plugs, the car felt better. The old plugs were shot and had oil leak all over. Yuk! The idle went smoother, but the car still runs a bit rich. Maybe some vacuum leak or bad o2 sensor etc.
After changing the plugs, I brought the car in the garage, and did a quick interior cleaning. Vacuumed the floor and sprayed all the plastics with Meguiars Quick Interior Detailer. I like this one over others because it doesn't leave the surface glossy, and it smells pretty good. :)
Next I replaced the bulbs in the cluster. Nice and bright again.

I also removed the nasty and generic floor mats. The driver mat doesnt even fit and its craptastic. Its going in the trash bin.
August 17 2012
Today I had some time afternoon, so I decided to work on the chipped windshield using Permatex kit from Autozone. Its a $17 kit! Price is a bit steep in my opinion. But I bought it and tried it out anyways.
So it turns out this kit is way more than $17 that was stamped on the box.
Its going to cost me a new windshield later.
Here we go!

So I did what it said on the box.
-70 degrees in the shade (check)
-clean the glass using provided alcohol dipped paper (check)
-stick the little circle sticker on and the plastic circle (check)
-put in some of the chemical/glue (check)
-stick the syringe and pull up to release bubbles (check)
-push the syringe in to add pressure and wait 20 mi.... f@#k.
The windshield couldnt take the pressure and it cracked from 1 cm before to about 2 inches after. :hitler:
Ill be giving Permatex a call shortly.
August 20 2012
Some time during the week of 12th, I ordered a whole bunch of maintenance from ECStuning. Today when I got home, it was waiting for me at the door. Its Christmas in middle of August! ECStuning decided to be nice and send me 2 boxes! more boxes the merrier! :mrgreen:
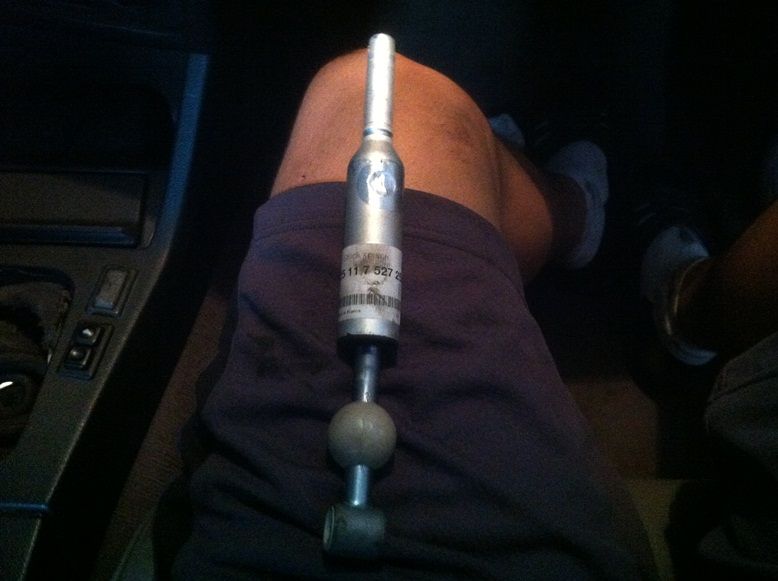
First thing replaced is the old intake boot with silicon dabbed all over it.


Next is the air filter. I was really curious when was the last time it was cha....holy shit

New filter installed

And everything back in

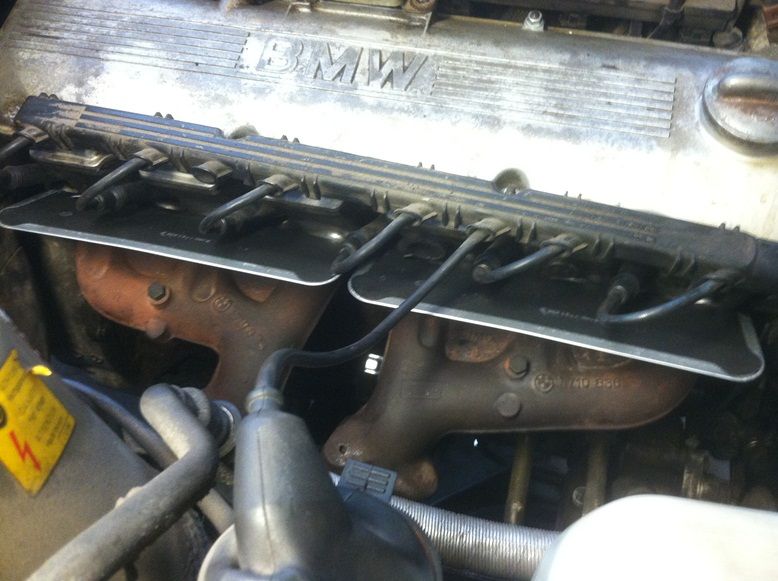
Next up, the valve cover.


Floor mat being used for a good purpose

And the finished product! Coat seems to have pealed off, but looks much better than before.

And this is it for today.
Heres whats next (+ oil change)

August 22 2012
Did some small maintenance work today. Changed oil for the first time since i bought the car. After removing the valve cover last weekend and seeing how dirty it was, I didn't want to postpone any longer. Maybe the new oil detergent will reduce the build up a little. :) I decided to go with Mobil full synthetic and Bosch oil filter. The process was a pain in the butt because the oil catch bucket had a crack and spilled oil all over the garage floor. Filter being in a awkward location didn't help either.
Oil changed and light reset!

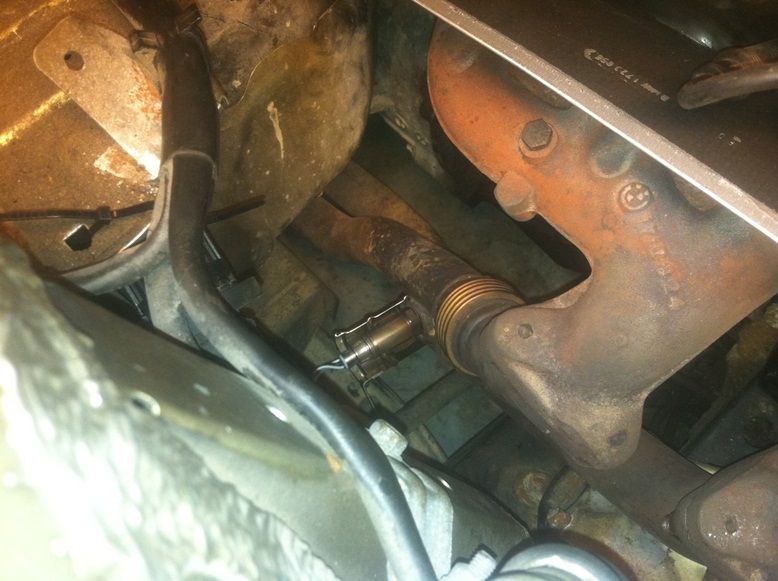
Next im changing out the fuel filter. I had a bad experience changing the filter out last time, so I was feeling a bit icky. I had it splashed all over my face and its a nasty feeling. Oh well here it goes. I had a feeling that the fuel hoses on this 20 year old BMW has never been changed, and might have some cracks to them. So I dropped by Napa parts store and picked up 3 ft of 5/16" (7.9mm) high pressure fuel hose. But when I went in to replace lines, the new hose was very firm and didn't bend very well. Whenever I tried turning it a few degrees, it just kinks. I checked out the old hoses, saw no cracks so it was put back on the car. It feels a bit halfassed because I was planning on buying the pre-bent hoses from ECS, but it was going to run me about $20 so I passed. Starting to regret not getting it. :( Oh well maybe next time.
When I tried draining the filter of the fuel, I was shocked by the fluid coming out of it. Picture's worth a 1000 words. Maybe more in this case!
Here is the remaining bit I was able capture in this shot.

By looking at the picture above, Im pretty confident the car was not getting a proper amount of fuel delivered to the motor. Very glad I changed out the fuel filter. The car did have better throttle response when I test drove it afterwards.
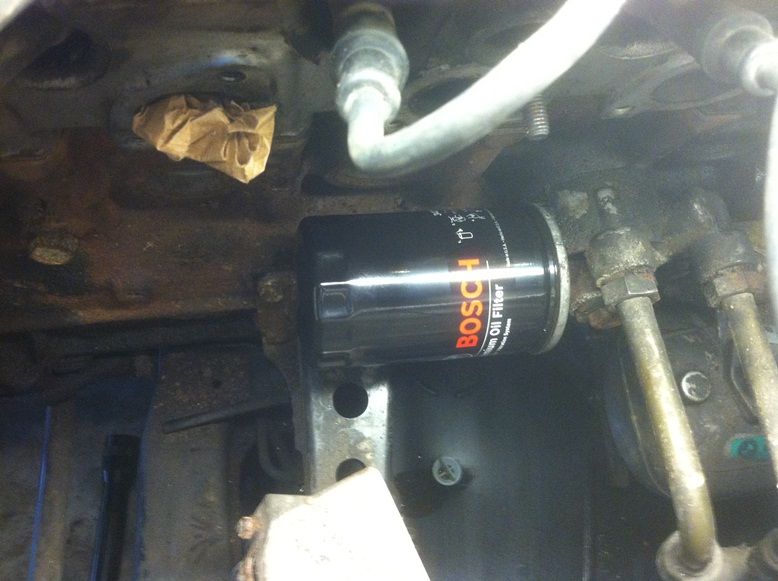
Brand new Bosch Filter.

All done!

Almost forgot! Just received this in mail earlier today.
European version analog clock

August 26 2012
Just doing more maintenance today. This almost seems like a maintenance thread. LOL Sorry its so boring. I want to fix up the car before installing more interesting stuff. For today, its just front brakes.
Ive decided to go with Brembo blanks and OE pads. The initial plan was to used all OE BMW parts, but ECS had the Brembo blanks up for really cheap! It was listed cheaper than OE front rotors. I think it mightve been a error or the listing wasn't updated. Anyways, I was very happy and ordered a set.

This is how it looked. Weird looking wear and rusted very bad. Tacky pads weren't up to par either.

Pads nicely glued with CRC Brake Quiet

New Brembo rotors next to old rusty rotor

This job was a serious pain in the butt! This car being from the North, the bolts were very rusted. I PB blast all the bolts and soaked it for about an hr. Still took me about 30 minutes to loosen the caliper bolts and had blood pouring down my right thumb. It was a complete mess, but finished results were very satisfying. :D
All done!

For those of you who haven't seen the previous threads yet, about a month ago, I decided to import a 1990 325is from Toronto Canada.
The process was long and painful. I had to find a way to bring it over to the stateside, and drive it all the way down South.
Here is the thread on the import if anyone's interested:
It does have some valuable information if you're interested in importing a e30 from Canada to the US.
Also feel free to ask me if you have question. :)

July 10 2012
(Pre-import)
I was actually quite busy this day when purchasing the car. I barely had enough time to talk to the seller and negotiate on the final price. So at the end of the day, I have purchased my 3rd BMW, and had to find a way to get it brought over to my house.
Here is some of the first photo I saw:
August 7 2012
So today I'm headed to new york! I received the letter of compliance from BMW and had all the forms ready to go. At 4:30am I rode to the airport for my 6am flight to Buffalo. I hate early morning flight, but I had to drop by the DMV in buffalo so there was no other choice. Plan is to drop by the DMV and get a in-transit permit so I can drive it down legally. Then on the 8th, I was going to head out to the customs, do all the paperwork and start the drive back.
@ around 10am, the plane arrived at Charlotte NC. Ok cool... not really. Lo and behold the flight to NY had left before I even arrived in NC! So I had to reschedule and find a new route to Buffalo. The earliest one took another stop in Philly and it finally dropped me off at Buffalo around 3:30pm. Buffalo DMV closes at 4:15pm so I wasn't sure if I could make it there one time.
I took the metro bus from Niagara Airport to downtown Buffalo, and used my handy dandy iphone to find the DMV. It was already 4pm by this time so time was tight. Unfortunfuckinately the address I googled was the old DMV location and the new location was a 15 minute walk. I arrived at the new DMV at 4:20pm and doors were closed. :hitler:
Well at least I took a picture of this place:
Buffalo NY
August 8 2012
Ok so today is the important day... Around 3pm, I went to the customs to see the car for the first time! I wanted to take some pictures at the customs, but the atmosphere was beyond crap and all the uniforms seemed to have corks up their asses. But they're paid to do that so oh well.
By 3:40pm we had customs work taken care of, and so we headed to the DMV to get the in-transit permit.
Here is the car still on the trailer, but now legal to head home.
Later that day...
Headed home!
So I was really excited to drive my e30 for the first time! After a while, I was starting to get used to the e30 gearbox. And instinctively, I decided to diagnosis car my car during this long 12 hour trip. The car front driver rotors were trashed, there was some paint flaking on driver fender, passenger fender looked to be repainted, clutch pedal felt a tad bit mushy.
On the road, it had some vibration around 50-65mph, car leans towards the left a bit, and steering needs a new column bushing. Oh yeah the cluster speedo light didn't work as well. :nice:
August 9 2012
After about 9 hrs of driving, time was 1am when I stopped at a "probably aids infested" Days Inn in Ohio. But it didn't matter. I was really tired and after a quick shower, I hit the bed.
2 seconds later, it was 8am. I checked out and ate a Waffle House near by. Continental breakfast was pretty crappy here.
Shot taken while waiting for my All-Star breakfast:
Not long after leaving Grove City, the rain stopped and temperature was starting to go up. ....I forgot to mention that A/C is not working on my e30. So windows are down when Im moving.
Later today I spotted this Porsche 912 in Ohio. Anyone know him? It looked to be in great condition.
This pretty much sums up the highlights of this long drive home.
August 11 2012
Ok so I got home, took a break on the 10th, and started doing some stuff to it starting today.
First things first, the e30 was filthy from the long trip and was in need of a serious wash. Using the 3 bucket system and sheepskin wash mitt, I washed the car. Being careful around the driver fender where the paint is flaking off.
Because the paint color is silver, its difficult to see much imperfection so I didn't clay bar or correct the paint. i was already really tired after the 4 hour wash.
Getting ready for the wash!
After
August 12 2012
Since the day I got the car, it had this rough idle at every few second interval. I wasn't sure if it was a vacuum leak or a misfire, so decided to get some new plugs.
The original plan was to buy a set of Bosch Copper plugs, but ended up with Bosch Platinum 4+. I wanted to get the plug wires while I was at it, but its $200! and was also out of stock so maybe next time.
Instantly after changing out the plugs, the car felt better. The old plugs were shot and had oil leak all over. Yuk! The idle went smoother, but the car still runs a bit rich. Maybe some vacuum leak or bad o2 sensor etc.
After changing the plugs, I brought the car in the garage, and did a quick interior cleaning. Vacuumed the floor and sprayed all the plastics with Meguiars Quick Interior Detailer. I like this one over others because it doesn't leave the surface glossy, and it smells pretty good. :)
Next I replaced the bulbs in the cluster. Nice and bright again.
I also removed the nasty and generic floor mats. The driver mat doesnt even fit and its craptastic. Its going in the trash bin.
August 17 2012
Today I had some time afternoon, so I decided to work on the chipped windshield using Permatex kit from Autozone. Its a $17 kit! Price is a bit steep in my opinion. But I bought it and tried it out anyways.
So it turns out this kit is way more than $17 that was stamped on the box.
Its going to cost me a new windshield later.
Here we go!
So I did what it said on the box.
-70 degrees in the shade (check)
-clean the glass using provided alcohol dipped paper (check)
-stick the little circle sticker on and the plastic circle (check)
-put in some of the chemical/glue (check)
-stick the syringe and pull up to release bubbles (check)
-push the syringe in to add pressure and wait 20 mi.... f@#k.
The windshield couldnt take the pressure and it cracked from 1 cm before to about 2 inches after. :hitler:
Ill be giving Permatex a call shortly.
August 20 2012
Some time during the week of 12th, I ordered a whole bunch of maintenance from ECStuning. Today when I got home, it was waiting for me at the door. Its Christmas in middle of August! ECStuning decided to be nice and send me 2 boxes! more boxes the merrier! :mrgreen:
First thing replaced is the old intake boot with silicon dabbed all over it.
Next is the air filter. I was really curious when was the last time it was cha....holy shit
New filter installed
And everything back in
Next up, the valve cover.
Floor mat being used for a good purpose
And the finished product! Coat seems to have pealed off, but looks much better than before.
And this is it for today.
Heres whats next (+ oil change)
August 22 2012
Did some small maintenance work today. Changed oil for the first time since i bought the car. After removing the valve cover last weekend and seeing how dirty it was, I didn't want to postpone any longer. Maybe the new oil detergent will reduce the build up a little. :) I decided to go with Mobil full synthetic and Bosch oil filter. The process was a pain in the butt because the oil catch bucket had a crack and spilled oil all over the garage floor. Filter being in a awkward location didn't help either.
Oil changed and light reset!
Next im changing out the fuel filter. I had a bad experience changing the filter out last time, so I was feeling a bit icky. I had it splashed all over my face and its a nasty feeling. Oh well here it goes. I had a feeling that the fuel hoses on this 20 year old BMW has never been changed, and might have some cracks to them. So I dropped by Napa parts store and picked up 3 ft of 5/16" (7.9mm) high pressure fuel hose. But when I went in to replace lines, the new hose was very firm and didn't bend very well. Whenever I tried turning it a few degrees, it just kinks. I checked out the old hoses, saw no cracks so it was put back on the car. It feels a bit halfassed because I was planning on buying the pre-bent hoses from ECS, but it was going to run me about $20 so I passed. Starting to regret not getting it. :( Oh well maybe next time.
When I tried draining the filter of the fuel, I was shocked by the fluid coming out of it. Picture's worth a 1000 words. Maybe more in this case!
Here is the remaining bit I was able capture in this shot.
By looking at the picture above, Im pretty confident the car was not getting a proper amount of fuel delivered to the motor. Very glad I changed out the fuel filter. The car did have better throttle response when I test drove it afterwards.
Brand new Bosch Filter.
All done!
Almost forgot! Just received this in mail earlier today.
European version analog clock
August 26 2012
Just doing more maintenance today. This almost seems like a maintenance thread. LOL Sorry its so boring. I want to fix up the car before installing more interesting stuff. For today, its just front brakes.
Ive decided to go with Brembo blanks and OE pads. The initial plan was to used all OE BMW parts, but ECS had the Brembo blanks up for really cheap! It was listed cheaper than OE front rotors. I think it mightve been a error or the listing wasn't updated. Anyways, I was very happy and ordered a set.
This is how it looked. Weird looking wear and rusted very bad. Tacky pads weren't up to par either.
Pads nicely glued with CRC Brake Quiet
New Brembo rotors next to old rusty rotor
This job was a serious pain in the butt! This car being from the North, the bolts were very rusted. I PB blast all the bolts and soaked it for about an hr. Still took me about 30 minutes to loosen the caliper bolts and had blood pouring down my right thumb. It was a complete mess, but finished results were very satisfying. :D
All done!


Comment