Announcement

Collapse
No announcement yet.

Ksjdan's 1990 325is Thread - S52 Swap Complete

Collapse
X
 
  • Filter
  • Time
  • Show
Clear All
new posts

  • ksjdan
    replied
    January 24th 2016

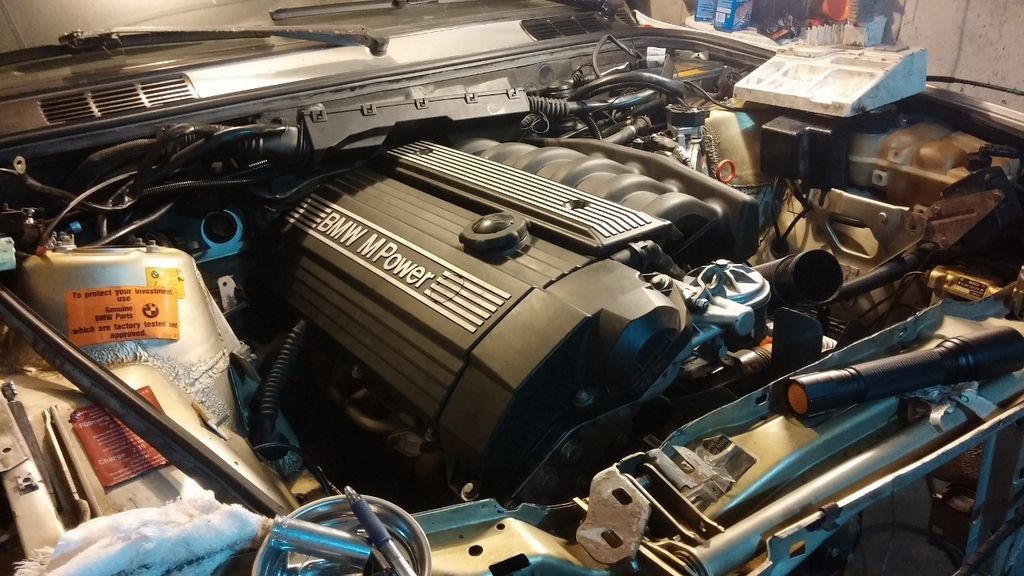
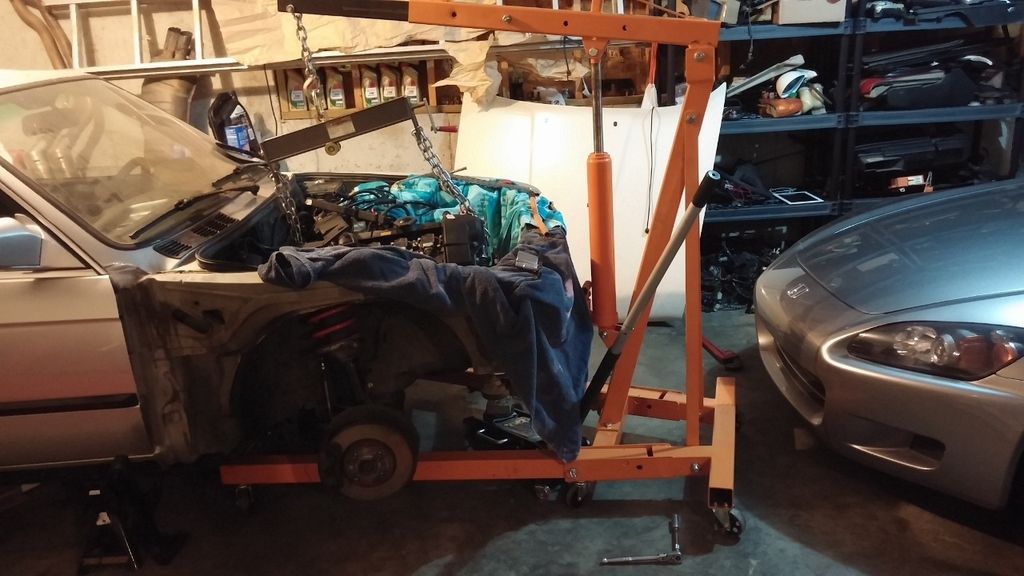
    I think its fair to say this e30 project is coming to a conclusion. The swap was a success and the car can really haul ass.
    Only thing I really need now is to replace the 3.73 diff with a 2.93.
    LMK if you have a 2.93 LSD for sale!


    Final cliff:

    1989 build 325is - sterling silver / silver leather

    Swap components:
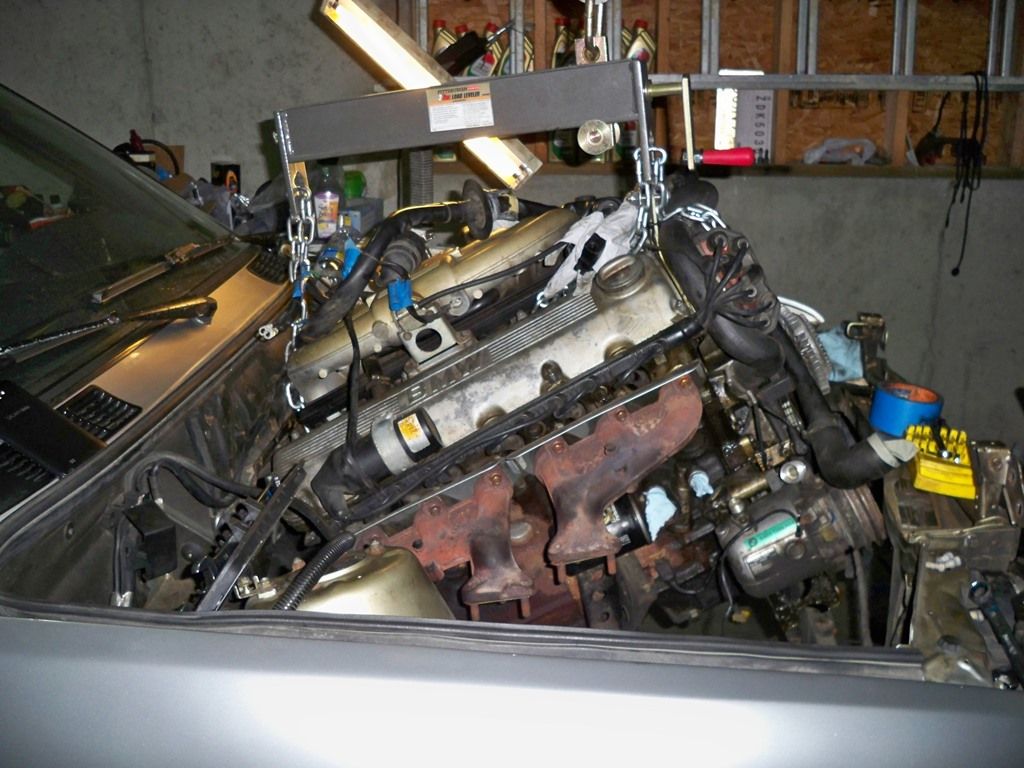
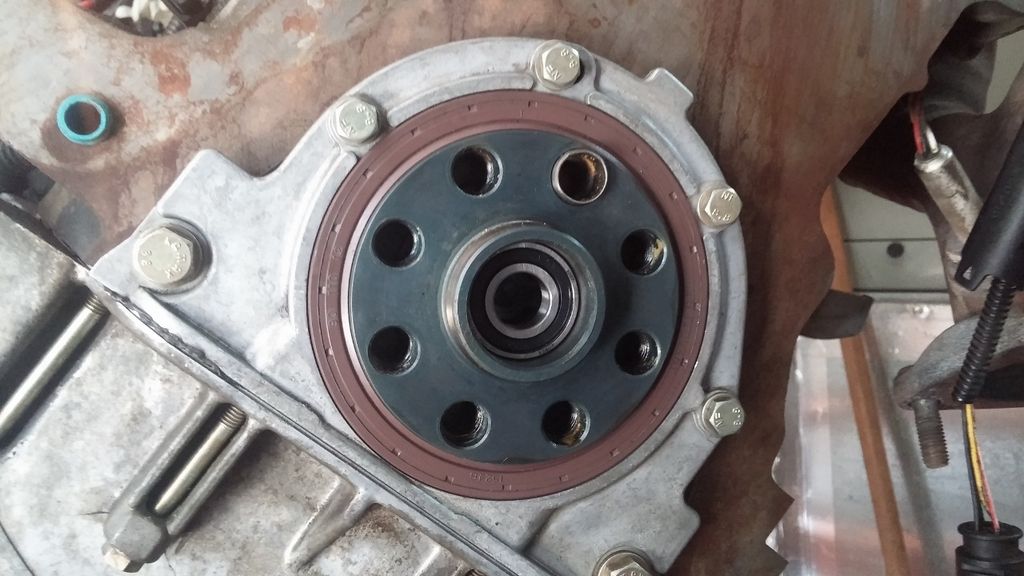
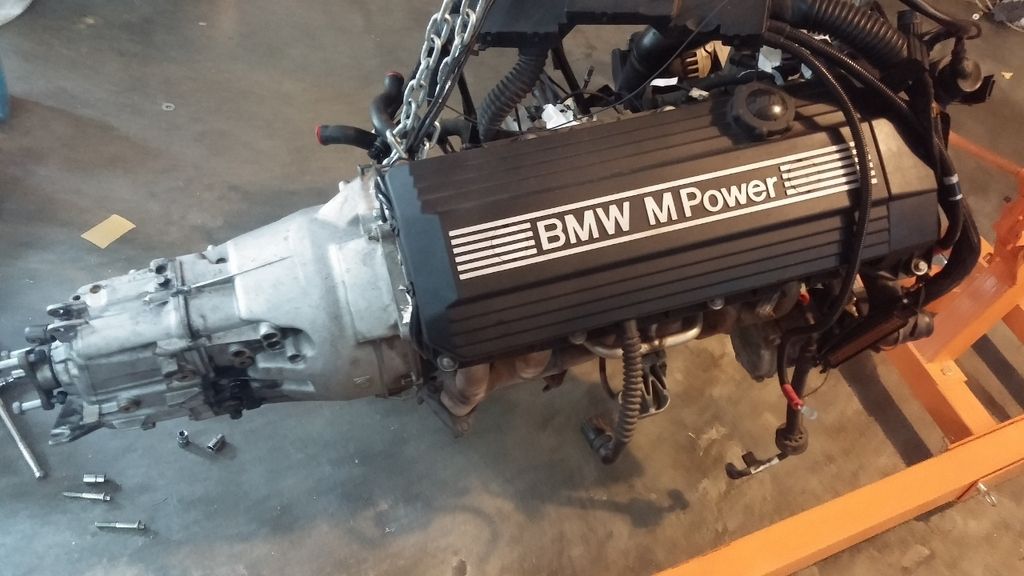
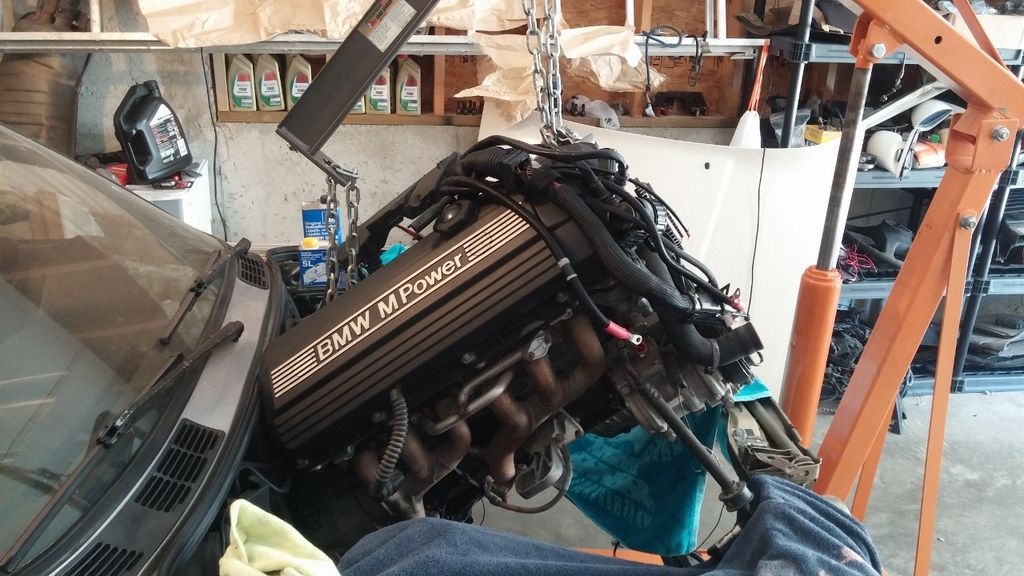
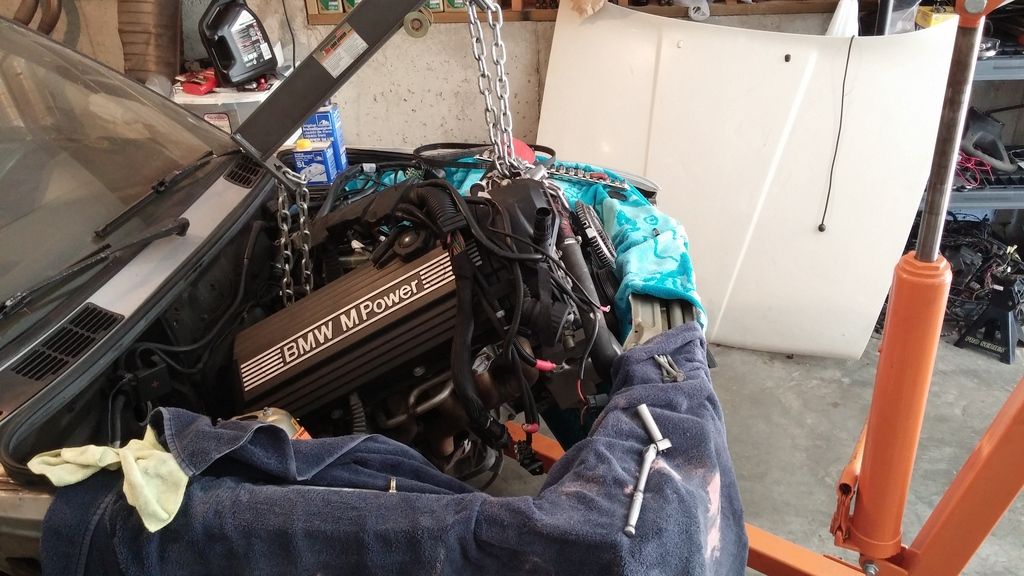
    - S52B52 swap with about 52k miles
    • - Sap delete
      - Kept s52 intake for more lower end torque
      - Early model e39 fuel rails with built in valve
      - Andrew's harness
      - Merkert's temp sensor
      - e28 engine mounts

    - ZF 226 5-spd transmission with about 70k miles
    • - z3 OE SSK with ZHP knob

    - P-car 944 brake booster (kinda shitty lol)
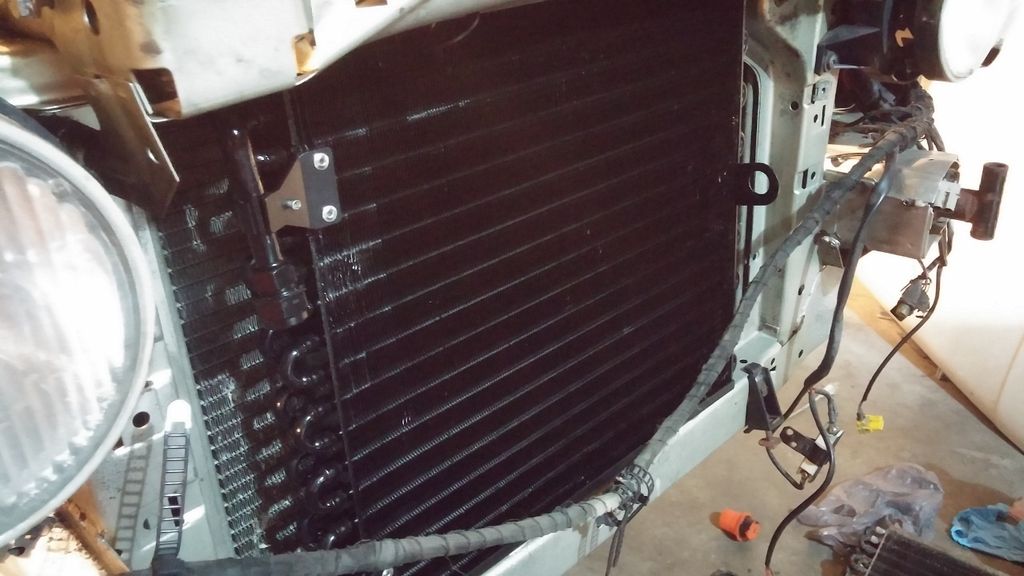
    - Mishimoto aluminum radiator (8/10 fitment)
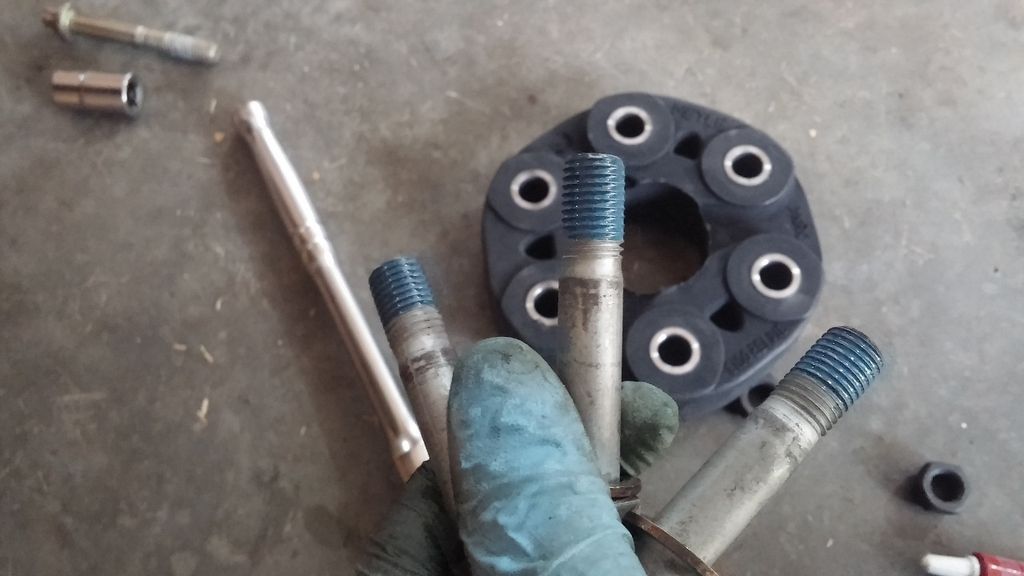
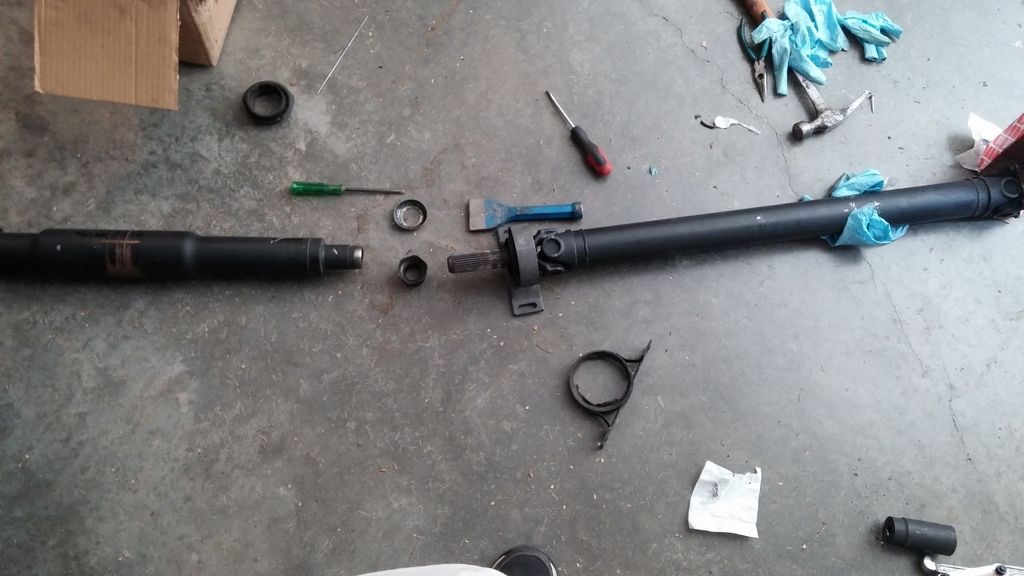
    - e36 328i 4-bolt driveshaft
    - Electric fan conversion

    Exhaust
    - stock headers
    - custom 2.5 piping section 2 with 200 cell cat
    - Dynomax ST muffler 17733
    - Dual chrome exhaust tip

    Other replacements

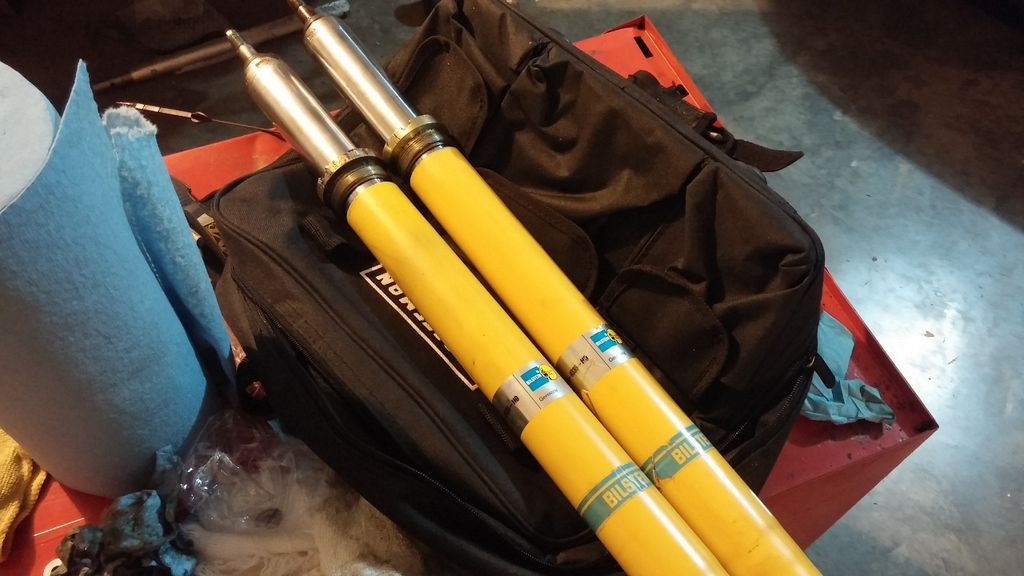
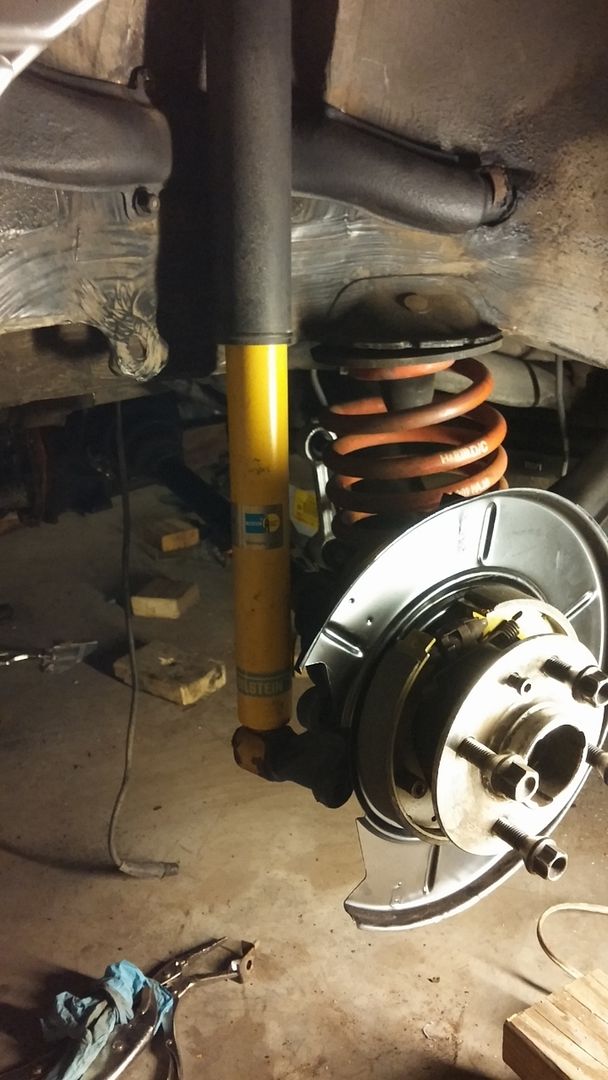
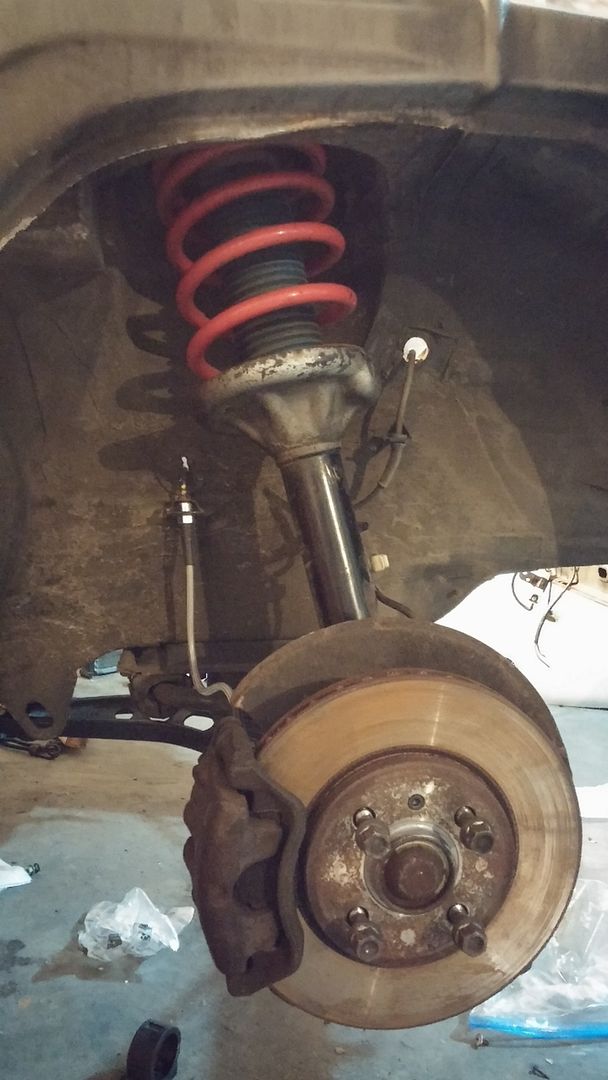
    - H&R Race Springs + Bilstein HD
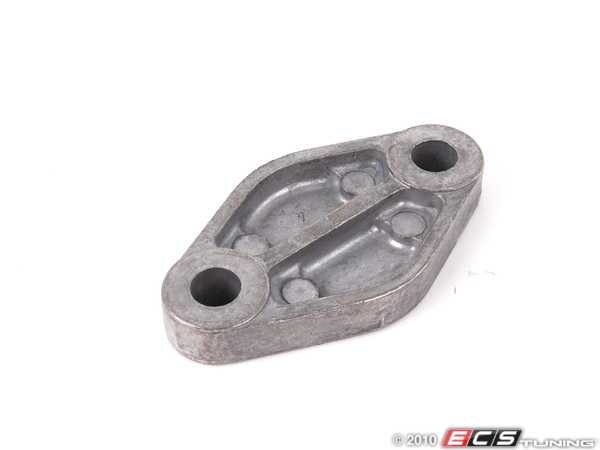
    - E30m offset lollipop
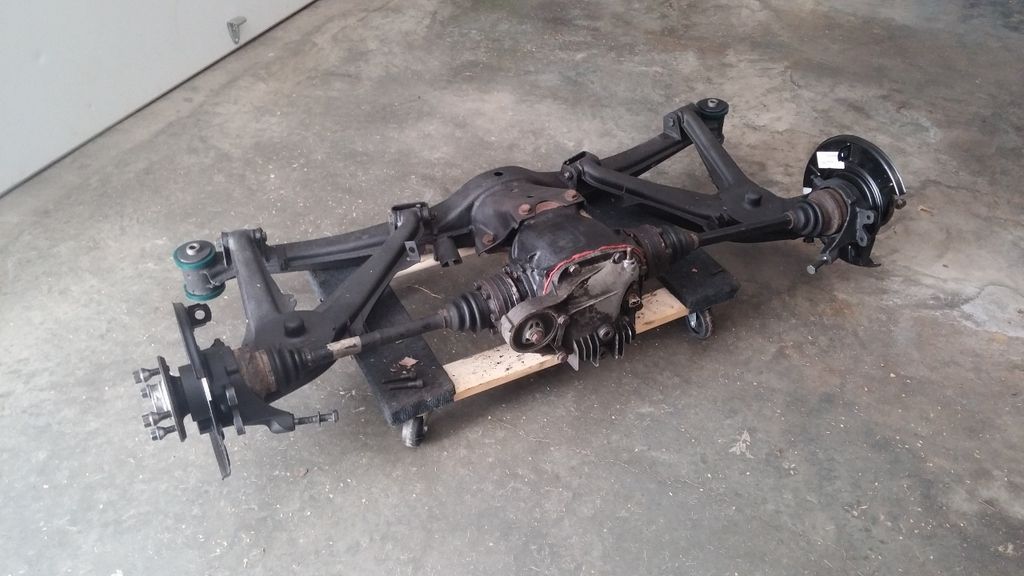
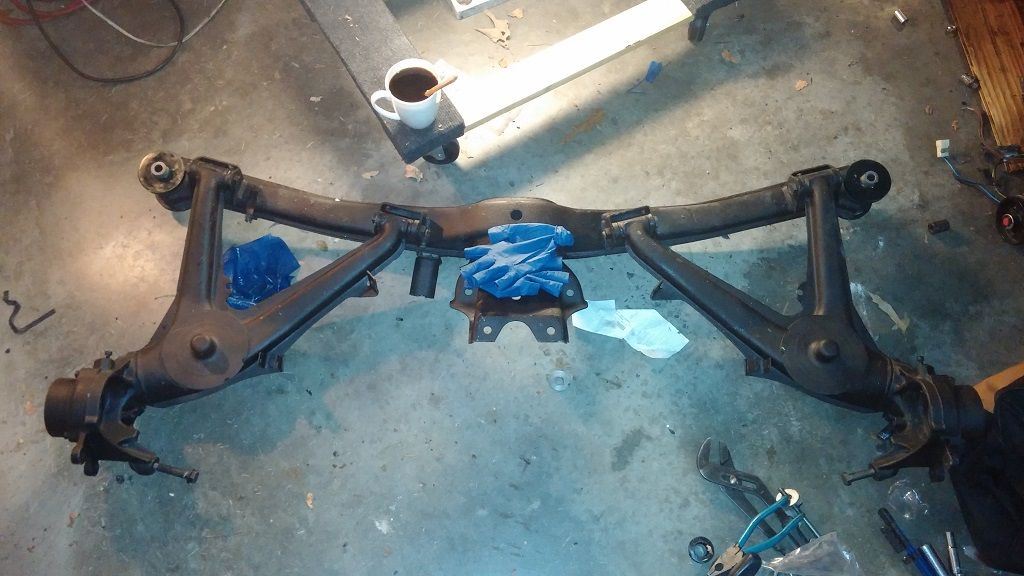
    - Rear subframe redone
    • - sandblasted
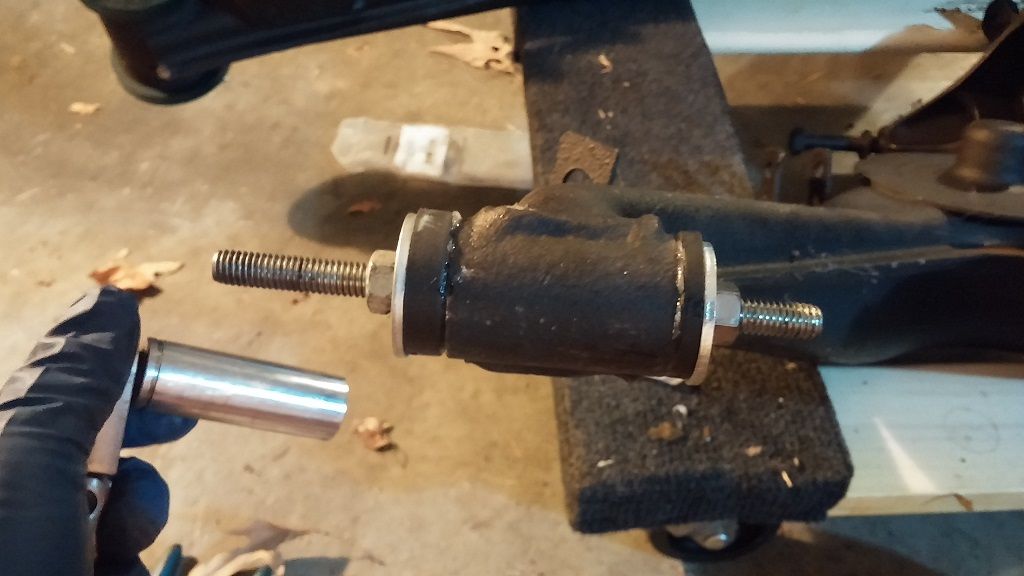
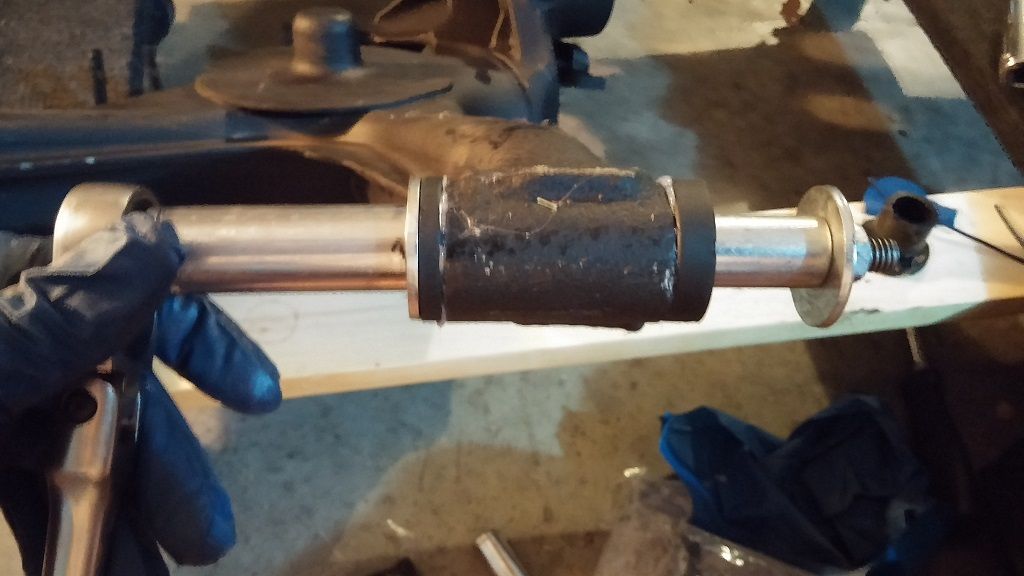
      - Ireland Engineering soft polyurethane bushings (all except for diff)
      - FAG bearings
      - 3.73 LSD resealed and Redline fluid (707 represent!)

    - Euroweaves with fulken shet tires
    - hoarded collection of 15" hub caps

    Leave a comment:


  • Northern
    replied
    Originally posted by ksjdan View Post
    Ok cool. Did you bolt The thing right on the block? The piece seemed to fit very flush on my sap. I did leave the pipework in place though. And the sap was mounted on the piece where the control module/valve piece was mounted.

    Sent from my VS980 4G using Tapatalk
    I bolted them on the header where the SAP pipes used to go. Not the way it was intended to be used, but that's what I wanted them to do lol.

    You're using it the right way. (didn't notice it in the pic the first time)

    Leave a comment:


  • ksjdan
    replied
    Originally posted by FreedomM3 View Post
    Awesome Thread! Inspires me to paint Sterling! Resto/Mod threads are the best IMO. Keep up the good work
    Thanks and excellent choice! Hah The car will be visiting a body shop next to have the door rust blasted and fenders painted.
    Originally posted by Northern View Post
    Not yet, I've only put like ~1000km on my swap though. I just used the SAP gaskets from the elring upper gasket kit.
    Ok cool. Did you bolt The thing right on the block? The piece seemed to fit very flush on my sap. I did leave the pipework in place though. And the sap was mounted on the piece where the control module/valve piece was mounted.

    Sent from my VS980 4G using Tapatalk

    Leave a comment:


  • Northern
    replied
    Originally posted by ksjdan View Post
    Were you having problems with a gasket? I will find out more when I get the car back from the muffler shop tomorrow, but I dont think it was leaking on mine.
    Not yet, I've only put like ~1000km on my swap though. I just used the SAP gaskets from the elring upper gasket kit.

    Leave a comment:


  • FreedomM3
    replied
    Awesome Thread! Inspires me to paint Sterling! Resto/Mod threads are the best IMO. Keep up the good work

    Leave a comment:


  • ksjdan
    replied
    Originally posted by ksjdan View Post
    September 18-20 2013

    The project I am currently working on is no doubt the biggest one I have tackled so far. For this work, I actually called my friend over to help remove the old m20 and the trans. I did most of prep work such as exhaust, driveshaft draining fluids, disconnecting the harness etc the day before and some on the day of. The work was relatively easy as its only been several months since the exhaust and driveshaft bits were re-installed. I was really excited about the engine removal as it was the first time I performed this. After asking a few questions and reading a few articles, the work didn't seem all that difficult. I picked up a cherry picker locally, and my friend and I started removing the old motor from the bay later that night.

    The removal was pretty straight forward and not that big of a problem. The powersteering pump and the AC compressors were in the way so they were removed (picture taken before). But other than that, the engine came out swiftly without much of a fight.

    Here are some photos!

    Last photo before it was removed. Despite having 150k+ miles on it, it ran strong and pretty smoothly right until the removal. The M20 and a 5 spd mt transmission is going to be listed on the classified, so look for it soon! :up:

    Shot with the ///M.


    September 25 2015

    Cant believe its already been 2 years since the project officially started. How time flies.

    Engine is running now! Id say its pulling very strong. Gave the usual pedal push, and rear tires were spinning.

    Shot a quick vid while taking it to a exhaust shop to get the e36 328 cats and muffler. Its not the most popular route, but it should suffice for now. If I decide to make it into a dedicated track car, a catless (maybe just resonator) + better flow/lighter muffler will be sourced.

    By the way, its hard to tell in the video, but the car was REALLY loud. I was wearing ear plugs to the shop so I dont start bleeding out of them.
    ...and wheel is attached a bit crooked.

    Leave a comment:


  • ksjdan
    replied
    Originally posted by Northern View Post
    Looks like good progress despite getting the shaft from a few companies.


    Just a random FYI now that I used these...

    They will work, but they need the sides filed down a lot, and the hole opened and dragged significantly to fit. Now that I know this, I would either just weld up the holes, or buy the BW SAP delete plates.
    Were you having problems with a gasket? I will find out more when I get the car back from the muffler shop tomorrow, but I dont think it was leaking on mine.

    Leave a comment:


  • Northern
    replied
    Looks like good progress despite getting the shaft from a few companies.

    Originally posted by ksjdan View Post
    For those who are interested:
    P/N: 11121438086 (block)
    P/N: 11727514860 (gasket)

    Just a random FYI now that I used these...

    They will work, but they need the sides filed down a lot, and the hole opened and dragged significantly to fit. Now that I know this, I would either just weld up the holes, or buy the BW SAP delete plates.

    Leave a comment:


  • ksjdan
    replied
    Skipped
    Last edited by ksjdan; 09-25-2015, 02:29 PM.

    Leave a comment:


  • ksjdan
    replied
    August 09 2015

    Picked up a rear passenger and front driver caliper from pull-a-part. The ones on the car were working fine, but the bleeder screw was rusted on and broke off. after trying to remove it, I gave up. The front caliper is working great. But the rear one i picked up is not getting bled. there is pressure up to the brake line, but nothing is coming out of the bleeder valve. Time to fish out another one. :/

    Also my mishimoto radiator is coming in few days! Let's hope it doesnt leak!

    With the radiator attached and once i figure out how to install the 528i fuel rail, Ill be about 98% done with this project!!!

    Leave a comment:


  • ksjdan
    replied
    So everything Ive written again has ALL BEEN DELETED YET AGAIN. This time my overheating thinkpad died on me. I swear Lenovo had no idea what they were doing 10 years ago when they've just bought IBMs laptop.

    May 8 2015

    So it has been a while since I have done any work to the 325is. But I am resurrecting this build thread because some progress has been made. I have been caught up on other e30 issues until recently, so this build was put aside for several months. All I am going to say is that there are some dishonest e30 owners out there, and that everyone should be careful when dealing with untrusted/un-vouched sellers.

    Anyways with all that shit put in the past, back to the 325is build. I think it is now fair to say that this car has come quite a long way since the purchase almost 3 years ago. I am very glad I was dealing with a honest seller and a car that was completely stock and unmodified. All the nuts and bolts were in their designated locations (little rusted, but hey they were there), making the work much easier then having to play the guessing game or looking up diagrams on the parts catalog.

    So before going into hibernation, I have actually finished redoing the subframe. I had the subframe and the control arms sandblasted, repainted and coated with a layer of undercoating. The slight texture actually looks rather nice in my opinion. New wheel bearings, e-brake lines, brake shoes, differential seals, Redline fluid and polyurethane bushings.


    Since the last update, I have actually removed some components that were installed earlier in the build. The original KYB cartridges and Eibach springs didn't quite seem like a proper upgrade for this car. The shocks and springs were replaced with a more durable and stiff, Bilstein HD and H&R Race. With the new suspension bits, the rear end was put back into place.....finally!


    Rear suspension. The rear sway bar was also replaced with a E30 M3 one.


    Front suspension


    May 20 2015

    So I took things pretty slowly with the car this next few weeks to help with the yard work. New mulch, garden pruning, seeding, bit of repair work and a crap ton of weed pulling.

    Today, I started working on the motor. I initially wanted to get the rear of the motor started few weeks ago, but the pilot bearing was missing, and the rear crankshaft seal was slightly leaky.

    New FAG bearing was pushed in along with a DPH (Dichtungspartner Hamburg) which I have never heard of in my life. German made and seems like quality product.


    DPH represented by this mighty, fierce seal.


    May 21 2015

    The fly wheel (with 70k miles) was still in good condition, so I decided to just put it in. I know a lot of people are against the dual mass flywheel, but I don't want this car to be extra clunky when shifting. The surface was lightly prepped with a bit of 120 grit along with the pressure plate. Little bit of brake cleaner, and they were all mated together with a new Sachs clutch disc. And yes I used a clutch alignment tool!


    The included TOB seemed to be in good working condition, but I replaced it with a new one just in case. New INA piece with a dab of antiseize on the sliding portion of the tranny rod and contact points.


    Aaaaand they were put together! Took bit of force get it close all the way, but it finally caved after bit of wrestling.


    Next up was bolting on the flex disc. I think some people install the flex disc on the driveshaft portion first. But after installing one of these for the m20 drivetrain, i noticed it was a pain tightening the tranny side once everything was put on the car. Actually dislocated my shoulder trying to torque it down last time.

    Some locktite on the bolts and forgot tot take a picture of the final product. Oops. lol It was torqued down to 56 ft/lbs, and off to the next thing.


    May 22 2015

    The front end of the drivetrain was looking pretty complete, so i started moving down and started working on the driveshaft. After double checking the driveshaft to make sure there were only 4 bolts on the differential side, I pealed off the center support bearing one layer at a time. Yet another part that is a total pain to remove. the outer "ring' was removed by puncturing holes with a flathead. next, the rubber surrounding was removed with a few mallet punches. And finally the effing bearing was pulled using a 3 jaw puller.

    New CSB was put in and Im done with it for now. I didn't connect the splines yet because the length is different from the original e36 tightening point. So that'll be done when it is being installed.


    The selector rod was then modified to accommodate the Z3 shifter. I wasn't sure if it was necessary with the harmonic-balance lacking on the e36 driveshaft, but it wasn't difficult shaving it down a few millimeters and I dodn't want to disassemble the entire unit after it was put together.

    No sparking picture this time, nor the bbq grill paint. haha. Found some decently strong looking silver paint in the garage, so I sprayed on a layer.

    I would have loved to go with a autosolutions ssk or other quality ssk options, but this seemed like a good enough "upgrade" for the time being.

    Shaved and painted


    This shift arm receiving end bolted on. Again, I would have preferred the polyurethane piece, but I couldn't remember who made those, so this will suffice.


    After all the prep work has been taken care of, it was finally time for the exciting part. I remember it was bit of a pain in the butt getting the m20 out of the car. So it was nice having a buddy help out with the install.

    The motor goes in as easy as:

    1


    2


    3 4 5 6 7 (notice AC compressor had to come off)


    8 9 10 11 12 13 14 15 16 17 18 19 ....... 61 62 63 64 65 66 67 68 69


    Aaaaaaaaaand 70
    Holy crap that was a good exercise.


    Cool shot with the E30s garage mate.
    If you've been following this thread, can you guess how many different garage mates the 30 has been through? :D


    May 23-24 2015

    Time to fill up the hole between the engine and the radiator support brace!
    I originally tried fitting a e36 fan clutch + blade assembly, but it was a no way jose. After looking up a few pictures on google, I saw a red e30 (m3 i believe) swap car with 325 radiator and a m20 fan blade. So I gave it a try.

    With just e36 fan clutch. Looked like it might clear with few millimeter of leeway.


    With m20 piece. So much room for activities!!


    May 25 2015

    Next up, just a simple bolting on of the new, pricey, shiny, Behr/Hella A/C condenser.....not really. It seems like satan had a bit of fun with this total crap unit. Without much worries, I pulled the condenser out of its box/wrapping, and tried fitting it right into its slot. It didn't fit. Surely I must be doing something wrong. I mean its a $250 Behr/Hella condenser. Tried again and still doesn't fit. What the hell? Tried test fitting the old unit, and it slides right in.

    Flip over the condenser to read the label:


    The black pigment on the white sticker is splattered in a shape of Anglo-Saxon characters, BMW 3 E30. Which i think means the E30 BMW....

    I go on google and it tells me compatible for all e30s including the m3.


    So I tried installing it up side down, backwards, and all possible fitments and still doesnt fit. I ended up having to remove both upper and lower mounting piece. The upper mounting piece has two welded tabs for bolting onto the radiator support. They had to be drilled out.


    After drilling it out, The tabs were flipped over and screwed into place. The lower mounting piece had to be turned over and the aux fan mounting tab had to drilled out and removed completely. I would have saved the tab if I was reusing the aux fan, but Im going with a electric.

    After a bit of disappointment, the condenser slid into place....barely.


    Time to give Behr a call and ask what the hell just happened....


    That's all the update I've got for now!

    Leave a comment:


  • Northern
    replied
    That doesn't sound good.

    Leave a comment:


  • ksjdan
    replied
    I hate when I write a post for 30 minutes on quick reply, and the goddamn forum logs you off and erases everything that was written! Too stressed to write it again.

    Leave a comment:


  • ksjdan
    replied
    October 29 2014

    Just a small update, but a big decision have been made to finish the swap by this year.
    Its been a busy several months, with almost no time to really work on the 1990. Had to deal with some side projects, but now that the natures A/C is coming and new years is getting closer, this is a good time to pick the project back up.

    Ive been staring at this half finished bushing install for the last 3 months, and it was getting too depressing. I had to do something about. So I pressed them all in with a $10 "kit" from Lowes and banged it in the subframe. Its a tight fitting with Ireland Engineerings control arm bushings.


    So next up is the differential seals, some new fluid, and rear brakes. And once that has been completed, I think the engine will be ready to be dropped in. :) This is another thing that has been holding me back for awhile. The little plates used to block off the deleted SAP (secondary air pump) holes on the engine. Bimmerworld sells these little suckers for $50 shipped.


    But last night, I found out that BMW actually makes a equivalent piece for $10 a pop (So 2x = $20). This may still sound ridiculous to those who have access to a CNC machine, but its something I can tolerate.

    For those who are interested:
    P/N: 11121438086 (block)
    P/N: 11727514860 (gasket)

    Leave a comment:


  • ksjdan
    replied
    Originally posted by Dedlotus View Post
    So stoked to start working on this bad boy again man. I've been hella busy with my own project though. I'm in the middle of swapping my E30 steering rack with an E36 rack that we I found at our local Pull-A-Part. Once I'm finished with the swap though, I'll swing on down as often as possible to help you out brother! It's really awesome that you're documenting all of the work you've been putting into this old girl. Seeing this thread for the first time has really got me wanting to finish my project this very second and give you a helping hand!
    :up:

    July 23 2014

    So just want to make a small announcement concerning Ireland Engineering. I know these guys are very popular among r3vers, but I gotta say...they're pretty freaking awesome. I was installing their polyurethane rear trailing arm bushings, and accidentally ripped one of the bushings due to C-clamp malfunction. 
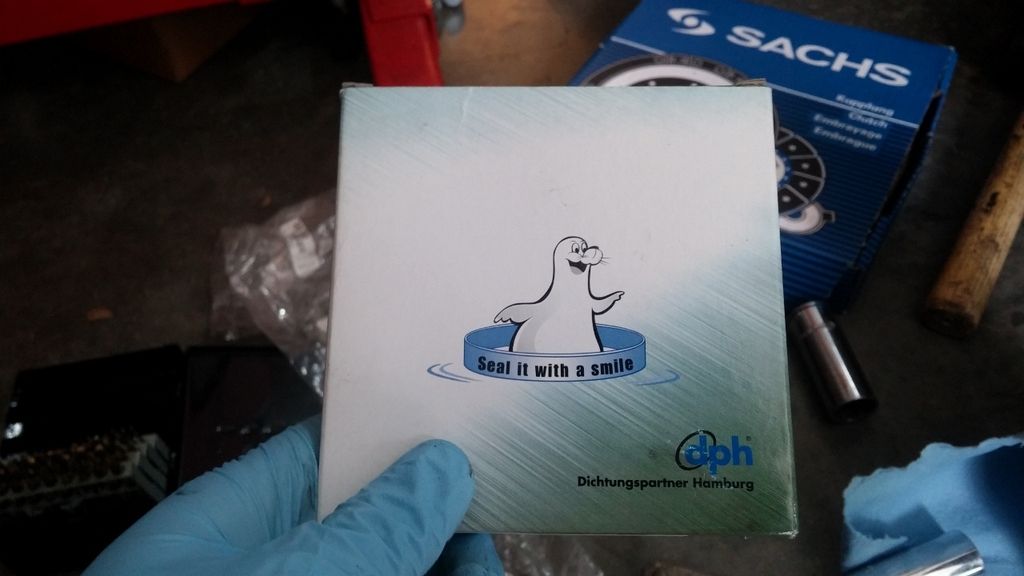
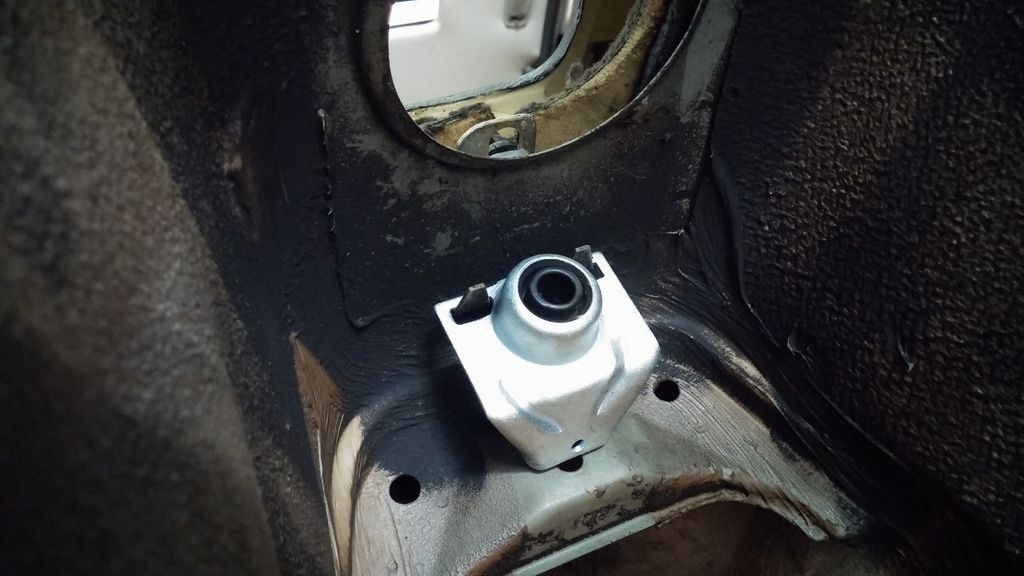
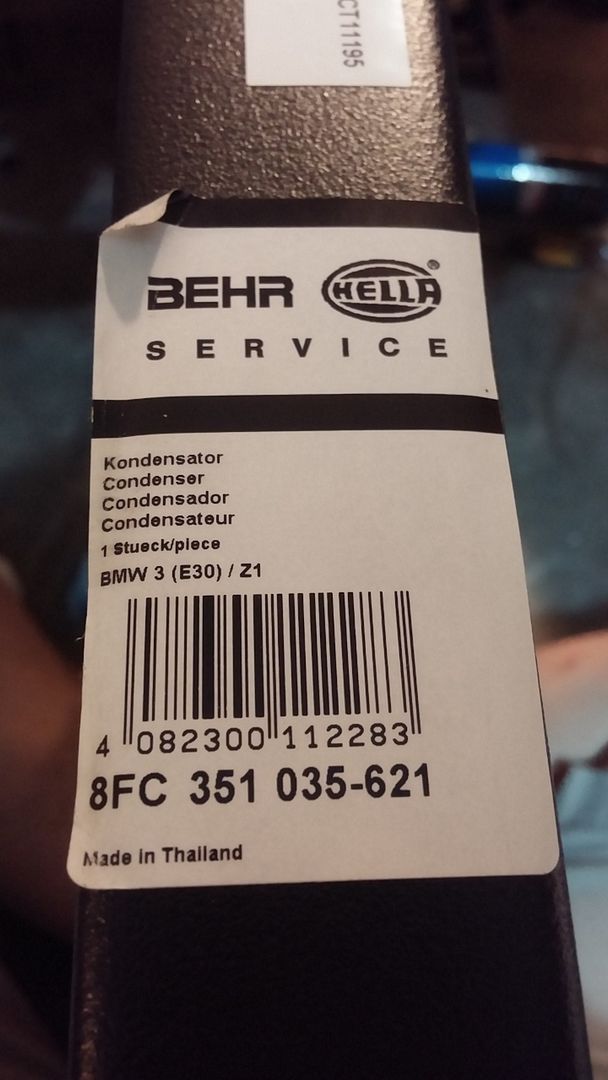
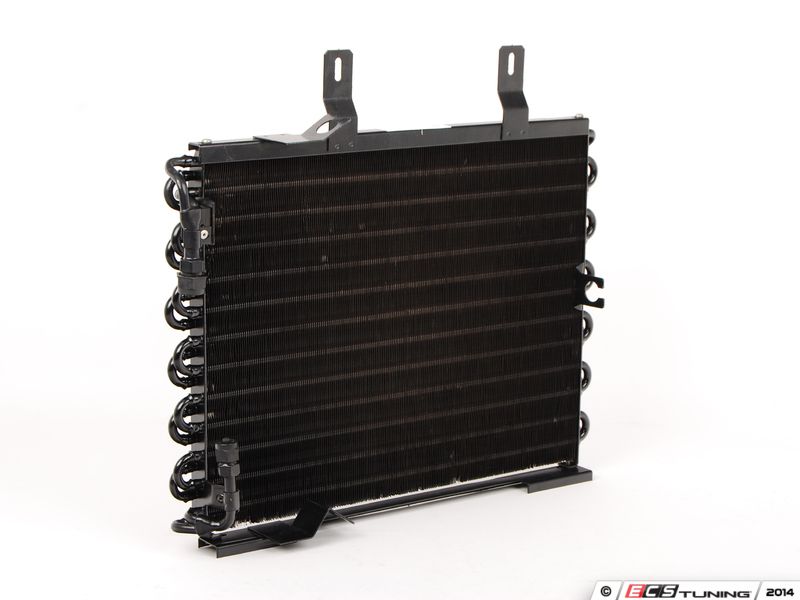
I didn't think it would work, but I gave them a call anyways. Long story short, super cool and friendly and people. After a quick confirmation, they sent me a replacement piece right away.


    The replacement
    Last edited by ksjdan; 10-29-2014, 05:30 PM.

    Leave a comment:

Working...
X