Announcement

Collapse
No announcement yet.

Touring M52B28 (another one from Ireland)

Collapse
X
 
  • Filter
  • Time
  • Show
Clear All
new posts

    Touring M52B28 (another one from Ireland)

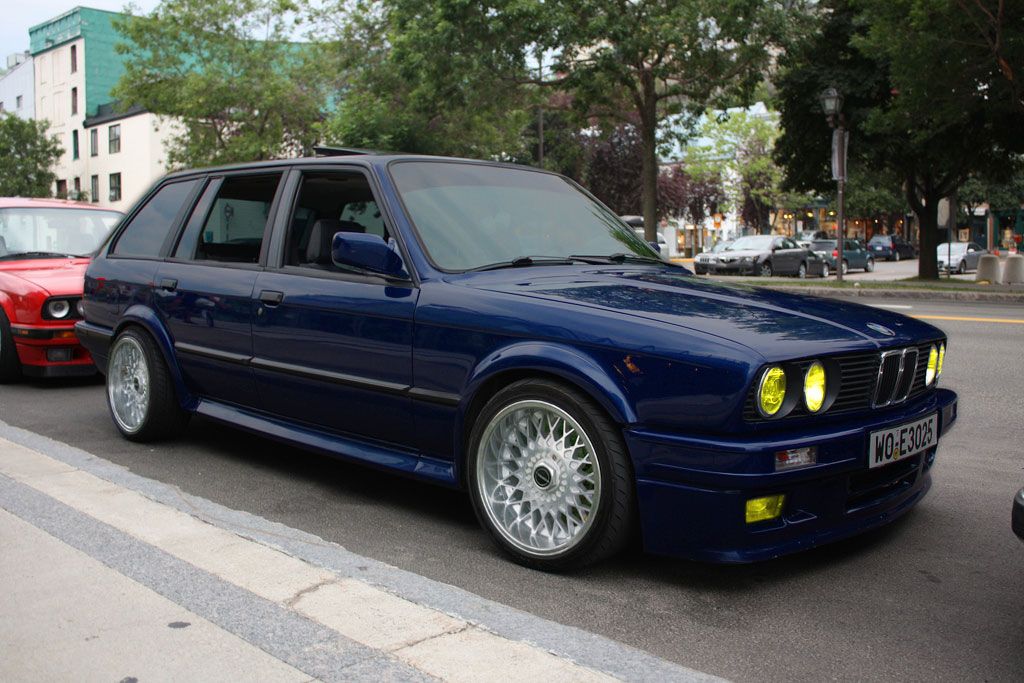
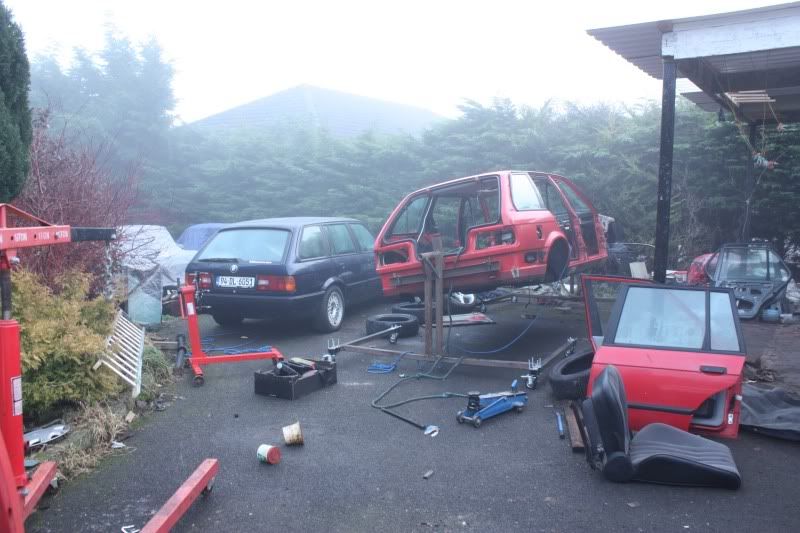
    I'm (also) in the middle of a touring resto, not quite to the same extreme as DaveG, but non the less you guys might be interested in it?

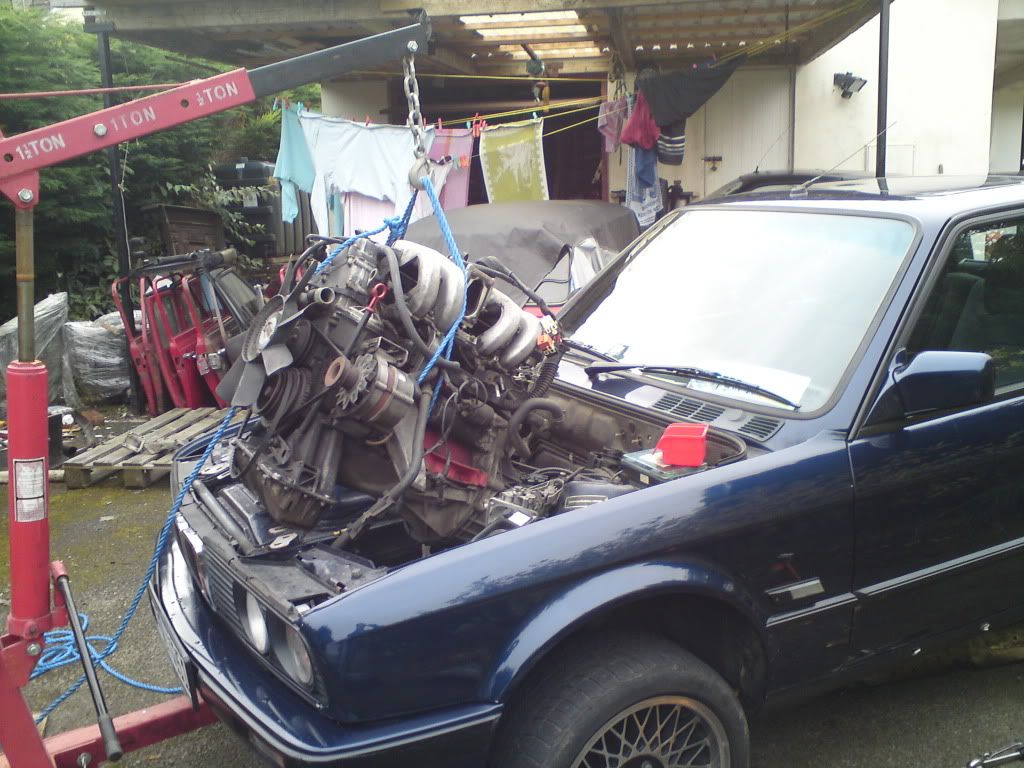
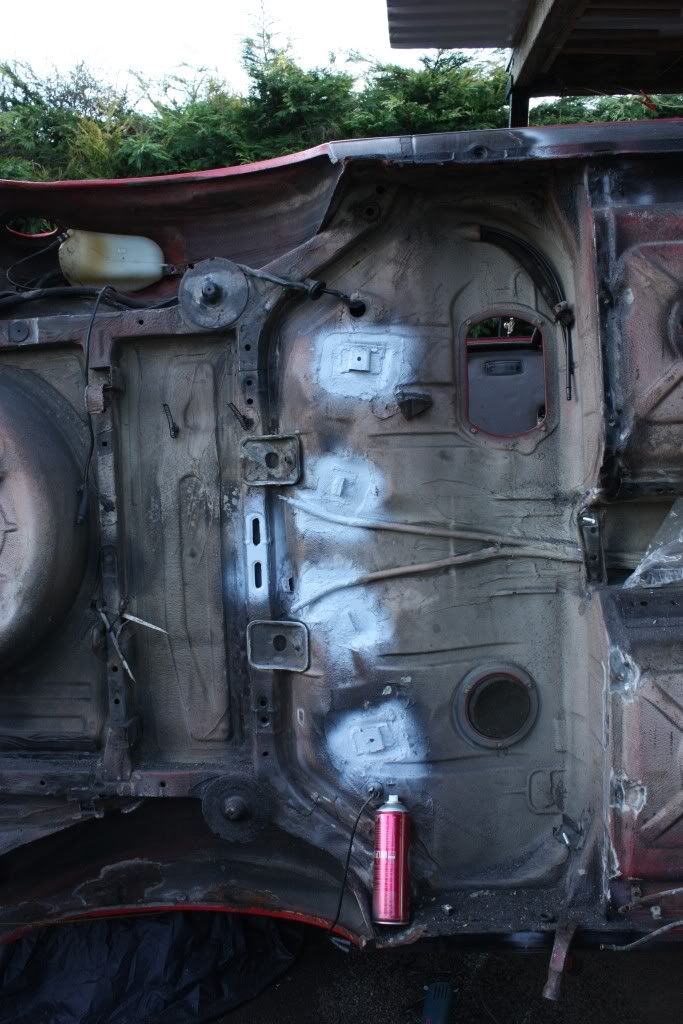
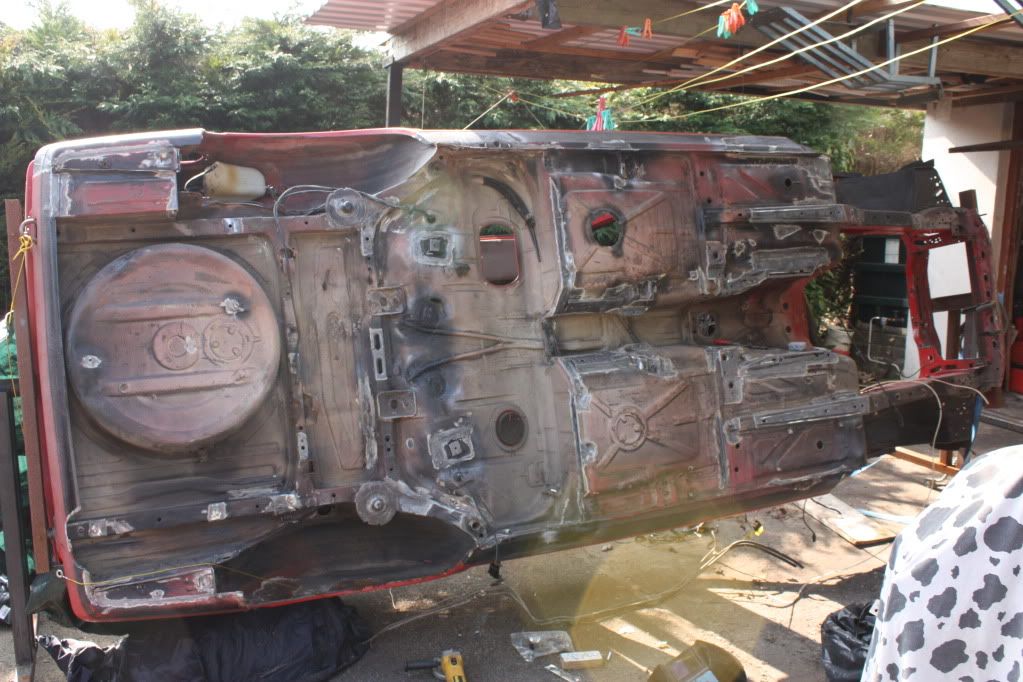
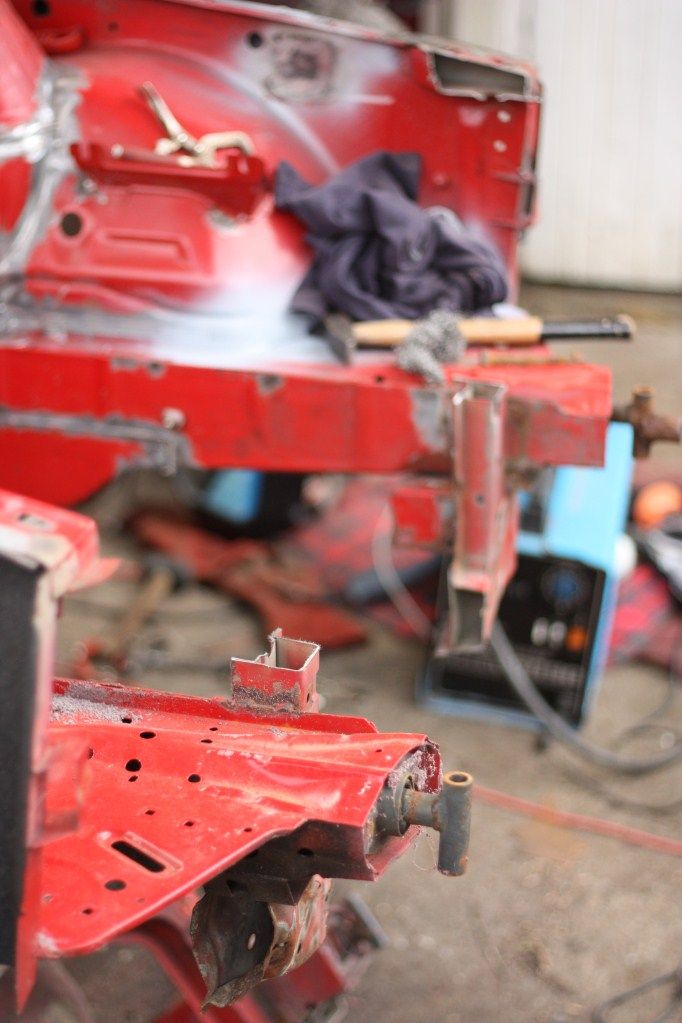
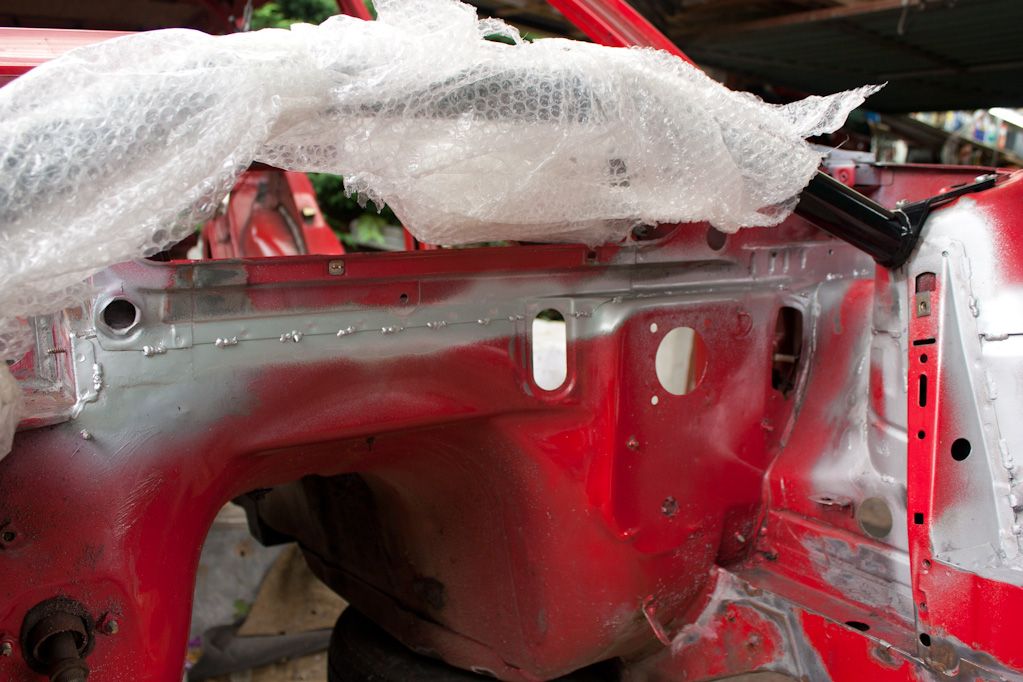
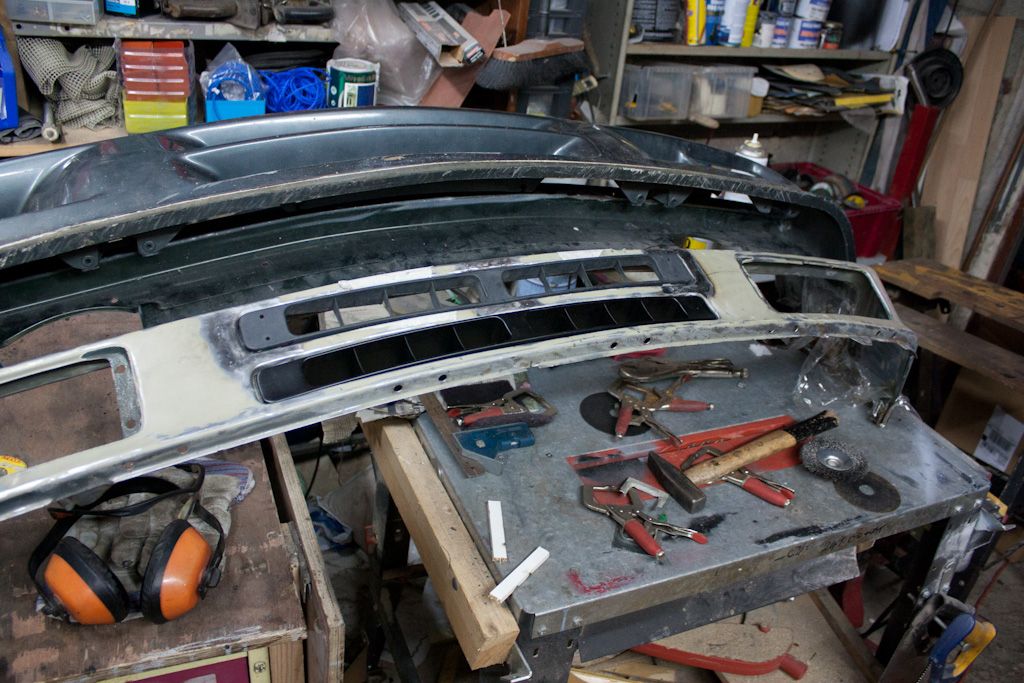
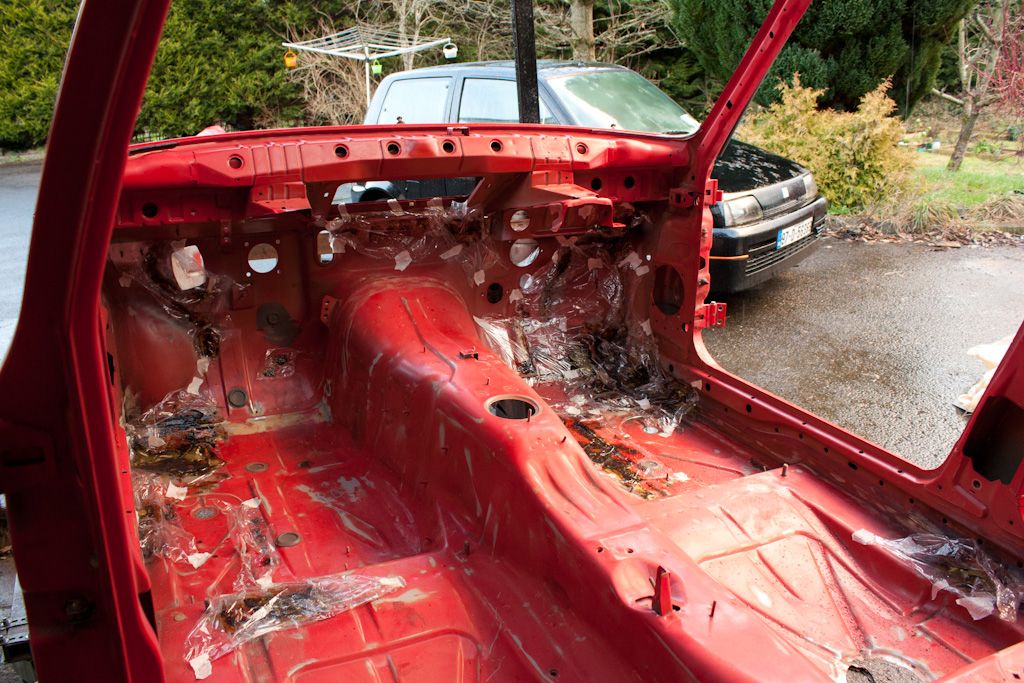
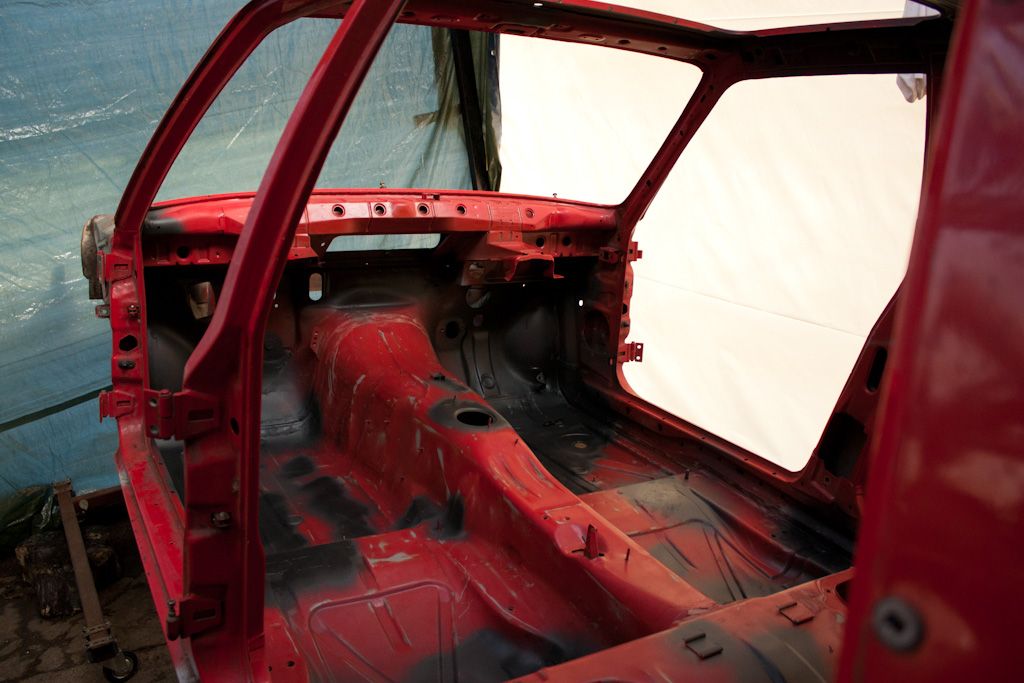
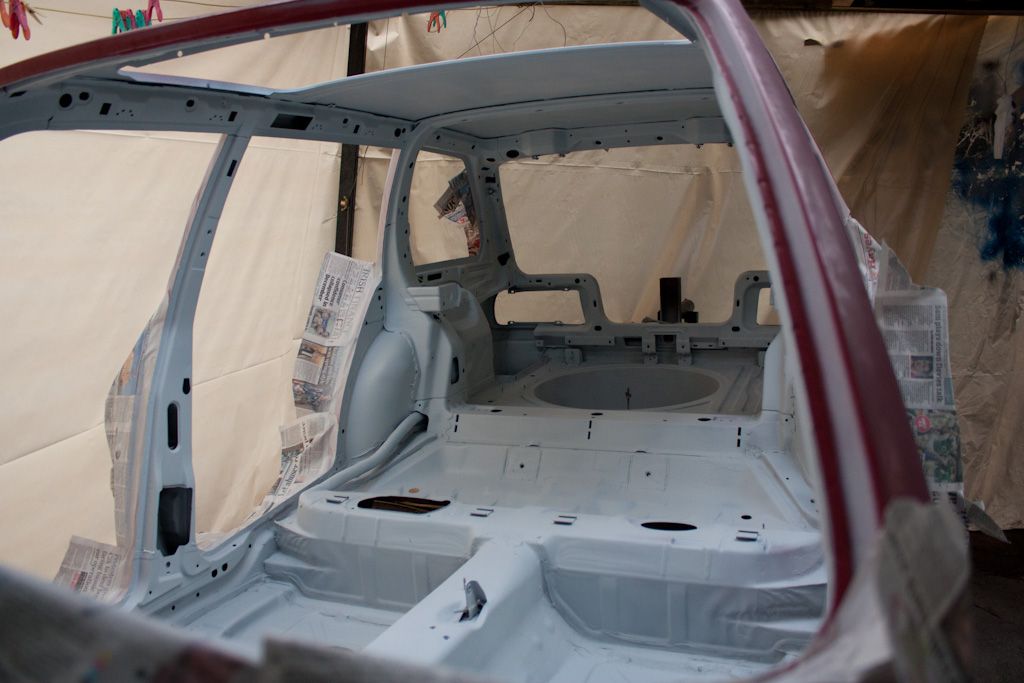
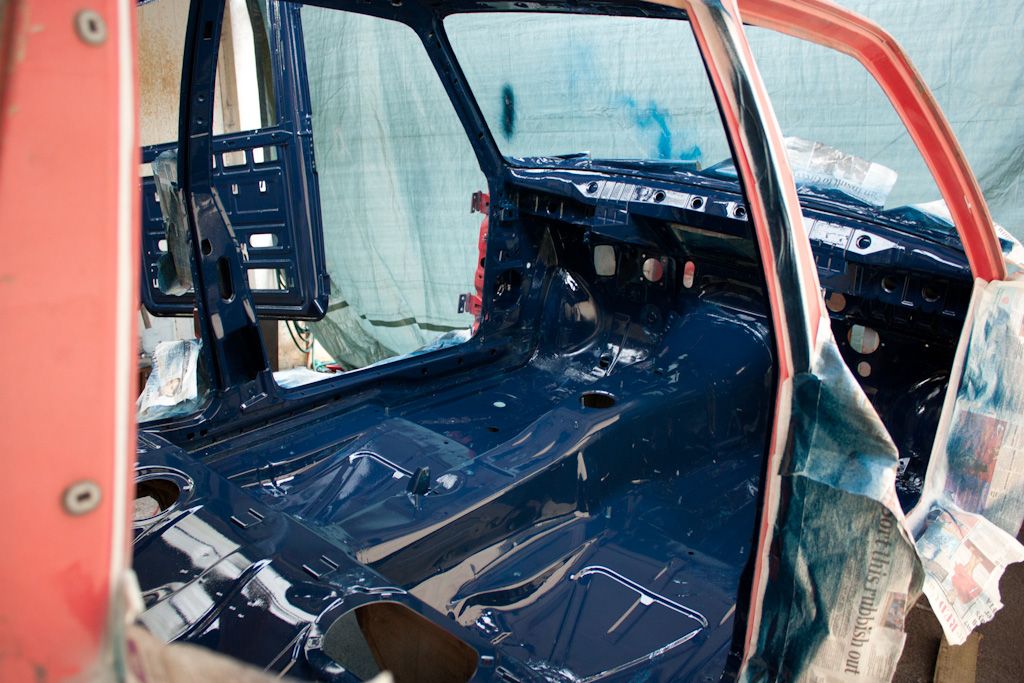
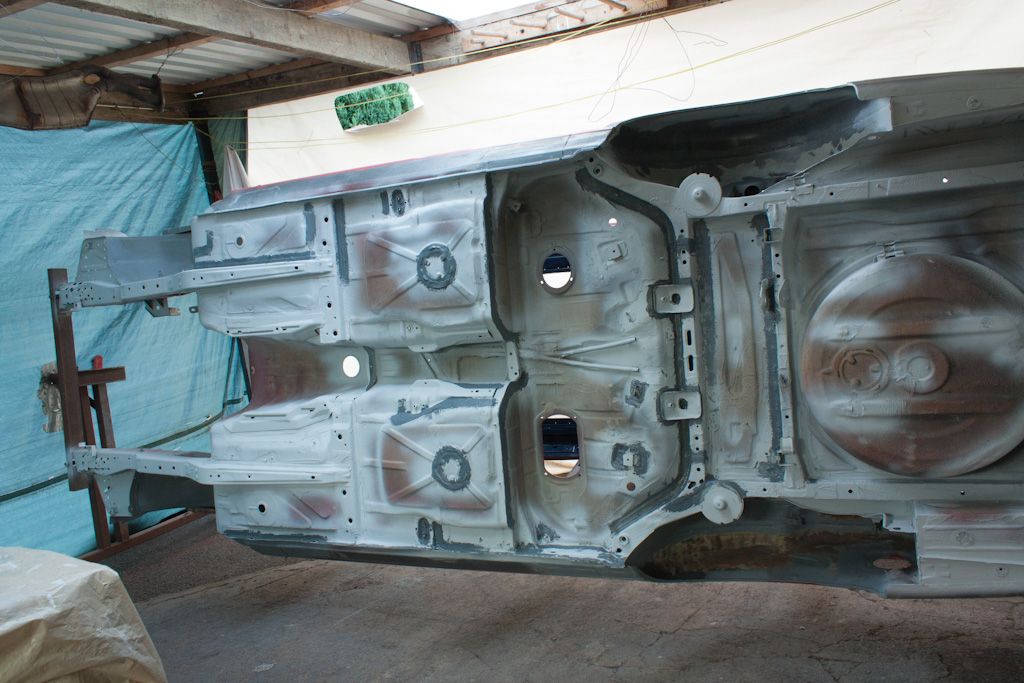
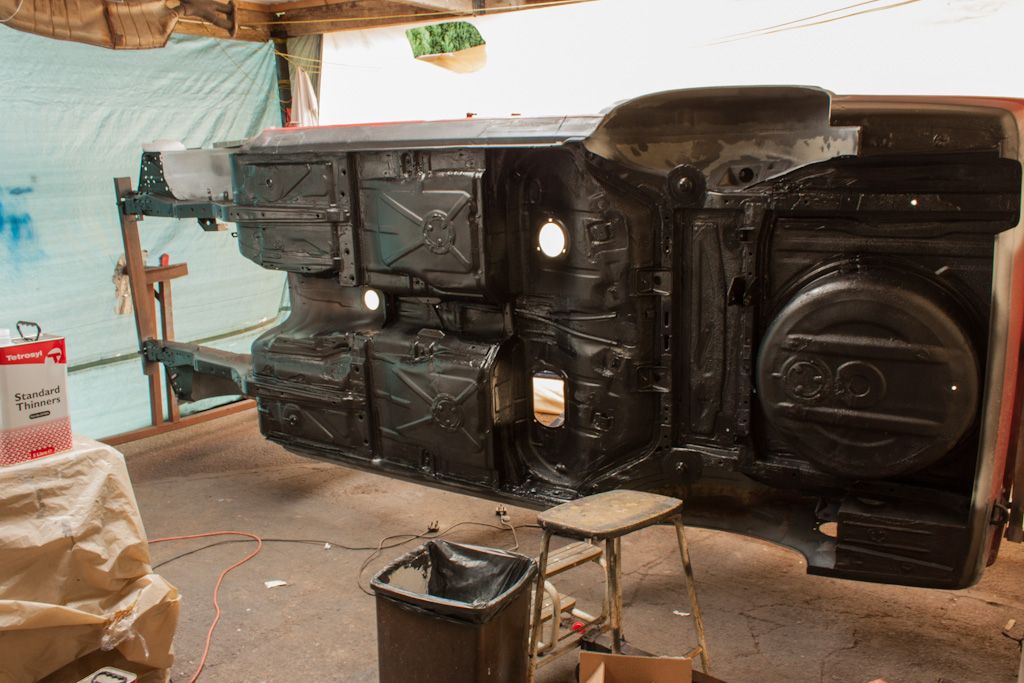
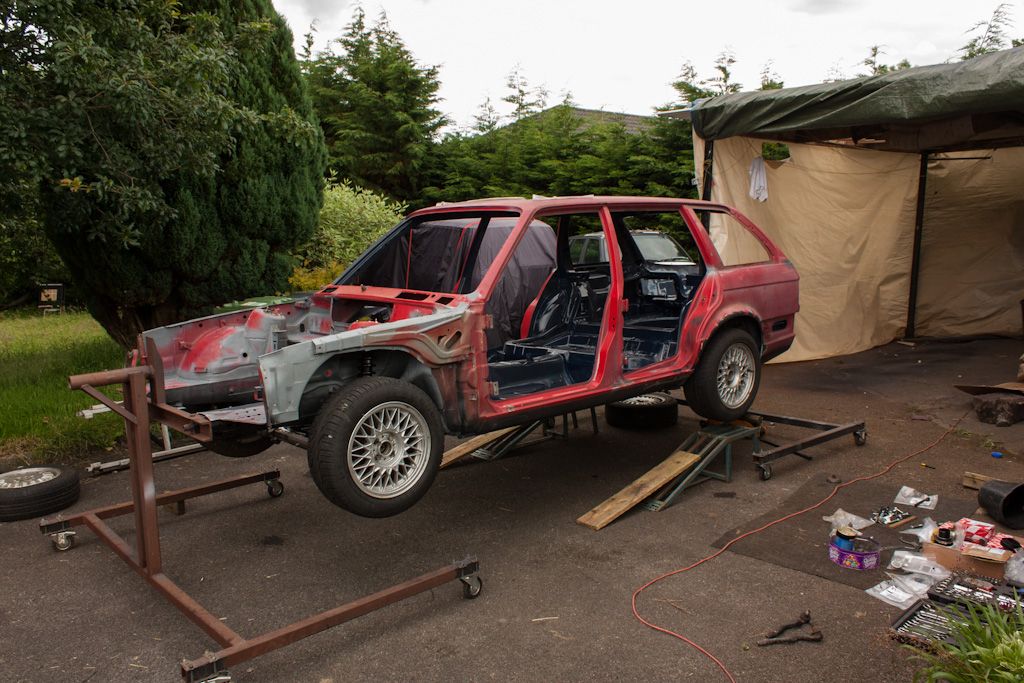
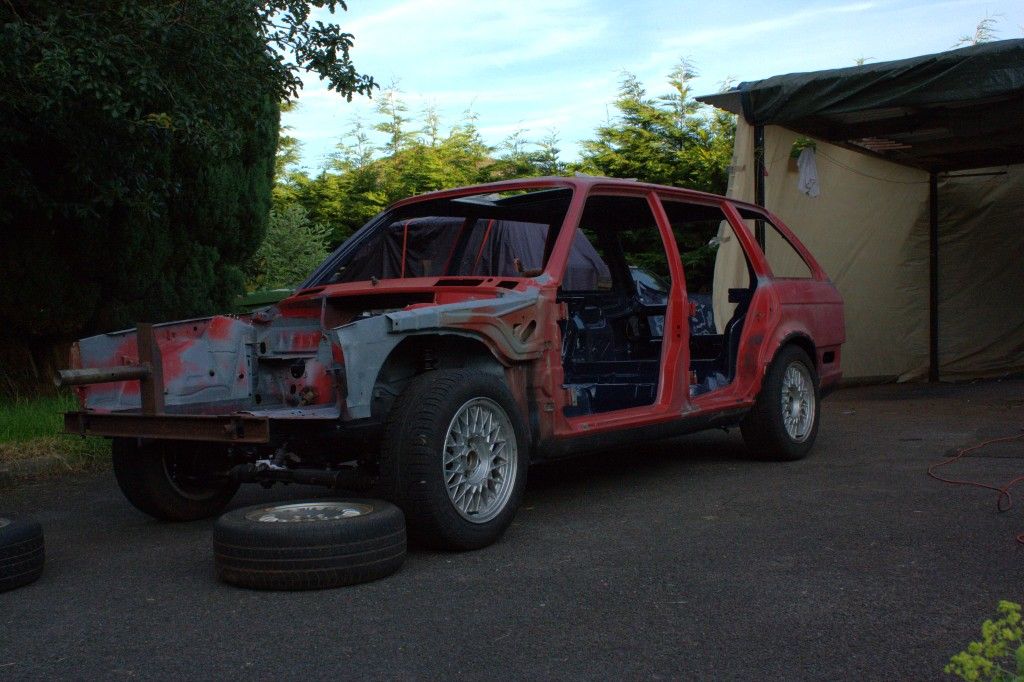
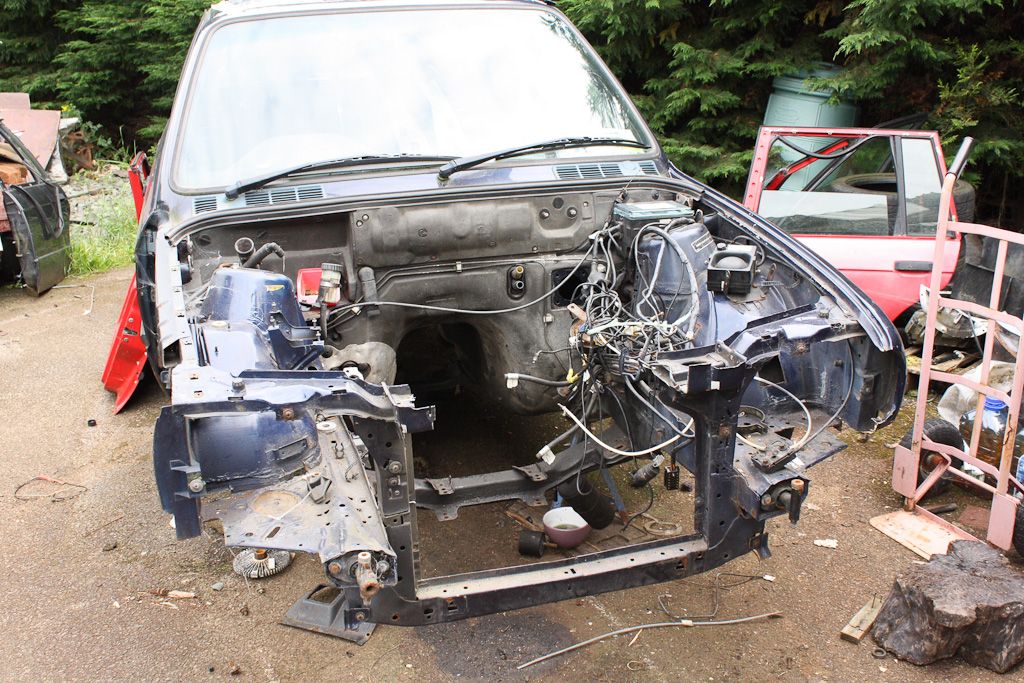
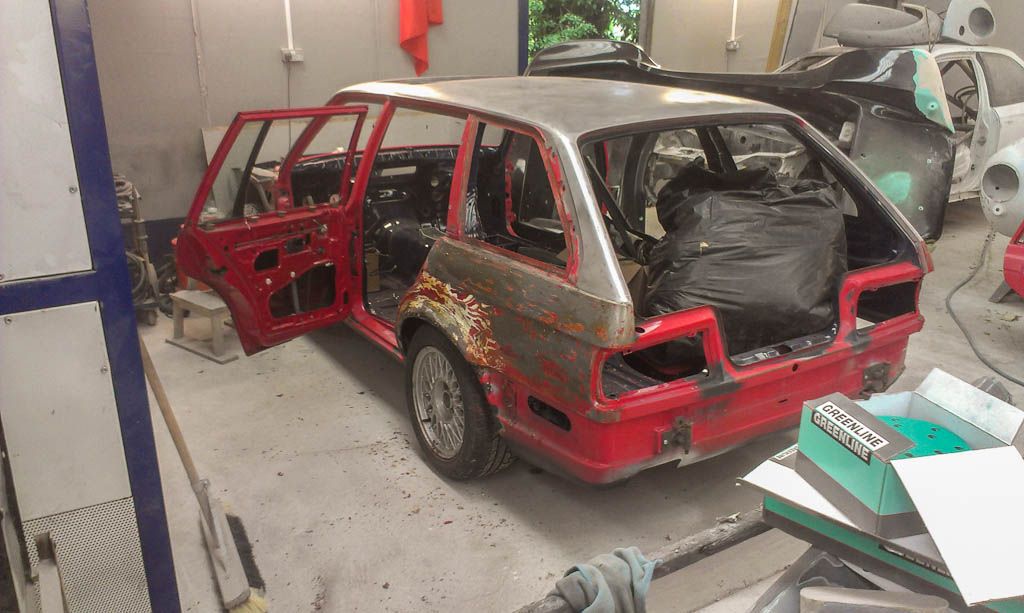
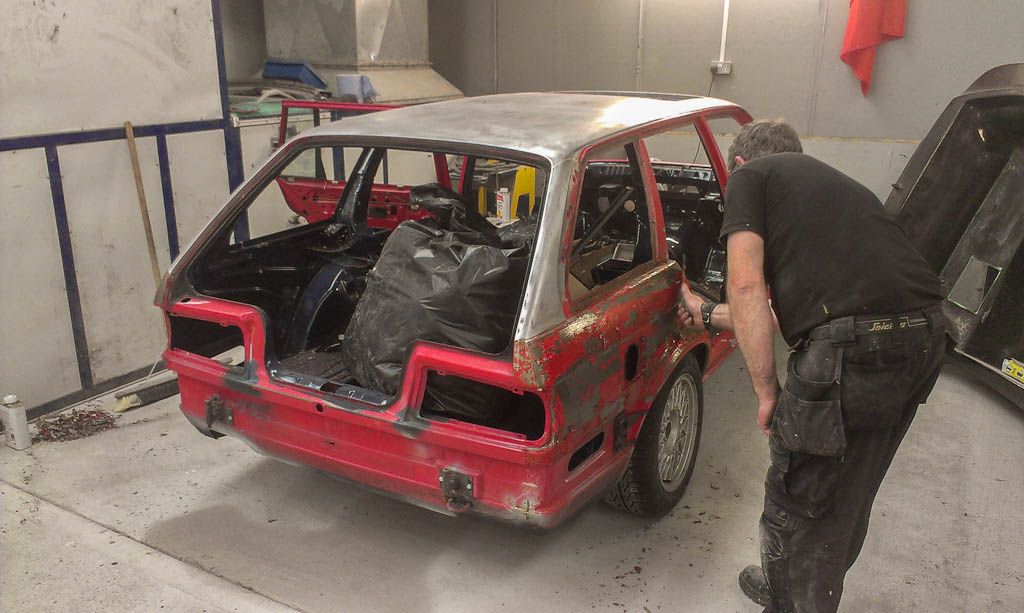
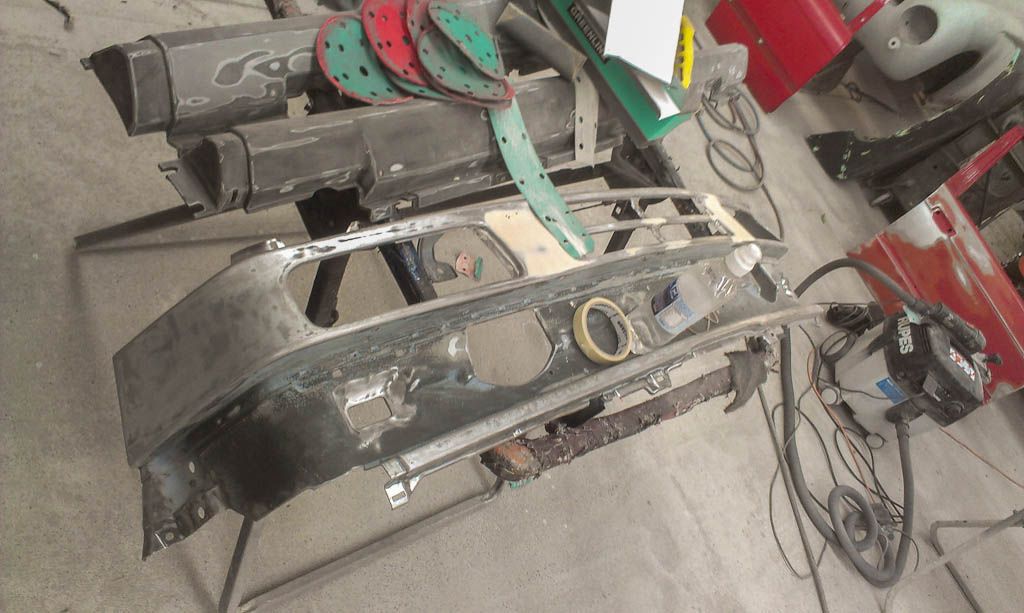
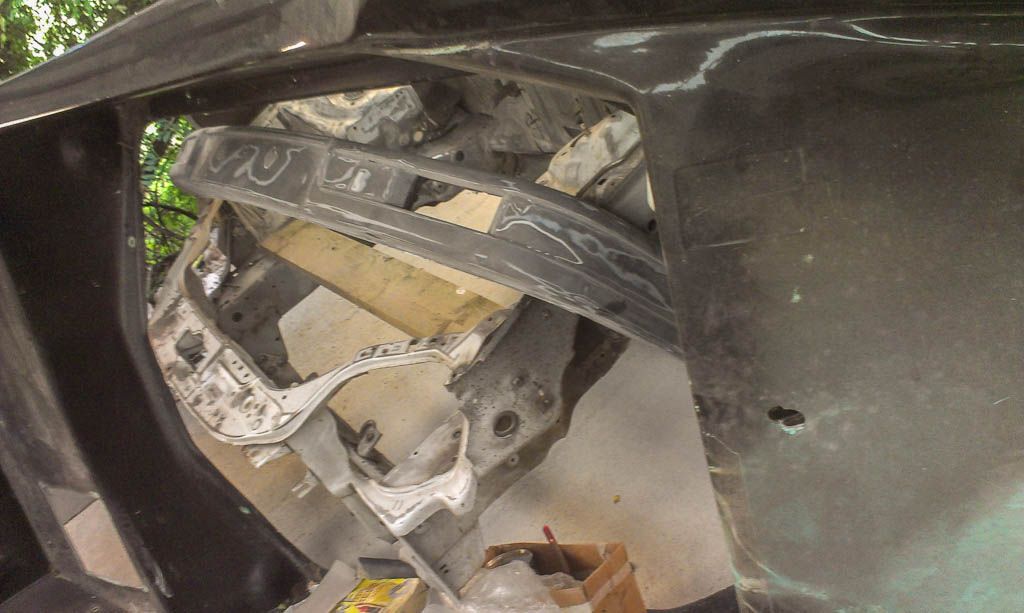
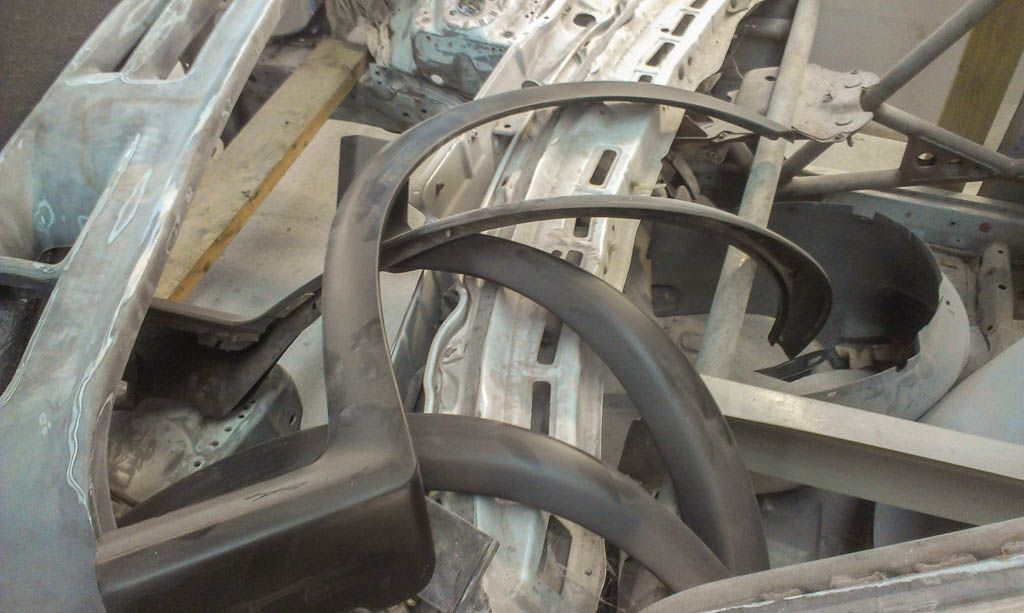
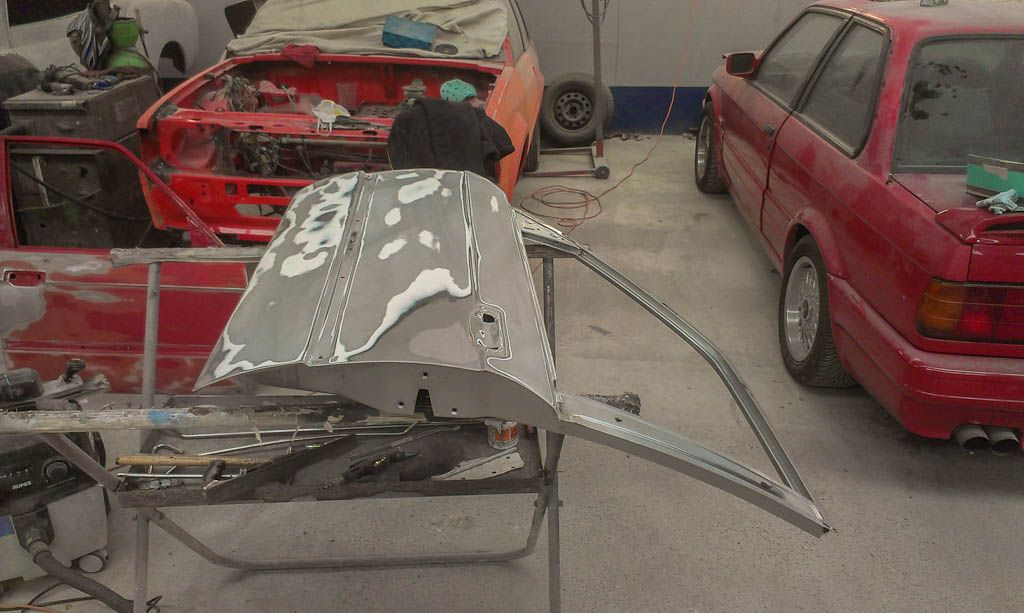
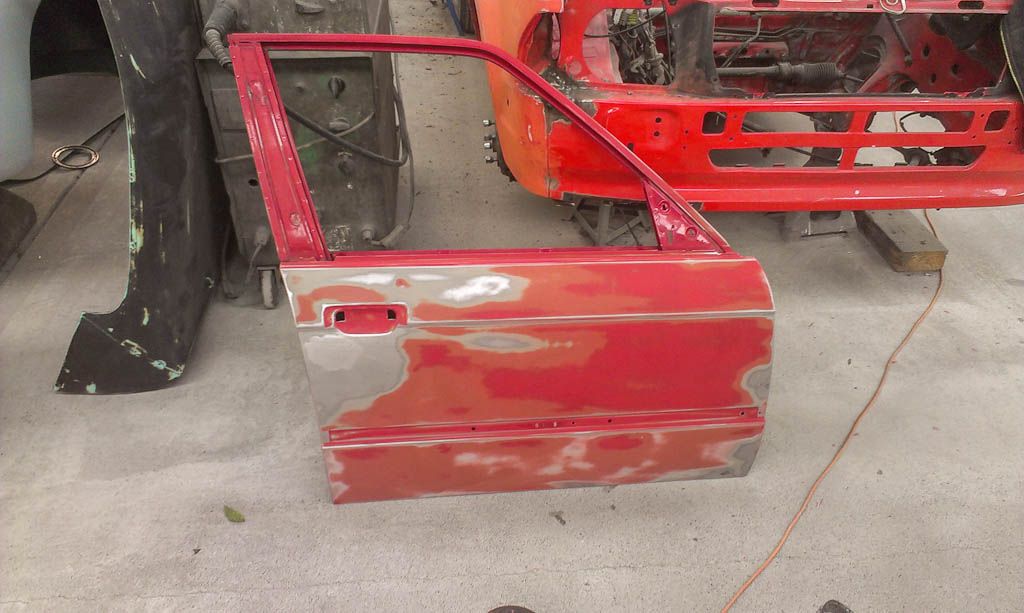
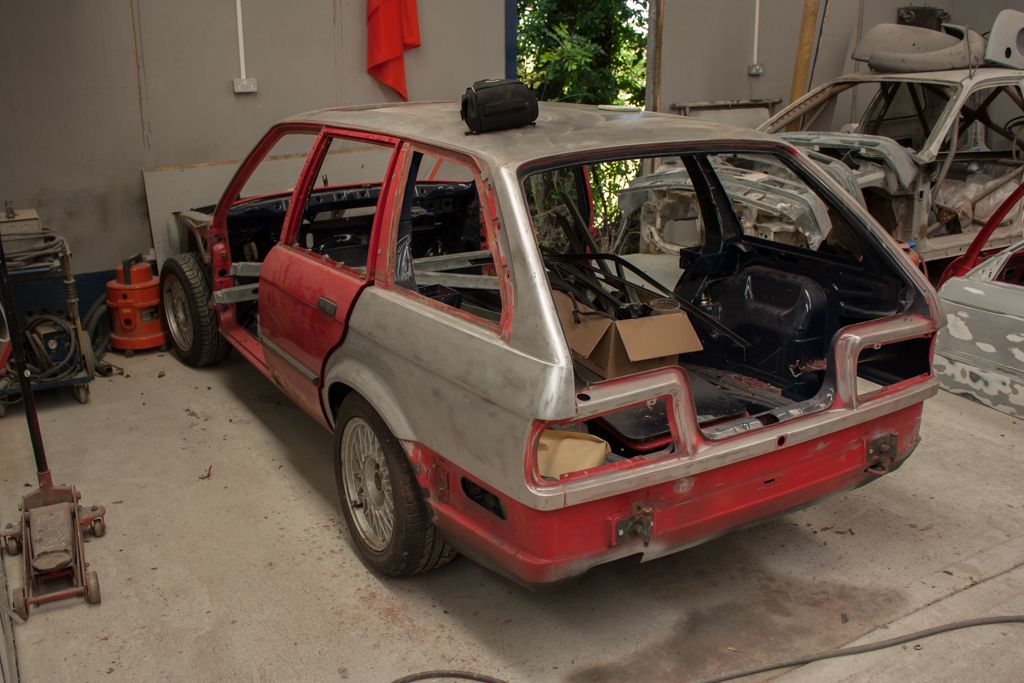
    At the minute she's with the spray painter and looks a bit like this:


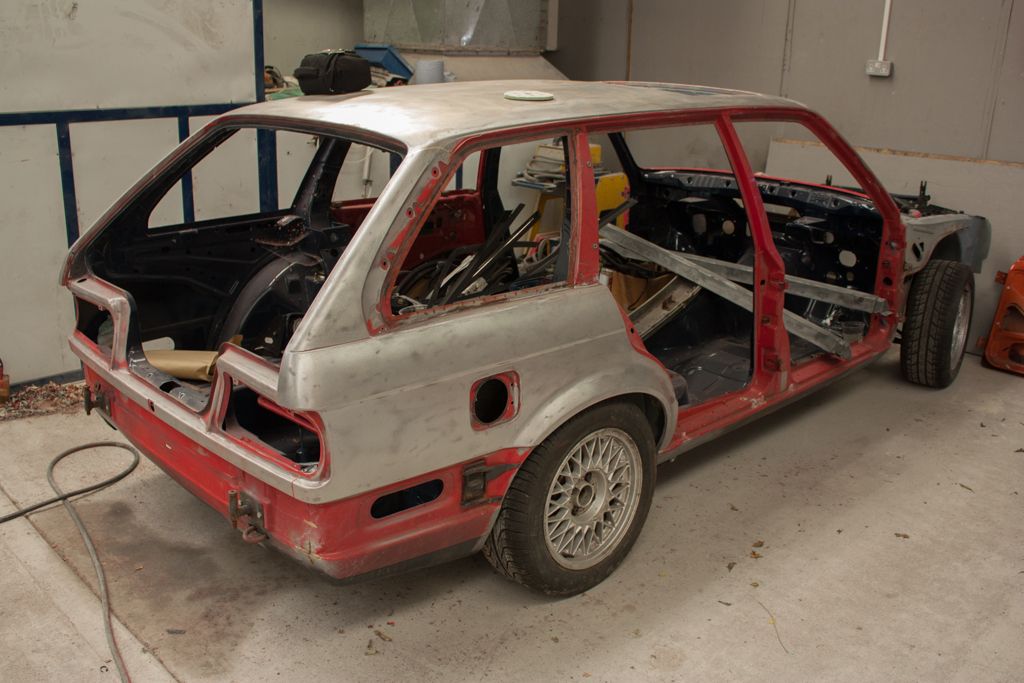
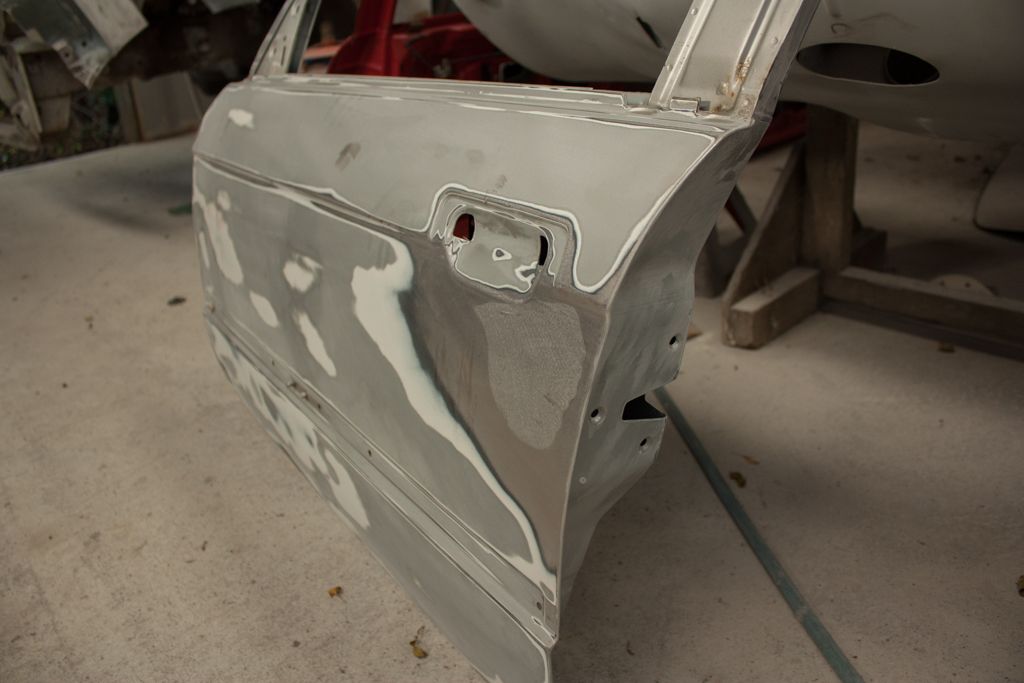
    He's hoping to have her in primer later this week.

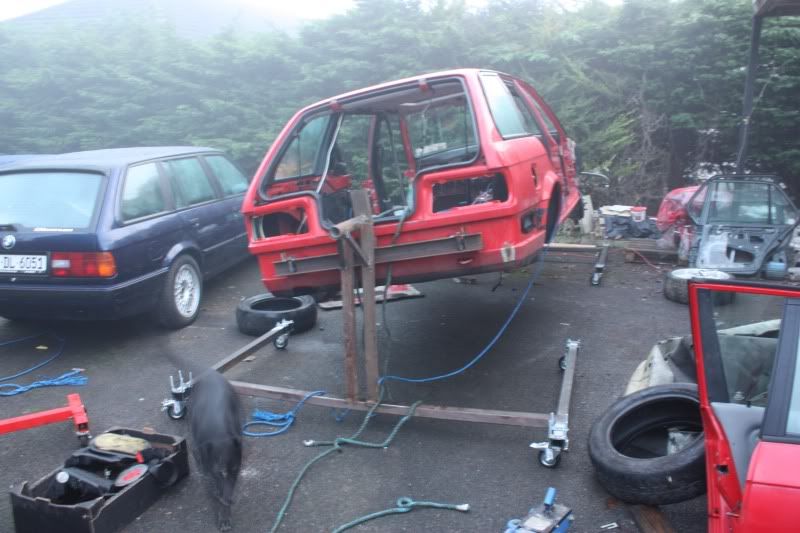
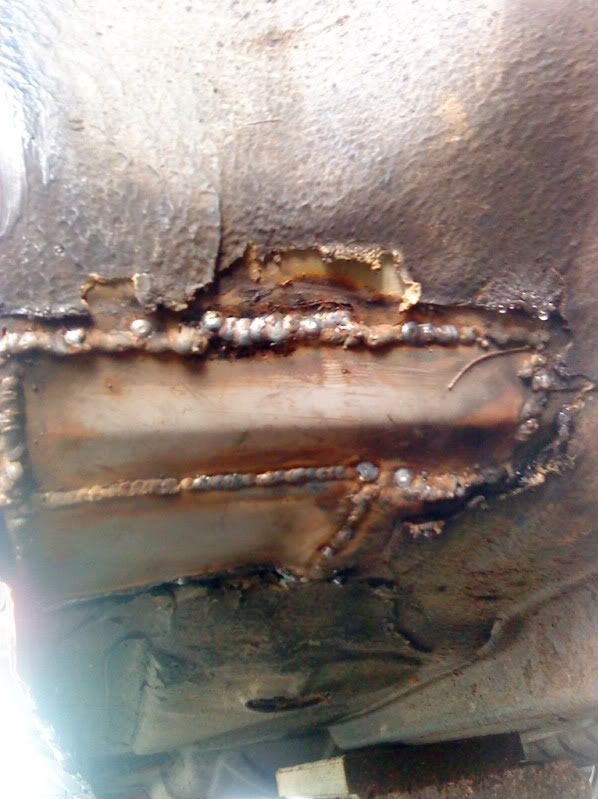
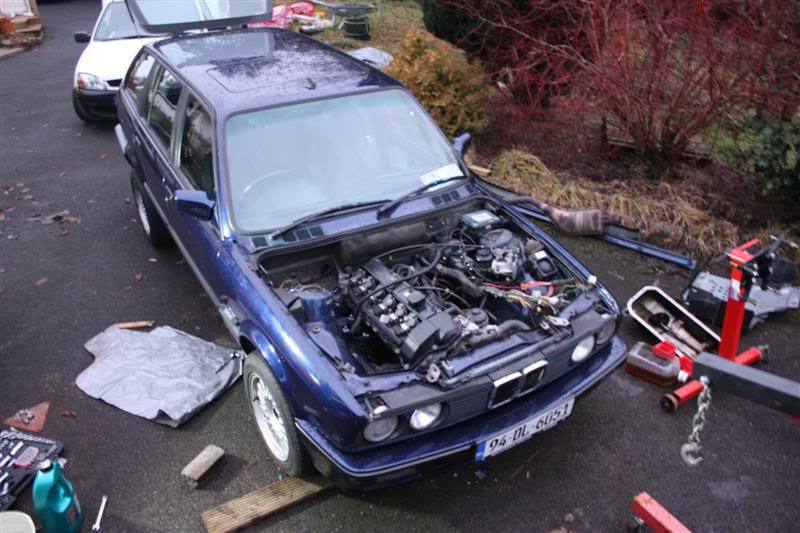
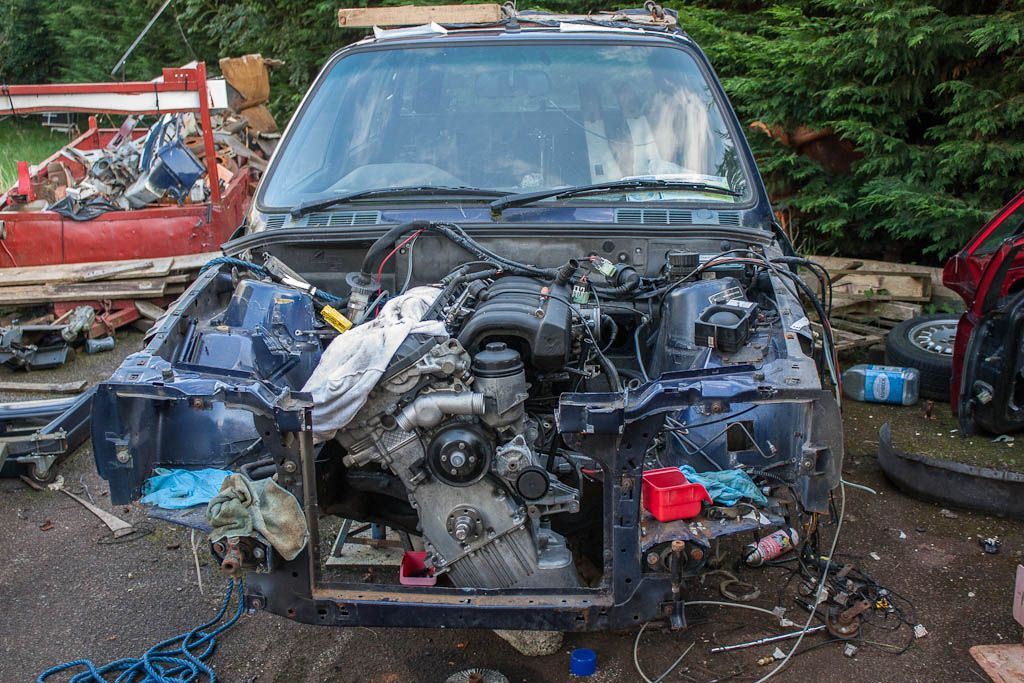
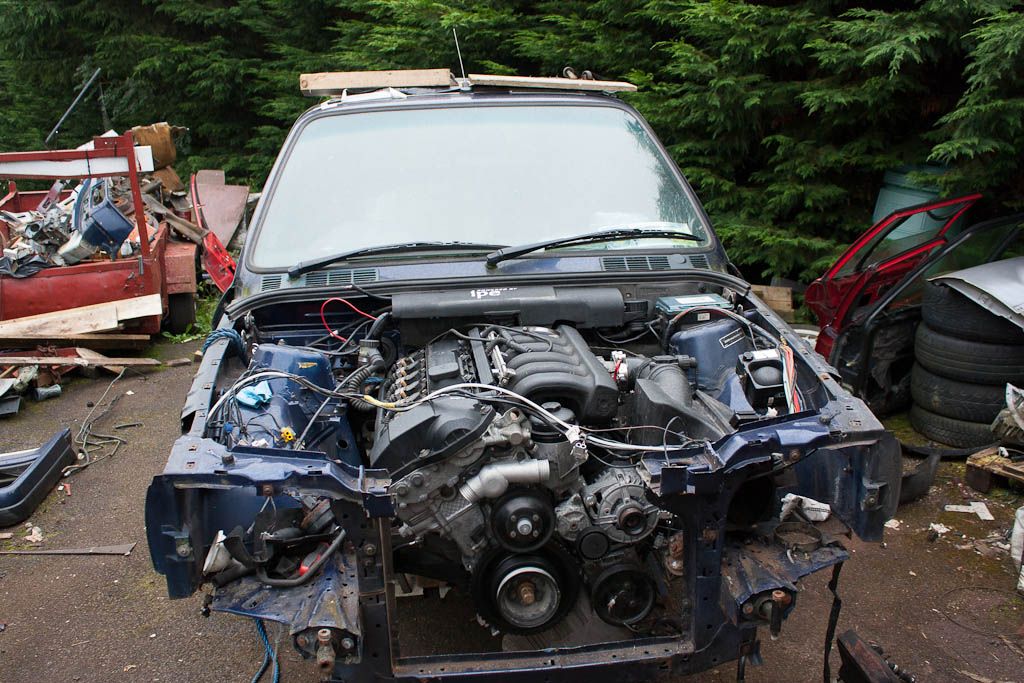
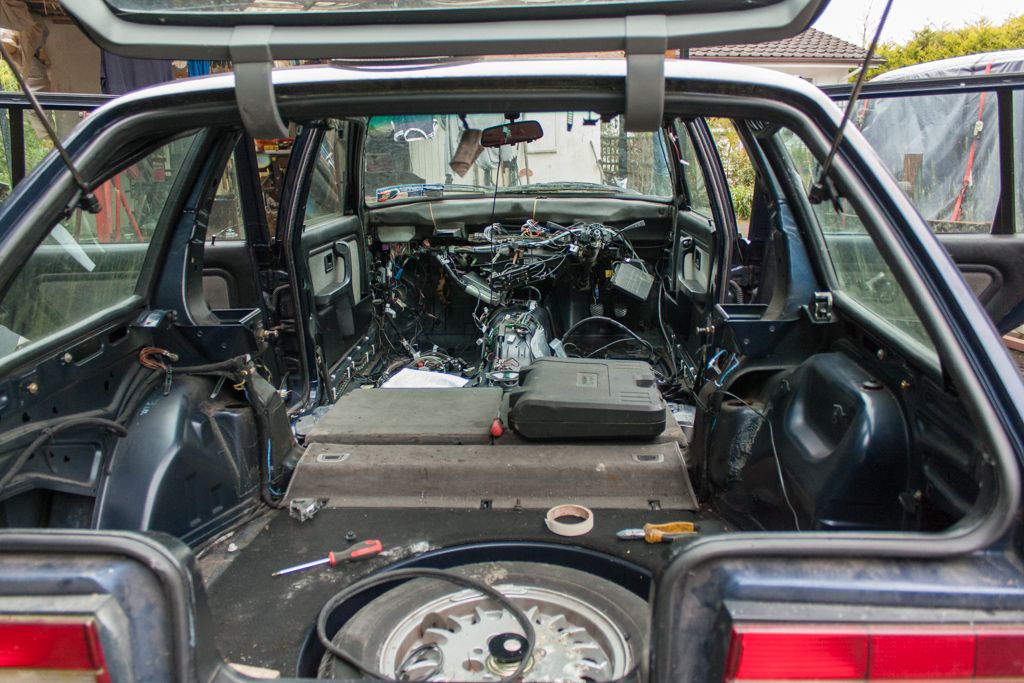
    I was initially going to tidy my (then) current touring up but got hold of a better shell for free (was also going to get scrapped). My blue touring bust a gasket in the M42 and was parked up (I should have just fixed it)
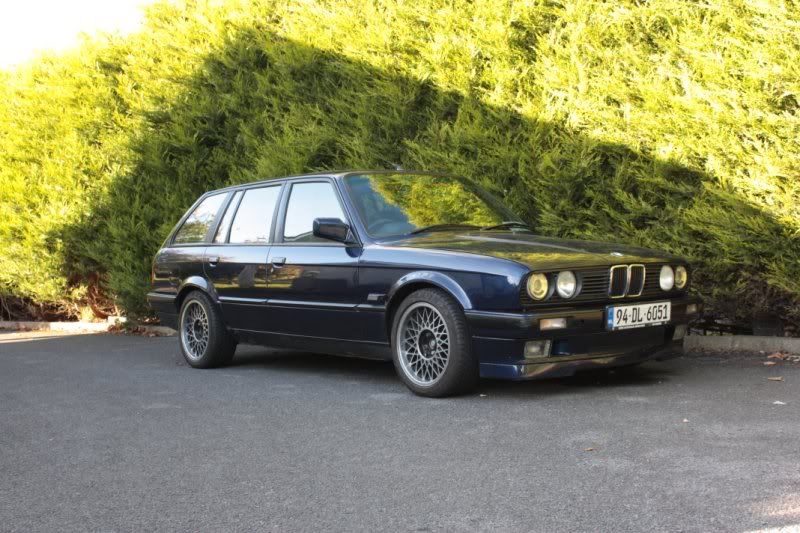
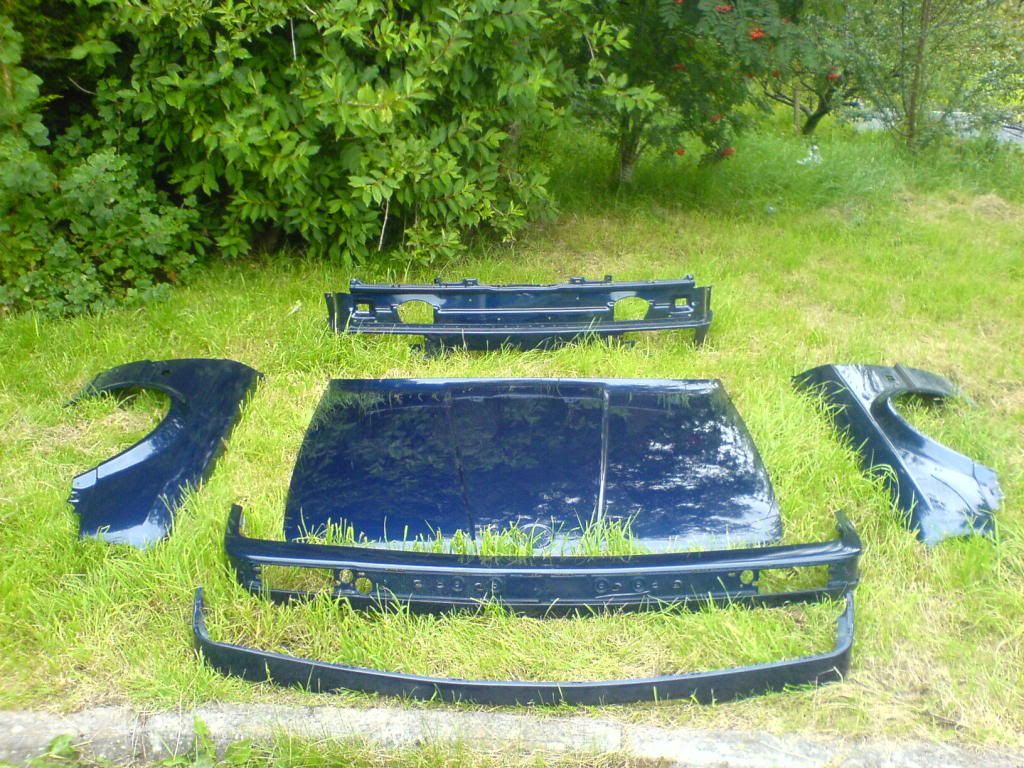
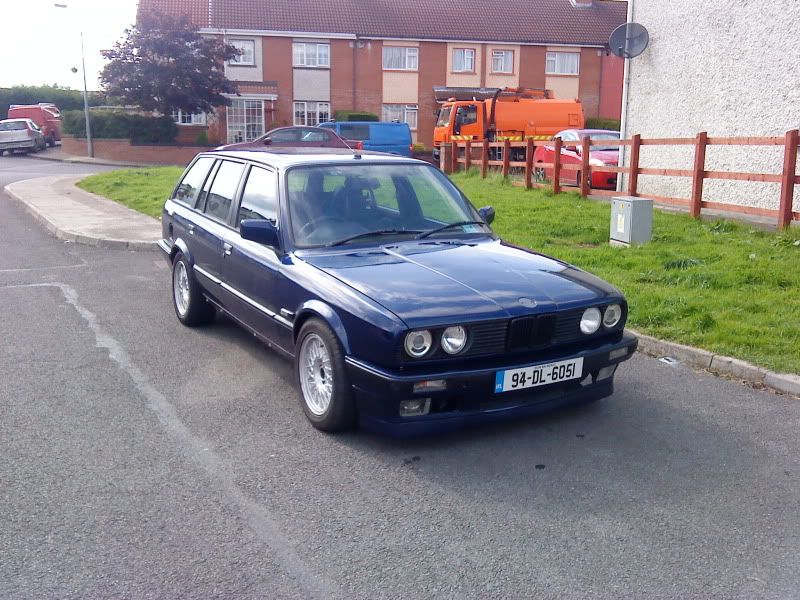
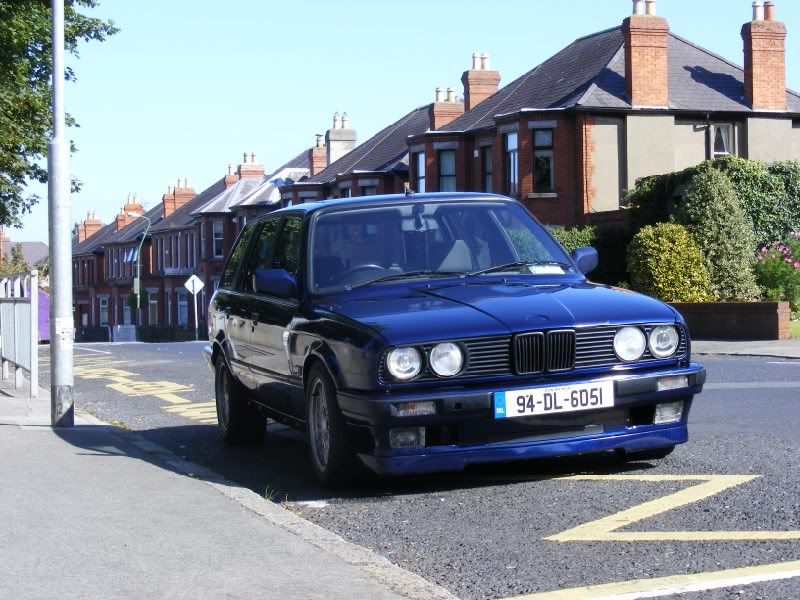
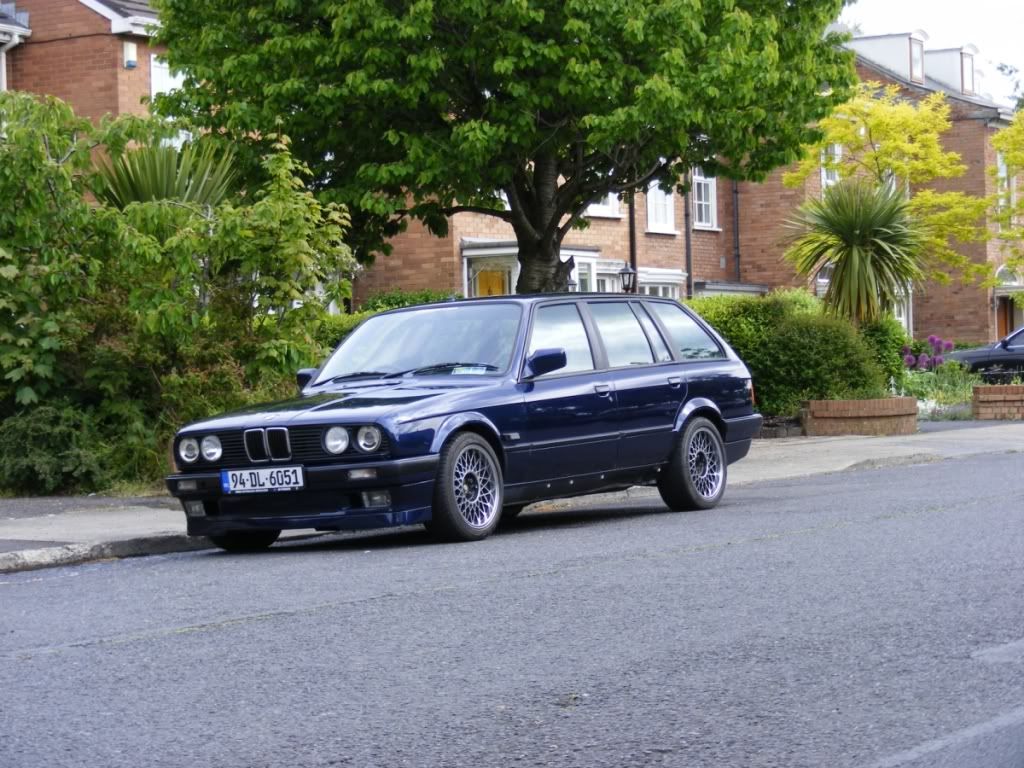
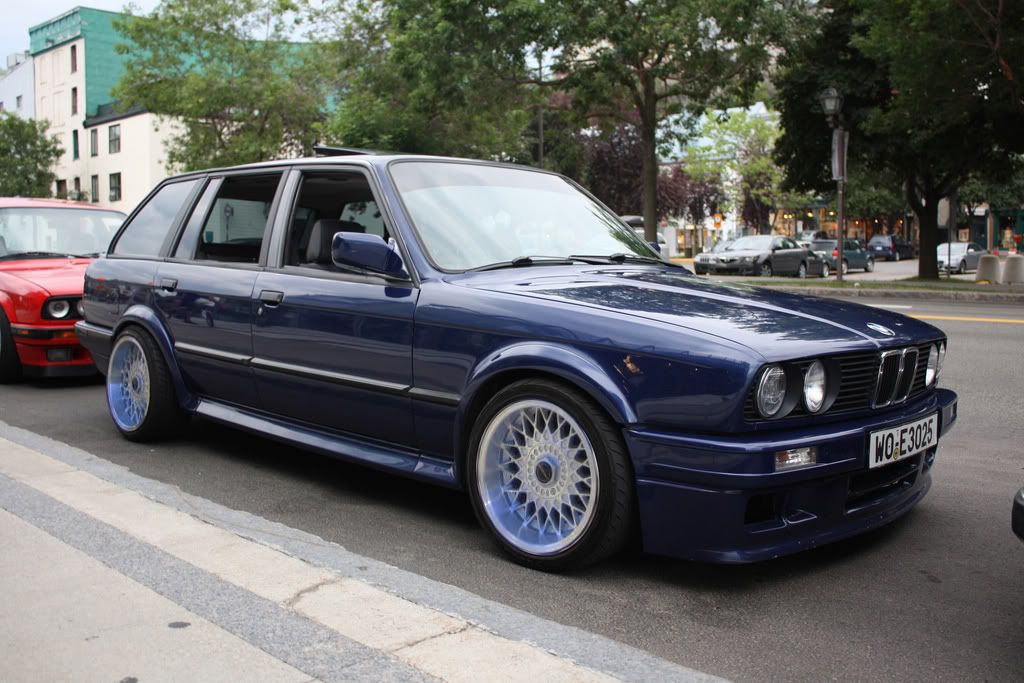


    And my old touring:


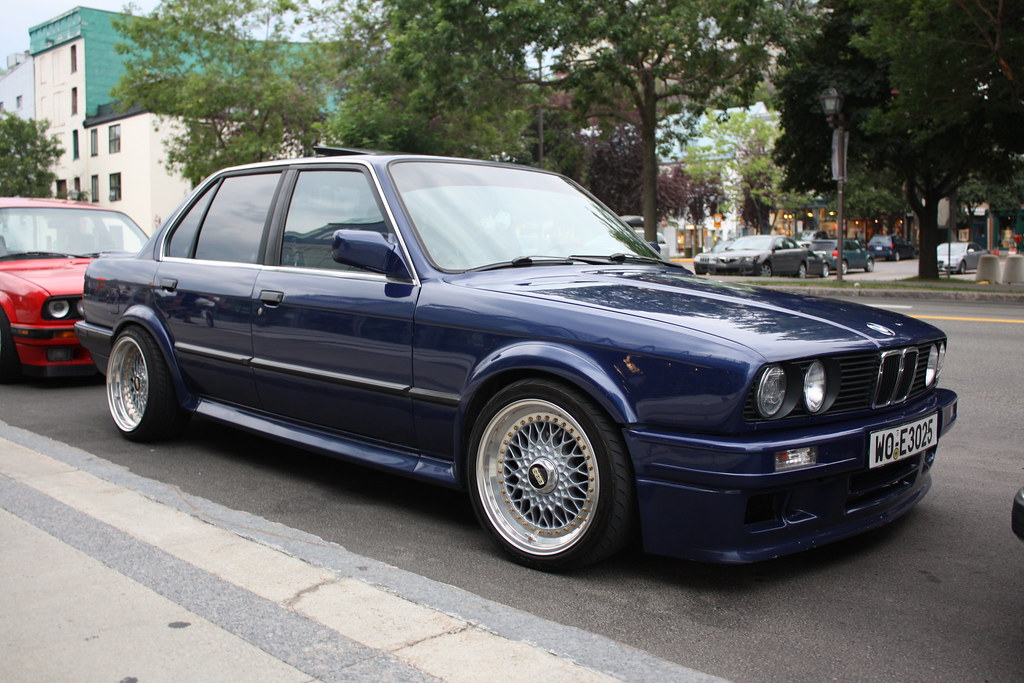
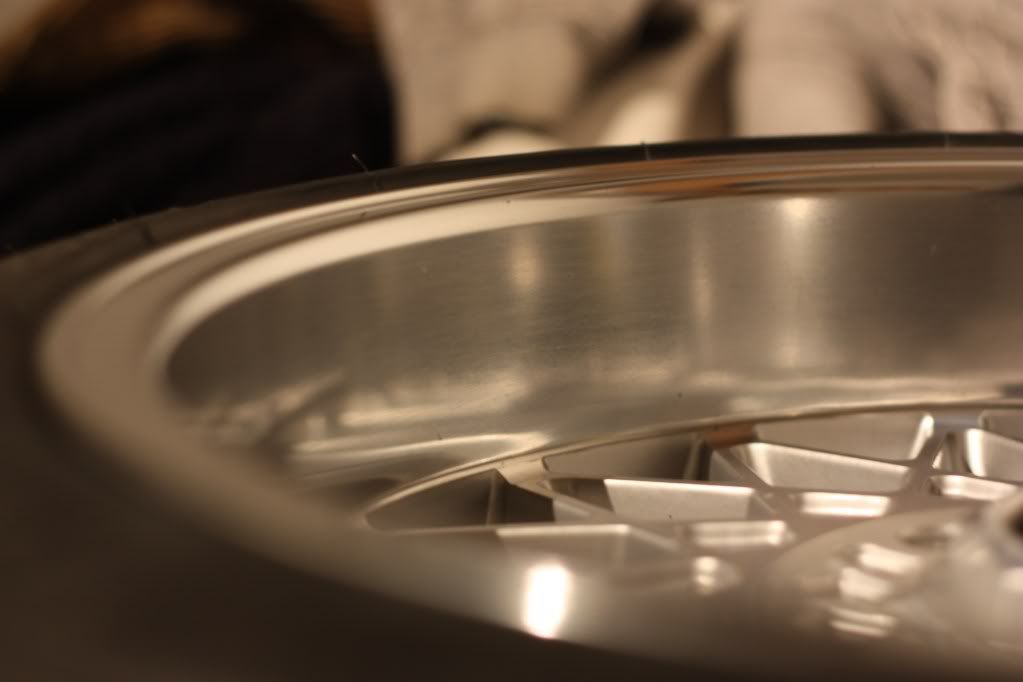
    And here's a photoshop I did of a 325ix 4dr with the wheels I have for her


    I'll start copy/pasting the thread progress later this evening. There's a whole lot of pics taken over the past 18+ months, most of it crap but I'll copy the lost as it's just as handy.
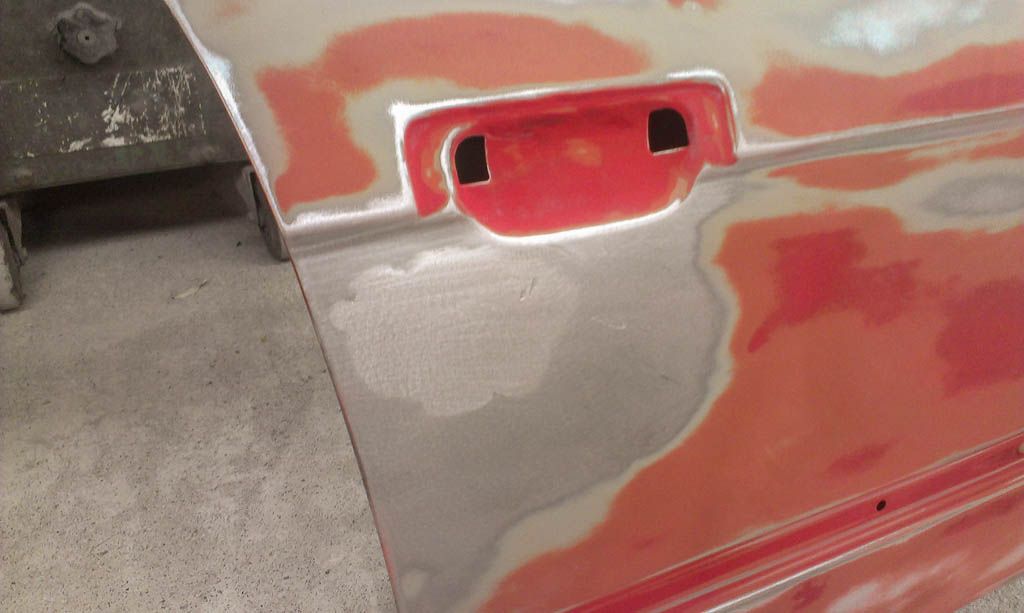
    #2
    I love tourings. I want one so bad. Looking forward to the progress. Send me a plane ticket if you need any help!
    85' 318i ~The Bronze Bomber (FrankenM10 with a Forced Future :wgaf:)

    Comment


      #3
      Looks great so far! I am such a fan of tourings.
      ~ Puch Cafe. ~ Do business? feedback ~ Check out my leather company ~

      Instagram: @BWeissLeather

      Current cars:
      ~ '87 325 M30B35 swap
      ~ '87 535
      ~ 01 540 Msport 6spd
      ~ '06 X5 4.8is

      Comment


        #4
        I'll try summarise most of it and the rest will go back a few months which I'll copy/paste in here.

        ----------------------------------------


        Couple years ago I was after a E30, a 318iS specifically, but due to a lack of funds I was having a hard time finding something I liked. A E30owners forum member and friend crashed his touring towards the end of 2008 and put it up for sale. Money was right for me, it needed a little bit of work to put right but everything else seemed sound, it also came with a m42 engine from a 318iS. Looking a bit sorry this is how she looked when I got her home (all pics from 2009):


        And the mangled front slam panel


        The bent bits were cut out


        Some other typical E30 repairs:


        Painted parts:


        Other work was done that I can't remember before eventually going back on the road in Aug 2009


        Fitted a few upgrades/additions


        New wheels (Borbet B, 16x7.5)


        That roughly sums up a year or so of when I owned this touring


        A engine gasket went and she started leaking water, this is when I decided to take her of the road and start a bit of an overhaul. In hind sight, I should have fixed the engine and kept driving it!

        Comment


          #5
          For the overhaul I wanted to change the look of the car and sort out some rust issue's. Lots of googling for idea's! Collecting of parts etc! Eventually settled on doing something similar to this:


          Some photoshopage later:


          And some more:


          This was the last time she was on 4 wheels (Jan 2010)


          Storing the future new engine:


          Change of plans in Jan 2101 I picked up a touring shell, less rust and 4yrs older, made up a spit and started stripping it down


          Looks can be deceiving....


          Comment


            #6
            From here-on-in it gets a little to picture heavy as I have hundreds of pics of every little thing that was done to her. I'll post some random pics of work carried out, if you want to read/see the lot I have a build thread on e30owners.

            The first bits of work were done not long after my brother showed me how to weld before he went of to Oz


            Nearly all bushes are being replaced, wishbones and eccentric lollie-pop bushes are less than a year old, first of many batches of parts 8-)


            More

            The novely has nearly worn of I've had so much stuff delivered since starting :oops:

            More welding, these were tricky


            Outer wheel housing rot


            Battery tray repair:

            Comment


              #7
              Refurbed callipers (again)


              The discs also got a little loving, they were not even a year old but had some surface corrosion from being stood up


              The whole lot bolted back up to the new coilovers

              These were later stripped back again and sent for powder coating (excl the callipers)

              Front panel chopped out because of rot:

              Intention is to have the replacement panel removable or at least part of it a little easier to get the new engine in and any future engines i may swap into it.

              More random welding


              Seam welding


              Comment


                #8
                One of those moments where you think "why did I start this"....


                Doesn't look bad but it's rotting from the inside and not easy to clean the welds if you just chop out the drain so it was decided to replace the whole sunroof tray. Rot on the inside of the tray:


                Donor panel from the old touring highlighted in red


                Little bit of surface rust on it but otherwise very clean! Rust was treat on both the roof skin and tray, primered and painted before being bonded and welded back in place.

                Christmas pressents

                Not a fan of DTM style pipes so got new straight ones from Scorpion, the hoses are made to fit the E46 rack I'm fitting, and heated mirrors.

                Small mod to the front valance to fit 2 grill vents, which will hardly be visible with the tec2 apron :roll:


                De-locked doors (also did the wings):


                Treating surface rust with deox-gel (love that stuff)

                Zinc primed

                Primered:

                And finally visible progress, paint:


                Paint isn't 100% a good match but good enough as it wont ever really be seen unless the carpet is lifted

                Comment


                  #9
                  Underside rust treated/chopped out/etc, primerd and sealed


                  And undersealed where needed and painted


                  Not 100% happy with the underseal, Marty will be re-applying it where needed while he has it.

                  I had painted the subframes, wishbones and drive/half-shafts with hammerite hmmered stone finish, not happy with the finish though and some parts were sent for powdercoating (and came back painted :evil: ). Paint didn't match so they were re-done but with the paint gun this time.


                  All the bits going to to get her rolling

                  8-)

                  And finally a week or so ago - July 2012


                  And I've not done anything sice

                  Comment


                    #10
                    Pics of mods or improvements I made to various things

                    Rear ARB pickup point reinforcement


                    Reinforced rear ARB brackets:


                    Front ARB re-located to the strut, similar to the M3, with adjustable front links


                    Front ARB pick-up reinforcement


                    Also reinforced the engine mounts but can't find pics of this


                    Powdercoated, I mean painted parts.... :evil:


                    Rear beam with modified trailing arm mounts for camber and caster adjustment


                    M52 airbox bracket and relocated ABS bracket (ignore the bad welding and deox gel)


                    Wheels 8-)


                    Have taken a little brake from it since the shell was collected last week, intention is to get started on the engine and getting it ready to go into the shell along with everything else that needs moving over when I get it back from the paint shop.

                    Comment


                      #11
                      9 Aug


                      Finally got the lend of a engine hoist this week and started by pulling the engine from the old shell


                      Nothing could just be straight forward with this build 
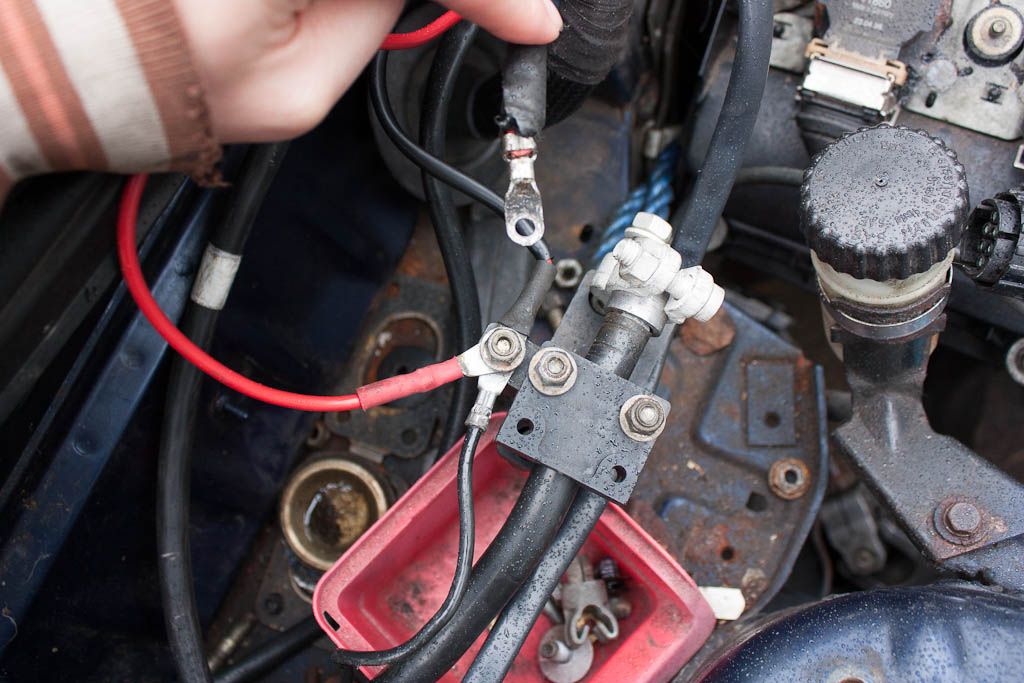
The oil filter cap refused to come of, after trying a few different things I eventually wrung the hex nut and proceeded to remove the cap with a little more violence :laughing:

                      If anyone has one spare, I'll take it of your hands

                      Engine is now back on the stand and I think I'll spend some time cleaning it now and just hope she runs when it all goes in the car.


                      23 Sept

                      Few hrs at it again today, got nearly all the plug plugged in and the ECU pulled in under the dash. Had to do a bit of a ghetto setup with the fuel tank, should work though. Just some wires to bolt up (not sure where they go yet), some fuel pipes, oil, alternator + belt and prob a few other things and I can try turn her over :dance:


                      Anyone know where these wires go?


                      Near the ECU side of the loom? Probably to the battery +/- terminals?


                      These are near the starter, do all 3 of them go on there or is one for the block or chassis?


                      Is this destined for the bin or am I meant to use it somewhere?


                      Which of these is the fuel feed and return?
                      Last edited by Jozi; 12-06-2013, 04:41 PM.

                      Comment


                        #12
                        29 Sept

                        Went to see Marty Lane today to see how he's getting on with the paint work and I was greeted with this:


                        The roof had been painted at some point and it crap hence why that was stripped back, the rear quarters were taken back to prevent reactions.

                        Front valance & skirts, bumper (and lower apron) ready for primer


                        Arch flares primered


                        Both front doors were prepped/being worked on


                        Some lead-loading they did on the plated up key holes:


                        The wings were also lead loaded but he didn't have them there. I can't remember what Marty told me he had done with the bonnet and boot lid. No corners being cut anyway, just how I like it :)

                        Forgot my camera, phone had to do, will bring the proper cam next time!

                        Comment


                          #13
                          10 Oct

                          Thanks guys, it's a labour of love (I think) getting this thing back up to scratch. I'd nearly say this shell wan't to bad, there's a lot of rust you simply don't see until you clear of the underseal.

                          Slow progress, again, the last week or so, have slowly been getting everything ready to get the engine to turn over. Got a new battery for her yesterday, the fuel lines are all hooked up again as is all the wiring neatly tucked inside the wiring cover (which needed a little trimming, not 100% happy on the outcome of this though), just some nut needed on the bushes and a few small things. This is how she stands as of this evening:


                          Anyone know where this wire needs to go?

                          It's red and should be power but it won't fit with the other bundle of wires. I forget where it came from but I think it might be from the fuse box.


                          I also seem to have the whole lot sitting at a slight slant for what ever reason?

                          Comment


                            #14
                            16 Oct

                            Went by the Marty earlier on today. Not a whole lot of progress due to him being sick and busy. Hopefully he'll have it in primer over the next week or two! Also visited a few car dealerships and come to the conclusion that BMW, Mini and audi are sound, Toyota were not friendly at all and Merc looked like a drug dealer.


                            Comment


                              #15
                              19 Oct

                              Pretty much have the whole shell stripped down to the wiring loom


                              I need to figure out how to remove the back rest and the carpet area behind it, should have the part from the red shell to look at for this.

                              Few other pics of little mods I had to do related to the engine:


                              You can buy a proper intake silicone boot from a few places in the US but by the time you have it deliverd it ends up costing something like €130 
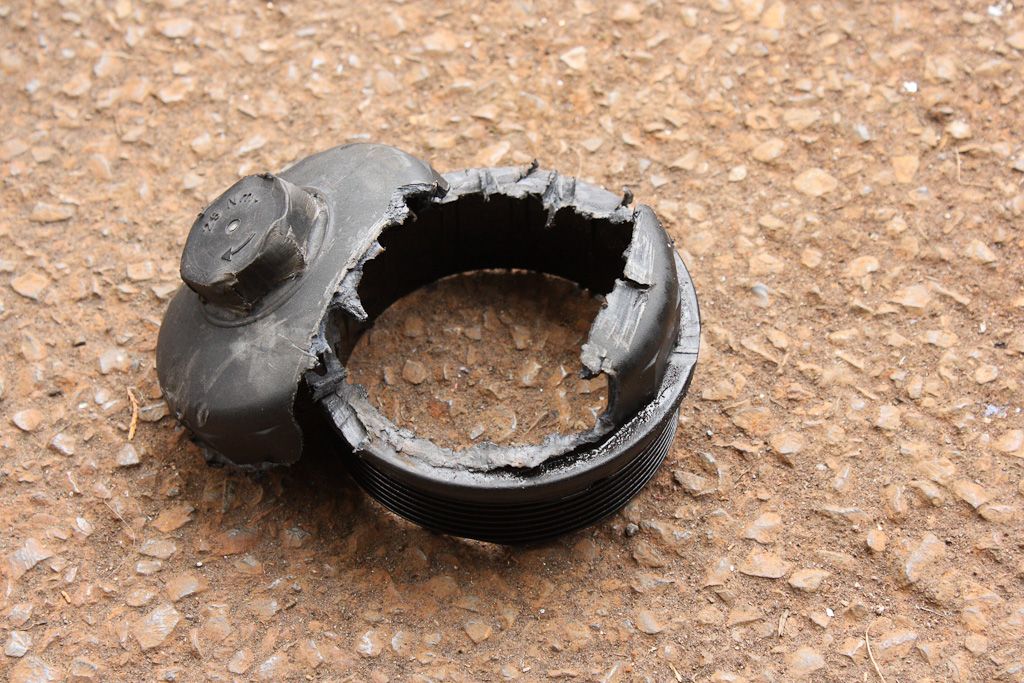
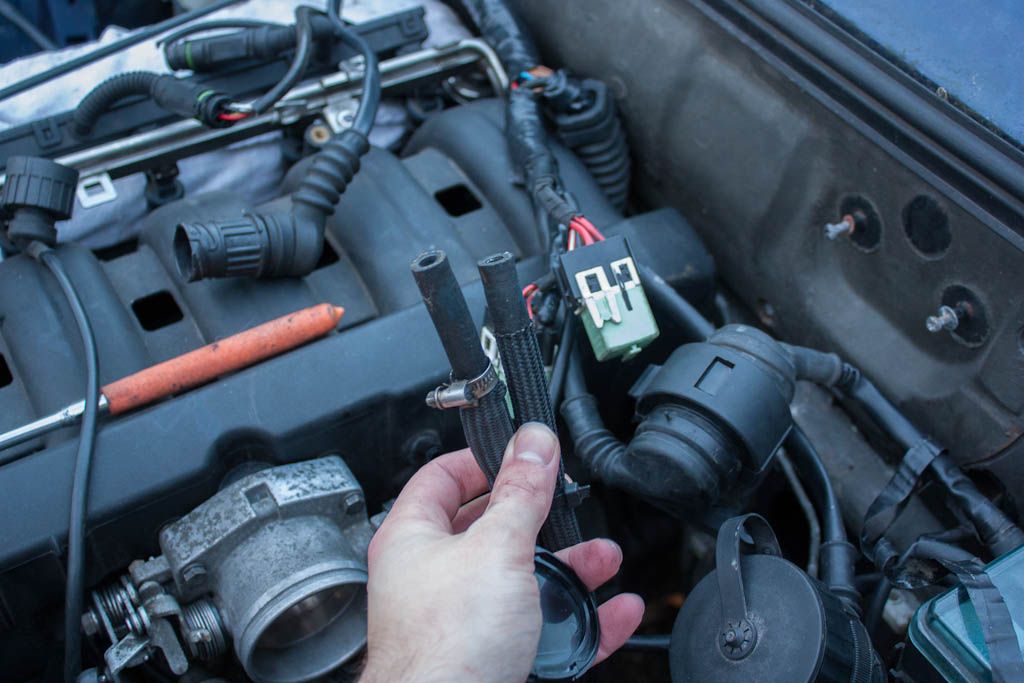
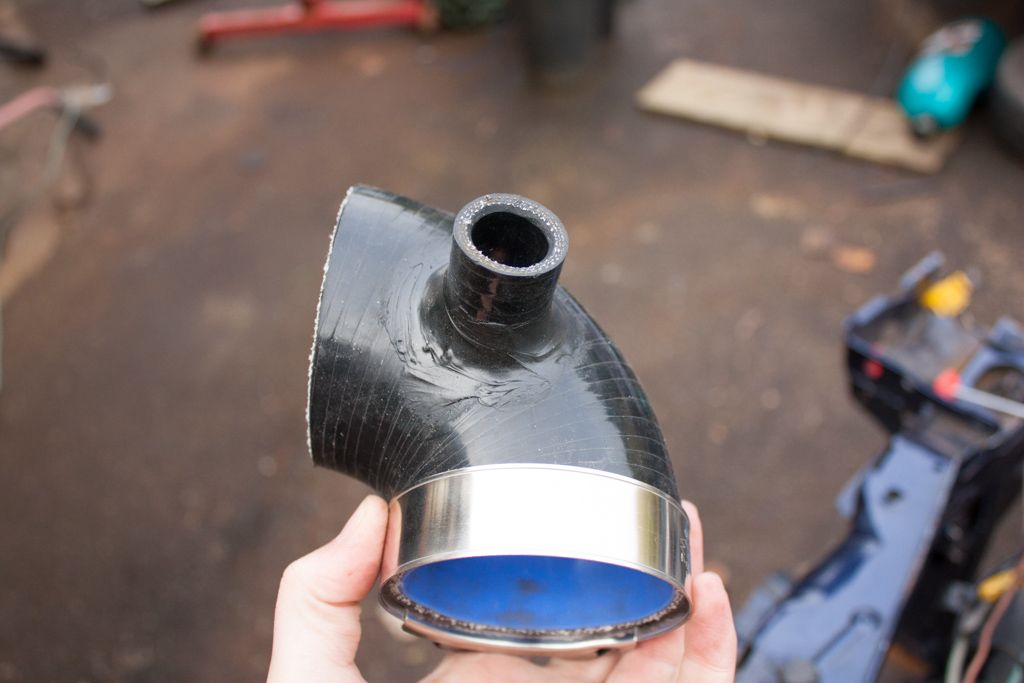
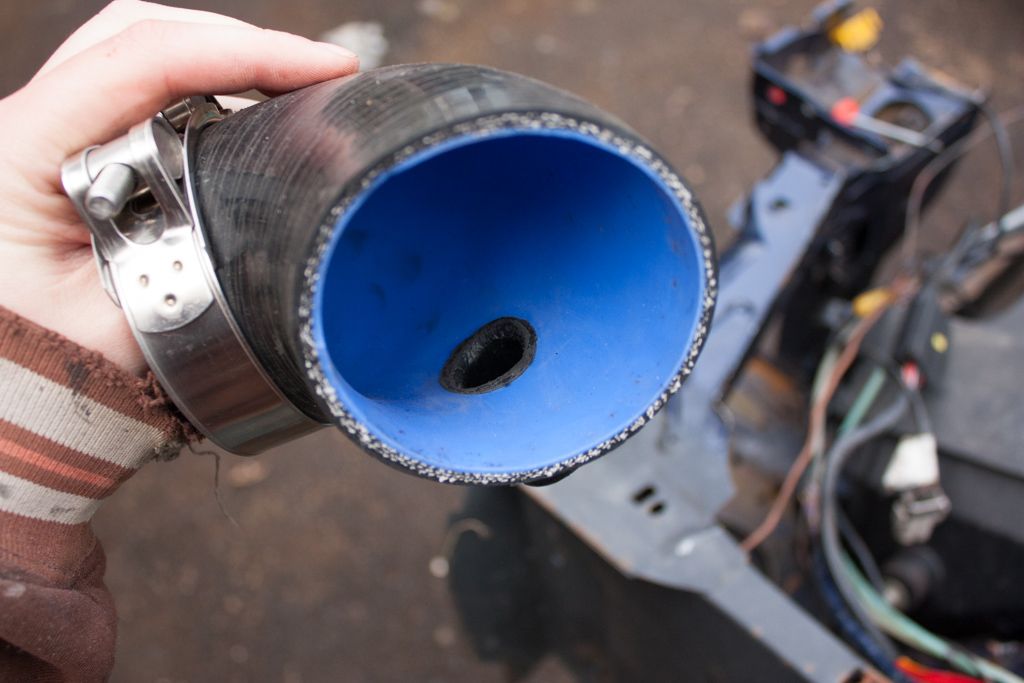
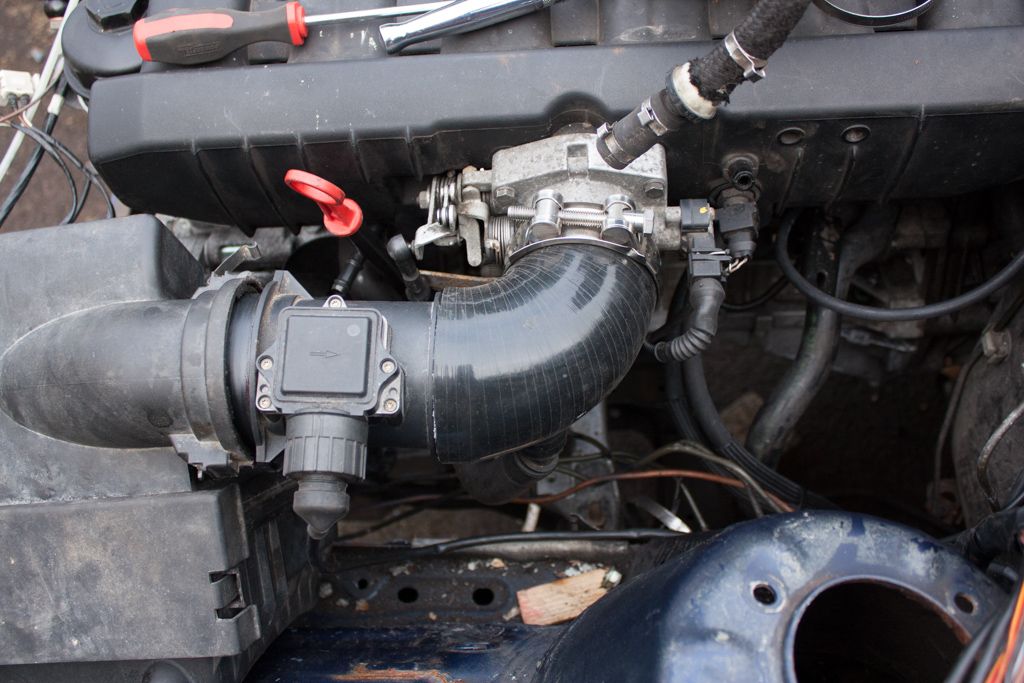
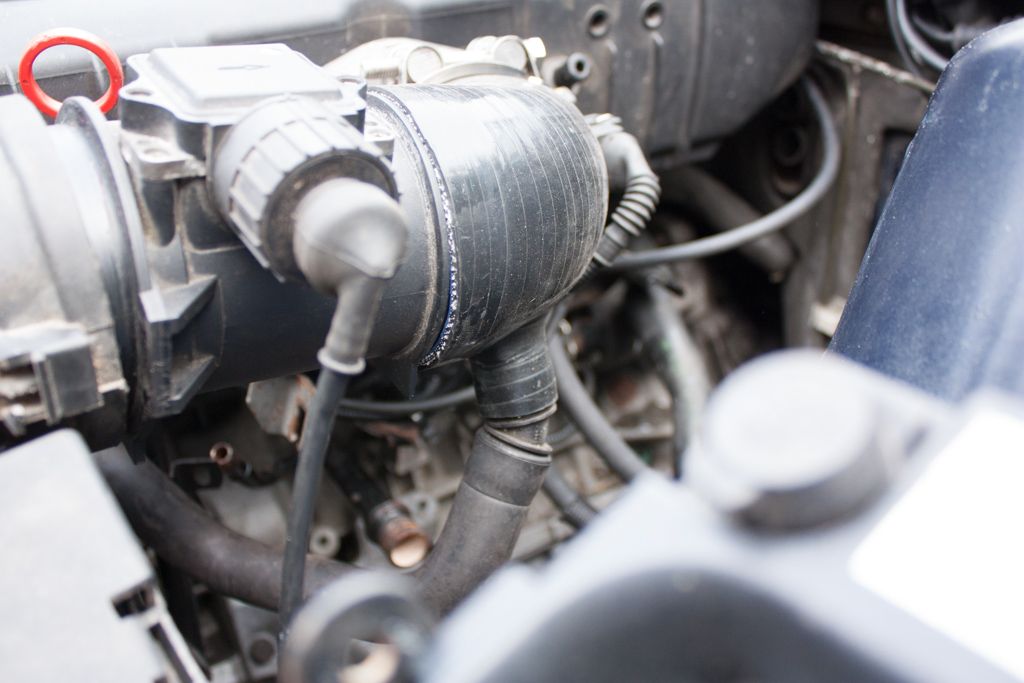
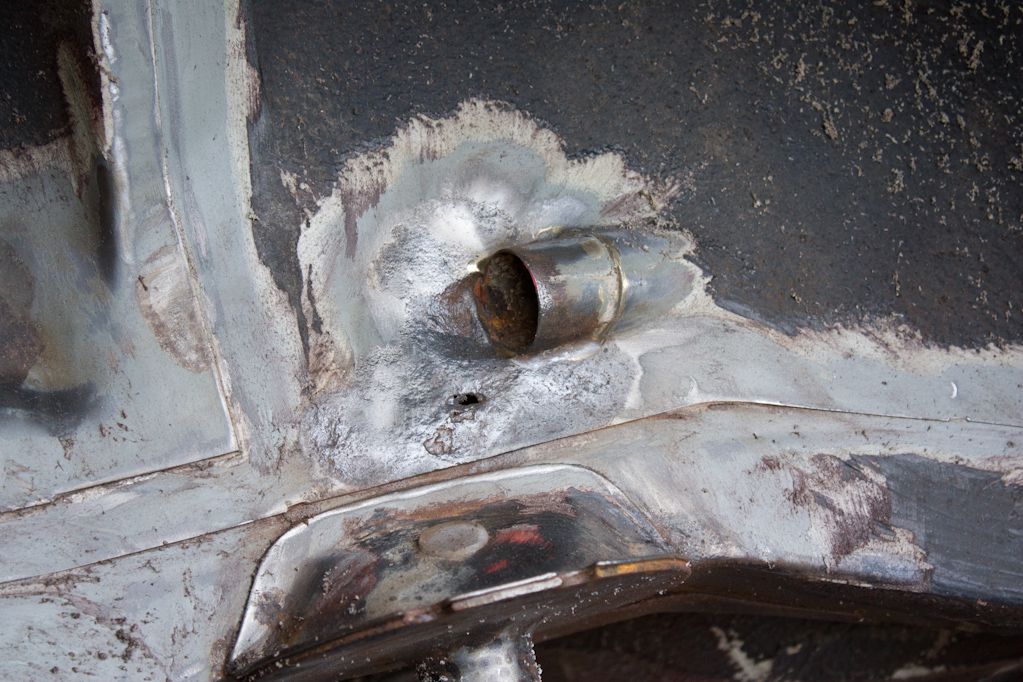
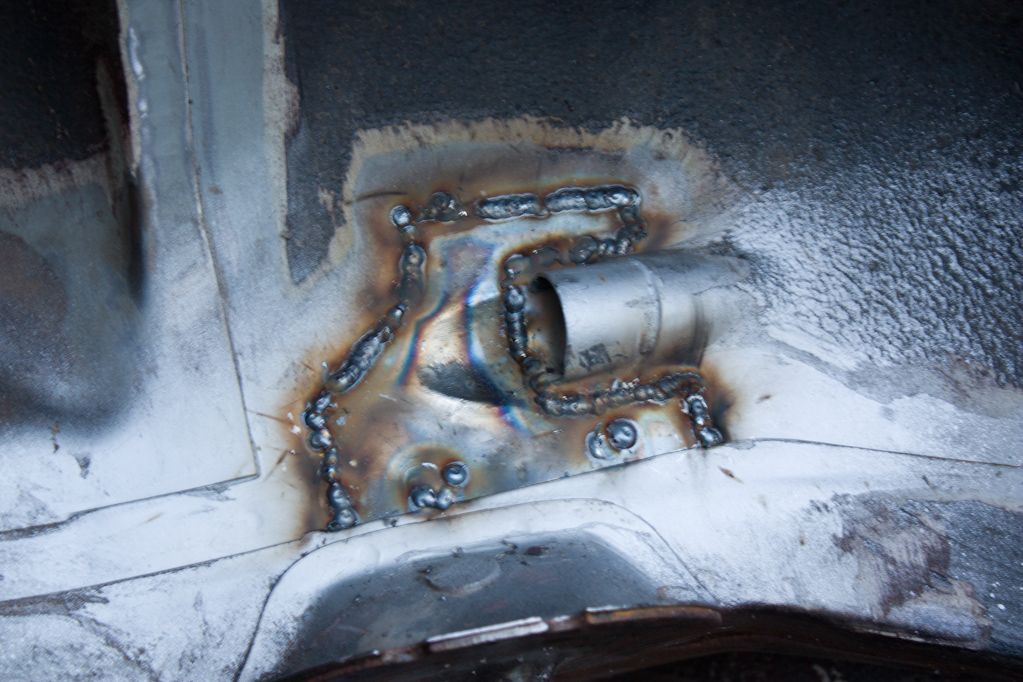
I have been talking to a Samco distributor in the Uk who I think might also be able to sell me on but for a lot less. I used a 80mm to 74mm reducing elbow and some 20mm (I think) striaght pipe for the above. Lots of trimming until I was happy how it fitted and then made a hole for the AFM T-piece on the under side.

                              Little bit of trimming I had to do to the wiring harness cover so that it still fits:


                              There's a little trimming on the outer cover also but I can't find pics of it.

                              Comment

                              Working...
                              X