-
This is great,,
now you just need EURO bumpers,,,,, and black seats!!Leave a comment:
-
-
Awesome Jeff! You are doing this car proud. I was stunned at how beautifully the paint came out in the shots you took after she was detailed. Really happy for you, man!Leave a comment:
-
I thought I'd provide a brief update about the next phase.
I have in hand or enroute:
Rack Dr reman e36 rack
ZF PS reservoir
Lemforder e36 tie rod assemblies
Genuine front sway bar bushings & brackets
Lemforder sway bar link & Genuine brackets
Textar rotors
Jurid pads
Girling caliper rebuild kit
Meyle brake hoses
VHT Red caliper paint (this is my fave so far)
AKG e30.e36 rack kit
I will be leaving the struts in place as the mounts, spring pads and BS Tourings are all new and I will be dropping the front sub frame so I can refinish it and do this all on the bench. I am on the fence about whether I will do the pan gasket (since the sub frame will be out), CA's & CAB's now or later since I have new rubber boots for them and at the moment its snowing :-)
Stay tunedLast edited by jeffnhiscars; 02-16-2013, 07:59 AM.Leave a comment:
-
Thanks. You are definitely more ambitious than I am...lol.
I had the "new" replacement soft top in hand the day before I bought this car and had a hardtop lined up seperately so we wound up n the same place. As for the swap, I did the 318i 5 spd in FL..well equipped garage, lots of time etc. Here is another story for major projects.
The Cabrio is also my DD and I still see it more as a gentleman's cruiser so Im not that concerned about the trans. When it comes to doing donuts on the neighbor's lawn I always have the coupe
Leave a comment:
-
looking good jeff.
my 88 cabrio was acquired pretty much the same way. 101,000 miles, broken timing belt. aw2 on black interior. mine had the good fortune of having a hardtop and a brand new soft top installed. unfortunately it was also an auto. as soon as i got the car home, i pulled the motor and trans and replaced it with an s52.Leave a comment:
-
-
I think you guys have earned some eye candy.
I was really quite sure the paint was just too badly beat up to ever come back to life but since I was heading to Tampa anyway I made an appointment with the detail shop that I used exclusively on my e39, 911 and e60.
I am not prone to giddiness but I will admit that when I picked it up I felt like I was in HS and just got my 1st car.
You tell me.


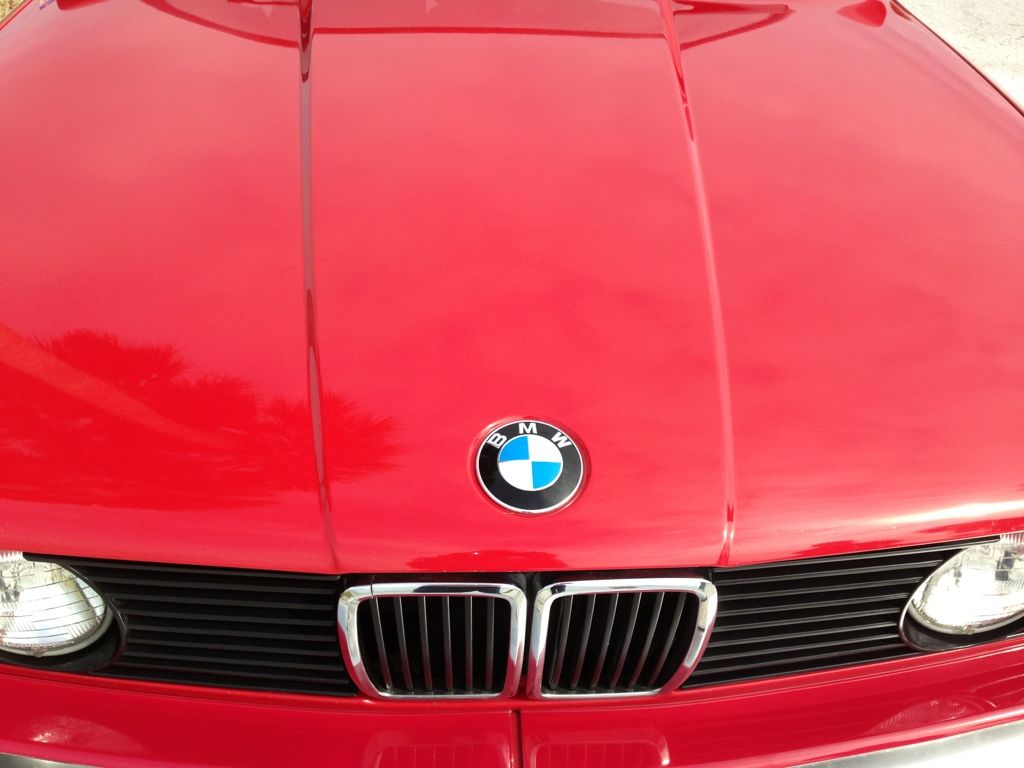


I'm proud of this one...and it just turned 100kLeave a comment:
-
I wanted to finish the part about that rusty fender.
When I removed it I was rather surprised by what was..or rather was NOT underneath it. Keep in mind this is after an initial coat with POR-15 but the metal is otherwise as it was after removing the liner and fender
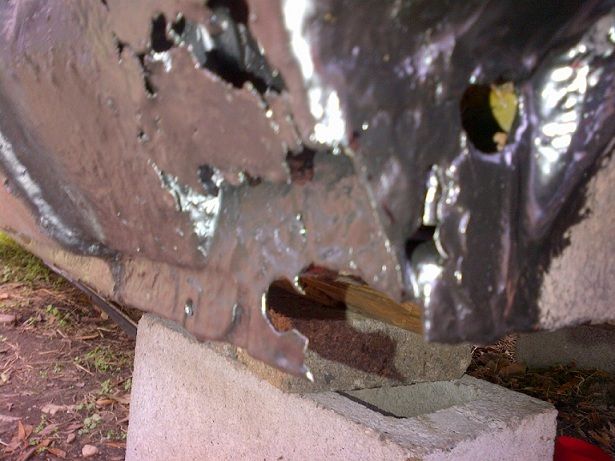
I had seen another thread where someone used POR and fiberglass matt to repair a battery box so I took that approach and layered matt and POR to rebuild the inner fender wall. I trimmed the loose ends with a pair of tin snips for a nice clean finish.

This really is not a critical structural area as all that section does it anchor the bottom of the fender and hold the ABS lining in place. The cause of all of this was the result of the car having spent some early years in NJ and salt just got in there and stayed due to the build up of dirt that held it there. I have posted on this before and will say it again...removing the fender liner and clearing out the dirt is non-negotiable maintenance.
Since the Cabrios have a slightly different front fender, the liner is actually 2 pieces so its only 2 bolts with the wheel turned to lock and you can remove the lower 6 inch section. I decided to check the AW Cabrio after finding this and there was a good cup of sand behind each cover. Fortunately, it was dry and salt free so I just cleaned it out, made sure it was dry and that the drains at the bottom were clear.
If you look closely at the 1st pic above you can see the outline of the anchor hole that holds the bottom of the fender to the chassis. There was about 3\4 of the original steel surround still in place and given that the fender has a few bolts to the door pillar and half dozen or so to the inner fender at the hood, this bolt really only kept the bottom from flopping so I was confident I had enough structural integrity with the POR, which is epoxy & the matt so this is where I wound up. The white anchor is for the bottom of the small liner section.

It was simple enough to drill holes in the matt for the anchors and once the bolts were in it was all pretty solid. Here is the finished result after re-coating the rockers with SEM Satin Black Chip Guard #39813 that I picked up at O'reillys for $25.
I think it turned out ok given that it was wet sanded with 2000 wet/dry and only hand polished

It is now indistinguishable from new in part because the replacement fender I got was from the same build month and I'm guessing, from the same bucket of paint. Lucky to find that for $40 and he threw in the entire HVAC unit he was tired of tripping over. I sold the heater valve to a forum member in Argentina for $35 so thats really a $5 fender pre-finished in Zinnoberot #138
Last edited by jeffnhiscars; 01-30-2013, 01:43 PM.Leave a comment:
-
It did indeed. Thanks again for hooking me up.
There are different ways to skin a cat for sure. I think there's a bunch of tension in an exhaust system depending on what was put on when, who pried against what or what they drove over. Its just a lot of unforgiving steel and iron to make happy so unless you remove it all and go from exhaust port to tail pipe, there is bound to be some trial and error.Leave a comment:
-
Rad build and good looking car. Interesting your different approach to installing the exhaust. I found it a royal pain in the ass to remove the exhaust with the manifold still attached to the midpipe. During reinstall I did the manifold to the head then lowered the passenger side of the sway bar. From there i was able to get the midpipe reconnected to the manifold.Leave a comment:


Leave a comment: