While You're In There... CA BAR Certified S52 OBD2 Swap

Collapse
X
 
  • Time
  • Show
Clear All
new posts

  • arch4ngel
    replied
    Made some decent progress over the last couple of weekends.

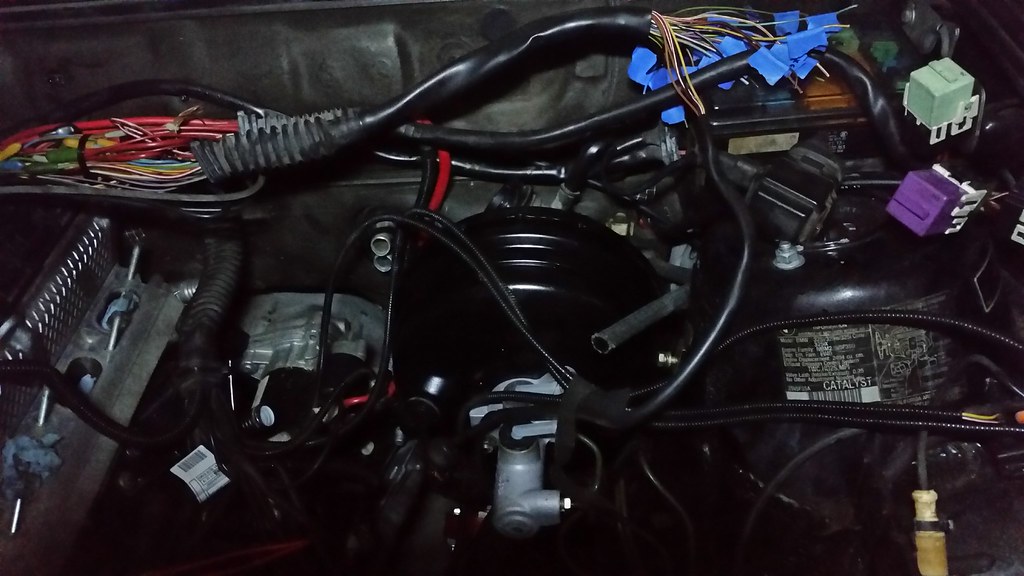
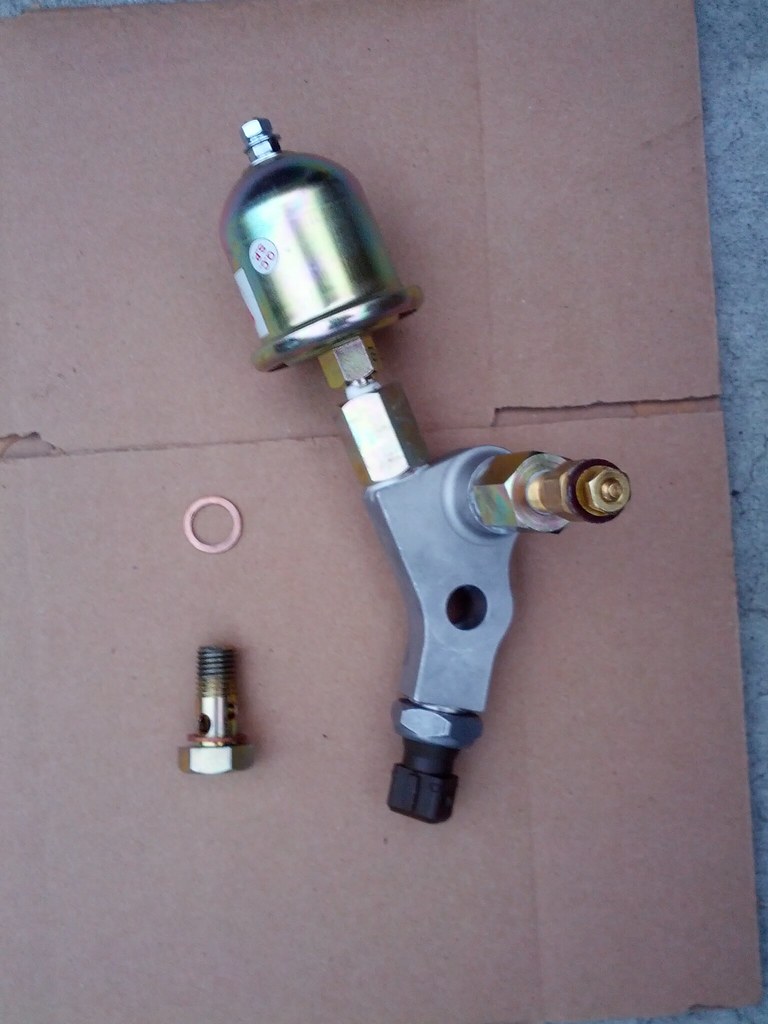
    Got my e32 brake booster painted and installed.
    Decided to install with the spacer and use a remote reservoir instead of screwing with shortening the push rod and all that other fun stuff.
    Also pictured is the new e32 master with 2002 master grommets and nipples.
    Not purchased yet is the e36 brake booster check valve. It's situated right on the booster so no need for extra length of hose, hose clamps etc.


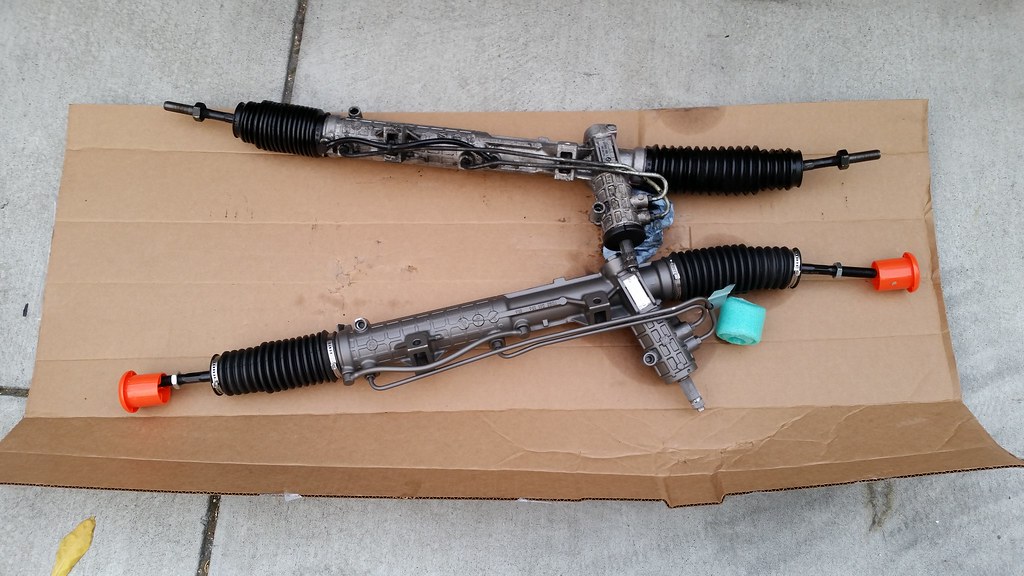
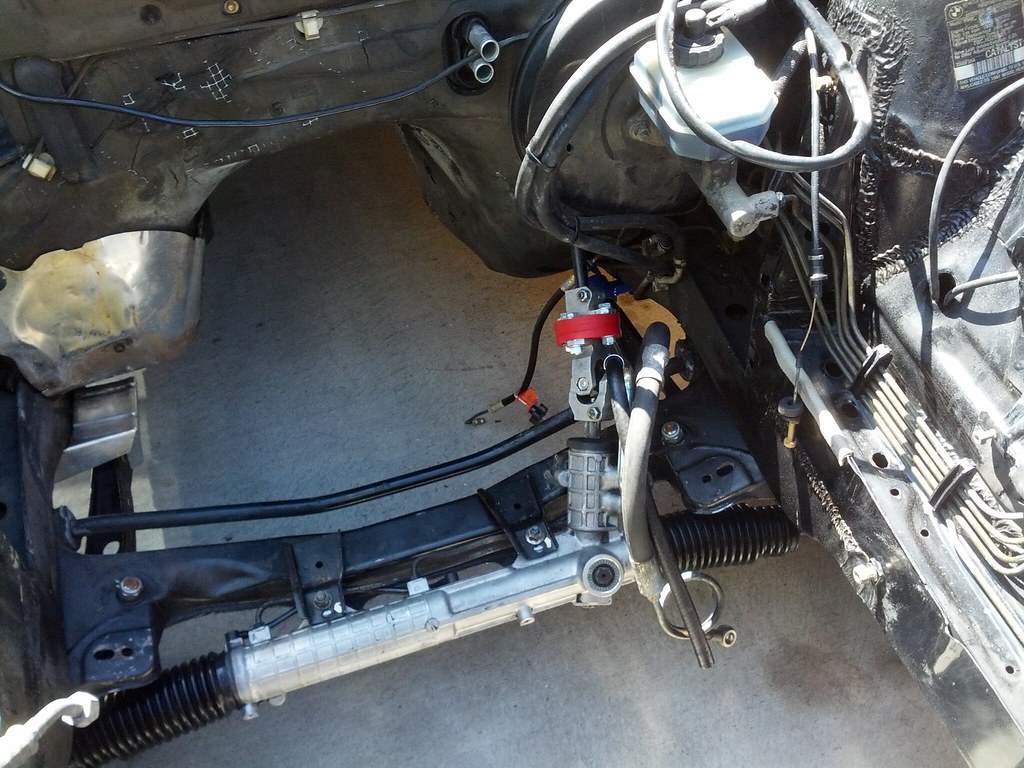
    Next tackled my leaky steering rack.
    Rack is from rack doctor, nicely painted and fresh.
    This was a much bigger pain in the ass with the motor installed, though it went in without too much trouble.


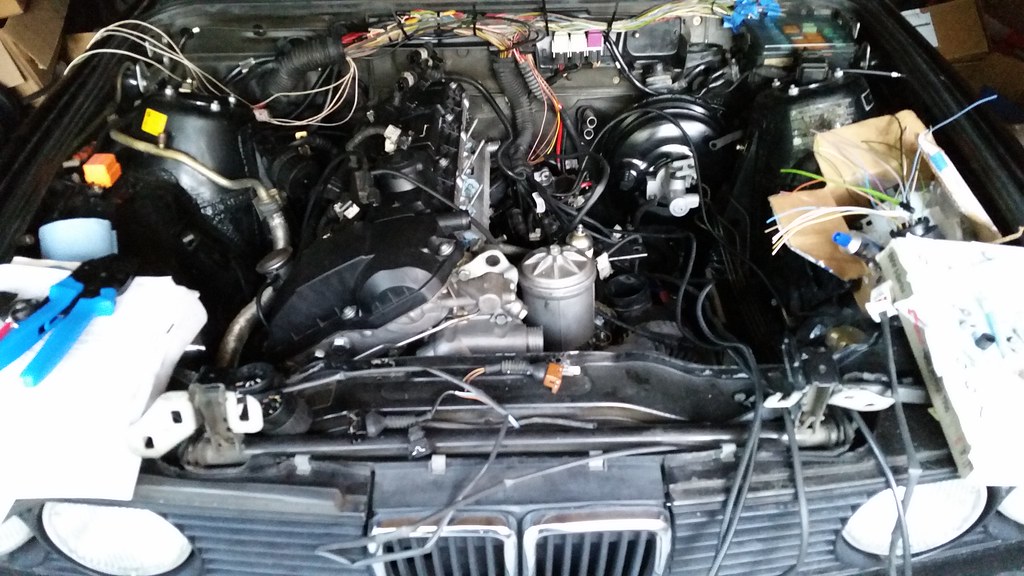
    Lastly did a bit of wiring and clean up to wrap things up.
    Nothing too exciting but I did start fitting the harness cover so I now know exactly where to wire my c101 and how to route everything.

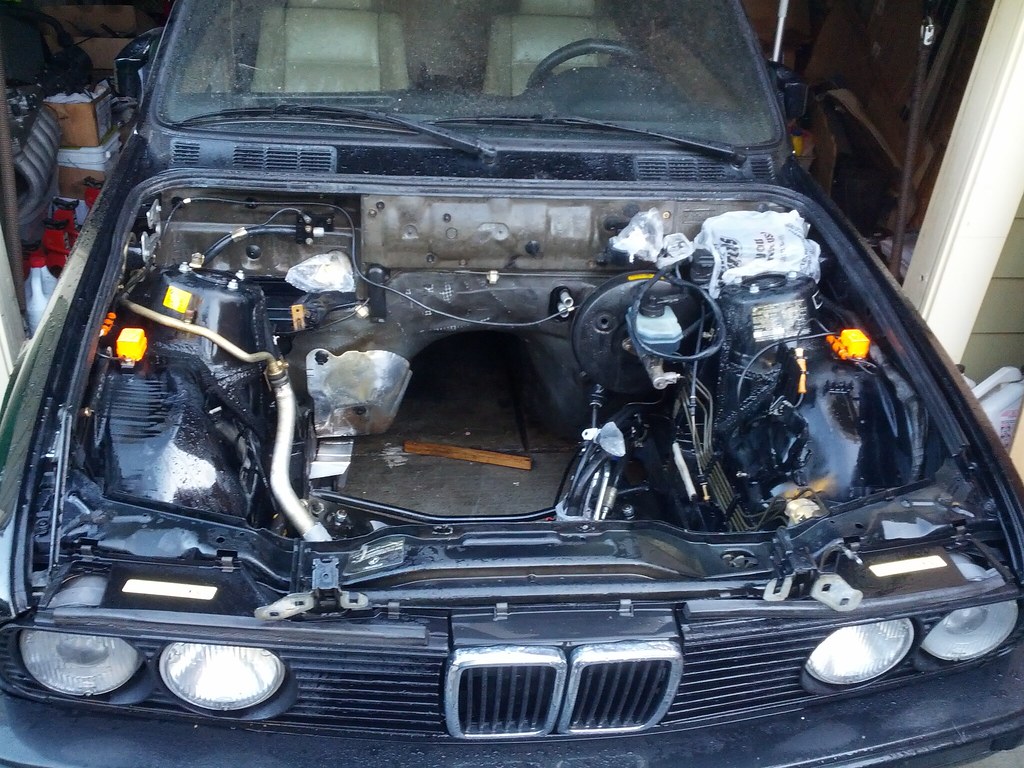
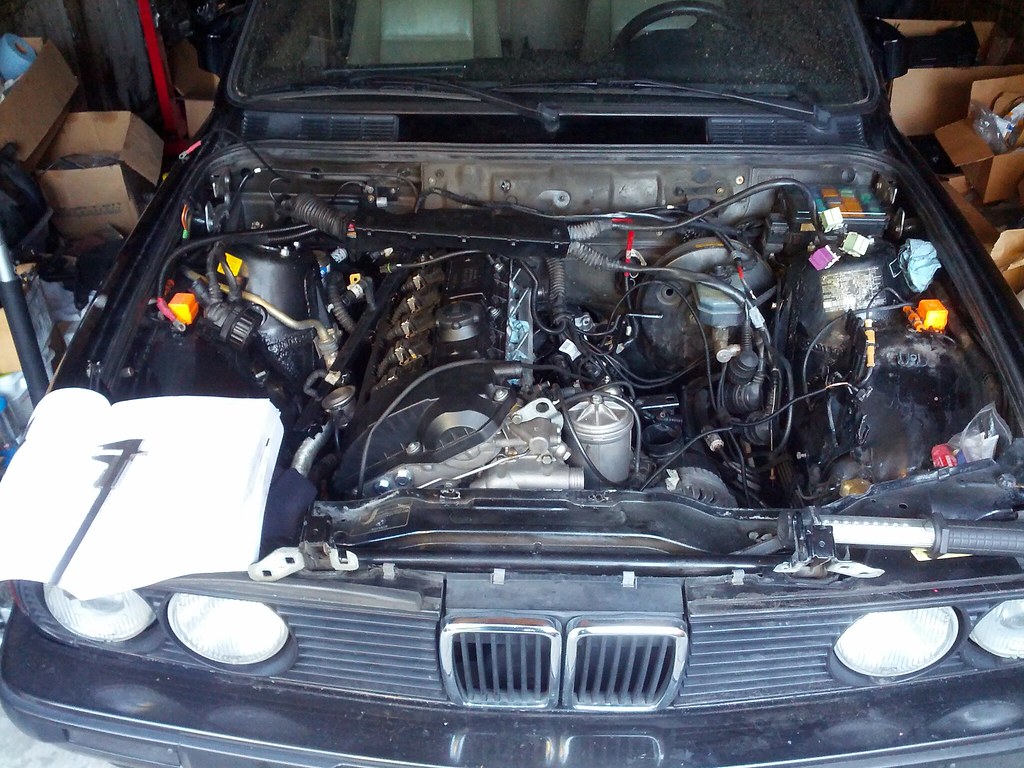
    Here's how she sits now.


    Coming up next:
    Power steering pump clean/rebuild/install.
    Install all hoses under the intake.
    Intake manifold.
    C101 wiring, wire routing, podi.ca gauge install.
    Start planning out emissions equipment installation.

    Leave a comment:


  • arch4ngel
    replied
    Originally posted by dadooish
    Nice to see the progress. I bought your engine from the e30 and barely got around to installing it in my car. Runs very well and exhaust sounds good.

    Best of luck on your install.
    Glad to hear you got your car all situated!
    The motor was going in a race car right?

    Leave a comment:


  • dadooish
    replied
    Nice to see the progress. I bought your engine from the e30 and barely got around to installing it in my car. Runs very well and exhaust sounds good.

    Best of luck on your install.

    Leave a comment:


  • arch4ngel
    replied
    Sent you a pm 2man.
    Glad to hear your car is finally running!
    I was very close to following the same path and re-assembling my bottom end. Very very glad I didn't after reading through your experience.

    I just looked through kokose7en's build thread, i wish I had that attention to detail!
    I'll probably hit him up when I'm closer to completion for some bar tips.

    MyE30, thanks. I feel like I'm missing more than half of what I've done, trying to fill in the cracks as I go. I'd love to see how your s52 rebuild ends up, been awesome watching it so far.

    Leave a comment:


  • 2mAn
    replied
    I might have an extra OBD2 valve cover I can give you. My headache of a 24v swap should be driveable in the next few weeks and I'll be driving it down from Seattle. I will be stopping in the Bay Area since my parents live in San Jose. I can cruise by at that time if you still need it. Funny how these things blow up in your face... Also as far as the BAR goes, talk to KoKoSeVen, he's fairly local to you and got his swap legitimate, I plan to do the same. I converted to OBD1 though so I should have a slightly easier time than you. We'll see. props for making it a legal swap

    Leave a comment:


  • E30NJ
    replied
    nice!

    Leave a comment:


  • MyE30
    replied
    Great documentation!

    Leave a comment:


  • arch4ngel
    replied
    A chronically ill girlfriend and being in the midst of a large and expensive project at work has kept me very busy over the last few months.
    Here's what I've managed to accomplish over the limited weekend time I've had to work on the project:

    Made a stupid mistake while working late at night and dropped a stubborn detent bearing sleeve into the trans Spent several hours with a borescope and piece of wire trying to remove it which only made it harder to get to in the end. For future reference... when removing the old detent bearing sleeves, peel away one side at a time. Peeling both sides at once will make the sleeve very very stuck and you will end up kicking yourself repeatedly.
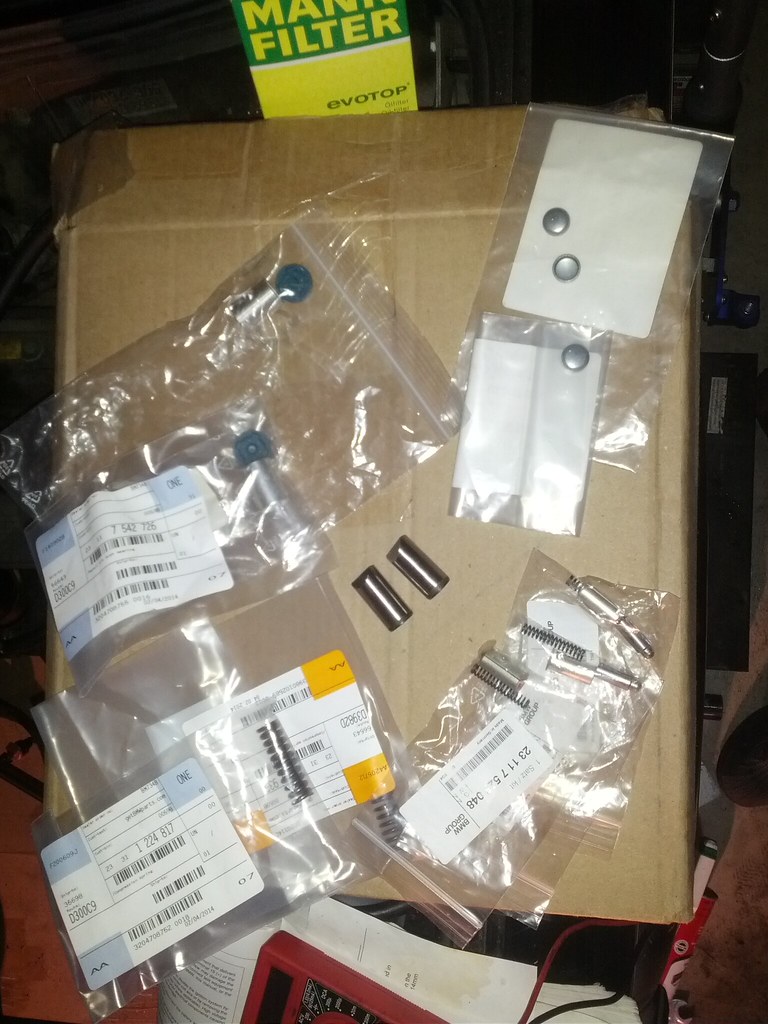
    Gave up and purchased another zf320 trans from a local yard with 157k (iirc) on it. No shaft play and shifts pretty nice. Installed detent pins properly this time. Forgot to take before and after pics but the trans cleaned up really nice. It was covered in cosmoline and grease.


    Next I tackled cleaning the engine bay. My original plan was to go thorough and get rid of all the cosmoline but my priorities have changed big time since I started the project. After spending an hour or so scrubbing the stuff with a toothbrush and degreaser I realized I just don't have the time to do a proper job. The car has been in pieces for over a year now and I just need to get it back together at this point. This is more a 'go' than 'show' car anyway.
    Doesn't look great but at least all the nasty old grease is gone.


    Afterwards I installed my IE poly steering guibo. The rivets on the knuckle were a major pita to get off but managed to get it all back together within an hour or so. I also clearanced the the firewall a bit more where the steering shaft comes out as it was just slightly rubbing. The design makes installing/removing the steering rack worlds easier. Just split the two halves and it all comes right apart. Which is a good thing as I'll get into later...


    Once the engine bay was ready, I focused on finishing the motor prep.
    Ordered some parts from bimmerworld including this nifty oil distribution block for my podi.ca gauge pod. Also picked up condor engine mounts, rogue trans mounts and some other goodies.


    Here's a shot of the motor after replacing the pilot bearing and attaching the wire harness and clutch/flywheel.


    Finally this last weekend I made some real progress.
    Finished refreshing the transmission with new silicon carbide shift fork pin, shift fork, tob and spring.
    Next mounted up the trans and starter with all new hardware.
    Then after several hours and much cursing got the motor in!!!


    Unfortunately realized my steering rack was leaking badly while under the motor getting everything lined up. I had actually made a note of this before embarking on the project and totally forgot about it. fortunately I have a nifty poly guibo which should make getting it out (again) a snap

    It was a pain in the ass getting the engine mounts lined up. Fortunately my friend came by to help out, there's no way in hell I could have done it alone.


    Next up:
    Install remanufactured steering rack.
    Repaint and install 735i booster and purchase a new master.
    Replace valve cover (again) after it cracked during motor installation. Watch those blower motor cover studs people!
    Find and install shift rod and carrier. Somehow I ended up with a getrag 250 setup, was told it was from an m3.
    Fun with wiring.
    Figure out what do about the fan.
    Oil cooler lines.
    Lastly exhaust.

    Whew, almost there...

    Leave a comment:


  • arch4ngel
    replied
    Made a small amount of progress over the weekend.

    Sexy stewart water pump.


    Retimed vanos, Installed pump, al thermostat housing, s54 oil filter housing, valve cover, coolant nipple and some other odds and ends.


    Stopped for the day when I saw this :hitler:


    Anyone have an extra obd2 valve cover?

    Leave a comment:


  • arch4ngel
    replied
    Made some progress over the last couple weekends.

    Timing chain and guide rails.


    Timing cover. That bolt is on there good, had someone hold the engine stand while I put all my weight on a breaker bar leveraged with another breaker bar. I'll give it another go once the engine is installed.


    Oil pan.


    Torquing up the head.


    Replaced the check valve and installed the head.


    2 chainz


    Rebuilt vanos unit with beisan systems seal and rattle repair kit. Good amount of preload without having to remove any material!


    Vanos installed.


    Got a lot done but ran out of steam when I realized the timing is off by a tooth on the crankshaft.

    Ordering a vanos gasket and ready for 24v timing lesson round two.

    Next up stewart water pump, painting the ugly ass engine mount arms and s54 oil filter housing.

    Woohoo! The pieces are finally all coming together!

    Leave a comment:


  • JCarp90
    replied
    I'm also having deja vu lololol. Good luck.

    Leave a comment:


  • wilholl
    replied
    sub'd... as I am in this same process. Had to have my (what I thought was) budget S52 completely rebuilt at Terry Tinney's in Livermore. Getting ready to have the head done now. I'll pm you later with questions. Great thread here, keep it up

    Leave a comment:


  • arch4ngel
    replied
    Thanks guys!

    Kingston, I'm interested as well to compare machine shop costs. I'll shoot you a pm when I get a chance to dig up the receipt.

    It's honestly been tough waiting and waiting to build up funds and collect parts when my cars been down for the better part of the year. The project was originally going to be a quick swap with no rebuild, but that blown spark plug was the first step into the rabbit hole.

    Didn't have a whole bunch of time this weekend as I had to replace the driveshaft on the 535i. Not a hard job but the car was originally from Indiana I think and the exhaust is rusted into a single gigantic heavy piece of metal. Fun!

    Also waiting on a few parts. In the meantime I threw on my newly rebuilt oil pump and iwis racing chain.


    Leave a comment:


  • E30stan
    replied
    serious project bro, keep up the great work!

    Leave a comment:


  • kingston
    replied
    Doing this right, man. Way to go! I went through the same internal debate as you with my S52 rebuild. Eventually did an entire rebuild with new rings, bearings, seals, etc. Metric Mechanic did the head work on mine...wonder what you paid compared to what I paid for the work...I bet you came out better!!

    Can't wait to see more!

    Leave a comment:

Working...