Irish44's '77 e21 320i build - with M42

Collapse
X
 
  • Time
  • Show
Clear All
new posts

  • irish44j
    replied
    Nice weather today, so we proceed.

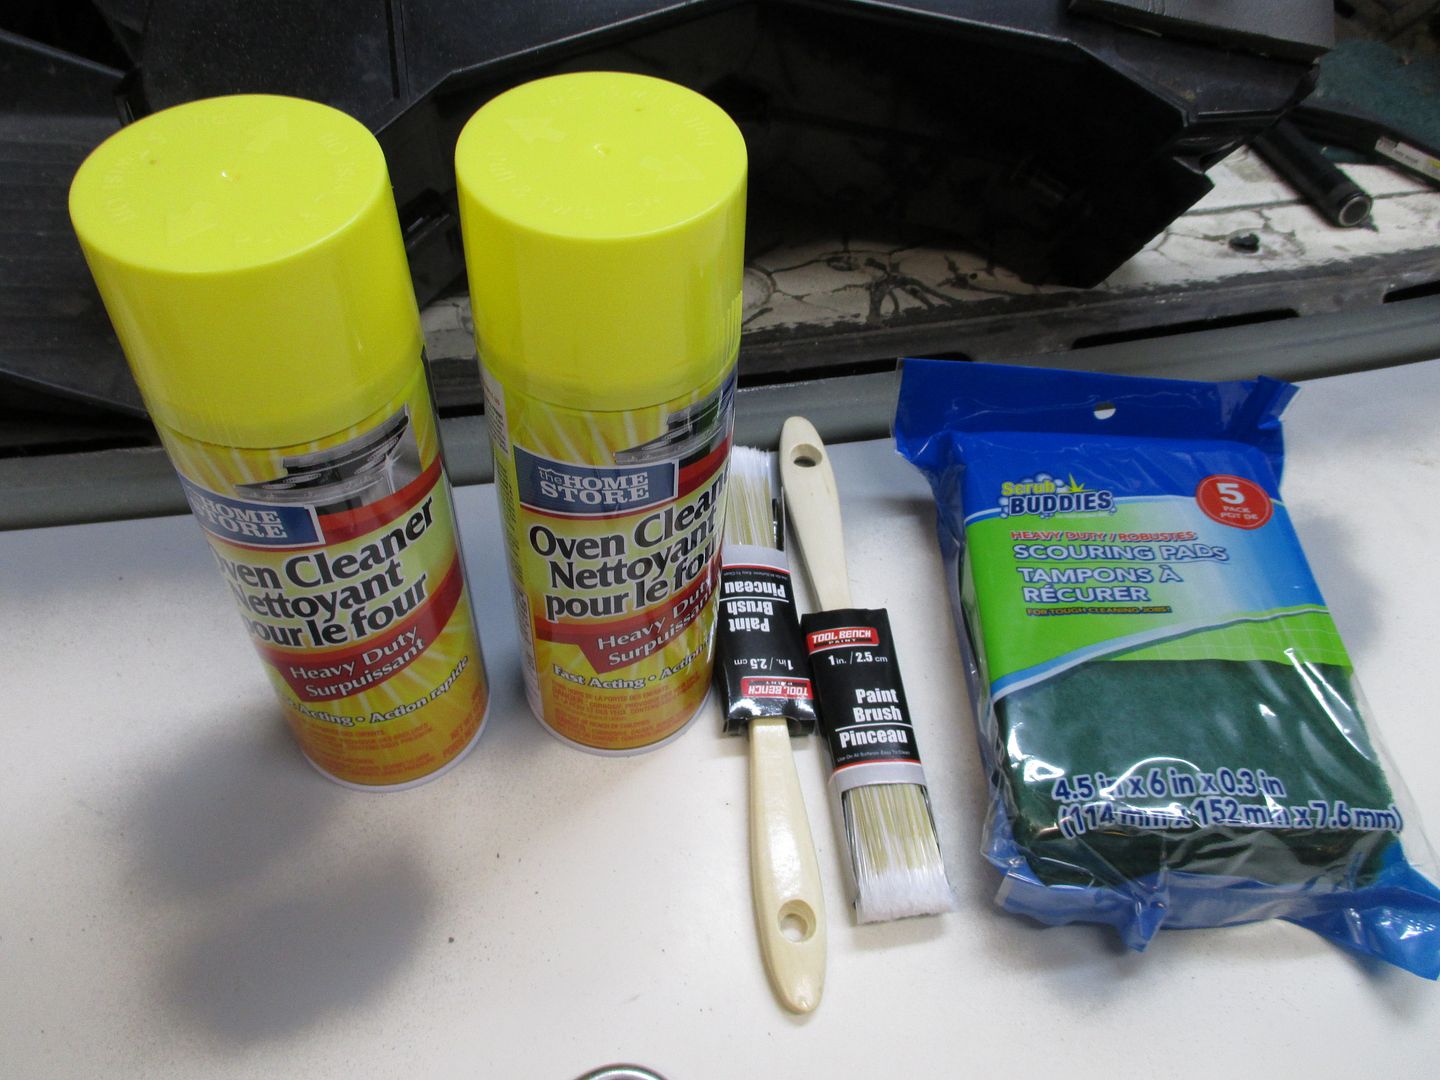
    First, a morning run to Harbor Freight, the greatest place on earth. Went to find a piston ring compressor, ended up buying a ton of other stuff as well, of course. And still paid $75 for all of it :)


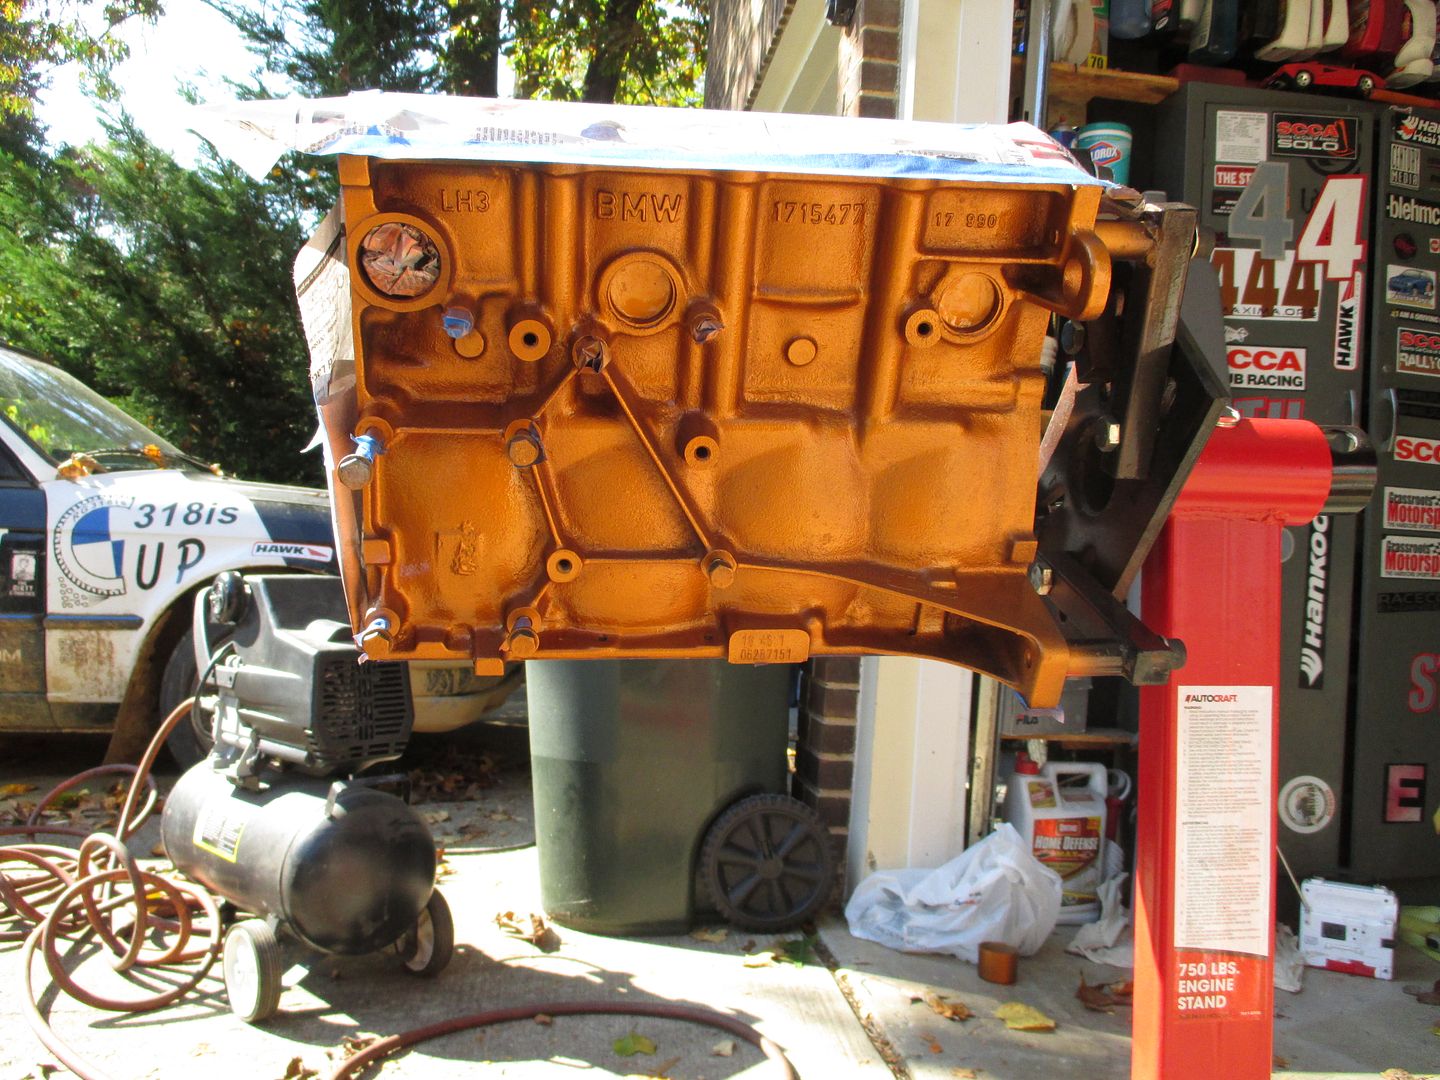
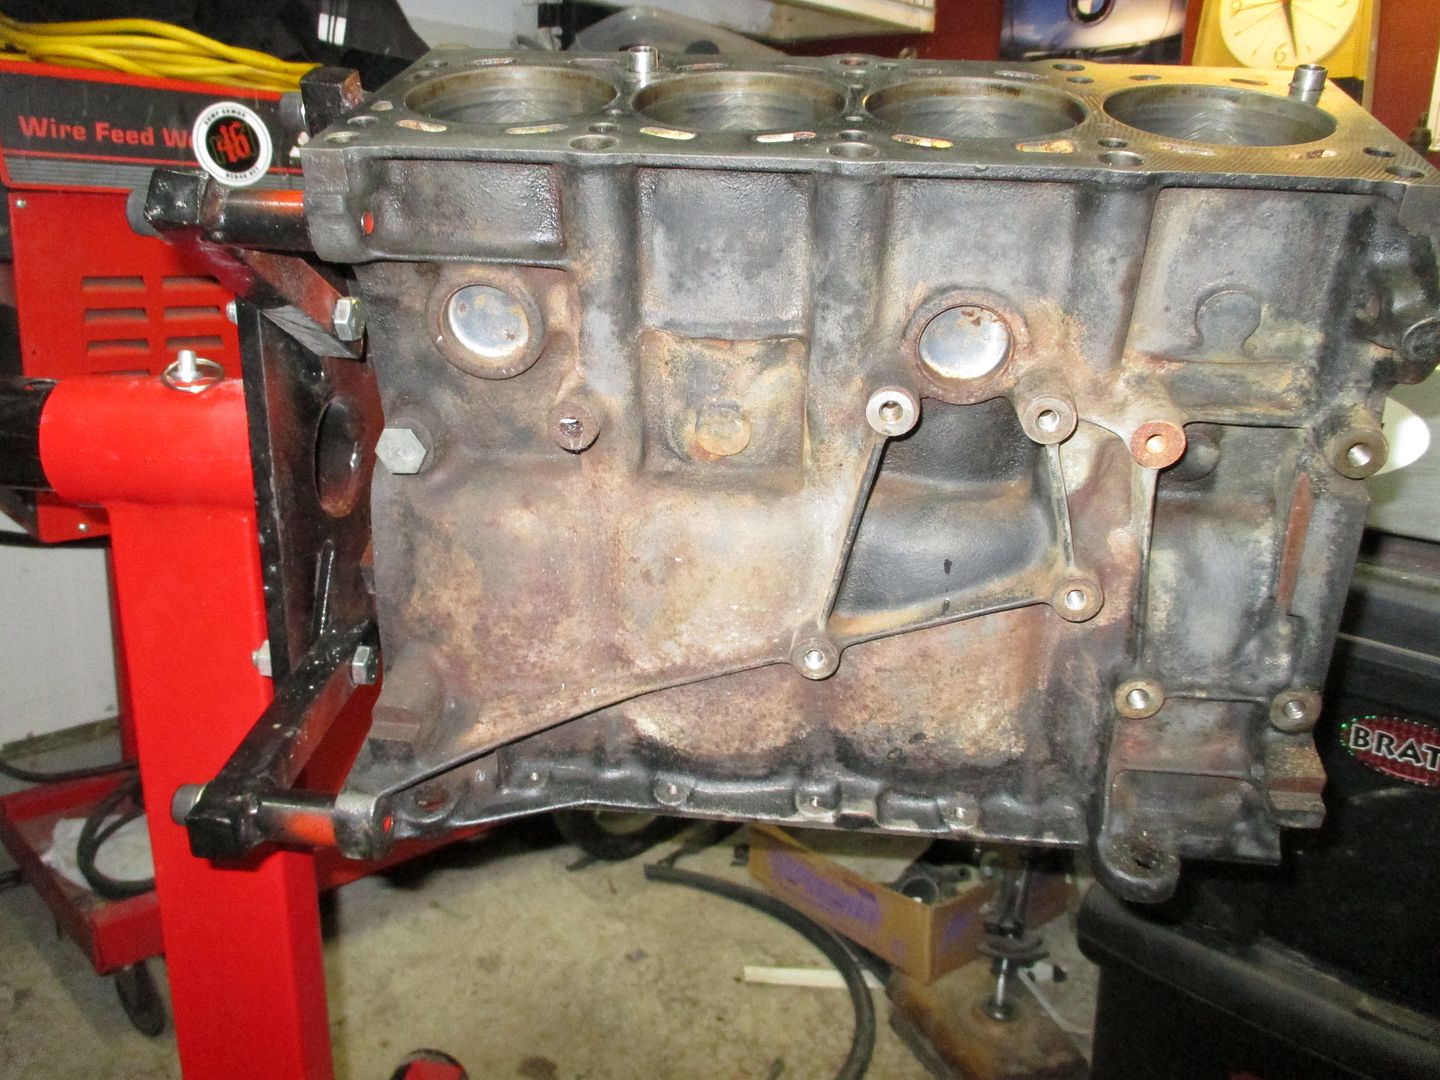
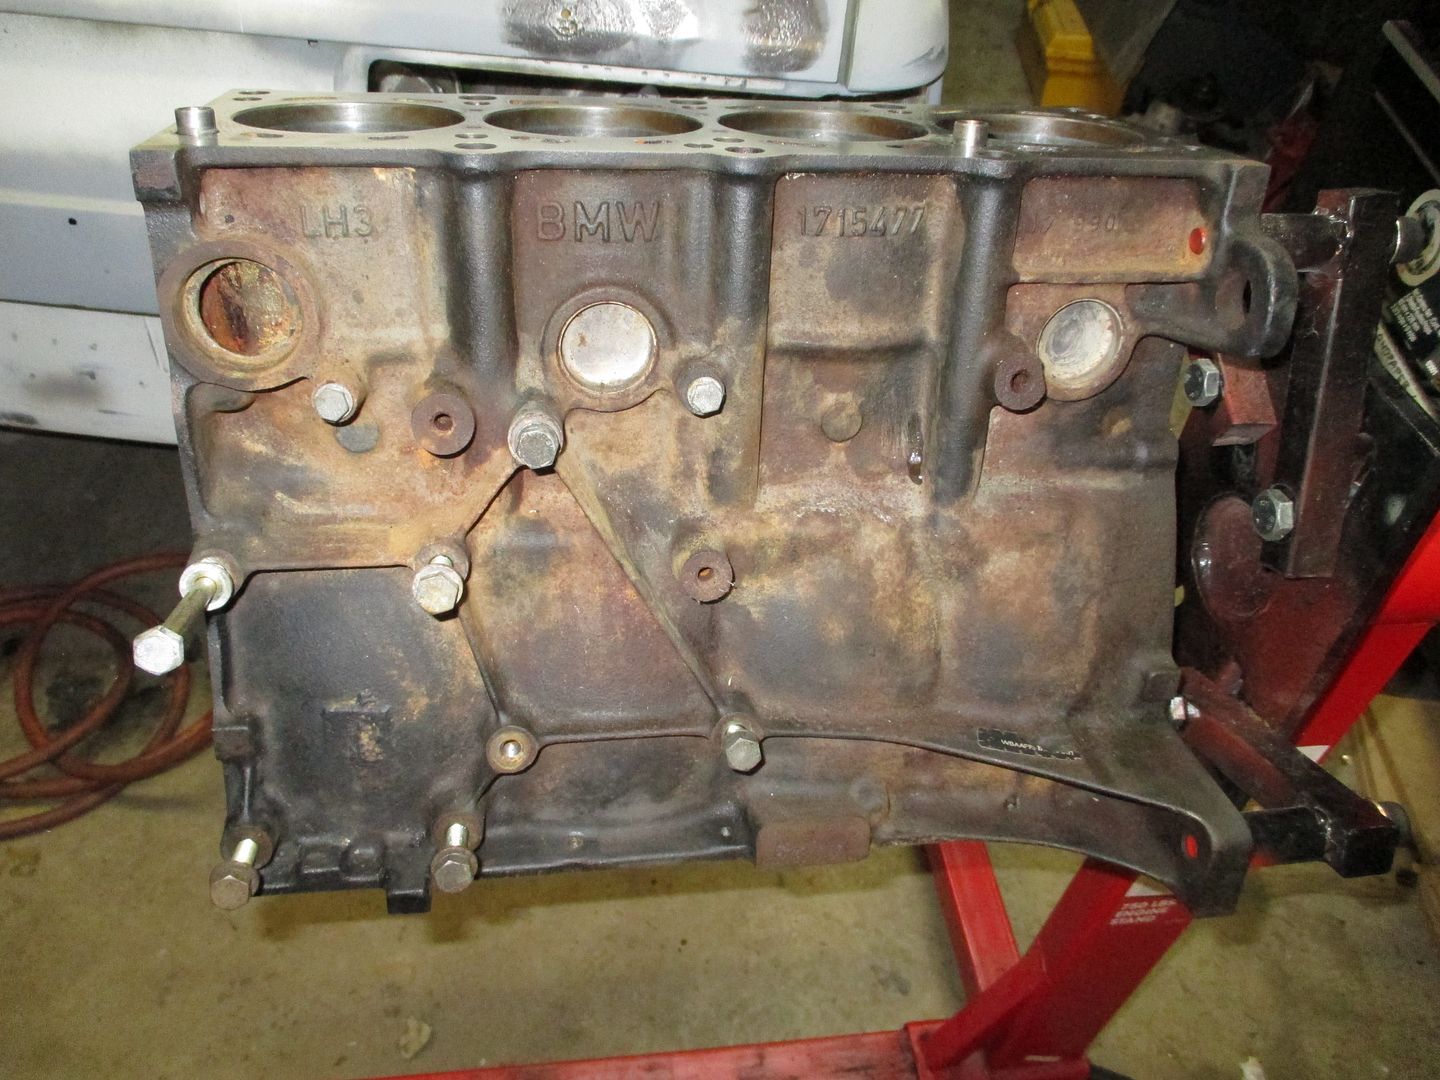
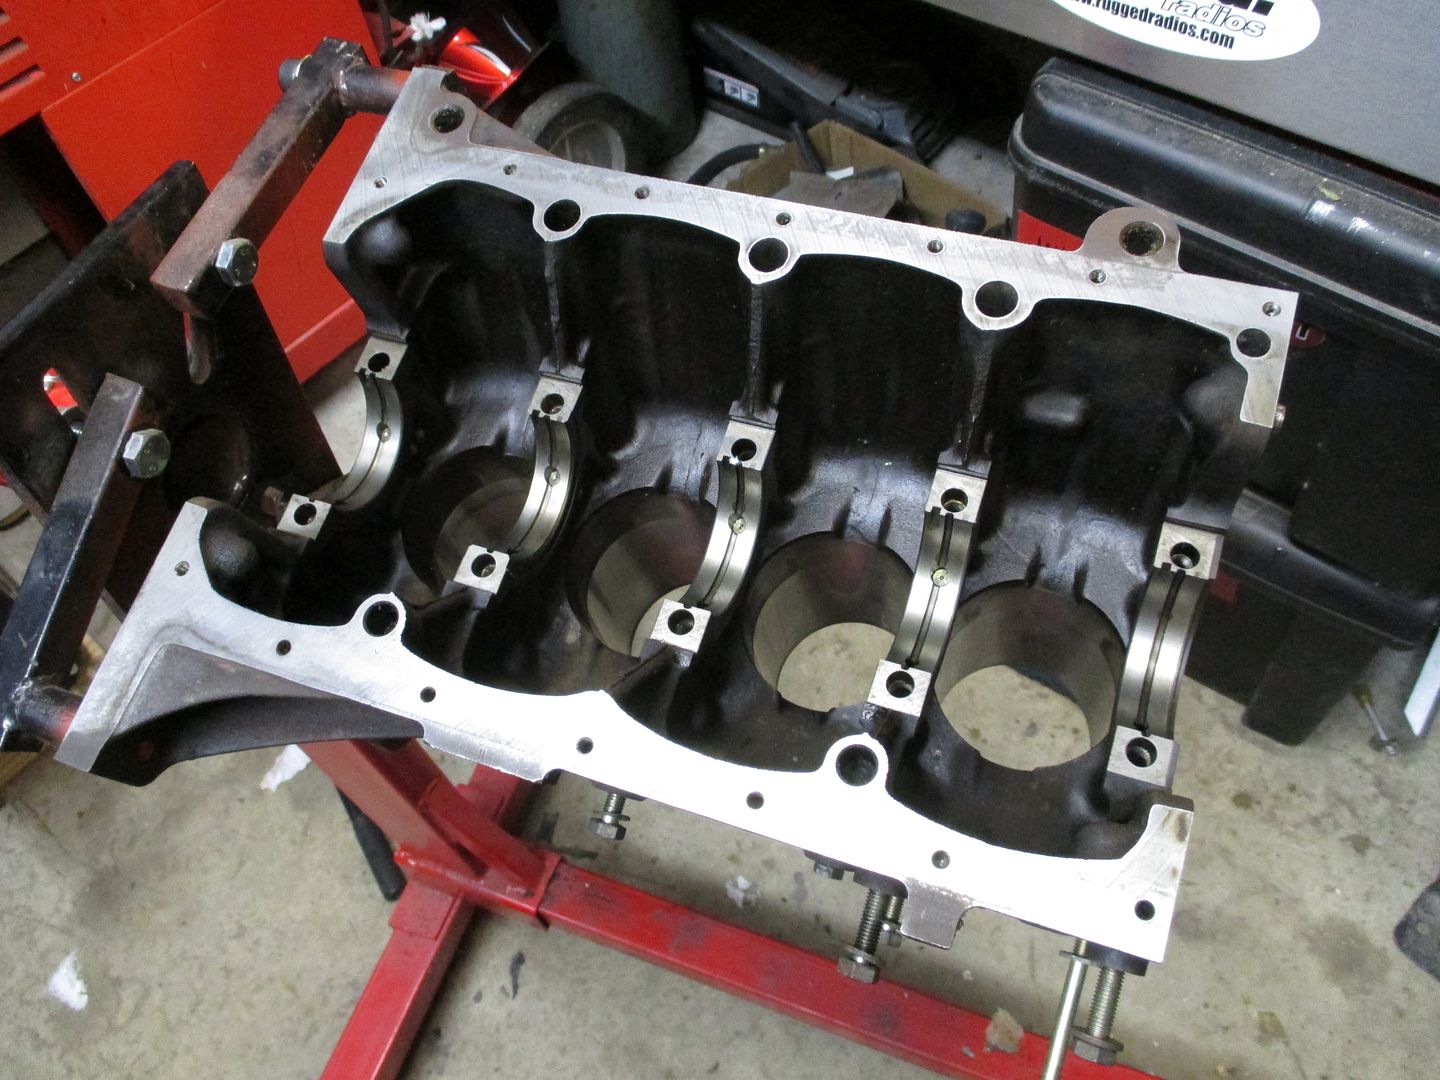
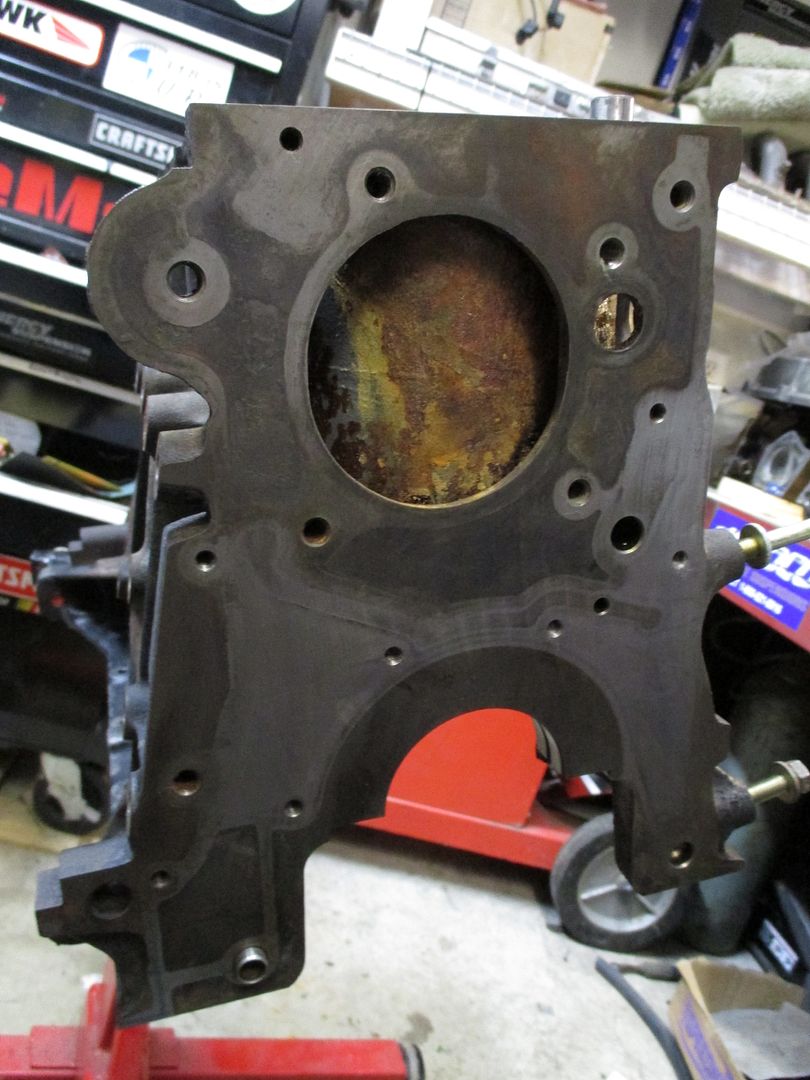
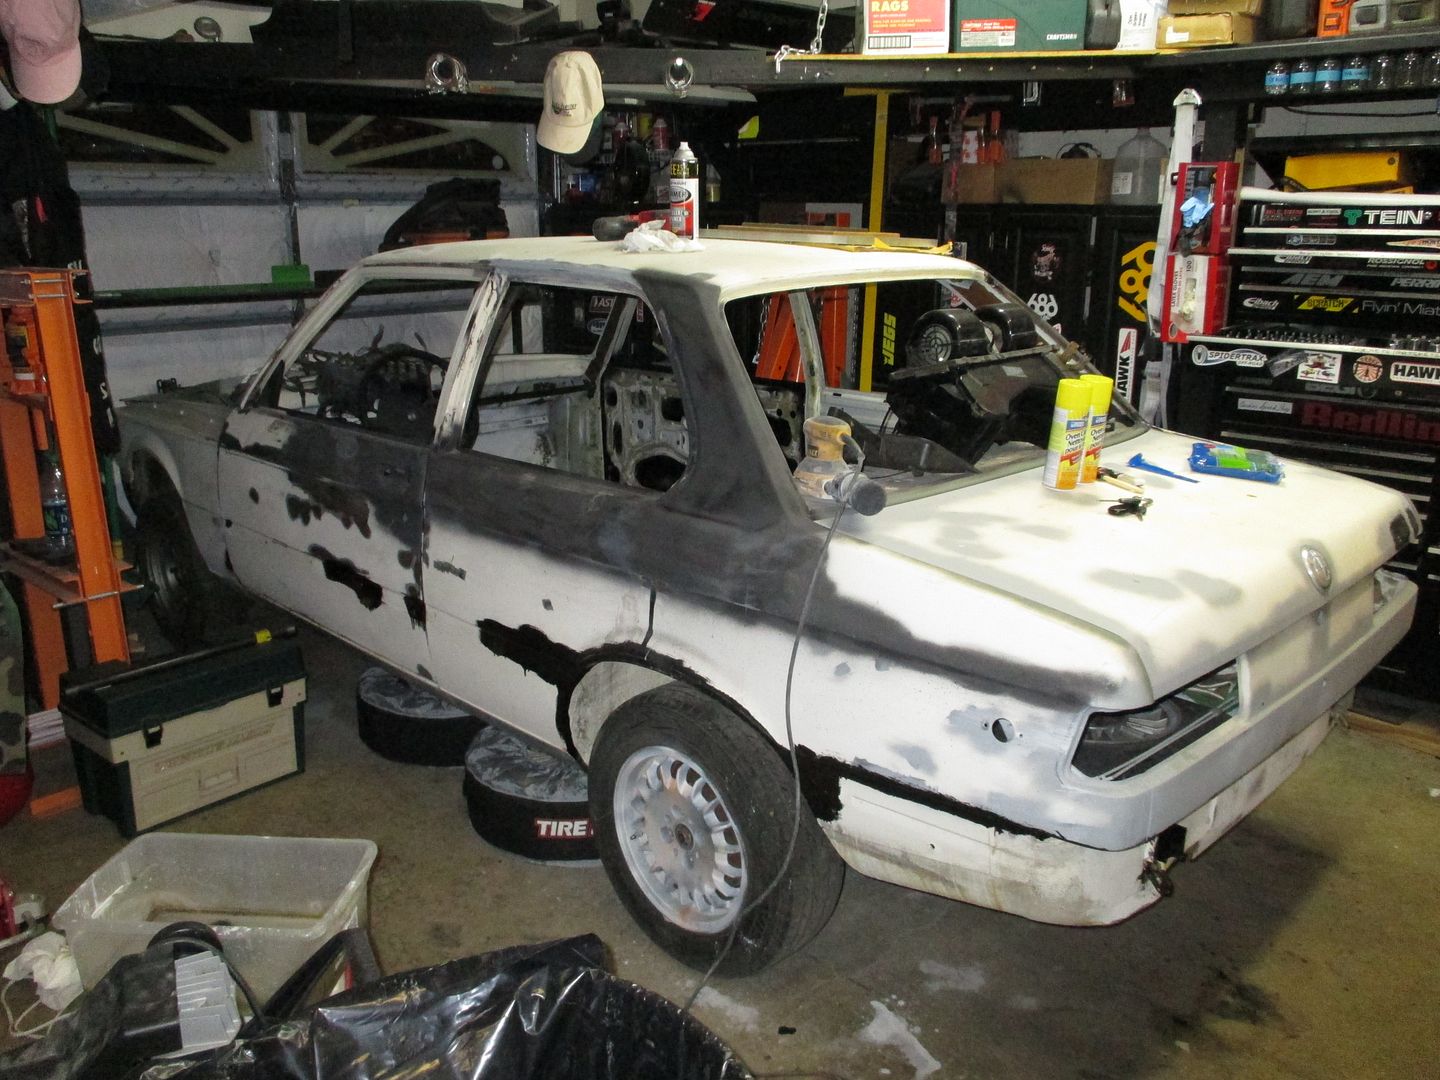
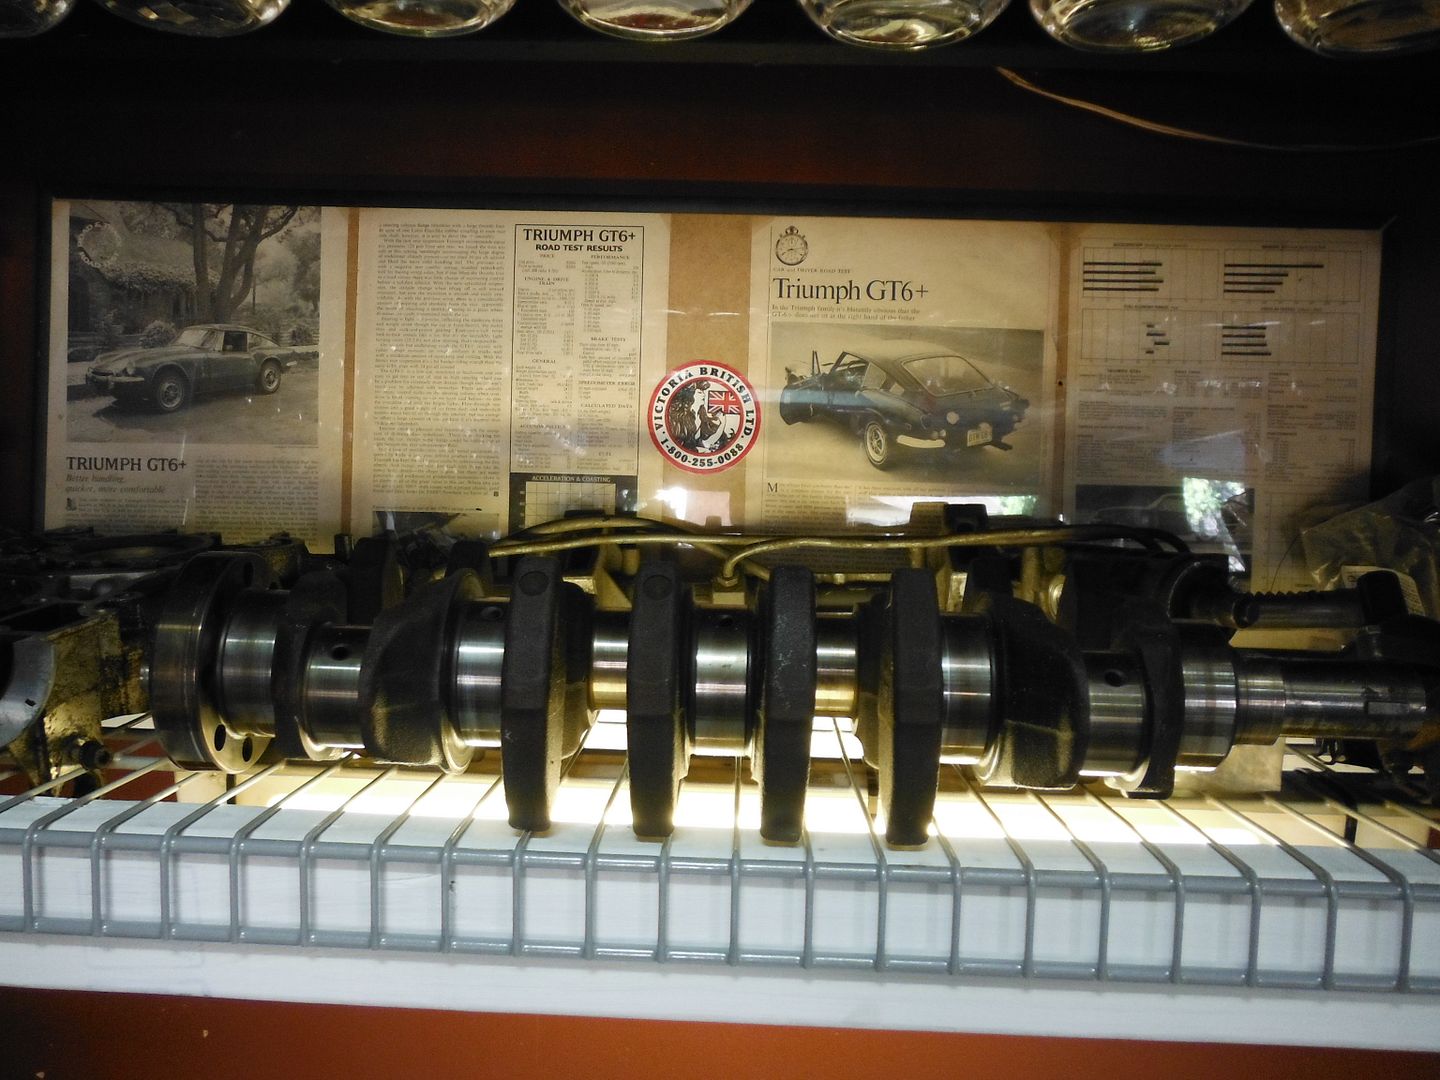
    Finished cleaning the block, and did some painting. Might as well make it pretty. The copper will look good in the Nachtblau engine bay I think...


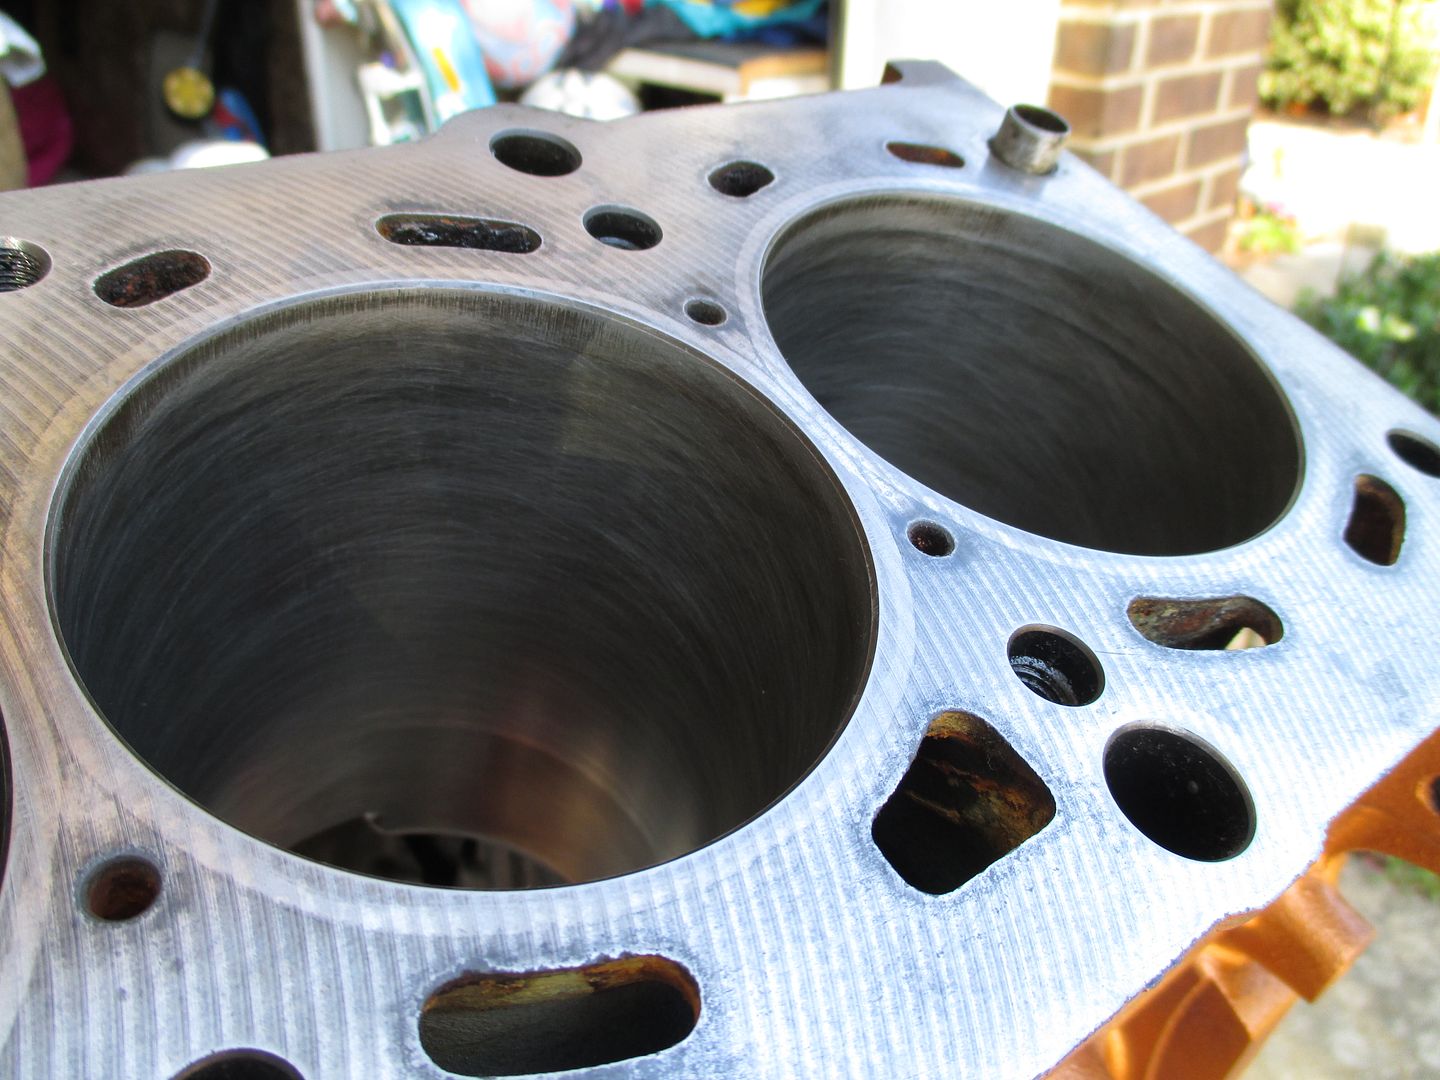
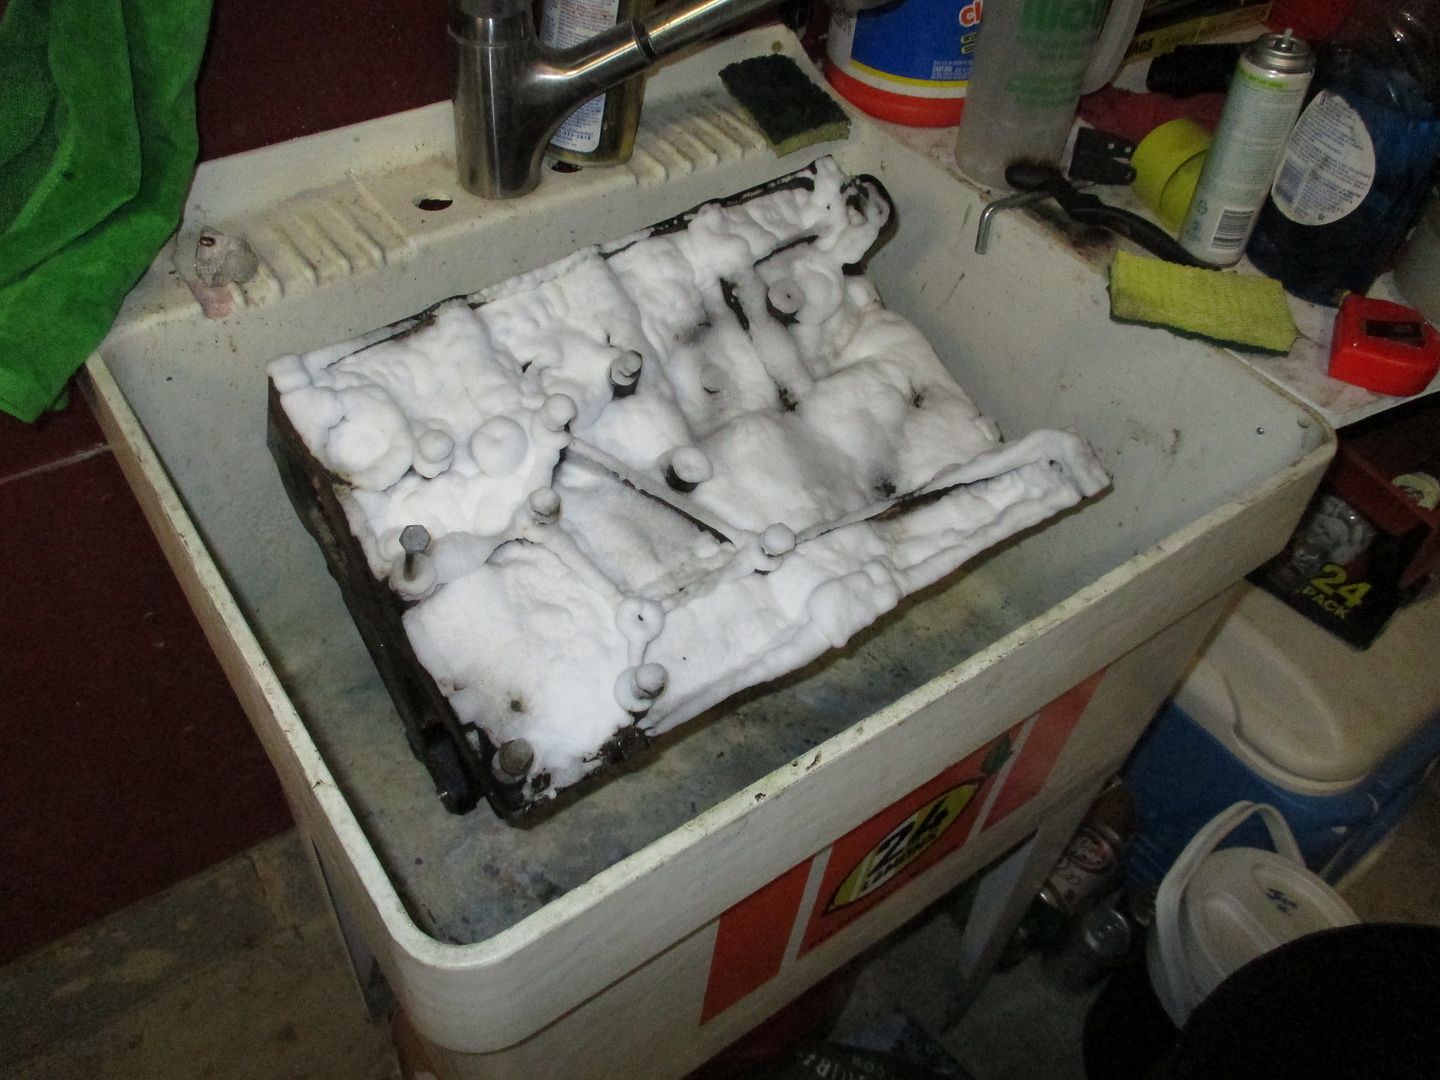
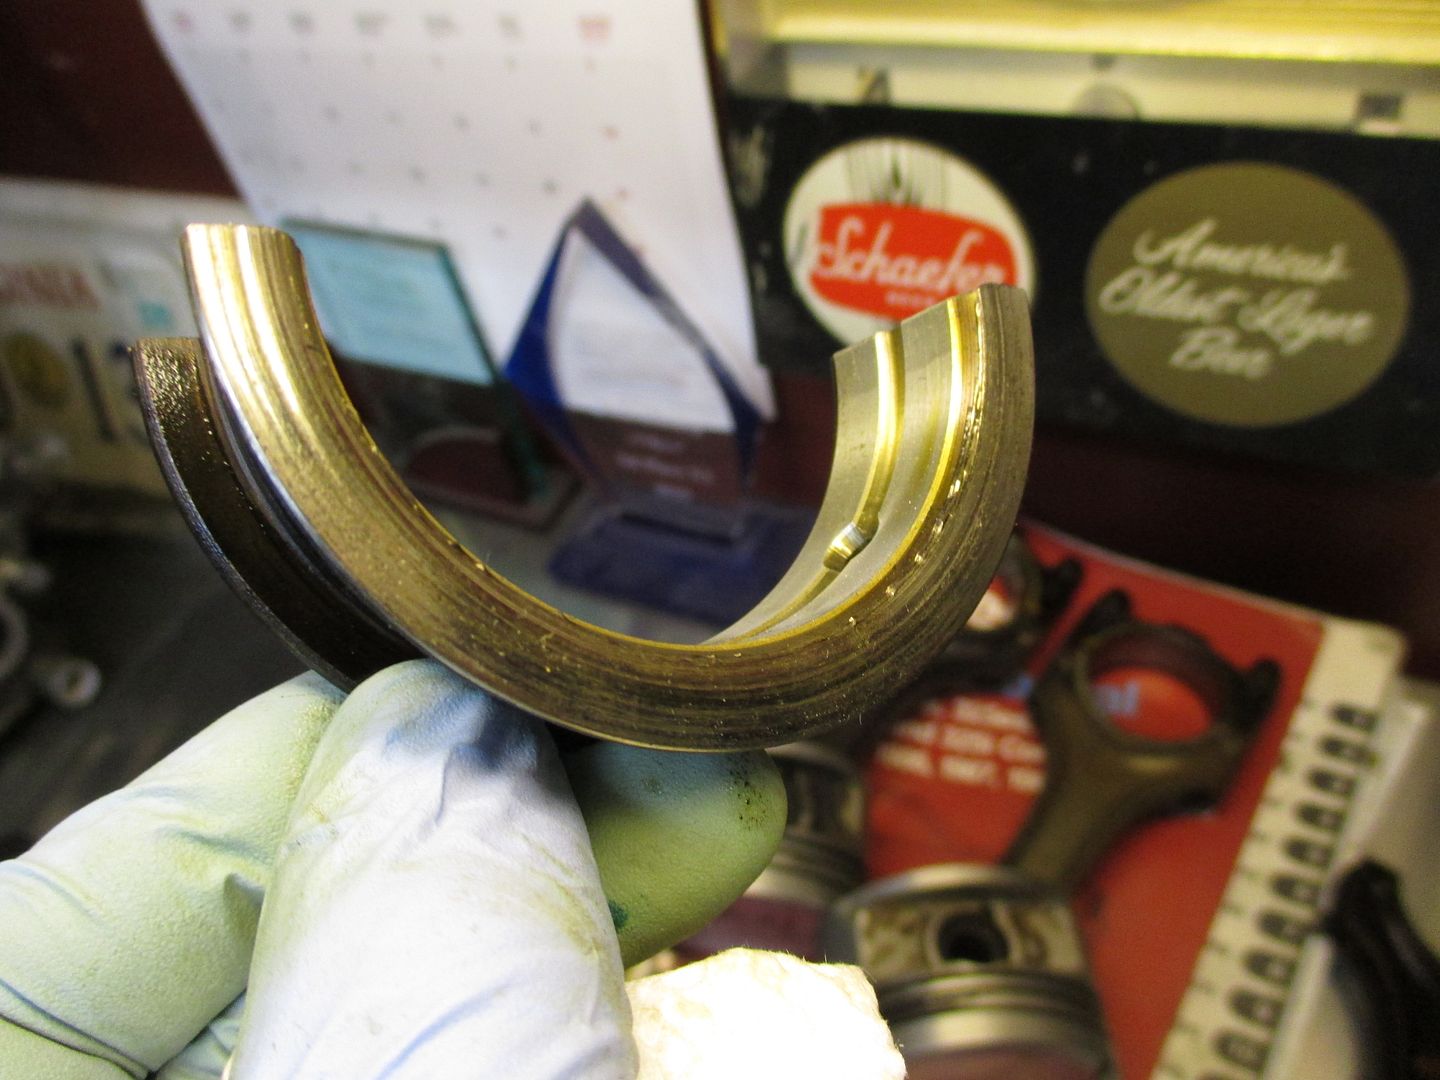
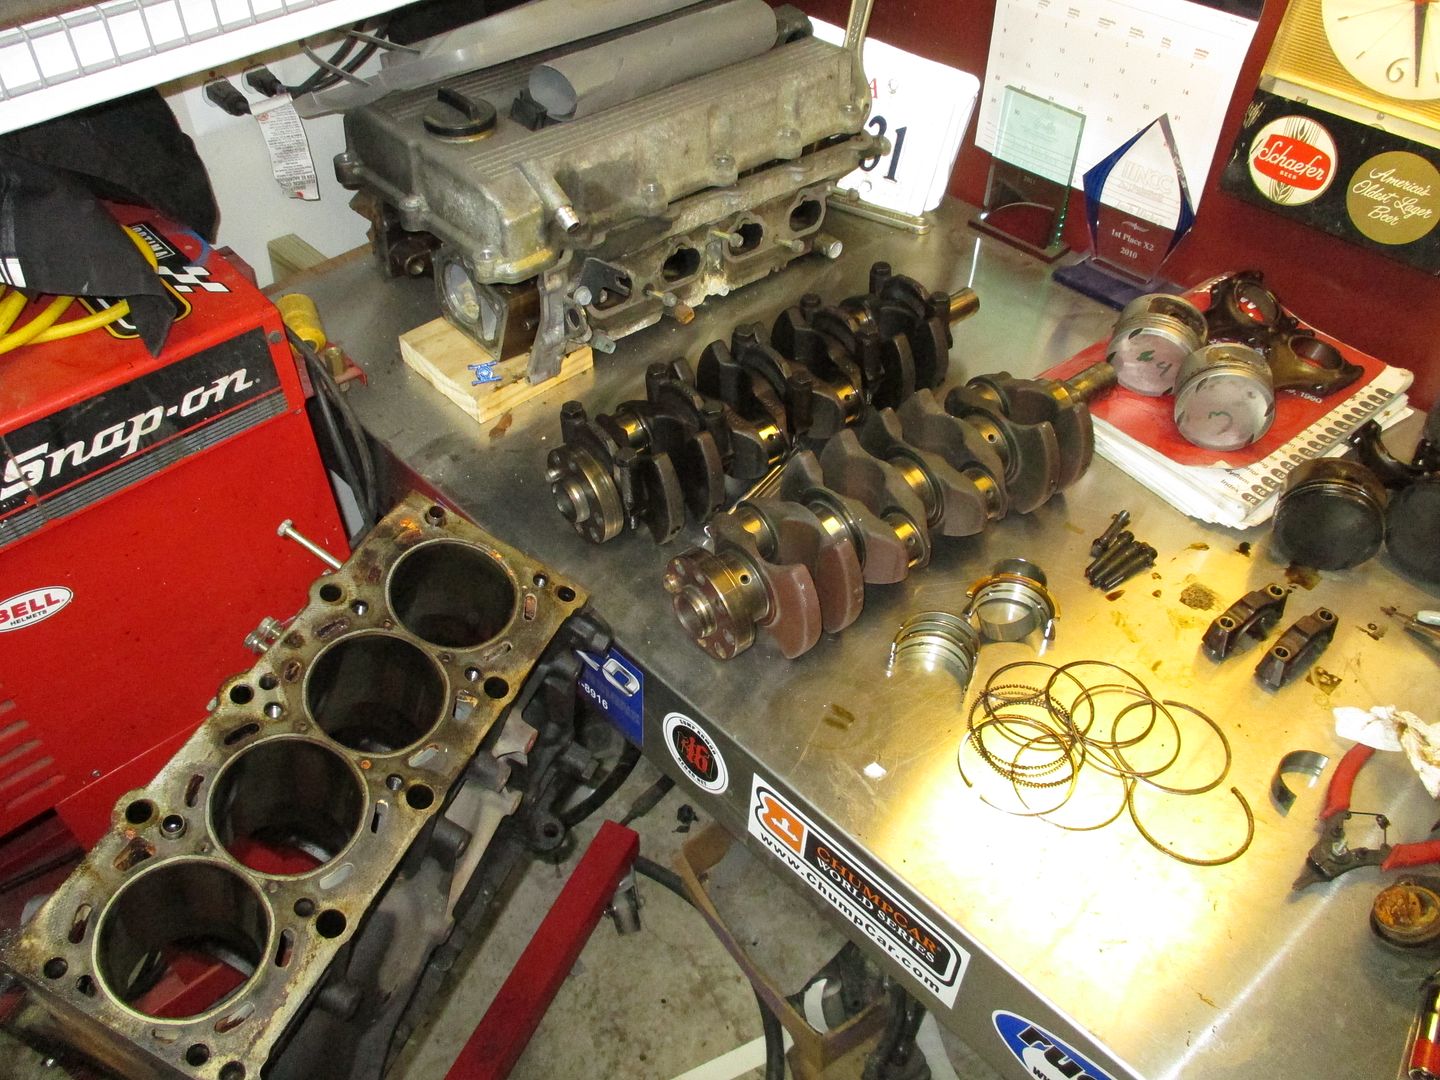
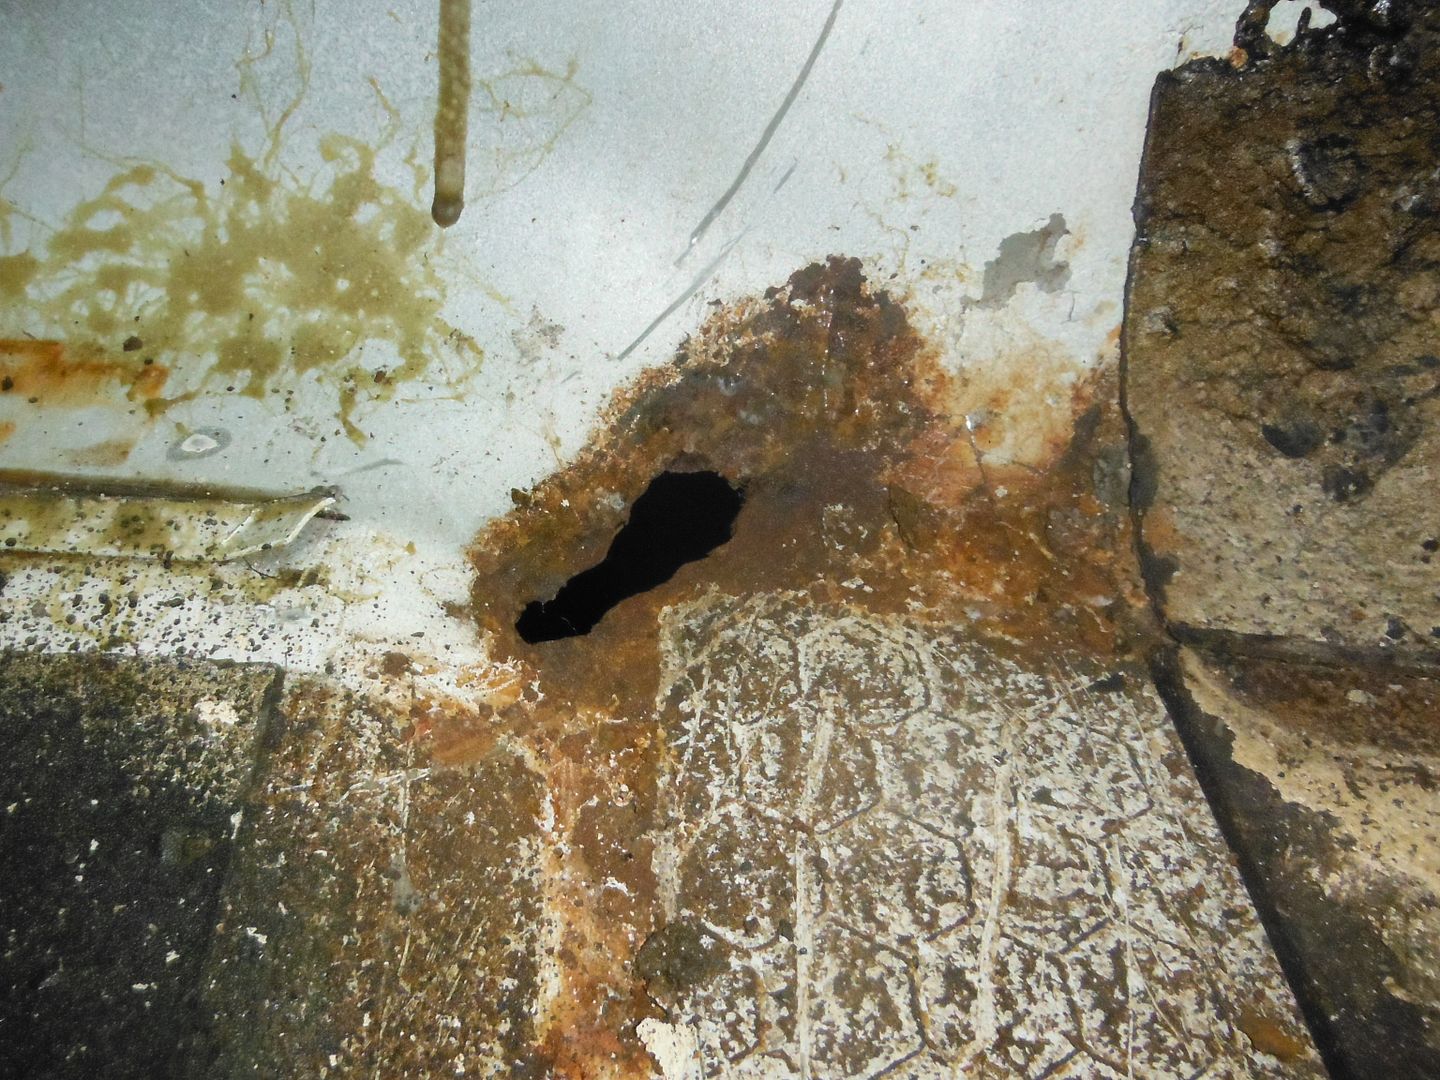
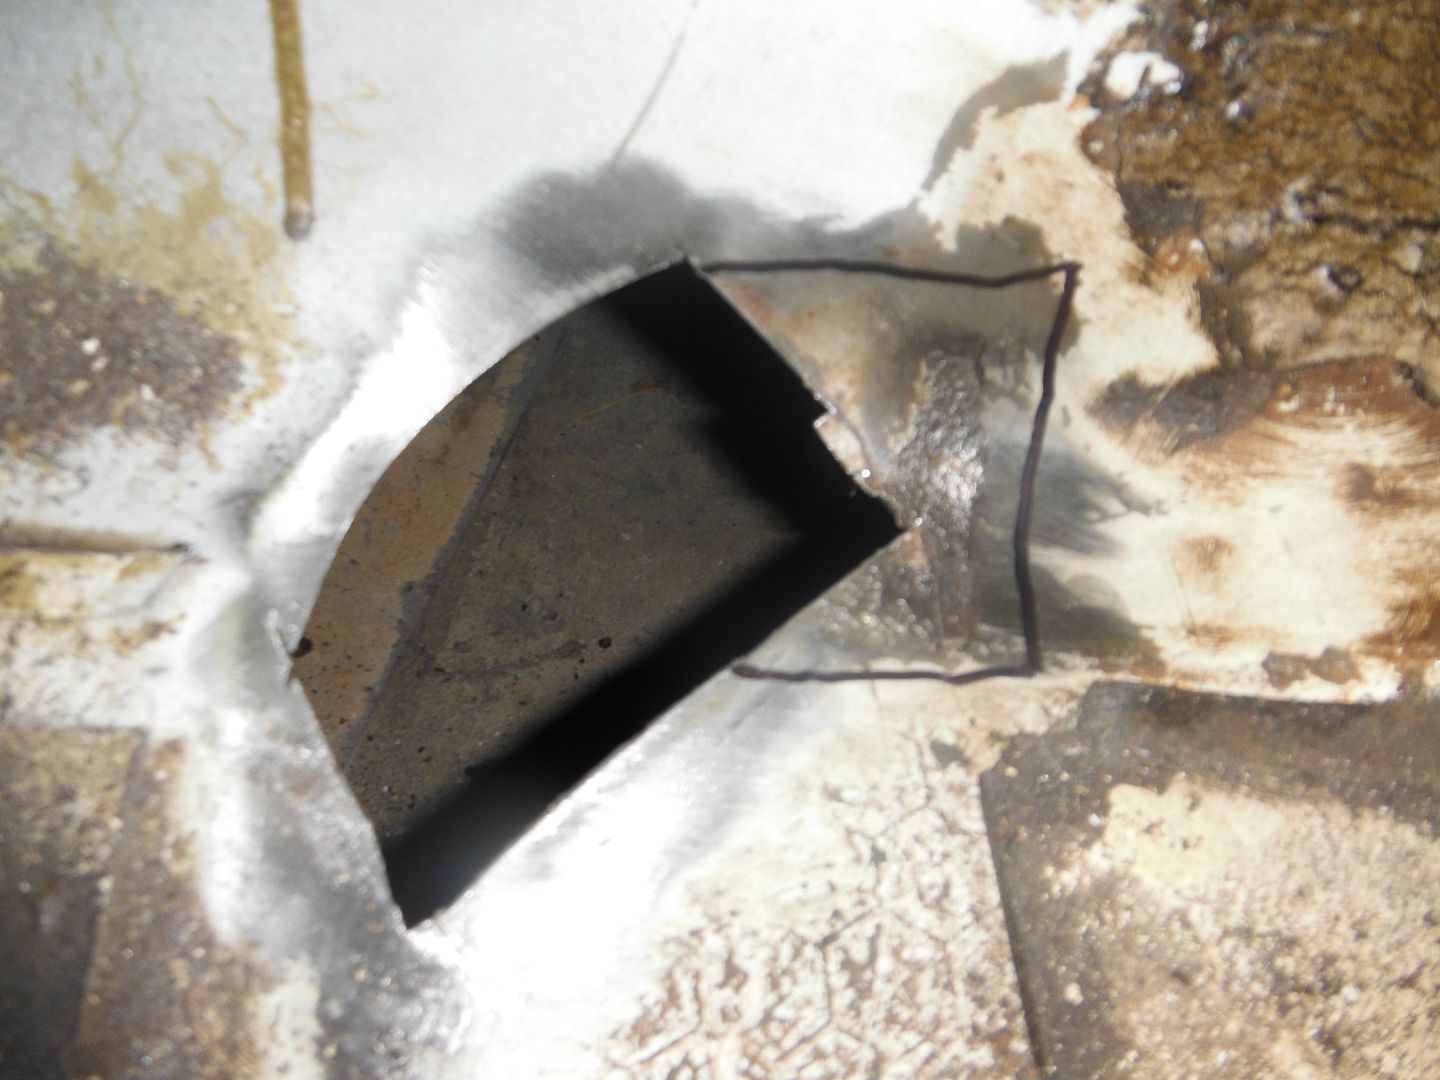
    Also finished cleaning up the block deck, and did a light hone of the cylinders.


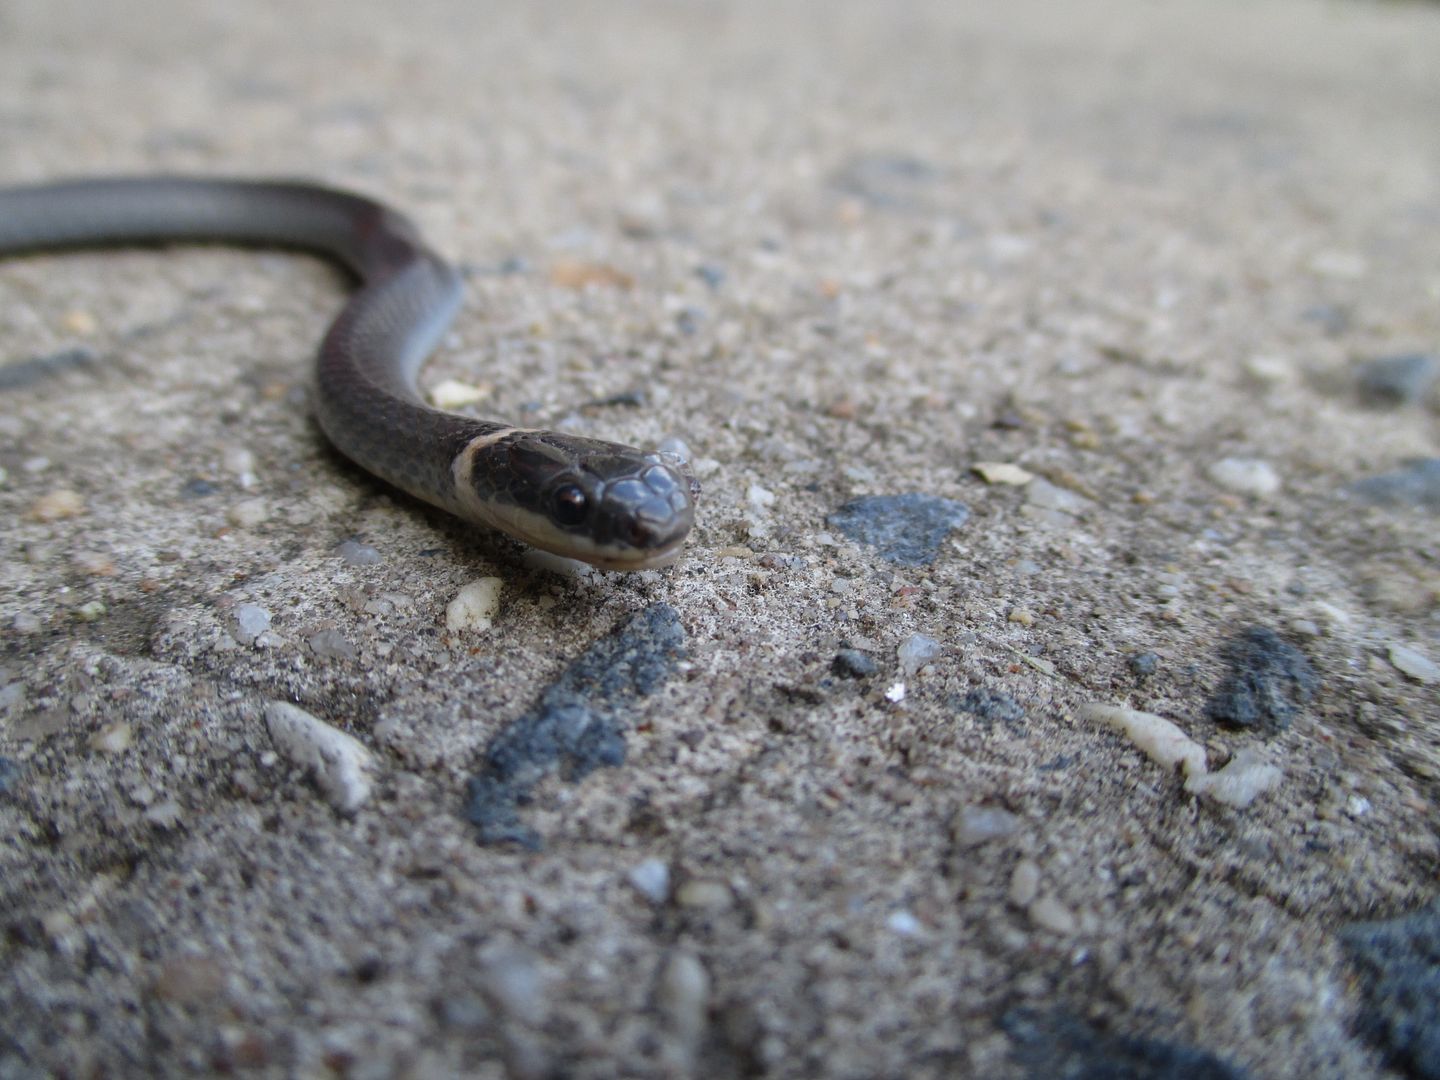
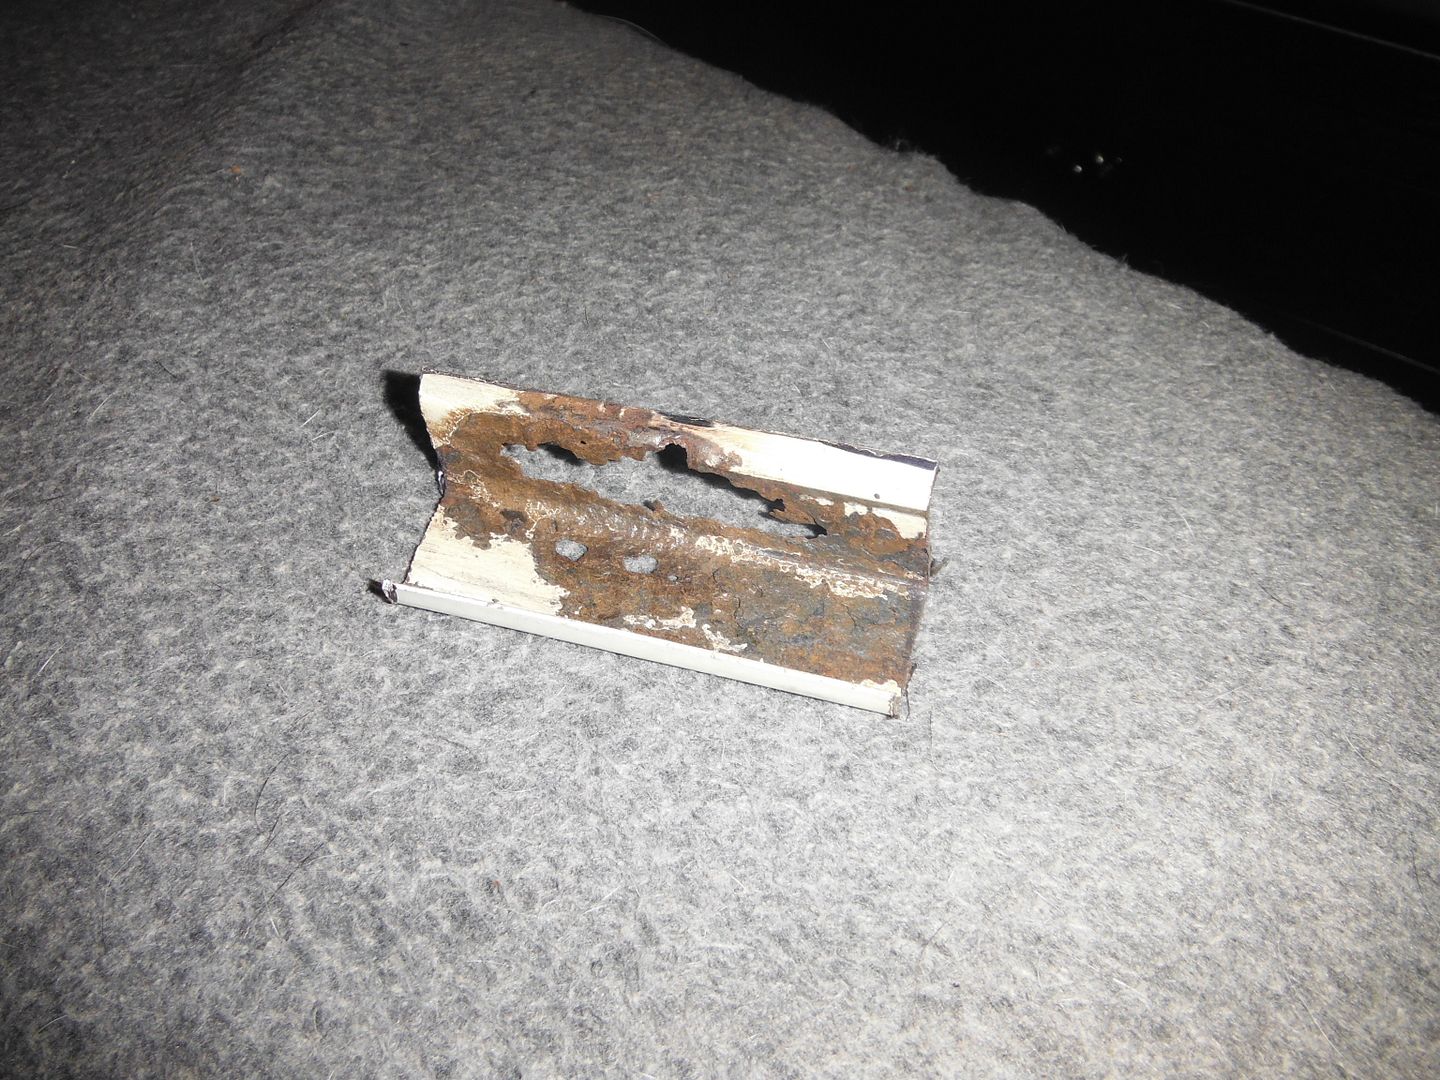
    My buddy came over to lend a hand, but unfortunately he has no hands...


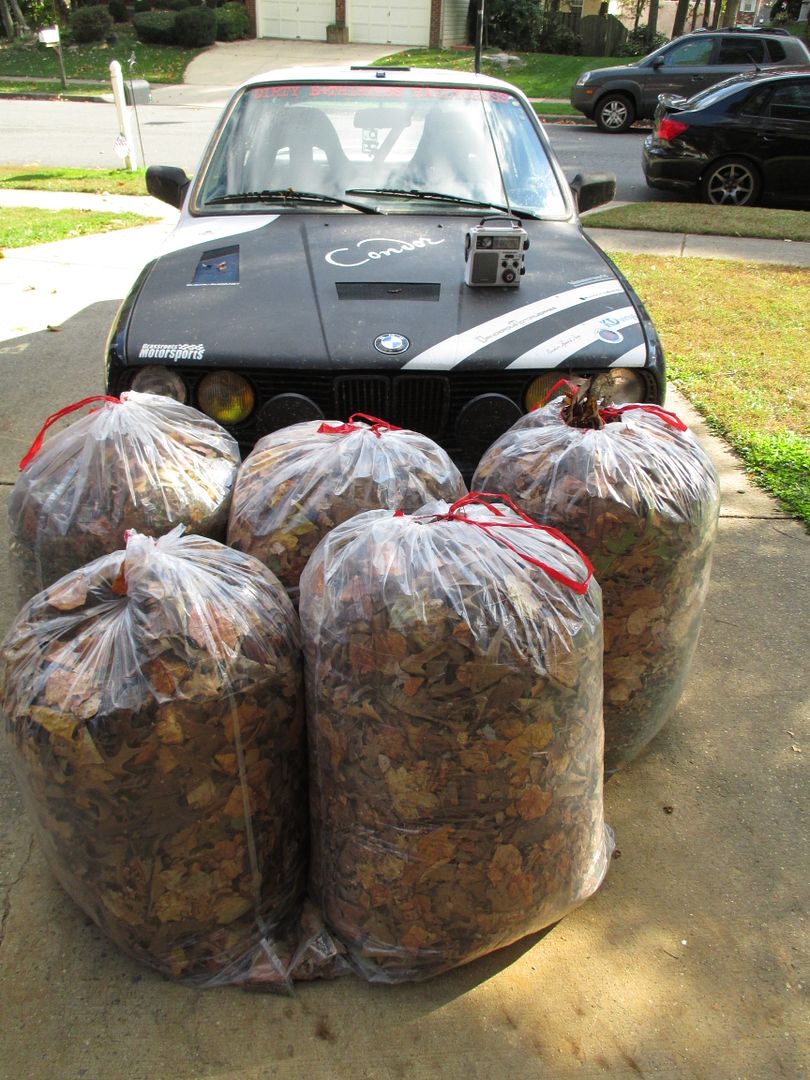
    Then did some leaf-blowing and raking...


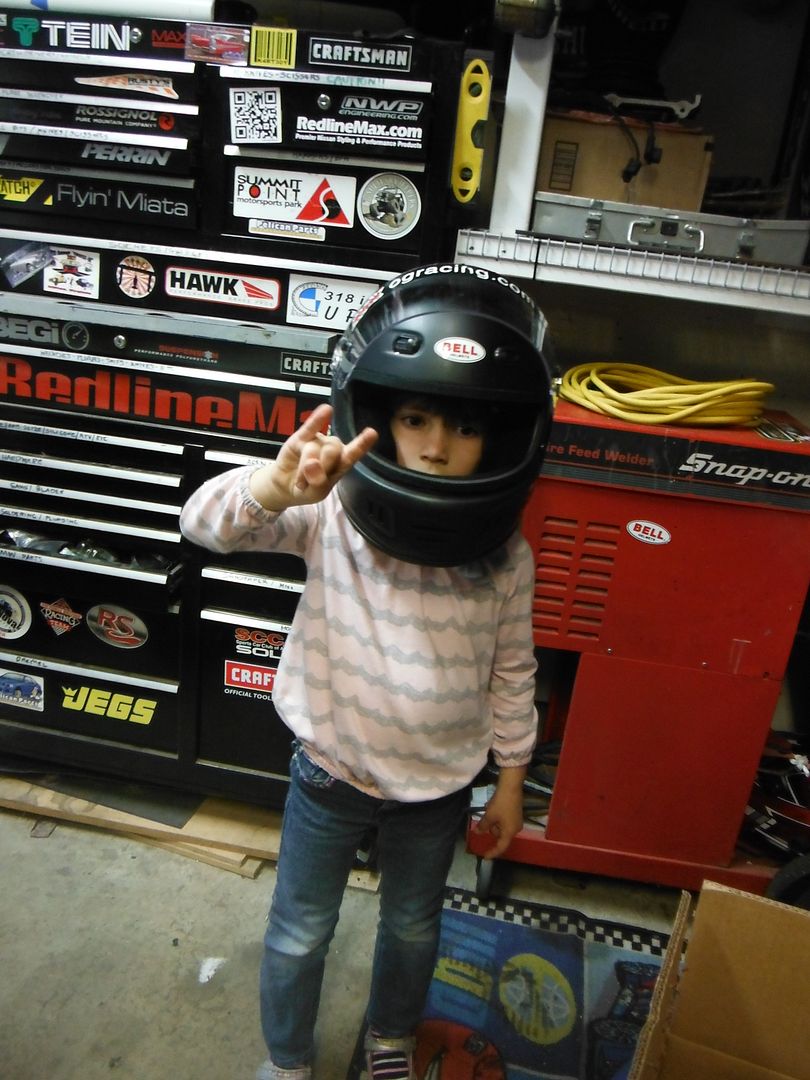
    my daughter wasn't impressed


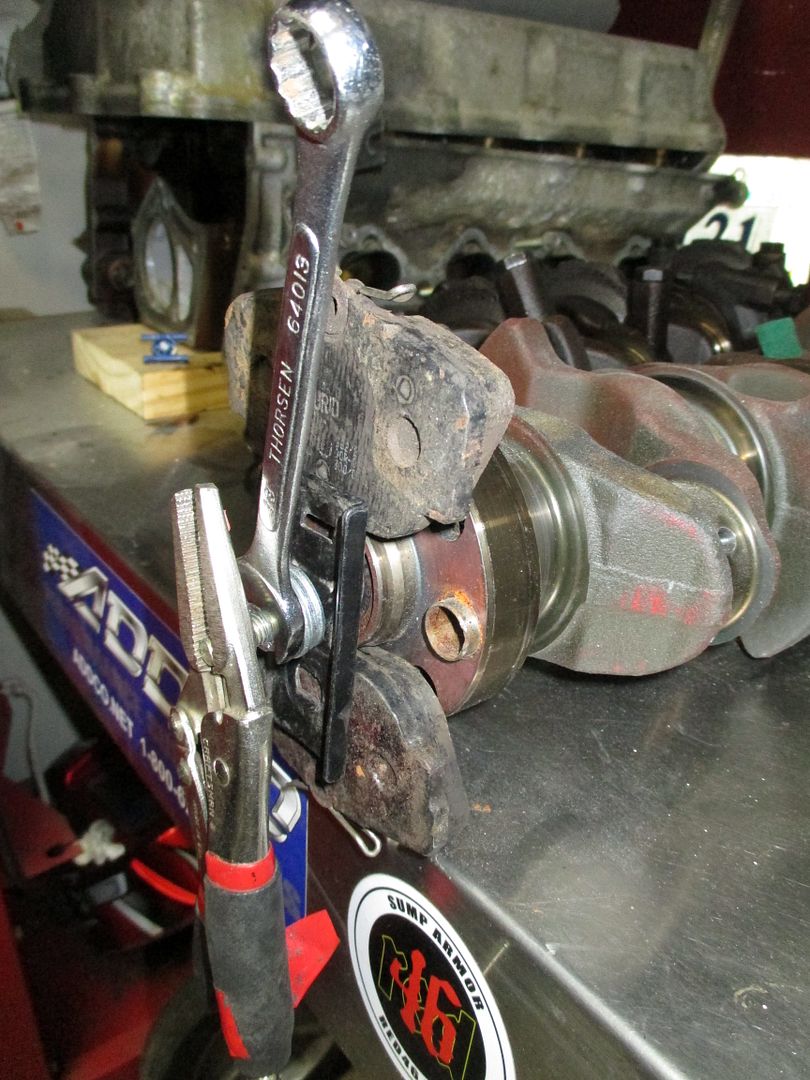
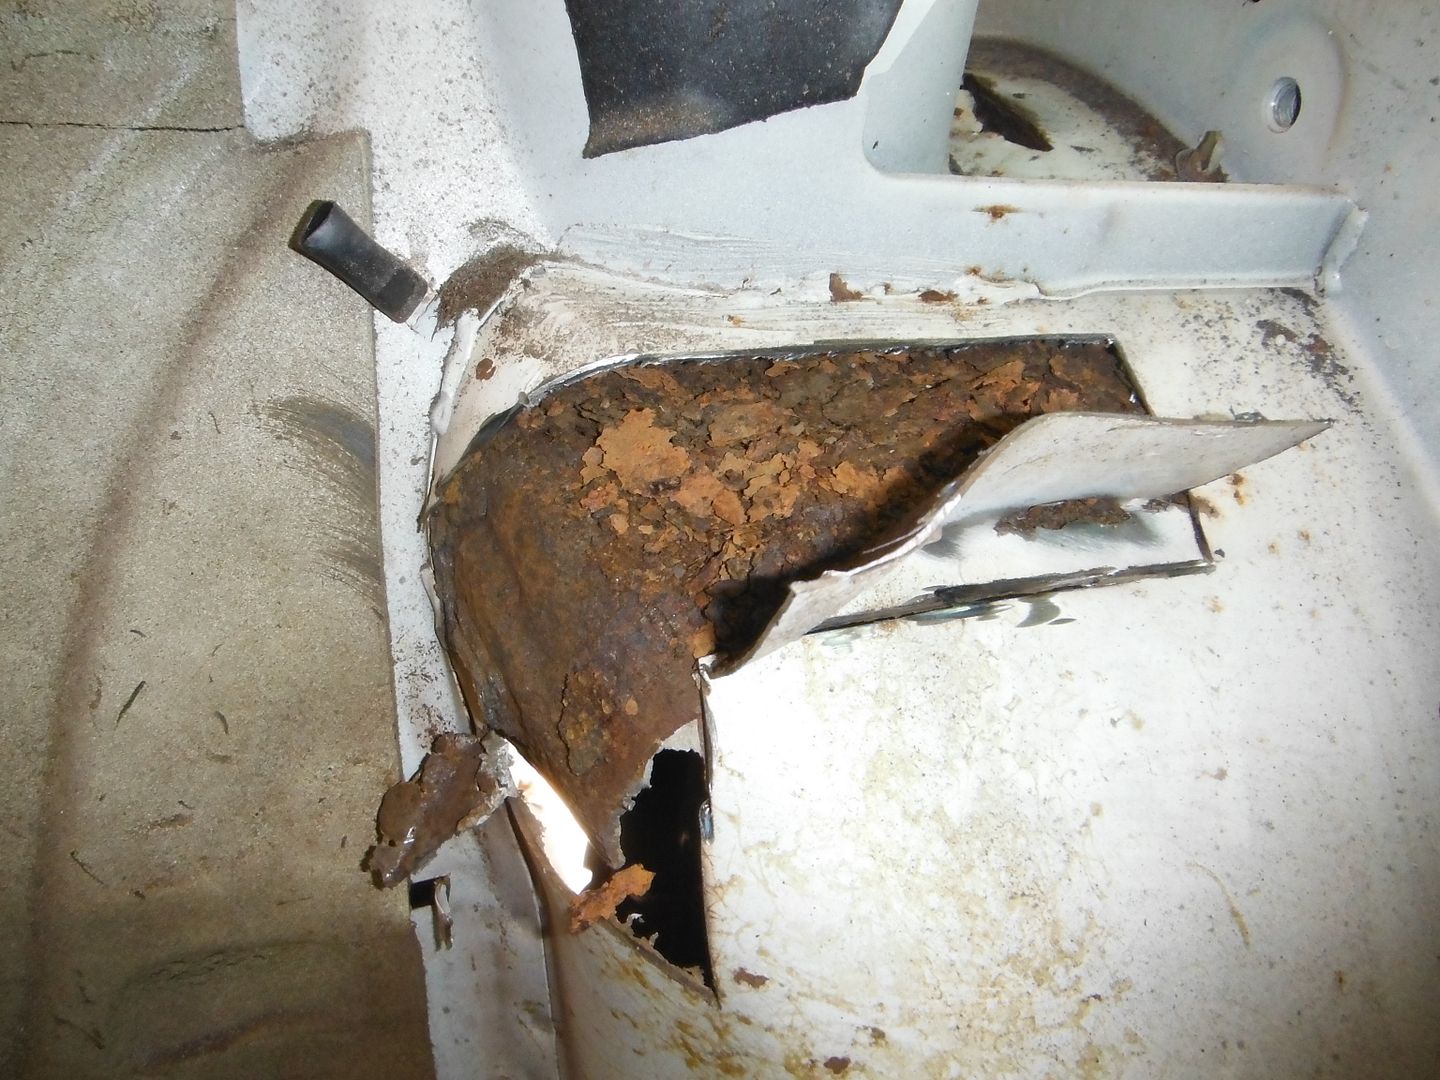
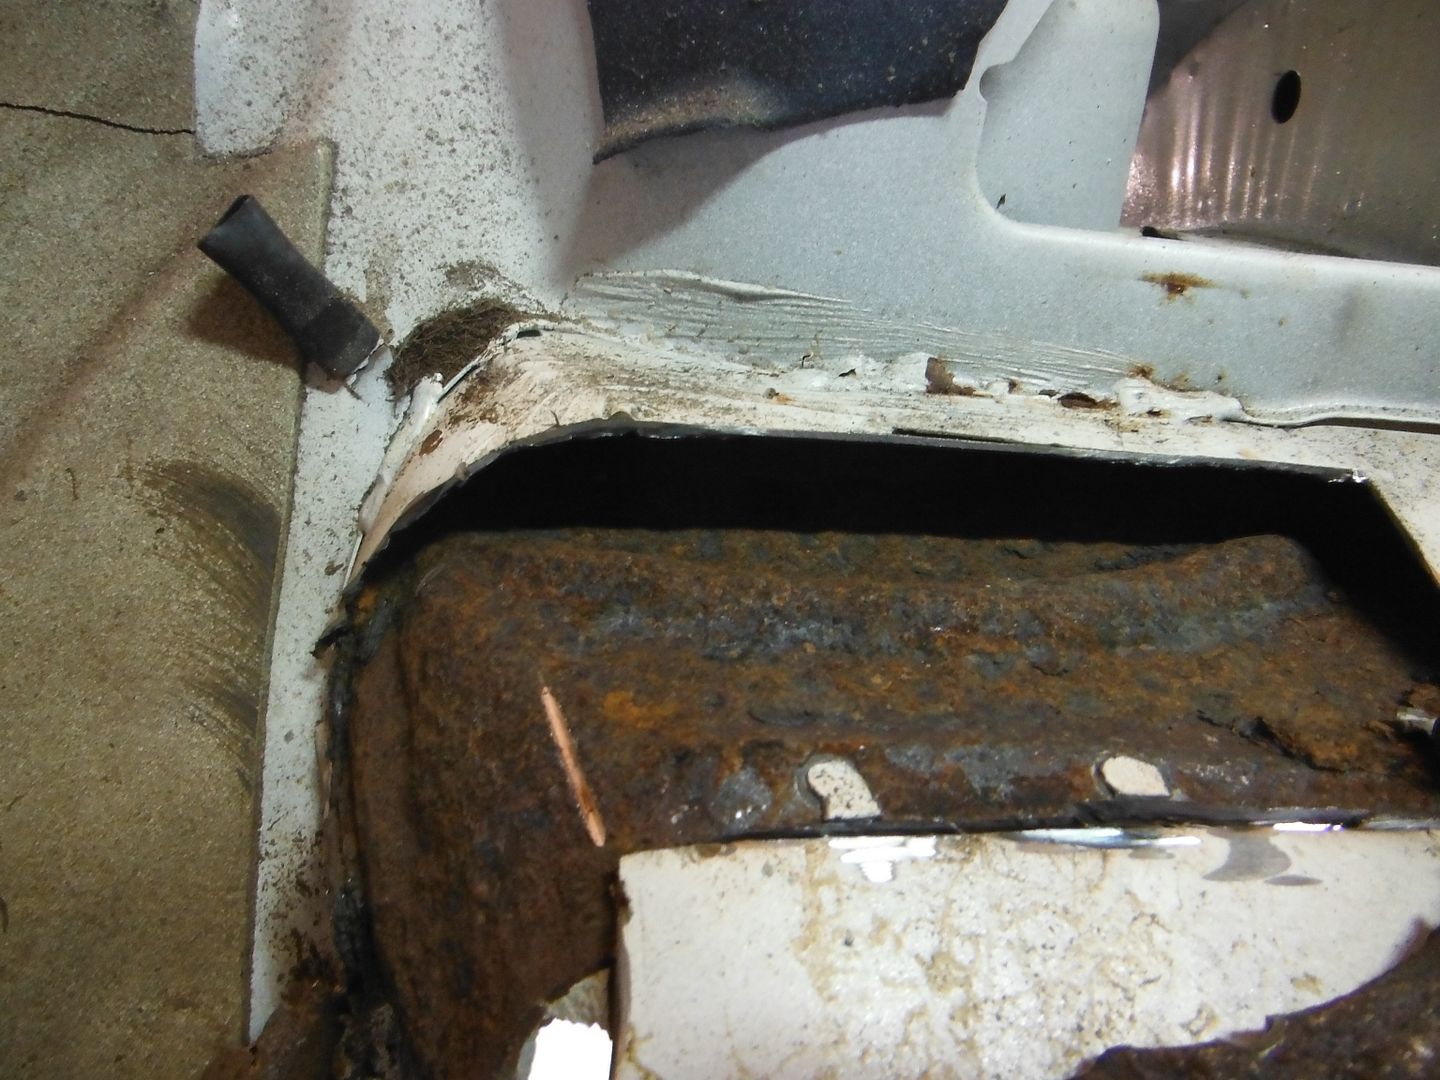
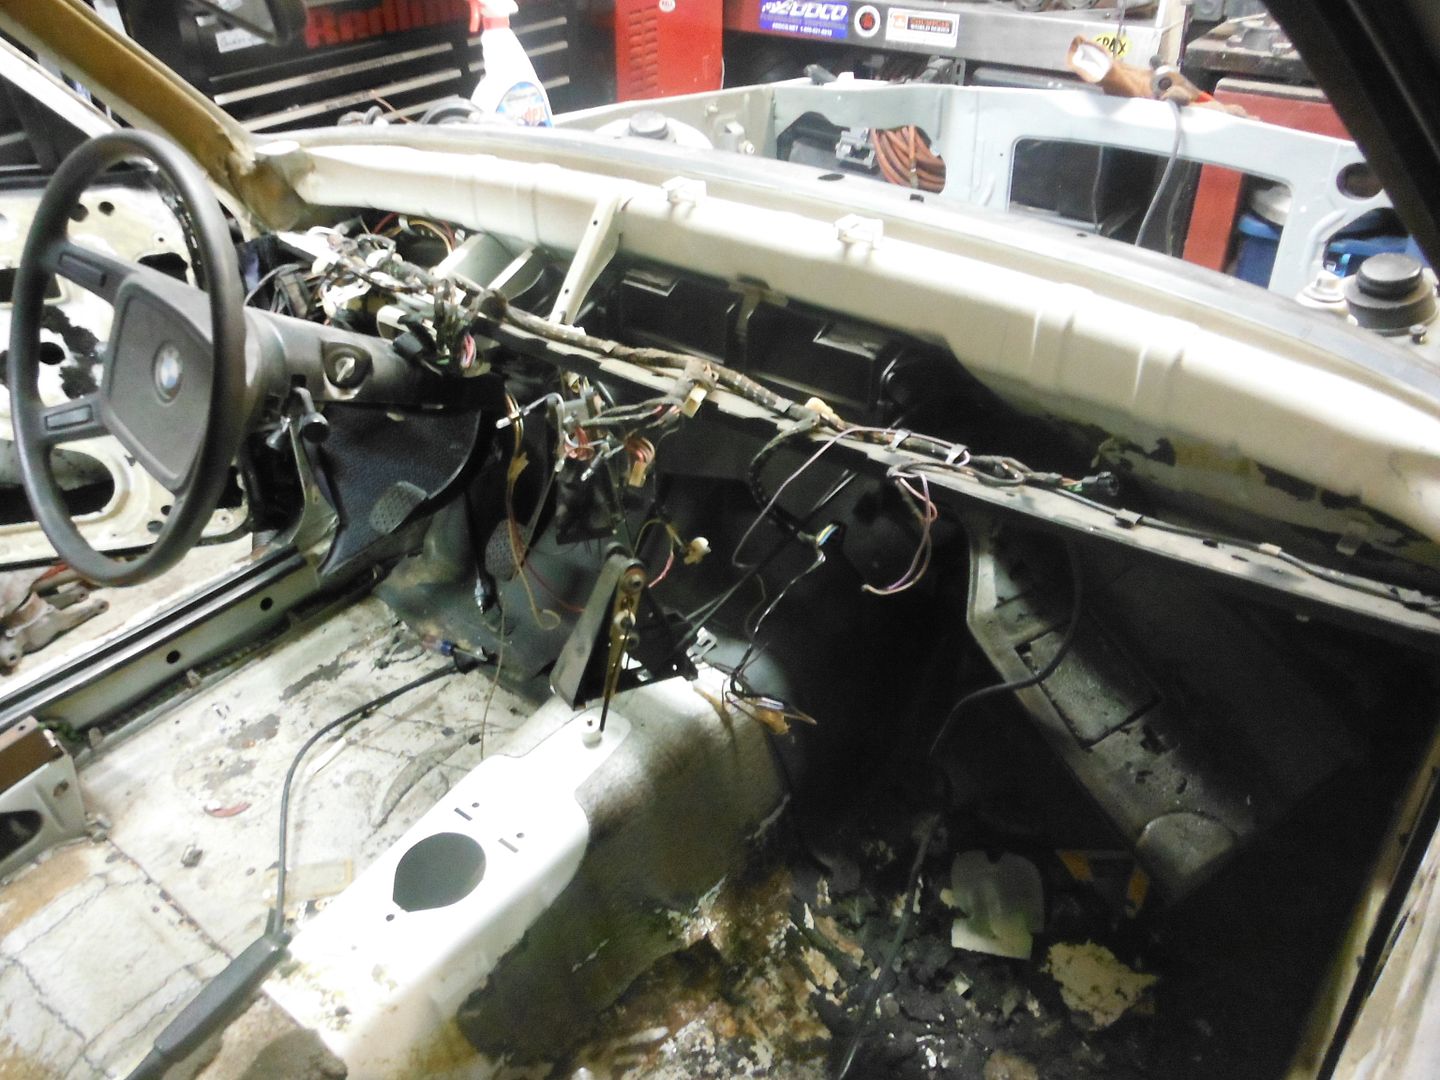
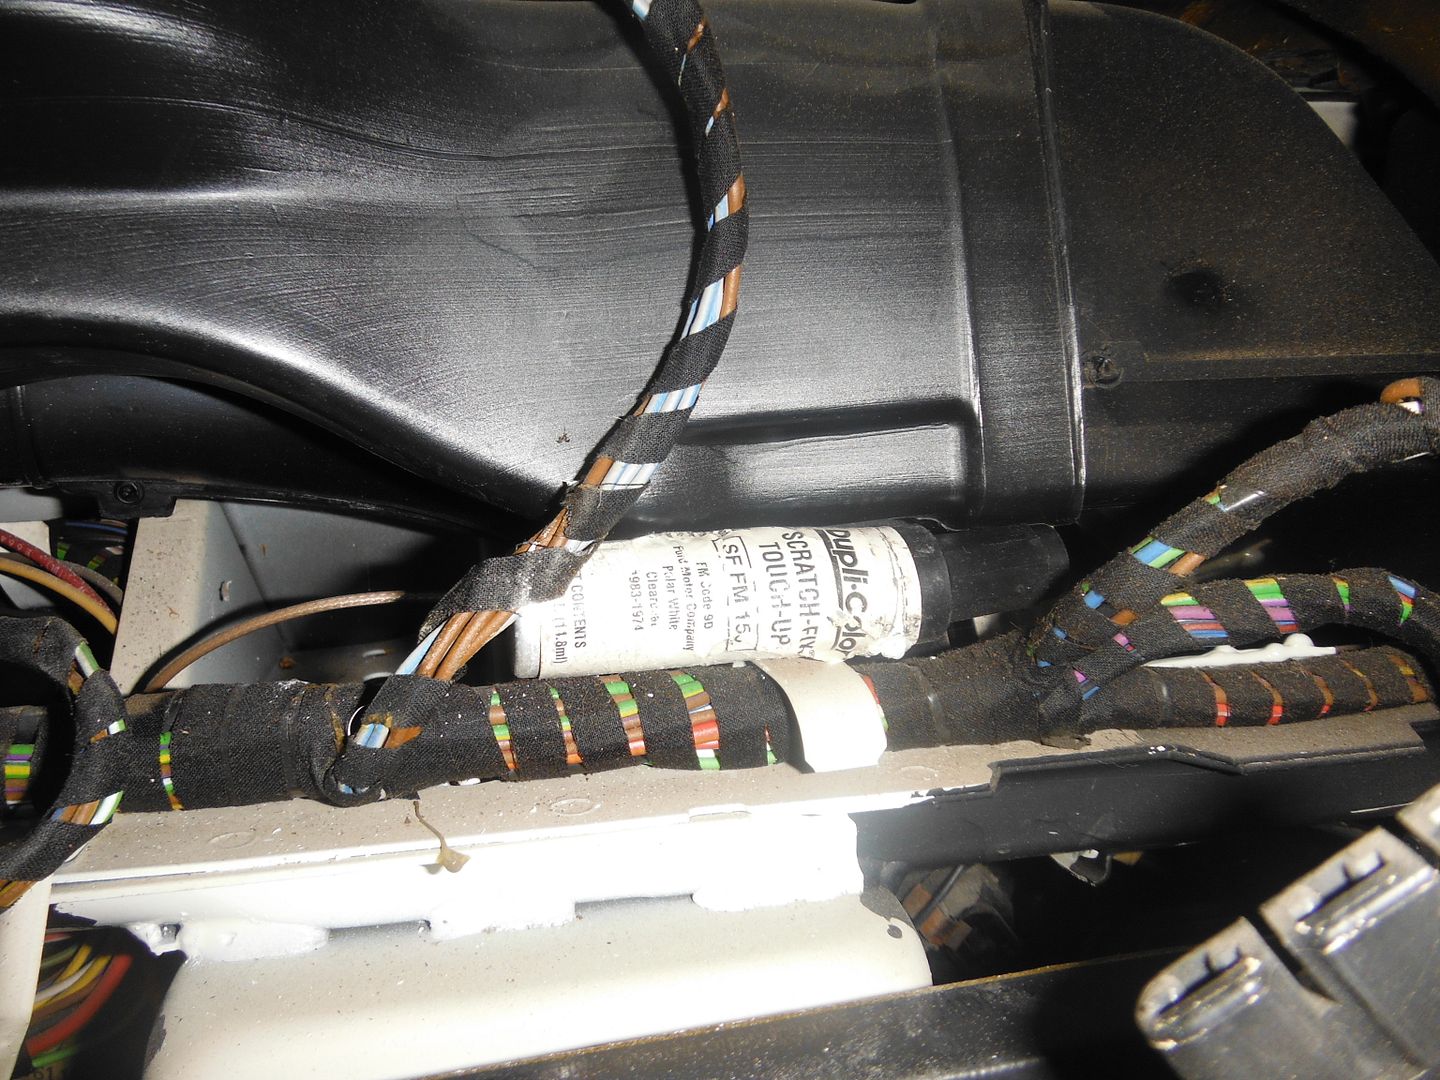
    and wanted to pull the pilot bearing, so fabbed up an awesome tool built of a bolt, nut, random roof rack clip, and two brake pads :)

    Last edited by irish44j; 10-27-2013, 02:15 PM.

    Leave a comment:


  • irish44j
    replied
    Engine Cleanup Time!

    Now that I have the engine apart, I decided to clean it myself rather than throw away money at a machine shop. Most shops these days use a "steam cleaner" dishwasher anyhow rather than a hot bath, so I figure with some elbow grease this can be done.

    Note that I plan to hone the piston bores later this week (after which I will do some more cleaning).

    One of the advantages to having a little 4-cyl: the block fits nicely in a utility sink in the garage, giving me direct hot water access and drainage. Before I put it in I coated the cylinder bores with some WD-40 to keep flash rush away (and it worked), and since I have an extendable faucet (my old kitchen faucet, lol), I was able to basically keep water out of the cylinder bores for the most part anyhow.

    So first I put the engine in and (both sides) sprayed it down with oven cleaner and let it soak.


    Then I used a brass brush and some brillow to scrub it good and clean. Then degreased it afterwards just for good measure. Seems like it's pretty good and I need to get some engine paint and do the outsides of the block now.


    Then I went to work on all the polished gasket surfaces (head gasket, oil pan gasket, timing case, etc). After I cleaned it as well as possible I block-sanded with 1000-grit wet-or-dry (slightly wet). This got the last remnants of gunk off of it and left me with a very nice and smooth surface. I can't feel any imperfections on any of the surfaces now, so should mate up nicely with the gaskets.


    outer cylinder bores have some rust, but not as bad as the camera makes it look.

    Leave a comment:


  • irish44j
    replied
    Oh let's do some stuff.

    Engine block fully apart now. I ordered new rings, seals, bearings, etc so those should be here in a few days. I want to get this engine buttoned up relatively quick because right now there are parts of it all over the place and frankly it's all just in the way of doing other things. Want it all back together so I can stick it on a dolly and stash it under the bench until the time comes to put it in the car.

    In the meantime....it's pretty gunky but the rings and seals looked pretty good and the piston bores in the block looked good. I'm thinking someone else rebuilt this engine before because it has a very good hone on it (better than my other M42) and the sleeves overall look very good.

    In the meantime, scrubbing the pistons in the big sink with Dawn. I don't want to play with solvents too much since many aren't good for aluminum, and they're not that bad...clean up pretty well with some good scrubbing and hot water.

    before and after (ok, still have a bit more cleaning to do...)


    oh, so here's the old thrust bearing for the crank. Worn to hell..stupid BMW cheaping out and only putting a 180* shell on it. WTF??


    I have another crank to use that has much MUCH less wear on the bearing surface. Will put in new crank and rod bearings as well, obviously.


    Also went to the dollar store and picked up $5 in materials to clean the block (I may use a power-washer, we'll see..)


    what else....

    some more body work. driver's side C-pillar, and some of the trunk surround among other things. So piecemeal since I get bored with sanding pretty quick, lol.


    And finished up the passenger floor and POR-15'd it. Not a good photo, but came out fine I think. Carpet will cover up my sloppy welds :)


    That's it for now. Maybe will get some stuff done this weekend (block cleaned and painted? perhaps.....).

    Oh, and for those not following my rallycross e30 thread, I did manage to take 2nd in class last weekend (beating the points leader) to stay in contention for the championship in modified RWD class with 1 event left. Just have to win it :)

    Ironically, I let another of the top drivers (who usually drives a V6-swapped MR2) drive my car and he proceeded to beat me in it and take first. More testament to the fact that I can set up a car very well for motorsports, but I need to drive harder!!

    Leave a comment:


  • irish44j
    replied
    Ah what the hell, might as well post a not-too-exciting update.

    I've been finishing off that patch in the passenger floor (I hate welding thin sheet metal, by the way). Otherwise, tonight I got the gloves on and cleaned up the very gunky CV axles that have been sitting on the bench for a month. After a good cleaning they look pretty good and, though I thought the boots were no good, they actually look brand-new and are still pliable and not "cracky" at all. Guess sitting under the car out of UV light, coated with grease, protected them. One less thing to deal with (though I will pop them off and repack the CV joints with fresh grease).


    Since it was also sitting on the bench figured I might as well take apart the HVAC and clean things out. Looks to be in pretty good shape, fully functioning, and the heater core looks very good (though I may pressure-test it if I can).


    The only thing I think I really need to do here is replace the foamy stuff on each side of the vent "hatches." So I need to figure out what that stuff is and where I can get it. May just try to find some thin high-density foam sheets, we'll see. Suggestions welcome.

    This stuff is basically disintegrating as I touched it...

    Leave a comment:


  • irish44j
    replied
    Originally posted by phenryiv1
    A few hours away, but a rear e21 euro bumper...http://www.r3vlimited.com/board/show...16#post3887116
    Thanks, I think the plan for the time being is to go with polished/tucked diving boards. Too much sheet metal work required to make the rear euro bumpers look good on a pre-facelift e21 and I don't really want to deal with it. Plus I may not have any money for a while as you know, lol....

    bringing me to...

    Not much new to report. I've been doing a few other things in the last couple weeks and haven't accomplished much on the car. I did cut out a rusty area on the trunk side lip, right over the gas filler. It's really the only place on the drain lip that is like this, not sure exactly why....must have gotten some moisture under that rubber seal. Anyhow, I cut that out and I welded in a section of "good" metal cut from a scrap e21. Still need to clean it up a bit, so no pics yet :)

    Other than that, as a federal worker, I got furloughed today so I should have plenty of time in the next week(s) to work on sanding and welding and other car stuff, in between some part-time shifts I picked up at the ski shop I work weekends at during the winter. So no expensive stuff for this car anytime soon (or any other car, for that matter). I did sell the Stahl header, so right now I've actually made a profit on this car by about $100 (including buying sandpaper and several cans of primer), lol.


    Tonight packing up my gear for this weekend's ChumpCar race in Pittsburgh. I'm towing up the Chump e30 (325e) with the 4Runner since the usual tow rig is out of action. HOpefully all goes well and we don't have any major issues with the tow or the race :)

    One of the girls is helping me pack. Well, not really helping.

    Leave a comment:


  • phenryiv1
    replied
    A few hours away, but a rear e21 euro bumper...http://www.r3vlimited.com/board/show...16#post3887116

    Leave a comment:


  • irish44j
    replied
    Since I have no patience, decided to to a bit of investigation on the strut towers.

    On the driver's side I cut out part of the front section. First thing: this is the stupidest design I've ever seen on a car (and I work on British cars, so that's saying a lot). "Hey, let's put a gully between two pieces of metal where water can collect but cannot drain from." This problem could have been eliminated by simply having a relief drain where the two pieces (inner and outer fender) come together. Guess the guy responsible for good ideas was out sick that day of the design process.

    So yep, there is rust in there.


    But once I cleaned it out I feel a bit better. A lot of flaking, but once cleaned out the inner fender piece seems very solid still, so it's not as bad as I expected. Will have to see if the rest of it is this way in the trunk. And the outer sheet metal is largely good other than the section I cut out. Looks like it just rusted through at the point in which the water sat the most, so as to let itself out.


    I have some ideas about what I'm going to do here, but will think them out a bit more before I post them up, since I'm not going to do them all that soon.

    Also I cut a view-hole into the same area of the passenger side fender to check it out, since there is no rust-through evidence there in the top shell. Happy to report that on the passenger side the metal is good with only a slight bit of surface rust and no flaking at all. So that side won't need much if any repair. I may spray in some POR-15 to prevent any future rust there, however.


    ok, time to watch some football. Maybe more work later today, we'll see.

    Leave a comment:


  • irish44j
    replied
    Spent a few hours today taking care of that hole in the floor, using two hand-formed patch panels (had to use 2 separate pieces because of the 3 different curvature directions. No real good pics of the process (forgot, sorry), but here's one of it finished. It's not cosmetically perfect but it's very strong and has the correct contours that it will not show. All in all not a terribly difficult job for people who weld often, but it took me a while. Pretty pleased with how it came out though.

    Also cut out the other seat riser. For this one I drilled the spot welds, which I should have done on the other one, duh.


    So I mentioned before that this was the worst rust on the car, but that isn't true. I almost forgot about it back there but the driver's rear wheel arch is going to need more extensive work. I won't know how much until I cut out some metal, but it will be a significant job. I can't believe how poorly-designed the wheel arch and shock tower are...they're like a water-trap that can only lead to rust, IMO. It is possible that I'll just buy a whole new inner fender and replace the whole thing, but I'll see how bad it is first and consider other DIY/less expensive options in the short term, IDK.

    I ripped out as much metal as I could just with a screwdriver. The worst of it is here, and there is a bit more on the trunk-side, and a small section on top. Like I said, we'll see....this will be a winter project.

    Leave a comment:


  • irish44j
    replied
    So as the dirty-work meanders along, and I jump around to various things on the car with my automotive ADD and need to keep it interesting rather than just sand body panels for a whole month, lol...

    Had to patch up a hole in the sheet metal in front of the wheel well in the engine bay. Used a copper spatula and just weld-filled it and ground it down. Not totally beautiful, but good enough for government work, as they say. Really things like this are just a way to practice my welding and try to do things I haven't done before, being a relative rookie at welding. So I don't expect most of my welding stuff to come out looking professional, but I'm getting better (I think).

    Cleaning up the driver's side. Got the grinder out and took off all the OEM brackets and stuff, since the M42 setup really isn't going to use any of them. I'll weld on M42-specific brackets (or fab them up) when the time comes.


    patched hole (bottom right)


    grinded (mostly) smooth and primed


    engine bay is coming along. I have to pull the steering at some point to get to that corner.


    Then on to the inside for a bit. I plan to use e30 seats (or something else). Early e21s had big risers tack-welded to the floor for the seats. Those will come off, since I'll weld in some more appropriate mounts once I find out what seats I want.

    So, ground the inner passenger one off first, which also revealed the previous rust hole I had found, by far the worst rust anywhere on the car.


    cutting it out. Will weld in a patch panel in the near future.


    And since I ran out of cutting wheels and can't go farther on that today, let's move on to something else. Something quiet since the girls are asleep now.

    Took out the dash, which was fairly easy once I found the two bolts hidden up under the HVAC venting. The e21 dash has less stuff under it than my e30, but actually took longer to get out. That said, it's much easier with no windshield in the way...


    Here's something interesting. I've seen a lot of evidence that the p/o (R.I.P.) took really good care to keep the car totally original and in great condition (until it sat around for 6-7 years after he died). This is the most interesting. An old bottle of OEM-color touch-up paint stashed away behind the gauge cluster. Certainly an odd place to stash it, but whatever...


    And wanted to check out the floor sheetmetal on this side, where there was some rust evidence as previously noted, so I tore up all the tar soundproofing. Never fun.....but has to be done. The good news is that there is no rust anywhere under it, save for a little bit of staining from where some paint chipped off. So that's a big plus.


    I was going to pull the whole wiring harness out, but after a bit of messing around I don't think I'll do that. Way too much of a pain in the ass to get it all through the firewall, and I don't see any real reason to do it.

    Leave a comment:


  • irish44j
    replied
    Some updates, but not much.

    Last weekend we had rallycross, so back to the dirty e30..A few pics of that by Steve Philips of Jalopnik, who rode along with me and posted a couple pics on the blog.


    I spent most of this weekend re-configuring my garage and moving large/heavy stuff around, but eventually got some stuff done on the car. Got the exhaust removed (PO had added a hangar that made it impossible to clear the subframe, so had to grind that off. Also got the DS and both CV axles removed. Have to say, I love how on the e21 (and e28 for that matter) the CV axles are bolted to the hub, as there is nothing I hate more than trying to get splined axles back into the hub.

    [img]http://i78.photobucket.com/albums/j85/irish44j/BMW%20320i%20e21%20build/DSCF7418.jpg[/img[


    Besides that did more sanding and priming, and the passengers side of the car is coming along nicely

    [img]

    and a few shots of the new garage setup, which gives me a second "clean" bench so I can rebuild the M42 and keep all the dirty stuff on the main bench separate.


    The new bench. Using an industrial kitchen countertop that I scored for free a while back.


    Leave a comment:


  • irish44j
    replied
    Not too much interesting to report. Rallycross starts up this weekend again so I've been doing a few little things to the e30. In the evenings I've been doing mostly bodywork on the e21, which is not really very exciting, lol. I gutted both doors and cleaned up all the window/latch hardware, regreased it, etc and then put it all away in a bin for later re-installation. With all this out I cleaned out some surface rust in the bottoms of the doors and applied POR-15 generously to protect it in the future. Also sprayed the upper areas with Rustoleum just to prevent any surface rust, which there was a bit of.


    Then I applied some black silicone sealant to the "seam" down at the bottom to fill it and prevent any water hanging out in there, routing it to the drains instead. Kind of messy and not much to look so no pics. I'm sure you can visualize if you so desire.

    I've been working on the passenger side of the car since it's in better shape. Start easy and get back into the bodywork thing. This side has no dents, and not very much rust other than some small areas, mostly under the door-side bumpers. So all that is cleaned up, ground down, leveled, and about 80% of that side of the car is blocked with wet-sanding and smooth. Once I prime the whole car I'll block it again with some super-fine grit stuff but this is how it will be for a while.

    I've also cleaned up the gutters and all the passenger window frames (inside and out), built up some pitting on the gutters, and sanded. Overall looks pretty good but it will get more work. The rear window sills on both sides are done. Holes welded up, built up and leveled, and sanded. So far no Bondo needed, but I will need some on the driver's door when I get to that side :P


    Leave a comment:


  • irish44j
    replied
    Originally posted by skitz
    Good point. In your opinion, would the control arms see too much sunlight?
    no, it's only an issue if you use it on upper surfaces (hoods, roofs, etc) that are in direct sunlight often. And even then it takes a good long time.

    Leave a comment:


  • skitz
    replied
    Good point. In your opinion, would the control arms see too much sunlight?

    Leave a comment:


  • irish44j
    replied
    Yeah, I did the frame of my GT6 with it and it's held up well. Just can't use it where there is direct sun contact since it breaks down when UV gets it. Make sure you wear nitrile gloves when using it. If it gets on your skin, it'll be there for weeks :)

    Leave a comment:


  • skitz
    replied
    You're making great progress!

    Originally posted by irish44j
    I'll clean/sand all this in the next few weeks and will probably POR-15 the entire floorpan.
    Have you used POR-15 before? I was going to pick some up for my sub frames and miscellaneous body rust.

    Leave a comment:

Working...