Announcement

Collapse
No announcement yet.

Restoration Design's First BMW (1976 '02)

Collapse
X
 
  • Filter
  • Time
  • Show
Clear All
new posts

    Restoration Design's First BMW (1976 '02)

    RESTORATION DESIGN'S FIRST BMW


    www.restoration-design.com

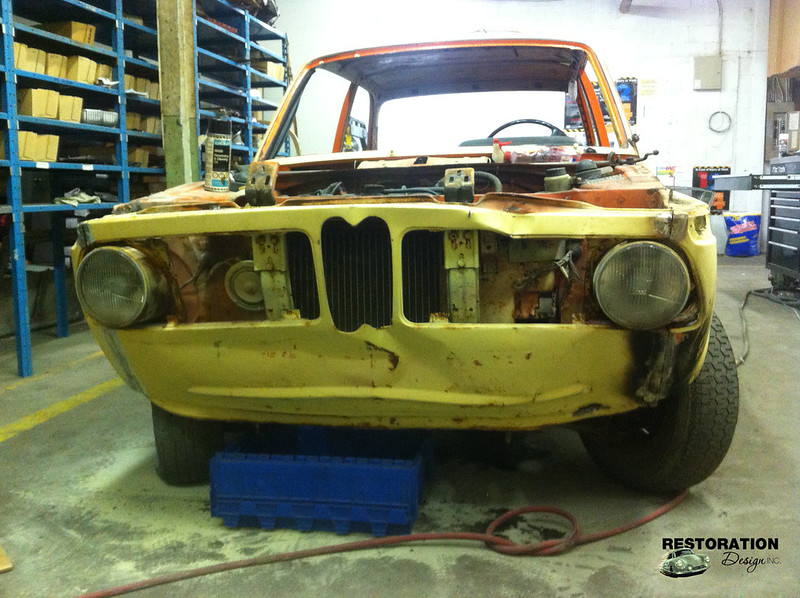
    Say hello to our new (old) 1972 BMW 1802!


    LADIES AND GENTLEMAN...
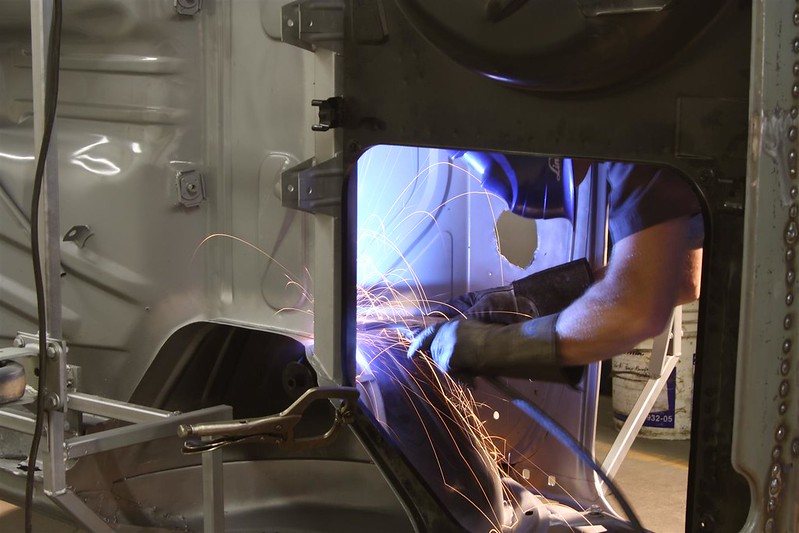
    We are Restoration Design and, quite simply, we make sheet metal auto parts. We've made a name for ourselves in the Porsche world with our exceptionally accurate fitments and high quality and now we're going to do it again with BMW.

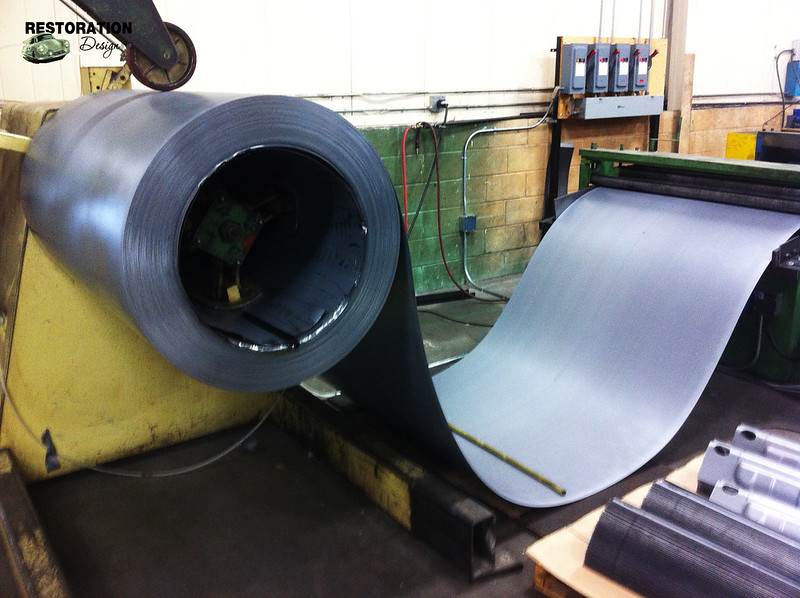
    Here is where the parts start out!


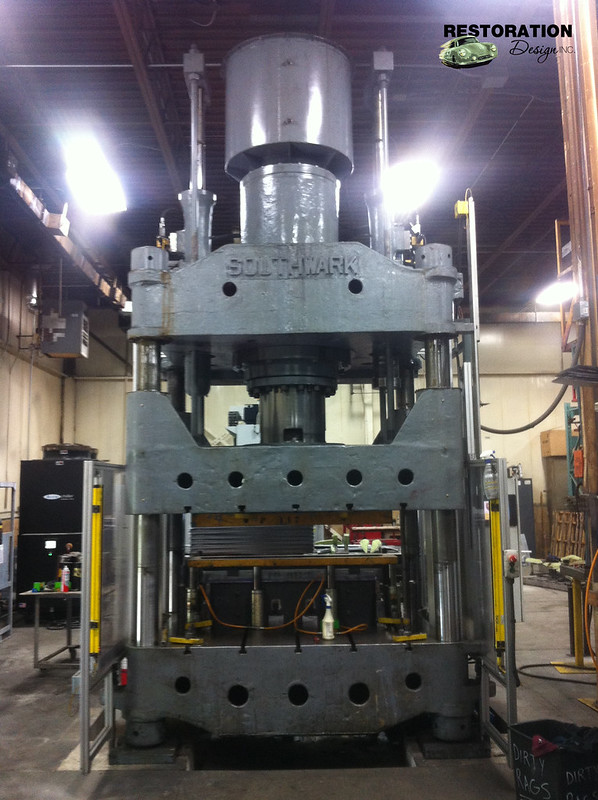
    Here is where we stamp out some of the parts!


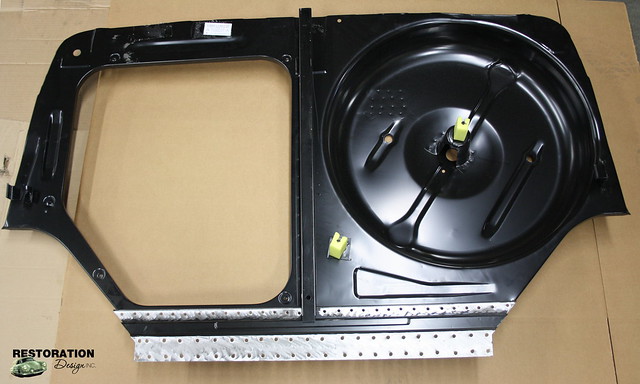
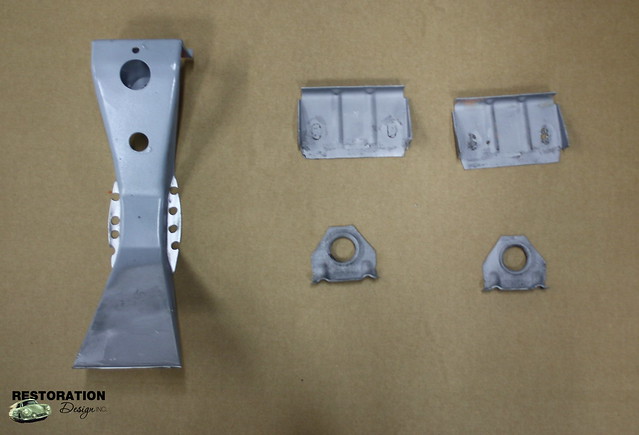
    Here is where we store the parts!


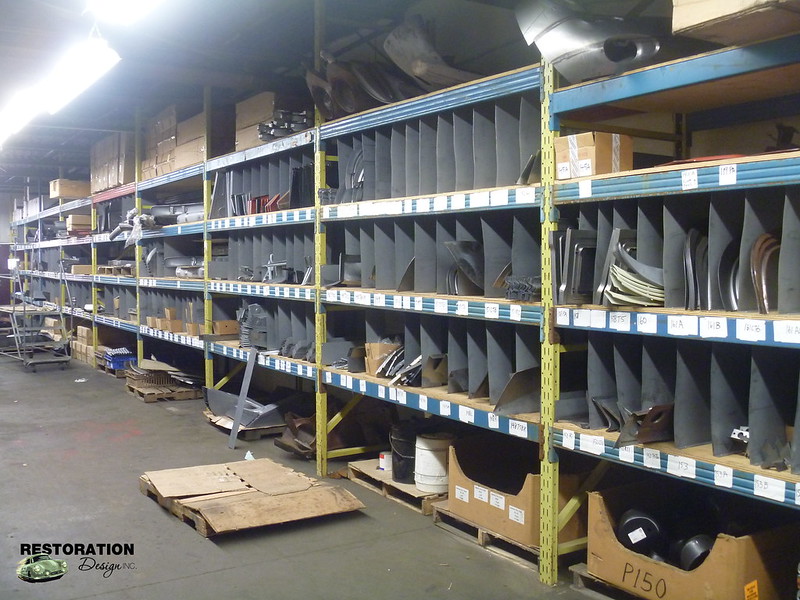
    Here is the humble aisle where my (few) BMW parts reside!


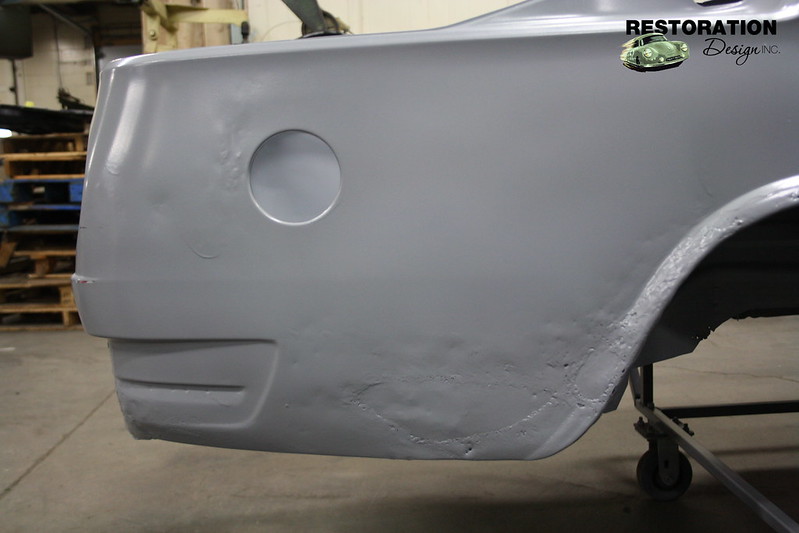
    And eventually our parts can find themselves restoring some pretty great cars! For example, here's one of our cars here.


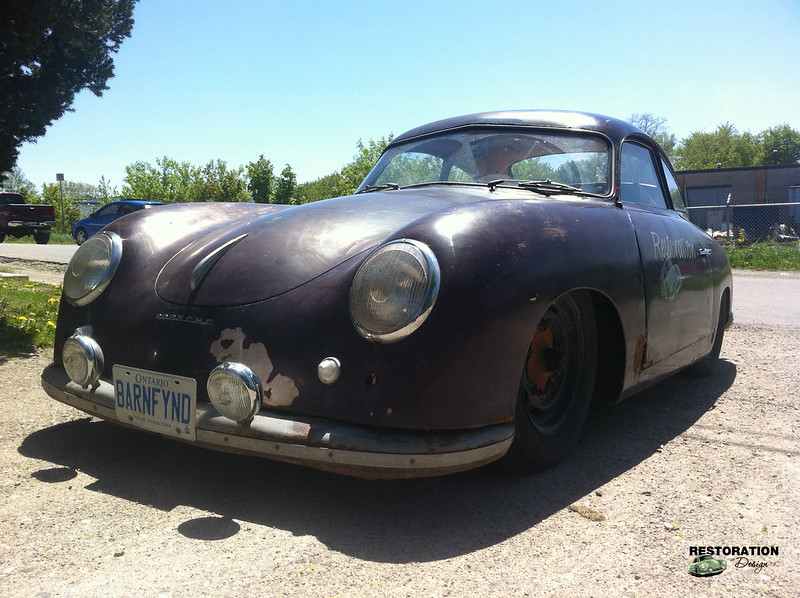
    The egg plant 1952 Porsche 356 Pre-A! A very rare car indeed!

    BACK TO THE BMW!!

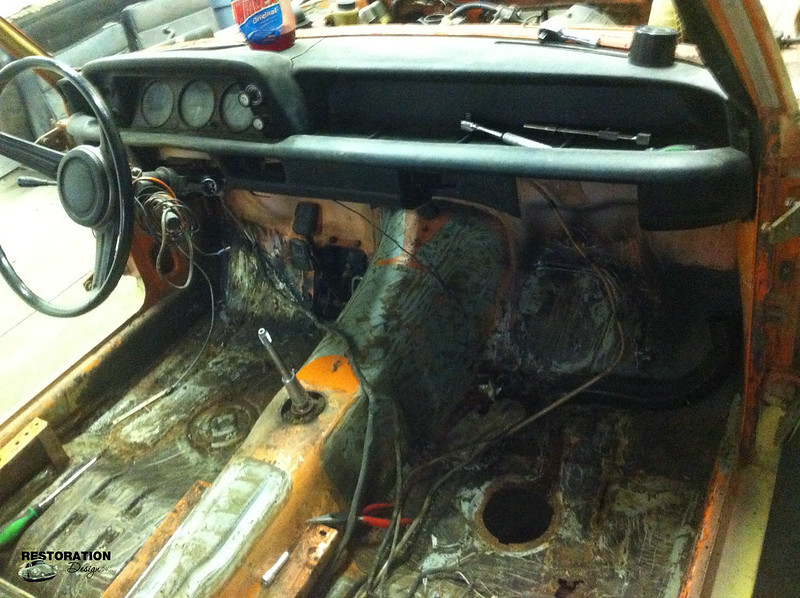
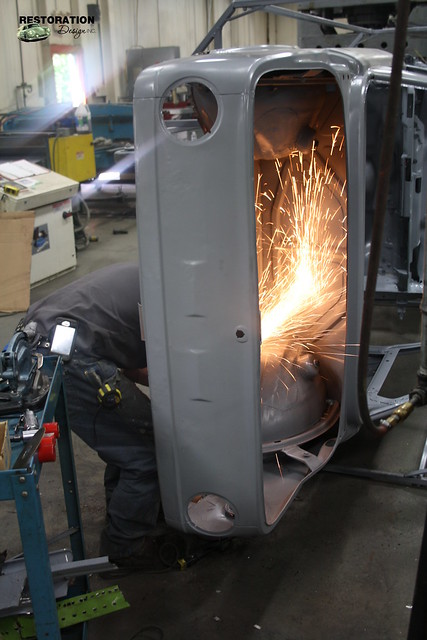
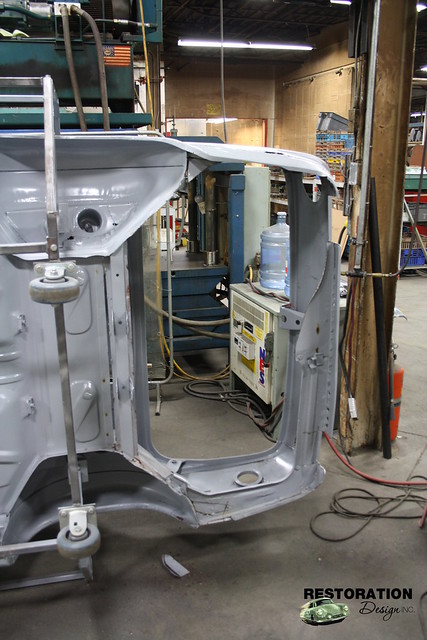
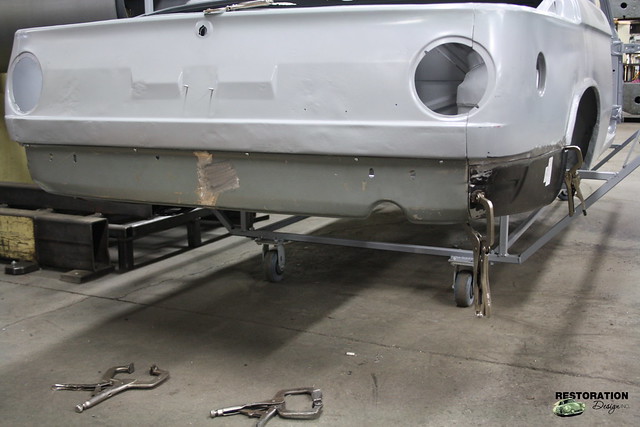
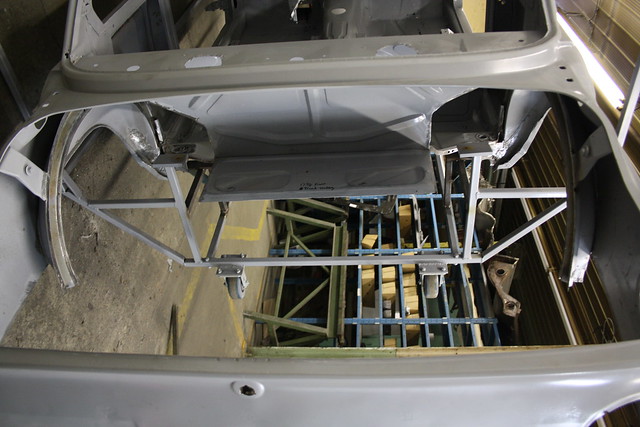
    We got it into the shop and began to pull it apart. Interior, engine, electrical, etc...it all has to come out!!


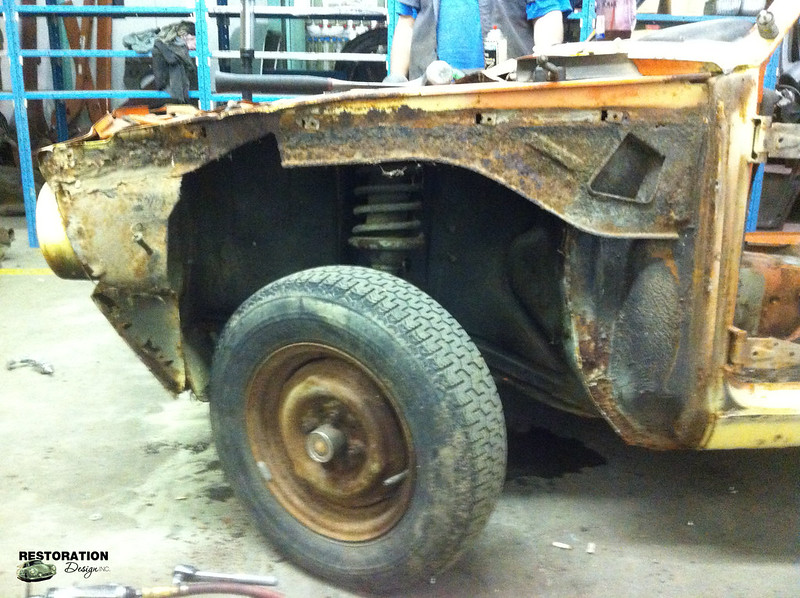
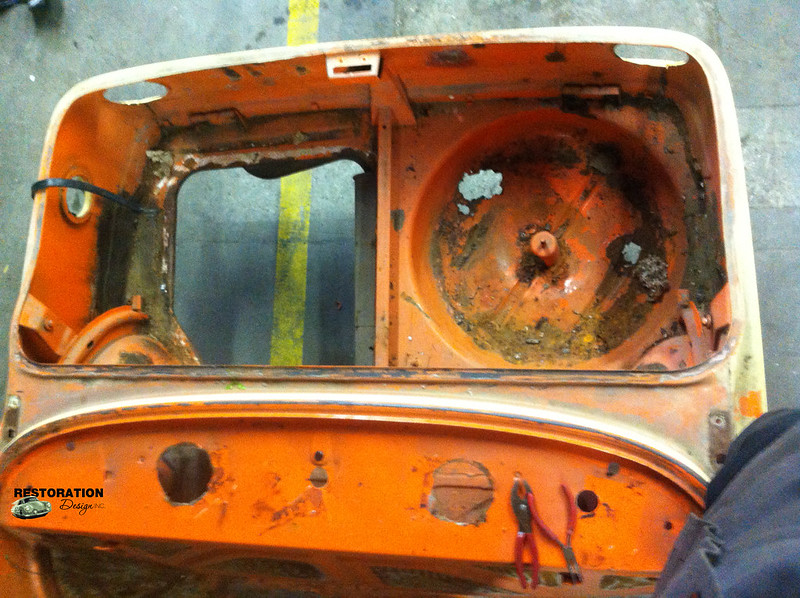
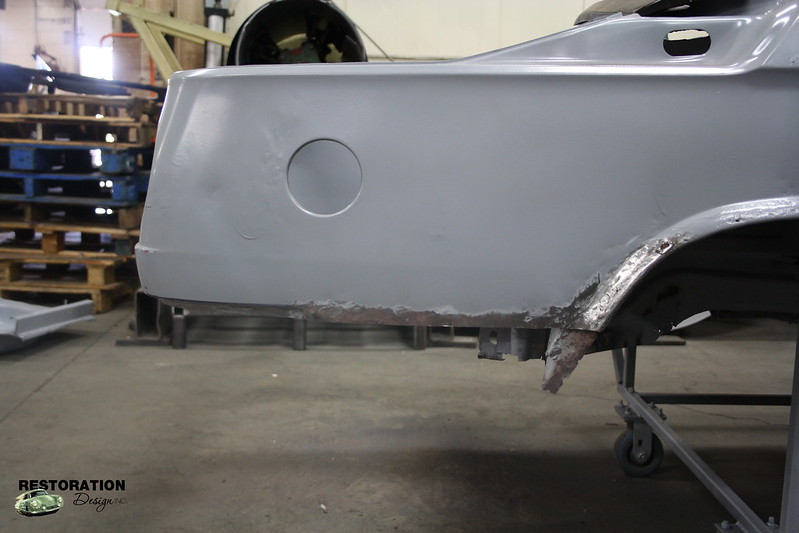
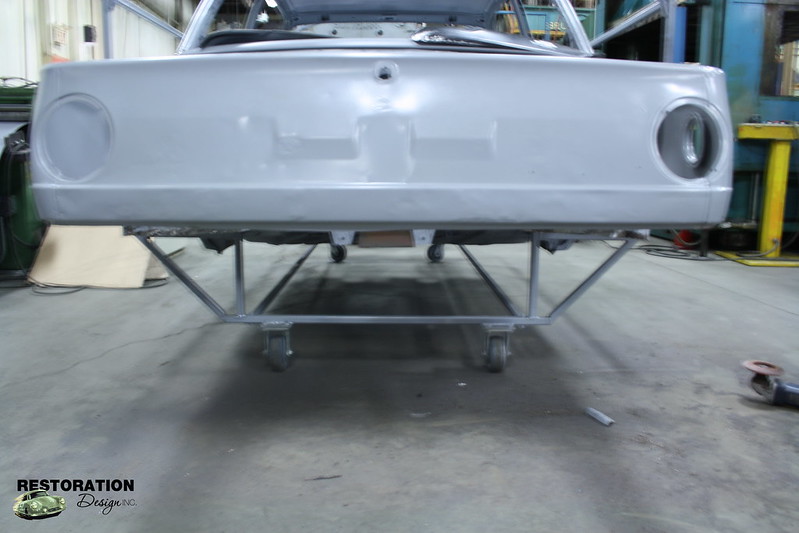
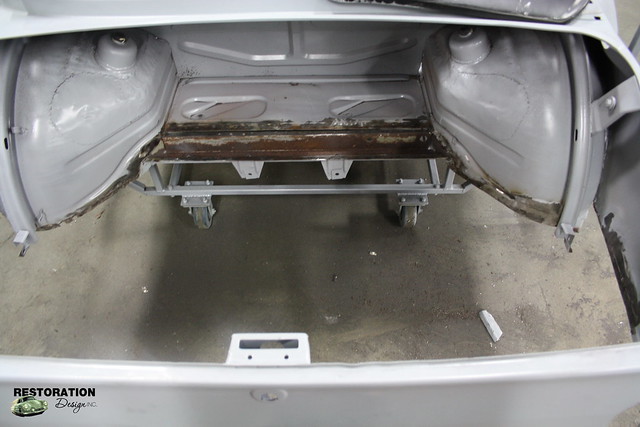
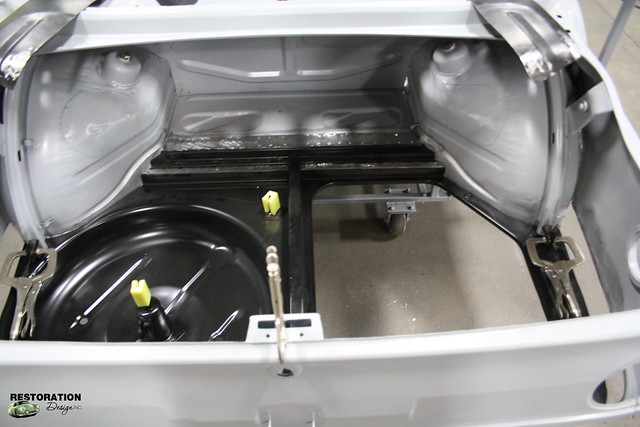
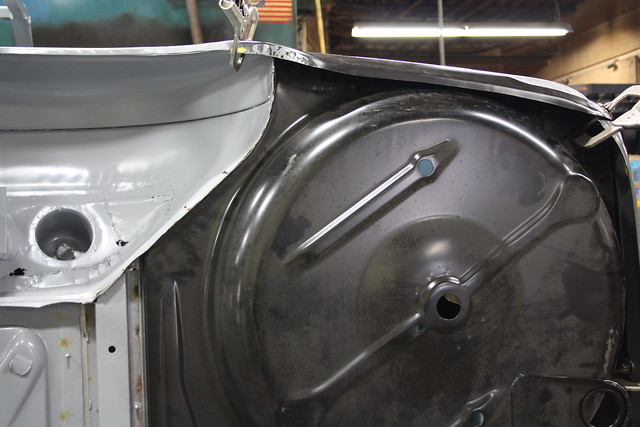
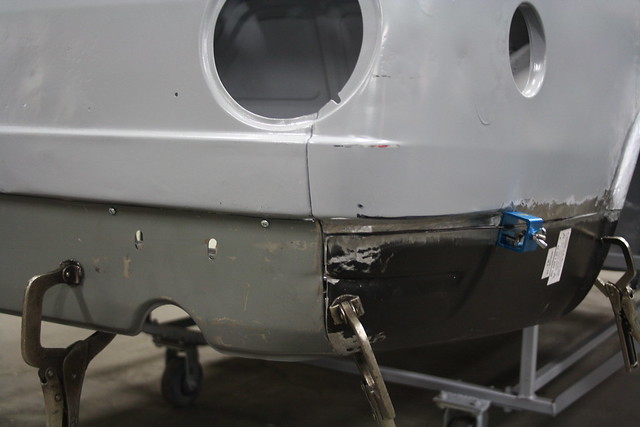
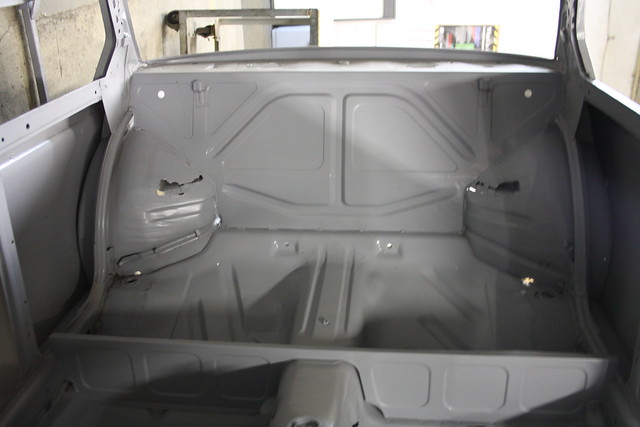
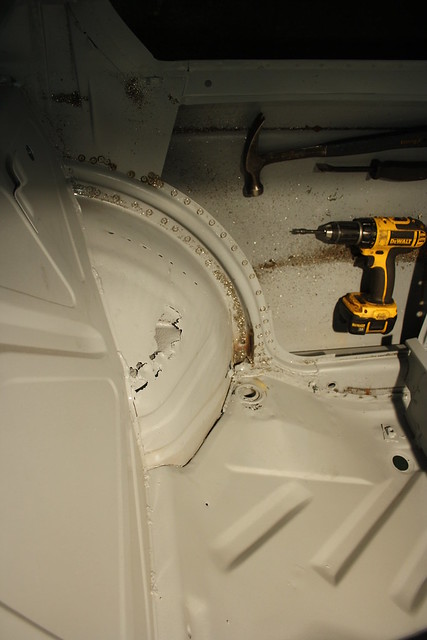
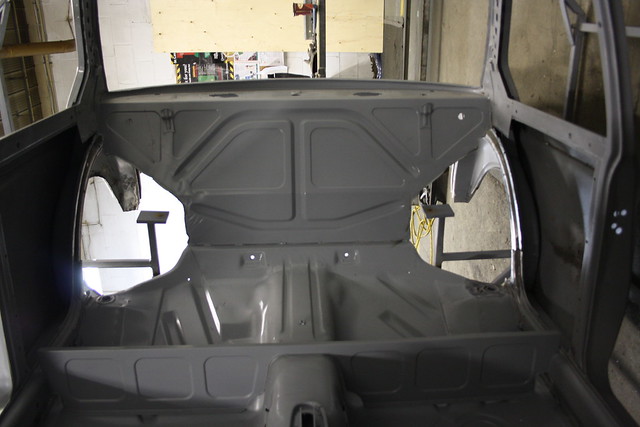
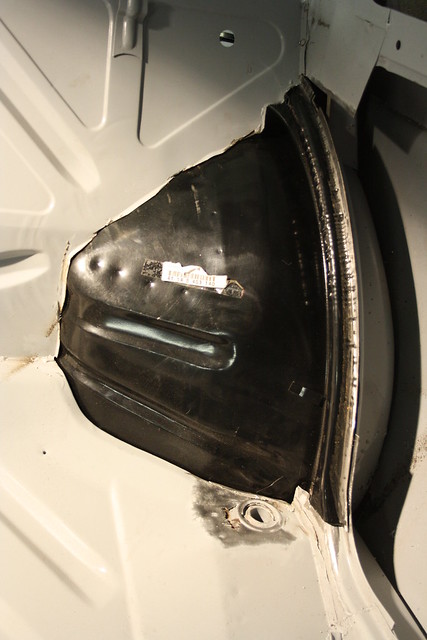
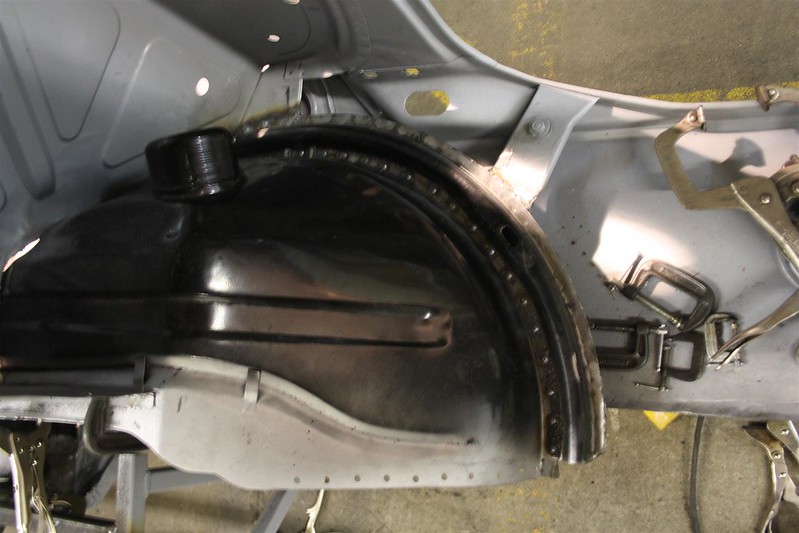
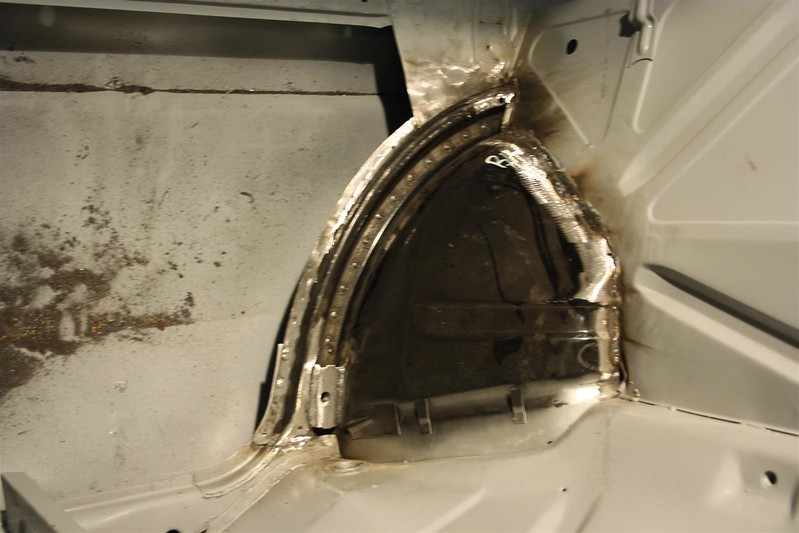
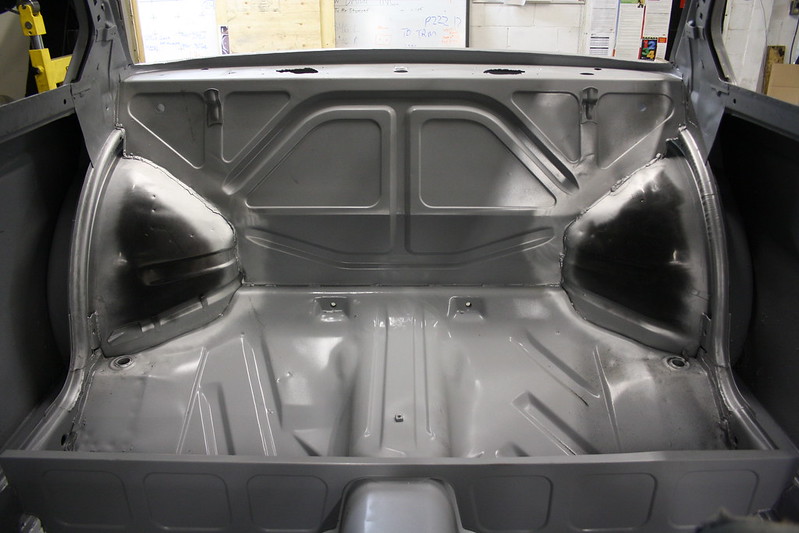
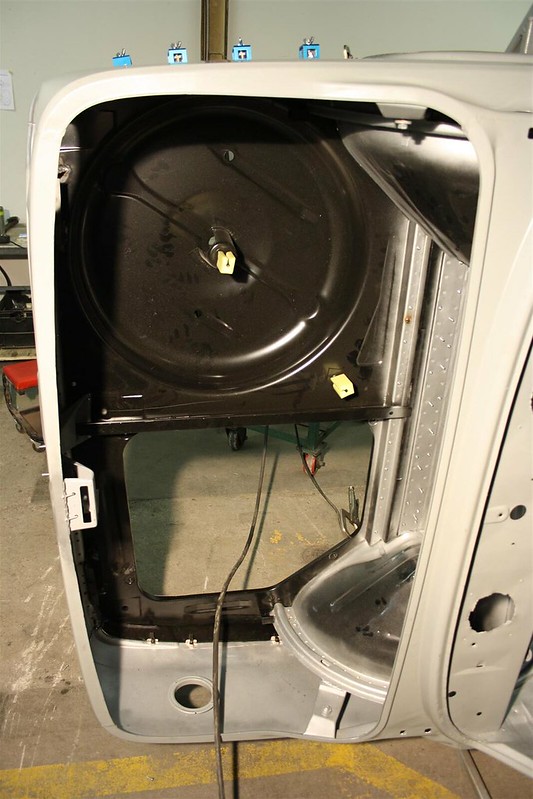
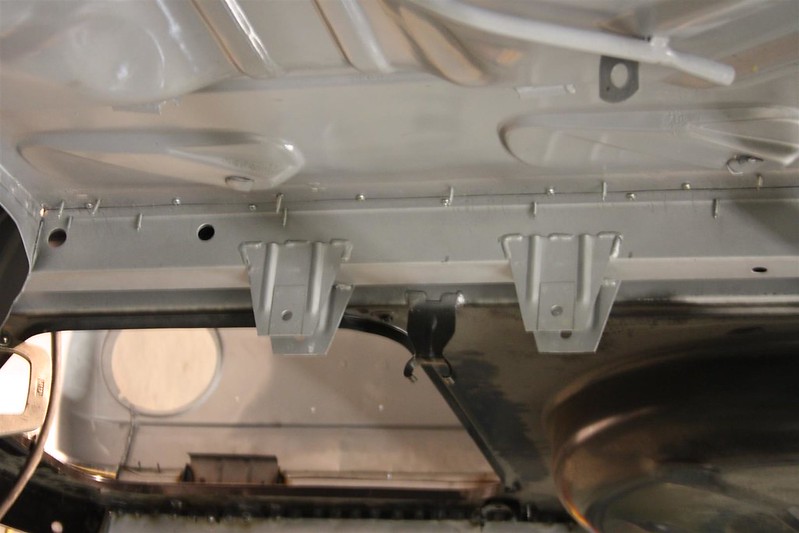
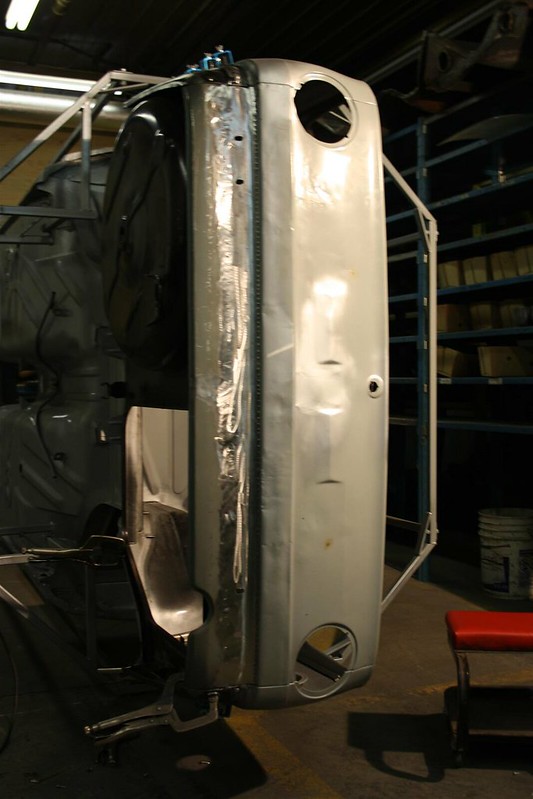
    So as you can see, it's in pretty good shape. However, we all know that a car that is pushing 40 years old is rust, rust and RUST!!

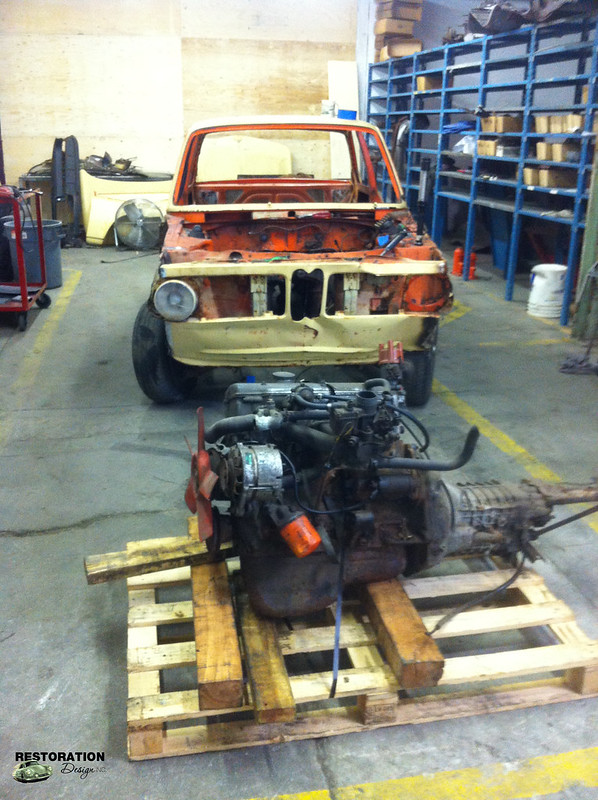
    Either way, we managed to pull the engine out. I wish I had the photo, but we used a forklift! xD


    Classic roundie!


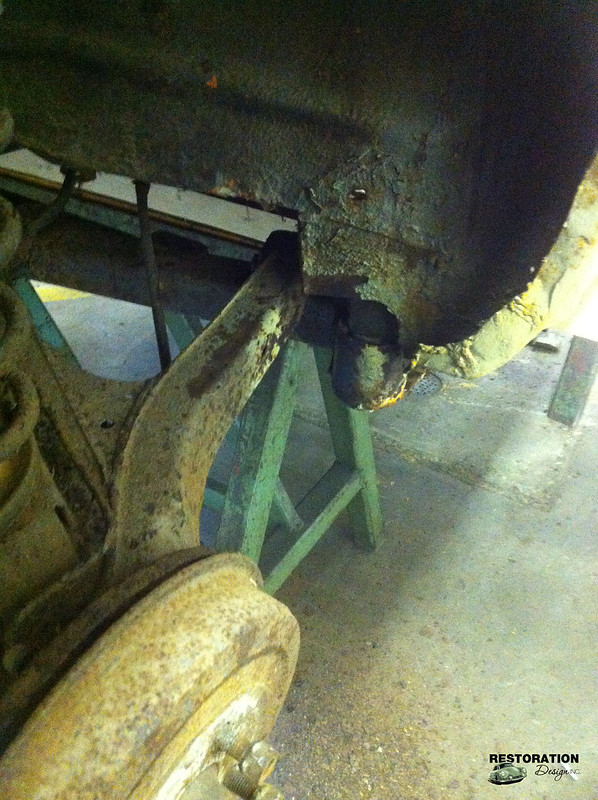
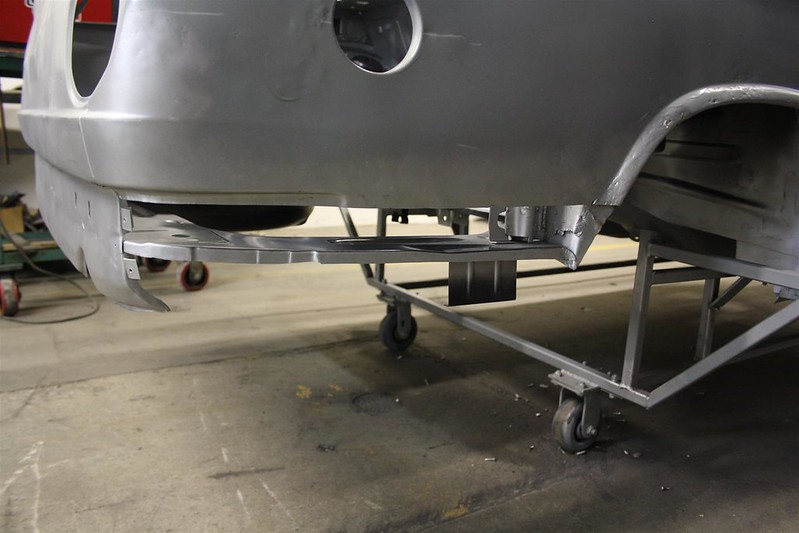
    Like every E30 I've ever worked on, this subframe was SERIOUSLY stuck.


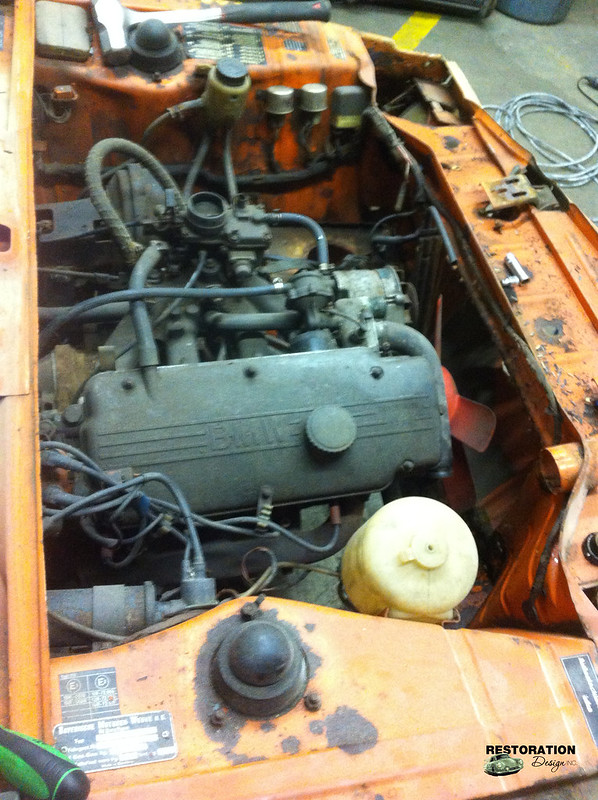
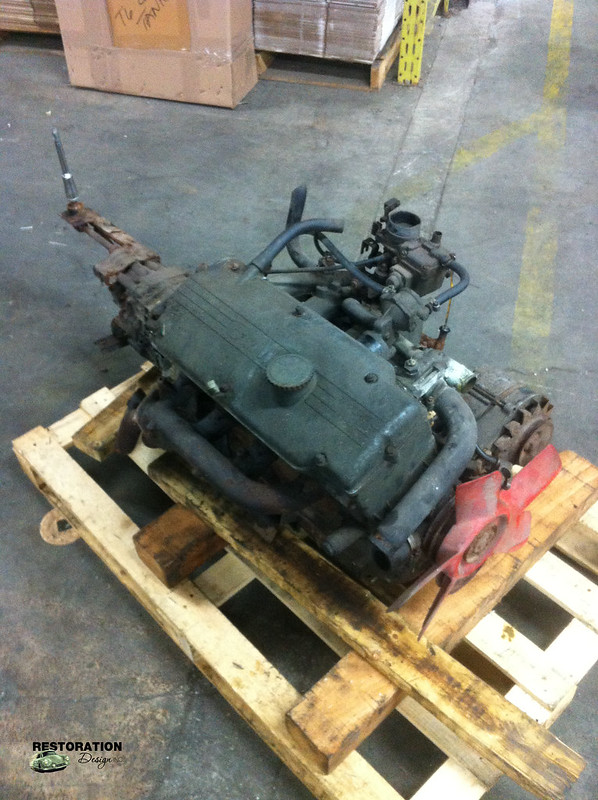
    Deciding what to do with this engine...so many options!


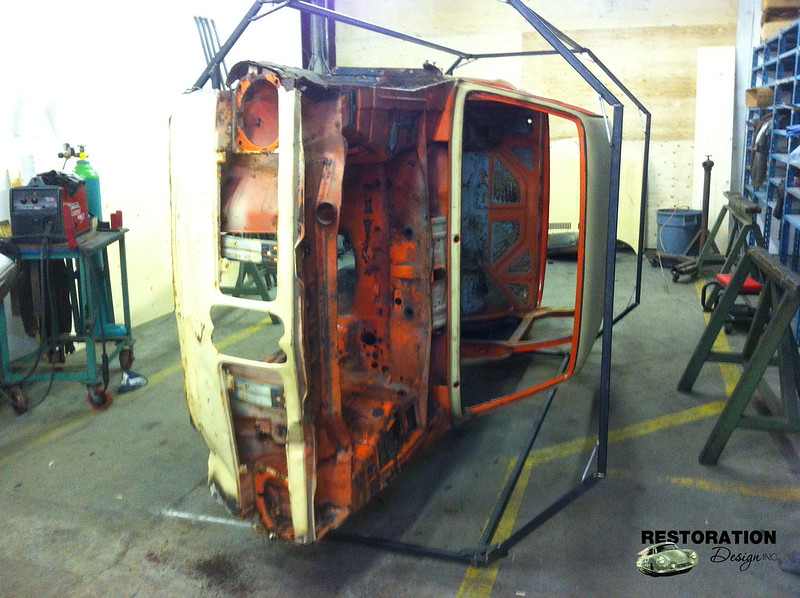
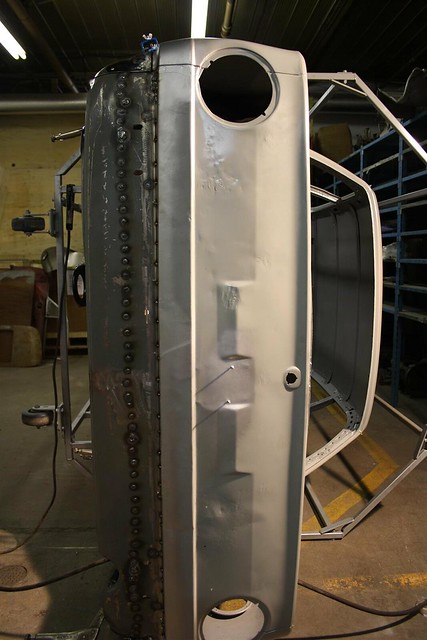
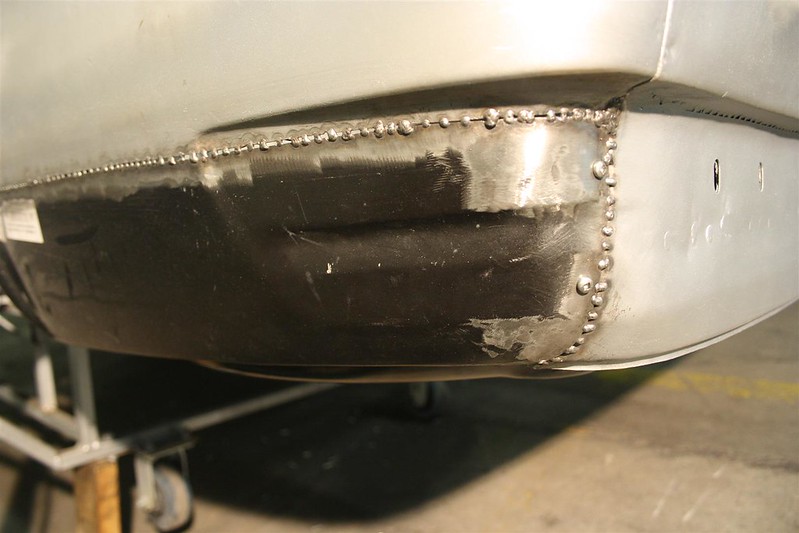
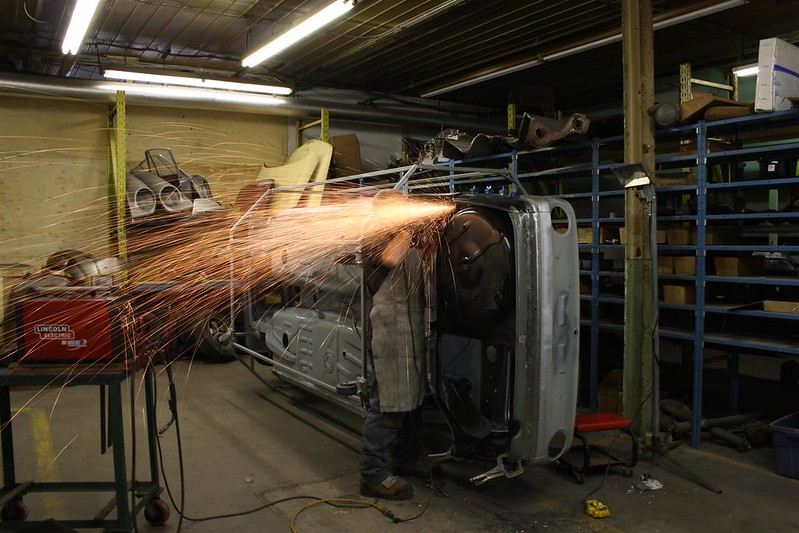
    And I'll leave you with this parting shot, right before it was sent off to be sandblasted. Poor girl, looking rather dead on her side!

    Last edited by Malcolm@RestorationDesign; 07-10-2013, 01:19 PM.

    #2
    uwwww I can't wait to see the fun
    Click here to leave me feedback on our transactions. :p

    Comment


      #3
      Sweet. What 2002 panels are you guys going to be producing?
      Lorin


      Originally posted by slammin.e28
      The M30 is God's engine.

      Comment


        #4
        classic roundie 76??
        We can serve you better through Email

        sales@blunttech.com
        www.blunttech.com


        Like us on Facebook

        Comment


          #5
          Originally posted by LJ851 View Post
          Sweet. What 2002 panels are you guys going to be producing?
          Check out the site!

          Originally posted by blunttech View Post
          classic roundie 76??
          My mistake, it's a 1972!

          Comment


            #6
            caught by blunt
            "I wanna see da boat movie"
            "I got a tree on my house"

            Comment


              #7
              Ok, that's pretty cool.

              Comment


                #8
                Update: Metal work has begun!

                So the car came back from sandblasting and priming looking like swiss cheese - full of holes! Someone attempted some restoration at some point; however, it's mostly just patch work and bondo.

                First up is the trunk floor and rear valance. Both and rotted through and need to be replaced.


                Let's go to work!


                We got all the floor cut out, and the rear valance (center and sides) all preped and ready to install our new repair panels.


                That's all for now folks, stay tuned for some rear wheelwells up next!

                Comment


                  #9
                  Oh hell yeah! This makes me want to grab an 02

                  Can't wait for more updates
                  Current:
                  1989 325i
                  1988 M3
                  1987 325ic
                  Past:
                  2001 330ci
                  2001 M3

                  Comment


                    #10
                    More updates? K brb

                    EDIT: AUGUST 14TH, 2013: still workin' on the rear!

                    The first thing we noticed when we pulled the trunk floor out was the rusty interior of the subframe channel and it's mounting tabs.


                    Time to make a new one! Knowing how important it is to have the differential mounted properly - since there isn't really any rear adjustability for alignment - we took TONS of measurements to create this new piece.


                    Then we made 10 more! Those will be available on our site in a short time, when we've had a chance to properly check our measurements in the car. (and finish the pieces!! :D)


                    Next up, we have to prep the trunk floor for welding. We grind away the paint around the edges to ensure ease of installation later.


                    From the car, we salvaged the lock post, tow loops and the bumper brackets. We will probably manufacture these down the line, but for now the OEM metal is fine.


                    Once all the components were prepped for installation, we (obviously) installed them! Here we are testing fit and checking to make sure nothing needs to be trimmed or modified before we remove the rear wheel wells.


                    ONWARD TO THE WHEEL WELLS!!

                    This is the state of the wheel wells. Not very safe, since they have been patched in several places already, not to mention the large unpatched holes that the sandblasting revealed.


                    Using our trusty DeWalt and a spot weld remover, we carefully drilled out all the welds holding the wheel well into the car. A couple hours later, we were able to pull the pieces out of the shell.


                    We're now clear to start reinstalling the rear end! We got our inner wheel wells clamped into place to check fitment and determine if any adjustment would be needed.


                    SPOT ON!!


                    Next update will be, hopefully, some welding!
                    Last edited by Malcolm@RestorationDesign; 08-29-2013, 06:10 AM.

                    Comment


                      #11
                      Keep up the good work! Looks good so far, any thoughts and what you're gonna do with the powertrain?
                      1995 SC300 2JZGTE
                      2000 Volvo
                      2006 Civic

                      Comment


                        #12
                        Should I say i cant wait for more updates again? LOL

                        Very nice progess, interested to see the parts you decide to manufacture.
                        Current:
                        1989 325i
                        1988 M3
                        1987 325ic
                        Past:
                        2001 330ci
                        2001 M3

                        Comment


                          #13
                          Originally posted by keeler View Post
                          Keep up the good work! Looks good so far, any thoughts and what you're gonna do with the powertrain?
                          I'm not sure yet, honestly I have so much work to do on this thing it's not even funny. The whole front end will need to be replaced, one of the frame rails and the drivers floor.

                          Once that's done, it needs a wider body and paint. Maybe some roll cage?

                          THEN we can think about the engine. :P

                          Originally posted by jhaurimn
                          Should I say i cant wait for more updates again? LOL

                          Very nice progess, interested to see the parts you decide to manufacture.
                          We're focusing on making parts that you can't get anywhere else right now. That differential crossmember, for example, is a part that BMW never offered in the aftermarket. We're looking at [SPOILER ALERT] pedal brackets or seat mounting panels next.

                          Updates!

                          I CAN'T HEEAAARRR YOUUU!!!

                          UPDAAATES!!!

                          OKAY! (sheesh) AUGUST 28TH, 2013 - rear wheel housings are complete.

                          Picking up from where we left off last time, we've finished welding in the rear wheel housings and the rear cross-member that we built.


                          Working from the front to the back, constantly measuring and double checking - we slowly Rosette welded the wheel housing to the outer fender. When you're doing these repairs, it's important to ensure that nothing moves around, since the rear suspension geometry can become out of alignment very easily.

                          We used this diagram to maintain accuracy:


                          Once the new panels were welded in, we turned our attention to the rear crossmember. It often rusts out on its interior, so we made sure to liberally spray weld-though primer along the channel before welding it onto the car. (AGAIN, MEASURE TWICE WELD ONCE!!)


                          Quite a clean install if you ask me! Up next is the rear trunk floor.

                          Also, stay tuned for next week when we'll post the video how to for this update.
                          Last edited by Malcolm@RestorationDesign; 08-29-2013, 07:43 AM.

                          Comment


                            #14
                            Hey all, it's that UPDATE time again!

                            First up, we have a video we made showing a "How To" for our replacement of the diff support and rear wheel housings.

                            In this episode, Adam is installing the shock towers and the differential support on our 1972 BMW 02 series.The parts installed in this video are our BMW422 ...


                            Second, we got more work done on the 2002! Here we go...

                            So we started by fitting the trunk floor and, using sheet metal screws and butt weld clamps, we secured it for welding.


                            We also secured the new different cross member into the trunk floor.


                            We welded the tail panel first. I am continuously impressed with how these parts fit, definitely easier than fabbing it yourself.


                            Welding welding welding welding!


                            Grinding grinding grinding grinding!

                            Adam, our welder, did a good job with the Rosette welds here. Nice and smooth, which will keep the body fill to a minimum.


                            Next, the sides of the rear valence. These have to be carefully butt welded to the bottom of the rear quarter, as well as welded to the side of the trunk floor.

                            So first secure with sheet metal screws and butt weld clamps.


                            Woo! All done! We may clean up that line along the center of the valence; however, that will be under the rear bumper so we'll see.


                            Stay tuned for this mess! (frame rails, floors, inner fenders and nose oh no)

                            Comment


                              #15
                              Almost forgot about this! Nice work
                              Current:
                              1989 325i
                              1988 M3
                              1987 325ic
                              Past:
                              2001 330ci
                              2001 M3

                              Comment

                              Working...
                              X