My turbo 24v alpine coupe

Collapse
X
 
  • Time
  • Show
Clear All
new posts

  • mitchlevy7
    replied
    hey thanks Ecrossdaily and E30NJ!!!

    im kindof second guessing my intended wheel setup. Especially with the low e34 oil pan and my low exhaust I want to run at least 50 series tires, 45 at the smallest and I want to go up to 17. In order to run my 205/40/16s I needed to raise the car so the skidplate wasnt on the ground and I still hit it on EVERYTHING!

    I am second guessing everything because I dont want to run adapters. I want to run the studs, especially for quick tire and wheel changes once I start going to the track., Also theres nothing really holding my rotors on with the rx7 bbk. I am having a hell of a time trying to find 4x100 16" bbs rs centers. There all rare and they come in both 30 hole and 34 hole, I need the 34 hole to upconvert to the 17". Another possiblity is a fill and drill, but thats a little sketchy, and will it handle 500 wheel hp? Not to mention the center bore is already 71.6 mm. The bolt holes will intersect the center. One could possibly make sleeves to make the CB 57.1 and make the bolt holes go through part of the sleeve. The centers are forged so any modification or welding really decreases the strength. I am not a fan of fill and drills for this reason. For a show car, there fine. For my purposes, its sketchy.

    Original Plan,
    take apart bs rs 013 014. Currently et 11, 20mm adapters. Final Offset -9.
    buy this


    I was going to bolt the centers and adapters to the hub and jack up the wheel, measure distance to fender and strut, order biggest barrels and lips possible. Im guessing 17x9 and 17x10.

    Sell previous lips and barrels to make some money back.

    New plan:
    Sell wheels. Buy custom ccws, or check out flagenwerks new custom wheels. There like 900 for custom 17s. new 16x9 ccws start at like 1900. CCWs I can get custom and in 4x100.

    Goal:
    Big Tires
    Ground Clearance
    Little to no wheel Gap while still keeping ground clearance.
    light wheels (my 16x9s weigh 16lbs!)
    ride height that will cut down on bump steer.

    Option 3:
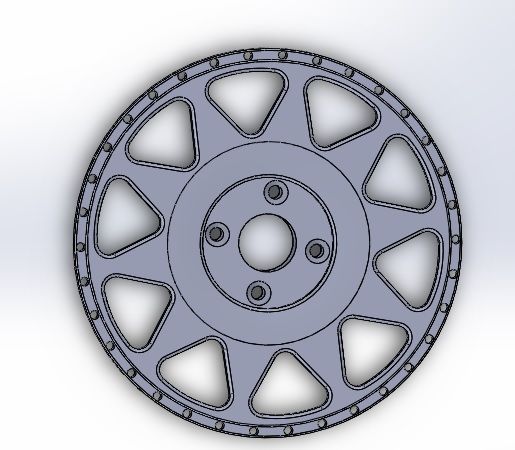
    Make custom centers that are 4x100 and will fit my current and 17inch upconversion bbs lips. I drew up a quick mockup of what it will look like.....
    Leave a comment:


  • E30NJ
    replied
    good job! keep up the good work!

    Leave a comment:


  • Ecrossdaily
    replied
    Siiiiick. Looks wicked buddy!

    Leave a comment:


  • mitchlevy7
    replied
    got some more done today.
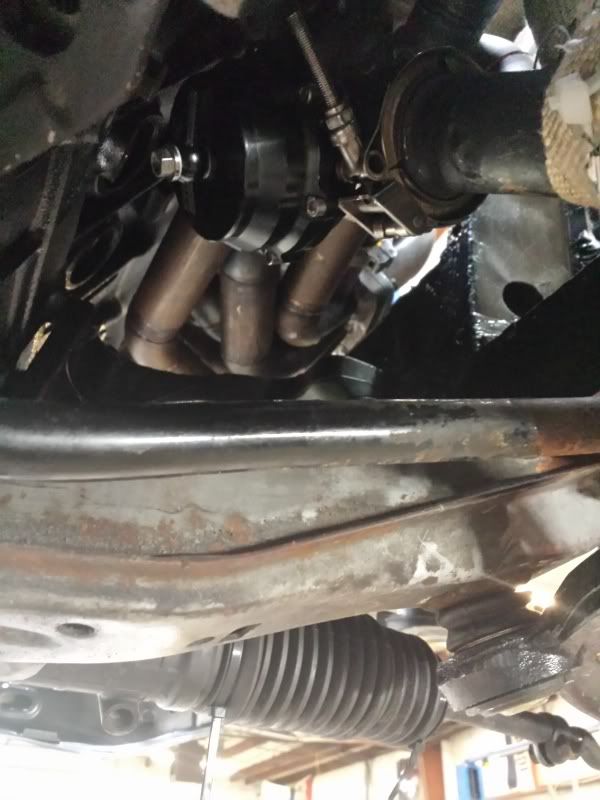
    I got all the v-bands on the wastegate. Figured out it all has to go in a certain order to get it all to line up.


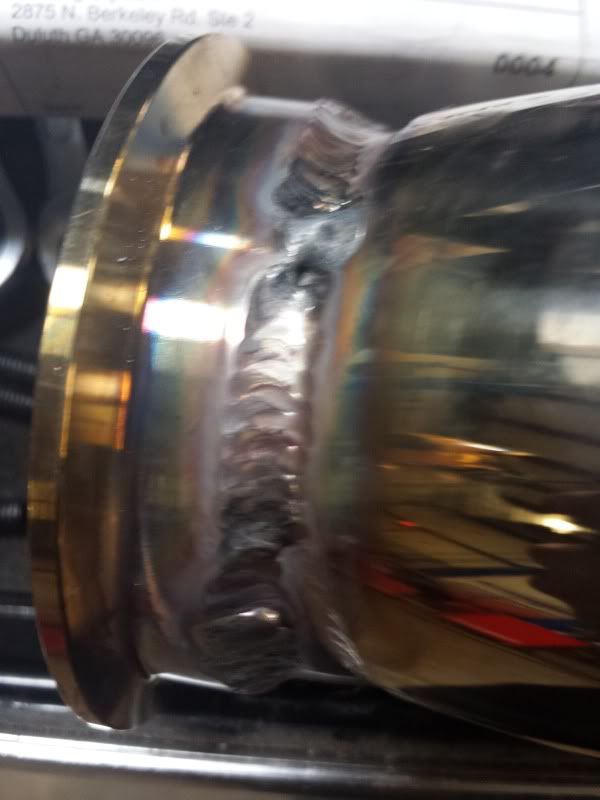
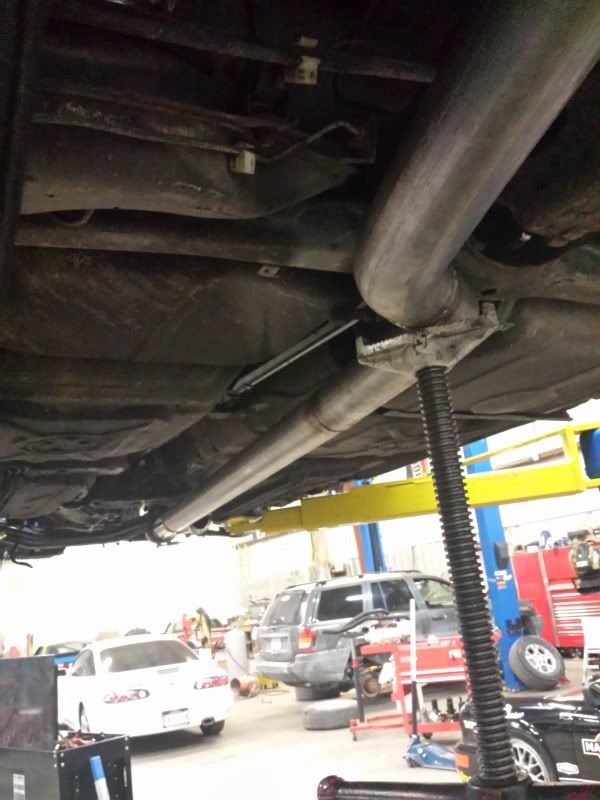
    Then I started on the exhaust. I welded the vband right to the exhaust cutout.


    I tried to keep it as close to the body as I could, but the exhaust will hang kinda low. Got all the way down to the rear subframe. Gonna put the muffler on and the tip next time and put some hangers on.


    Its all mandrel bent 409 stainless steel and its all TIG welded. I was gonna tack it up with MIG but we had no gas so i made do.

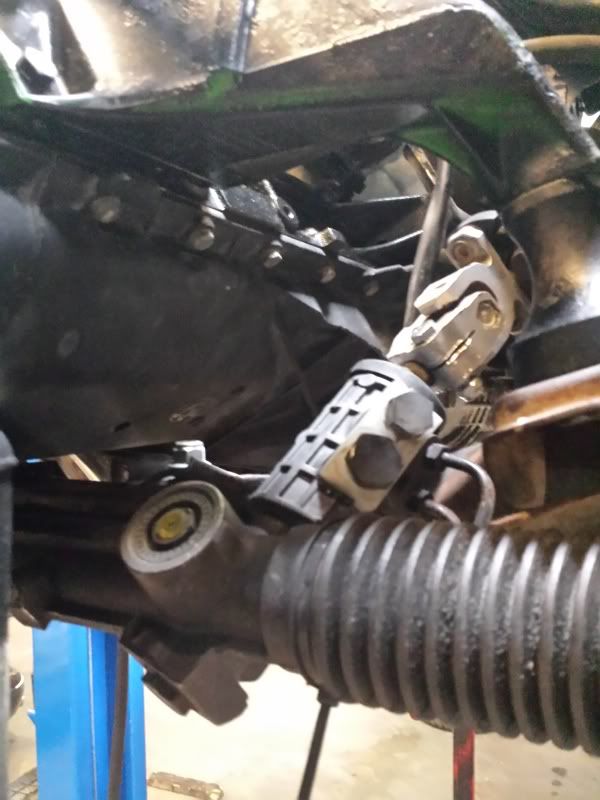
    I also installed my condor speed shop power steering delete and filled the rack with grease.


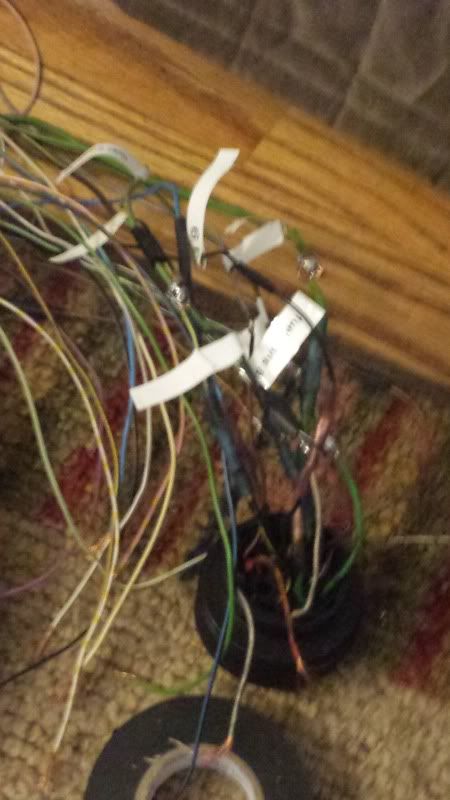
    I hope to finish the harness by thursday. I have most of it pinned and the main relay rewired. Just gotta put the pins in the right place and pin like 3 more wires.

    I ordered 8mm spacers and motorsport hardware studs to clear the brakes. New caliper for the drivers side and all the wiring for the gauges should come soon. I got an adapter so I will just run the oil pressure gauge where the oil pressure switch should be. The oil pressure light only comes on if theres less then 2psi. The gauge will be able to tell me if I am having oil pressure problems much earlier.

    Ill be running wideband, boost, oil pressure, and EGT

    Leave a comment:


  • mitchlevy7
    replied
    Today was a roller coaster. I havent really updated this week and I still suck at taking pictures. But the best news is.....

    THE ENGINE IS IN!!!

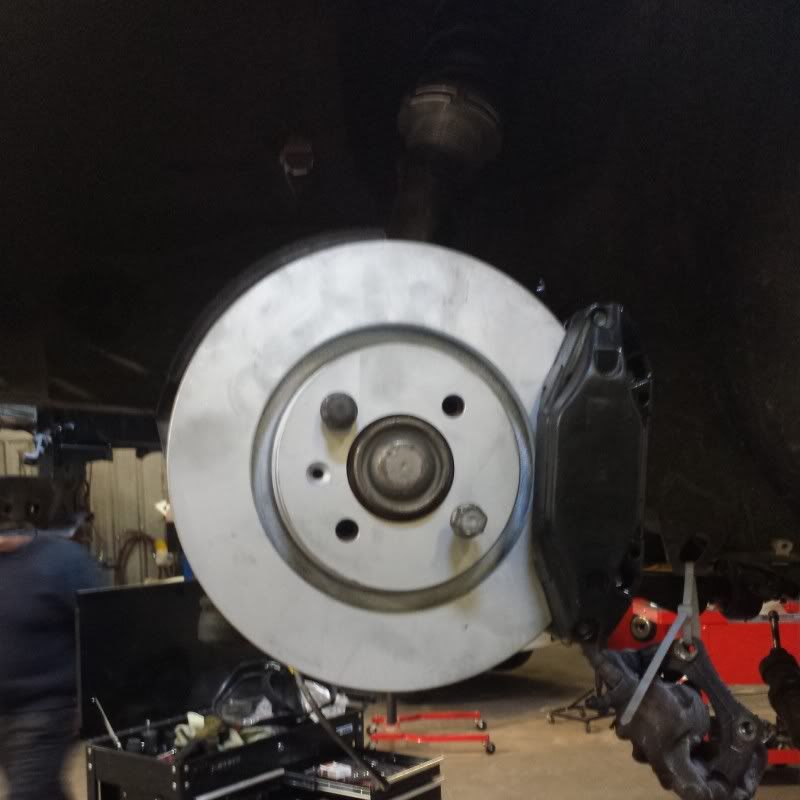
    Yesterday I put together some of the engine bay and took all the masking off. I put the car on the lift and started the rx7 brake conversion. You really need wheel studs for this because the rotors don't bolt up to the hub. Turns out, after waiting 2 weeks for the caliper from advanced, I bought the wrong one. I shaved the mazda logo off but Im gonna use it as a core for the new one i have coming. It should come next wednesday. Also, my wheels don't fit over the brakes. Ill need at least a 5 mm spacer, I may do more to be safe.


    It looks good though!!! Reminds me of the earlier porsche 4 pots. There not as light as the wilwood kits but this was half the price.

    I dropped the subframe and fixed the coilovers. I was running the ix shocks with shortened housings. I made the crucial mistake of using brass spacers that were nowhere near strong enough. They immedietly crushed under the weight of the car and I had about an inch of play in the strut. It ended up destroying the camber plate bearing on the drivers side. I called Ireland Engineering and they were nice enough to give me the part number for the needle thrust bearing that was destroyed. I wish I have a picture. I made sure to lube the bearings up. I was able to order the bearing from GRAINGER and got it next day with ground shipping. Hell yea.

    I unfortunatley couldnt get the brass spacer out, it was crushed in there. Luckily, we had some roll bar sitting around that fits in the strut PERFECTLY!
    Coilovers are all fixed. They never rode well because of the play in the strut, so im excited to see how they will perform. At this point every bushing and suspension part is either in good condition or replaced.


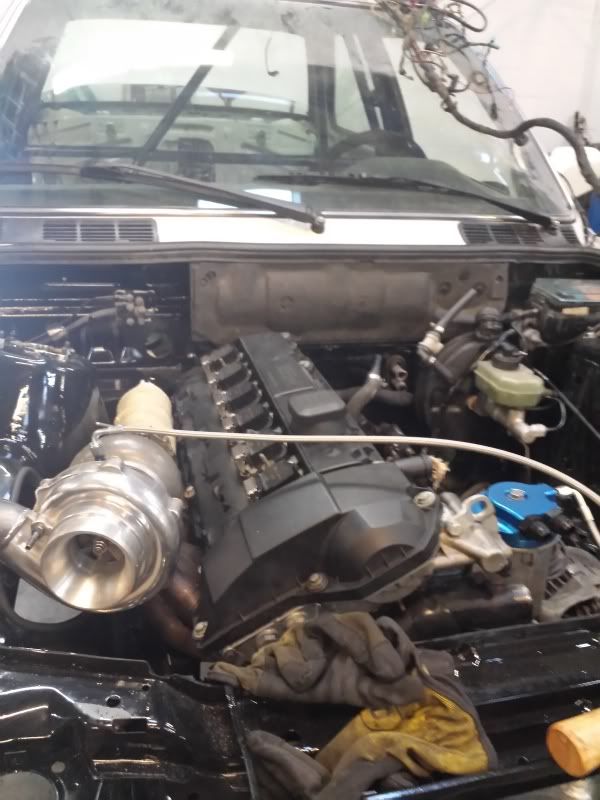
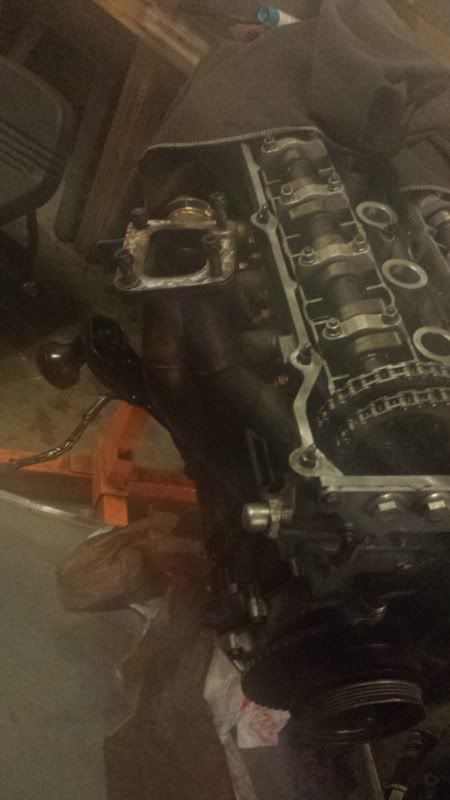
    Having a lift to put the engine in makes it soo easy. Still took a good 45 minutes to get it in, but its in. The manifold was REALLY close to the strut tower. I tried to put the turbo on, no way. I had to clearance it. It kinda escaped me that I could clock the turbo to make it fit better. I took a hammer to the newly painted strut tower to clearance it. Stupidest thing ive done in the while. All the bondo and paint cracked and went everywhere.

    I ended up just cutting that whole section out, clocking the turbo and now it fits.


    I also put on the feed line.

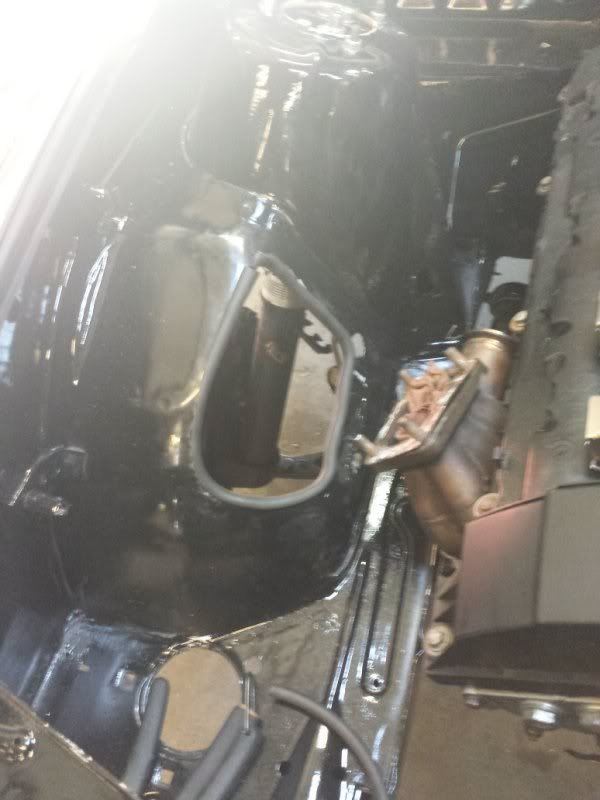
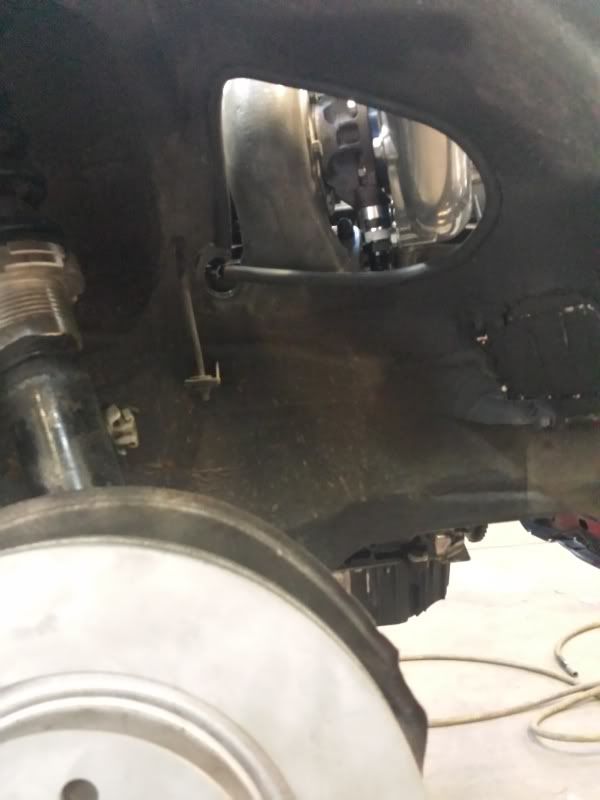
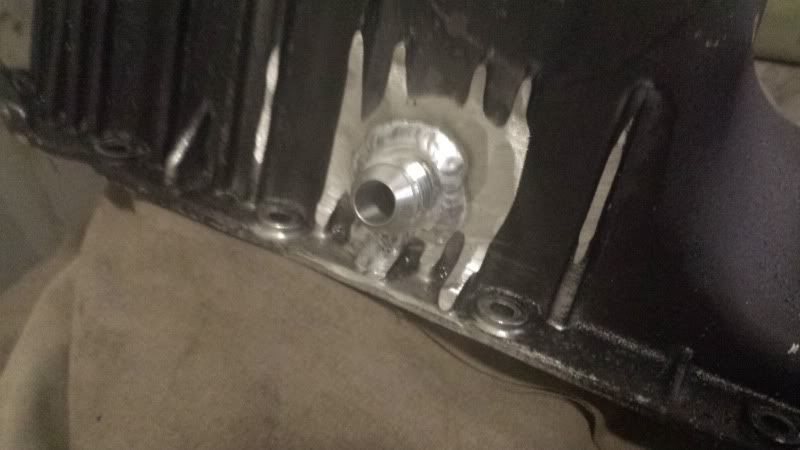
    Here are better pics of the hole. Im gonna put some mesh on it to make sure the bay doesnt get too dirty but I don't plan on driving the car in the rain anyways. I didn't have any traction before this whole project, I don't see how 500 whp will make it any better.


    and from the wheel well


    The air filter I planned on using was too big. Like way too big. I couldnt even put it through the high beam hole, as it went right into the core support.

    Unfortunately, i was trying to install the WG pipe and I dropped one of the bolts to it. I have NO idea where it went. I THINK it went in the frame rail, but it might have gone into the manifold. I will take the turbo off the manifold next week just to check and make sure nothing is in there. I CANNOT afford to rebuild the motor or turbo at this point.

    At the end of the day I got frustrated trying to get the wastegate on with the v-bands. It sits right under the manifold and it was designed for an exact fit. I also think I am missing a V-band clamp. As soon as that is done I will start the exhaust. I am kind of worried that the downpipe is sitting too low. I may cut it and shorten it just a little. It is lower then the rotors!!

    Oh, I also installed the 255 fuel pump yesterday. I used the mustang kit. The wires on the stock fuel pump were shitty but i worked with them. I didn't use the hose that came in the kit. The pump is a LITTLE shorter then the e30 so I just made a line a little longer then the e30 one.

    Also, If i plan on using studs, I cannot run the bbs rs I have because of adapters. It would be AWESOME if i can find some 4x100 centers to use. Hmm, decisions decisions.

    So heres the list right now...

    Heres whats left to do
    -Weld bung on oil pan and install oil pan
    -put together rest of oil return line
    -figure out final fitting for the turbo feed- i got it, but i need a restrictor too....
    -clean, bondo and paint bay
    -valve cover and gasket

    -wire the ECU side of the harness- i finished the pinout conversion, now i just gotta do it.
    -fix coilovers
    -install engine

    -fab exhaust
    -install different spring in wastegate- using a 7.5 spring. May leave it there and put a boost controller on.
    - start up and base tune
    -get brackets and install seats. May need to fab up some kind of bracket for the side mounts.
    - fab charge pipes
    -install WG and figure out all the V-Bands... Shorten downpipe
    -find a filter to fit

    Leave a comment:


  • mitchlevy7
    replied
    on another note I had a long talk with my boss today about the wiring. The bosche ecu always had 12v and then the key turns it on. The DTA ecu cannot run that way, and I have to switch the 12v source with the key. I just use the turn on wire from the key to activate the main relay and that should work. Theres a voltage input and already going from the main relay output to the ecu. Just another wiring issue i didnt think i would run into. Also someone cut off the connection for the vanos so I have to run that outside of the harness because I couldnt feed the wire all the way back through.

    Leave a comment:


  • mitchlevy7
    replied
    Unfortunately, I have another picture less update today. I didn't really do anything picture worthy anyways. I had some things at work to do in the morning so I didn't have as much time as I usually do. Also, I have a class at 630 tuesdays so I left a little early.

    Also, my m52 alloy block is being sent off to massachusetts tommorrow. I had to pack it on a crate, wrap it, weigh it, and measure it.

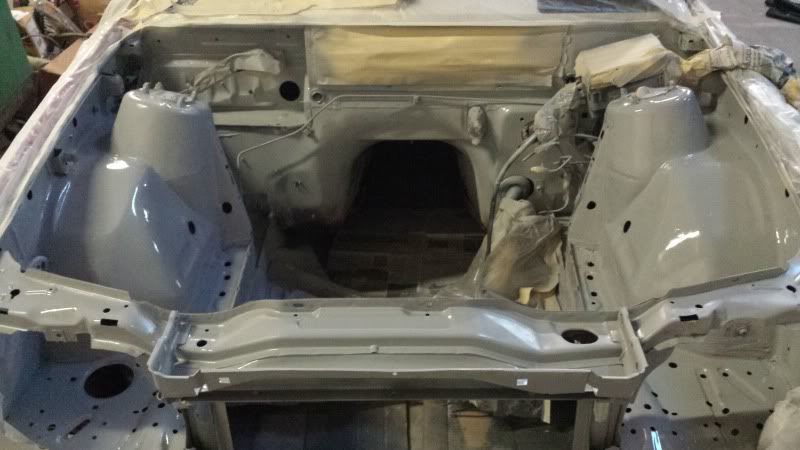
    I took all the making tape off the bay. The clear coat didn't dry as shiny in some spots so im thinking about wetsanding and polishing at least the strut towers before the engine goes in.

    I installed the new e34 throttle cable, and reinstalled the blower motor cover and hood latch release. I also installed the master cylinder and brake booster. That is a pain. I was able to get 2 of the brake lines i made in, but the flare broke off the 3rd and my buddy with the tool was home sick. Gonna get the car on the lift on thursday and get the fron subframe off to paint it and do the coilovers and brakes.

    Leave a comment:


  • mitchlevy7
    replied
    got nothing done yesterday as I had to take care of some stuff for school which starts monday. This is going to be a hell of a semester. Ill be working 2 days a week and taking 5 classes. Luckily, one of them is Internal Combustion Engines, and another is Formula SAE.

    Today I also got a late start. I went over my buddies house to get all my exhaust piping that I ordered a long time ago, and also to move my toolbox to work.

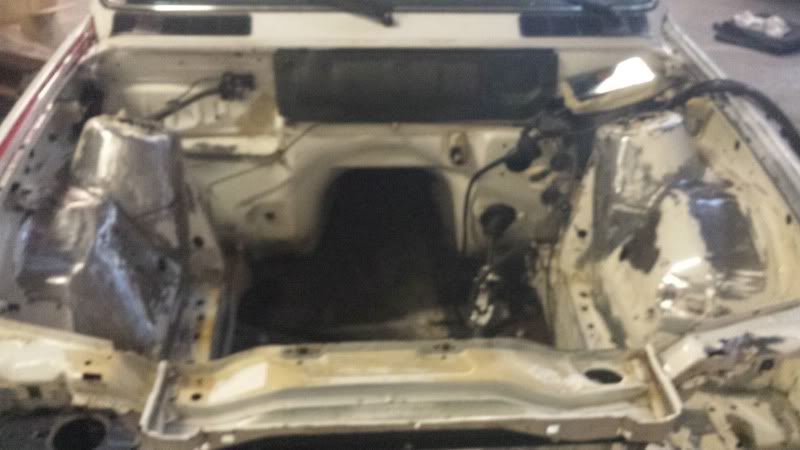
    I continued sanding and body work on the bay. I had to lay down another layer of bondo because the first one sucked. I Most likley needed a skim coat when I was done. Its not going to be perfect. I don't have the tools, time or knowledge to make it perfect. I think it looks good for now. I layed down primer till I finished the can and called it a day.


    it was still wet. Im happy with it, i just hope it still looks good tomrrow. Ill do some sanding and another coat of primer and go for the color and clear (matte black with clear) After everything, its my racecar, and its going to be how i want it to be.

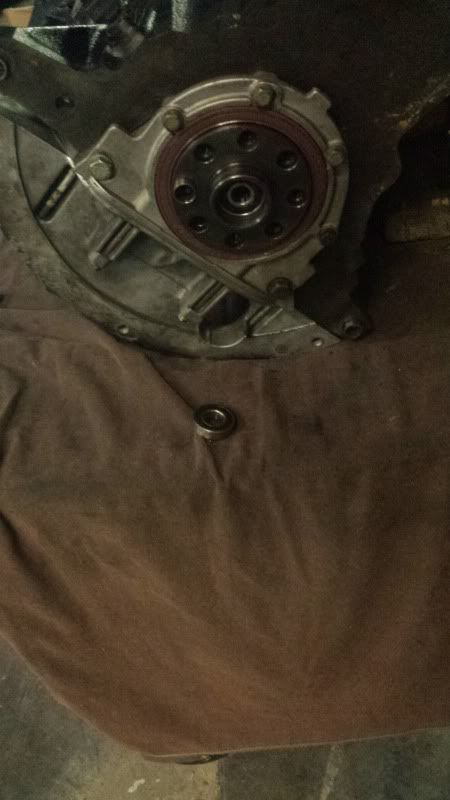
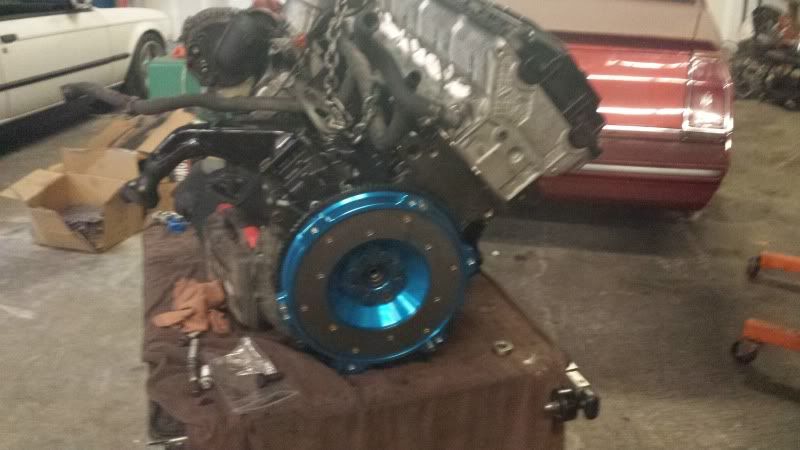
    Also wednesday, I guess I did not realize, but the clutch and flywheel came with 2 pilot bearings. One was for a g260 and one was for a zf trans. I installed the g260 one, so i had to take it out and put the right one in. I also didnt have any bolts for the clutch so i got those and installed the clutch. The trans just needs to be bolted to the engine and it will be ready to go in. I am a little worried as I am not really sure what driver side motor mount arm i am running. It does not have the indent that the regular e36 one has. It worked before I dont see why it wont work again.

    I am going in early tomorrow to get as much done as possible. Finish off winter break strong.

    Leave a comment:


  • mitchlevy7
    replied
    Finally more progress.
    So today I had to get the part to fix my cressida. Luckily a buddy of mine had a bunch of them sitting in his shop. When your cressida pushes over 600 whp, you go through drivelines. He gave it to me for free too. It was the axle stub. Now i have transport.

    We finally moved the trailer behind my car so i brought it outside to pressure wash it. Unfortunately, i didnt have one of the fittings for it so i just had to use a hose. Turned out okay...


    I also took the engine off the stand so I can access the rear of the motor. I installed the rear main seal with the last of the oil pan bolts (2 of the oil pan bolts go into the rear main seal). I also did the pilot bearing.


    And then I did the flywheel right before I left. 90 ft. lbs and some loctite should hold it on good.


    Not as much progress but I didn't get in till lunch as I was picking up parts.

    Also, I wrote up a post when I was timing the engine and i didn't post it by accident. The biggest update is that my s52 intake cam is fudged. The threads for the sprockets were fubared. I tried rethreading them to no avail. The nuts that go into them were too specific. Luckily, I still had the m52 alloy, so I took the intake cam off of that and will use that. I wonder how it will do with a s52 exhaust cam and m52 intake cam. It may even make more power as there will be less overlap, helping the turbo spool at low rpms.

    Time to check things off the list....

    Heres whats left to do
    -Weld bung on oil pan and install oil pan
    -put together rest of oil return line
    -figure out final fitting for the turbo feed- i got it, but i need a restrictor too....
    -clean, bondo and paint bay
    -valve cover and gasket
    -wire the ECU side of the harness- i finished the pinout conversion, now i just gotta do it.
    -fix coilovers
    -install engine
    -fab exhaust
    -install different spring in wastegate- using a 7.5 spring. May leave it there and put a boost controller on.
    - start up and base tune
    -get brackets and install seats
    - fab charge pipes

    Leave a comment:


  • mitchlevy7
    replied
    Todays Progress...

    Started out finishing up the exhaust/turbo manifold. Some of the nuts are near impossible to get do. I used a 1/4 inch socket and 5 different kinds of wrenches. Cant wait to go back and tighten it after i run the motor.

    With that done I put the engine mounts on and tried to clean the alternator up. Not to worried about the alternator looking good. I had a spare turner underdrive pulley so I threw that on and now all the pulleys are there. Anybody happen to have the belt routing of a non ps e36 motor??

    Yesterday me and my boss tried to weld the return drain to the oil pain. We didnt have the right tungsten and we werent sure if our welder is strong enough. I was able to go to ISP motorsports, in the same complex and their owner, Peter welded it up real quick. That shop (infinite speed and performance) is pretty cool. They have a twin turbo viper and a bunch of high hp supra builds.


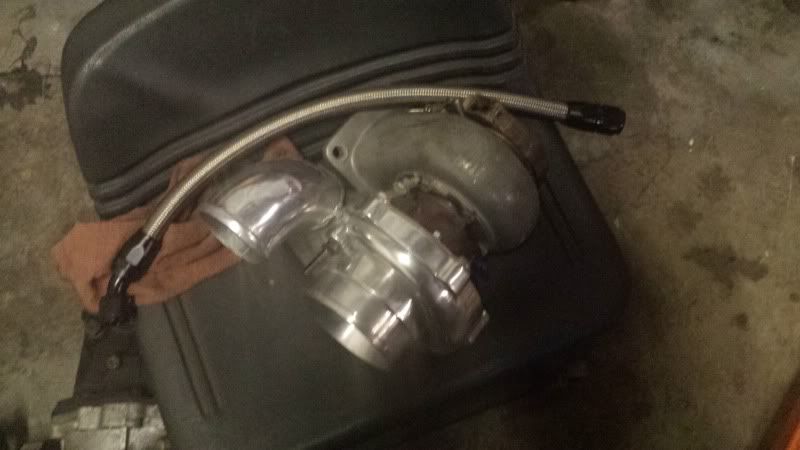
    Then I made the oil return line. The foot long -an line that came with the vibrant kit was not long enough. Luckily we have a stockpile of AN lines at the shop. Needed about 15" to get down to the oil pan. We also happened to have the fitting i need for the turbo side of the feed line. Now I just need an oil restrictor. Heres a pic of it next to the turbo


    I put the valve cover on. Im a little sketchy about using the obd2 VC, I hope it doesnt melt because its plastic. My DP will be heatwrapped and my hotside is ceramic coated, im hoping that will keep it from melting. Eventually I want a nice powercoated obd1 cover and ill build a heat shield to keep the coilpacks good. Oh, i put a set of BKR7s in. I still had the plugs that were in the engine i guess in the junkyard. I think there was some sitting water as one was pretty rusty.

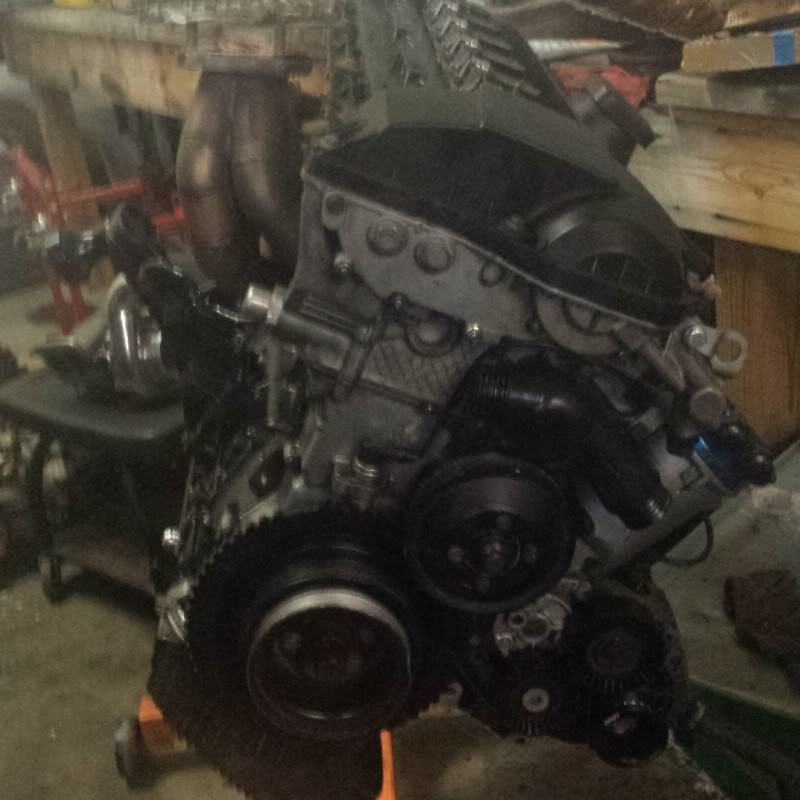
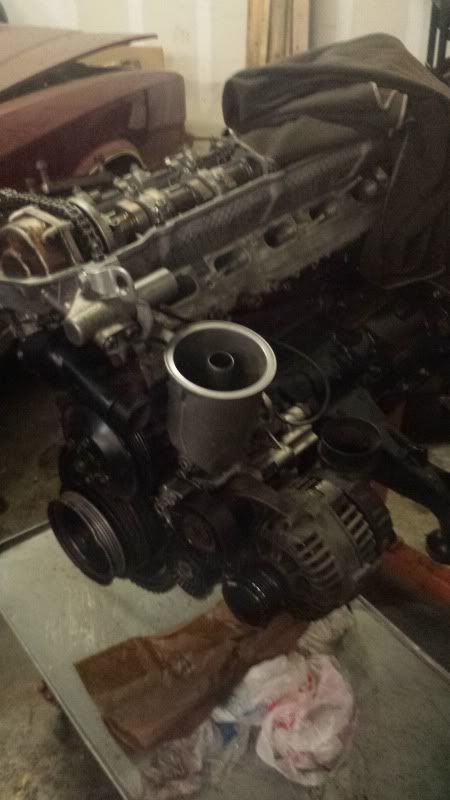
    Heres the engine 90 percent done. Just gotta get it off the stand so I can do the flywheel, clutch and rear main seal.


    i also cleaned the trans up and the z3 shifter I have. I would like to upgrade to the AKG stg 2, but ill be happy with this until I have a spare 400 bucks hanging around. I didnt get a pic, it was pretty messy. I didnt care about getting it perfect as its a trans, its gonna get plenty dirty anyways. I also decided to reuse the throwout bearing I had. Reason being, I have heard terrible things about the one that comes with the f1 clutch kit. The one I have is oem and only has about 5k on it. I cleaned it up, packed it with some bearing grease and now the trans is ready.

    As I left this bad mofo pulled in.


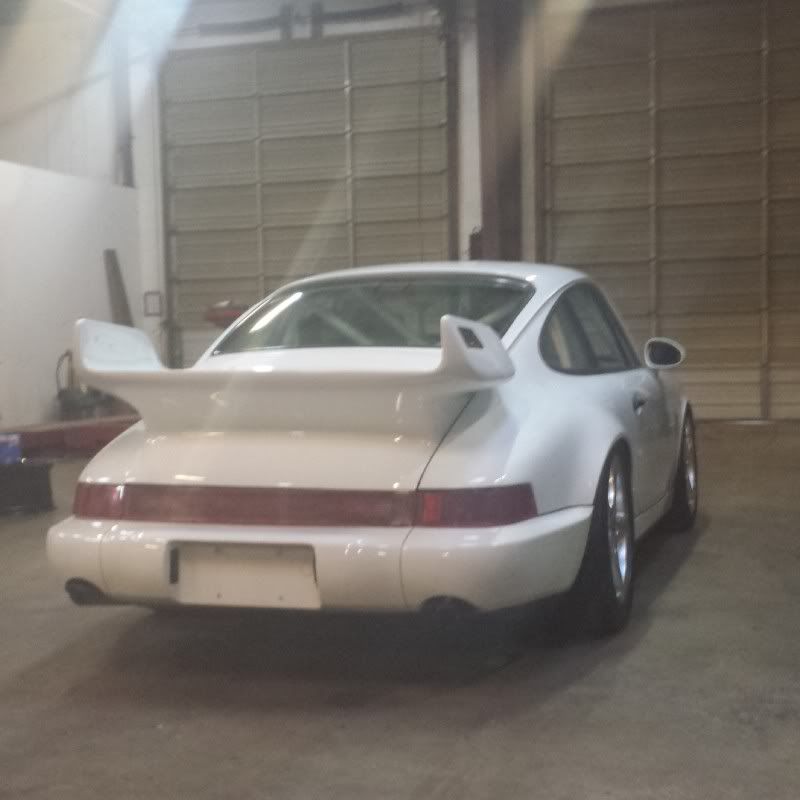
    race spec 3.8 rs race prepped. Just something better to look at then my stupid build.

    This build is going to go into the semester. oh well.

    Thanks for all the kind words those of you who replied!

    Leave a comment:


  • mitchlevy7
    replied
    Well last night I was able to sit down after work and get some wiring done.
    There were alot of extra wires on the e36 harness but im sure I got the ones the e30 needs. Its an auto harness with EWS so that can account for some extra wiring. If I had more time I would just make my own harness. The standalone needs alot less wiring.

    The C101 is mostly done, just gotta clean it up. Tried my hand at sodering. Some were better then others.


    today at "work".... I was really frustrated. My goal was to finish the engine, which means putting the crank and cam sensors in, alternator, WP, and weld the bung in the oil pan.

    Well I cleaned the oil pan up for welding, but we didnt have the right electrode and the guys I work with didnt think our 180 amp welder had enough power. I may bring it to my friends house and try to do it myself with my TIG.

    Then, the crank sensor bolt (that holds it in place) had a bolt stuck in the hole. I wish I had noticed this earlier. With the head on and everything timed, getting the timing cover off is a bitch. Then there is very little room to get the drill in straight.... and I was using a right angle drill with a short drill bit. I had to take off the harmonic damper and the pulley underneath. Finally after about 2 hours of drilling i got through (had to go through the bottom). Tapped it and forgot to take pics. It turned out a little messy, but it holds the sensor in.

    I installed my turner motorsport alternator underdrive pulley i had laying around on the alternator, and cleaned it up a little bit. I painted the engine mounts and the thermostat housing and installed the water pump, thermostat, filter housing cam sensor, and belt tensioner stuff. What a great feeling turning a bunch of bags of gaskets and bolts into an assembled engine.

    I ended the day installing the turbo manifold. This is such a pain in the ass. I took a ratchet with all the different extensions, and like 5 different kinds of wrenches. Some of the studs were so hard to get to i barley even got the nut started. I didn't get to finish but i did all the ones I could get with ratcheting tools. Tomorrow will suck getting those hard to get nuts tight. I had the tools for access but ill have to do it like half a turn at a time.

    Heres the pics I do have.


    Heres whats left to do
    -Weld bung on oil pan and install oil pan
    -put together rest of oil return line
    -figure out final fitting for the turbo feed
    -clean, bondo and paint bay
    -valve cover and gasket
    -wire the ECU side of the harness
    -fix coilovers
    -install engine
    -fab exhaust
    -install different spring in wastegate
    - start up and base tune
    -get brackets and install seats
    - fab charge pipes

    I have 6 days to do all of this. I am hoping to get the harness done by the end of the weekend

    Leave a comment:


  • mitchlevy7
    replied
    Originally posted by squidmaster
    That's a lot of work! Looking good so far. Hopefully you get the right oil filter housing eventually.
    thanks

    Leave a comment:


  • squidmaster
    replied
    That's a lot of work! Looking good so far. Hopefully you get the right oil filter housing eventually.

    Leave a comment:


  • mitchlevy7
    replied
    Well, today was frustrating.

    I starting doing the timing on the motor. Halfway into doing it, i found out the threads for the sprockets on the intake cam were jimmied beyond repair. Ordinarily i would just bring it from a m8 to an m10, but the bolts and washers for it are so specific.

    So, I took the intake cam from my m52 alloy motor. Good thing I think I am going to just part it out because someone wants the block. But of course, taking cams out is a bitch. Uninstalled the s52 cam and m52 cam and reinstalled the m52 cam. Got the motor all timed and the vanos on and everything looks good.

    I posted yesterday but i guess i didnt hit post. yesterday i made a bracket for the intercooler and tabs for the oil cooler and got them mounted on the car. The oil cooler will sit below. I did a ton of clearancing for the intercooler.

    I also ordered a new radiator with a puller fan. I need to find the right fitting for the oil line for the turbo side. I am not sure that thread my turbo is, maybe ill figure that out tomorrow.

    Today i received my muffler, and oil filter housing.... too bad the dude sent the wrong fucking one, its a non vanos. I have 4 housings now and none of them will work.

    Sorry I hope to have pics tomorrow.

    Leave a comment:


  • Mistawall
    replied
    this looks niceeee. good luck for you

    Leave a comment:

Working...