Announcement

Collapse
No announcement yet.

phenryiv1's 1989 325iC Project - SETA 2.7i Swap Complete and Running!

Collapse
X
 
  • Filter
  • Time
  • Show
Clear All
new posts

    Originally posted by rcsoundn1 View Post
    did you bend your rack mount tabs to get the rack out like the DIY on here suggests?
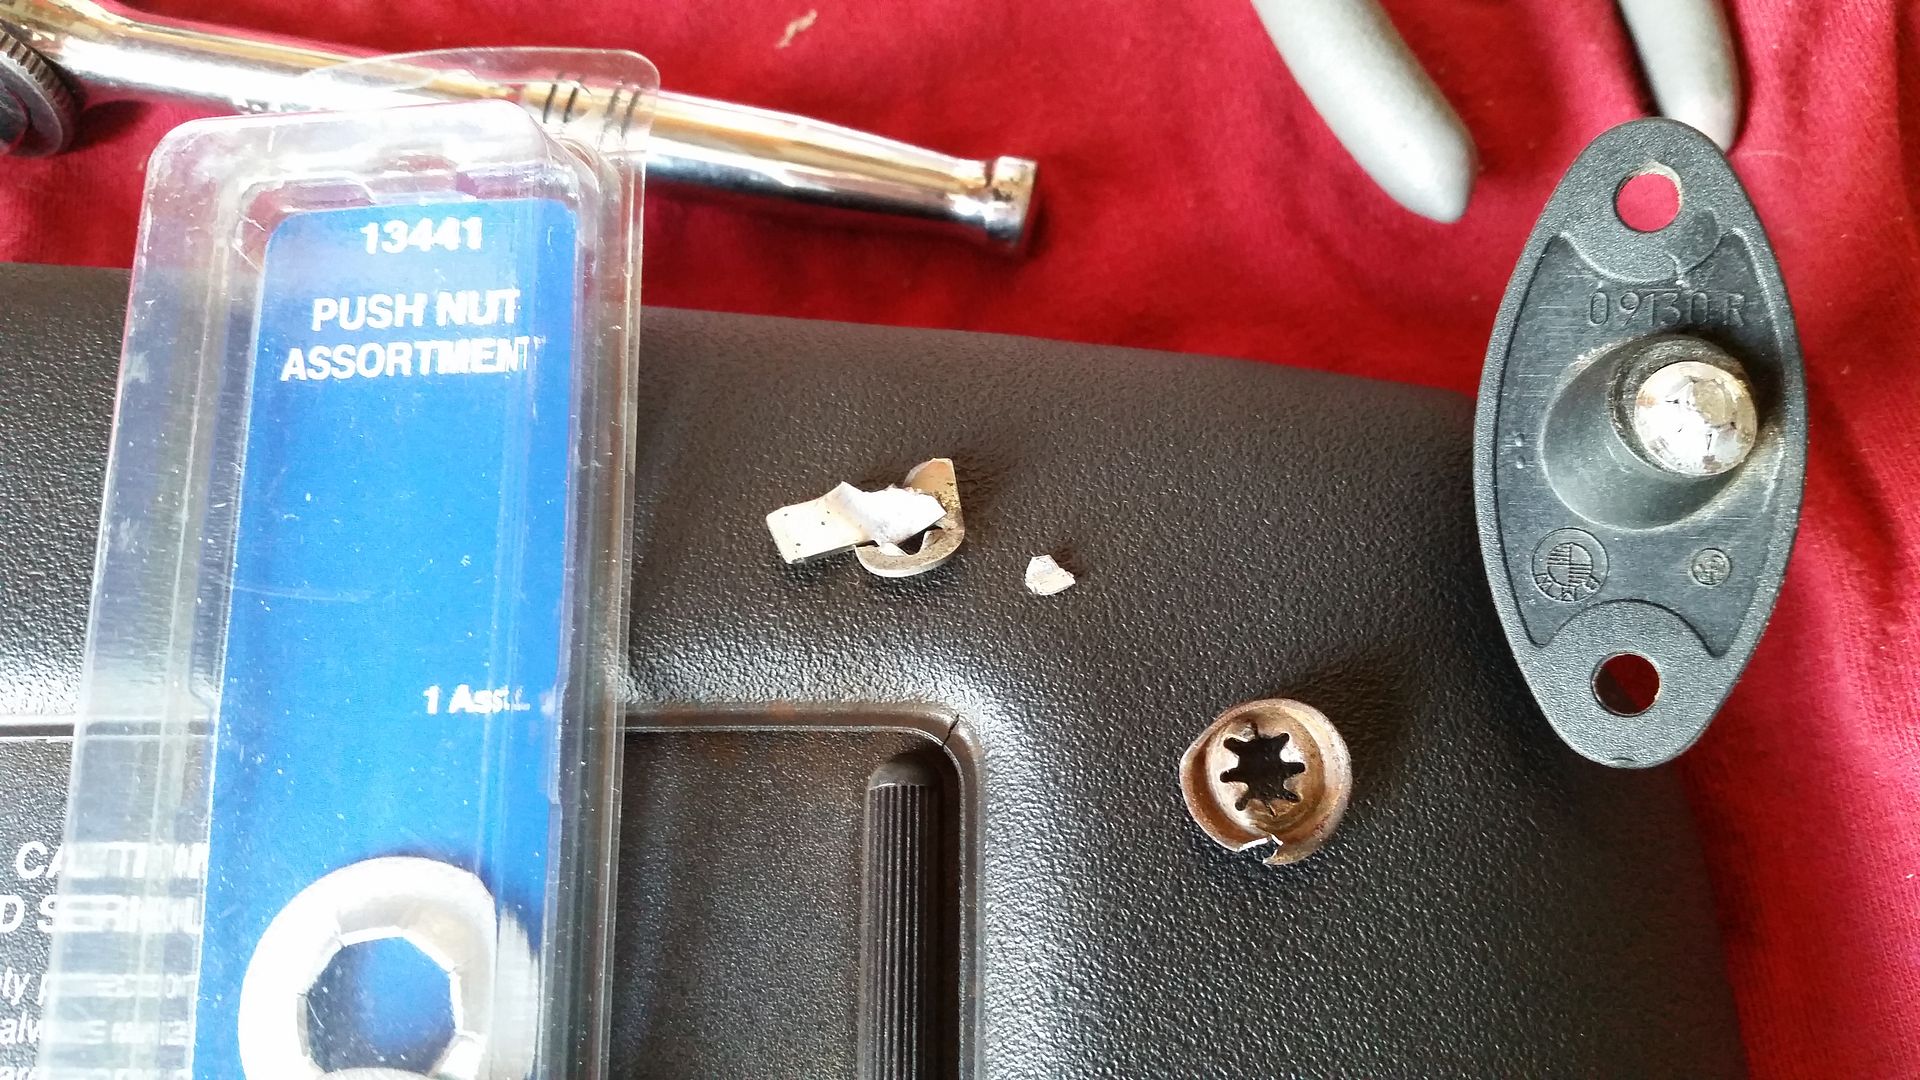
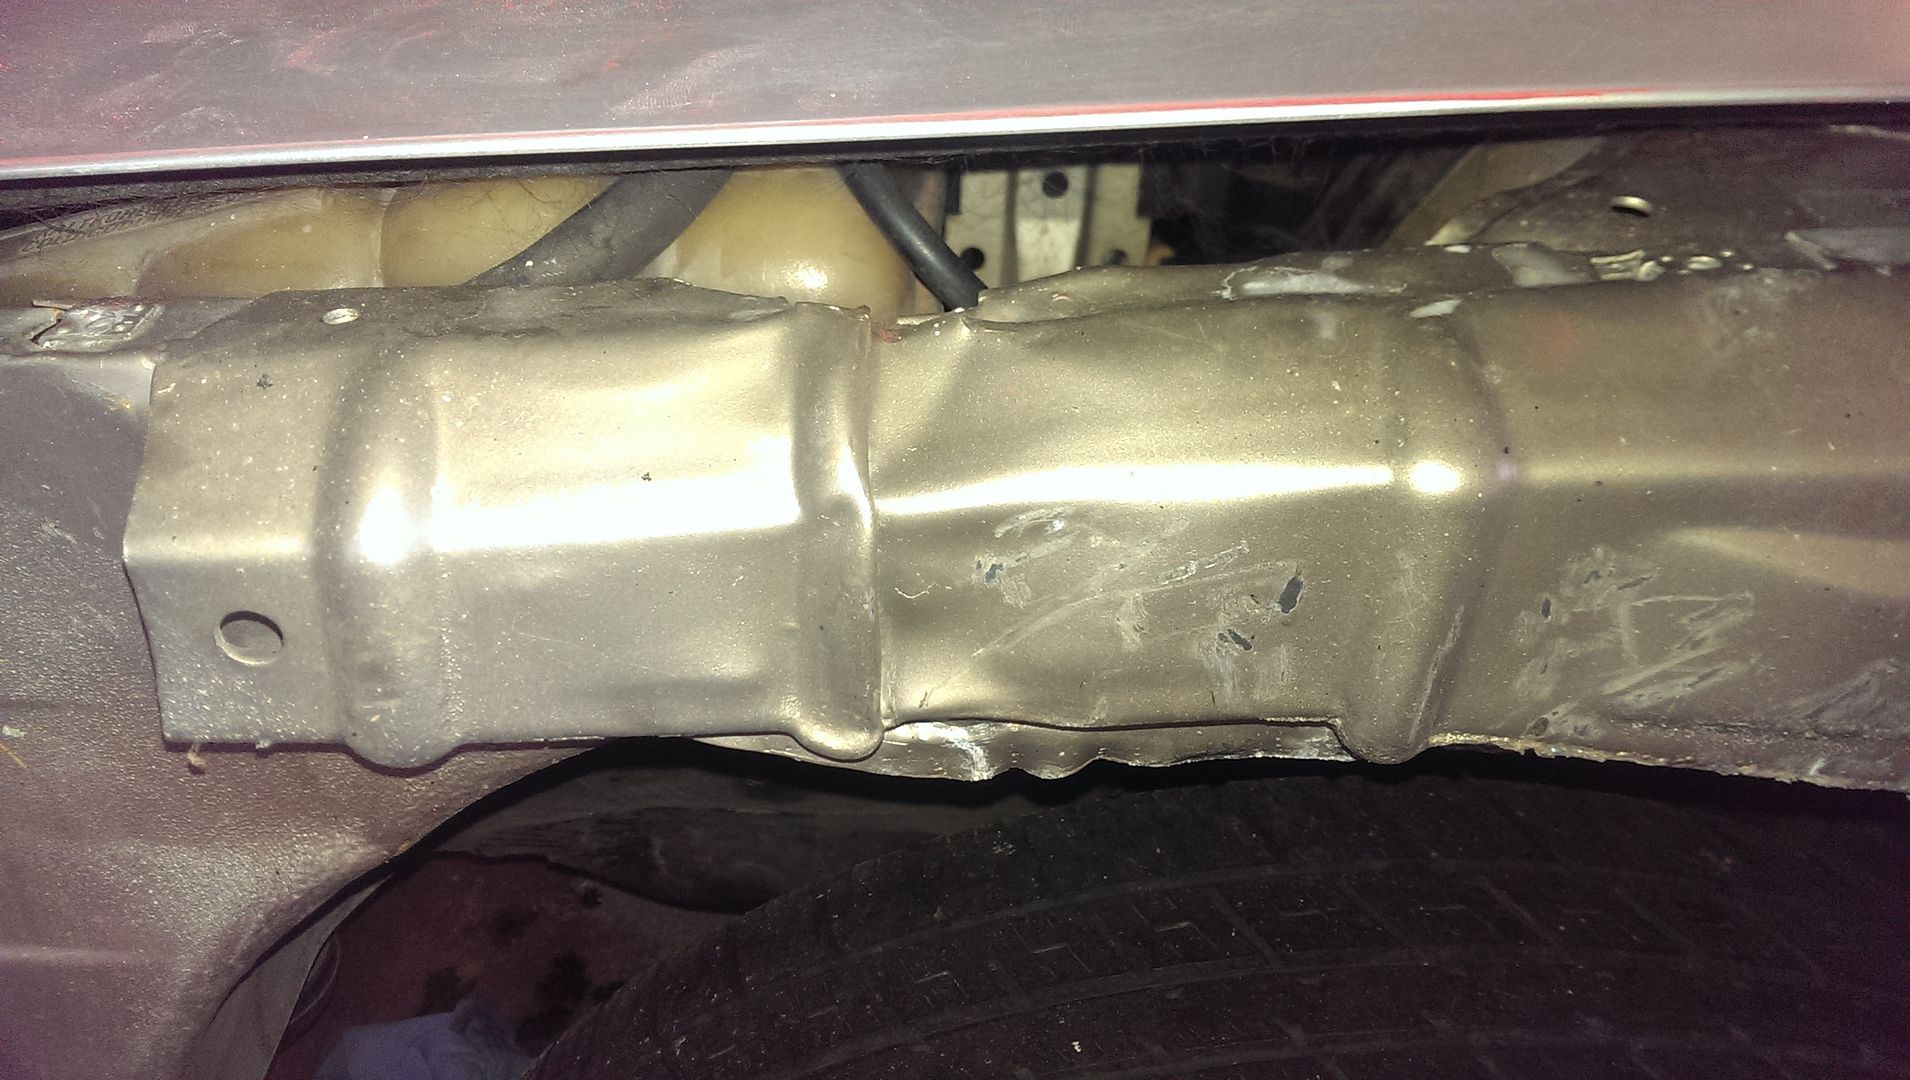
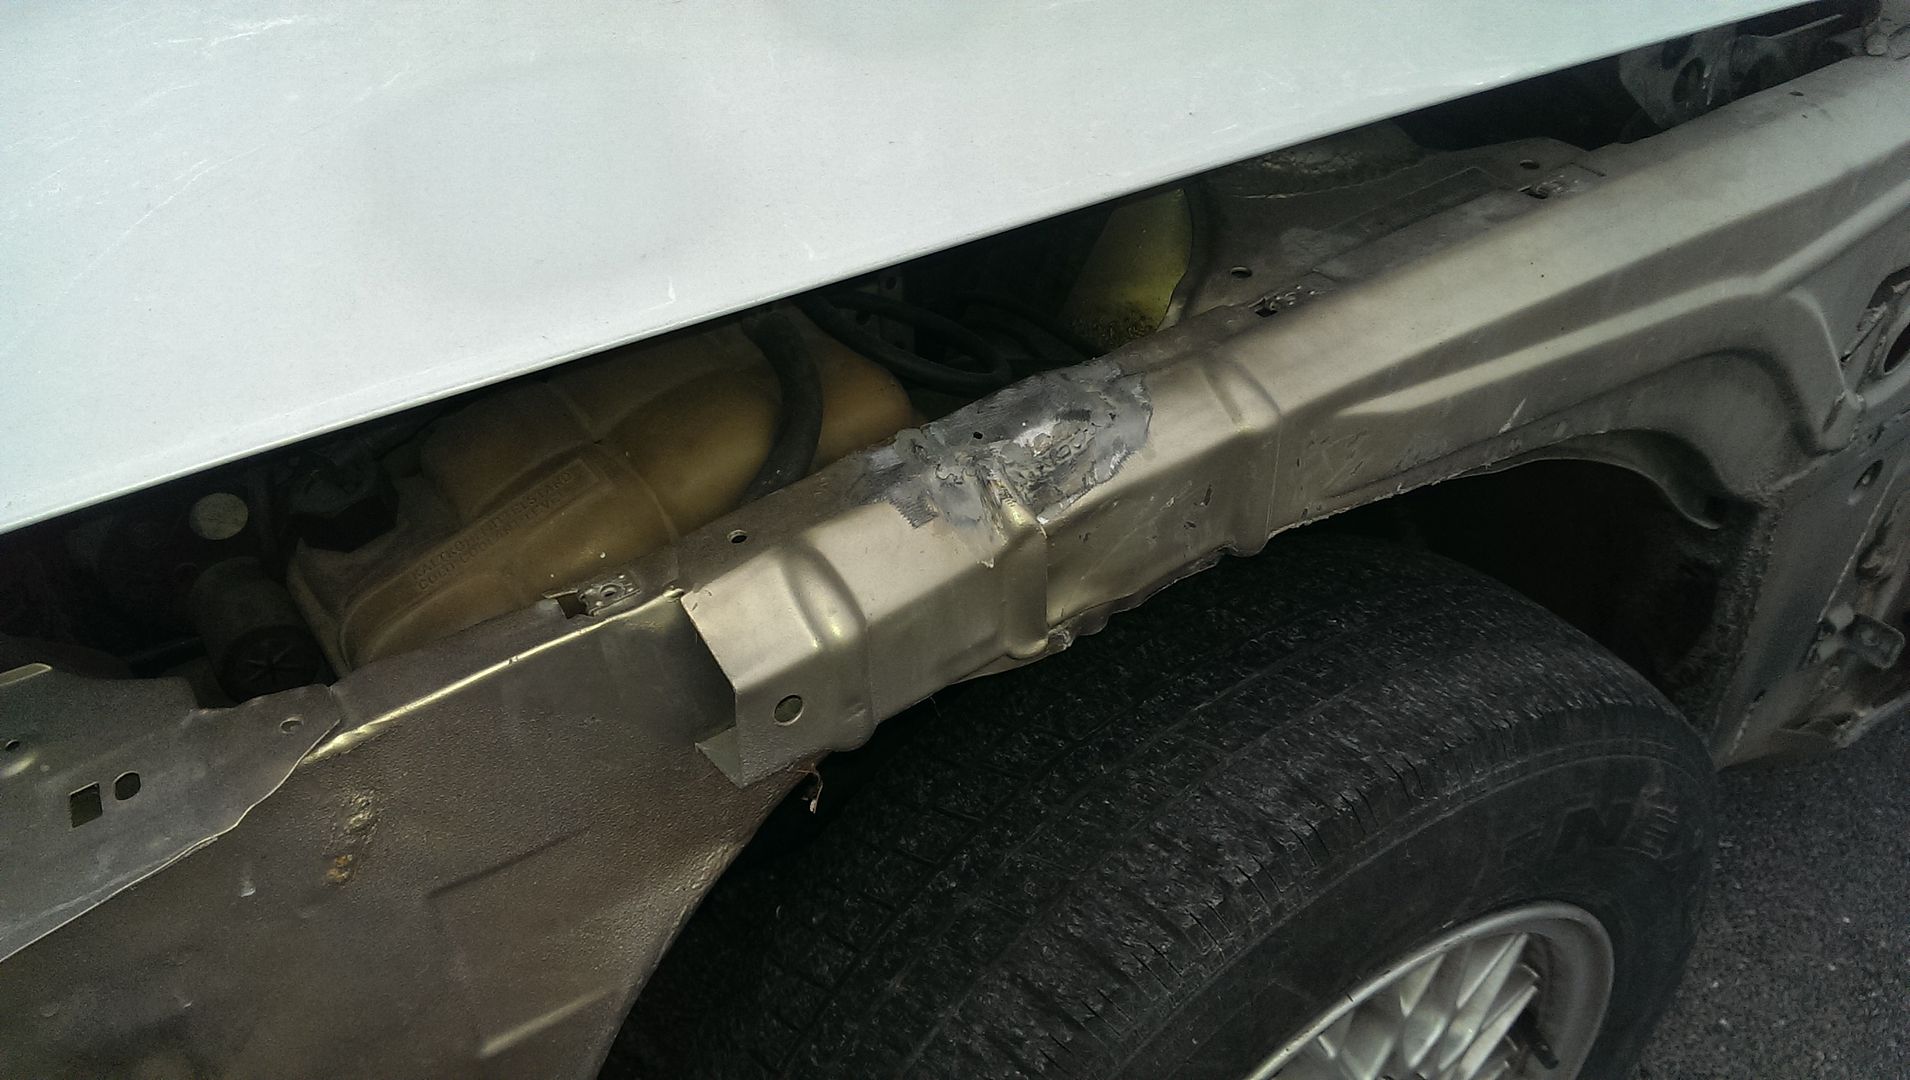
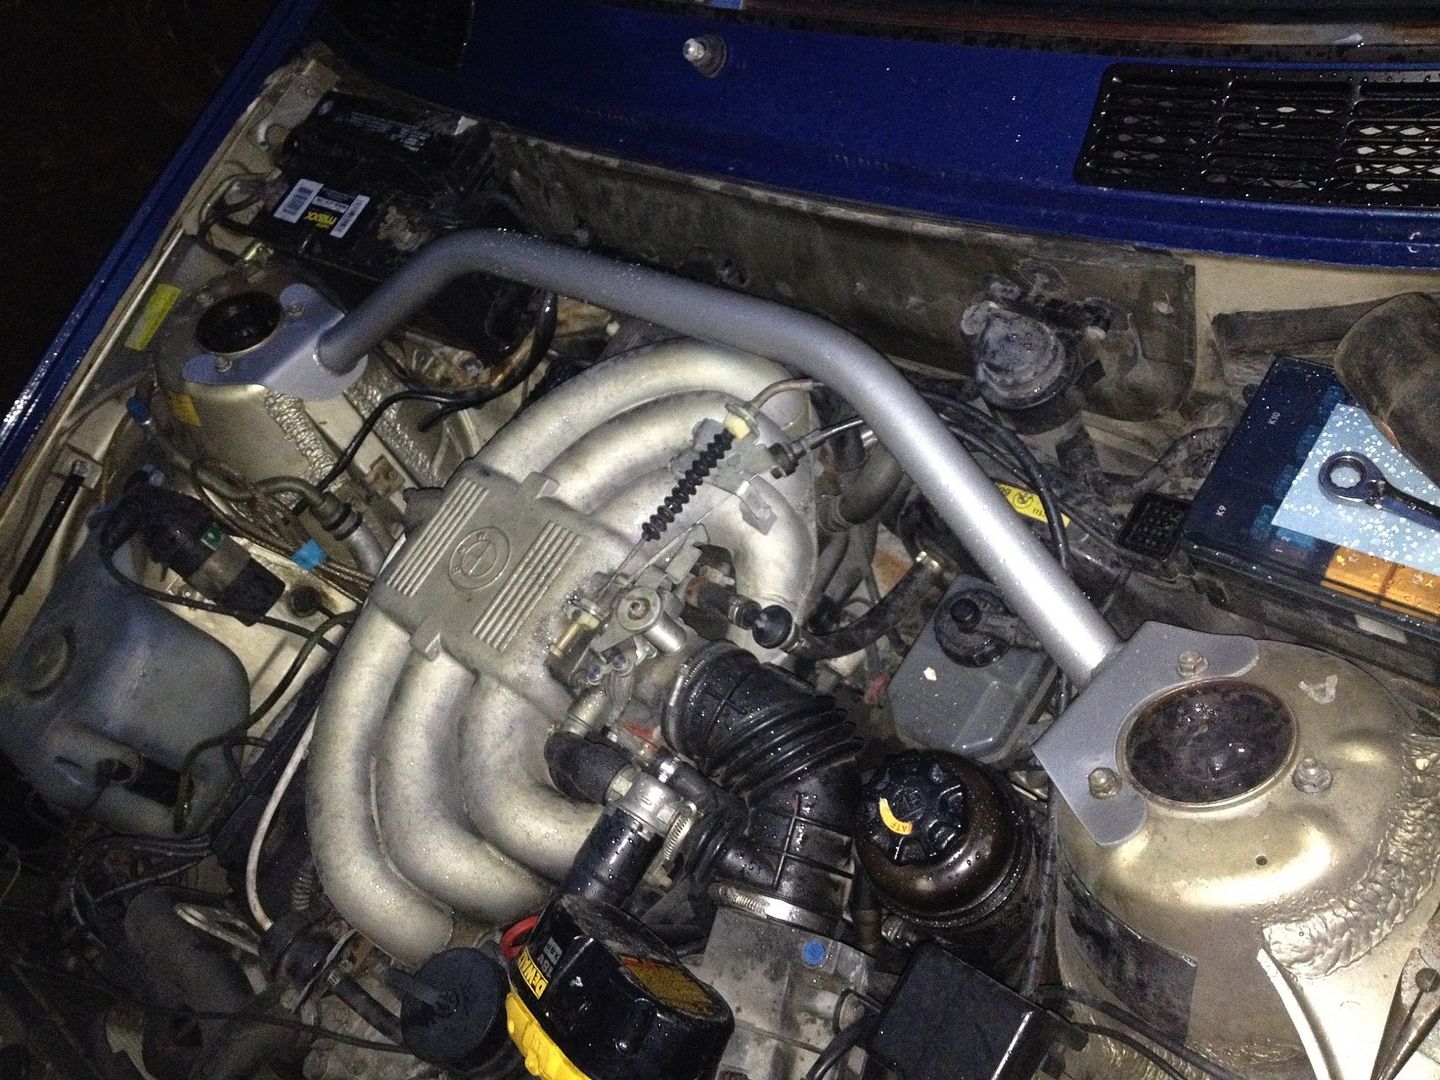
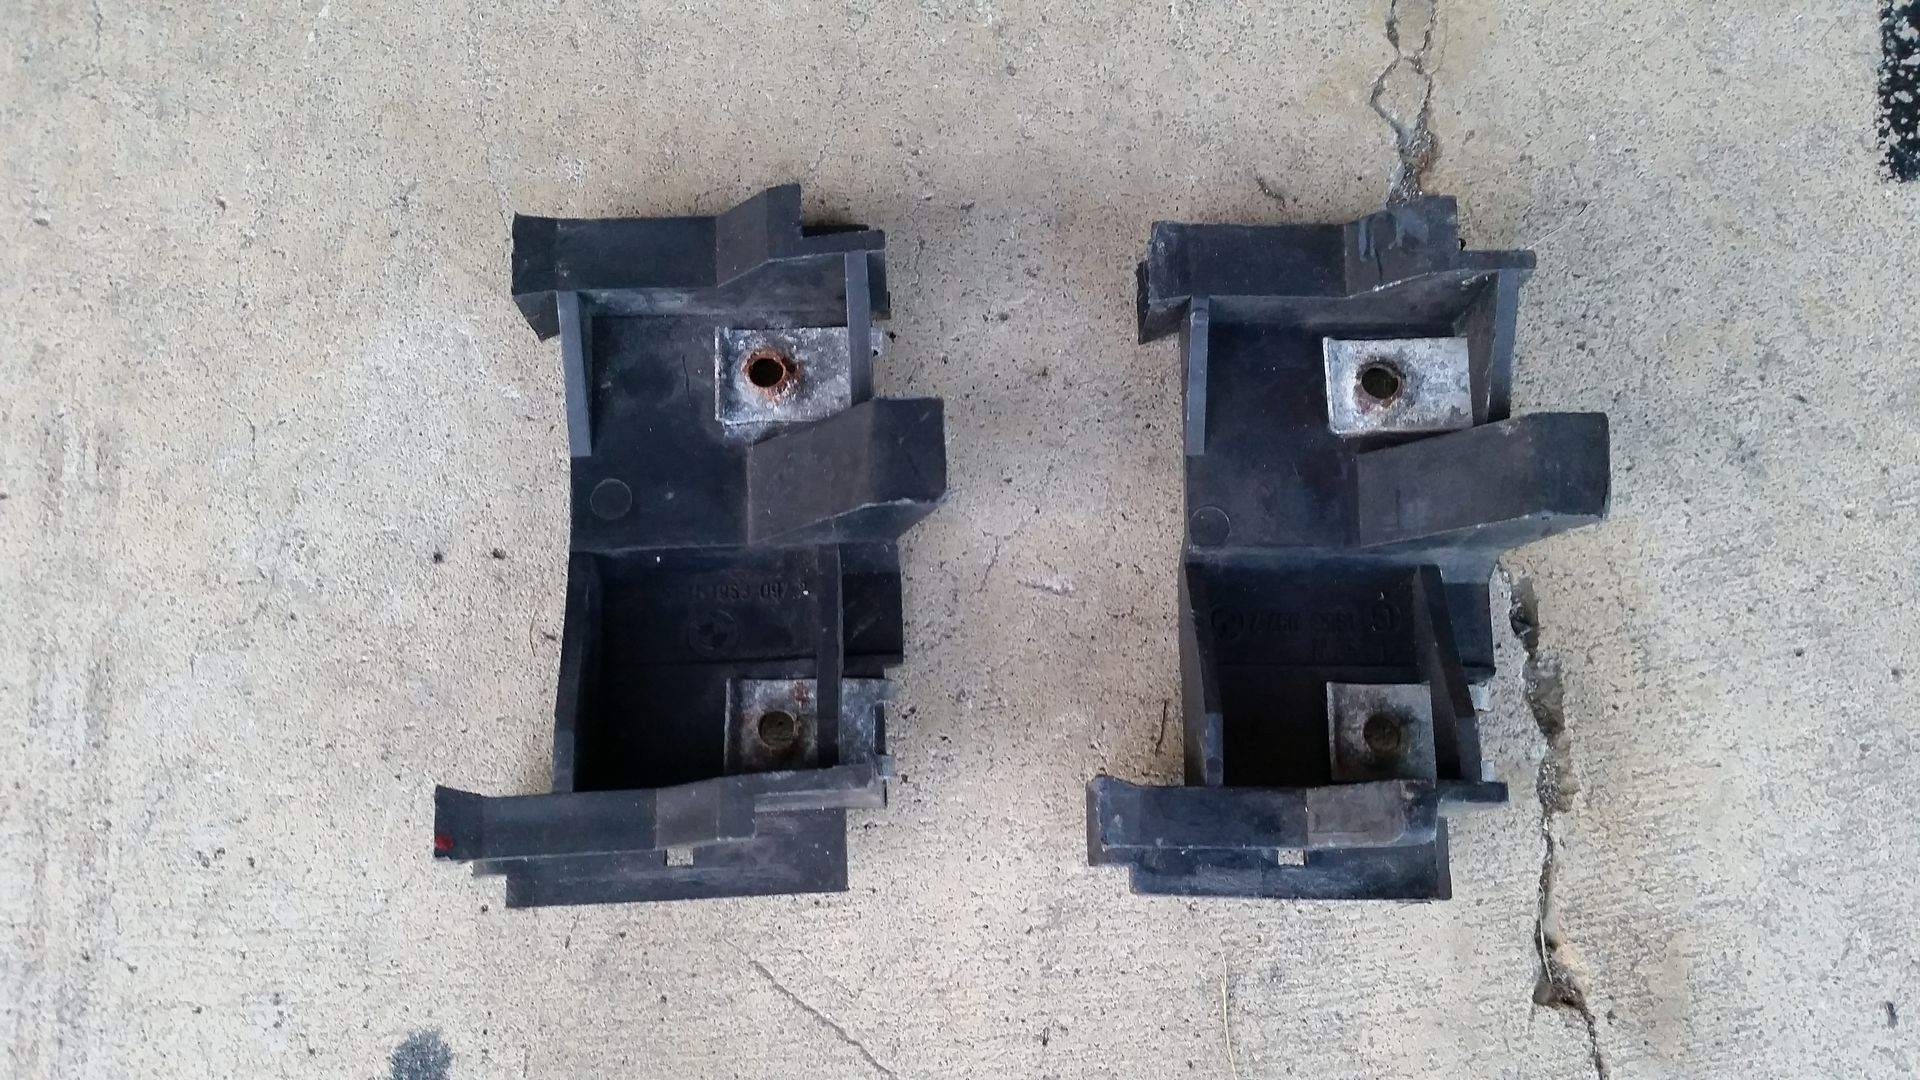
    I did bend them. I did it by hand only, and ONLY far enough to slide the rack out. Even then, the rack just barely squeezed out. I then tapped them back up once the rack was back in place and used the 15mm bolt to draw it back up rather than to hammer it back in place.

    Originally posted by rcsoundn1 View Post
    I was trying to find where you sourced your top from in your thread? was it an ebay top?
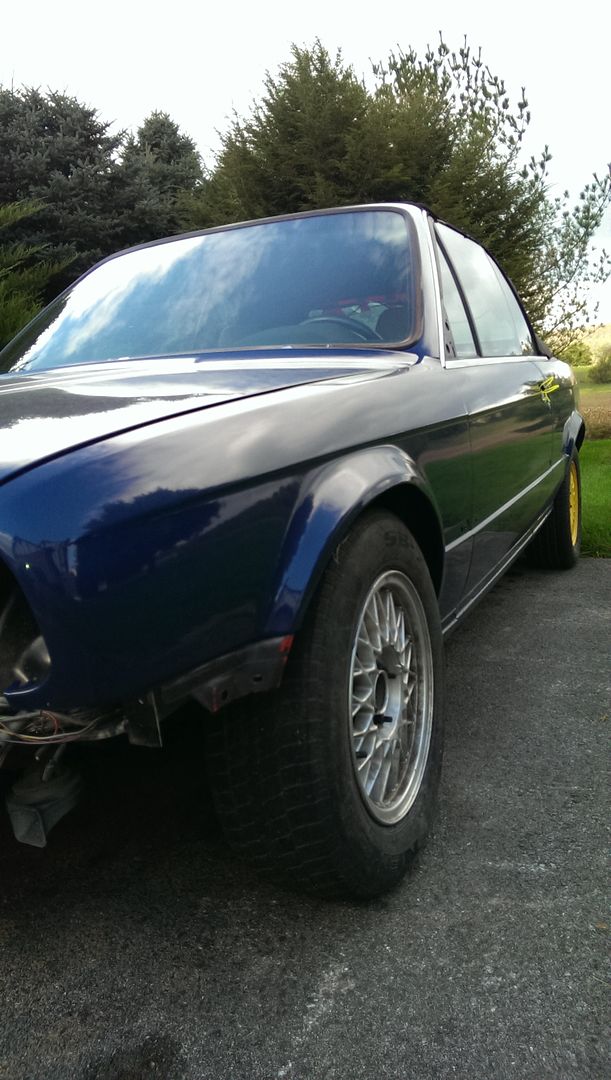
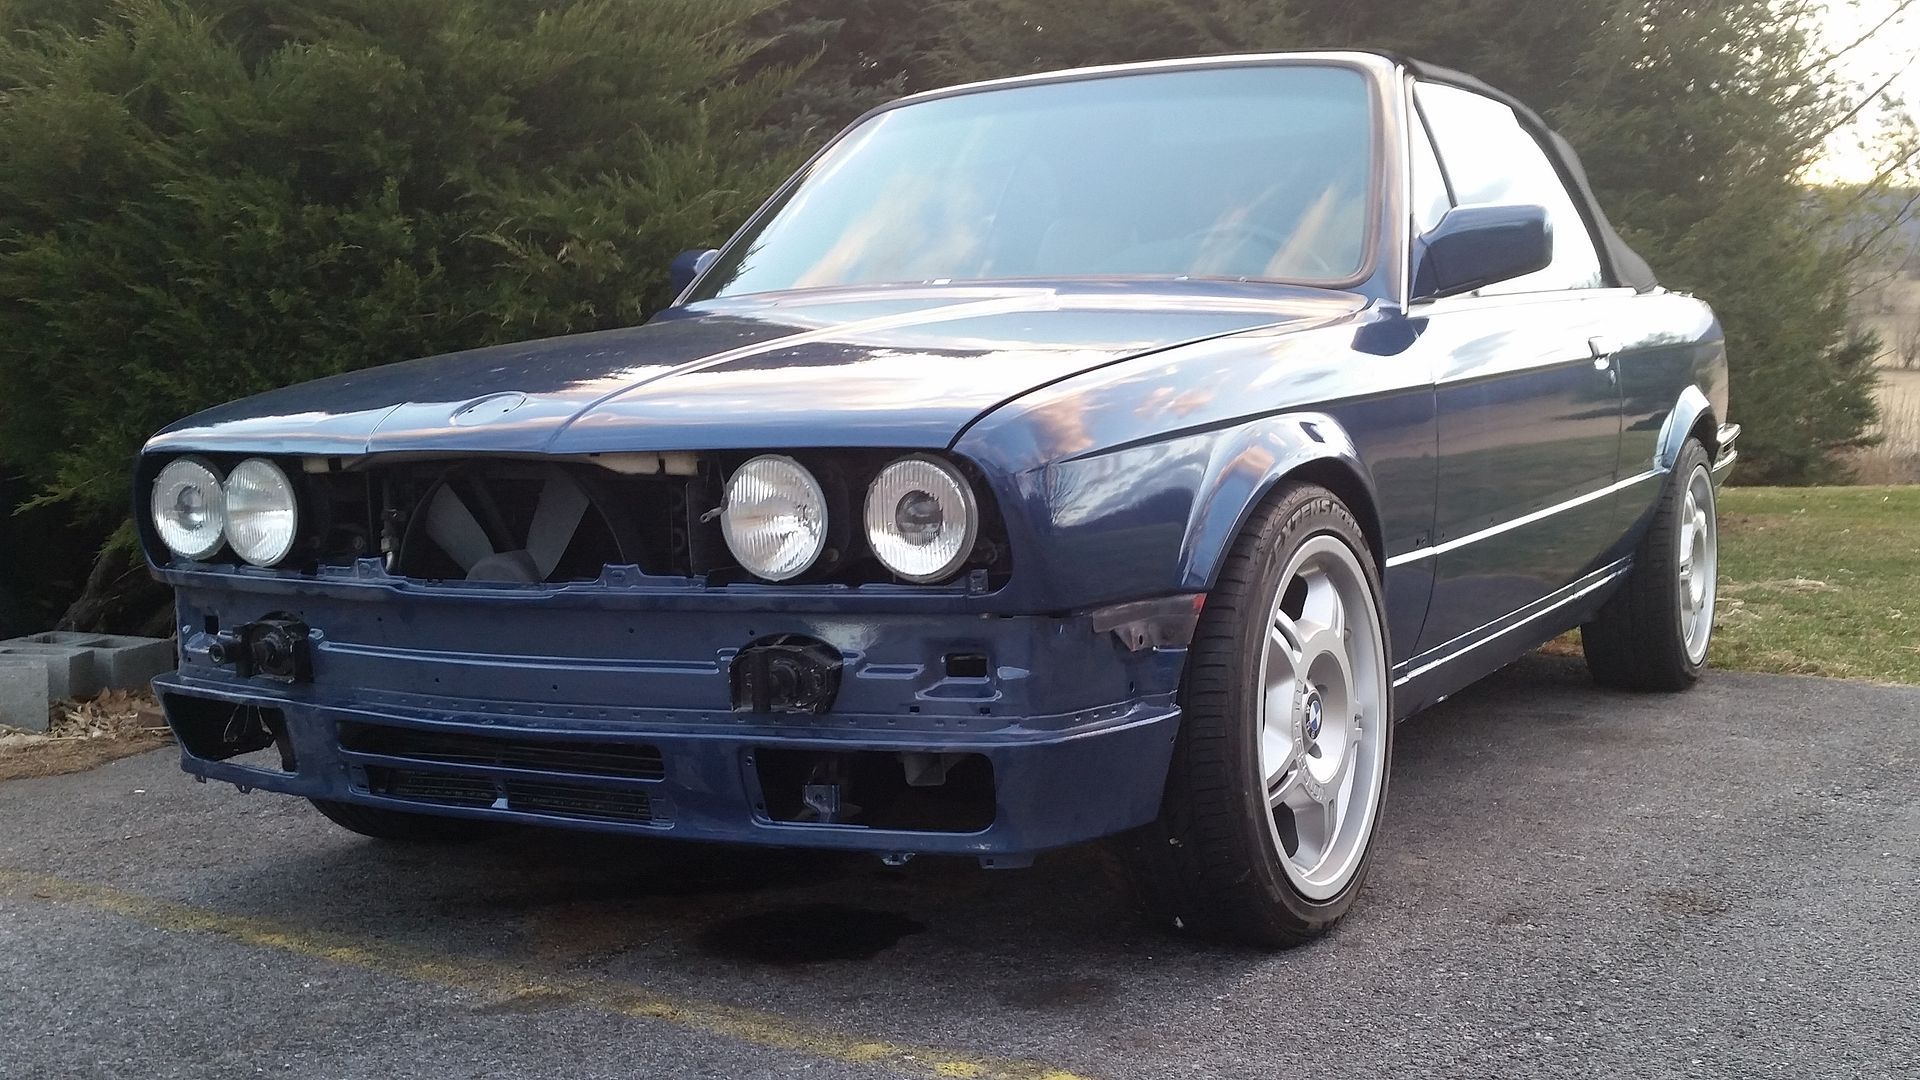
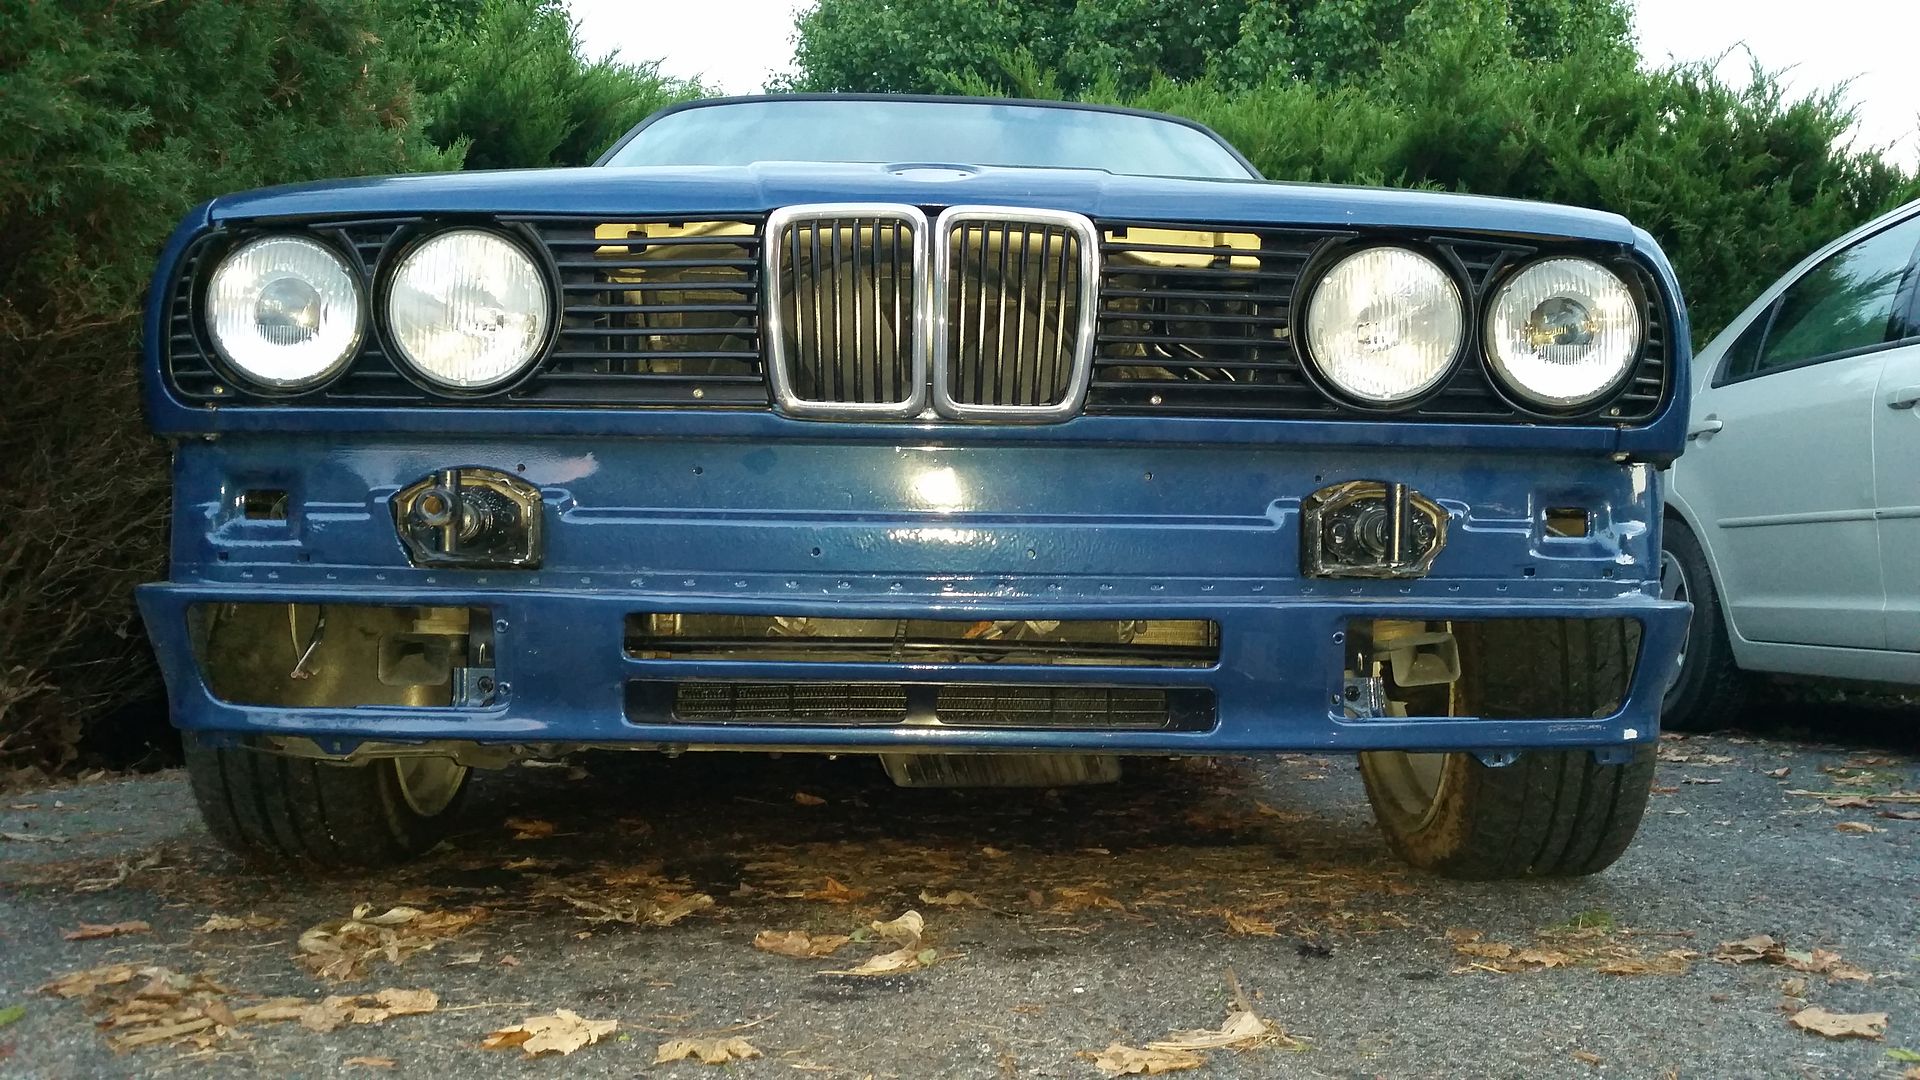
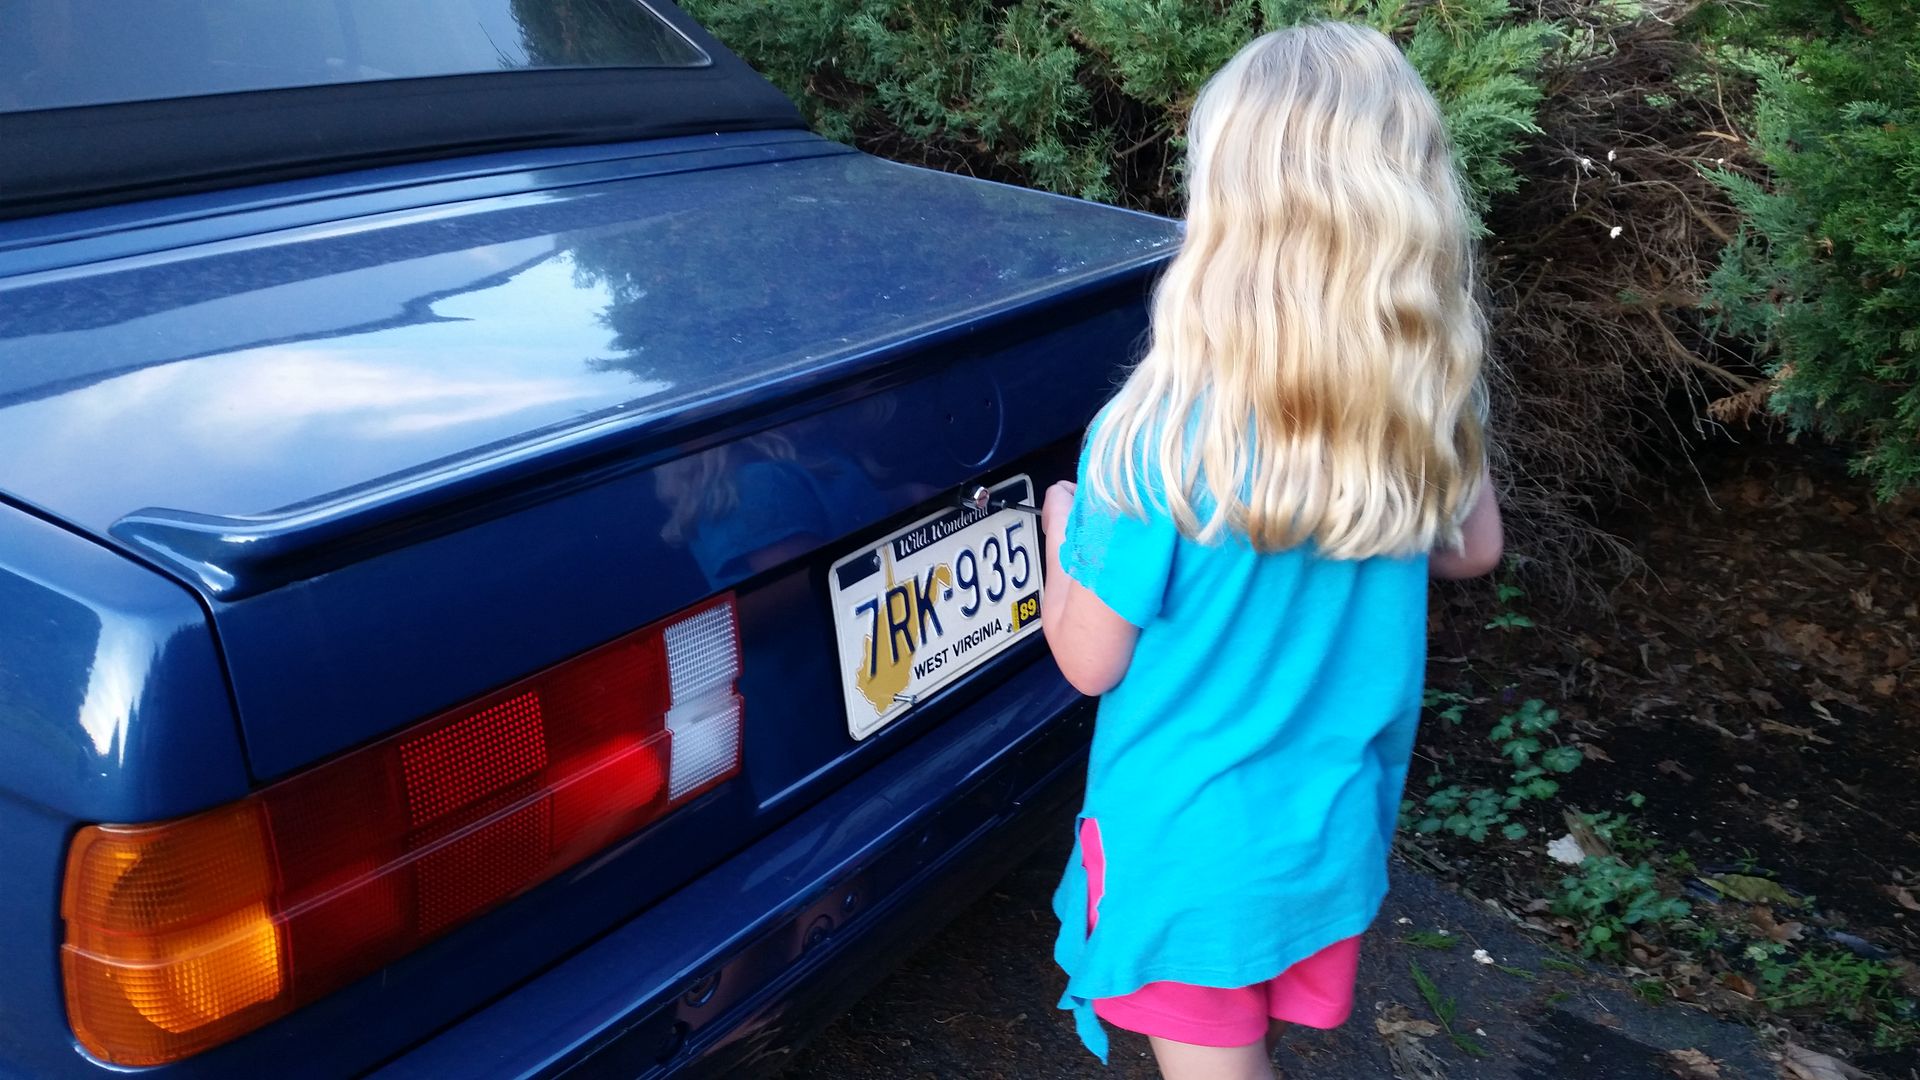
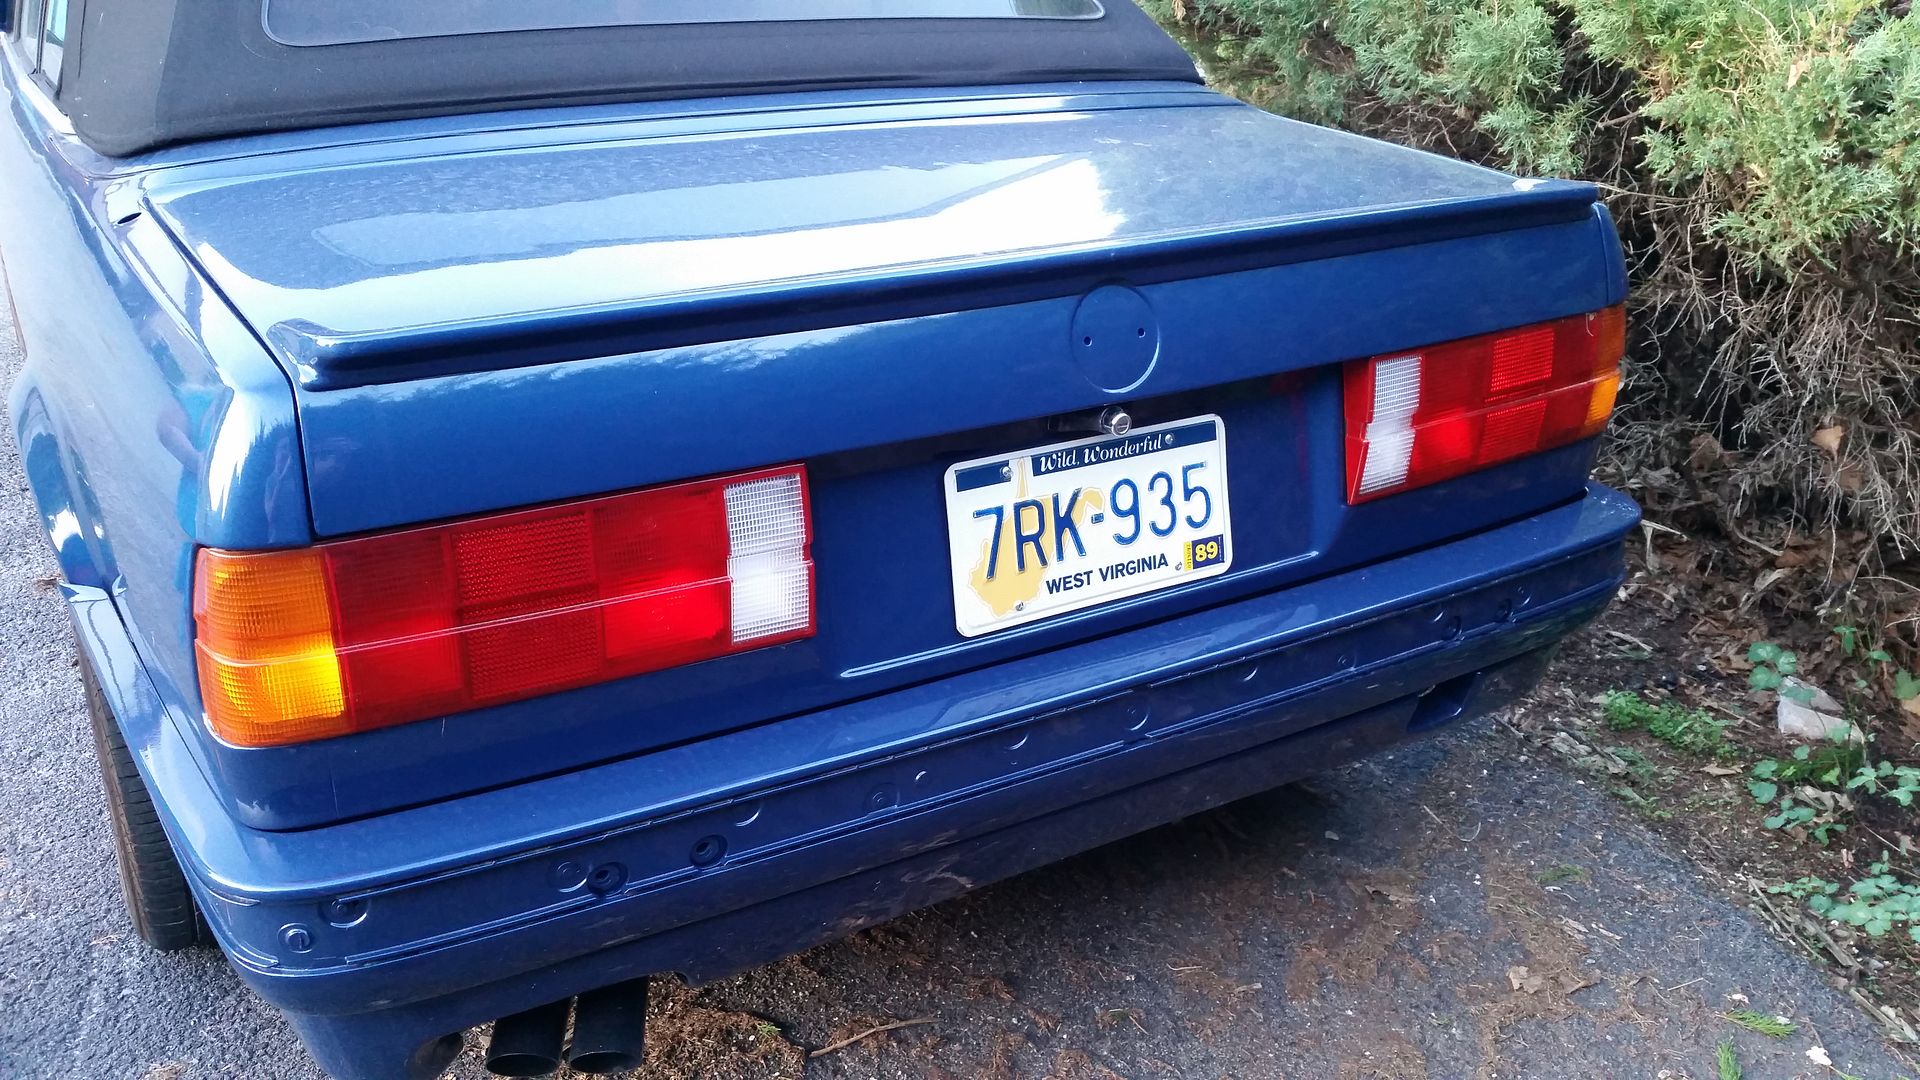
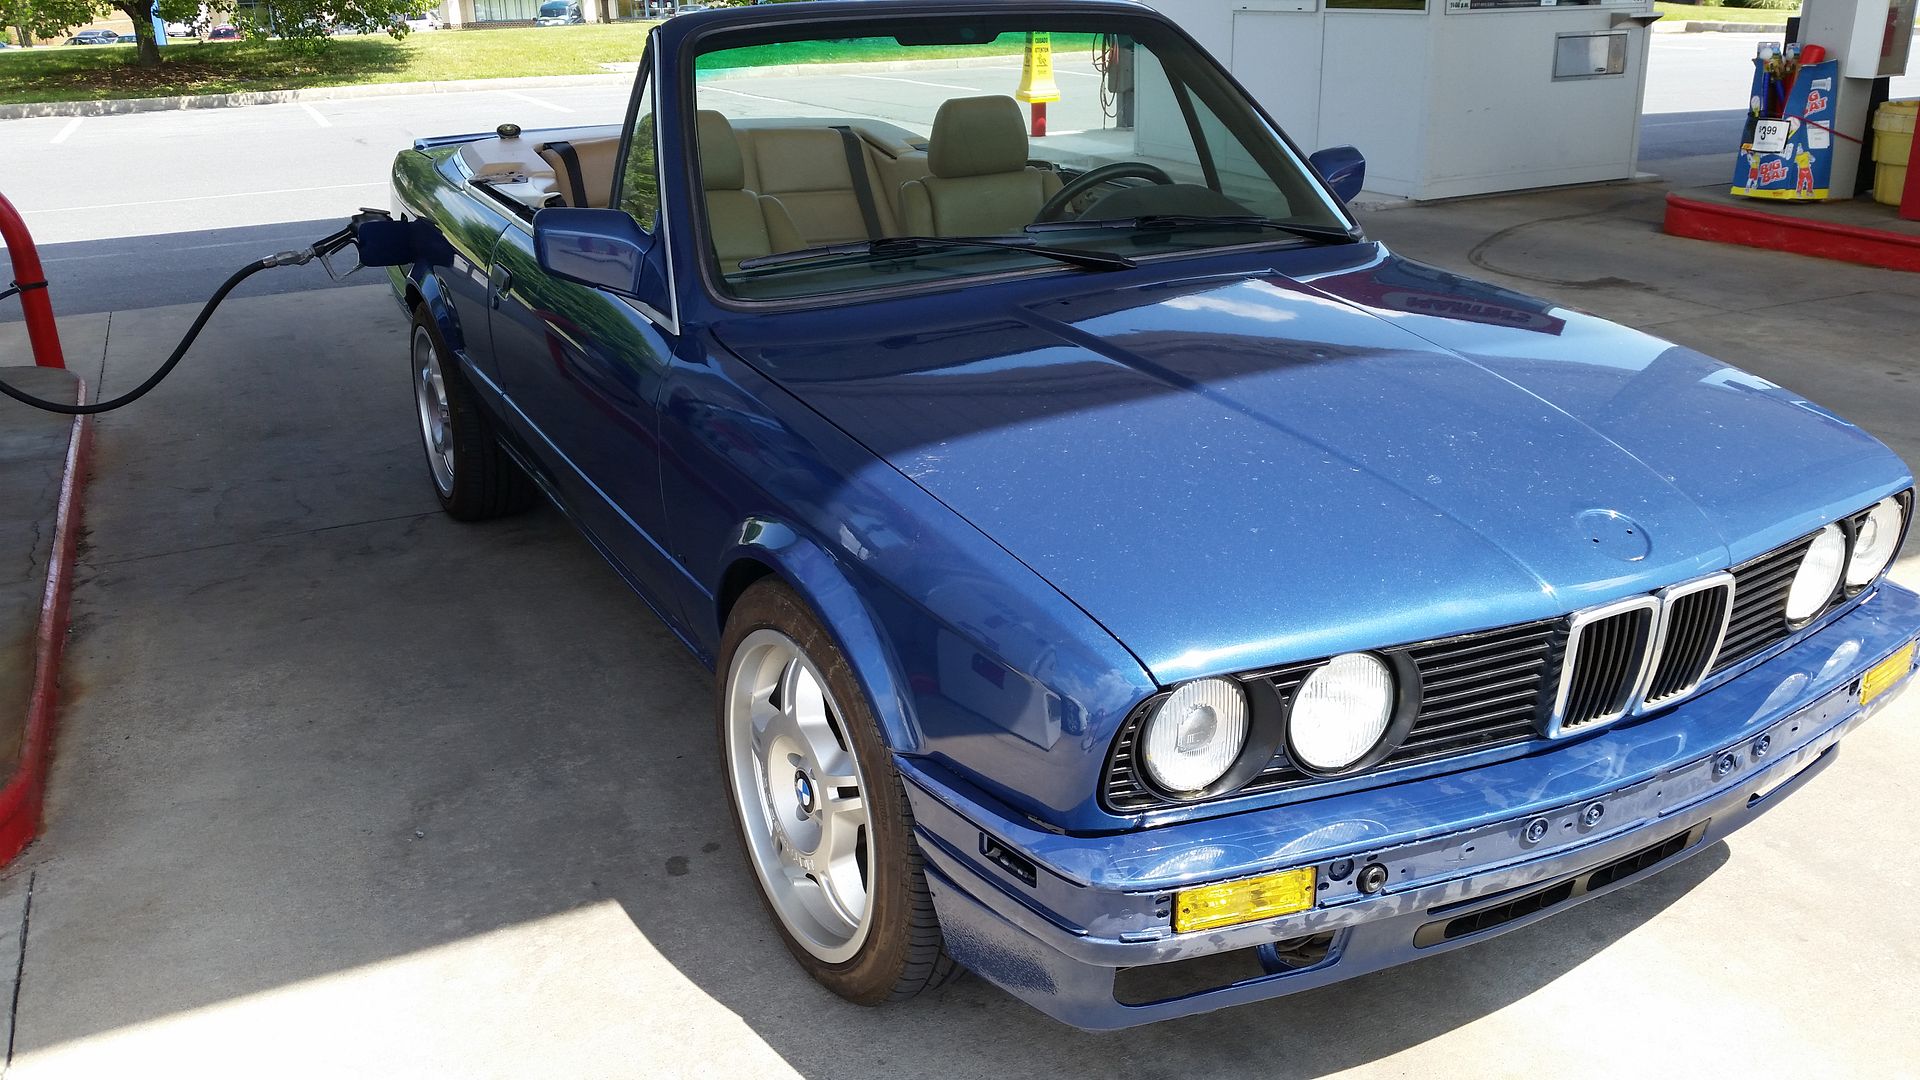
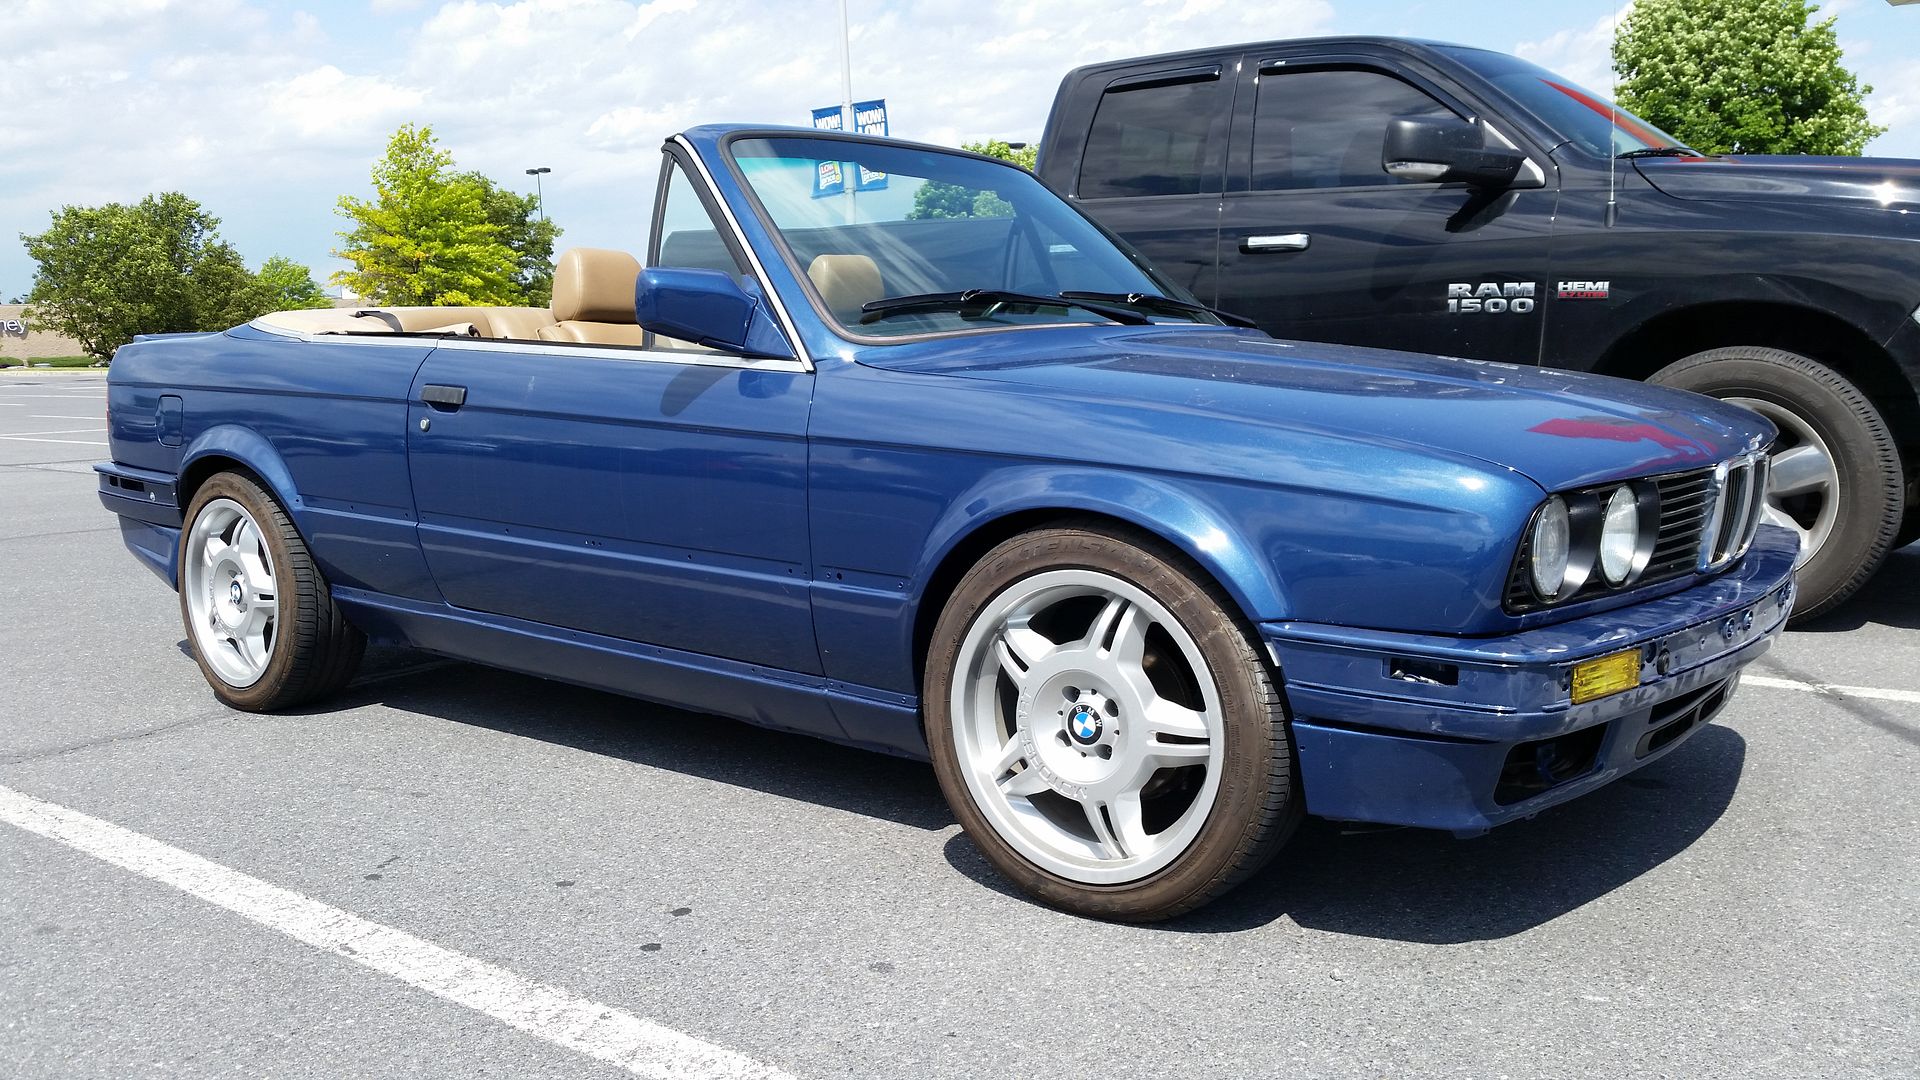
    Top is an EZ-On top. I found it on eBay but called the seller and ordered it custom with the tinted rear window. I can't remember the vendor.

    Originally posted by rcsoundn1 View Post
    And if you dont mind me asking what did that lift cost? I am looking into getting one like that. Do you feel safe getting under the car and torquing on some bolts? does the lift feel solid or shake when you are working on the car under it?
    I paid between $1200-1300, shipped. I think $1235-1250, to narrow it down further.

    It is VERY steady- more steady than my 6000# TD6MR felt, and that was never unsafe. Think of it this way- the lift structures are wider than a jackstand and are connected in "pairs" to the other quasi-jackstand on the same side. While they are taller than a jackstand, it isn't crazy tall.

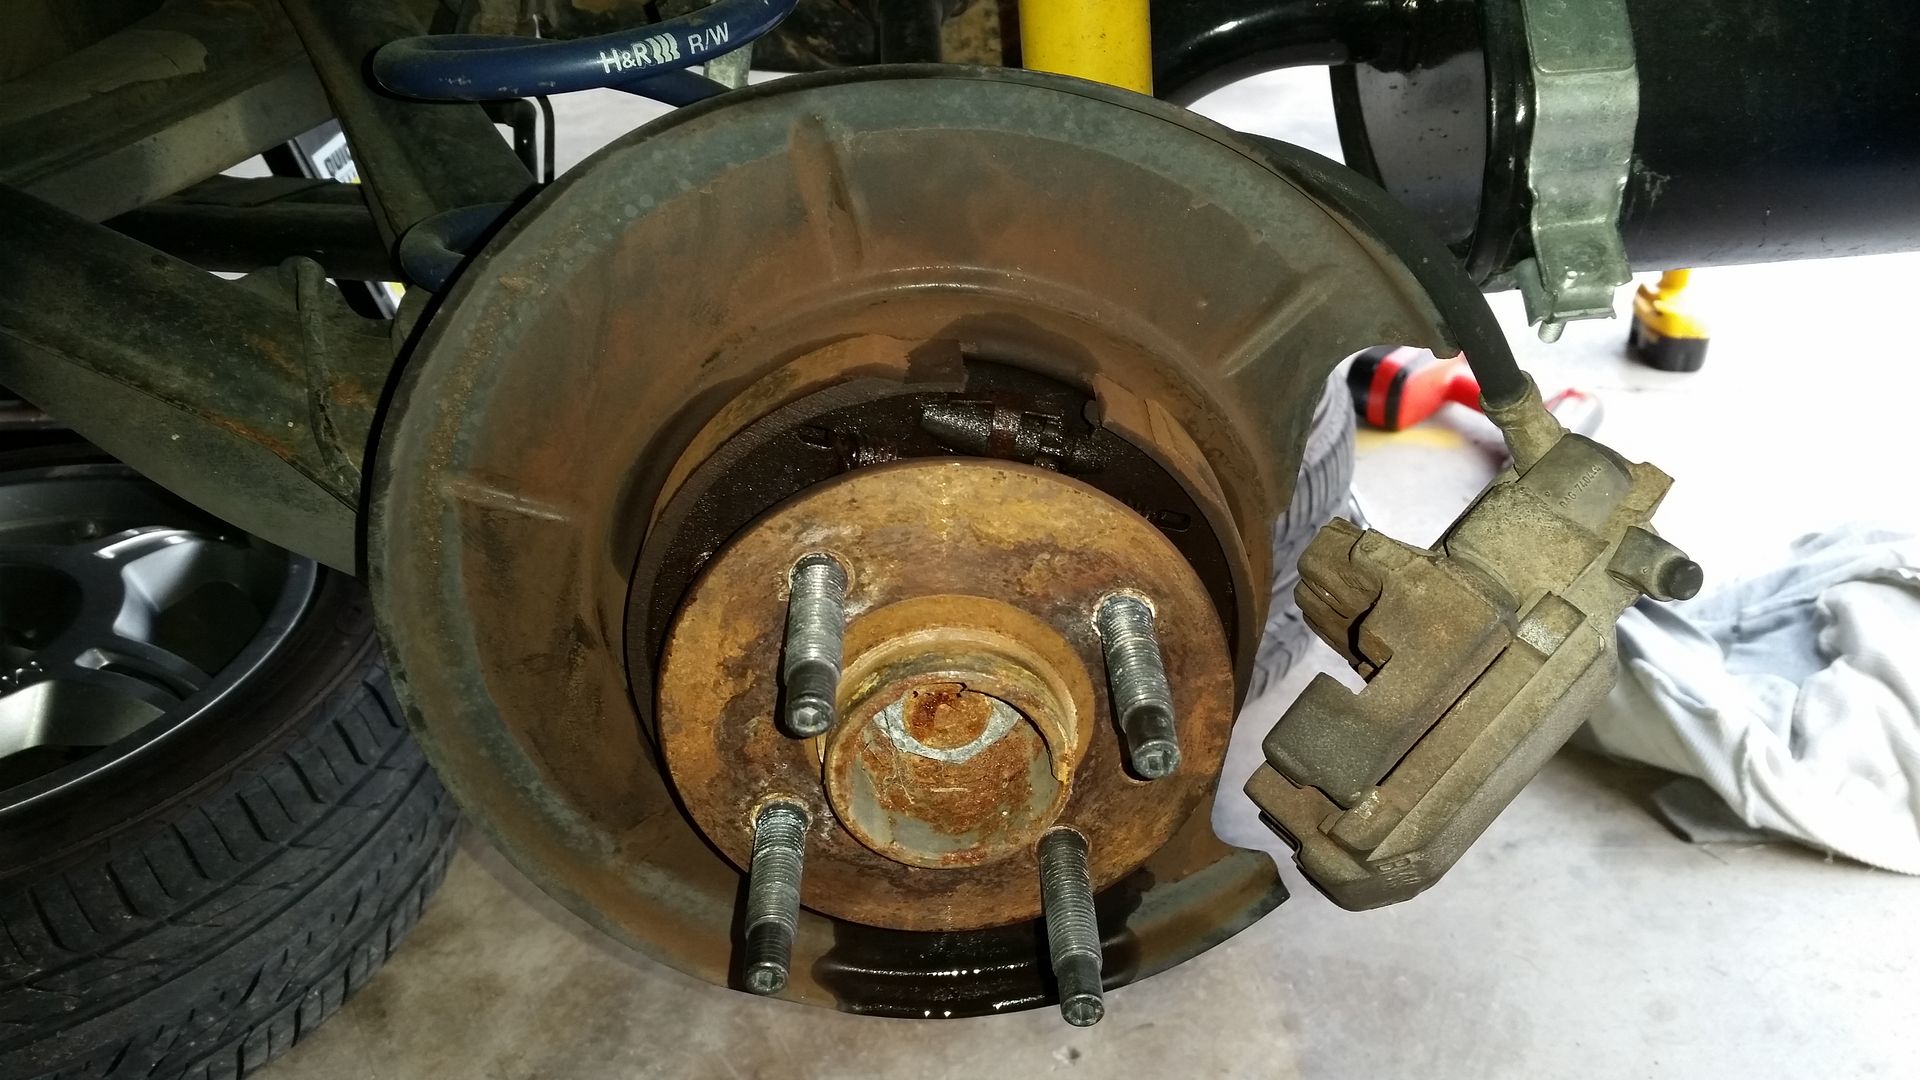
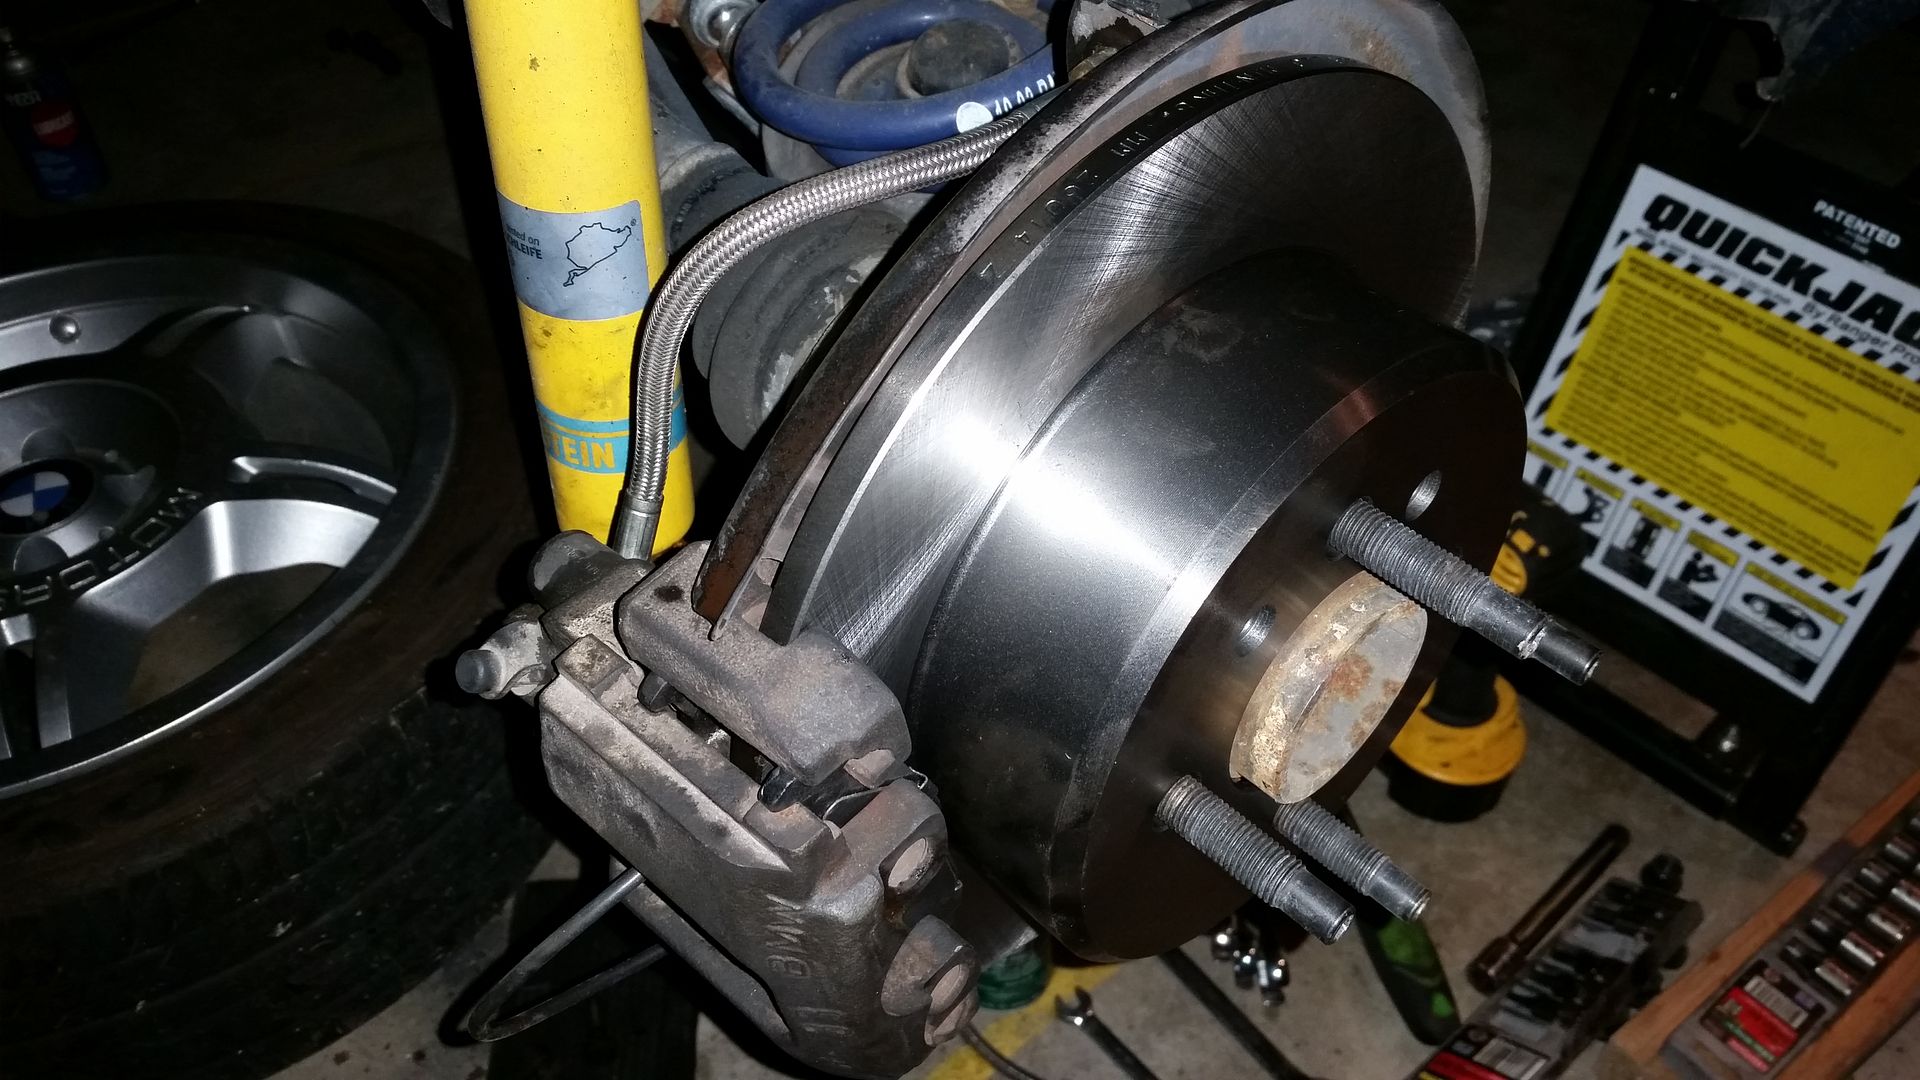
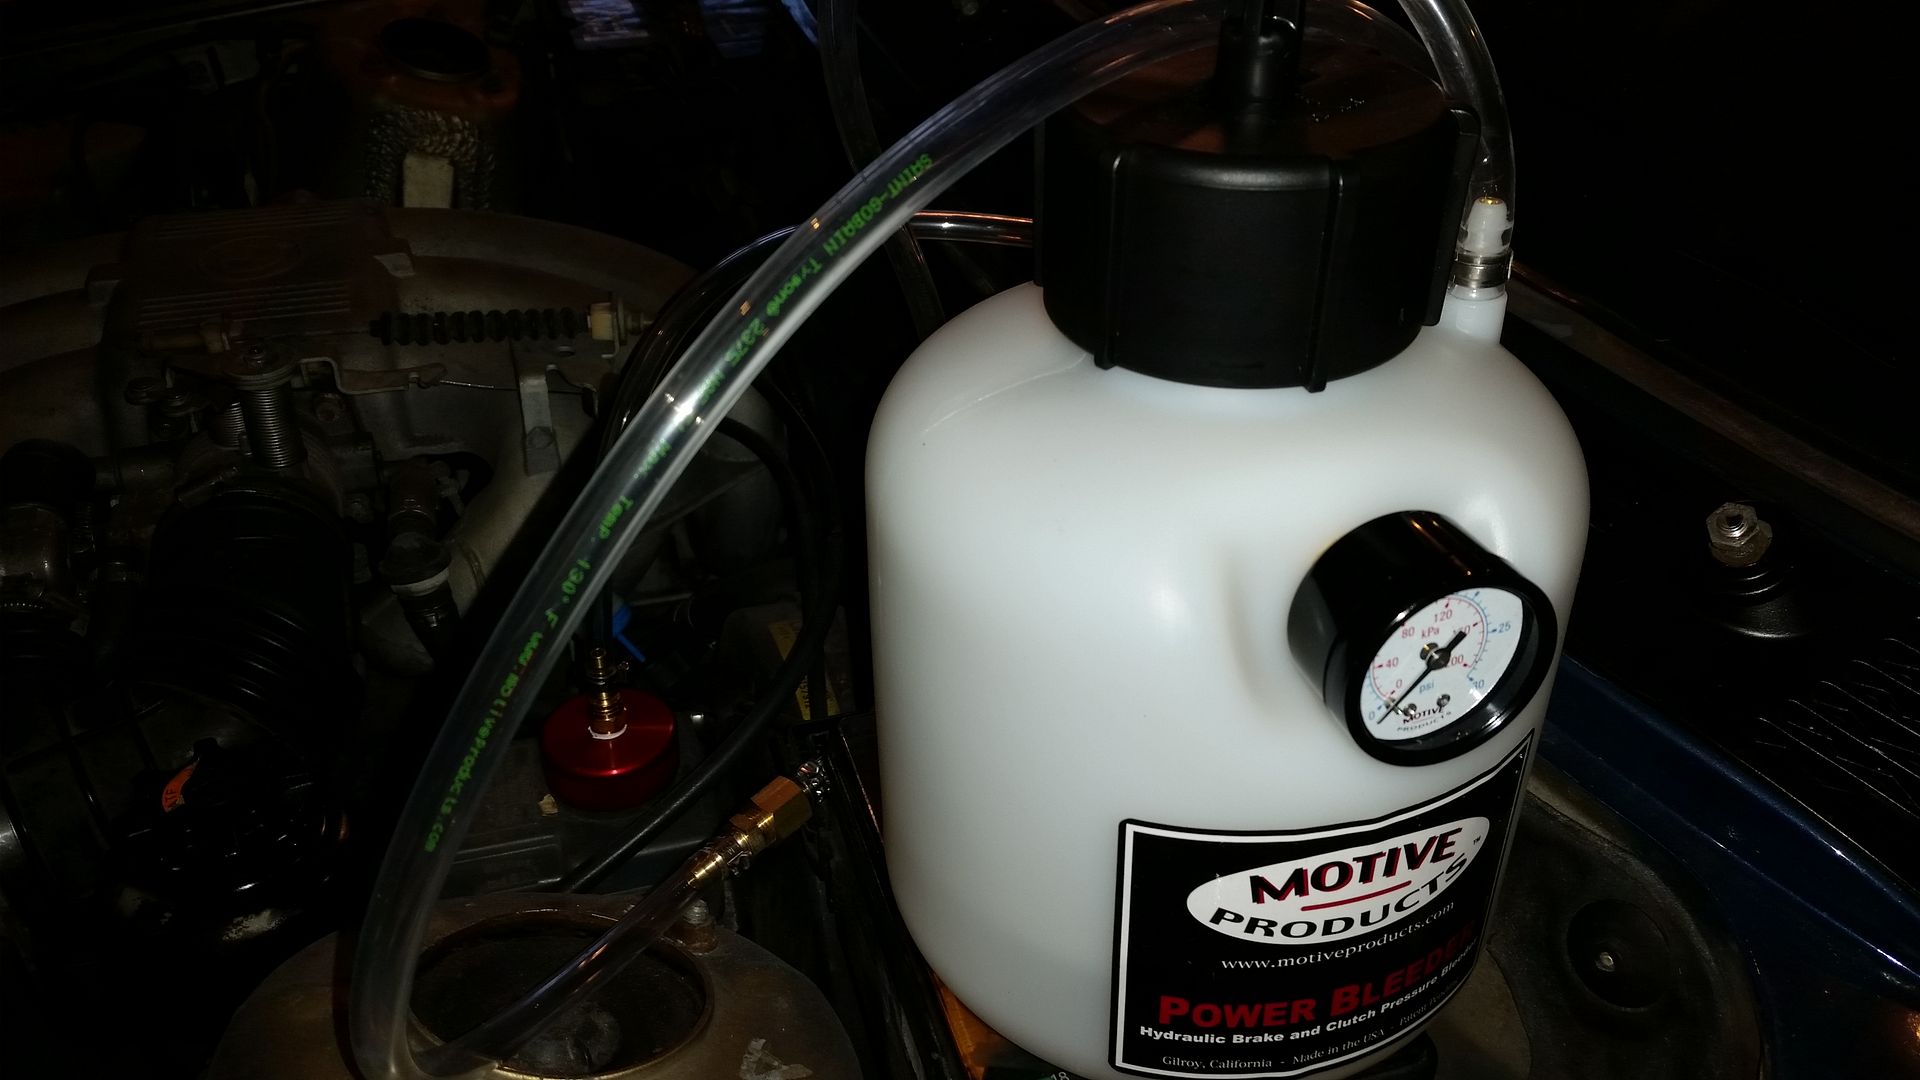
    I was torquing up over 100 ft./lb. on some of the PS line bolts, I used an impact on it...it never moved. I was out from under it for the brake work but all of the steering rack stuff was under the car.

    There are safety "legs" under the frame that have a 1/4" gap between the safety bar and the safety stop. After 4 days holding the car up in the air the safety bars still have the gap, meaning that the hydraulic portion that lifts/holds the car has not had any loss of pressure over 4+ days, and even if it did the safety bars are there for that contingency. So far I am happy with the results- now that I got the defective accessory parts replaced.
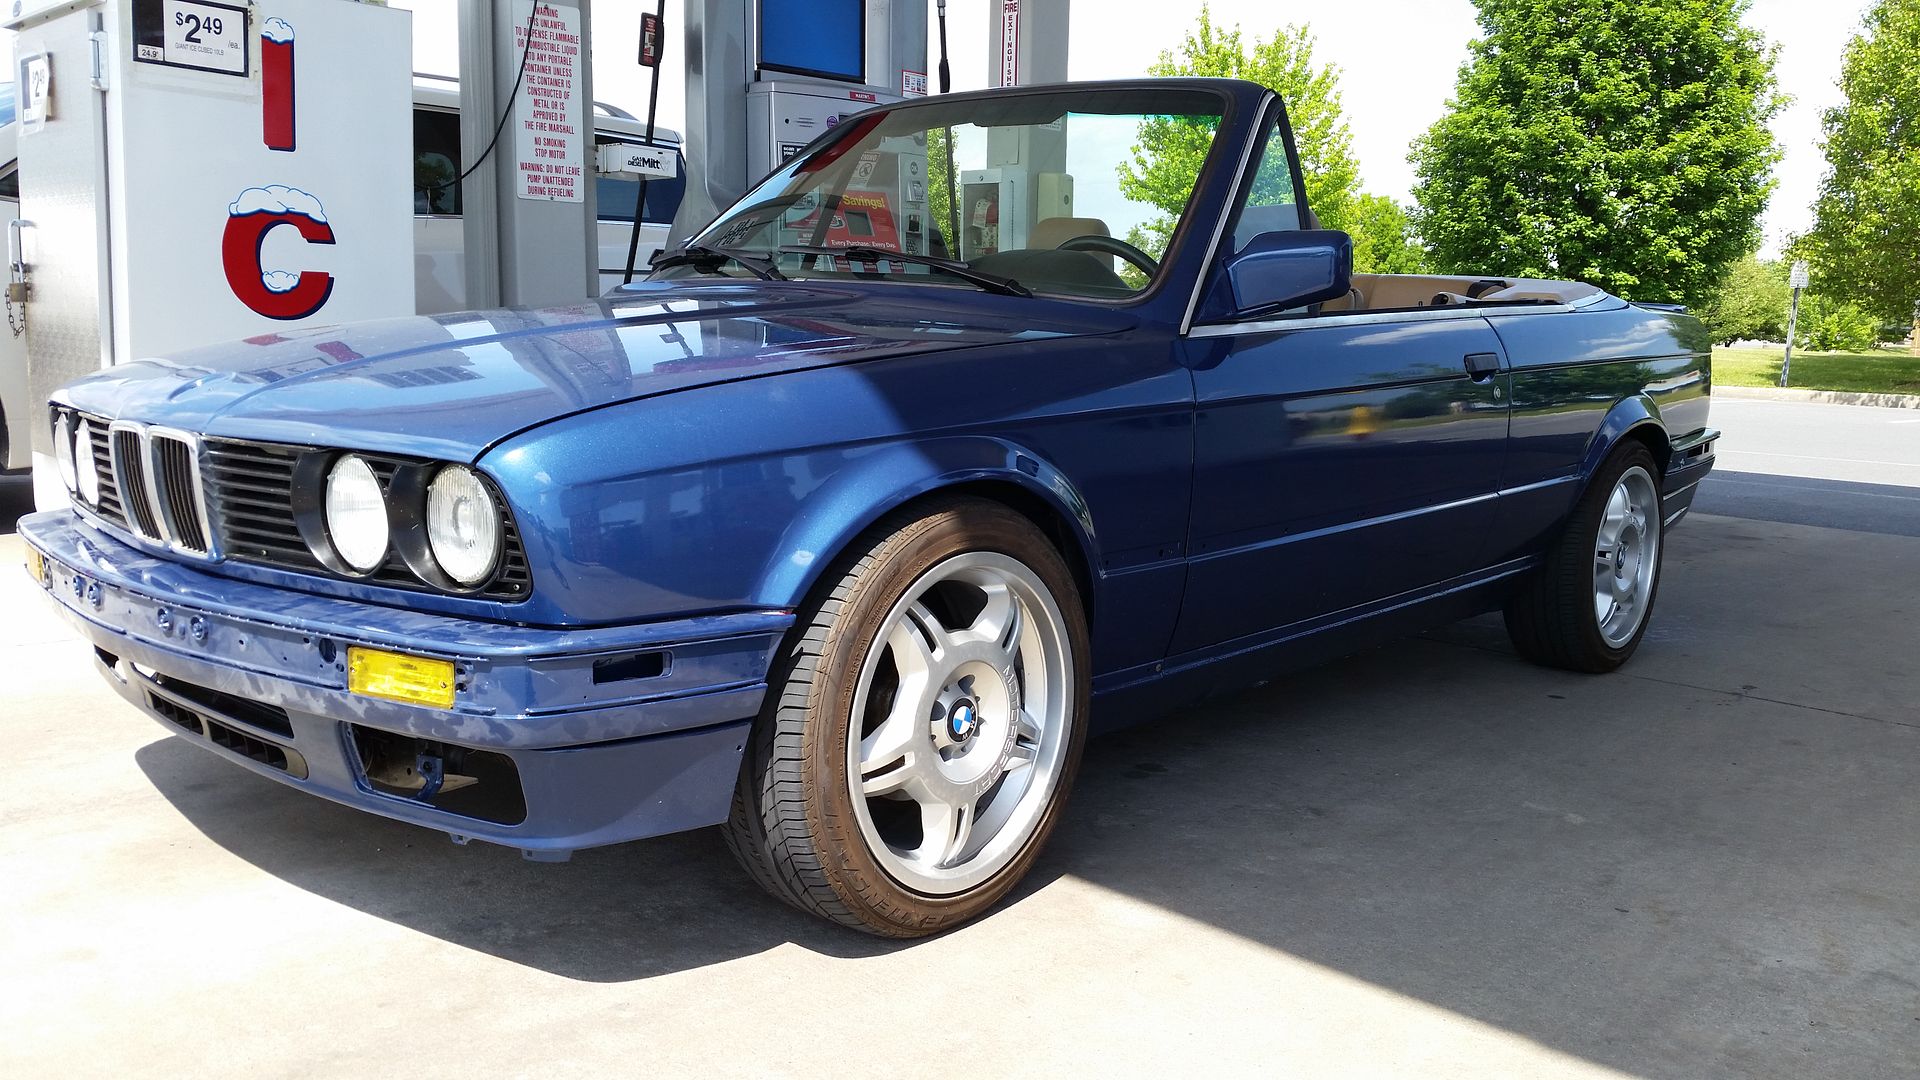
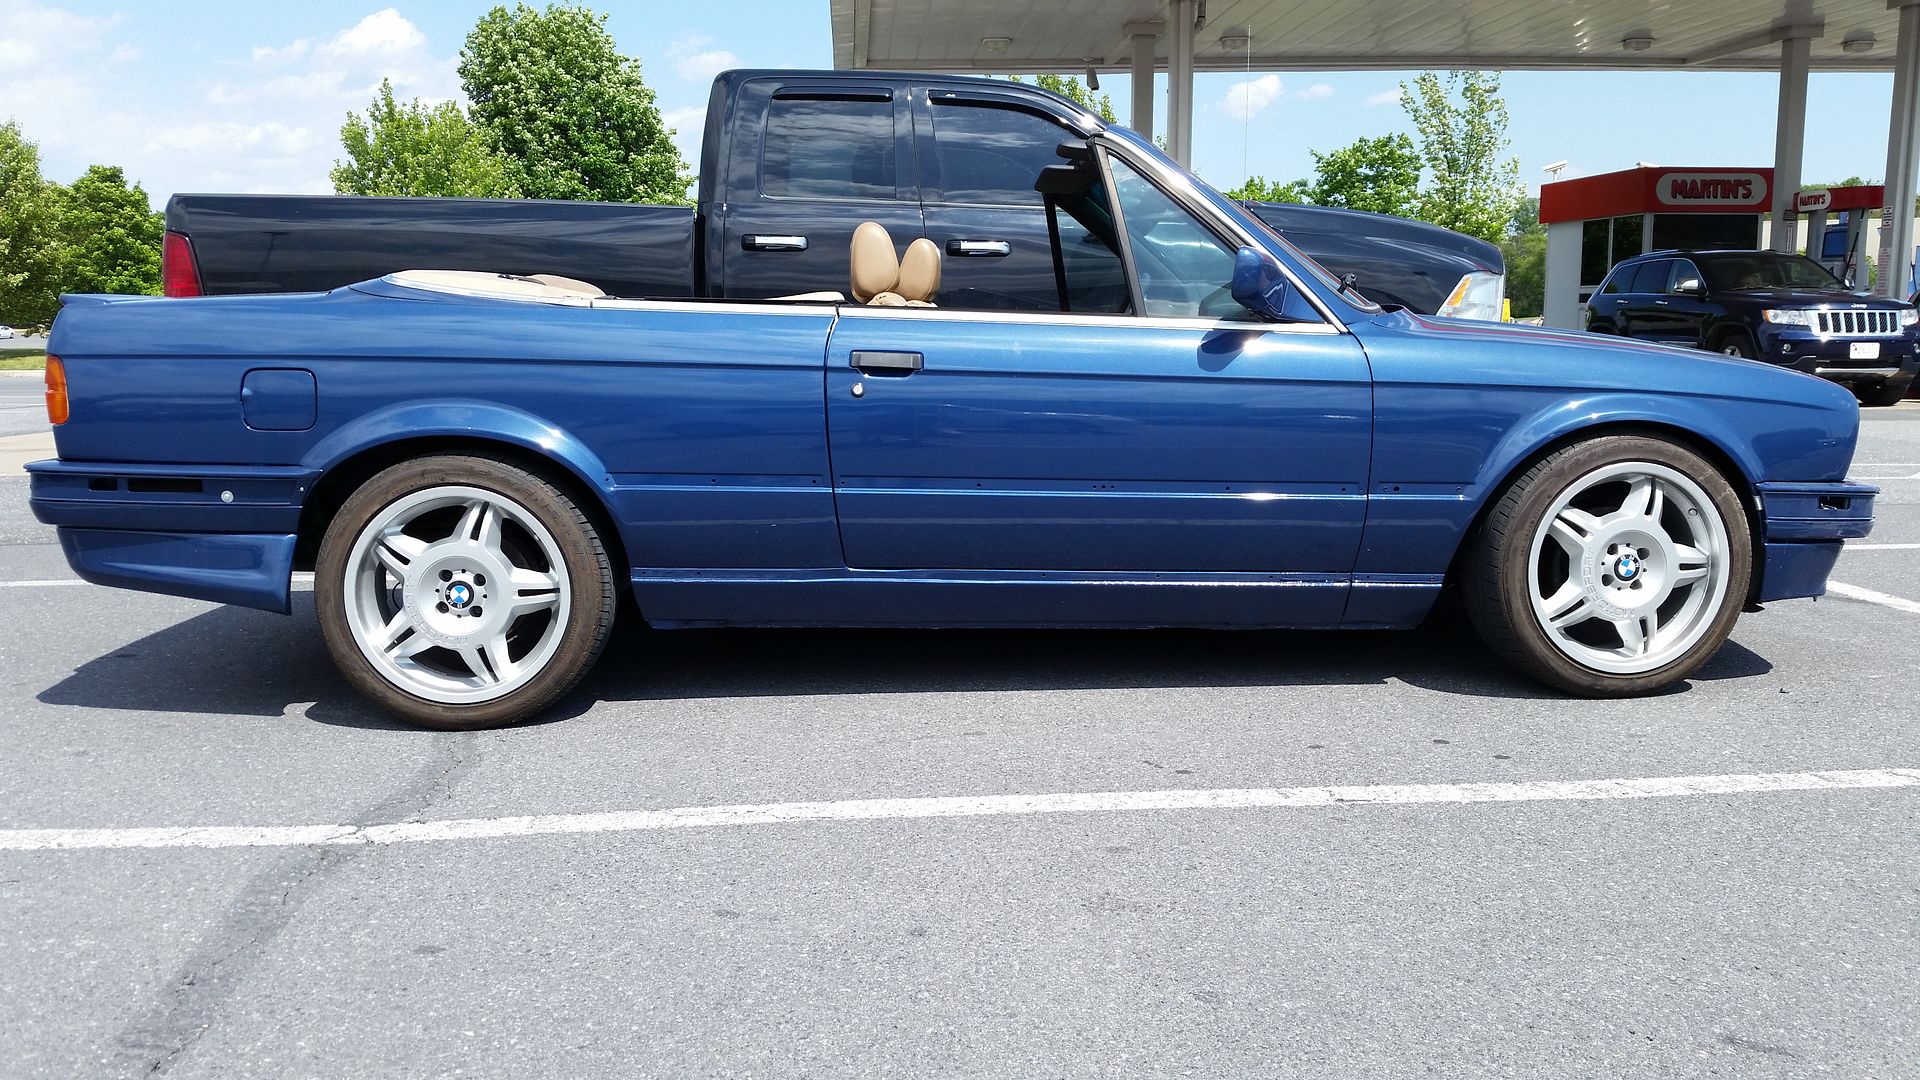
    Patrick Henry

    1989 325iC build: http://www.r3vlimited.com/board/showthread.php?t=316880


    Comment


      Another small update:

      Last night I had some time to kill before my wife got home with the kids so I started on the rear brakes. As with the fornt, one of the set screws was stuck in the hub so I went through the progression: Allen, Torx, EZout...all failed. Finally I drilled out the head and gave it a nice whack with a hammer and the rotor came off. Fortunately this time (unlike the front driver's side) the remaining portion of the screw came out so I can replace the screw when I get a fresh set.


      On with the new stuff- pads, rotors, sensor, and the rear outer SS line. I also lubricated the caliper and inspected the pins. I admit- I was too lazy to fight with the inner SS lines but I can tell that the RTABs and subframe bushings will need to come out sooner as opposed to later so I will do it then. I know that they are the weak link for now but they seem to be in fairly good shape based on a visual inspection.


      I will probably do the e-brake cables at the same time as the RTABs/subframe bushings. For now I lubed the moving parts of the e-brake and will be satisfied with the improvements.

      I still need to do the driver's side but it is all apart- I just need to swap the SS line and install the pads.

      Last update for now was one of those little things that was bugging me- the passenger side sun visor was not staying in place. I bought one off of here in the matching color and tossed it in a parts box. This weekend I stumbled across it and noticed 2 issues: 1., it is from an airbag car so it has the airbag info on it, and 2., it has a 3-hole mounting system as opposed to the 2-hole configuration on mine. This one was originally for a car with a light in the ceiling so I don't know if the 3-hole design is specific to that, whether it changed with airbag models, or whether convertibles are the only 2-hole version. At any rate, it was wrong.

      I took both apart and removed the 2-hole mount from the original visor, trimmed some plastic on the new one, and replaced the spring and mounting portions on my new visor. I used a push nut from a bubble pack form Advanced Auto and locked it all down.


      Hint: Don't do it like this. This is backwards:

      Patrick Henry

      1989 325iC build: http://www.r3vlimited.com/board/showthread.php?t=316880


      Comment


        Not much more progress due to yard work and Mothers' Day but I did finish bolting up the rear brakes. Now I need to try my new Motive bleeder and do final grinding on the steering knuckle.


        I also ordered a 1989 license plate for the E30. WV has some weird law pertaining to antique or vintage plates that allows me to run an original license plate and registration sticker on the car- meaning one that was originally issued in 1989- in place of a regular plate or an antique plate.


        Regular plates are charged regular annual fees and "Antique" plates (while only costing $2 per year to register) have restrictions on usage that limit them to weekend and "club" use. The use of an original 1989-issued plate allows me to pay the $2 per year but run it any time. Plus the vintage plate looks cooler than the new ones.

        I also got an insurance quote for the car at an agreed value and found it to be pretty cheap for a $10K agreed value ($38/month) for full collision/liability/comprehensive/towing/glass coverage.

        As soon as the plates come in I will be getting this thing on the road for a visit to the alignment shop, a trip back to the paint shop for some punch list items, and then on the road she goes!
        Patrick Henry

        1989 325iC build: http://www.r3vlimited.com/board/showthread.php?t=316880


        Comment


          Got the chance to bleed the brakes last night, but not without drama.


          I broke out my new Motive bleeder (I got the black label version with the metal cap) and some fresh ATE 200 fluid, checked the connections and did a pressure test, as called for in the Motive directions. I aired up to 10 PSI and it held pressure so I opened it up, added the fluid to the Motive, aired up to 15 PSI and...fluid everywhere. Floor, tubing, motive...everywhere.

          Next step, de-pressurize, re-tape (with teflon tape) the connection between the bleeder and the adapter hose, re-test for pressure. Still held pressure so I added fluid again and pumped up to 15 PSI. Went to the right rear bleed screw and opened it up...nothing. Aired up to 18 PSI, checked the bleed screw...nothing.

          W...T...(actual)...F?

          Got frustrated and kept loosening the bleed screw...nothing- right up until the bleed screw fell out and fluid flowed forth everywhere. I had the Motive pretty full so I was not worried about running into air but I had to diagnose it in a hurry. I took one look at the bleed screw and could tell that it was clogged. I had my old front calipers nearby so I pulled the screw off of there in a hurry and installed it in place of the original rear screw. With the bleed screw back in place I went to work on the original rear bleed screw and ran some bailing wire into the hole to clear gunk and debris that were in there from negligence by the PO. Fortunately the thin wire cleared it and I re-installed it, allowing the line and caliper to bleed properly.

          I used the front caliper screw and repeated the process on the left rear. No pictures as I was in a hurry and my hands were coated with brake fluid but this is the 4th time in 2 weeks that my garage floor has met kitty litter.

          Up front there was no drama- new calipers make for easy bleeding, and at least with the volume of fluid that pumped through I know that the lines are clear of old fluid.

          I was too dirty to try to drive the car last night (plus my wife was short on patience since I was supposed to be bathing the kids) so the test drive will have to wait.
          Patrick Henry

          1989 325iC build: http://www.r3vlimited.com/board/showthread.php?t=316880


          Comment


            Jeebus....

            ________________________1988 528e Rally-xmobile___________________
            2014 WDCR Rally-X MR Season Champion, 2014 NE Div. Challenge MR Winner

            Comment


              Sooooo...

              I got the car back on the ground last night and drove it (briefly) to check function.

              We'll start with pictures. Looks like toe and camber may be a mess. I did the best that I could by eye/tape when the steering rack was out of the car but apparently I was not so good with the toe. I can understand that the rack moves when it is re-installed so I am not too worried about toe, since it is easily adjusted.

              Center:


              Side v. side:


              The camber on the driver's side concerns me.

              The driver's side has been a source of anxiety for a while now, but I moved forward with the car after assurances from the body shop that the frame was within spec.

              When I was prepping the car for paint I noticed that there was concealed damage behind the fender:


              This was the frame after the repair:


              Ugly, but supposedly straight.

              If you look back to the pre-paint/post-paint pictures, camber was aggressive, even after removing the coilovers and camber plates.


              Not horrible in those pictures before the rack swap so maybe the toe is making it look worse.

              Since I ordered the Garagistic front strut bar ( http://www.r3vlimited.com/board/showthread.php?t=351946 ) I will have an opportunity to check the locations of the strut towers. The strut bars apparently fit perfectly on unmolested strut towers. If mine does not fit then I will be on the warpath with the body shop, as I specifically told them NOT to paint the car if that tower was not 100% within spec. The bar shipped last week so hopefully it arrives soon.

              In other news, I ordered the Momo hub (2006) and a Sparco horn button from OG Racing. I bought an MTech II (I think it is a II) wheel a while back and just don't like it as much as the Monte Carlo wheel that I got a while back. The hub and horn will let me install the Monte Carlo and get rid of the MTech wheel.

              I have so many parts that I need to start getting rid of anything that is not needed for the build. I bought a lot of parts along the way- many of them applicative of other similar parts.

              On a very positive note, the brakes feel awesome. I am very happy with the pedal feel after replacing the pads and rotors and completely flushing the lines. The whole flush/bleed process will be repeated when I do the rear subframe but for now the improvement is awesome.

              Assuming my plates arrive this week I might get her on the road next week. I will be taking it for an alignment right away, followed by a trip back to the body/paint shop for some punch list work.
              Patrick Henry

              1989 325iC build: http://www.r3vlimited.com/board/showthread.php?t=316880


              Comment


                New toys!


                Momo 2006 hub and the Sparco horn button. I just could not find a Momo horn that I liked as well as the basic Sparco one. Hopefully I can get these installed this weekend and get to work on a DIY tie adjustment.
                Patrick Henry

                1989 325iC build: http://www.r3vlimited.com/board/showthread.php?t=316880


                Comment


                  A little more progress.

                  So in an odd twist, my horn started working, out of the blue. I had installed my MTech II wheel a while back and the horn never worked. All weekend it worked. Weird.

                  Next up, I finally installed the other convertible top frame shock. The passenger side took longer than the driver's side due to the issues with properly locating the pin that holds it in place. For those who have never done it, none of this will make sense. For anyone who is reading this and has done it or is looking to do it, it should help.

                  Initially I tried to position the shock then to use needlenose pliers to install the pin but that was a no-go. I finally nested the pin with the tip barely in the alignment hole, "closed" it around the base of the shock (where the ball is installed when it is on the car) and popped the ball in place, then I used a screwdriver to push the pin straight down, where it locked into the locating groove. Doing it this way had the pin in a solid spot during install but it was not engaged until I pushed it down with the screwdriver- no need to rotate it at all.

                  I also adjusted the toe a bit. I did it by eye (still need to set up a square rig to check it for real) but I calculated my camber angle while I was at it.

                  1.90* on the passenger side and 2.28* on the driver's side. Bringing the toe in helped with the appearance of the crazy camber. Now it looks like this:


                  I also painted the IM for when I do my head swap later this summer. Nothing drastic- I just cleaned it up with a wire wheel and hit it with a few coats of grey Rustoleum.

                  I ran the wire wheel into the IM ports and a ton of dirty soot came out. I used copious amounts of brake cleaner and it seems to be a lot cleaner now. You can see the soot outside of the ports in the pictures.


                  Since my strut tower bar is grey I thought it would be a good color for the IM. I was not interested in paying for it to be powdercoated.

                  In other news I drove the car to the end of the road and back again. No funny noises (except the tires rubbing on the fender liners) and no evidence of leaking, save for a slow weeping leak at the oil drain bolt.

                  I am still seeing an "oil" light in the overhead check panel but I am pretty sure that the level sensor is screwed up. I checked the level by the dipsitck and I am good so my guess is that the ball is stuck in the sensor. I have a spare so I'll clean it up and swap it out at the next oil change.
                  Patrick Henry

                  1989 325iC build: http://www.r3vlimited.com/board/showthread.php?t=316880


                  Comment


                    So the Garagistic front strut tower brace arrived (9 days in transit!!!) and it fit as expected.

                    Nice quality piece but their idea of "grey" and mine are a bit different. This is silver- not grey. Given that I just painted my IM (not the one in the picture below) grey in anticipation of the bar arriving I am a bit disappointed.


                    Still, the fit was good and the quality/finish is solid.
                    Patrick Henry

                    1989 325iC build: http://www.r3vlimited.com/board/showthread.php?t=316880


                    Comment


                      BIG news:

                      The e30 is now insured, registered, and tagged!

                      My daughter was so excited that she insisted on installing the plate.


                      True 1989 vintage plate, no usage restrictions.


                      In not so happy news I discovered that a mouse had made a nest in the glovebox over the winter and ate some of the original documentation. I also went to bolt up the front plastic bumper sliders to allow for the install of the front bumper (and turn signals) so that I can get the car inspected and I discovered that instead of a left and right slider bracket, the person from whom I bought them actually sent me 2 left brackets.


                      Now I need a passenger / right side bracket. I am not amused.

                      Part # 51111953098

                      #2 in this picture:

                      Patrick Henry

                      1989 325iC build: http://www.r3vlimited.com/board/showthread.php?t=316880


                      Comment


                        I assume that the bracket is not vert specific... I don't recall any plastic bumper cars at the yard I go to, but I am trying to run back there for a white hood for my car. I will look around while I am there, maybe Ill score some, hahah.

                        Comment


                          Originally posted by rcsoundn1 View Post
                          I assume that the bracket is not vert specific... I don't recall any plastic bumper cars at the yard I go to, but I am trying to run back there for a white hood for my car. I will look around while I am there, maybe Ill score some, hahah.
                          Brackets are universal for all plastic bumper cars. I can actually install the bumper and turn signals without it for the inspection (when I got the car the bumper was only attached by the front bumper shocks) but I want it on there for the long run. Every time I install/remove a part is a risk of scratching things so I was hoping to do it all at once but I want to try to do the inspection this weekend if possible.

                          If you find one let me know.
                          Patrick Henry

                          1989 325iC build: http://www.r3vlimited.com/board/showthread.php?t=316880


                          Comment


                            lookin good!
                            Stage rally/rallycross e30 build/competition journal
                            Track/street e21 build
                            visit Condor Speed Shop
                            visit Motorsport Hardware


                            [FONT="Franklin Gothic Medium"] 1985 318i/M50 Rally Car - 1988 Porsche 924S - 2005 Sequoia tow pig - 2018 GTI

                            Comment


                              HUGE (long) weekend. I'll start with the results:


                              Inspected...which means it was also driven. I finally got the car out on public roads and drove it at speed. After 16 months of waiting, buying, building, assembling, and otherwise obsessing over the car it finally rewarded me with the driving experience.

                              I rewarded her with a fresh tank of 92:


                              (Fill-up photos are obligatory, right?)

                              Some parking lot photos:


                              Patrick Henry

                              1989 325iC build: http://www.r3vlimited.com/board/showthread.php?t=316880


                              Comment


                                HUGE (long) weekend. I'll start with the results:


                                Inspected...which means it was also driven. I finally got the car out on public roads and drove it at speed. After 16 months of waiting, buying, building, assembling, and otherwise obsessing over the car it finally rewarded me with the driving experience.

                                I rewarded her with a fresh tank of 92:


                                (Fill-up photos are obligatory, right?)

                                Some parking lot photos:


                                Obviously there is still a lot of work to be done but it will be alot easier to make future investments knowing that the car can be driven.
                                Patrick Henry

                                1989 325iC build: http://www.r3vlimited.com/board/showthread.php?t=316880


                                Comment

                                Working...
                                X