-
-
Wow, I had no idea that it had been so long since a thread update.
First off, I apologize for this being posted in parts. I changed jobs and the IT policies are different at the new organization, blocking file sharing sites (including photobucket) so I can post my text but I have to go back later and post the photos.
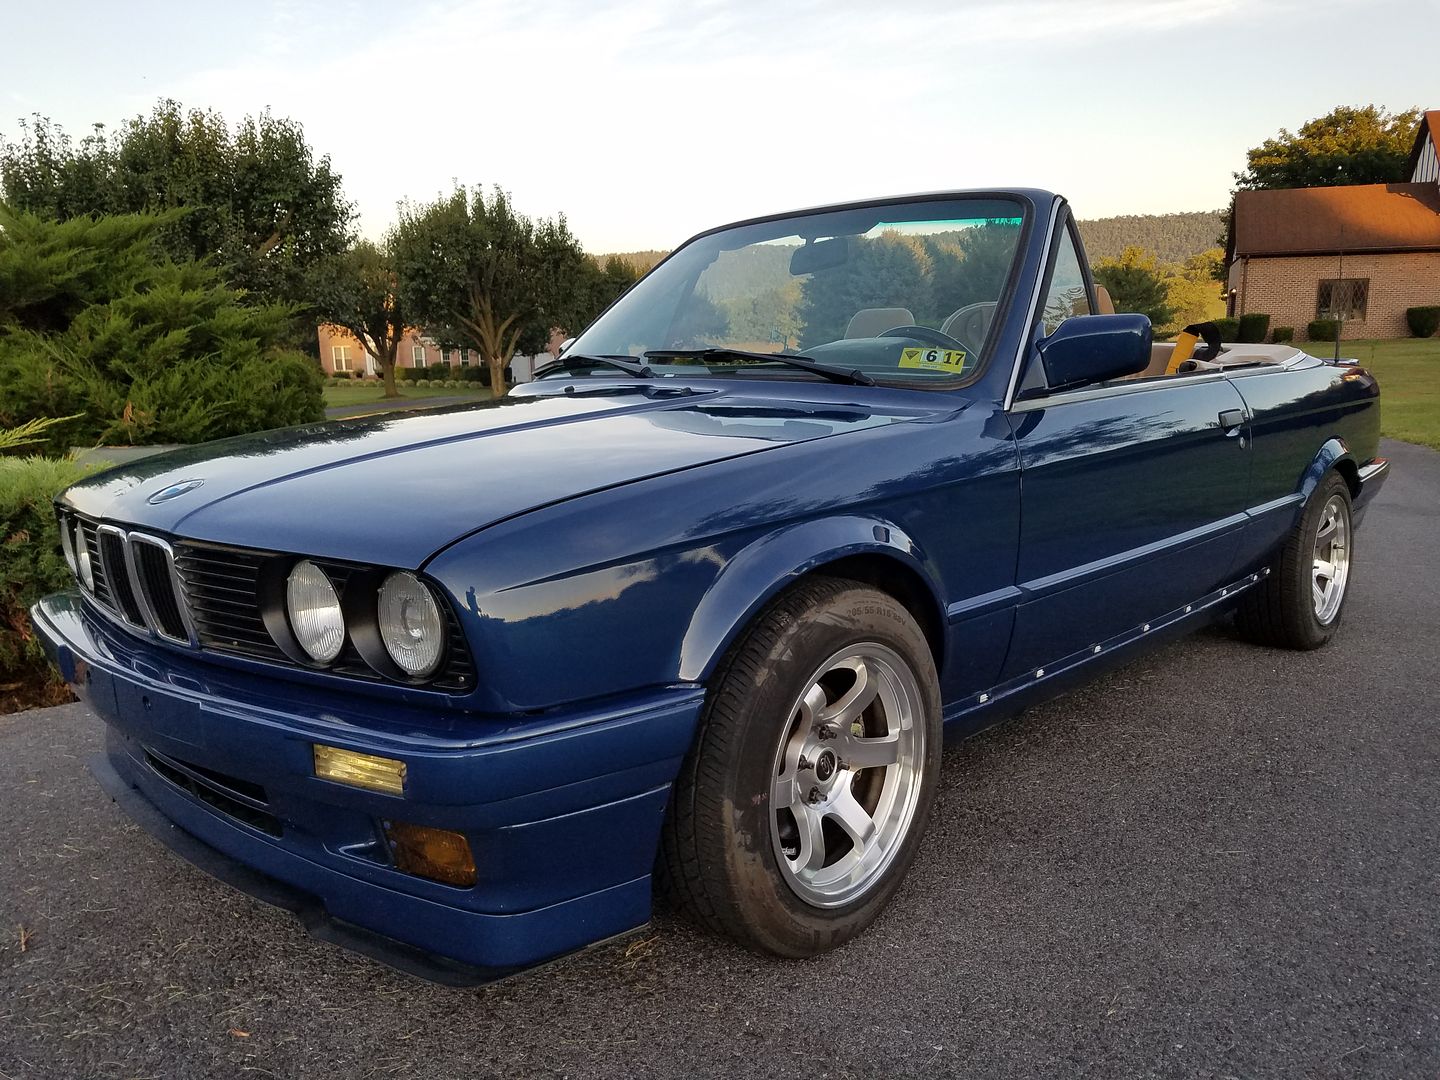
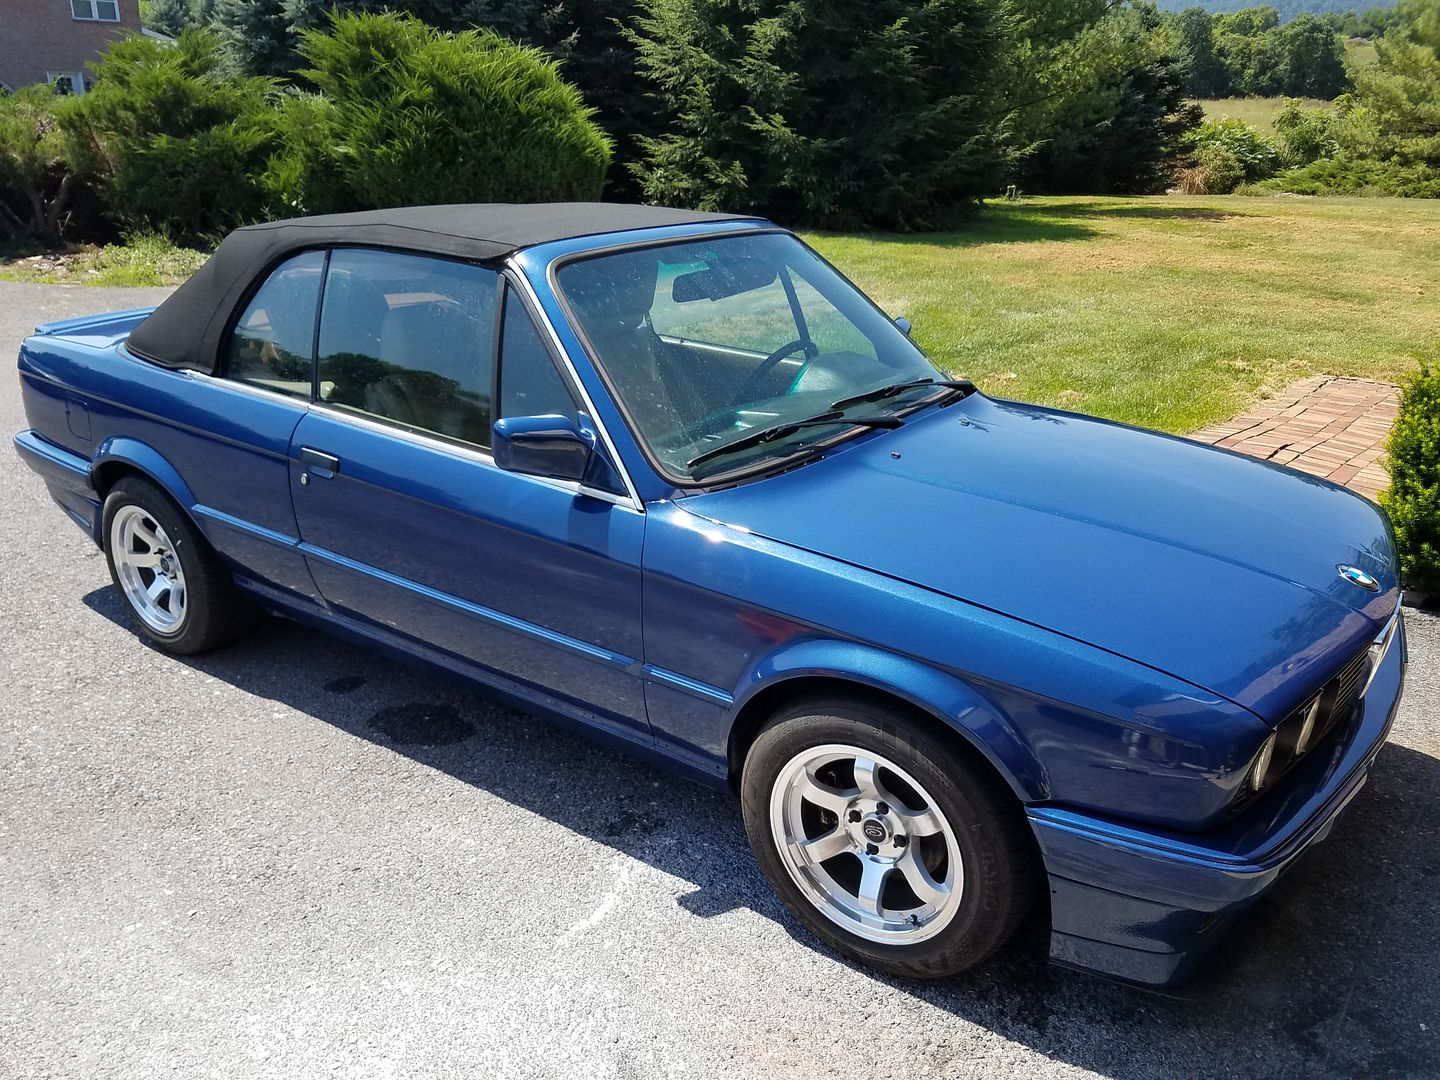
That said, I have made some progress, but have had some setbacks as well. I have been renovating my bathroom all summer (~300 square feet, full to-the-studs renovation with moving plumbing and fixtures) so progress on the car has been slow. On a positive note, I have driven it nearly every day for the last 6 weeks and have only closed the top 2x in that time period.
I'll call that a win in my book.
So I picked up a few oddball parts for the convertible. I have a tan interior but I always liked the black-and-tan theme. Since I have black OEM mats (the only ones available) I wanted to expand on that so I found black kick panels, black armrests, and black map pockets. All of them are in and ready to be installed.

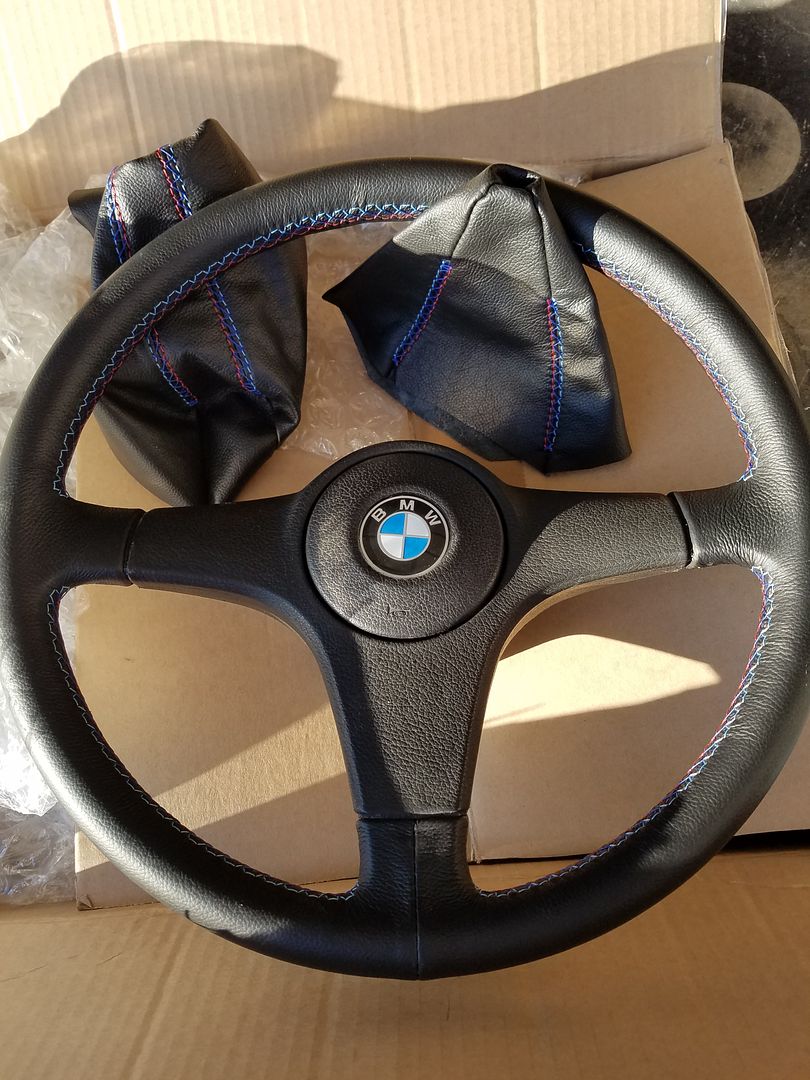
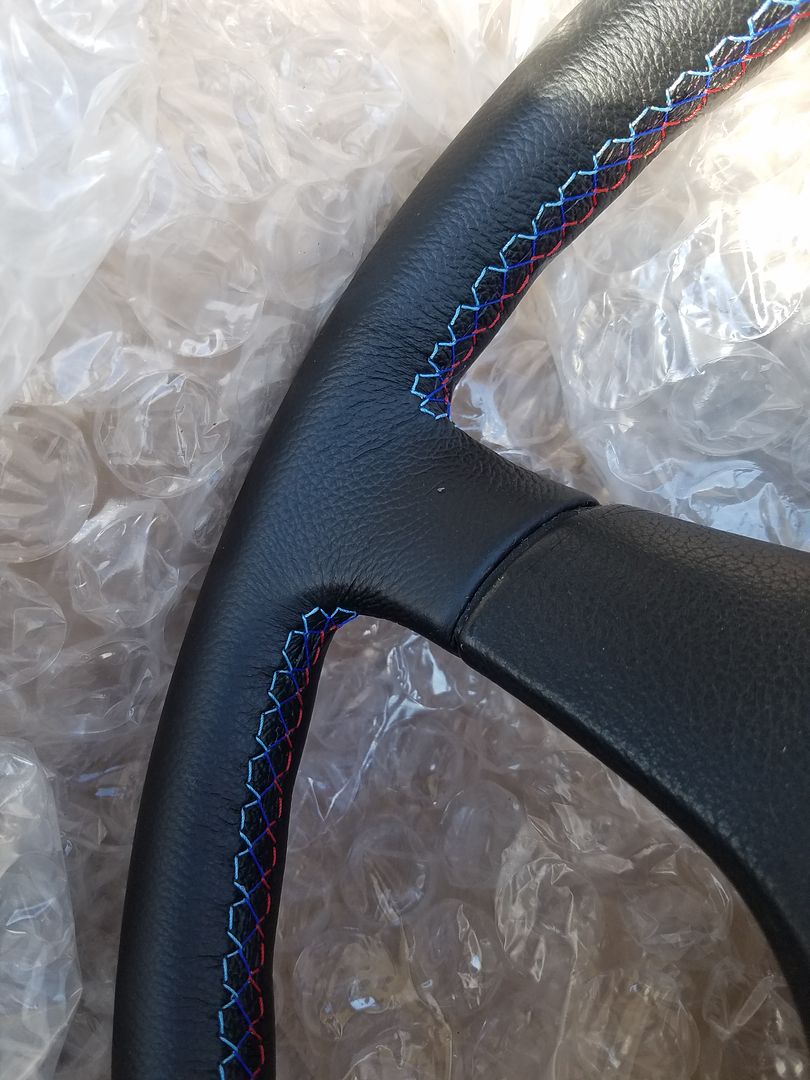
I also sent off a spare 3-spoke sport steering wheel to StitchedWheels to have it re-covered in black leather with tri-color stitching. I am getting black shift/e-brake boots with matching stitching as well. Not 100% sure I will use the boots but I ordered them all together to get the matching leather.
I have been fighting some odd issues with the car- some resolved and some still a mystery.
After the swap I have been fighting an intermittent hard-start condition. It eventually starts, but sometimes I have to sweet talk her into firing up. I THINK it is fuel related. I will change the FPR first, then look at IAVC/ICV, then look to fuel pump. The fuel filter and lines are new and the injectors were recently rebuilt.
My OBC seems to have a mind of its own. For a couple weeks I had an intermittent coolant light (with coolant at the proper level) but I swapped out coolant level sensors and fixed that. The "new" one looks worse than the one I removed but it works. Oil level light was doing the same but has stopped.
I also have a CEL that is on nearly all the time. Oddly enough, the car will (VEY occasionally) stumble under moderate load and the CEL will go off...then 2-10 minutes later it pops back on without warning and with no symptoms. I have another DME to try but I doubt it is the DME, as that same DME ran the 2.5L M20B25 just fine before the motor swap.
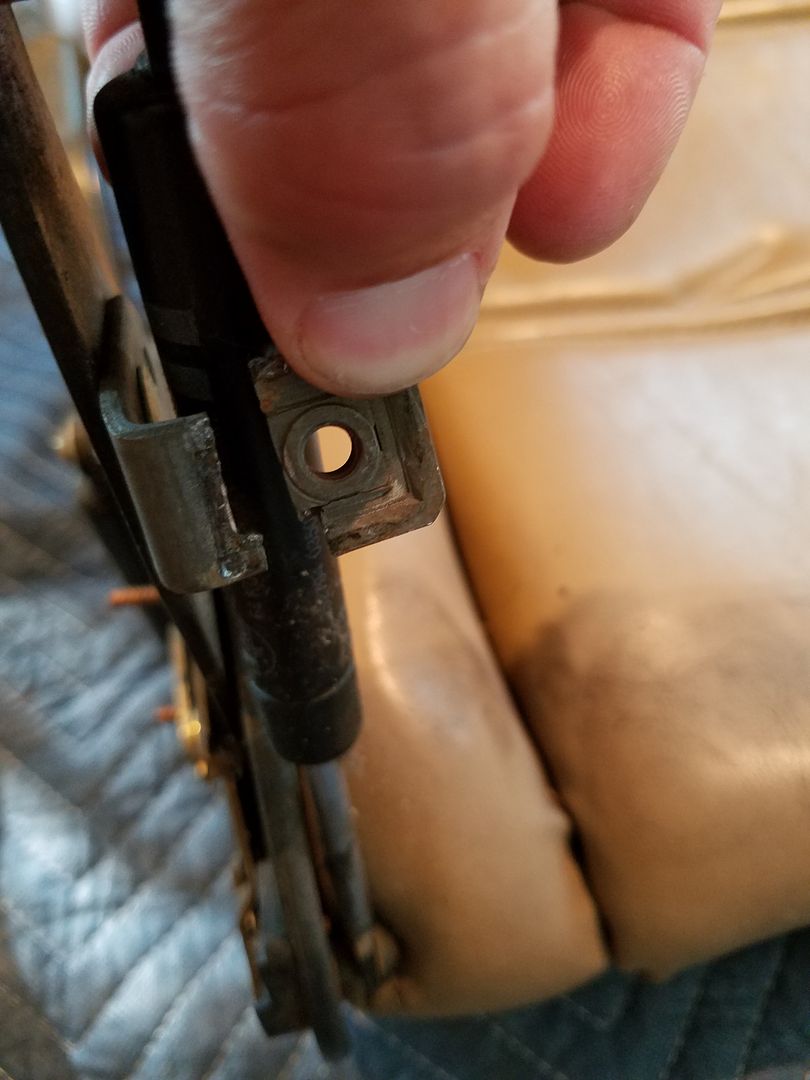
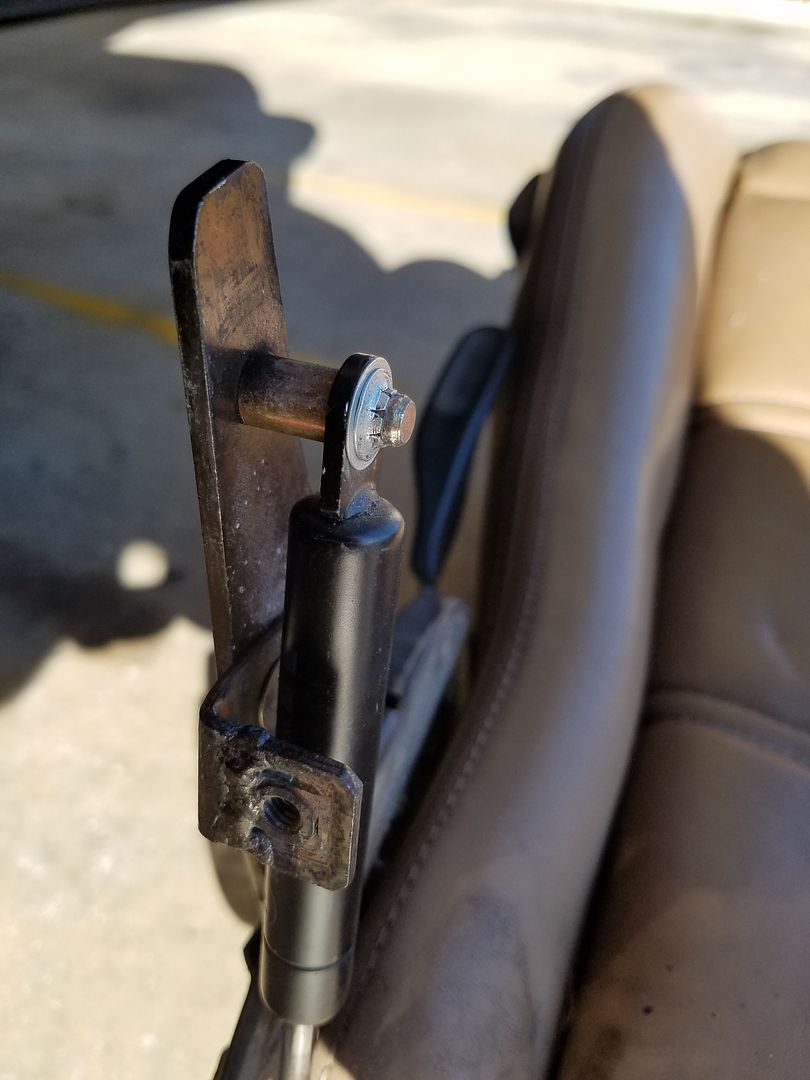
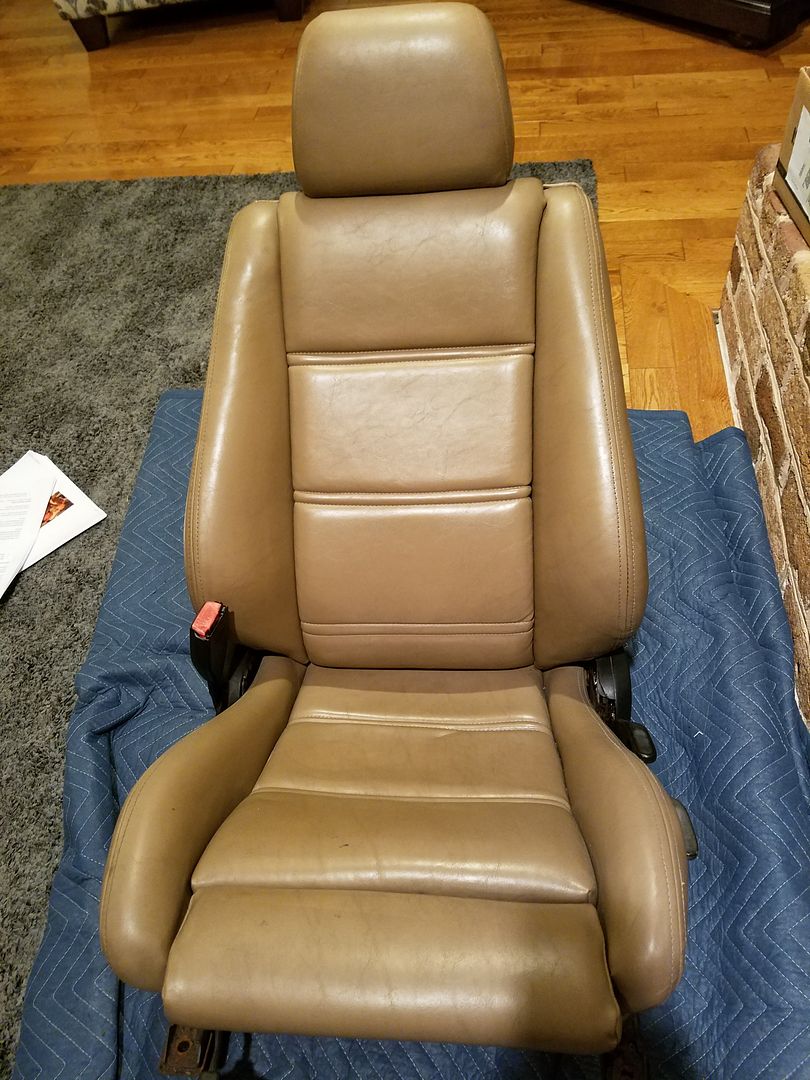
After a year of driving around with a roached out passenger side sport seat as my driver's side seat, I finally started to fix my original driver's seat. I had been really nervous about the process but it was easy to take apart the original seat to figure out why I was having issues.

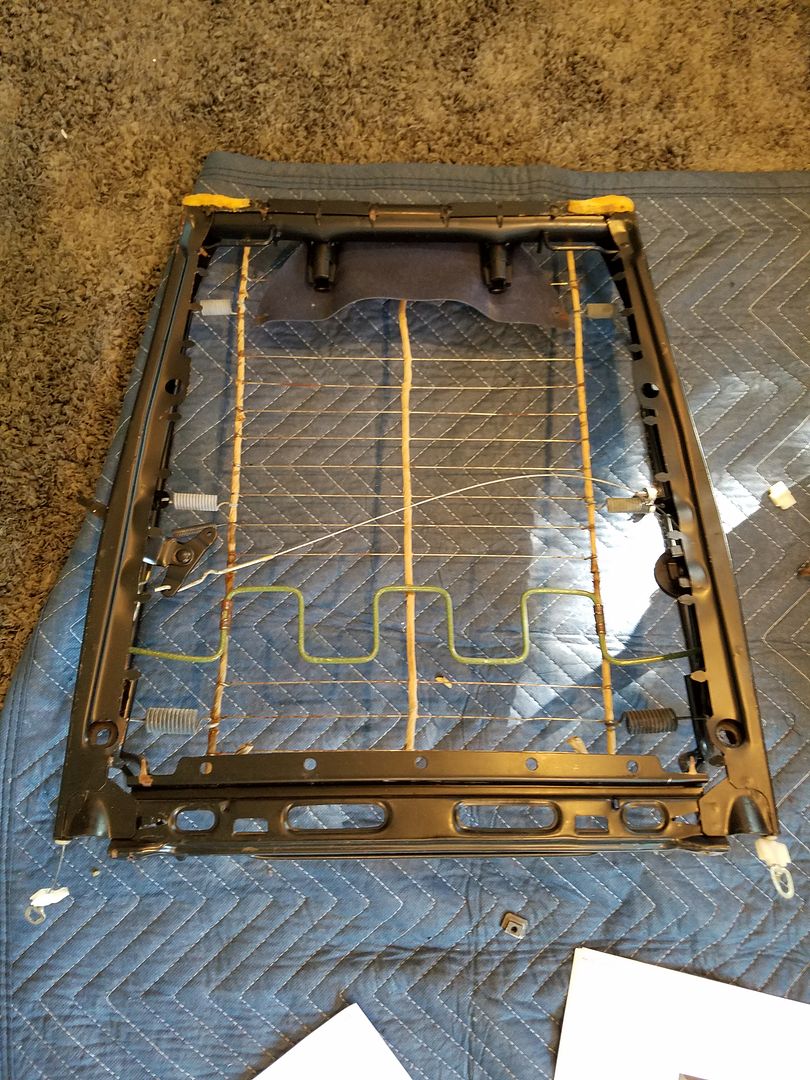
Should look like this:
The seat had been racked to one side for a while and the adjustment/flop for the back was not working. Turns out that the outer "rope" was broken (took one from the parts seat) and I was able to bend the seat to re-square it. If not, I have this spare frame but I would rather not have to swap the leather.
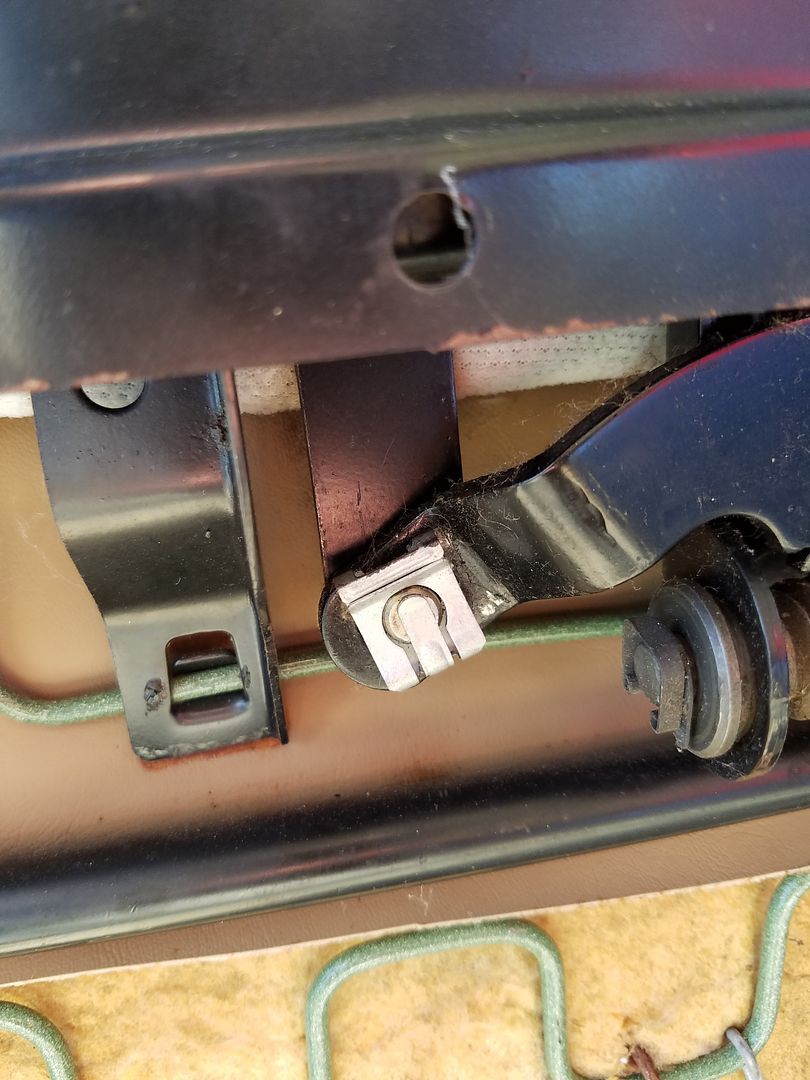
Some more pictures of the process:
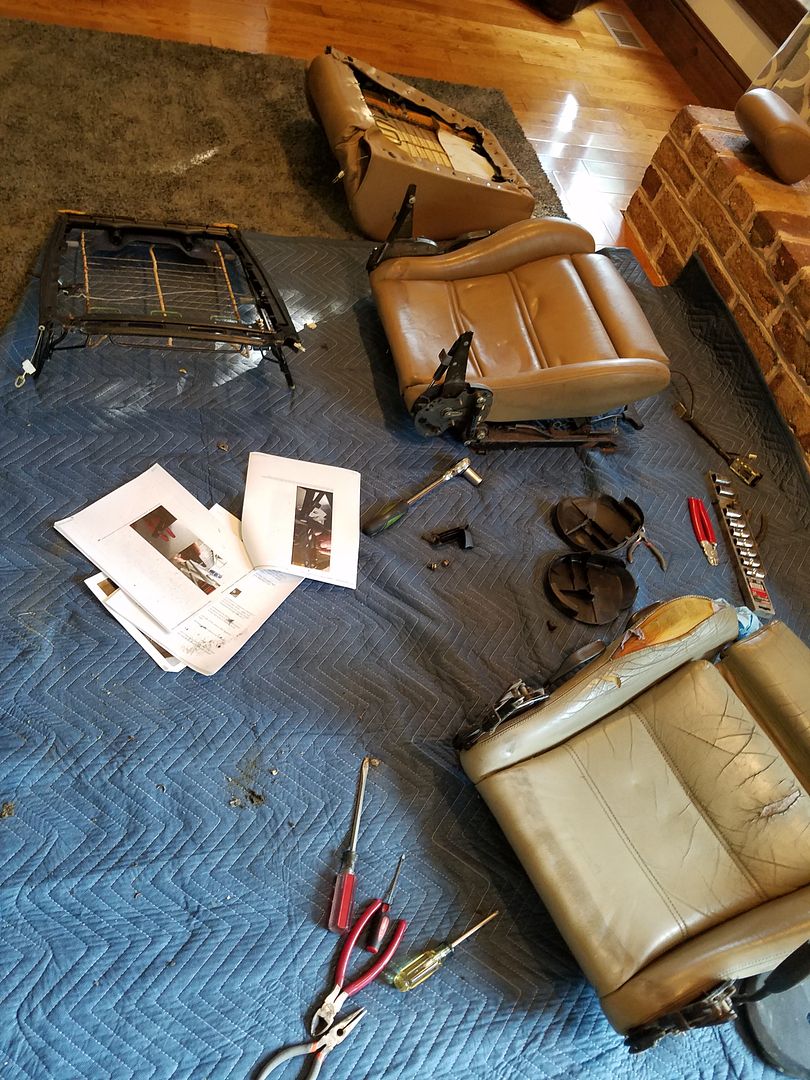
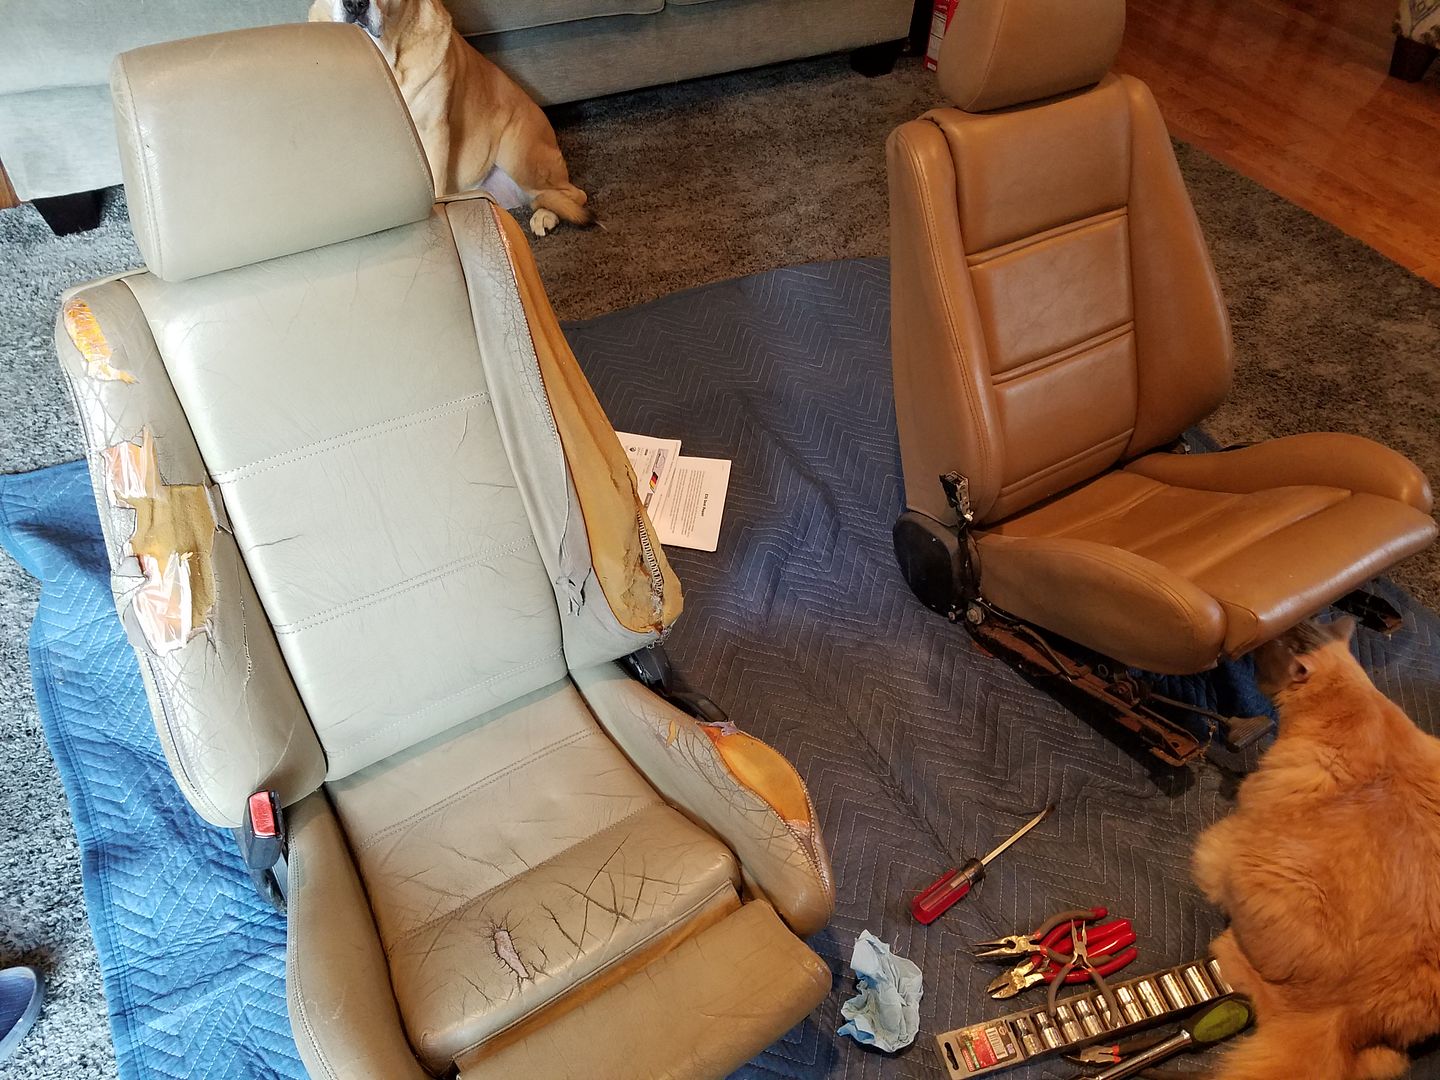
I will be getting that broken tab welded tonight. if that fails I have a spare base but just like with the back, I'd rather not have to swap the leather and foam.
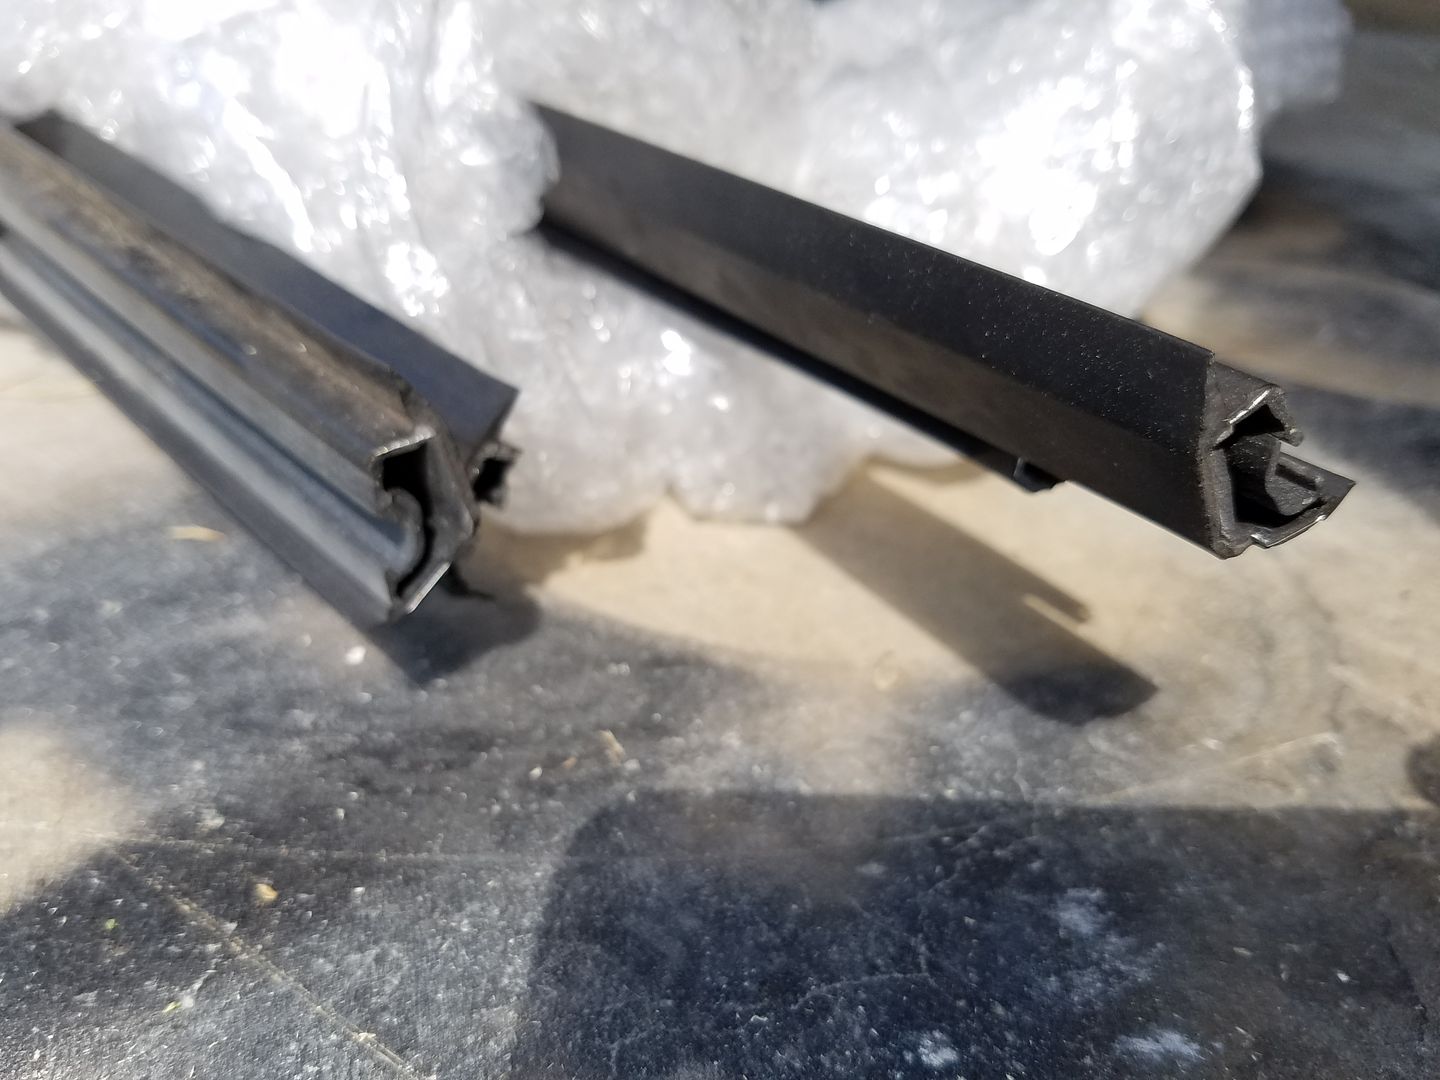
I also have been chasing a set of the lower rocker trim. It is specific to a convertible and mine was broken (long story) after I had it painted with the car. I finally found a set and bought it last week. it arrived like this:
I am sure that I am forgetting things but I will update the thread with pictures when I can get to my PB account.Last edited by phenryiv1; 09-12-2016, 06:21 AM.Comment
-
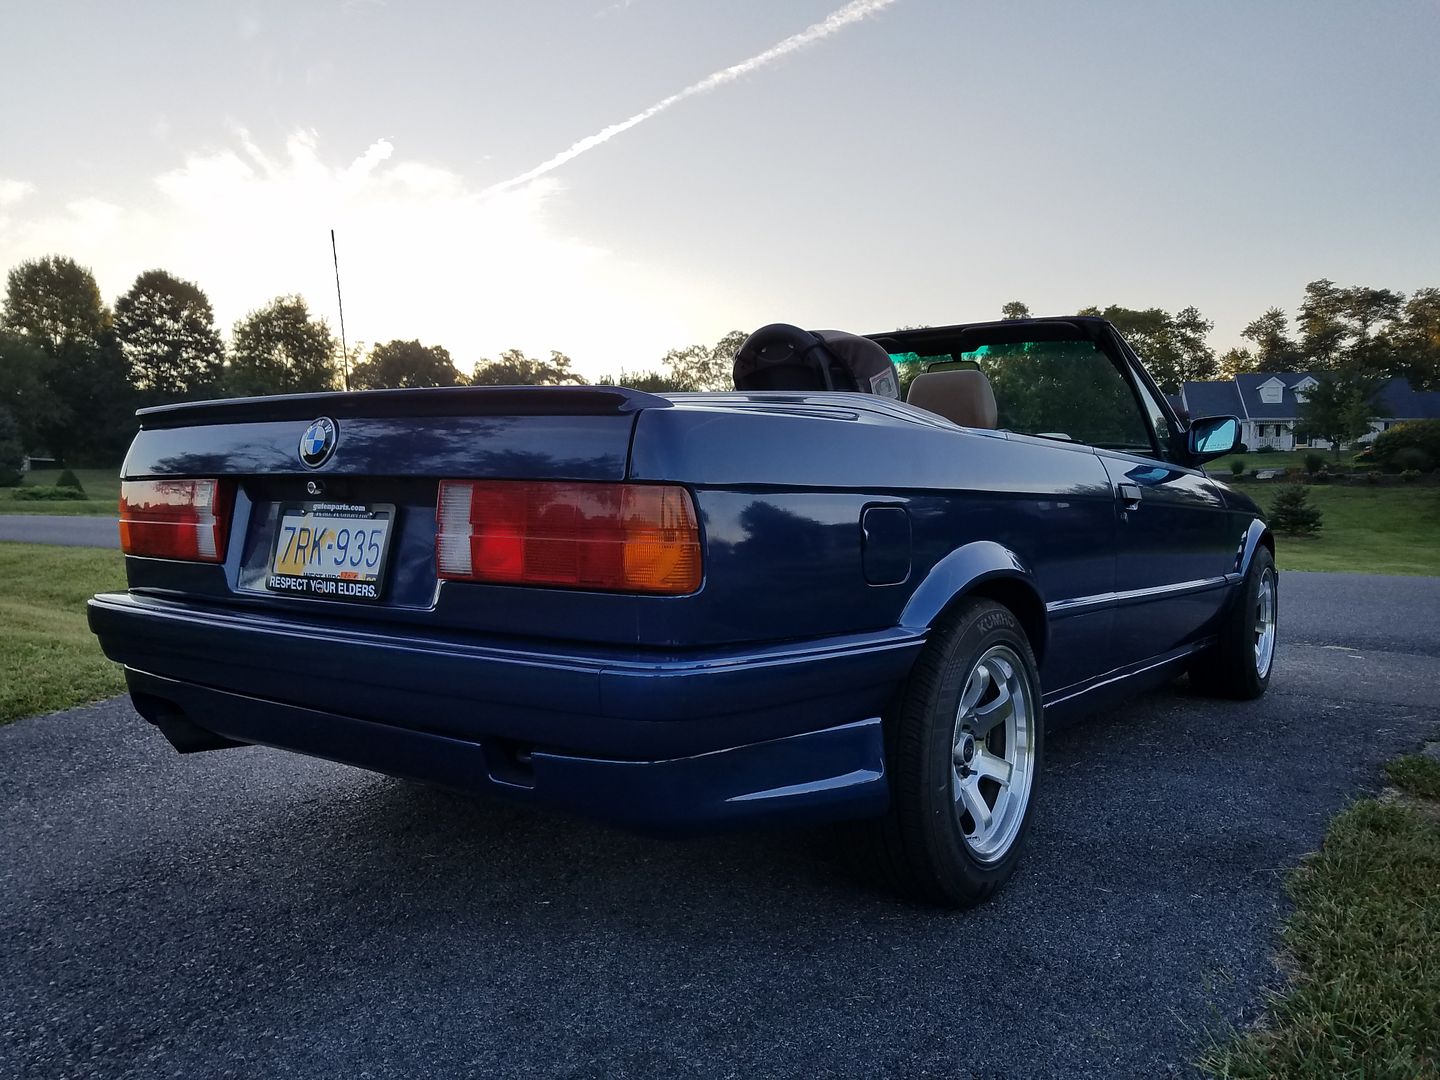
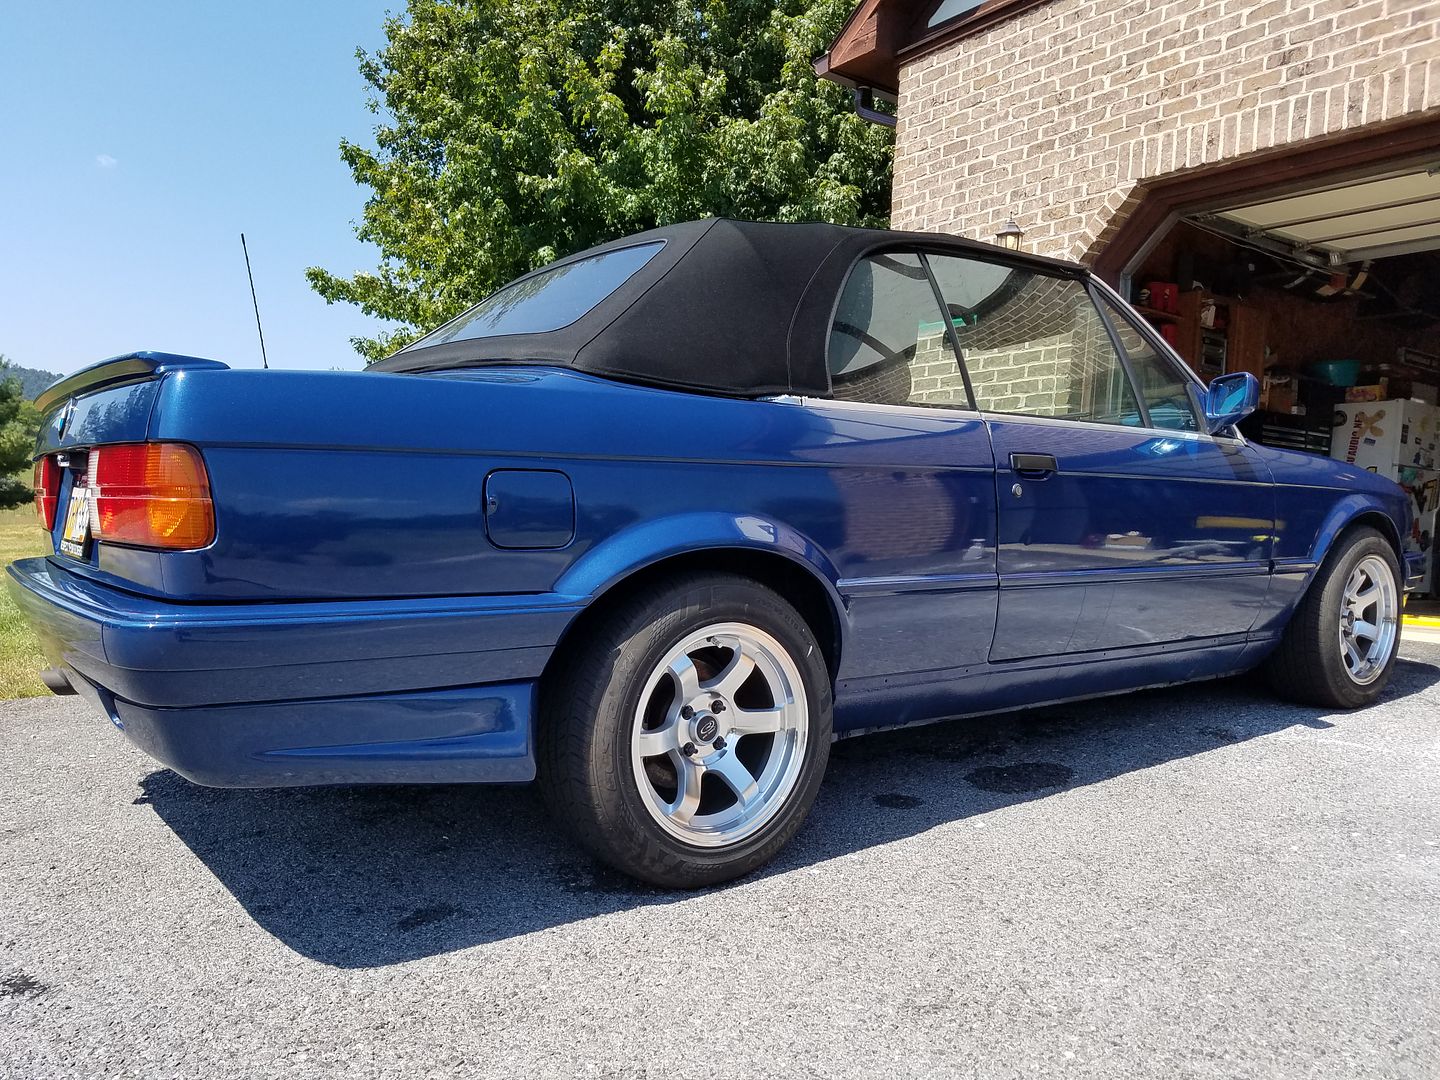
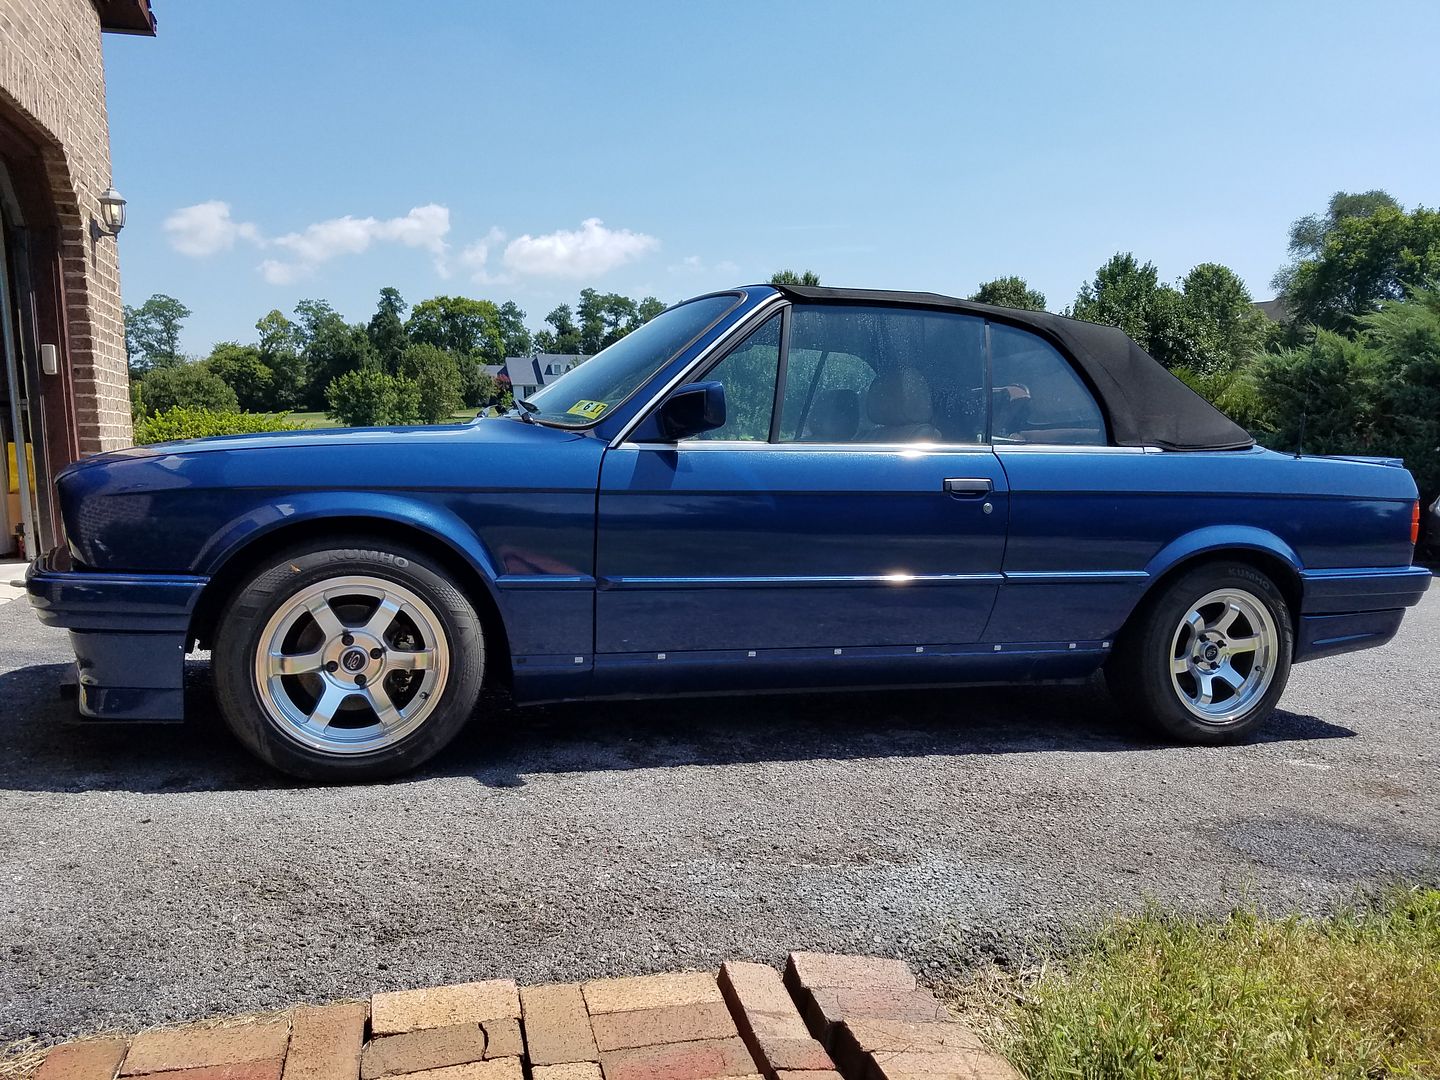
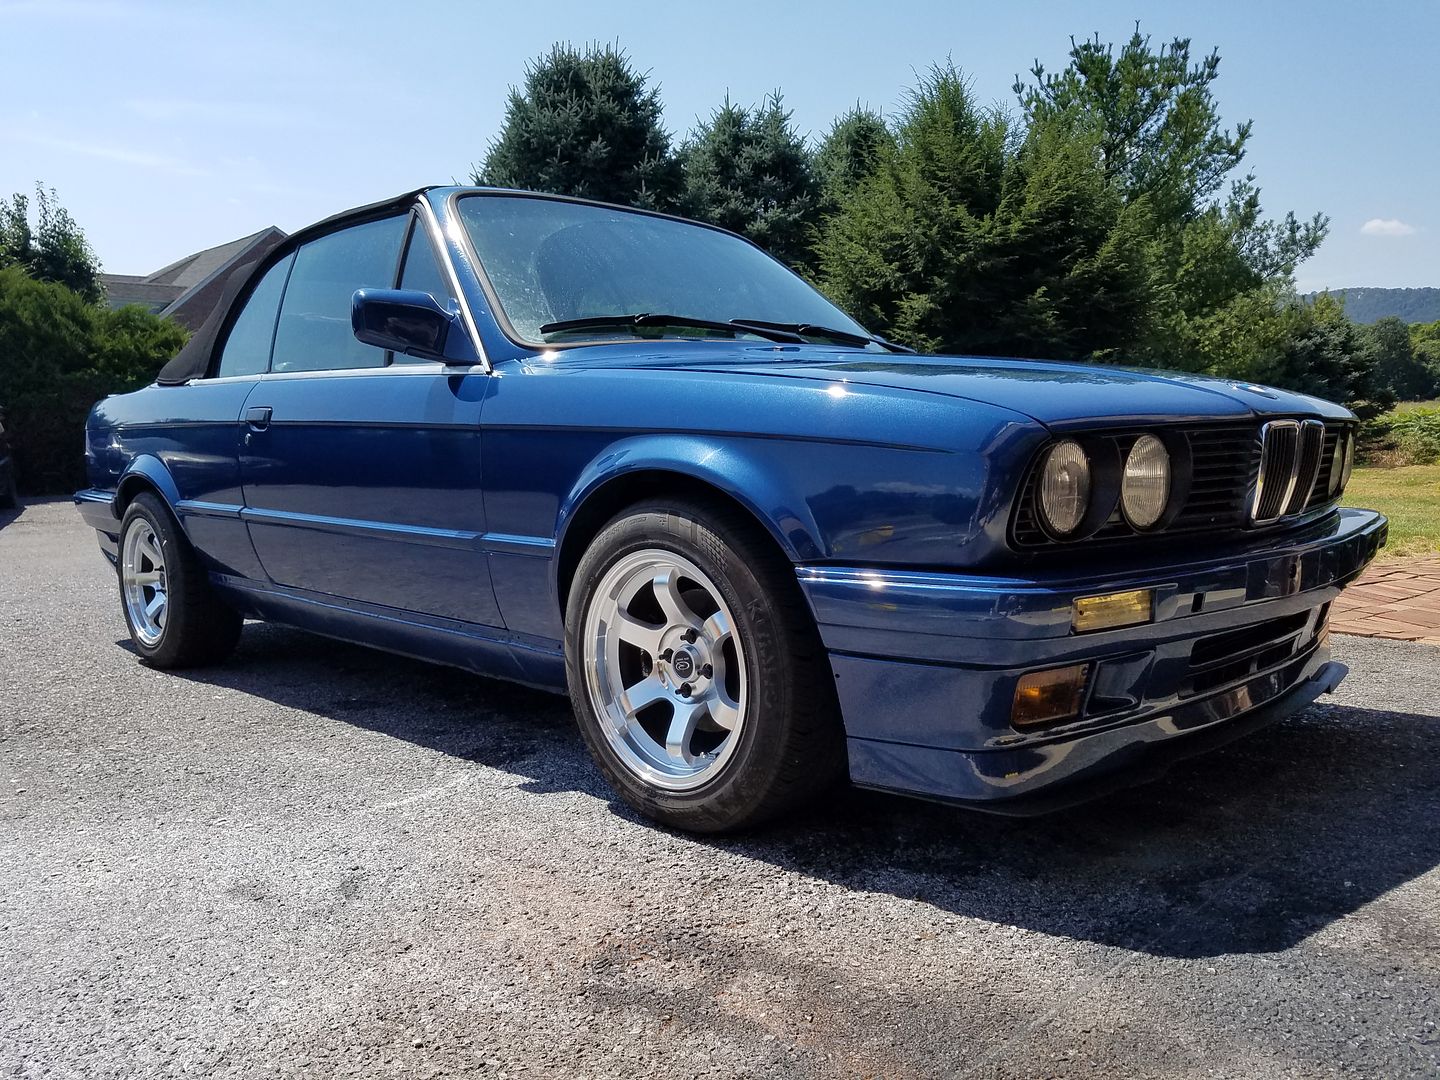
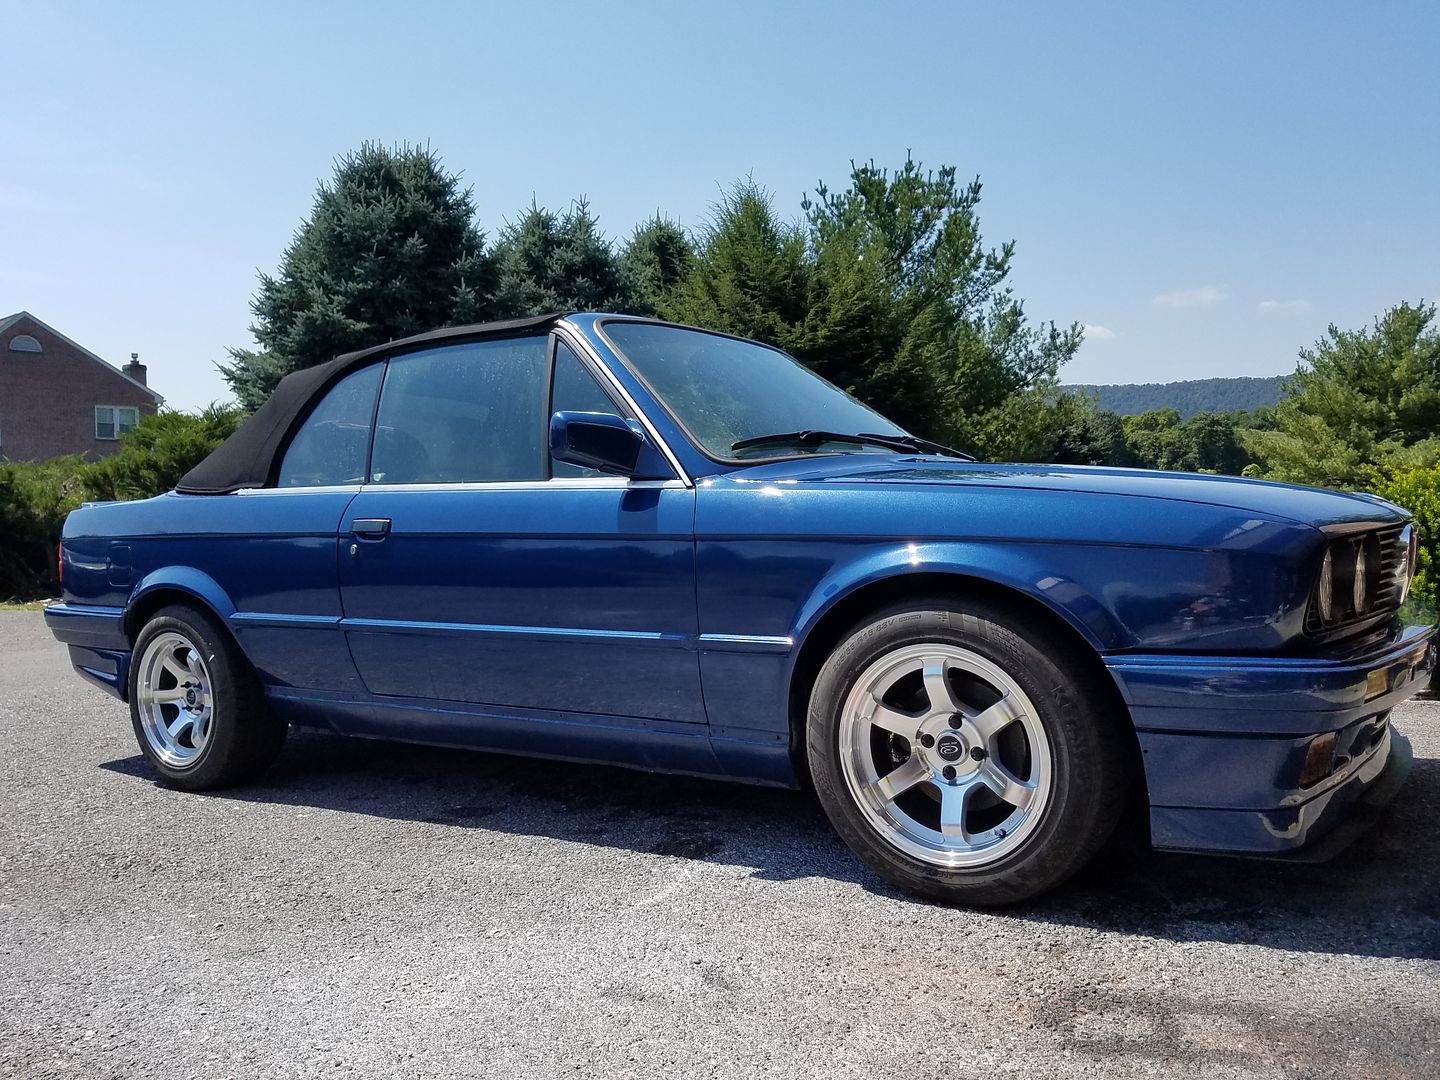
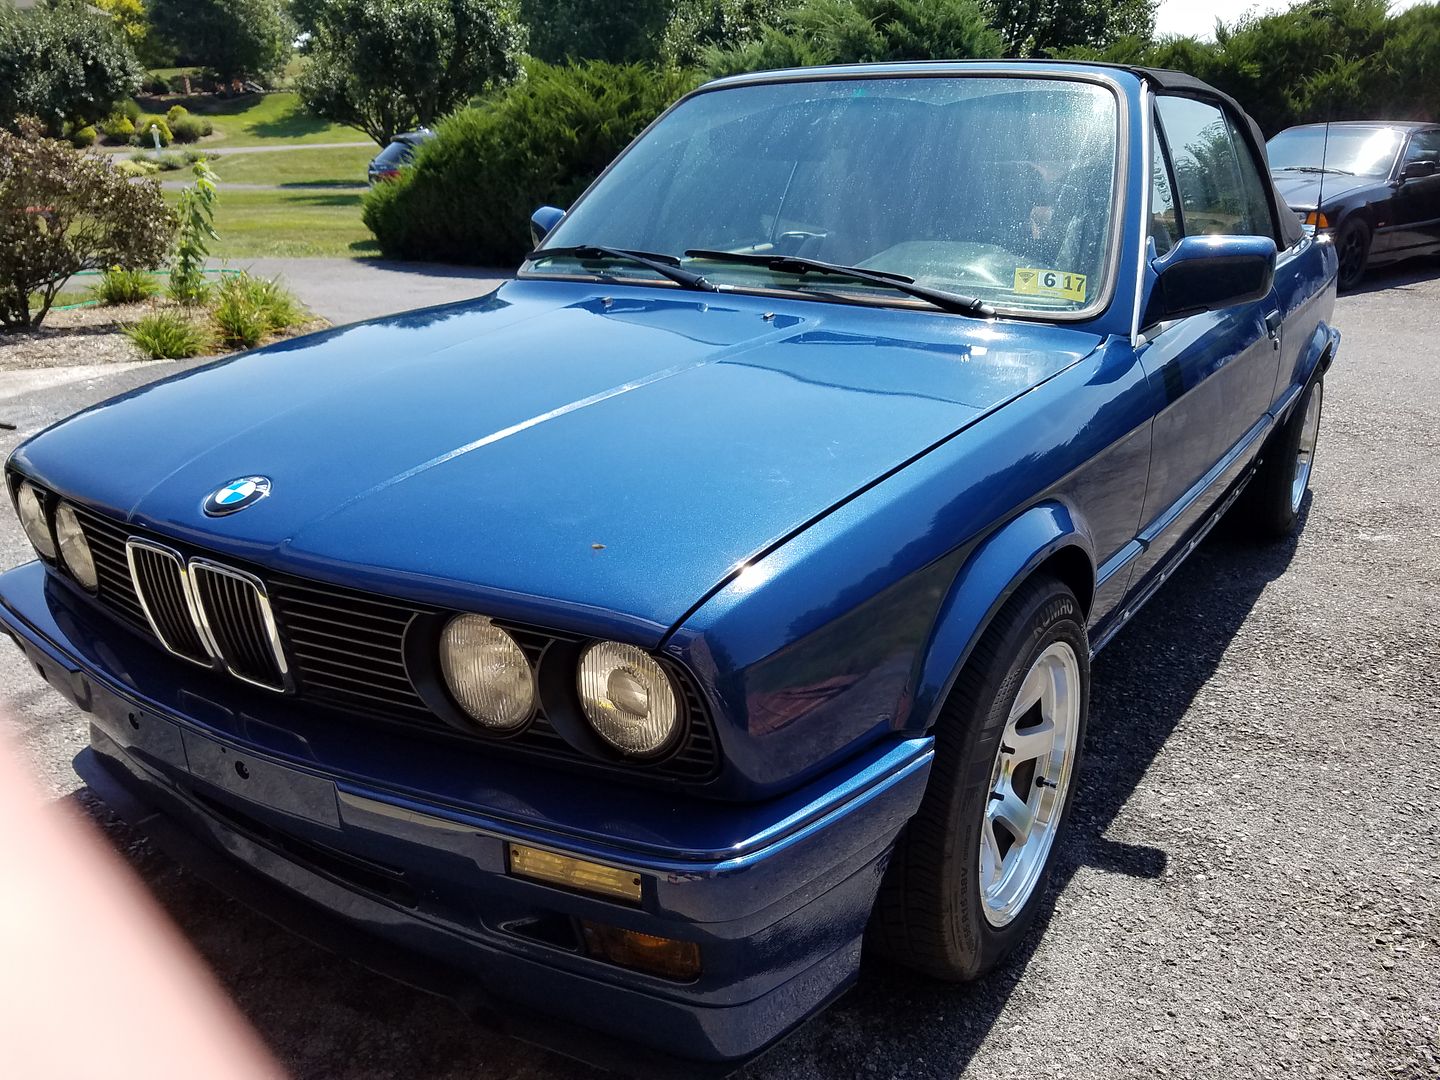
I did wash and wax the car as well. For a few days she was clean.

Comment
-
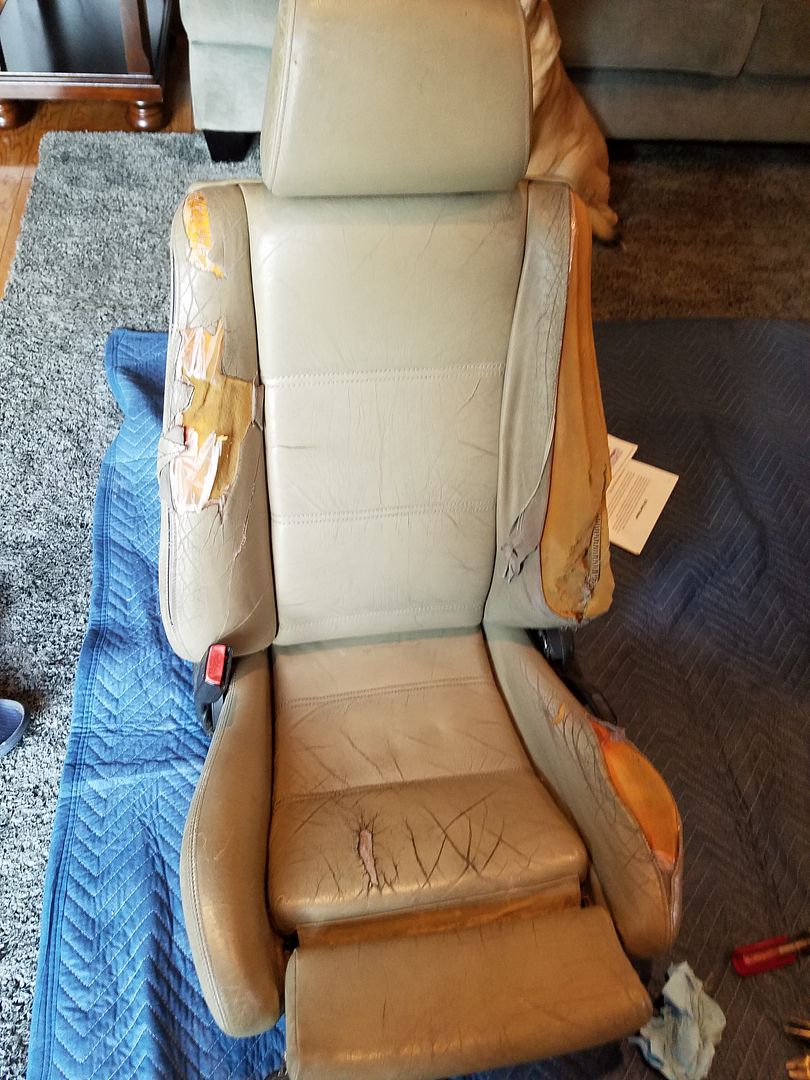
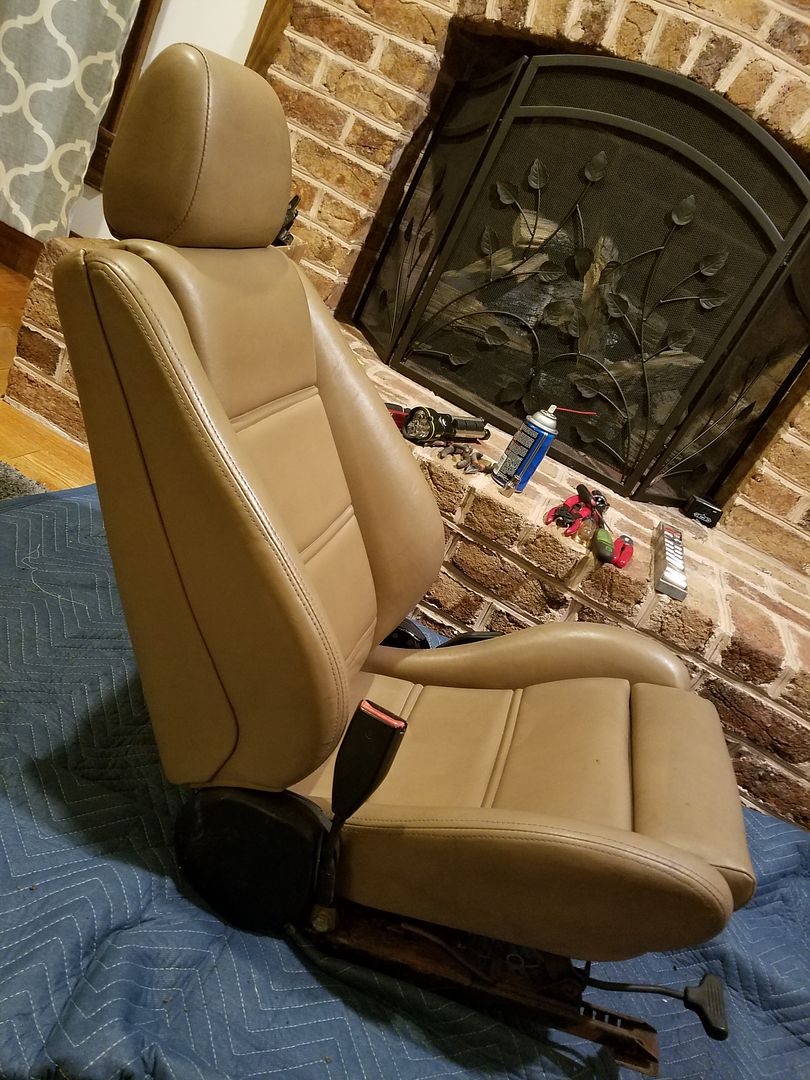
Passenger seat (mostly) fixed!!!
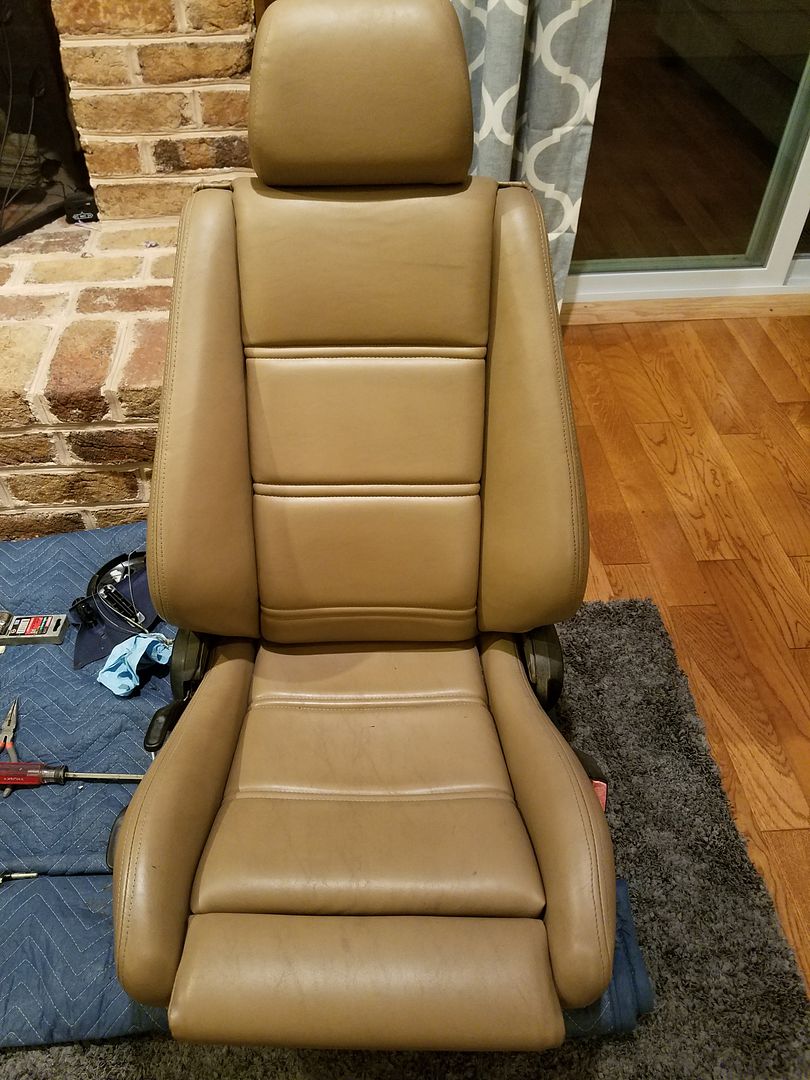
Loose top to bottom connection repaired and 90% of the function is restored. It is also no longer racked to one side.Comment
-
Were you able to get the seat tab welded?My new E34 525i Sport Limousine Blog
http://bmw525isportlimousine.blogspot.com.es/Comment
-
The broken tab from the driver's side was welded and I pick it up today. The seat above is the passenger side. I thought that the tab was broken on it (the back was loose and moved laterally) but once I removed the back cover the only thing wrong was that the screw that goes into that tab had come out. I found it and re-installed it, then I put a knee in the lower corner of the seat, grabbed the opposite corner, and pulled as hard as possible to bend the back frame to where it was square. Between those 2 actions the seat is now looking (and feeling) good.Comment
-
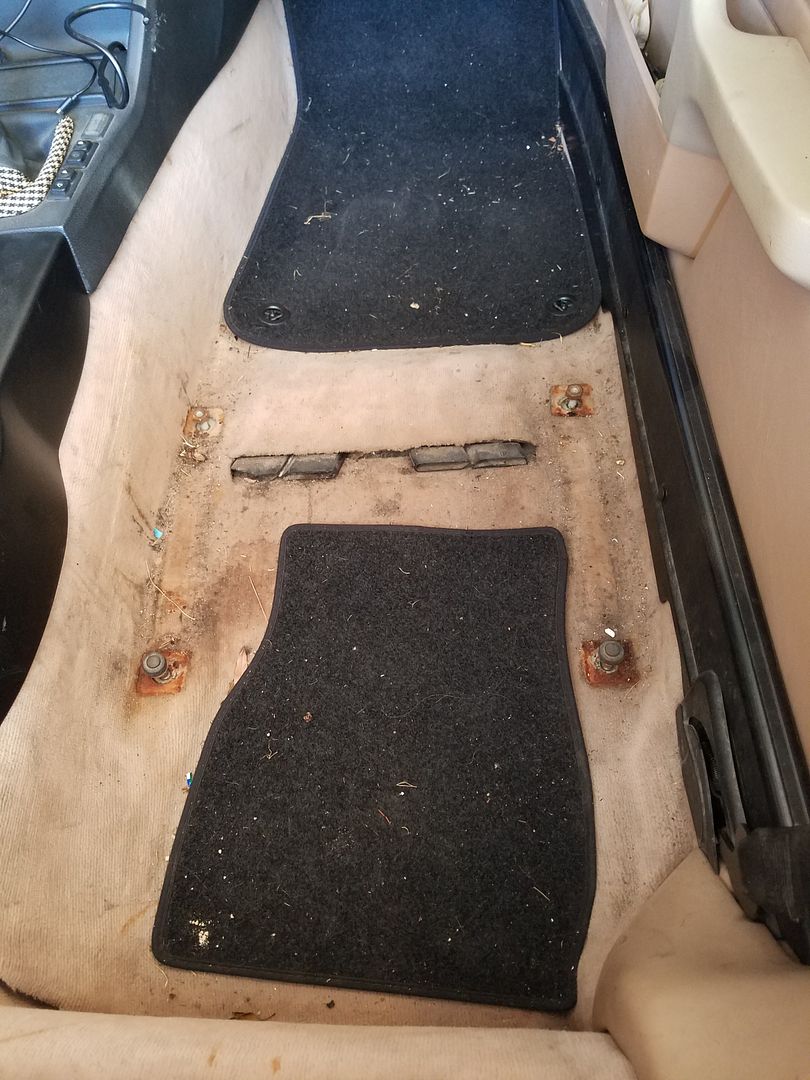
Well, the passenger carpet was filthy...
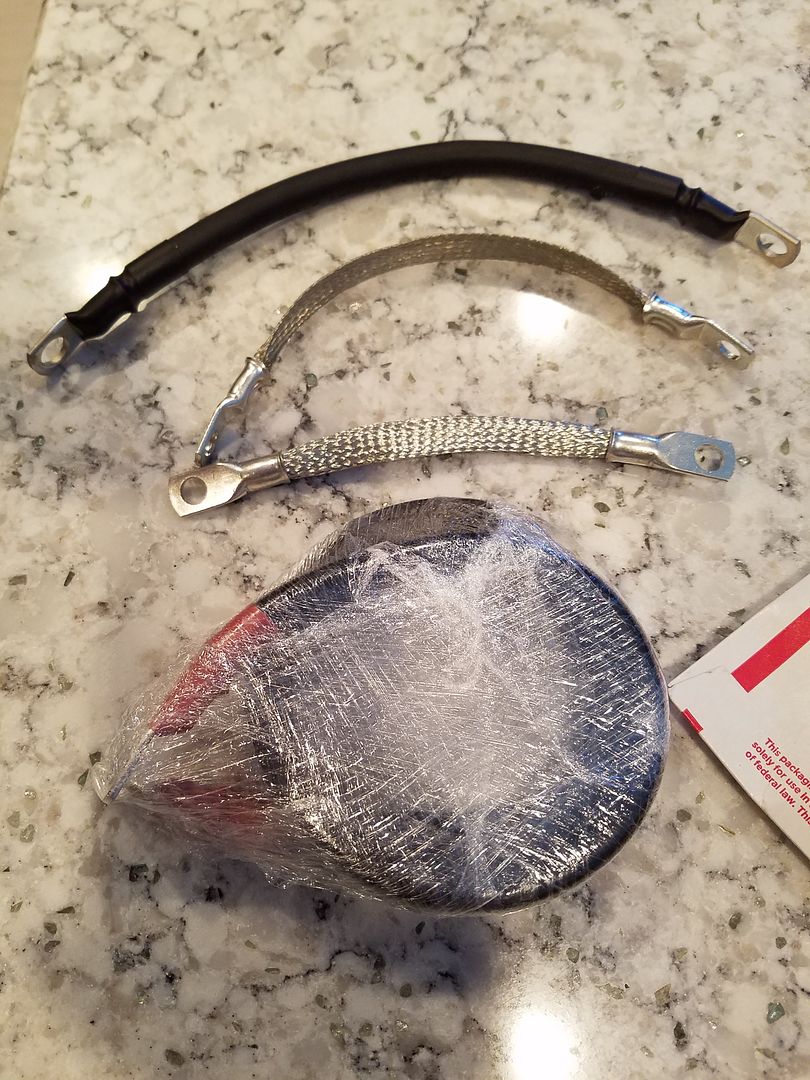
Also, my new ground strap kit from Bavarian Restoration came in:
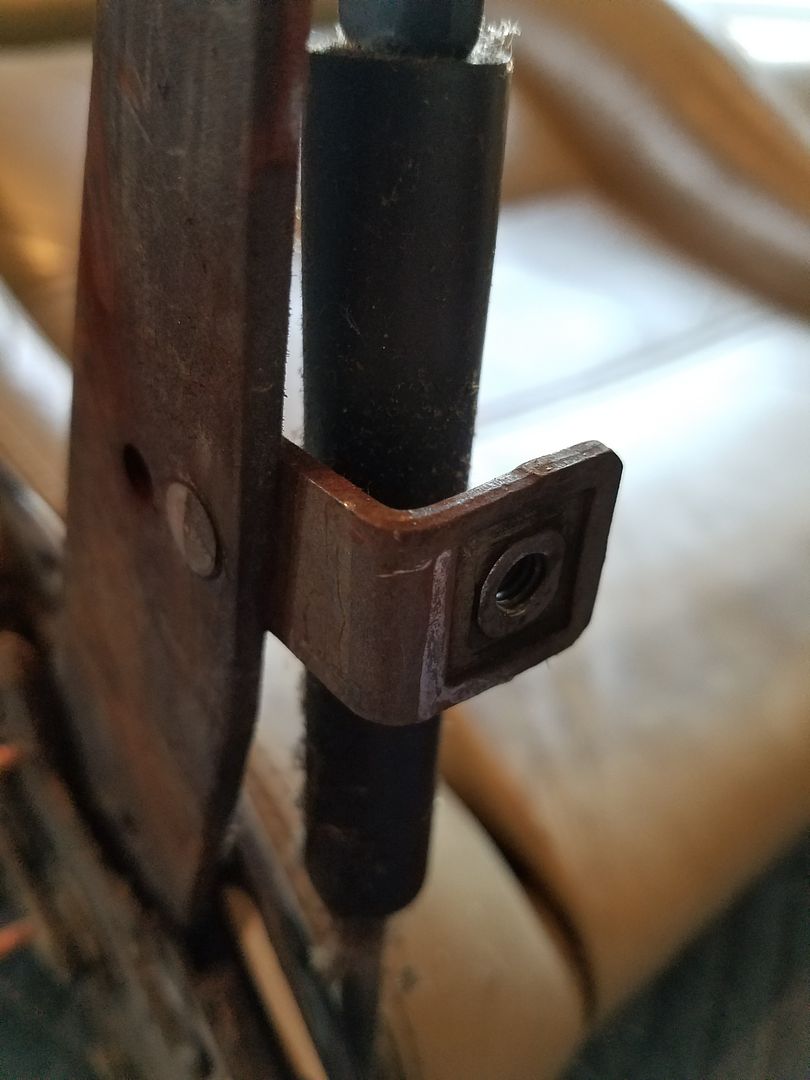
Driver's side seat tab is back in place:
HOWEVER some welding slag got in the threads and I don't have a taper set or thread chaser. Need to remedy that...
I fixed the knee bolster with hardware from one of the spare seats.
Comment
-
I bought this Gear Wrench tap and die set a while ago and have used it countless times. Worth every penny!
LINK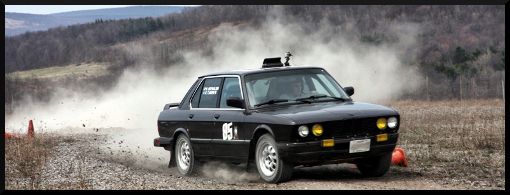
________________________1988 528e Rally-xmobile___________________
2014 WDCR Rally-X MR Season Champion, 2014 NE Div. Challenge MR WinnerComment
-
Passenger seat was re-installed:
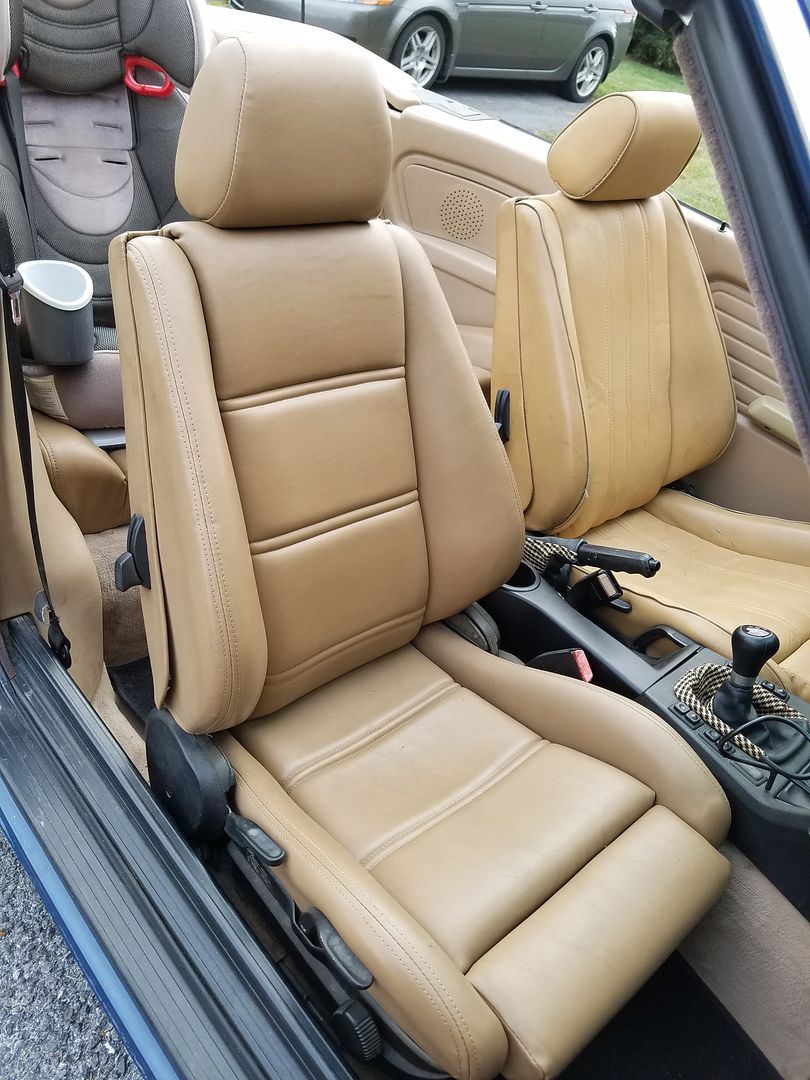
On to the driver's seat...
So after thinking it over, looking at the parts pile that I have around, and considering the PITA it would be to go back out to the shop to have the threads re-tapped, I ended up just finding a good set of hinges off of another sport seat that I had and swapping them over. Had I thought about how easy that was to begin with I'd have saved myself the $20 and ~ hour of running around and just swapped them in the first place but it seemed like more of a big deal when I first took the seat apart. Oh well, live and learn.
After swapping the end pieces I was able to get the seat 95% functional (all movement works but one of the struts to assist the movement of the seat during adjustment is failing).

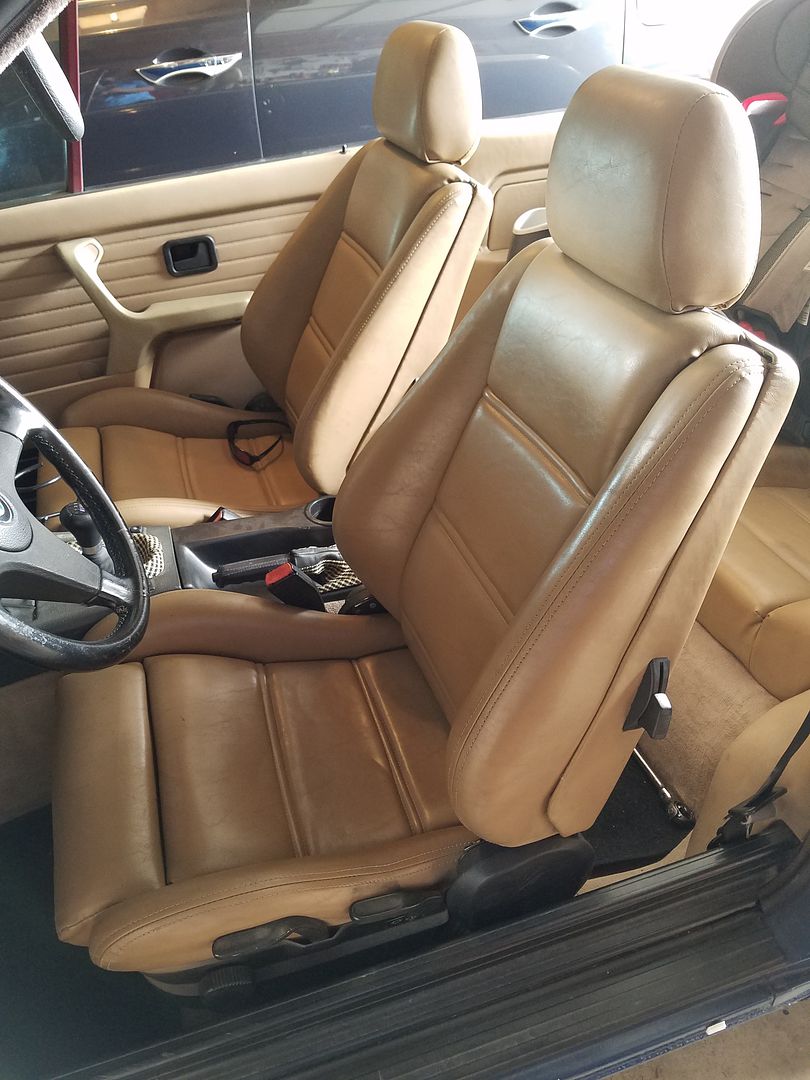
Still, quite happy to have a non-roached seat back in the car.Comment
-
You're like some sort of seat wizard now! Post up the E36 seats!
________________________1988 528e Rally-xmobile___________________
2014 WDCR Rally-X MR Season Champion, 2014 NE Div. Challenge MR WinnerComment
-
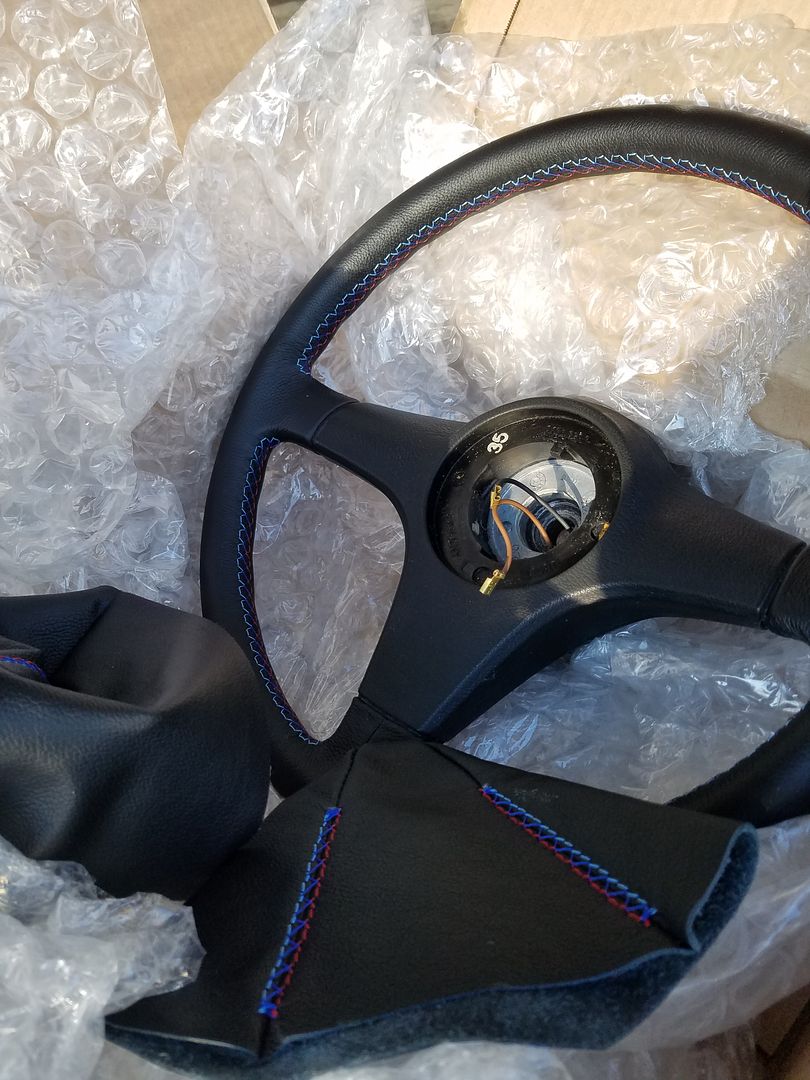
My refinished Stitched Wheels Upholstery 3-spoke Sport wheel and tricolor shift/ebrake boots arrived:
Comment
-
Damn that's some fine stitching!
________________________1988 528e Rally-xmobile___________________
2014 WDCR Rally-X MR Season Champion, 2014 NE Div. Challenge MR WinnerComment
-
With no access to photobucket at work I don't tend to do updates as often.
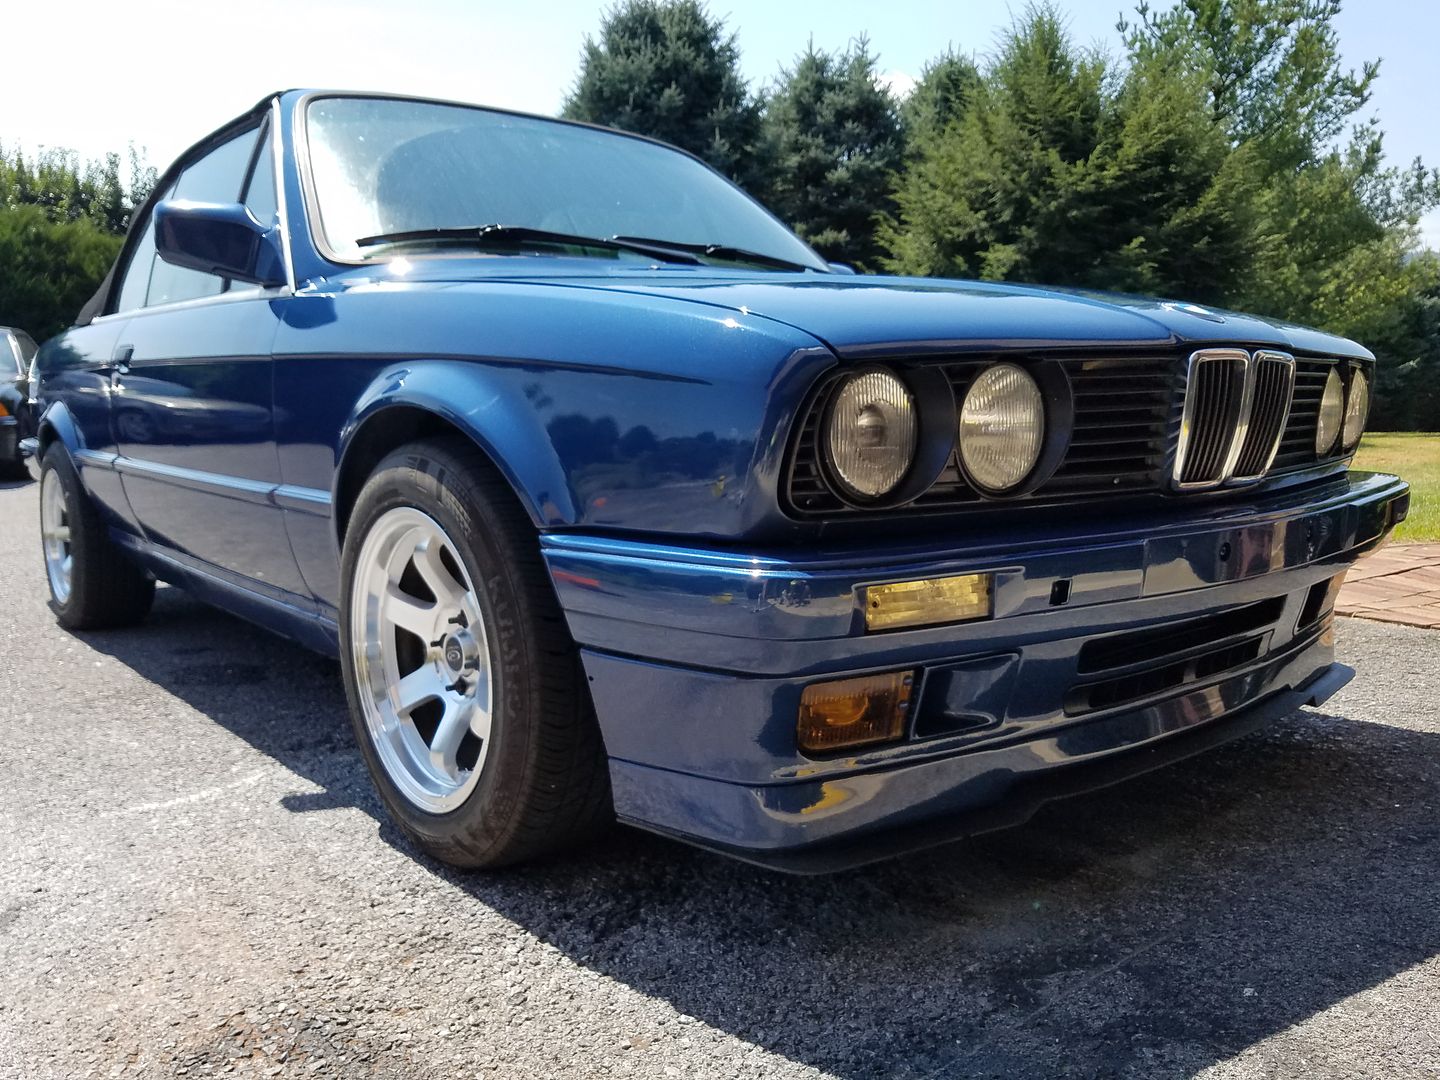
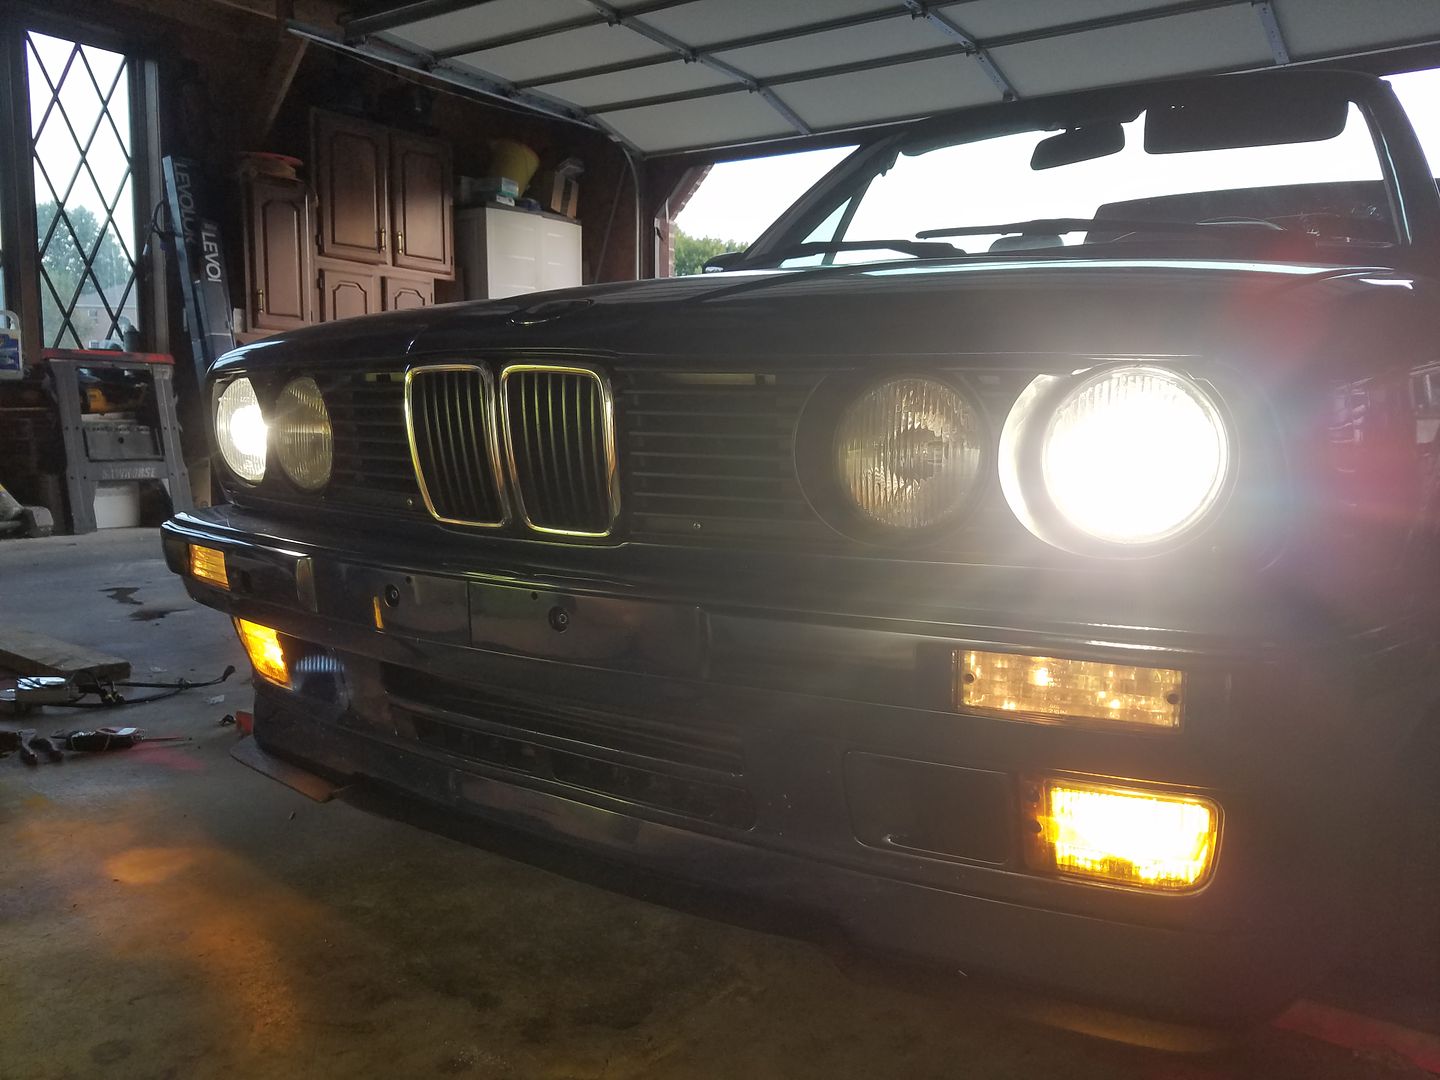
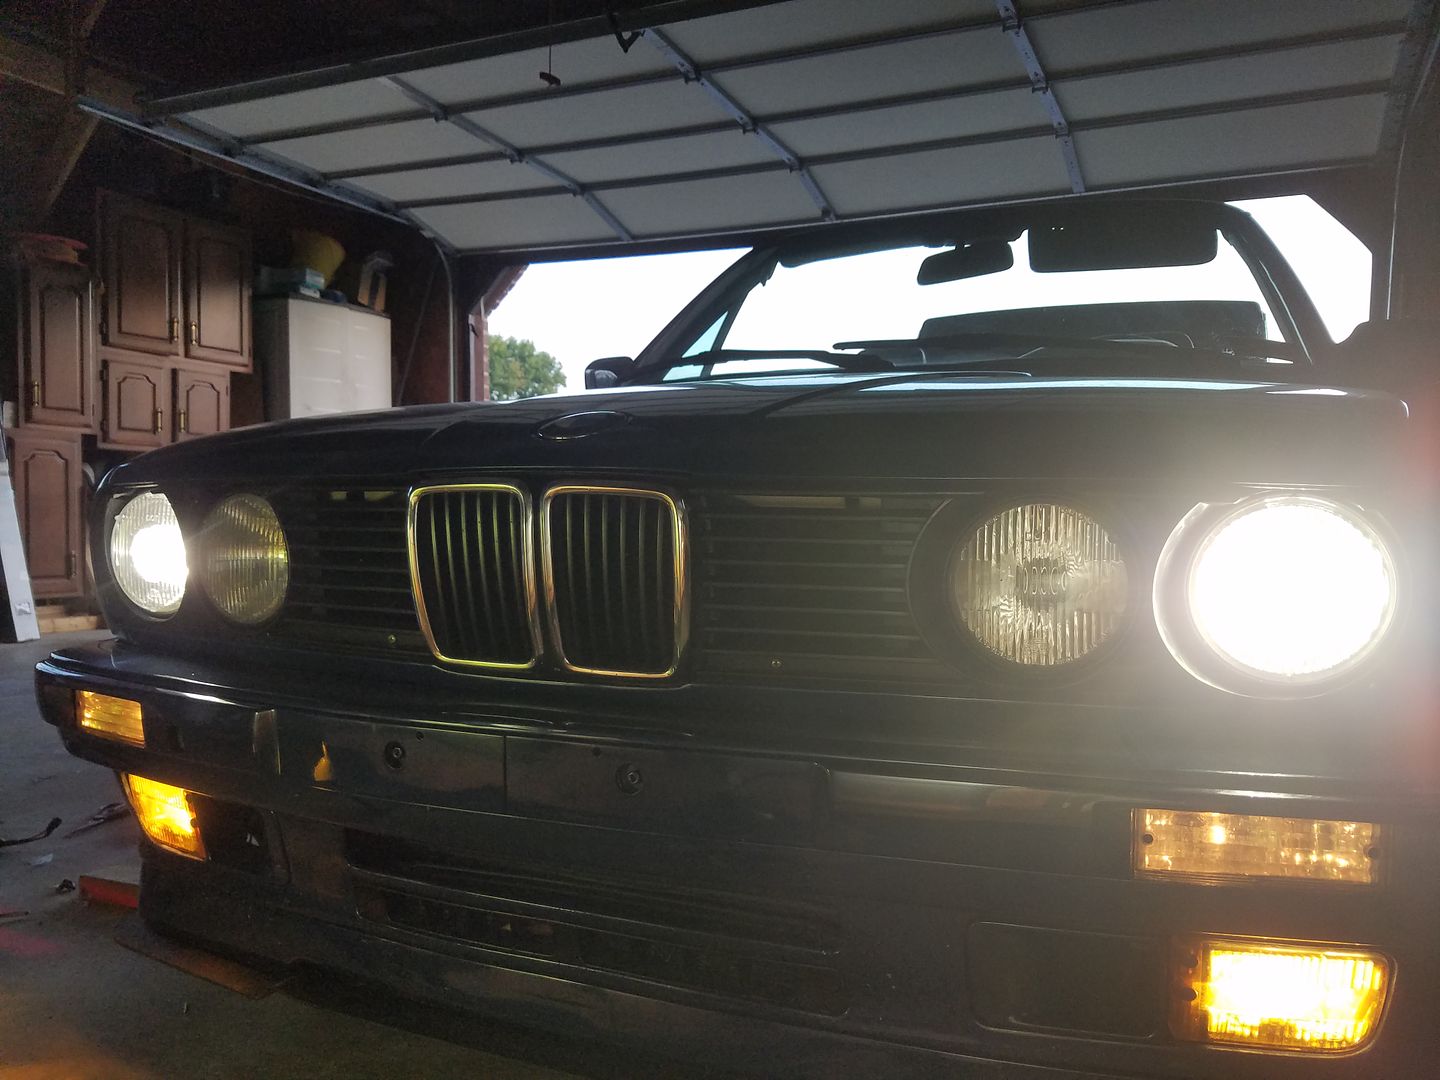
I got tired of the old halogen bulbs and installed my HIDs. My halogens seemed to do an especially bad job at illuminating the road. When I removed the bulbs and saw that they were SilverStars it all made sense. Interestingly enough, those bulbs lased almost 2 years...that is a LONG time for SilverStars. Expensive, short-lived, and poor output pretty much sums them up.
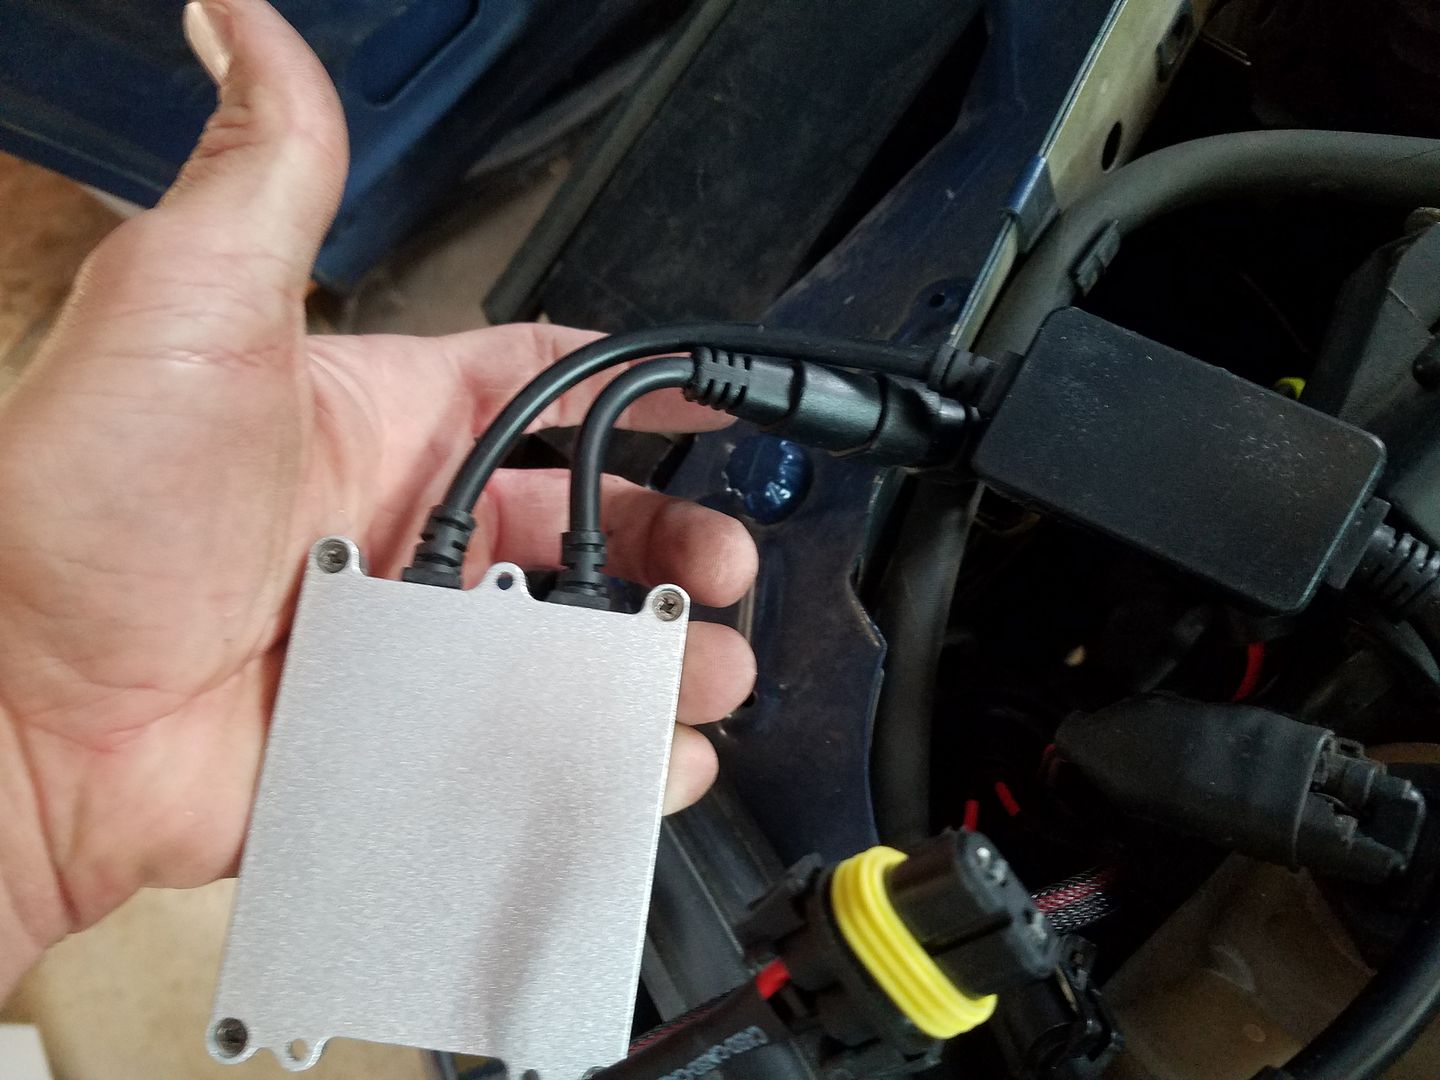
Anyway, I installed the HID kit that is sold on here (I'll update with the link later). They installed fairly easily but are a cheap kit. Not bargain-basement, but to have a non-integrated ignitor/ballast configuration was a shock.
Anyway, I hastily stashed them behind the lights and wired them up:
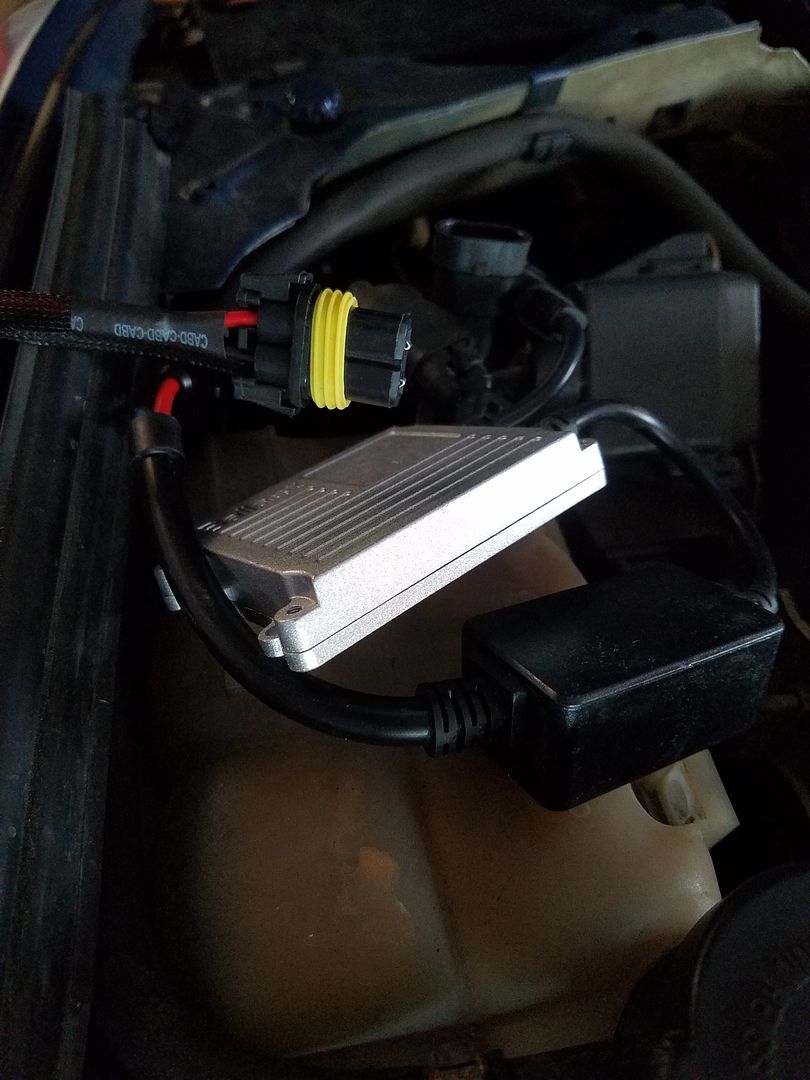
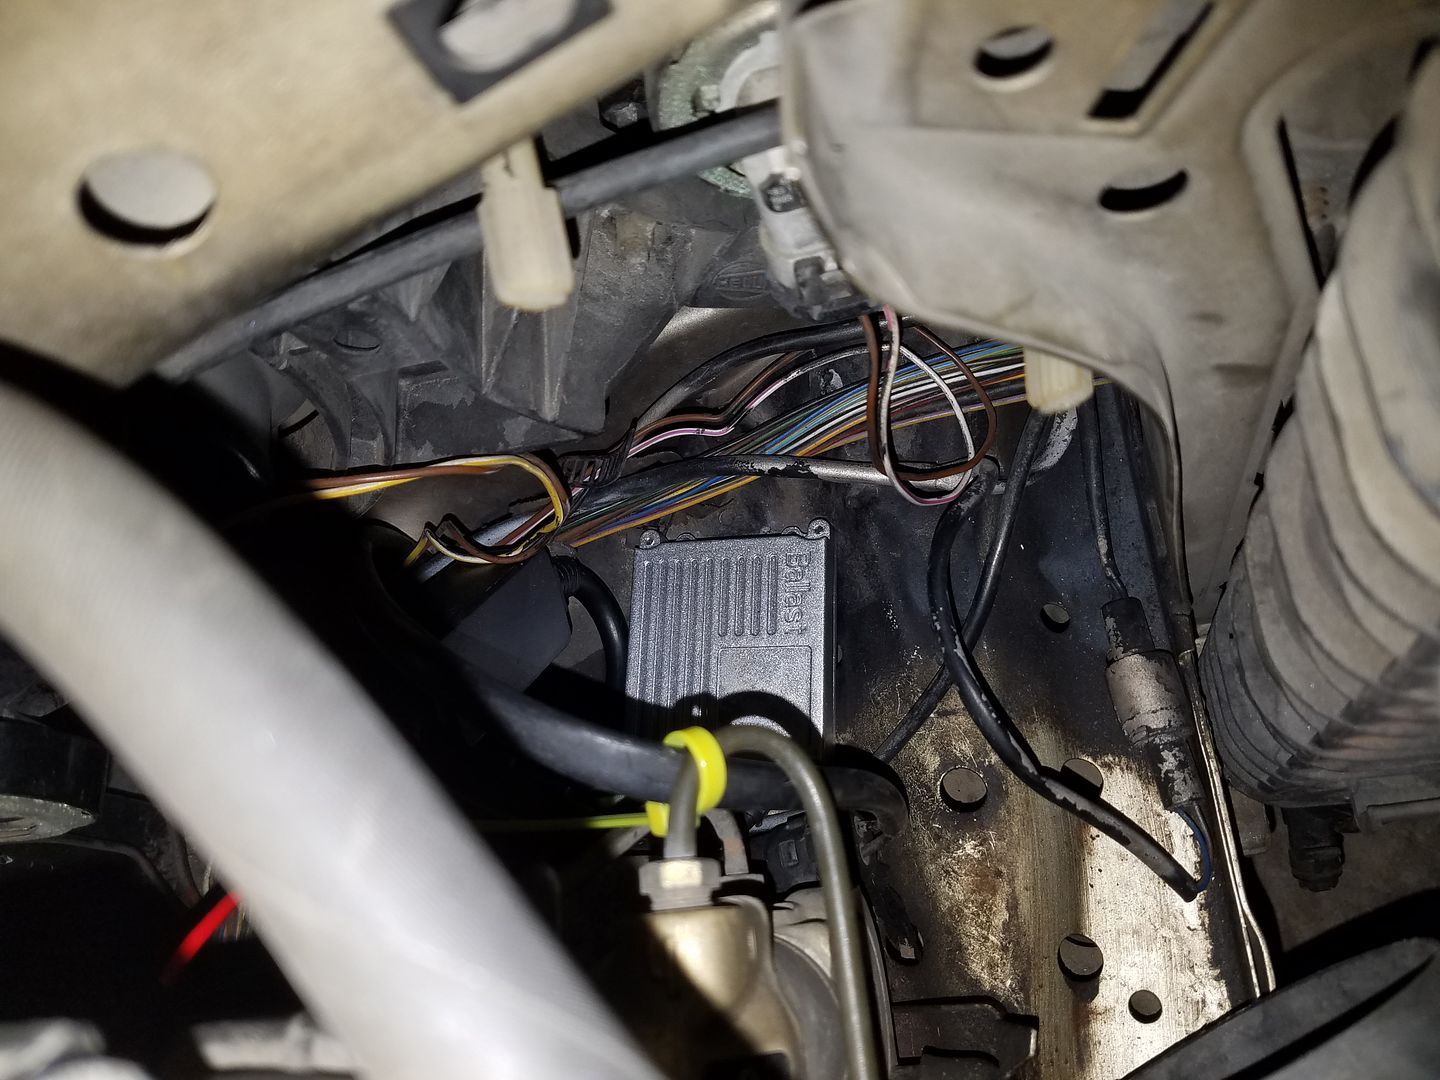
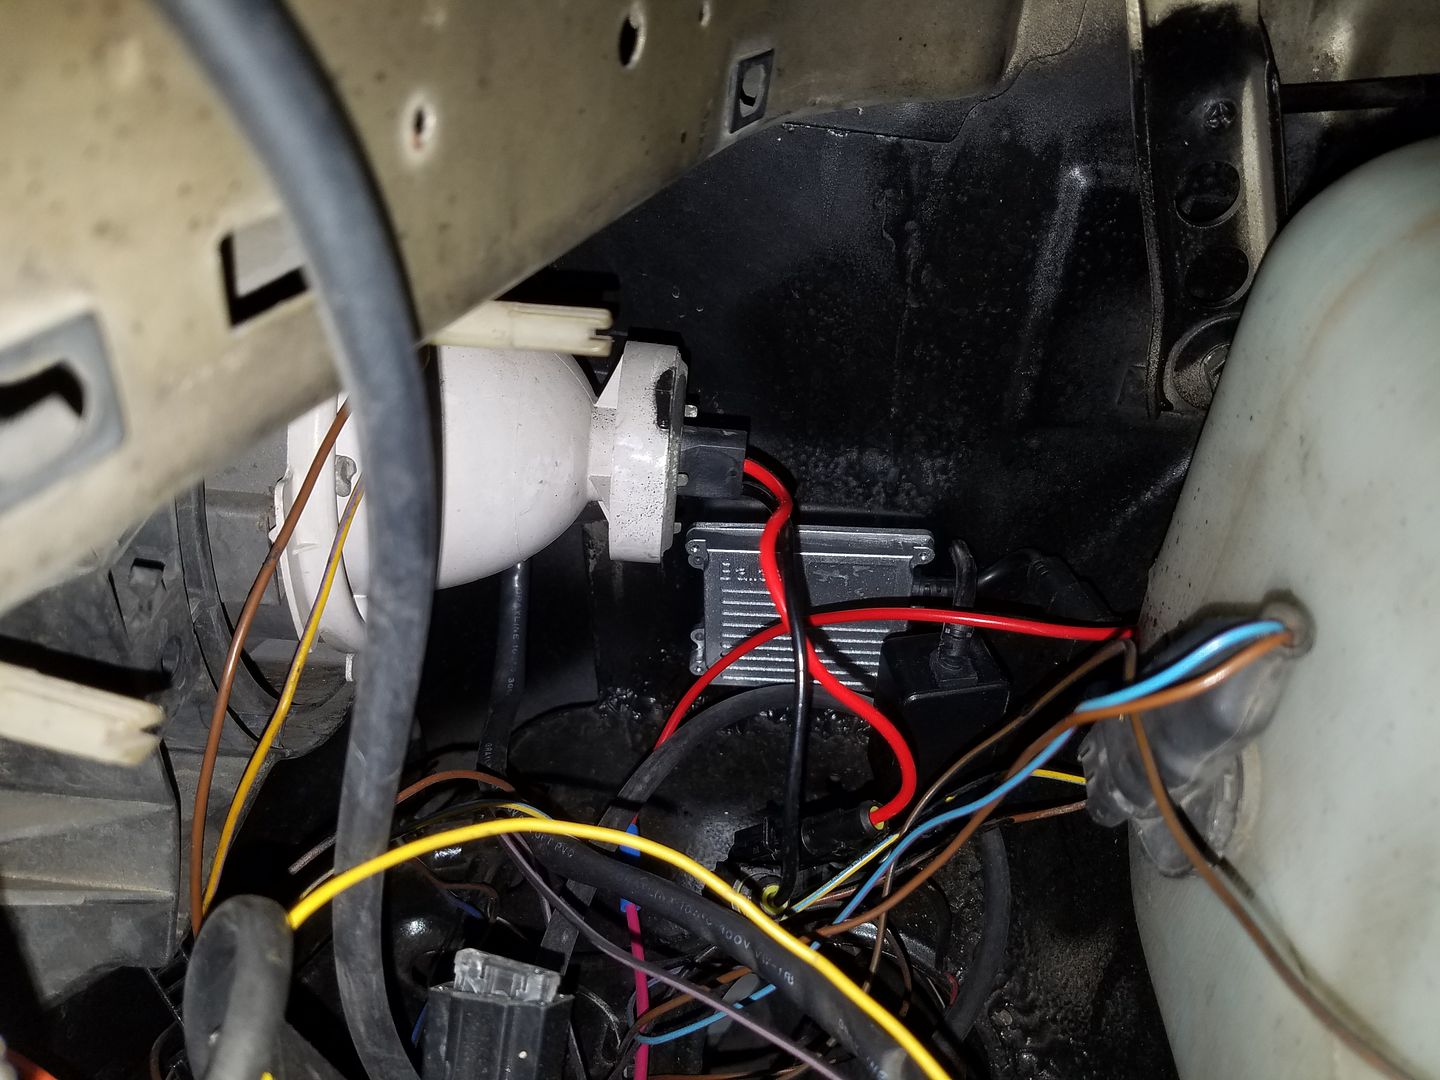
There was an extra loop of wiring that was unnecessary (for other applications, I suppose) and when it was in place, one of the lights woudl not fire. I swapped in another ballast that I had around and the side that had not fired now worked, then I swapped in the one from this set and it worked the second time around. I removed the extraneous loop of wire and they have fired on the first try ever since. Weird.
Anyway, they look pretty good and do a much better job at illuminating the road. So far no flashes from oncoming drivers.
I was out of work sick last week and did feel good enough one day to state the install of the black armrests and door pockets, plus a new door handle and replacement trim.
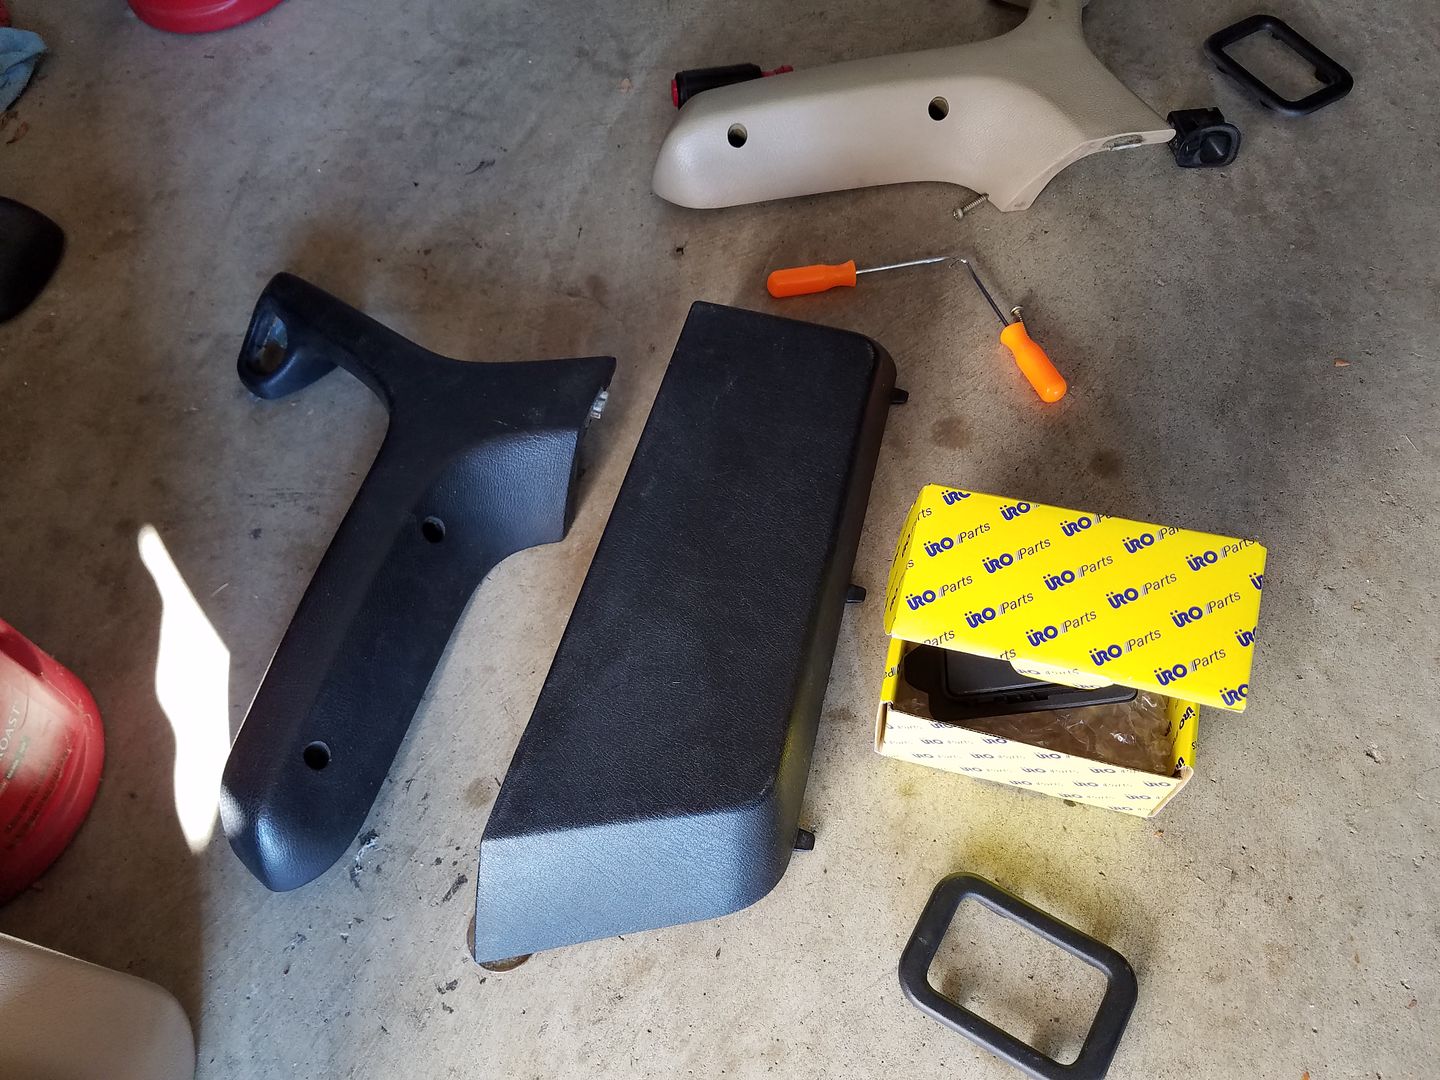
Did a little test fit:
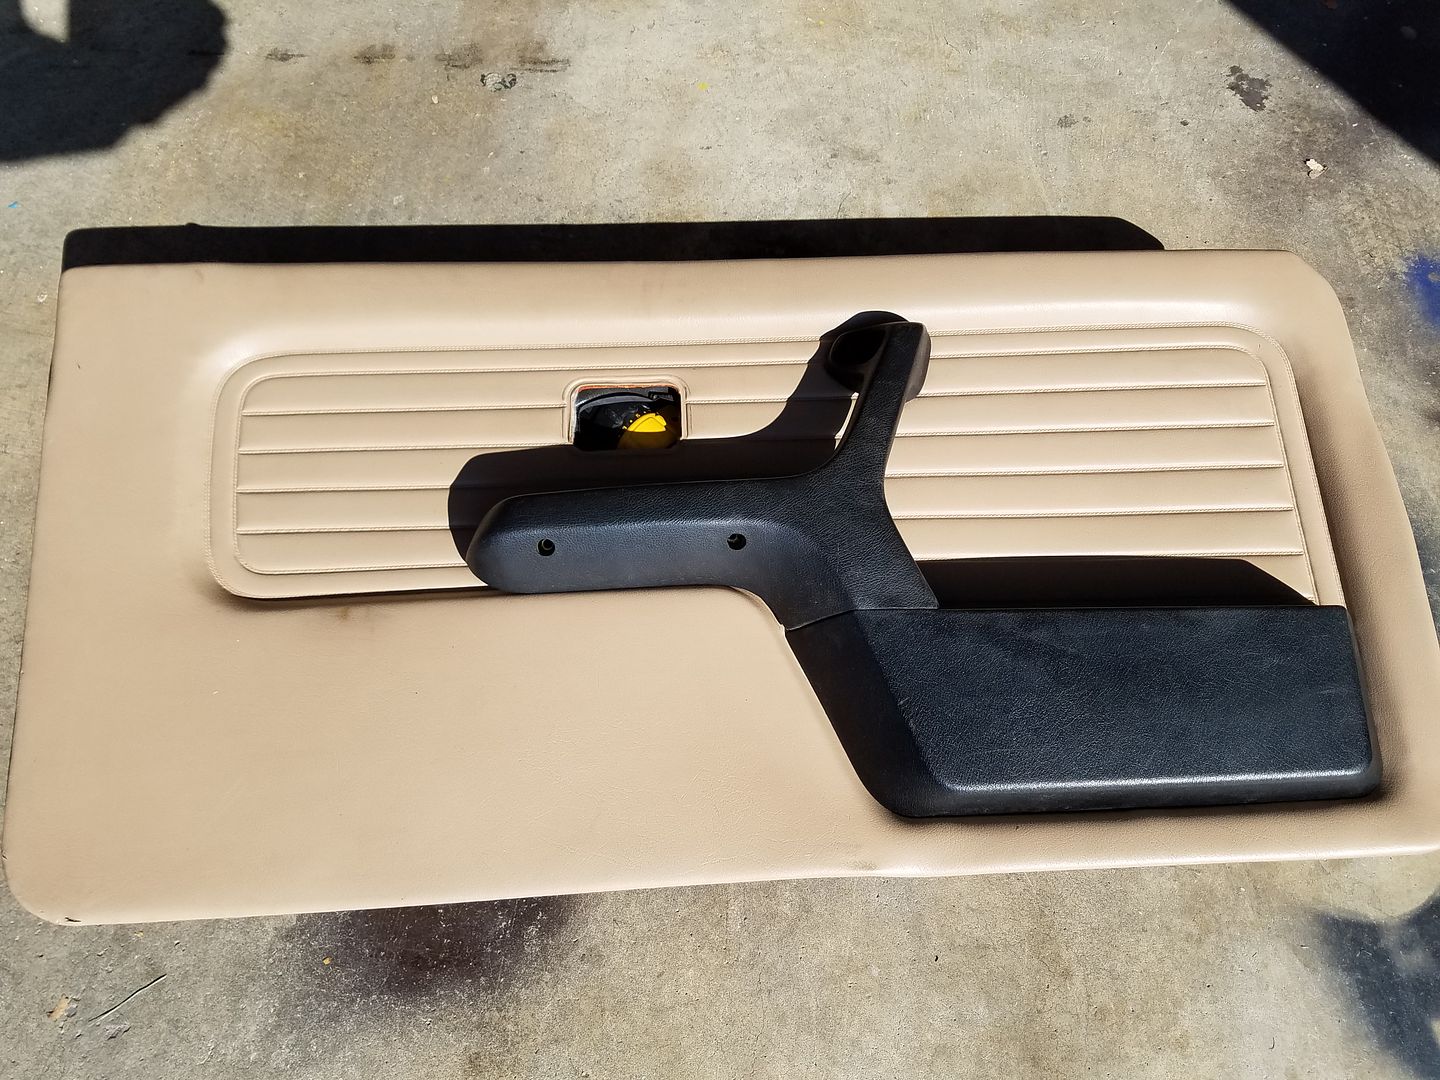
And finished:
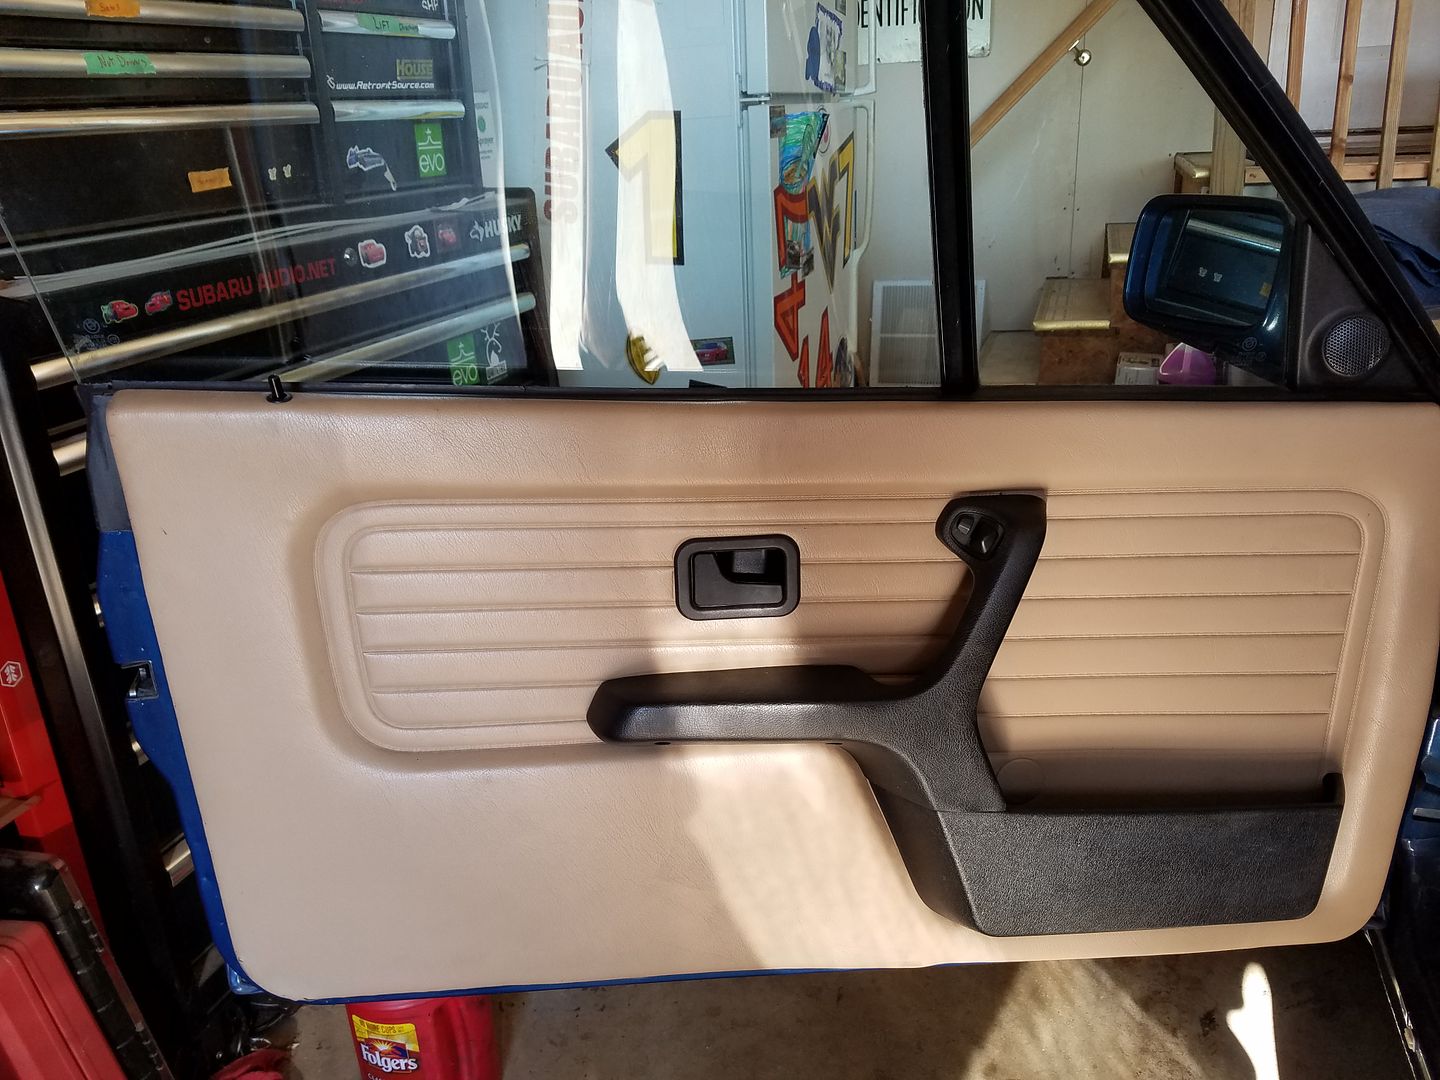
I really like the look. Now I just have to get motivated to do the other door.Comment
-
I'm loving the two tone!
________________________1988 528e Rally-xmobile___________________
2014 WDCR Rally-X MR Season Champion, 2014 NE Div. Challenge MR WinnerComment
-
Snagged a clutch stop, just for fun:

Comment


Comment