
^ looking at the prices of them (At least the ones willing to ship to canada + don't look ultra shady) they were like $600.
For a PT6062, and with the garbage USD/CAD exchange rate, I'd be looking at $2500 (exchange rate bounced back a bit since then, so now more like $2300.) I was thinking about selling off a lot of stuff to try to get it, but I just can't spend that much on a turbo lol
I ordered an Mann Provent 200 today... I've never had a good feeling about the effectiveness of catch cans, and the N54 guys are starting to show how ineffective they really are.
I really want to pull vacuum on the crank case without a bunch of check valve/vacuum line wizardry or a bunch of oil all through my charge piping, so I was considering using the E39 M5 cyclone separator, but I know that it can't be any better than the regular E36 one and is more expensive than I was told.
The provent seems to have a lot of hype, so we'll see how it ends up performing.
-
rebuilding was the right choice, ebay gt35rs are not the best quality. Mine blew up.Leave a comment:
-
-
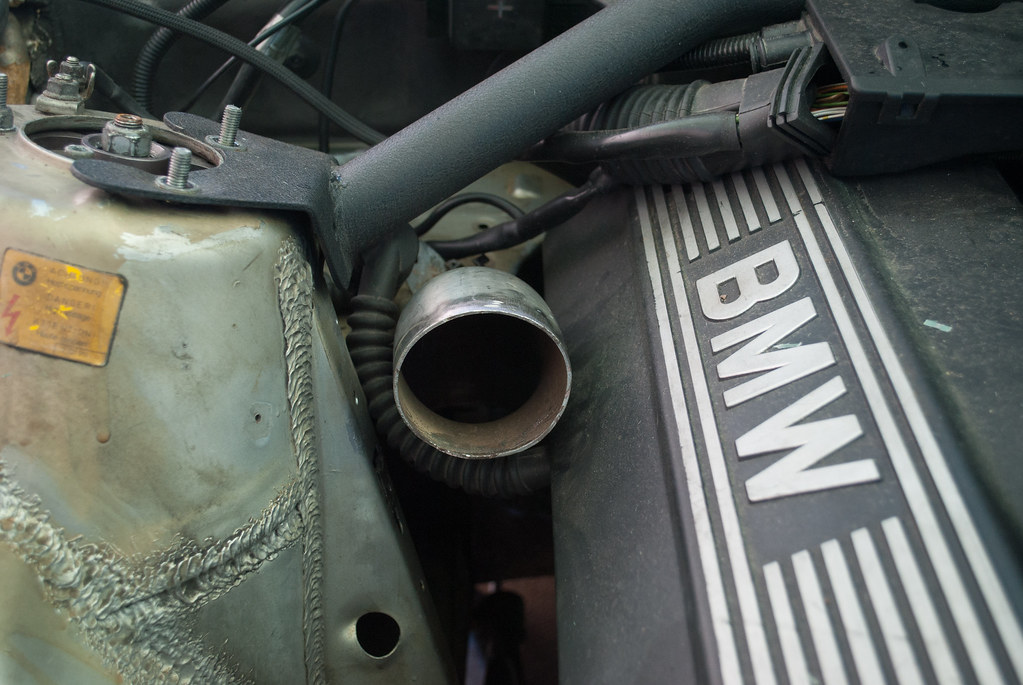
I really wasn't sure it would work without lengthening anything, but I'm glad that it turned out alright. Not sure how I'd protect it otherwise unless I didn't run the beauty cover, but I think that does a lot for keeping water out of the coilpacks and spark plug wells. Also probably going to rivet a thin sheet of aluminum over the right hand side of it so the turbine doesn't melt it.Leave a comment:
-
Last of this update:
Manifold masked off, ready to blast:
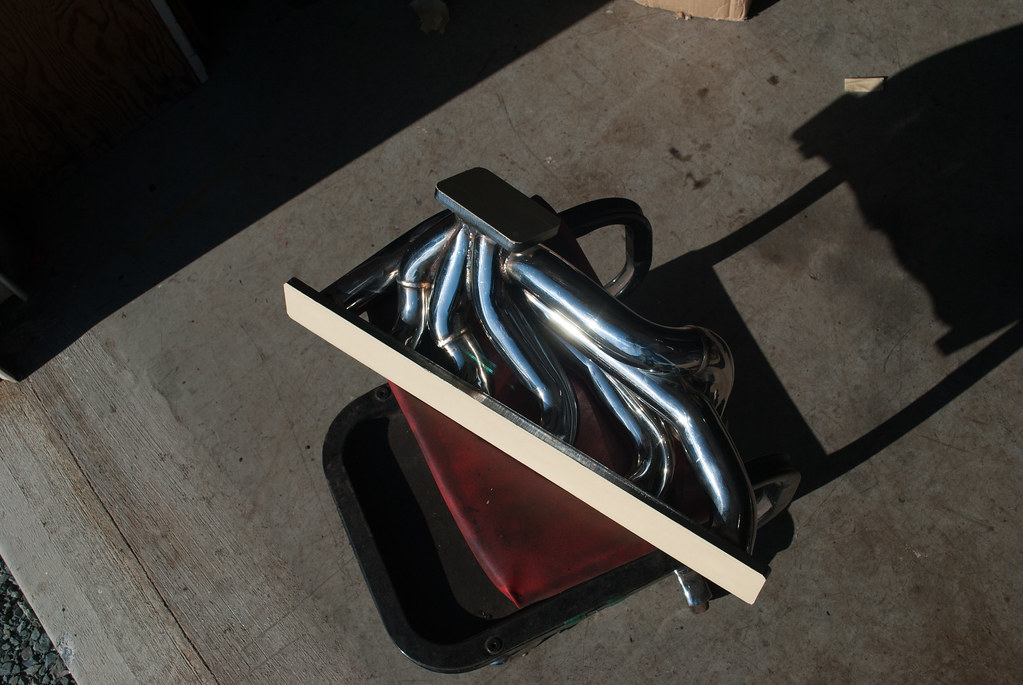
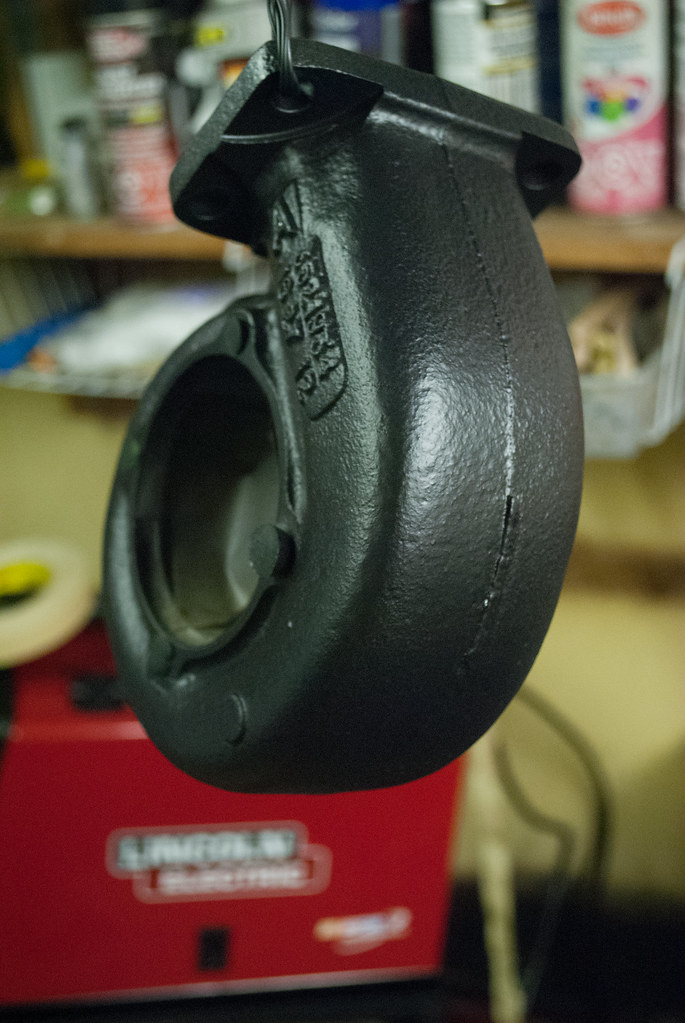
Blasted Manifold and turbine housing:

Sprayed
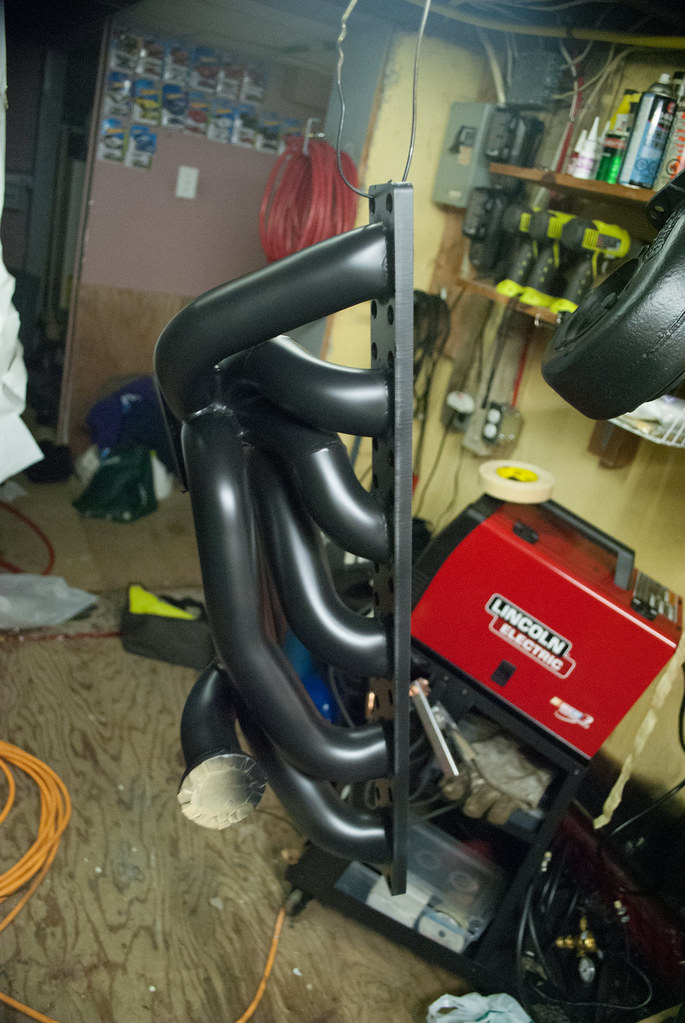
Brought them to work the next day to bake. I think that was a one time thing, but it worked. I'll have to invest in a free oven for this if I do it again.
Turbo rebuild, Old turbine/shaft and compressor removed:

baby snap rings for the journal bearings are a bitch to work with, but it worked out in the end


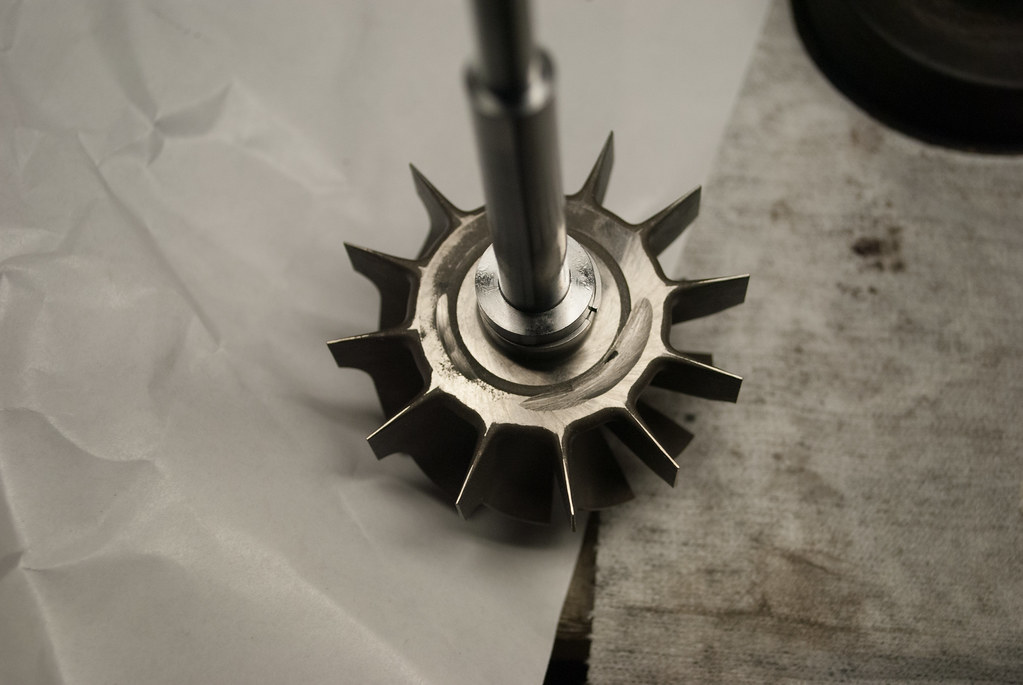
New Vs Old comparisons and balance marks:
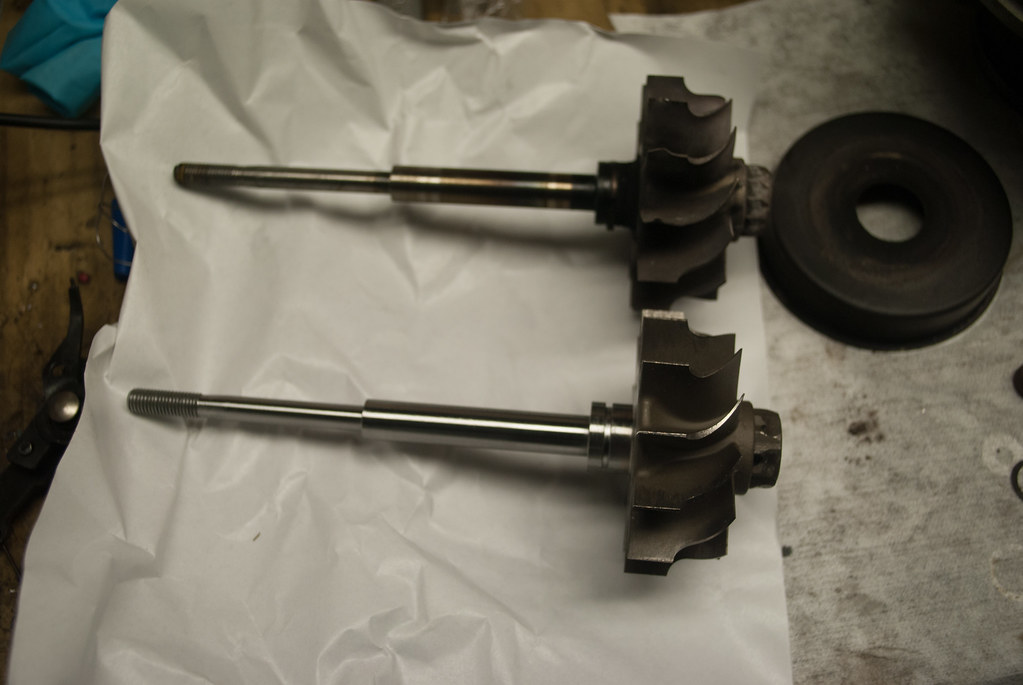
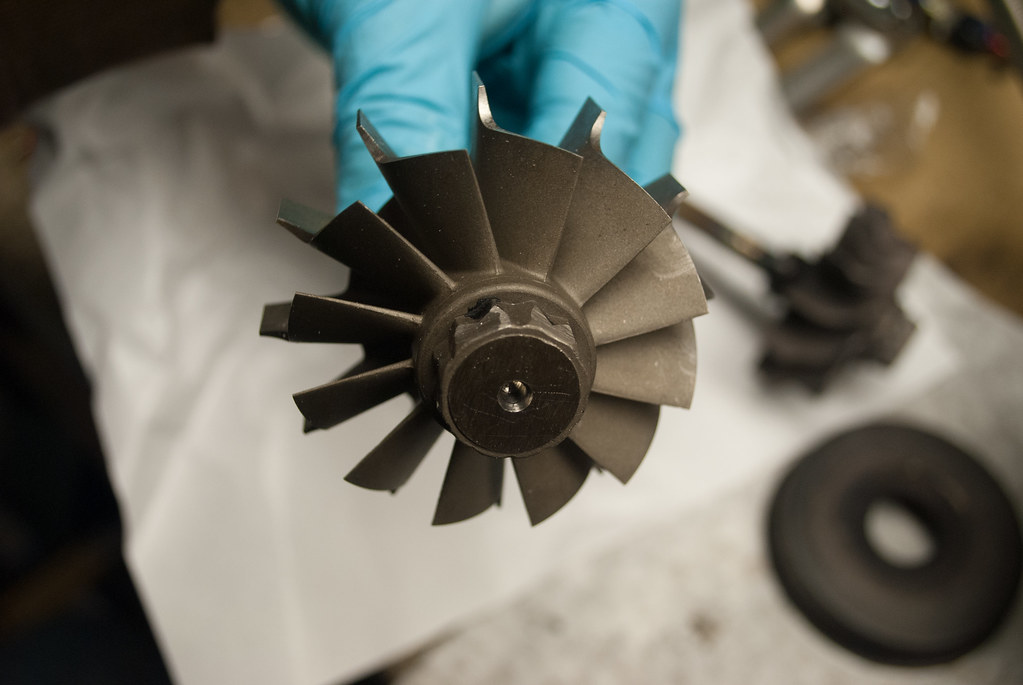
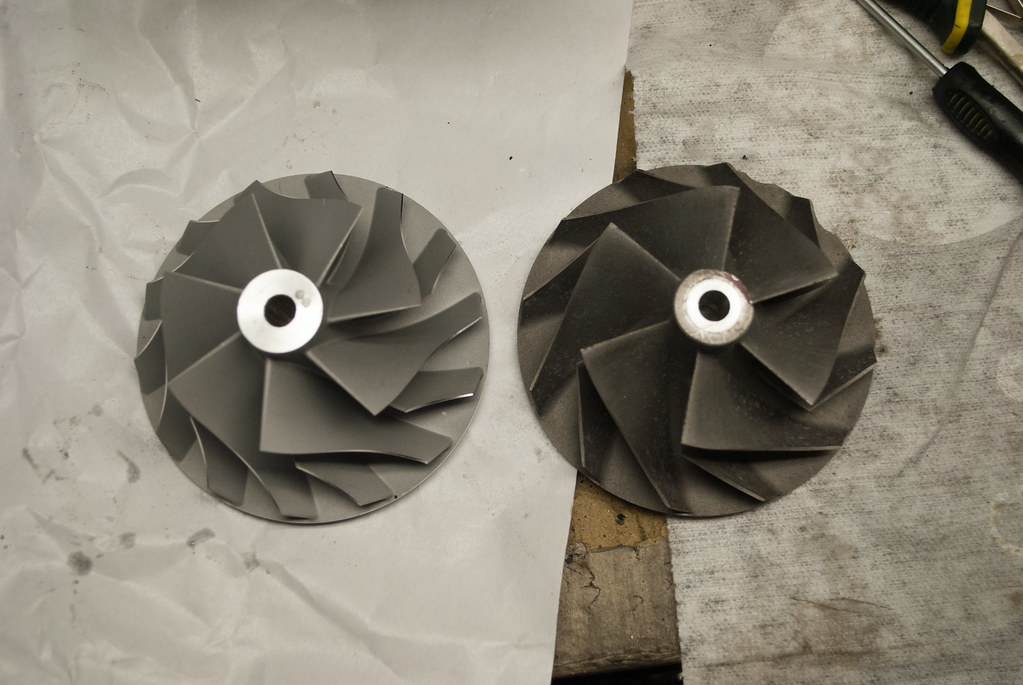

Another pic of the bent fin on the old compressor wheel:

Starting to come together. Thrust bearing:
CHRA together...
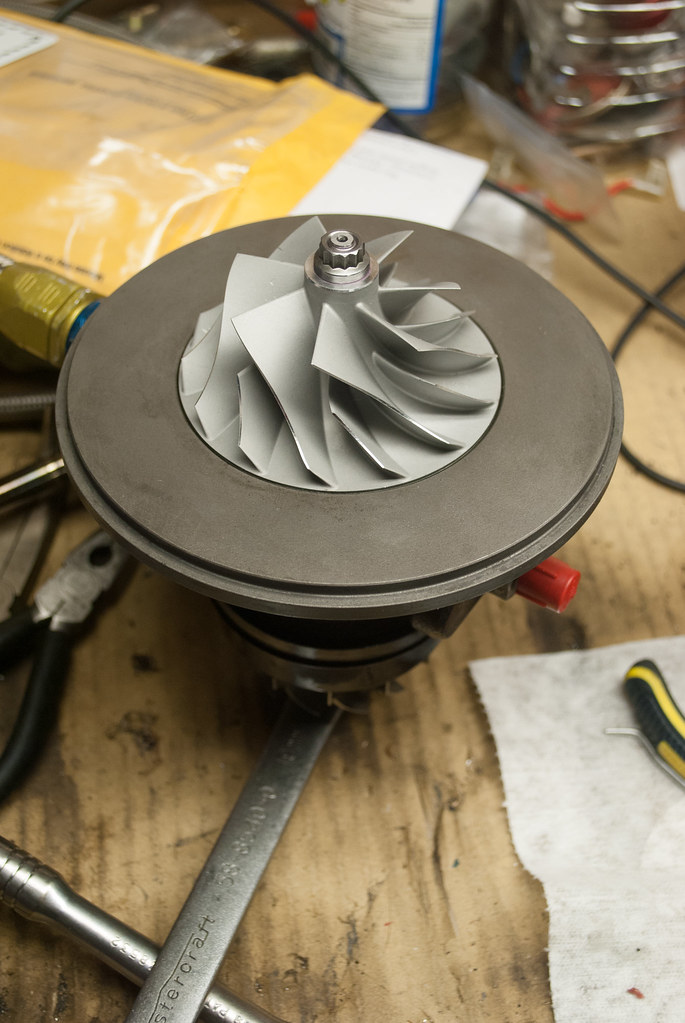
Now I should mention that once I had it all together, I realized it wouldn't rotate. I took it back apart 4-5 times to remove more carbon buildup/rust off the oil/heat shield under the turbine wheel and swapped out some internal splash plate I bent for the old one, and it spins pretty nicely now.
All done:

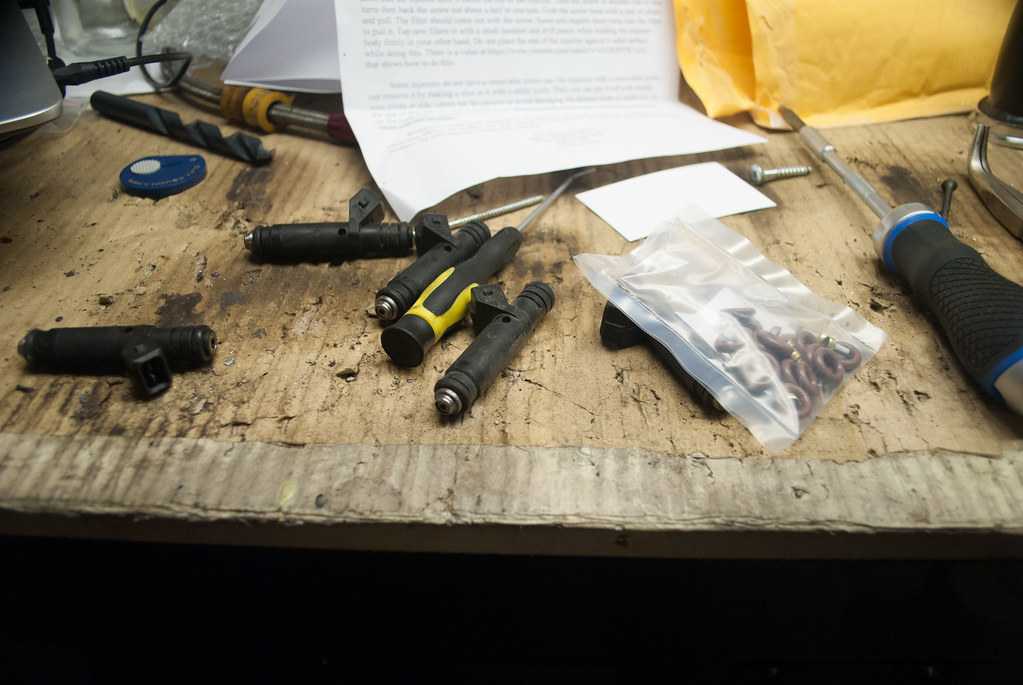
New Orings and filters for the injectors. I bought a rebuild pack for 8, figuring I'd screw at least one up, but they send one extra anyway so I guess it was a bit of a waste.
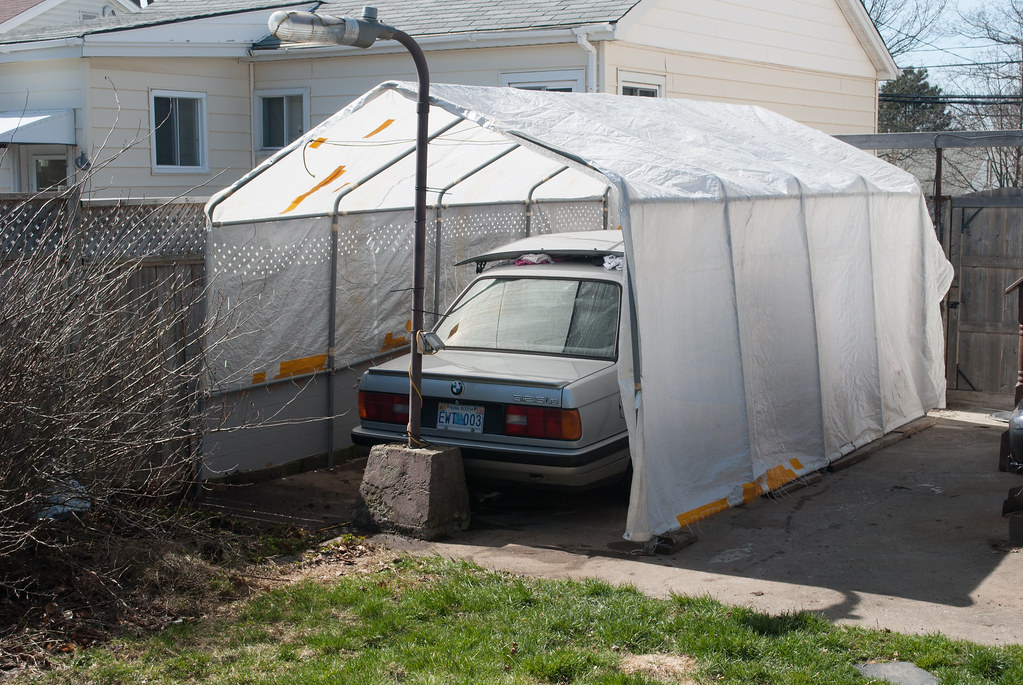
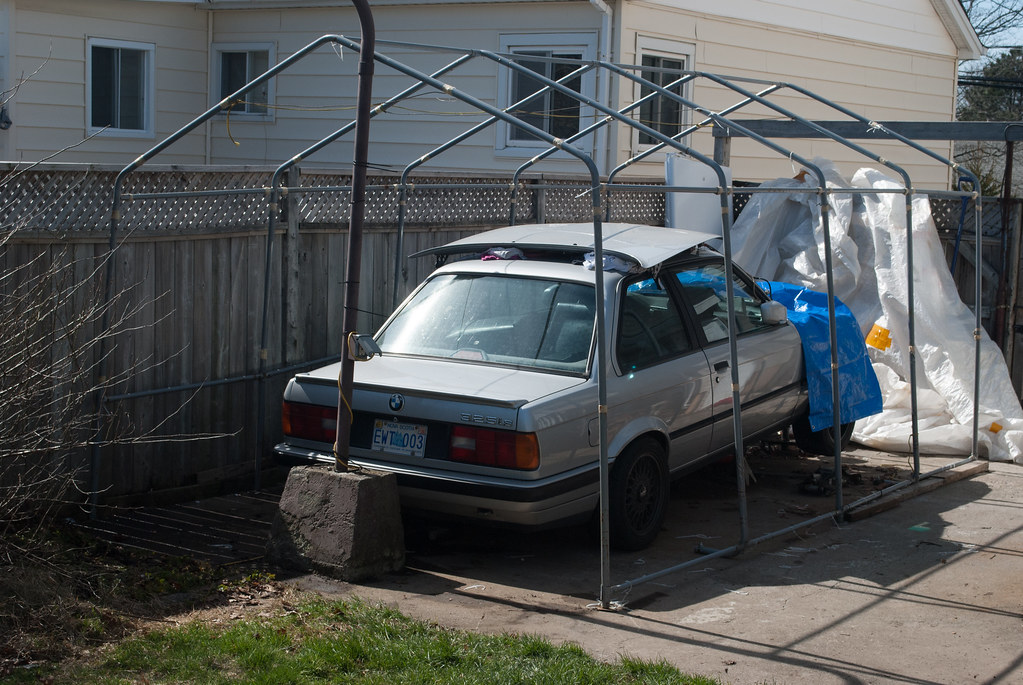
Last but not least, no more hideous car tent:
This brings us up to sometime mid-April. Haven't done a whole lot since then, more work on the upstairs bathroom and cleaning up the back yard than anything car related.Leave a comment:
-
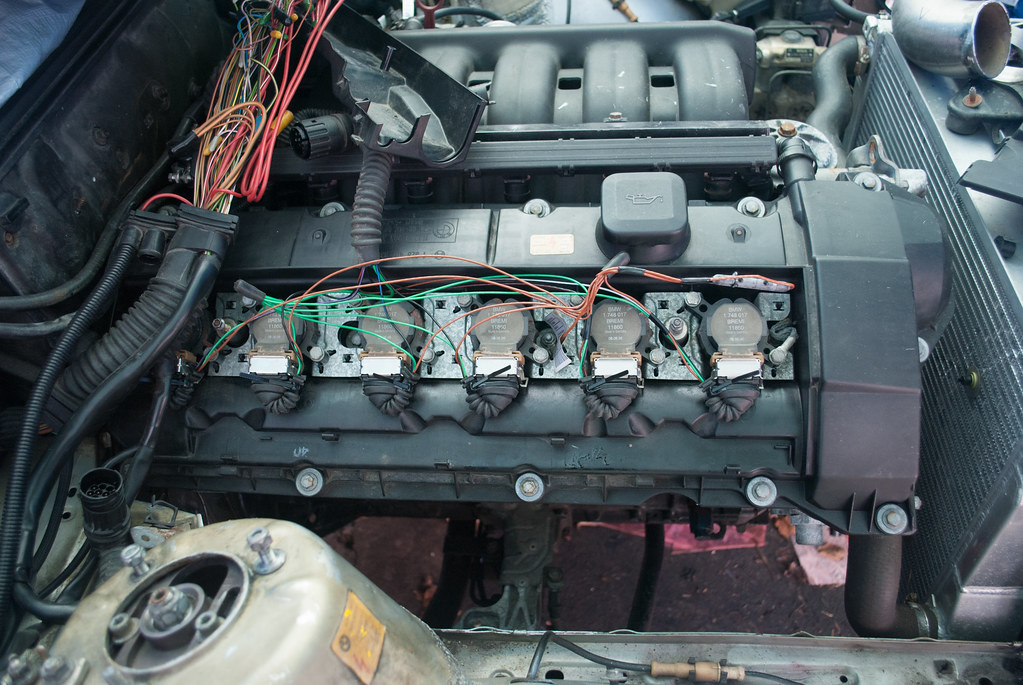
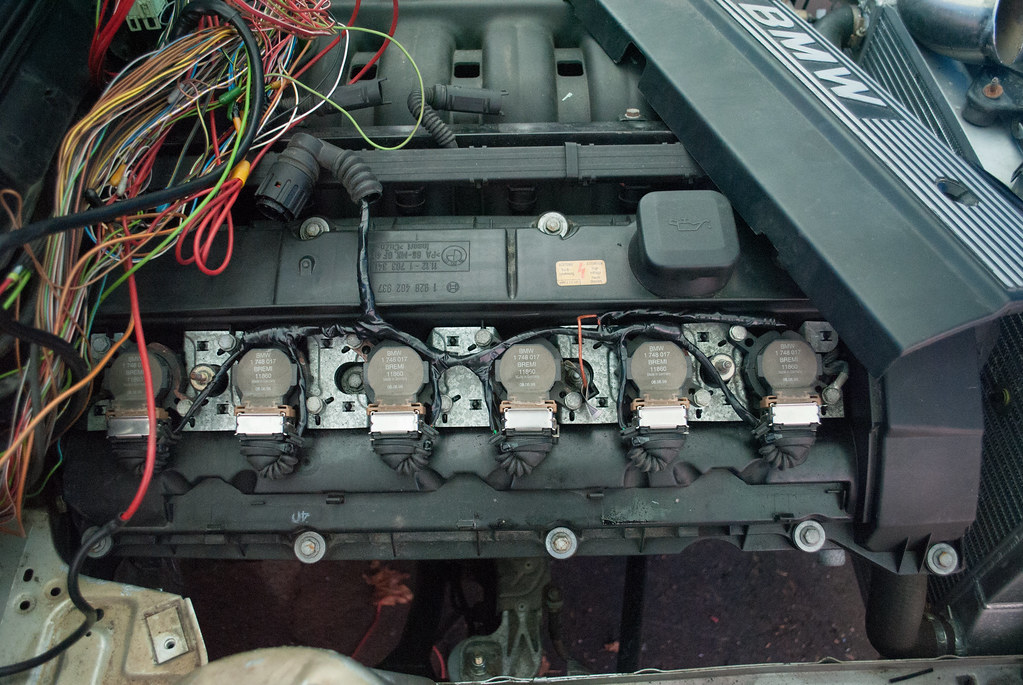
interesting routing of the coil wiring. I've been contemplating the same thing as i have the essentially the same setup as you (manifold, engine etc).Leave a comment:
-
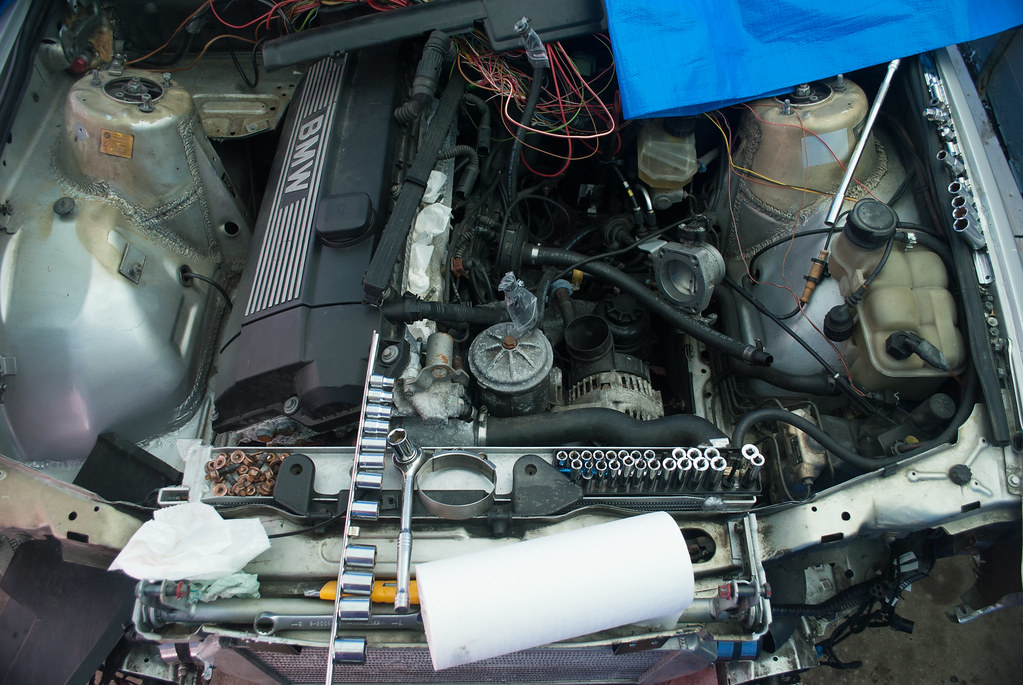
Intake Manifold comes off to move/swap the CCV, plus add turbo oil feed/ pressure sender. - Side note: I was going to remove the oil filter housing and tap the side for an oil temp sender, but I would need to drain the coolant/remove the FMIC+fan+rad to get at the idler pulley bolt, etc. I want an S54 housing eventually anyway, so I'm leaving everything together and running without oil temp (or maybe running it in the pan oil drain, IDK)

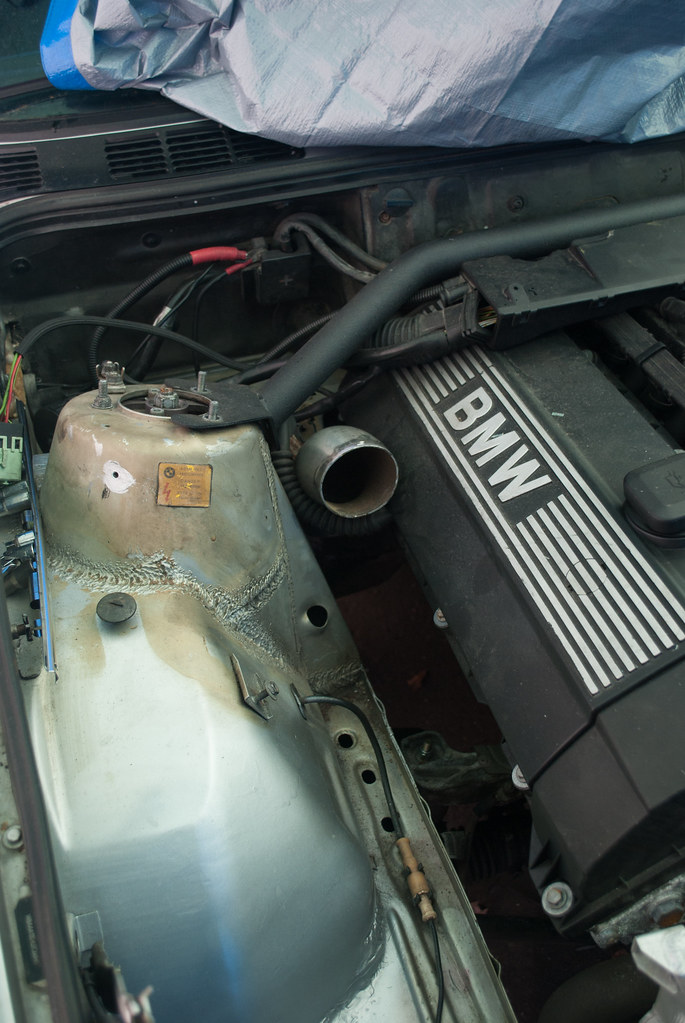
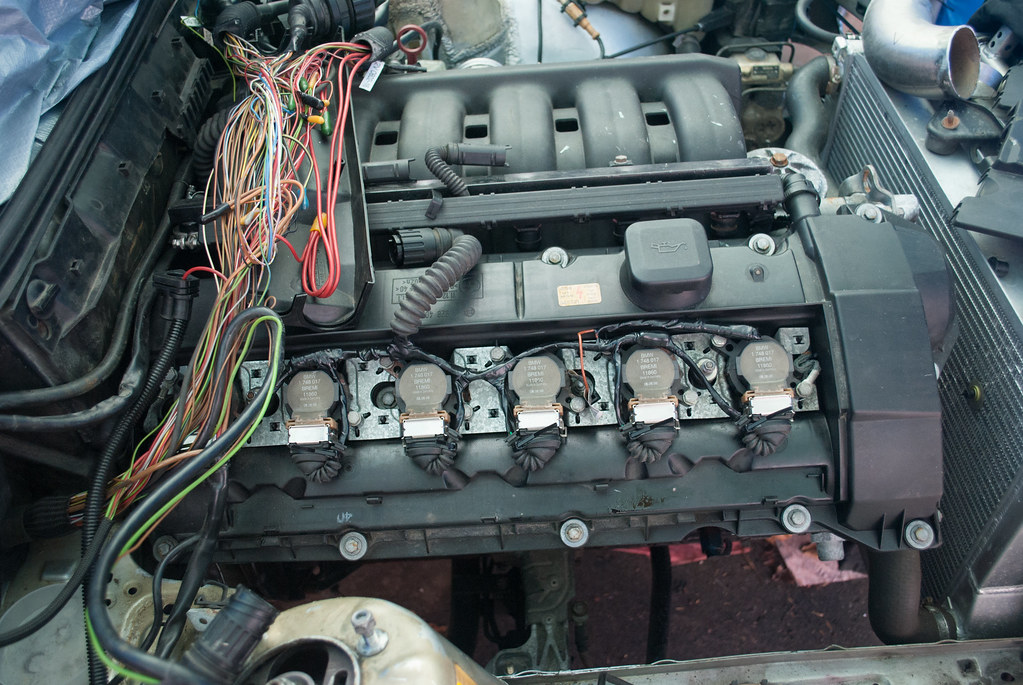
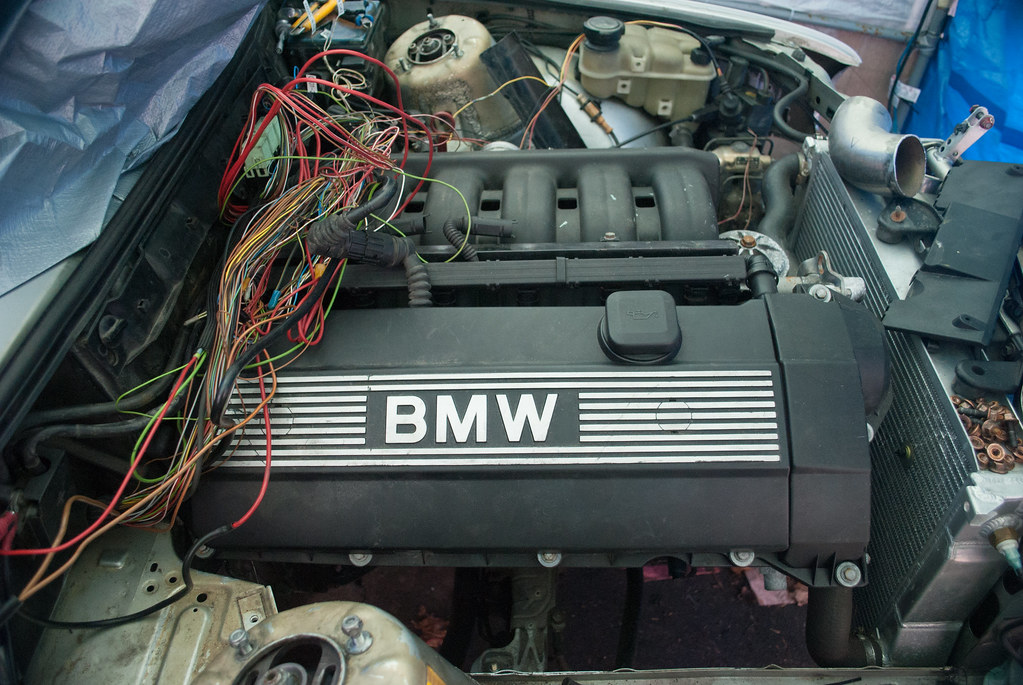
Random engine bay shot:
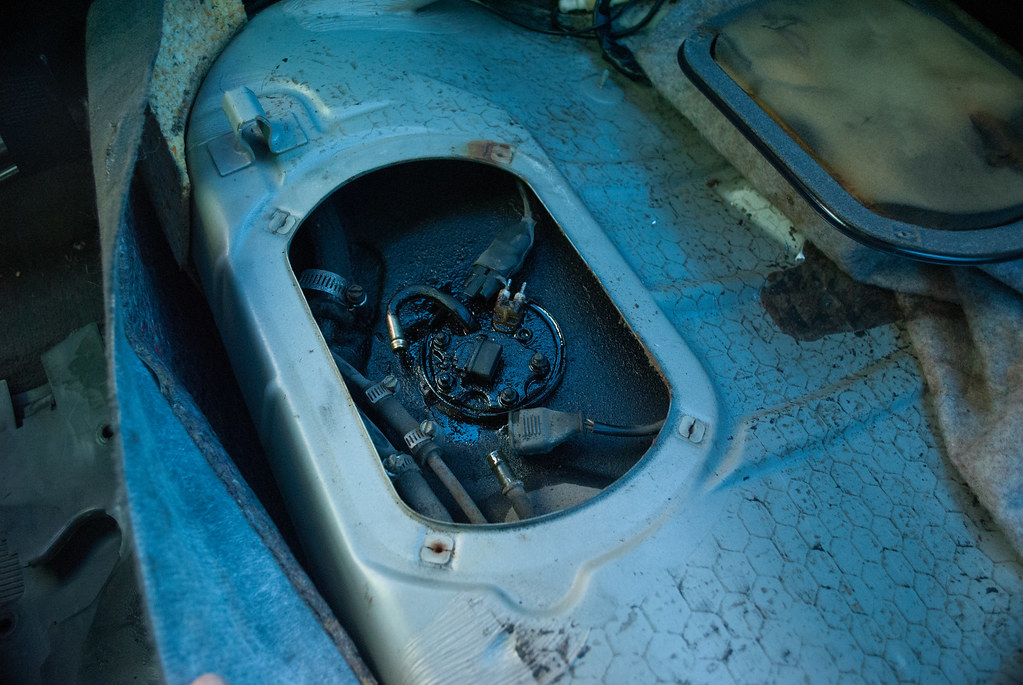
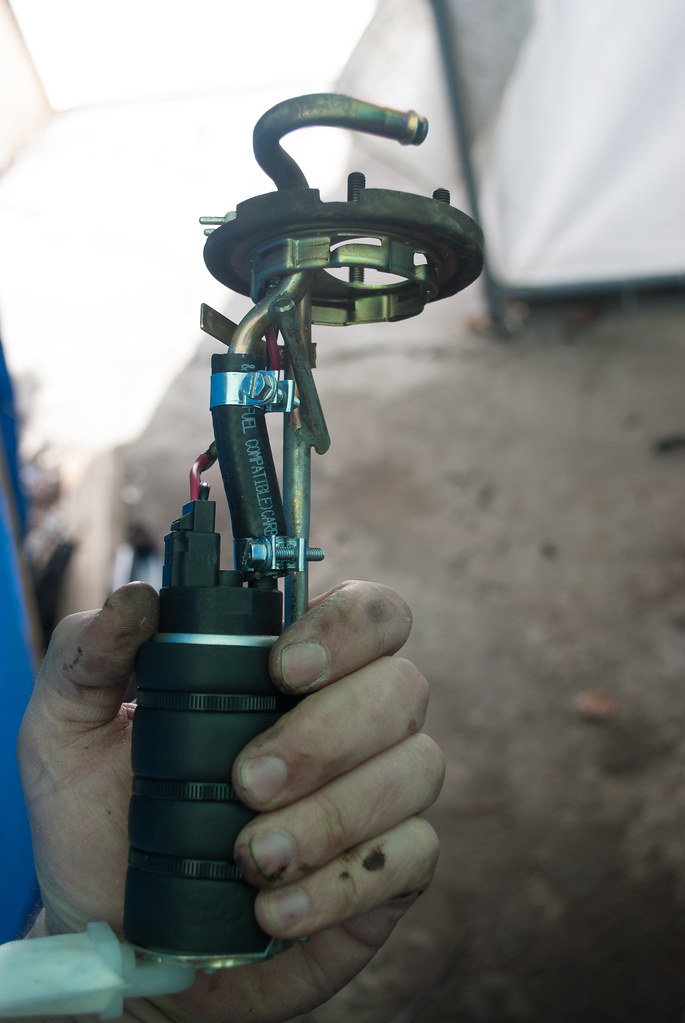
Roy's touring was down from a dead fuel pump (fucking called it :p ), so out mine comes:
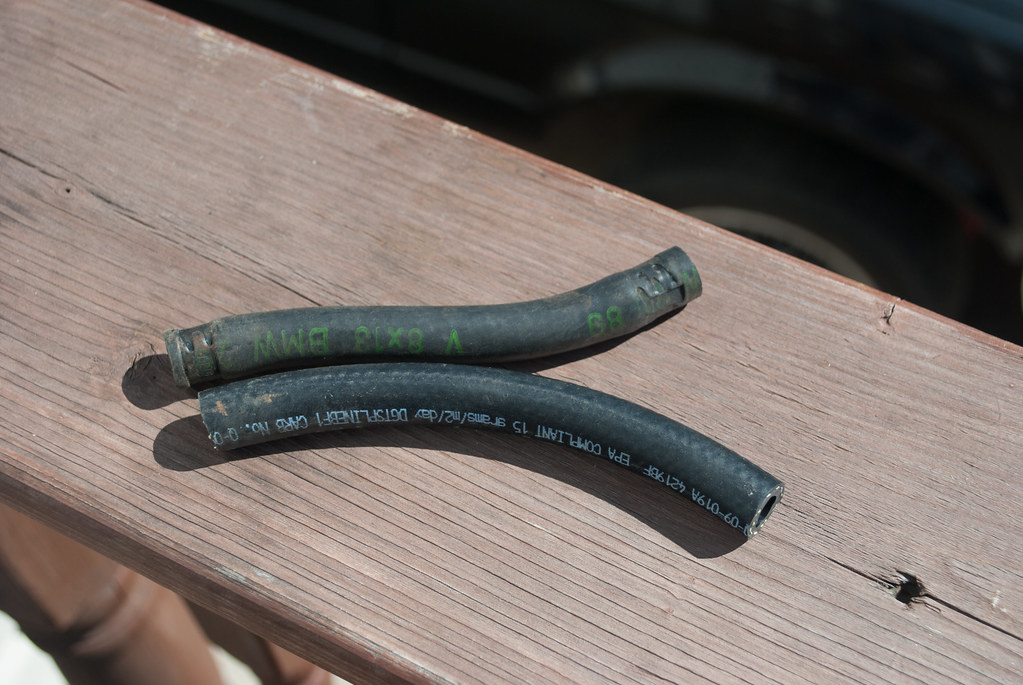
May as well replace this crusty thing while the pump is out:
Where it starts to go wrong... TRE-341 pump in the bracket...

Hose clamps don't fit, so Plan B: Zip ties.
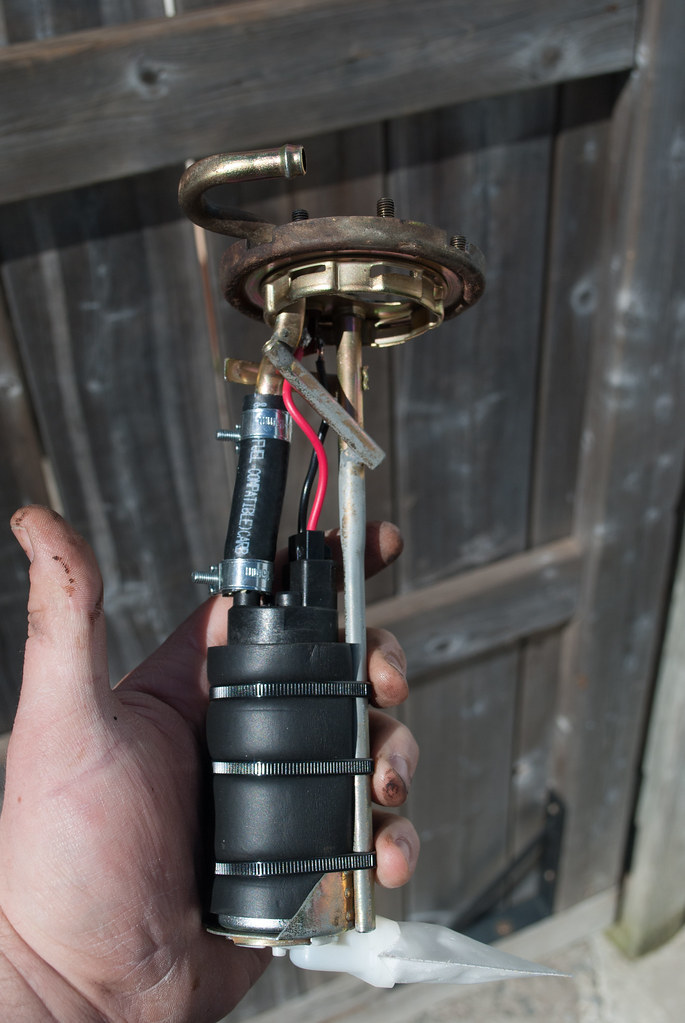
Pump was on the wrong orientation, sock hit the fuel bowl and wouldn't go in the tank all the way... Plan C... Involves adding some more wire and other bullshit now, but it fits.
New Arrivals: PMAS HPX MAF + 3" housing. Supposed to be good for at least 600HP (way more than current goals) and some Ceramic "powder" from Powder365.

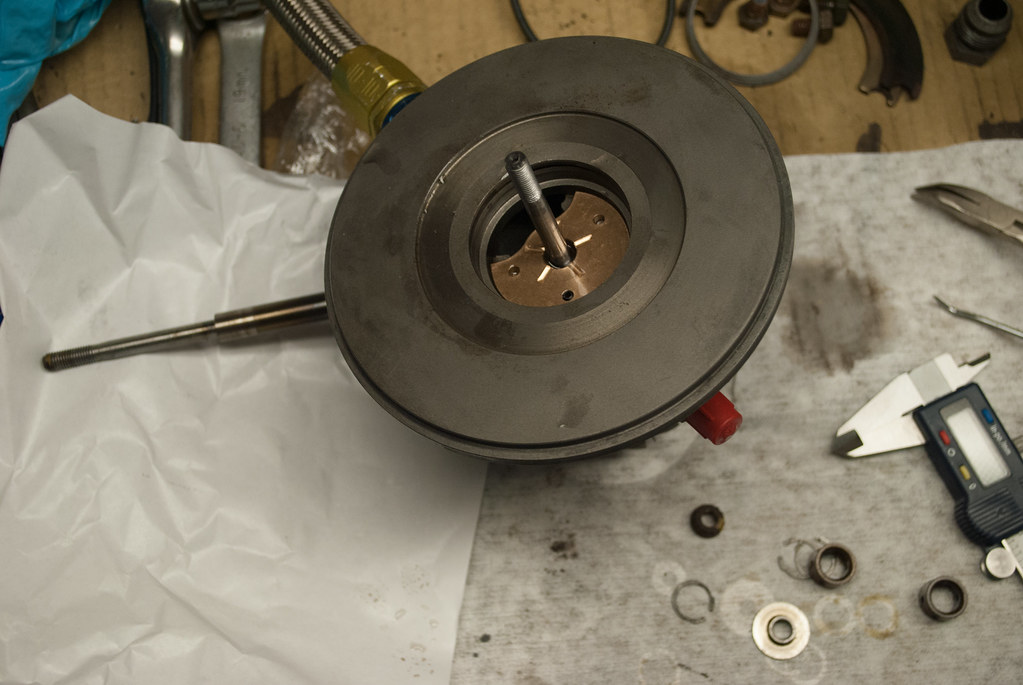
Last minute before heading to a friend's place to blast my manifold, I decide to blast the turbine housing as well... Removing that reveals this:
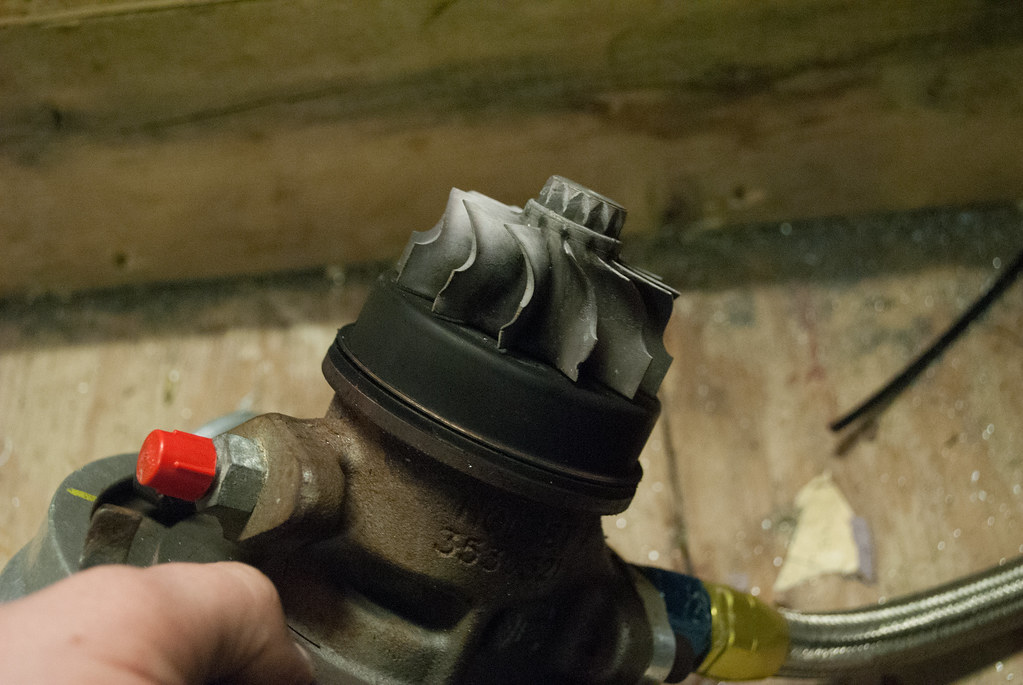
It looks like someone failed at removing the housing, had it on an angle, and tried to beat it the rest of the way off. Fuck.
The compressor wheel was never the prettiest thing anyway, there's a tiny bend in one of the fins, and it's pretty sandblasted.

I thought this was a huge wrench in my plans. I considered buying another HX35, or buying some ebay GT35, or selling off a bunch of other shit and splurging for a PT6062. In the end, I ended up buying a new compressor wheel, turbine/shaft, and a rebuild kit to rebuild this HX35. All of that together came to ~$200, which was surprisingly cheap. HX35's are component balanced, so it shouldn't need to go out for balancing afterward.Last edited by Northern; 05-08-2016, 06:36 AM.Leave a comment:
-
Long time, no update.
Going heavier on the pictures, light on the words. Starting sometime in March:
Looking at downpipe clearance...
Coil wiring probably not going to last long like that.
Front. Rusty washer res bracket and rusty seam at front base of tower dealt with and painted. Rotated the horns a bit to clear the wheelwells more, cleaned a few things up.

Start pulling coil harness apart... This doesn't look great, but apparently they all look like this.

Can it be re-routed?
Looks like it can
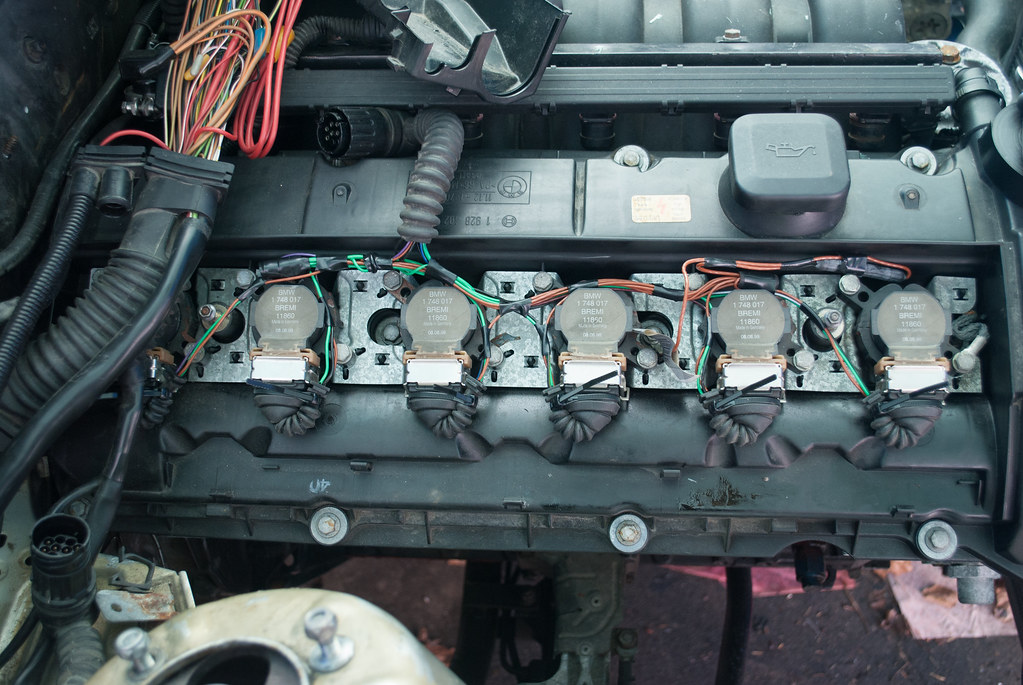
Everything is tight, wrapping to hopefully prevent chafe
Have to move the harness side of the connector as well...

Notching the lip in the valve cover to reroute the coil harness
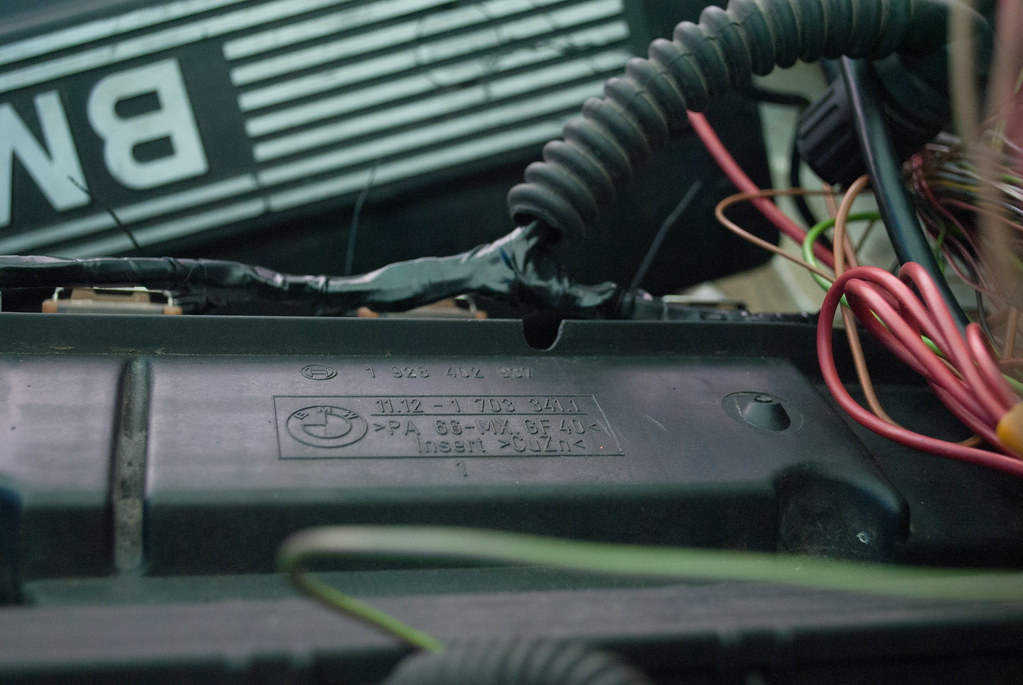
Laying in the notch
Notching beauty cover as well
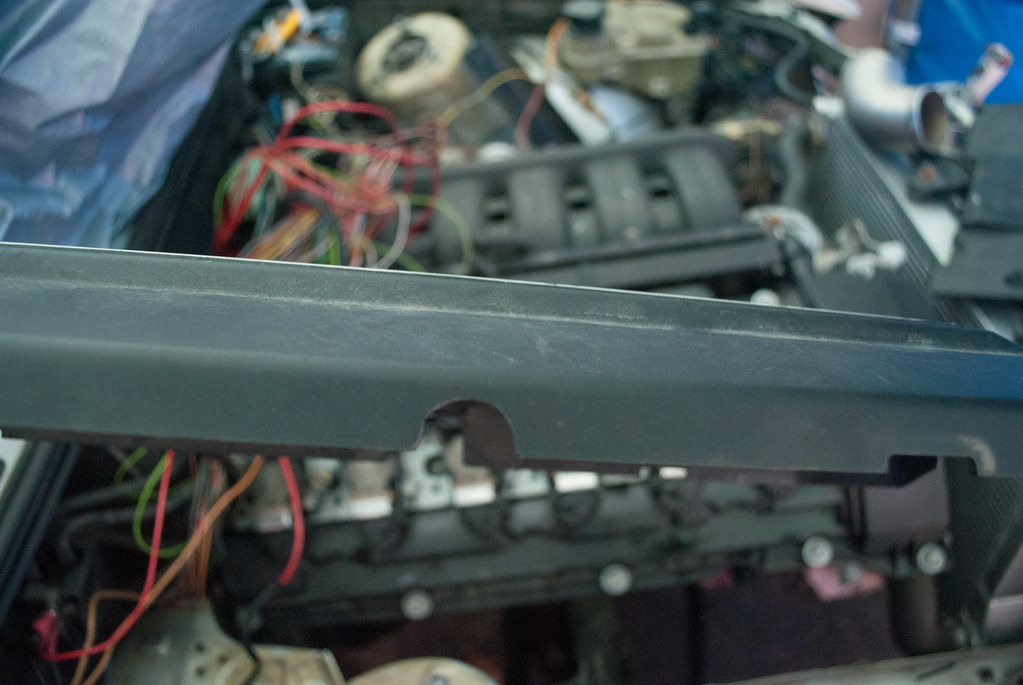
Done:
Leave a comment:
-
-
Oh and here's some random IG pics of FMIC brackets:


And you can see the slim spal pusher in there.Leave a comment:
-
And for laughs, this is what happens when you buy the cheapest of the cheap brake rotors/pads for your daily (ULTRA 8 parts on a Mazda 3)
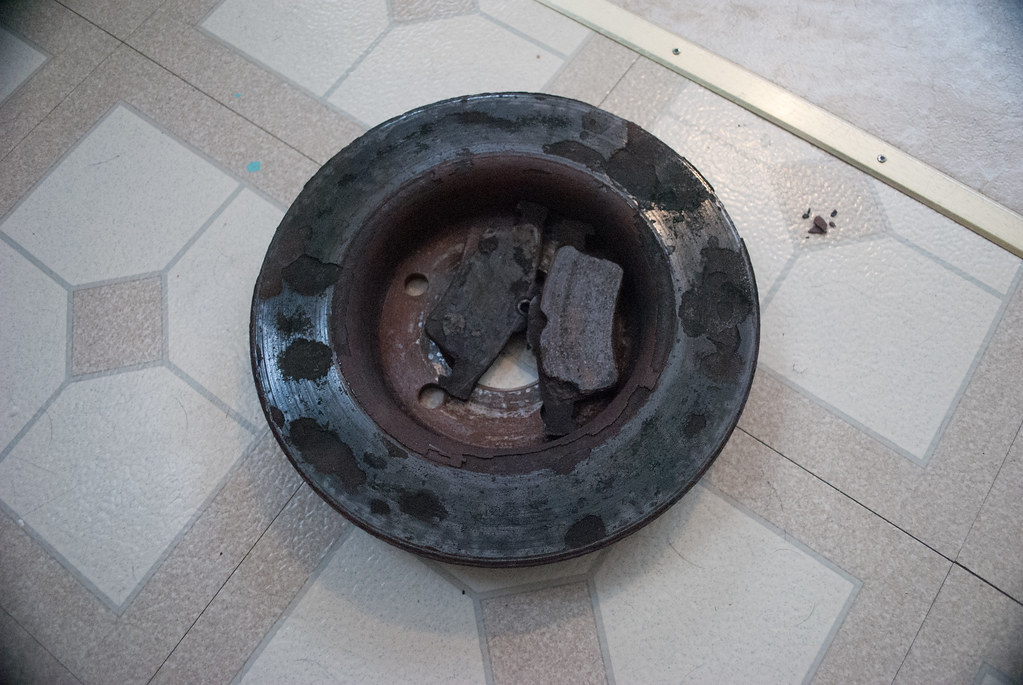
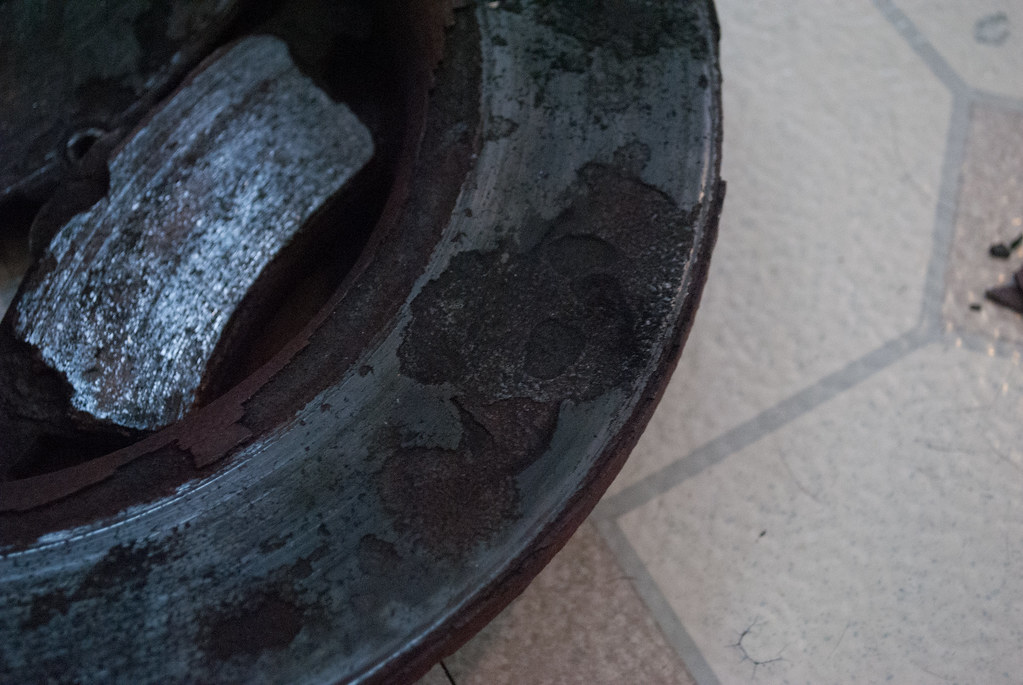

Yeah.Leave a comment:
-
So now I'm thinking about ceramic coating my manifold myself. Doesn't seem too hard...
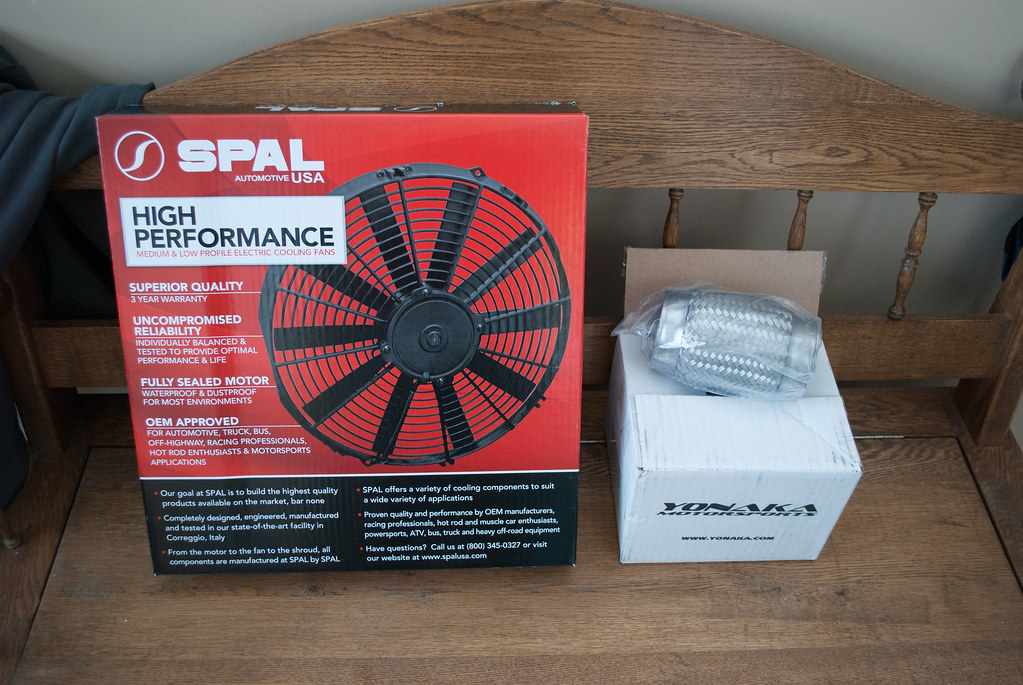
Some parts showed up:
2" thick 16" Spal pusher, flex pipe, and some silicone couplers:
Impulse purchase, a slightly larger lincoln mig. Sold my Mig Pak 10 to offset some of the cost.
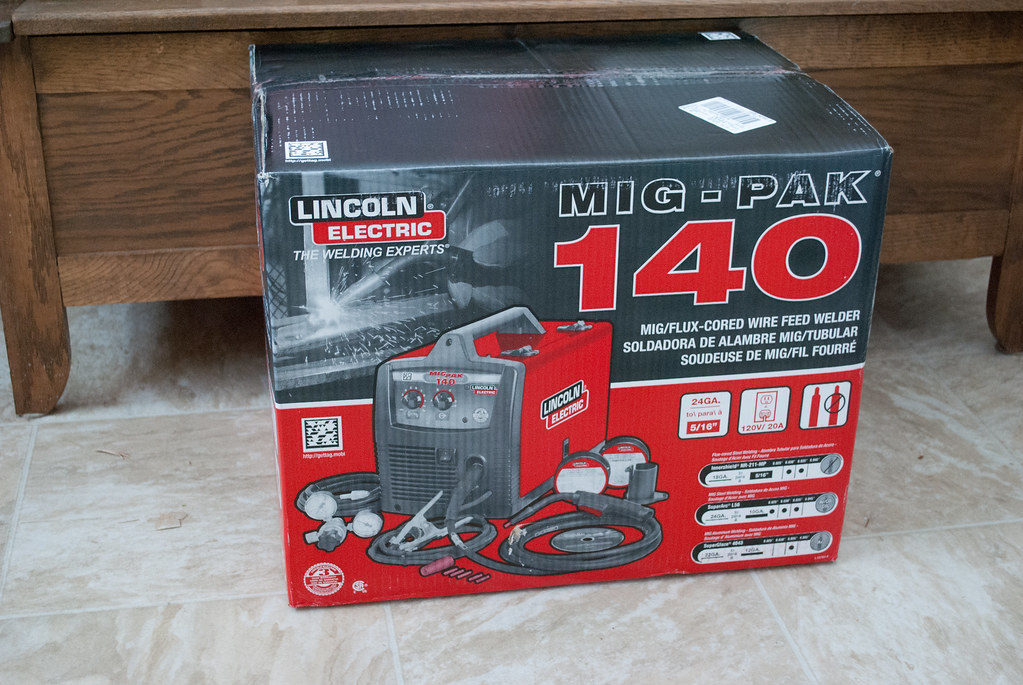
Still haven't used it. Probably running a new 20A 120V circuit tonight for this, since I have some room on my panel - and the workshop currently only has a single 15A circuit with a million things on it, plus some sub panel that's 80A 240V intended for god knows what.
I actually worked on the car a little... Washer fluid res bracket was rotten, and there were a few rust spots from where it had been rubbing. It got cut off, primed and painted. Didn't even bother to try to smooth it out, but even so it came out nice enough.
While I was doing this, I was sanding down bits of the front valence. Lots of rust at the fender/bumper mount, and the lower fender liner screw tab. Not going to run those anymore (interference issues) so I just ground the rotten brackets off.
Then I started to clearance the valence for the FMIC/piping:
upper brackets notched
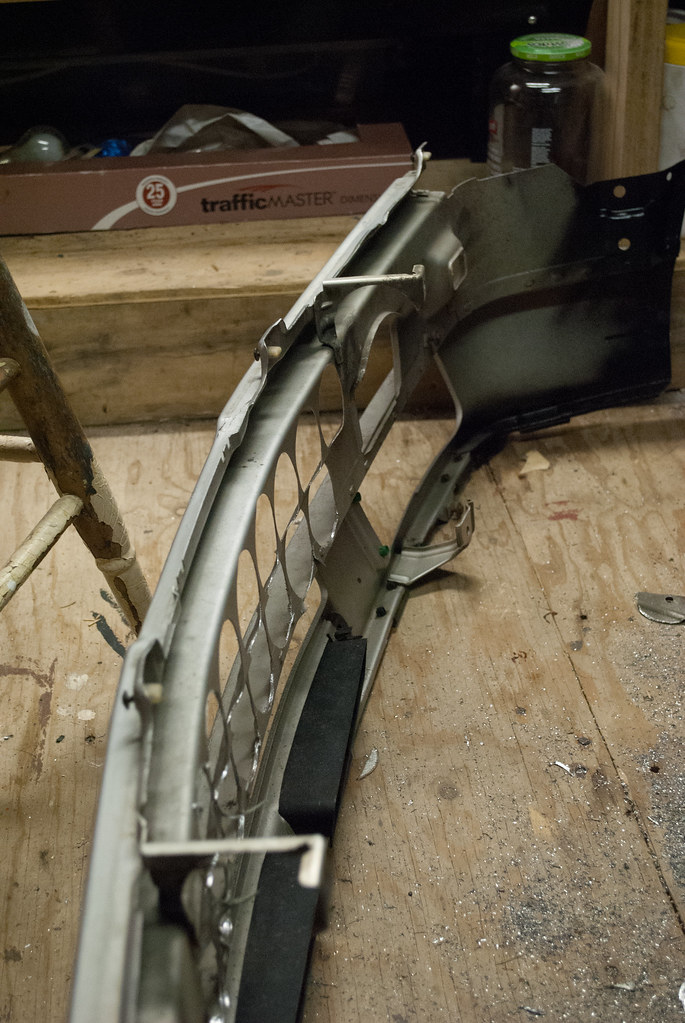
Didn't clear end tanks... and the sharpie is where it still doesn't clear...
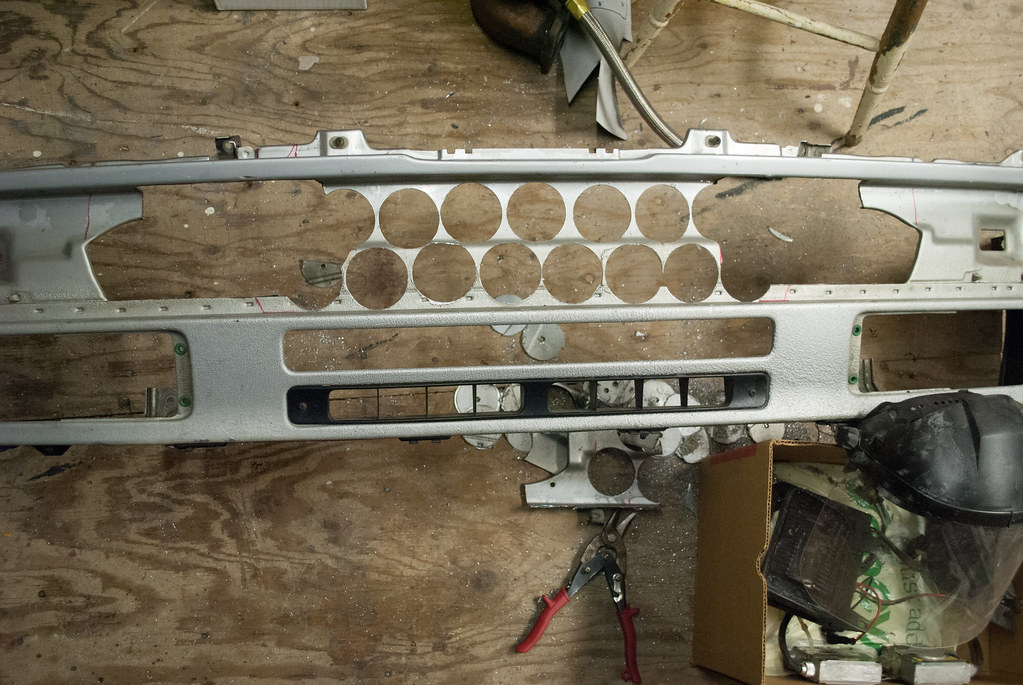
but wait, there's more:
RIP upper valence brackets. Should've cut them off in the first place, they didn't fit around the end tanks at all. It's actually still surprisingly sturdy. I don't really notice a difference even with all that cut off it.
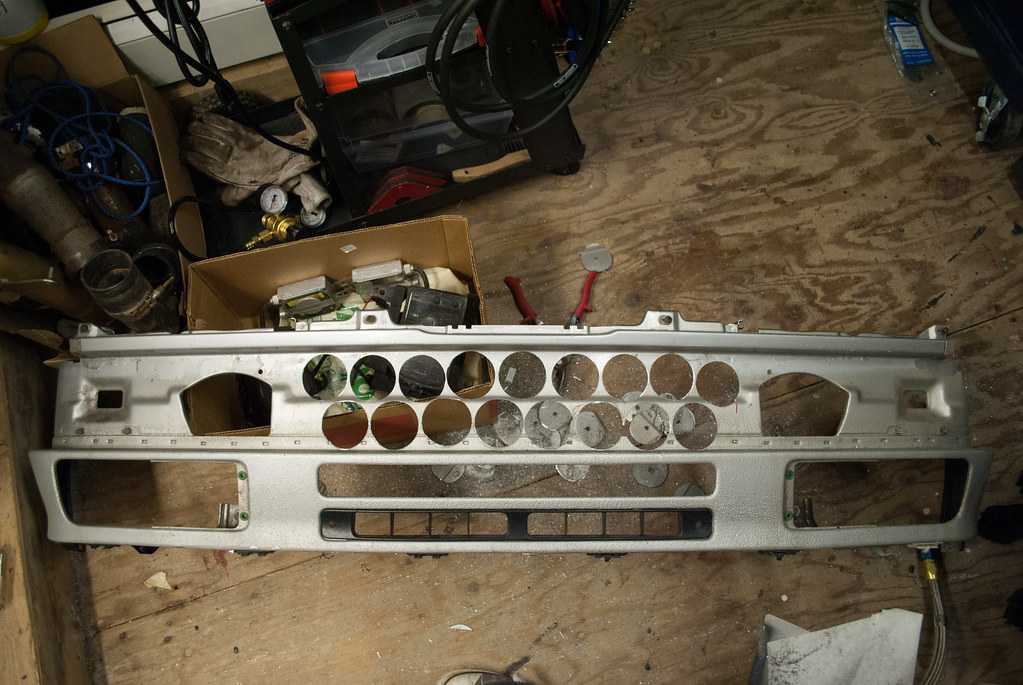
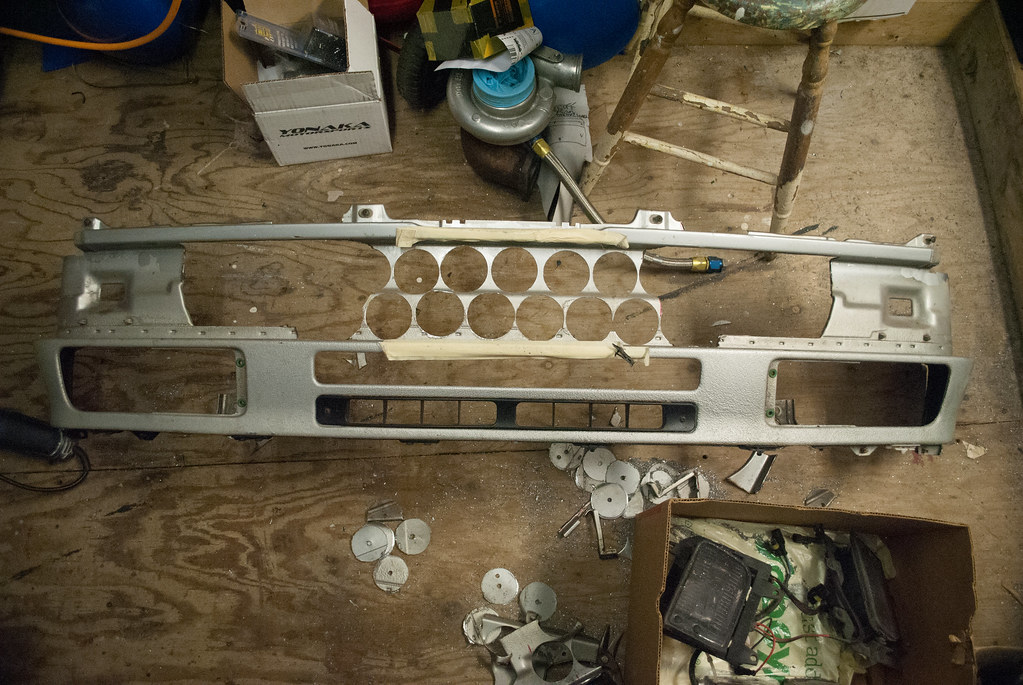
No point in all those fancy holes if air can't get to it:
Hoping that gets some air to the FMIC, but is still invisible from outside the car.Leave a comment:


Leave a comment: