
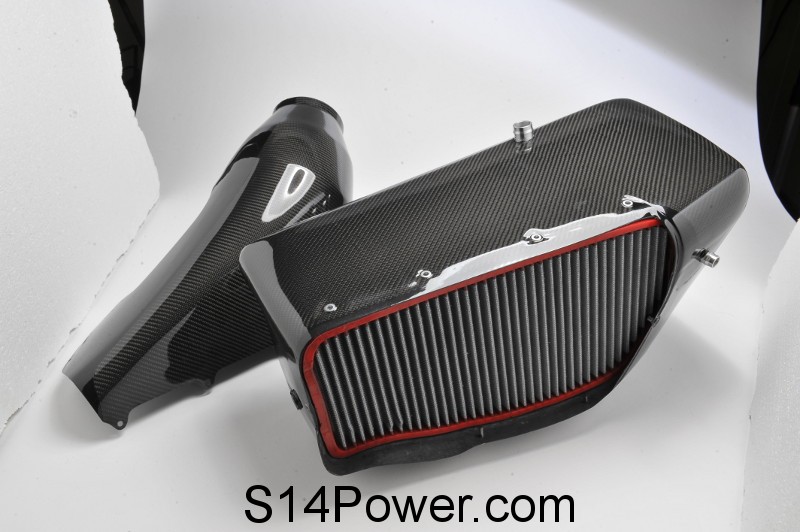
I'm actually building an aluminum plenum, I have all the dimensions and drawings finished up just need to find a decent aluminum welder:)
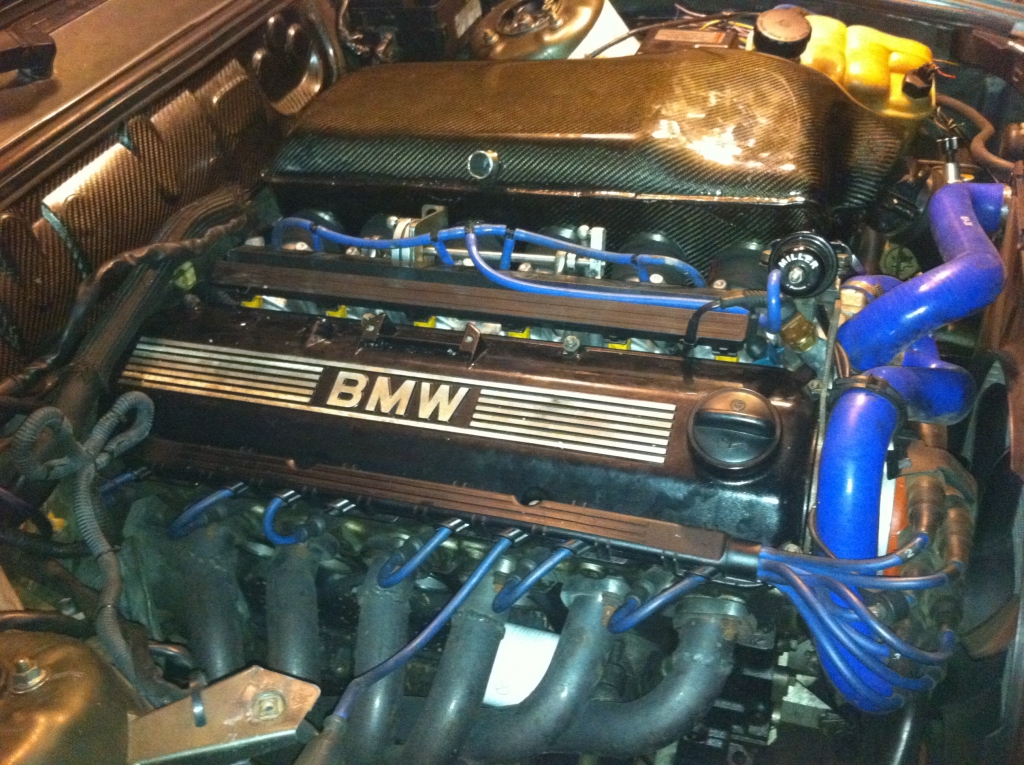
its just this with 2 more cylinders, simplicity

its just this with 2 more cylinders, simplicity


-500x500.JPG)


Comment