
-
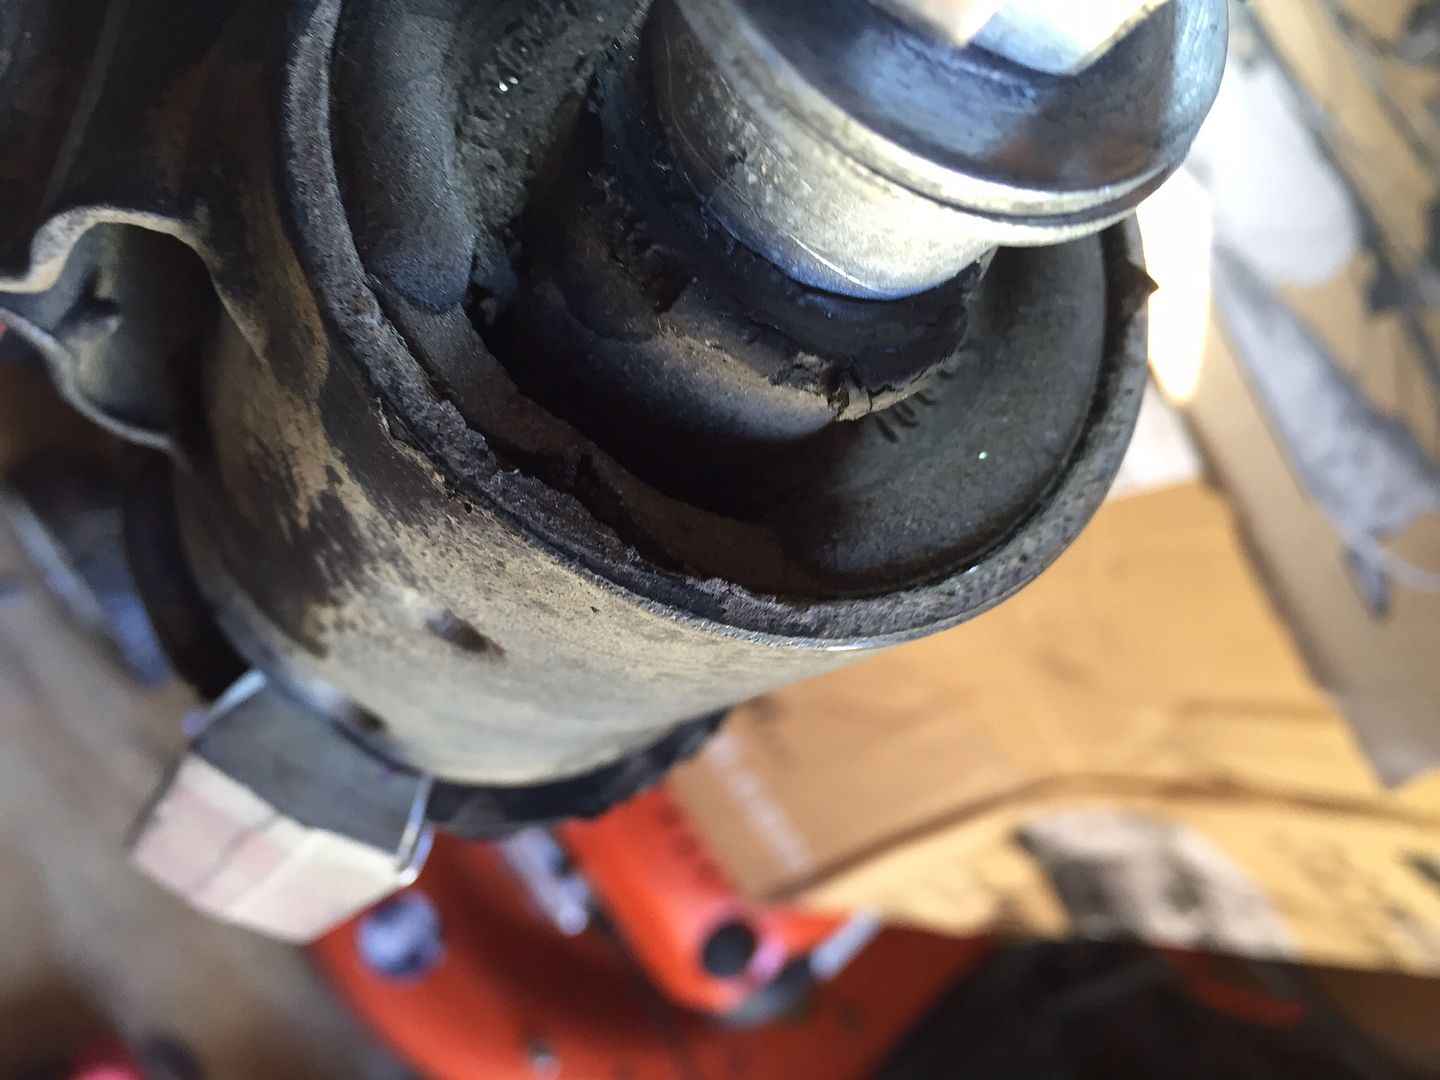
This will show why you want to use heat rather than brute force. The old subframe bushing has begun to separate and you just don't know how much they will handle.
-
Once it gets to that point it's about 30 seconds with the impact wrench and it's out. Way better than burning the rubber and taking a sawzall to the outer sleeve.mnote the cable lube in the bottom pic. Remember to double nut where you turn from.

Leave a comment:
-
Today I started cleaning and reassembling things. First thing was to install the TA bushings. I've said this before but it's worth repeating...the best lube for any job involving rubber is Cable Pulling Lube. You can get it at HD or Lowes and. Quart will last you a lifetime. What's particularly nice about it is that it is water soluble and dries fairly quickly with no residue. You do not want to use any oil based products on rubber and while something like dielectric grease works well it does not dry so your parts stay lubricated. This is a major Nono, especially with CA bushings which need to "set" to be effective.
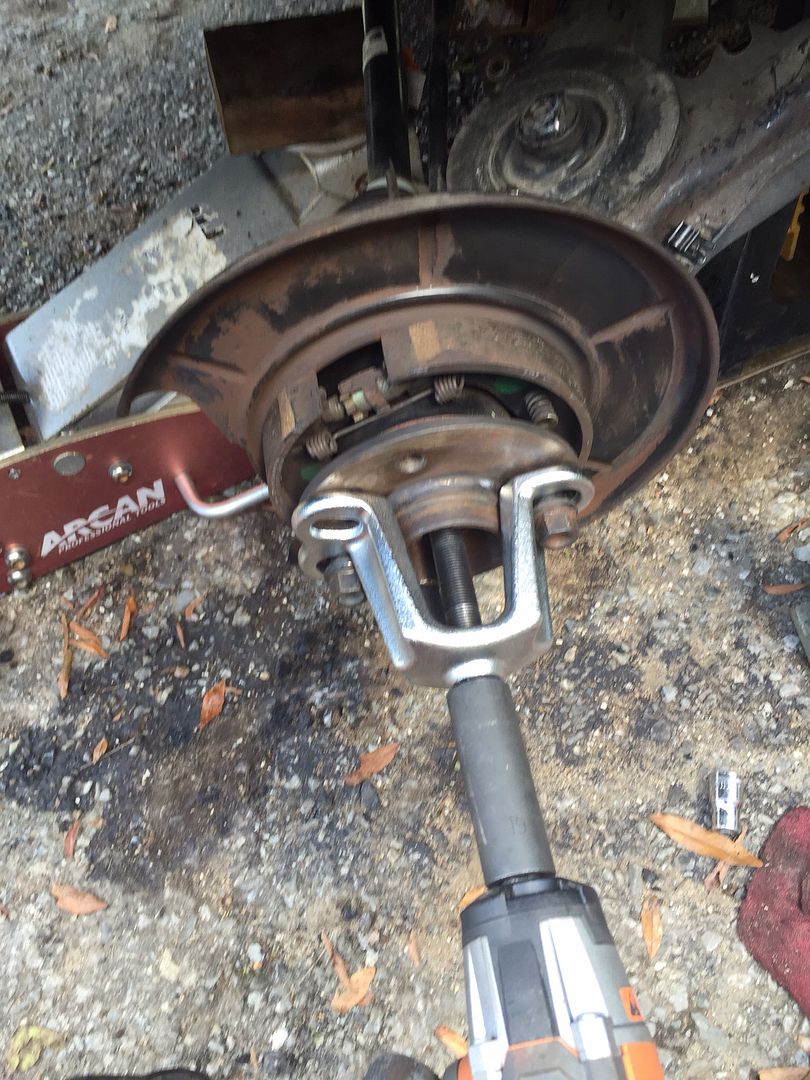
i also finally made my subframe bushing puller out of a $10 HF hub puller. This is where I cut it with a Dremel. Note the respray on thenTA.
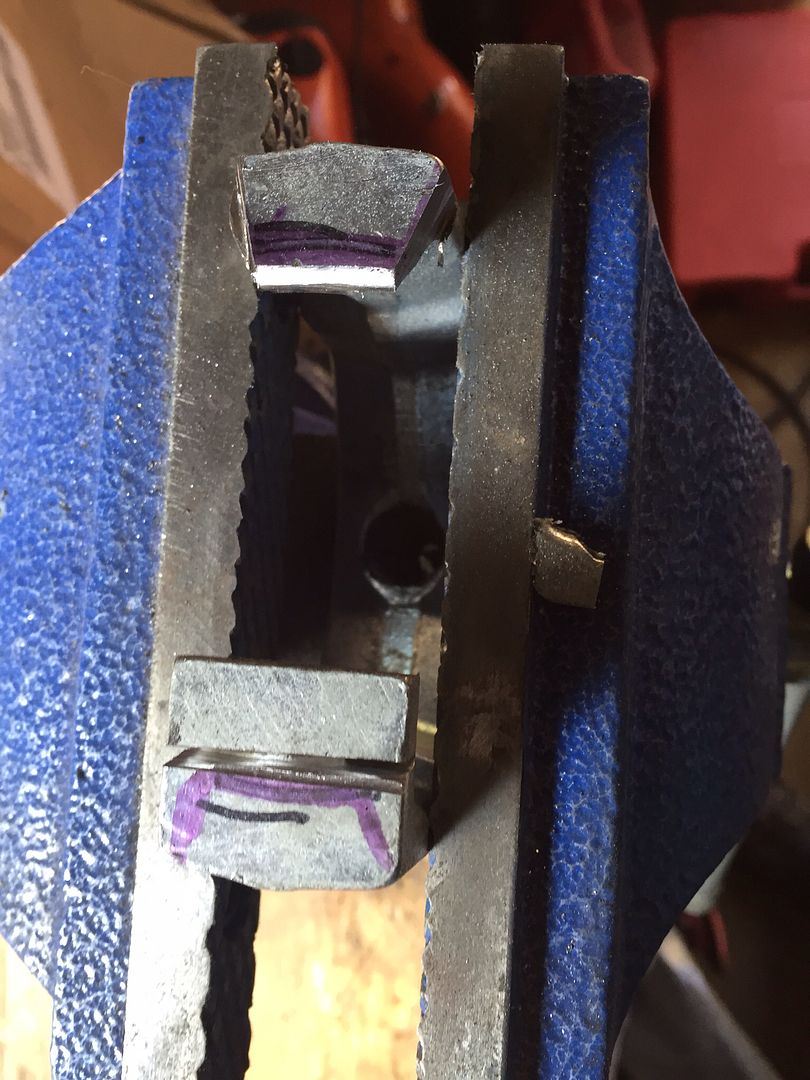
And this is how it sits around the old bushing. Note that in this pic I have tightened the puller enough to tension the old bushing but not enough to tear it out which makes getting the outer sleeve a huge PITA
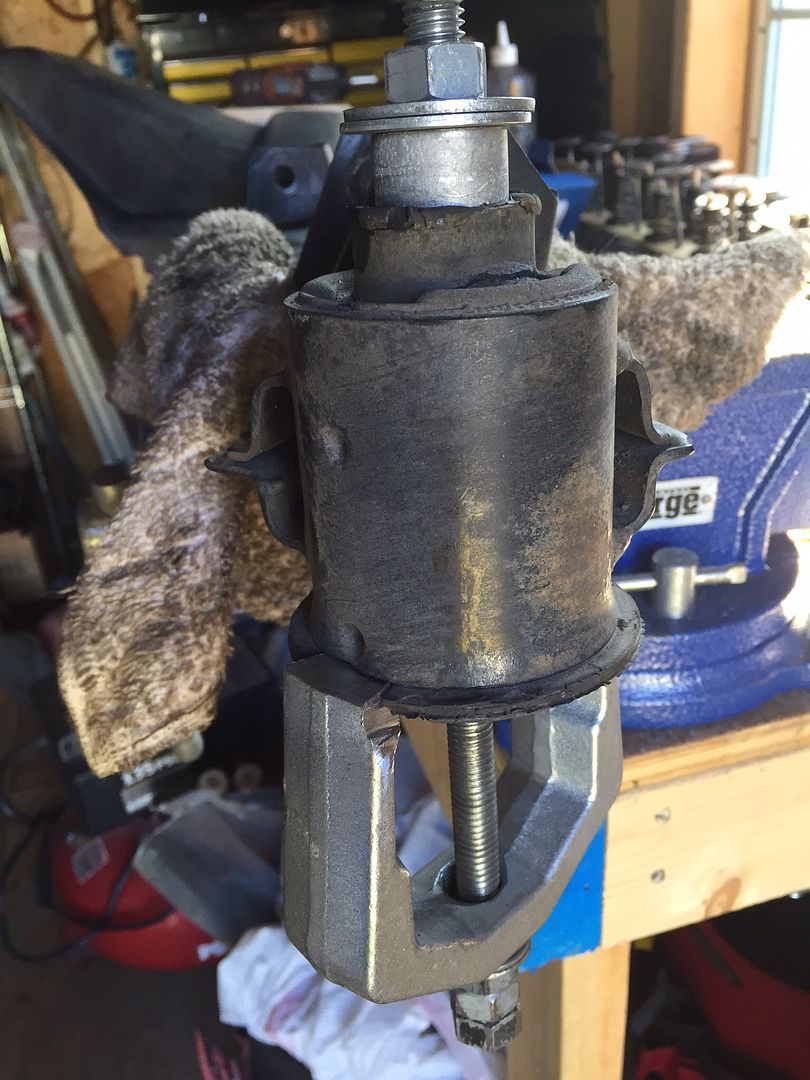
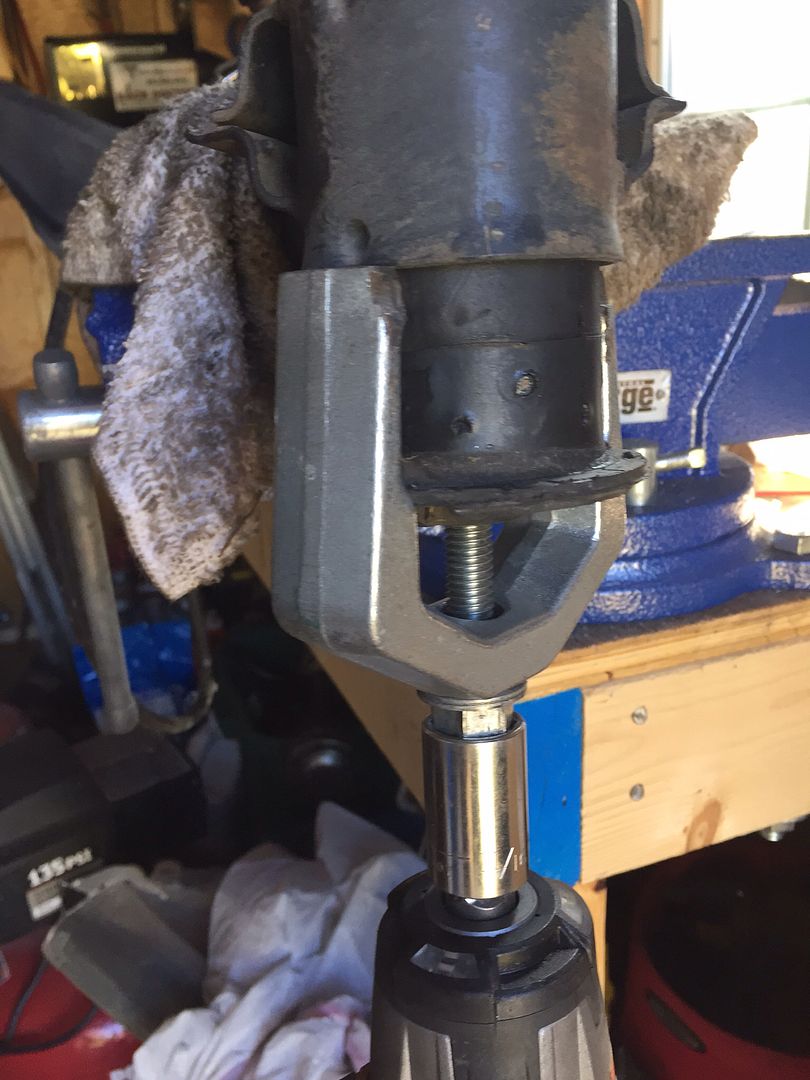
At this point I take the map torch and start to heat the outer subframe. It only takes a few minutes and you can tell when it's done because the preloaded bearing starts to move on its own. Between the next pic and the one above I did not tighten the puller at all. It's just the heat that made the bushing drop 1/8"
 Last edited by jeffnhiscars; 10-11-2015, 02:12 PM.
Leave a comment:
-
....and yes those are NIB mud flaps in the black bucket on the floor... And no they aren't FS :)Leave a comment:
-
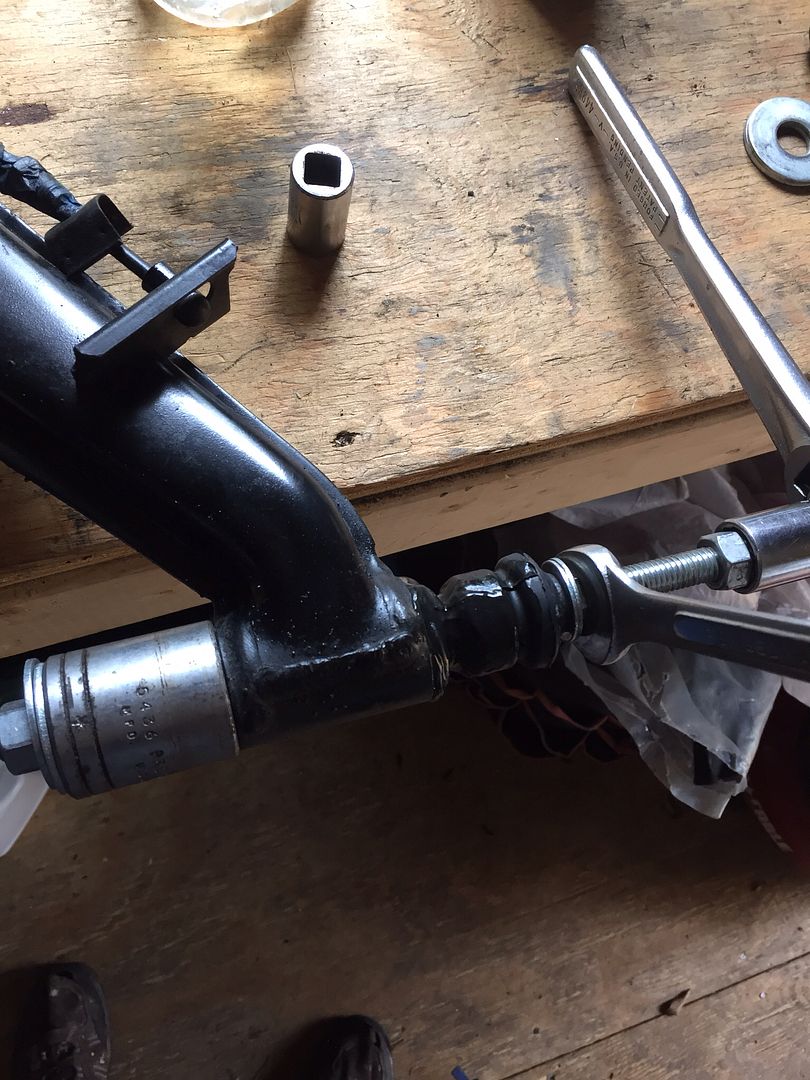
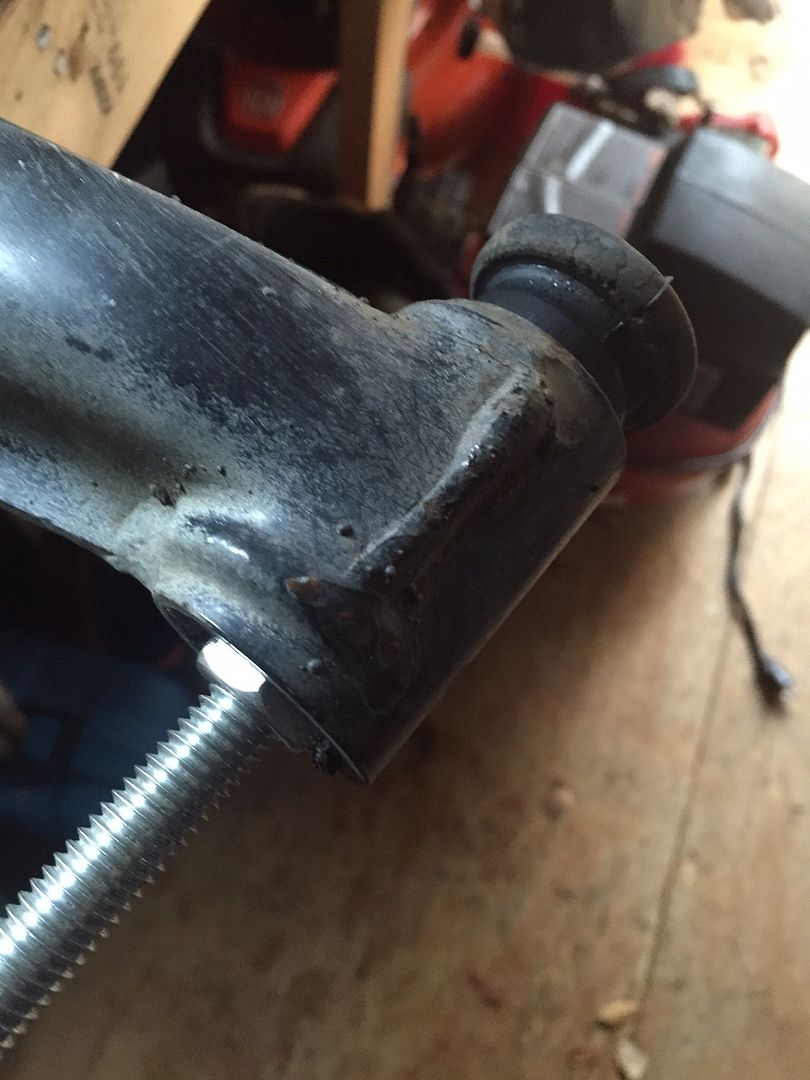
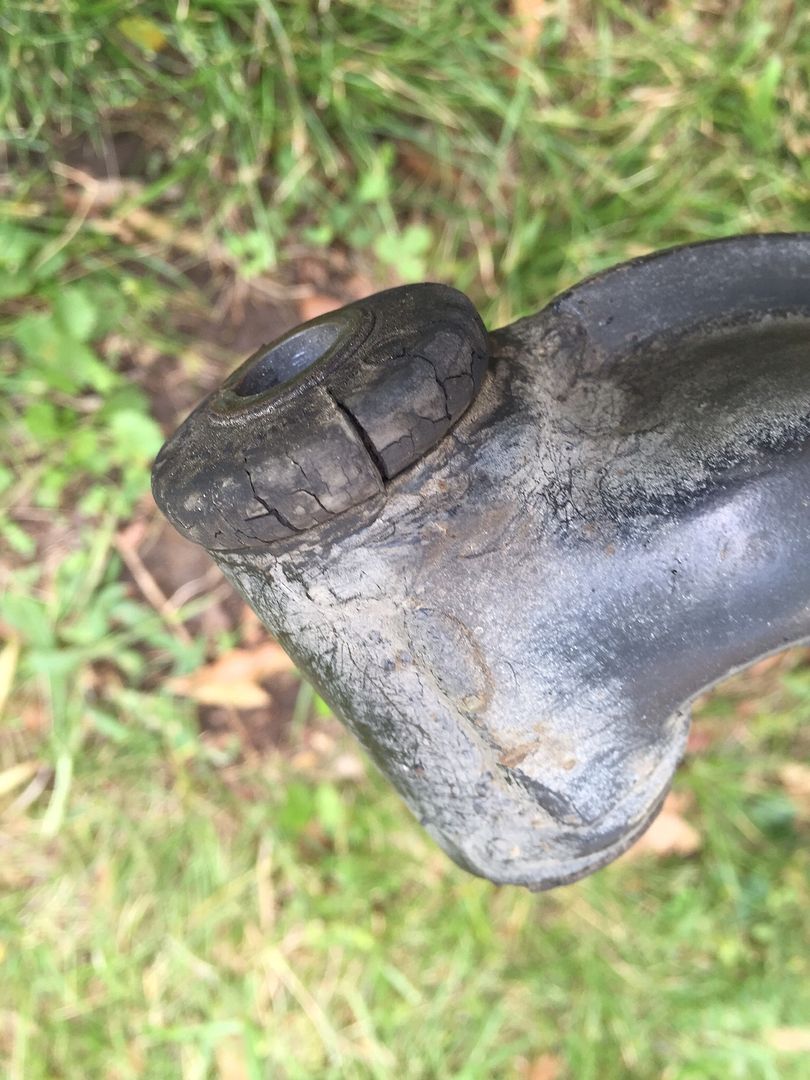
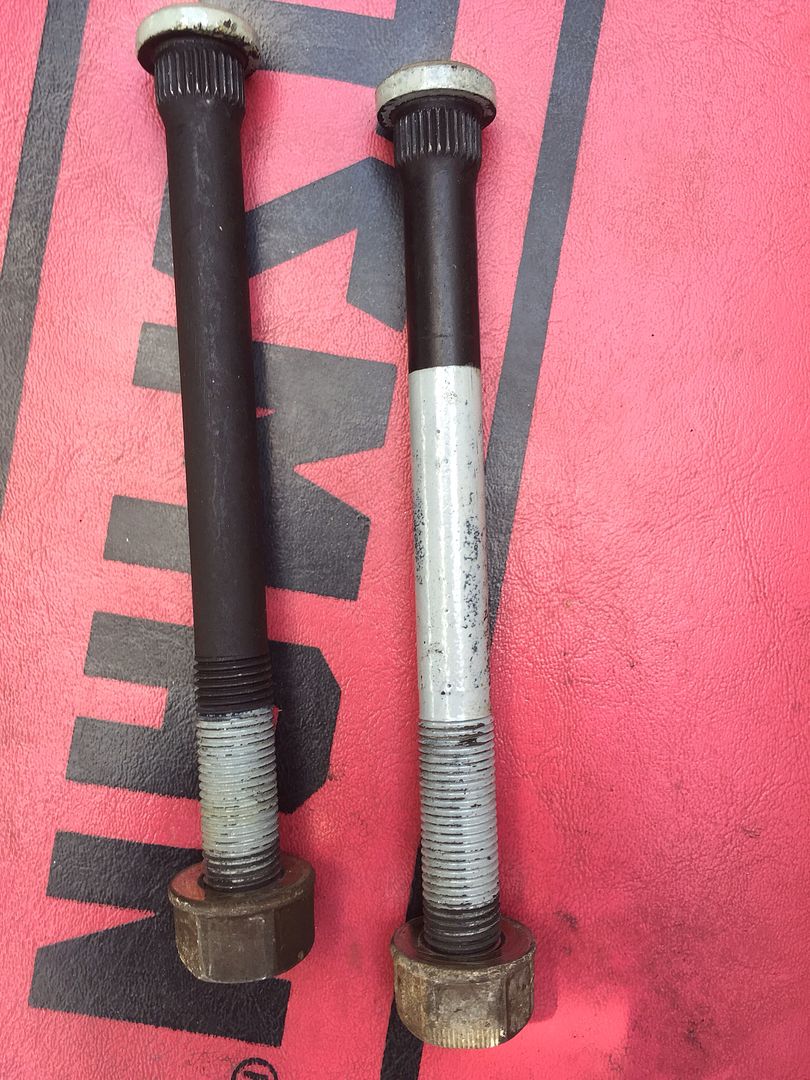
I'm a big fan of threaded rod and assorted washers to get things done. Removing the old TA bushings is easy with one small detail. As you crank against the bushing the rubber lip jams between the washer and the TA so if you keep cranking you can distort the TA. As soon as I feel resistance increasing I take a map torch to the TA and heat it just enough so that as that jammed bit of rubber softens the bushing actually moves a few mm on its own from the tension. From there on you are home free.
NOTE it's the bushing at the top of the pic that's being removed. When I do the second one I slip a socket over the rod where the first bushing was so the bore doesn't get chewed up by the threads
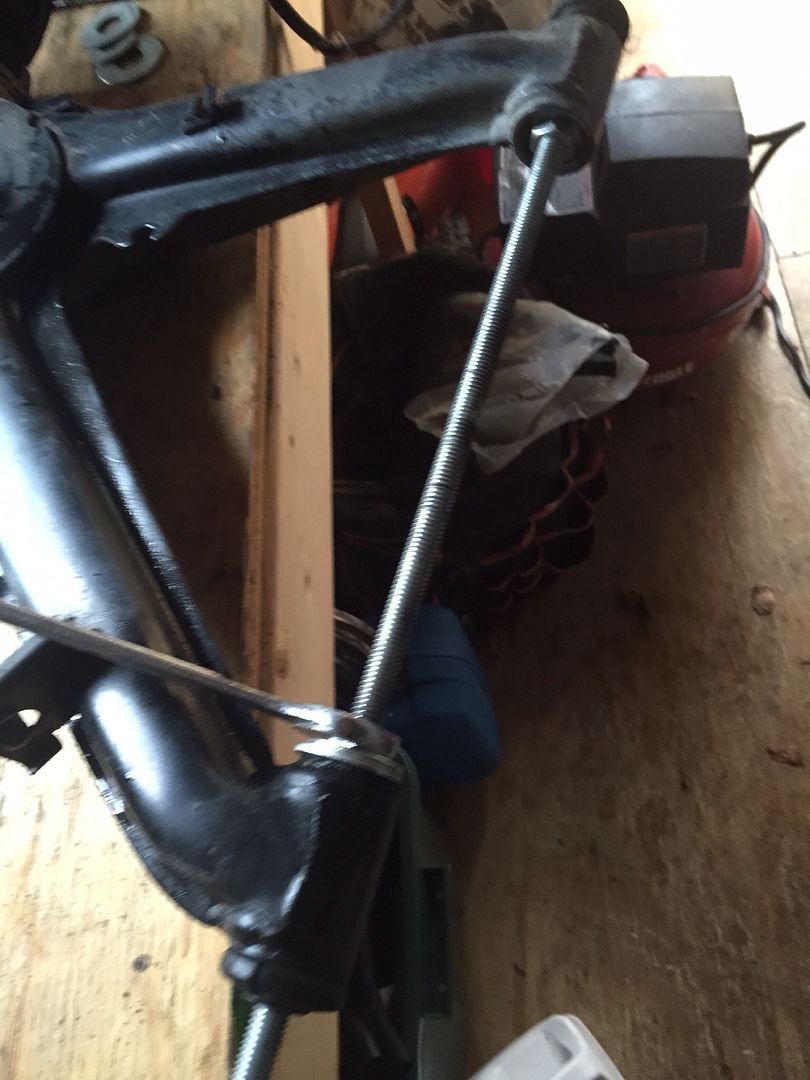
The washers are in the bore at this point and off camera I double nutted the end of the rod and have a ratchet on it so the rod won't turn.
 Last edited by jeffnhiscars; 10-10-2015, 01:49 PM.
Leave a comment:
-
I have one new half shaft and the other needing boots. The problem with pulling them is that half the time the hub comes out along with the bearing outer race and you wind up doing bearings as well. Fortunately the shafts came out easily.
The bad news is that I'm not too pleased with the CVs in the shaft that needs boots so I'm going to just replace the shaft. I'll therefore be selling a pair of new BMW boots and probably the FAG bearing that I bought "just in case".Leave a comment:
-
-
Subscribed! Nice find!
This will be interesting as I also just received a 731 head to go on my eta.Leave a comment:
-
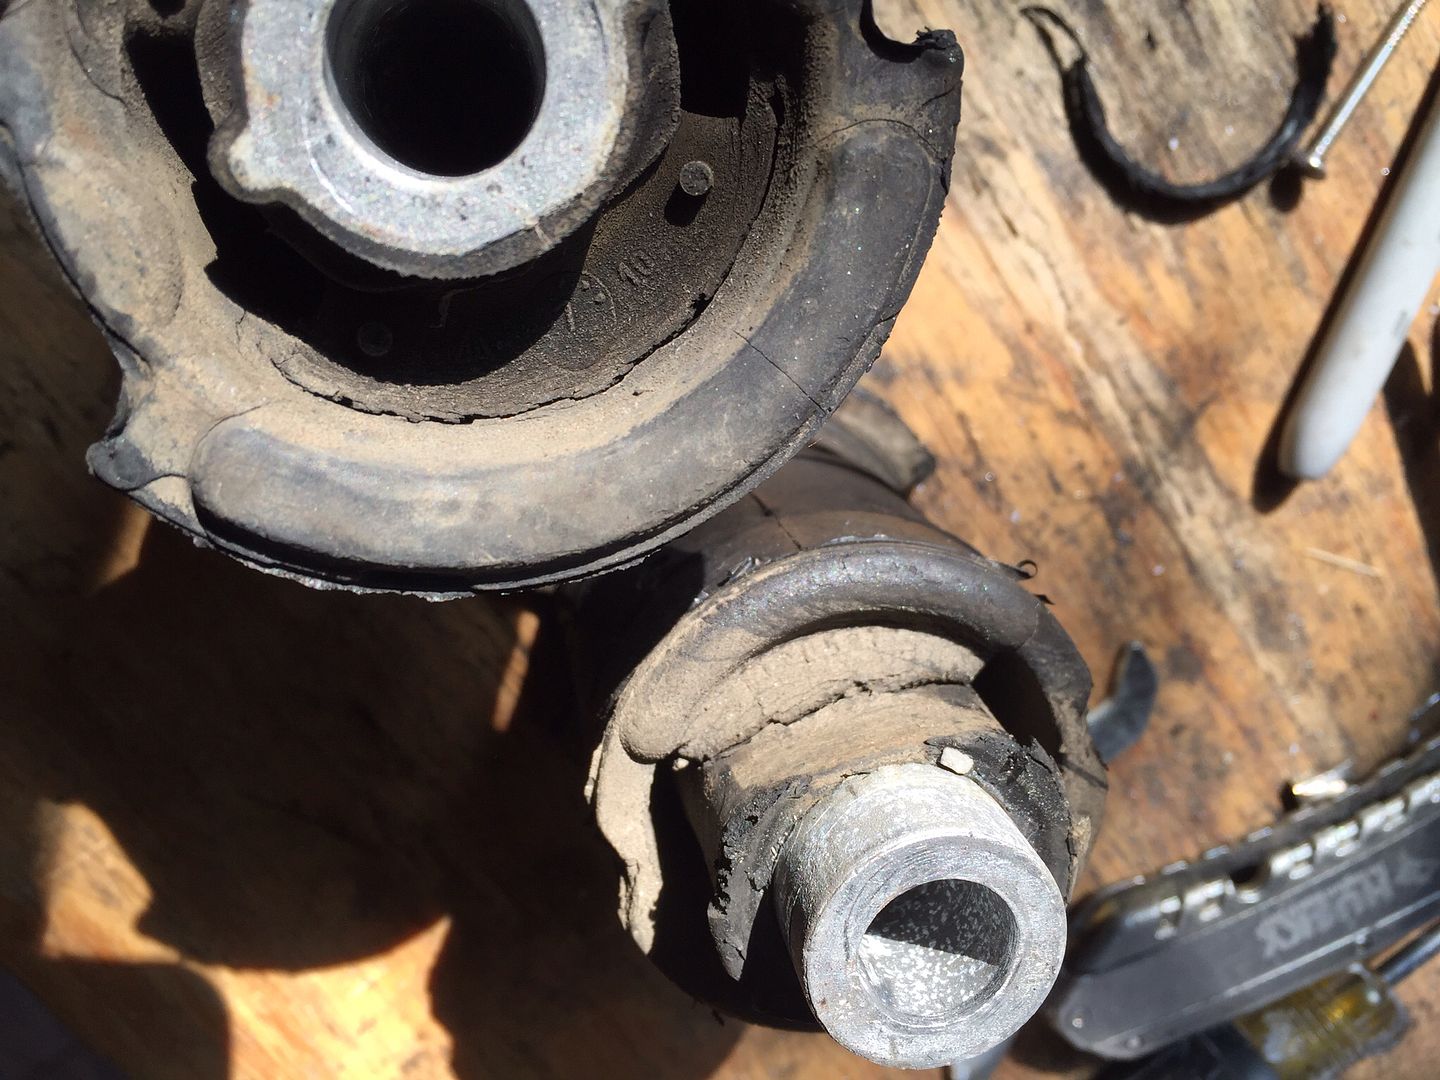
It's not too hard to see why it fell out given how clean that aluminum is but it's also pretty obvious why they need to be replaced.
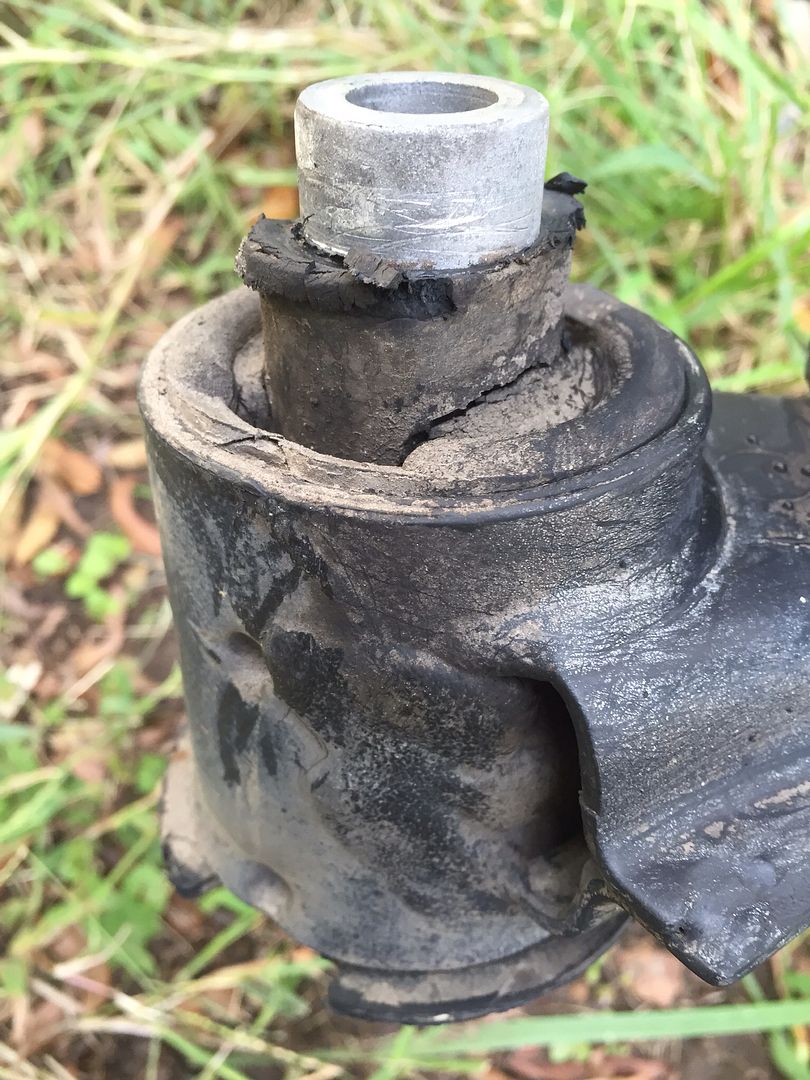
Anyone for a nasty TA bushing ?
Leave a comment:
-
It's subframe time and I'm alsmot embarrassed to say how easy it was. The damn thing literally fell out.
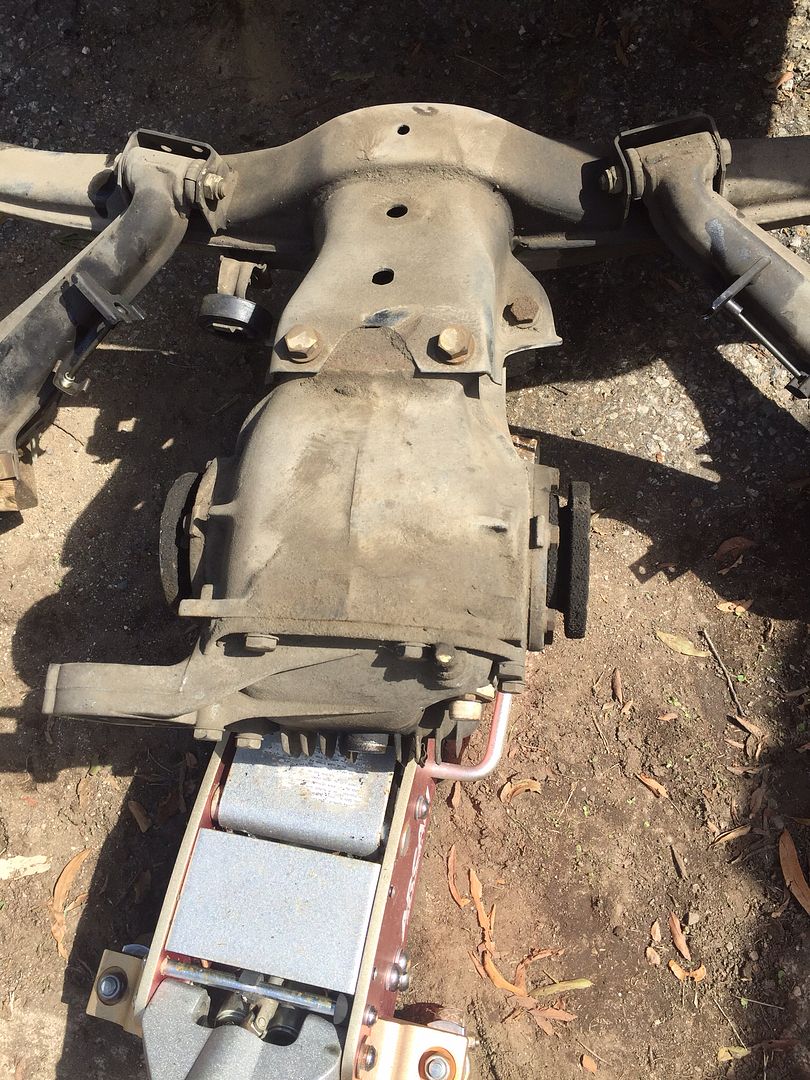
A look at the body bolts helps explain it....zero rust or corrosion.
Leave a comment:
-
I'm going to larger valves all around. I using Raymond's Machine here in town. I was referred to him by Hendricks service dept who used him for all their heads (a did many other dealers) until they stopped fixing heads and started to replace them.
He did my cabrio head and has done some other small jobs for me as well. Old world, been around forever...doesn't even have a sign on his building lolLeave a comment:
-
Jeff are you upgrading to larger valves (2mm larger) or just getting two new valves? Who is doing your head work?Leave a comment:
-
Other than the TB I will be using all stock externals for now in part because I don't yet have all the "I" parts and Its just too much work at the moment. I will be upgrading the SSSquid chip to raise the redline though so will get a good take on what the head alone does AFTER I see what the 3.46 torsen does.
Will be interesting and no doubt fun :)Leave a comment:
-
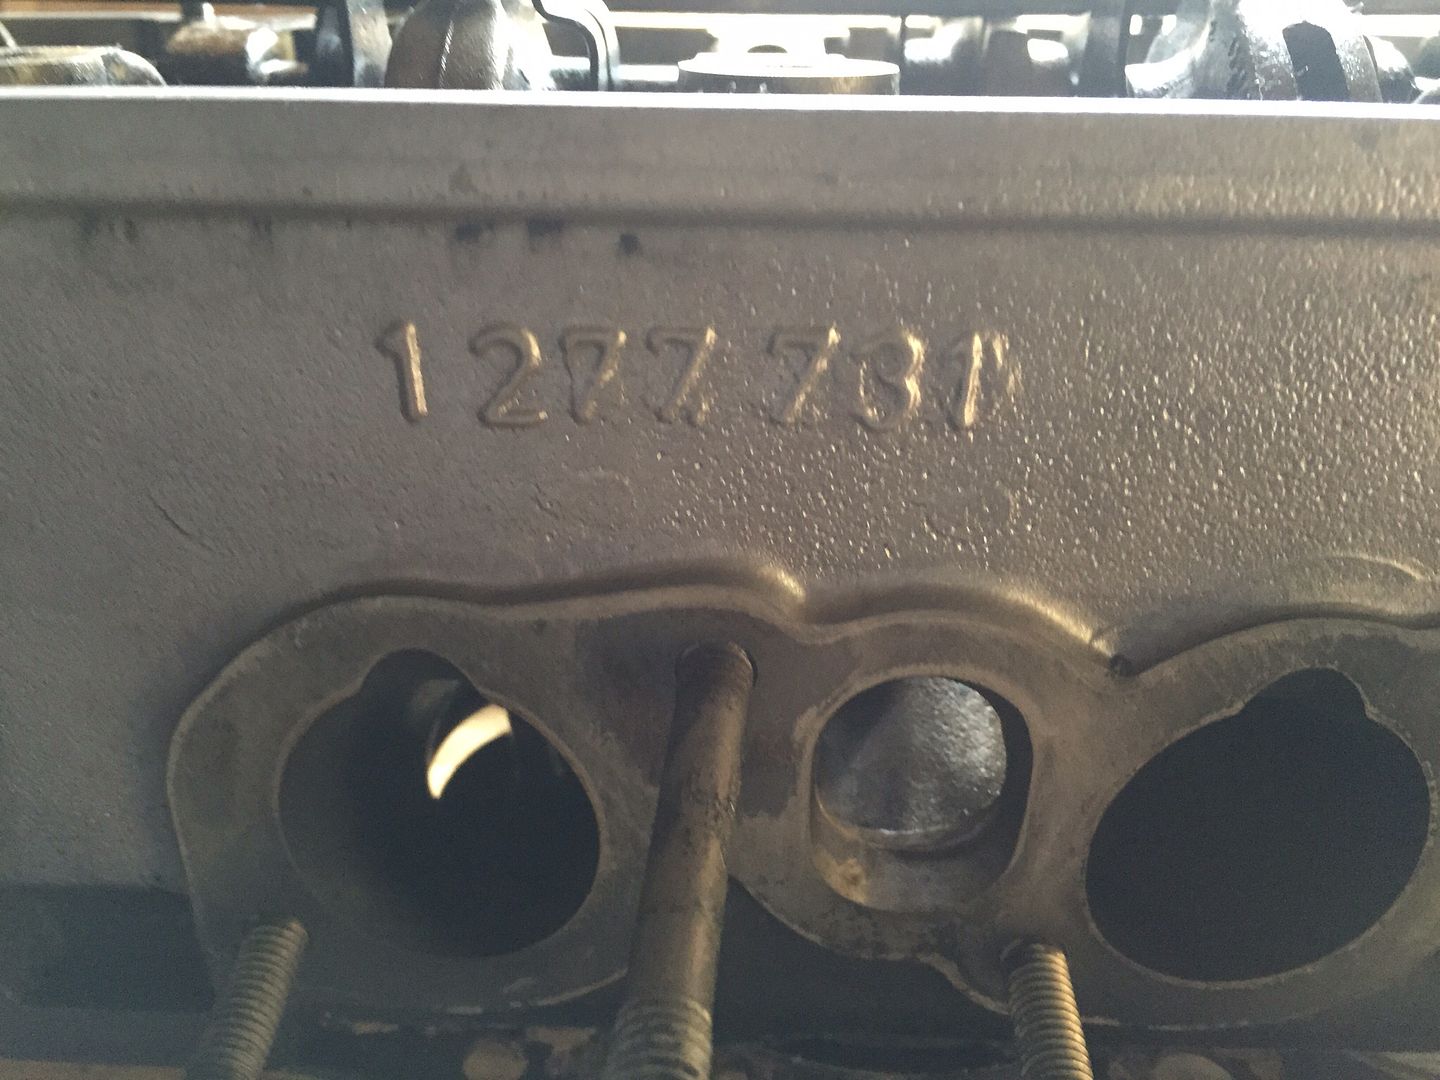
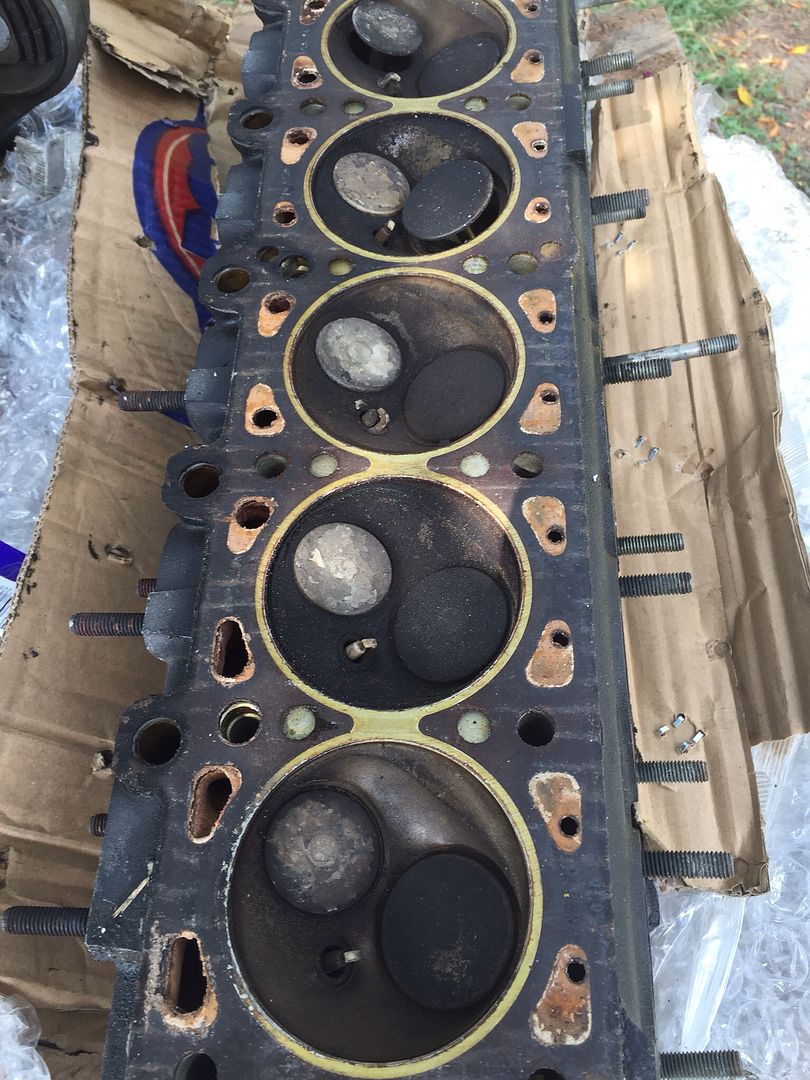
For those of you who are not familiar with the 731 it's off an e30 323 which was never imported to the U.S. This one came off a known runner with 116k miles and included the 323 intake manifold. Much has been written about different the pros and cons of head options for an ETA so I'll leave that debate for elsewhere.
The head is in the shop now and will be getting all new +2 valves, new intake guides, inner valves springs (so duals for higher revs) and a mild porting. I'll be using the stock 323 cam which is a 260 and the stock 323 intake port matched to the head.
The other upgrade in this phase will be a B25 TB which is about 10mm larger than the ETA or the 323 (which happen to be the same bore).
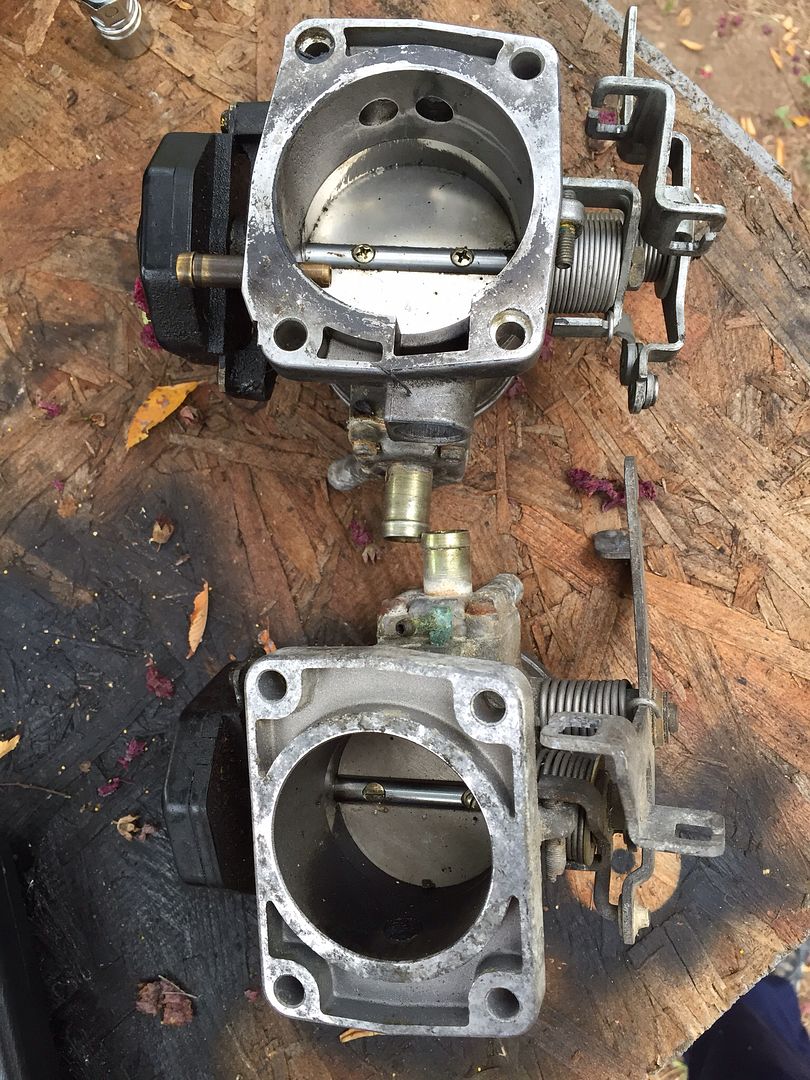
The 323 intake doesn't quite have enough meat on it at the bottom to fully match the b25 TB but it's close enough and I'll probably build up the manifold end of the TB to eliminTe the step
Leave a comment:
-
In the never ending saga of upgrades, I no sooner got all the parts for the rear subframe update, when this arrived...
Leave a comment:


Leave a comment: