Announcement

Collapse
No announcement yet.

Project Lessmeister: 91 318iS Restomod w/ MTech2 and modern drivetrain

Collapse
X
 
  • Filter
  • Time
  • Show
Clear All
new posts

  • wark
    replied
    Originally posted by Jordan View Post
    Nothing really worth taking pictures of going on the last few evenings. Routing wires, troubleshooting oil pressure lamp circuit (fixed) and working on radiator hose fabrication. I found a perfect molded hose from a late model BMW for the upper, but I'm still struggling to find something I'm happy with for the lower.
    Awesome, thanks. What about with plastic pieces? Grilles, license plate filler, etc?

    Leave a comment:


  • Jordan
    replied
    Originally posted by audiwark View Post
    Hey Jordan, another question for you. I picked up a few cans of the SEM trim paint, what kind of prep did you do for that? Any primer? Sanding?
    Originally posted by Jordan View Post
    I painted them all with SEM Trim Black #39143. This is the best product out there for this finish period. It is the industry standard for a reason.

    On the metalwork you will want to completely sand off the clear finish on the aluminum trim. Do not paint over the clear and expect the paint to get a good bite, it will chip from road debris easily.

    Sand it with 120 until you've removed all of the clear. The surface feel/texture changes considerably once you've broken through and you'll know. Then step up to 220, and finish with 320.

    SEM Trim Black will cover 320 sanding scratches in the 2-3 coats you should apply.

    Thoroughly clean the parts with dish soap/water, or paint prep solvent.

    I laid out the parts on stands or on a large cardboard box with balled up masking tape (sticky side out) as standoffs from the box. This lets you blow paint under the edges and such with ease, and since the tape is sticky it keeps the part from shifting.

    First coat should be just a dusting. You aren't trying to get concealment just dust the parts to provide a better bite for the next coats. After a few minutes do a second coat and try for almost full coverage, but you should still be able to see through the finish.

    The third and final coat should give complete coverage. Allow to dry in the sun for an hour then install your parts.
    Nothing really worth taking pictures of going on the last few evenings. Routing wires, troubleshooting oil pressure lamp circuit (fixed) and working on radiator hose fabrication. I found a perfect molded hose from a late model BMW for the upper, but I'm still struggling to find something I'm happy with for the lower.

    Leave a comment:


  • wark
    replied
    Hey Jordan, another question for you. I picked up a few cans of the SEM trim paint, what kind of prep did you do for that? Any primer? Sanding?

    Leave a comment:


  • litu
    replied
    Cool project
    Last edited by litu; 06-02-2016, 04:43 AM.

    Leave a comment:


  • Bimmer_man
    replied
    oh sweet thanks. BTW Jordan the car looks awesome.

    Leave a comment:


  • fresh_TD
    replied
    Originally posted by Bimmer_man View Post
    That intake box you have is it designed to clear the ABS unit there or dose that have to be deleted to install?
    It's designed to clear the ABS unit.

    Sent from my SAMSUNG-SM-N910A using Tapatalk

    Leave a comment:


  • Bimmer_man
    replied
    That intake box you have is it designed to clear the ABS unit there or dose that have to be deleted to install?

    Leave a comment:


  • Jordan
    replied
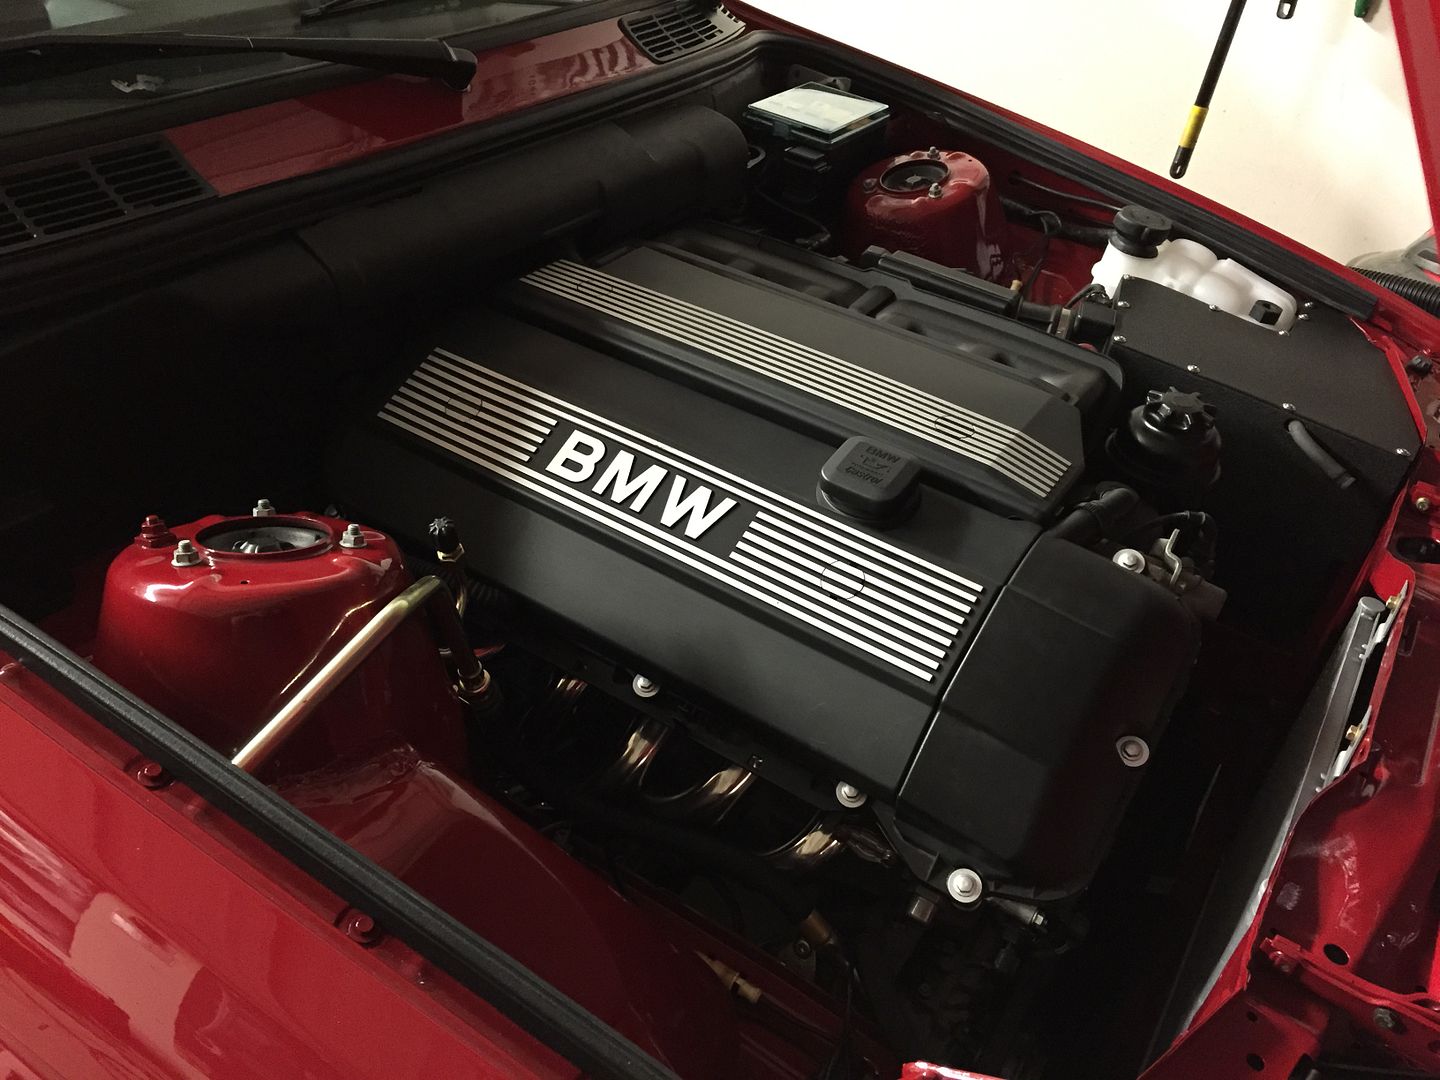
    Radiator is back in the car now, I had it out for access to something else.

    Leave a comment:


  • dsphil
    replied
    Originally posted by CorvallisBMW View Post
    Where's the radiator?
    It's a custom air cool m54 with fan delete.

    Leave a comment:


  • CorvallisBMW
    replied
    Where's the radiator?

    Leave a comment:


  • s14brent
    replied
    Super clean engine bay! Love the tool box setup you got going on too!

    Leave a comment:


  • MR 325
    replied
    Engine bay looking good! I vote you shave the spot for the diagnostic plug off the wiring bracket though. ;)

    Leave a comment:


  • bradnic
    replied
    that's incredibly CLEAN. art.
    you should up your price.

    Leave a comment:


  • Jordan
    replied
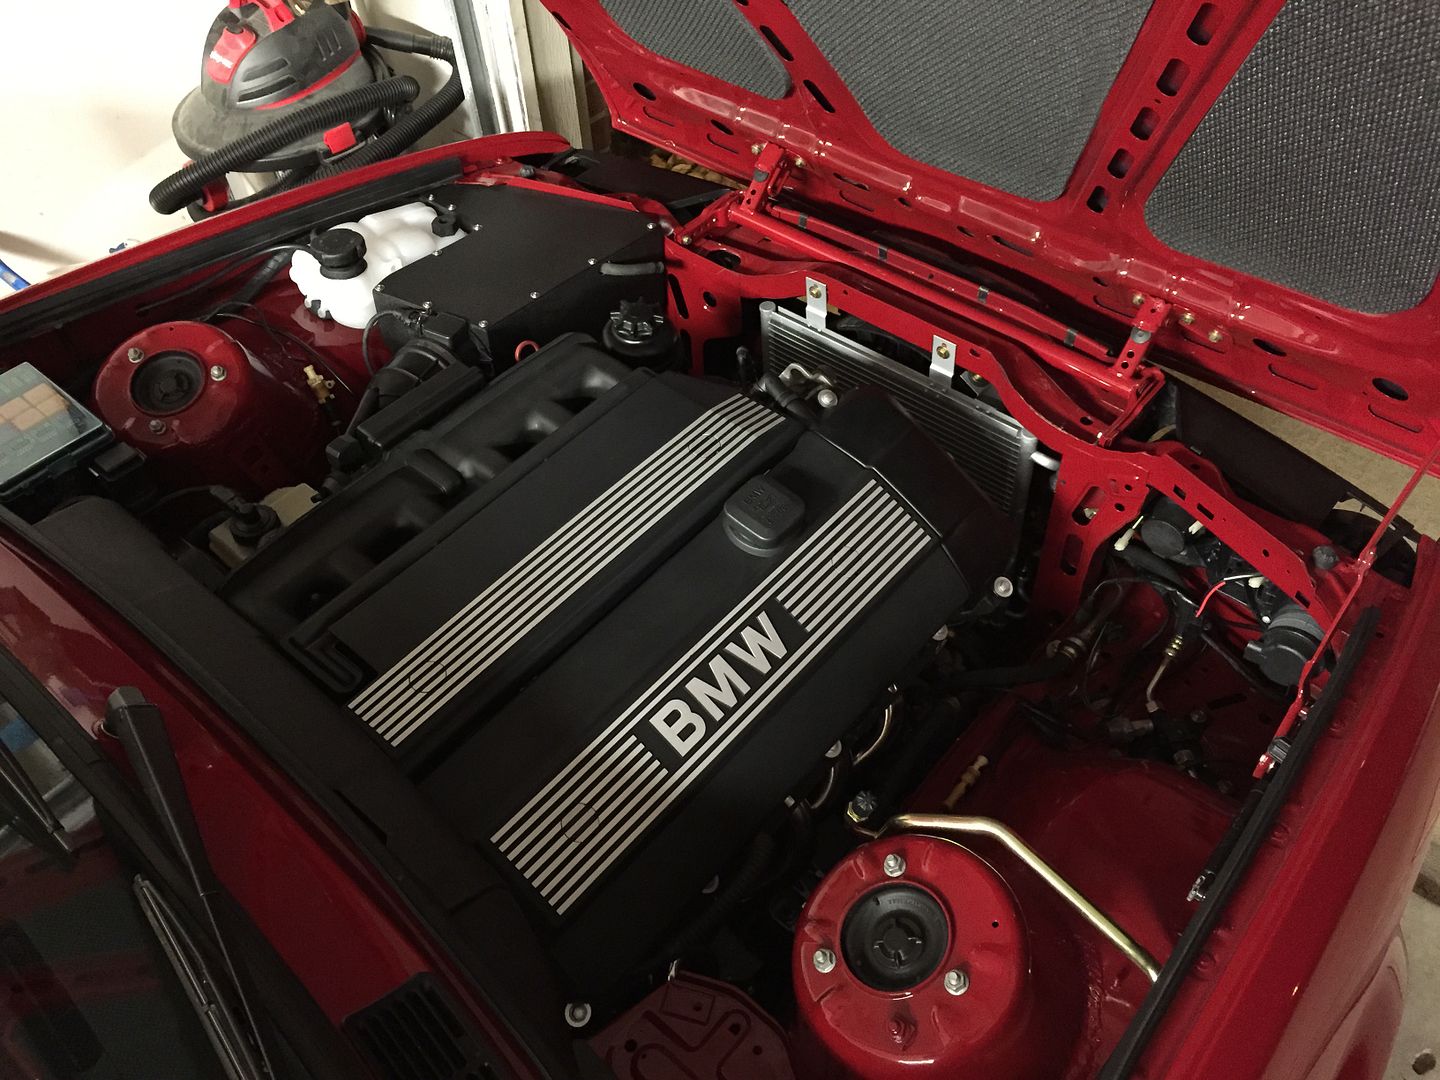
    The engine is all buttoned up again except for the radiator. Firewall covers installed and looking clean. All of the wiring fits no problem under the covers, actually a lot less of it than with a E36 M/S5x swap. The main wiring cover also clears the engine/manifold with room to spare, where as the OBDI E36 M/S5x manifold requires you to trim the covers.

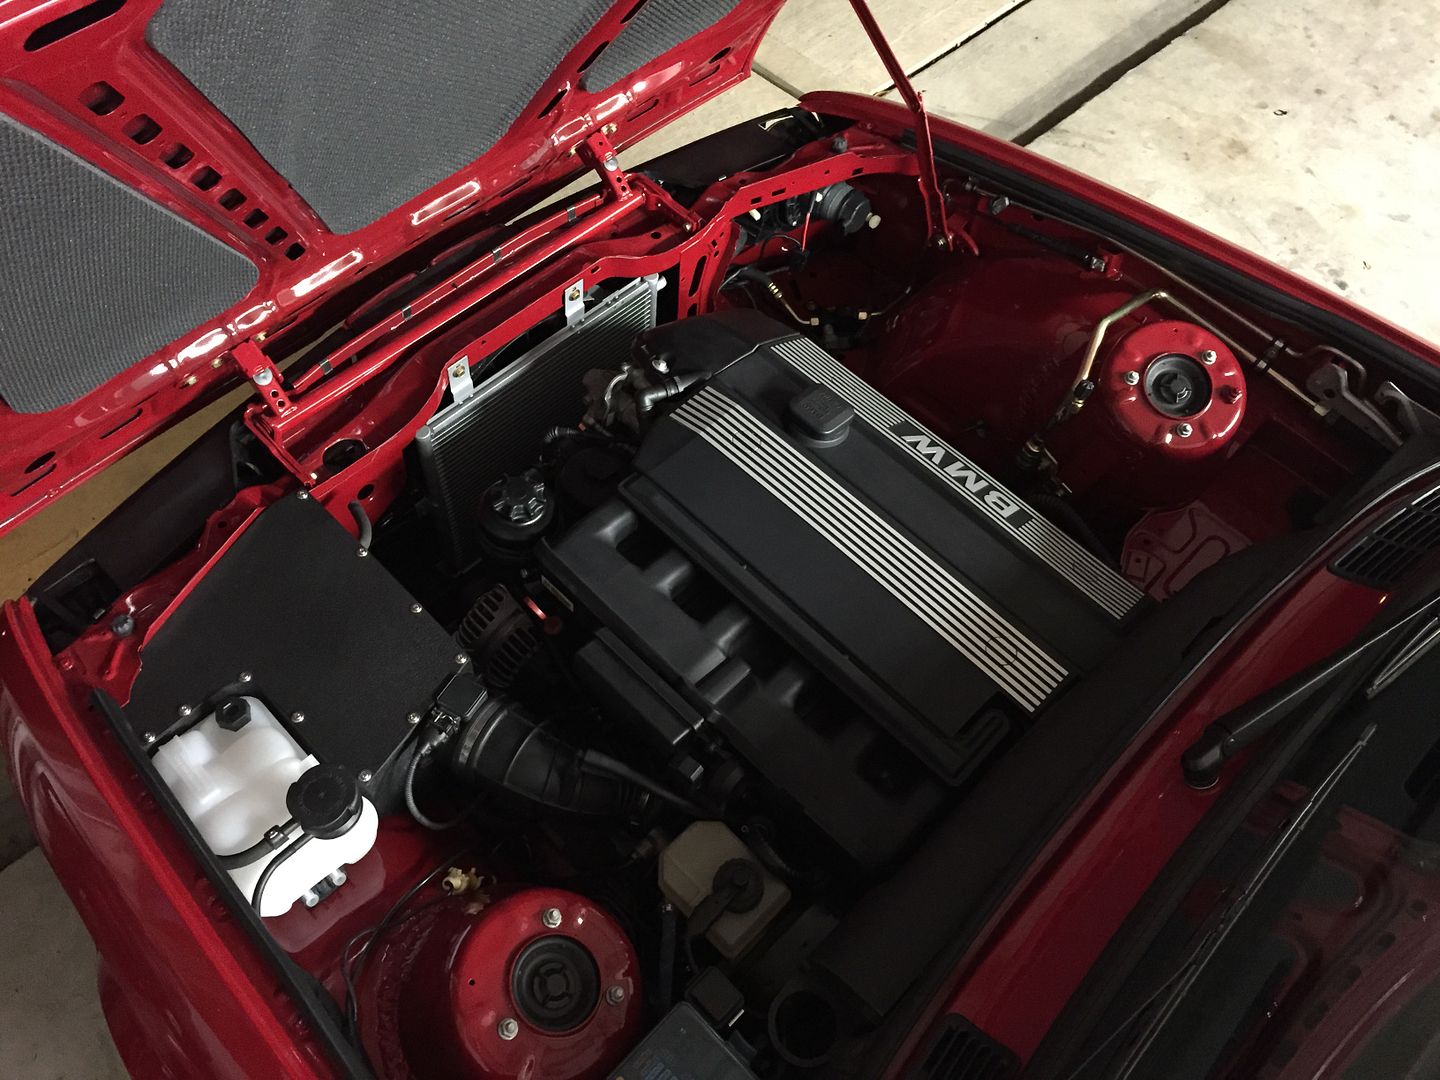
    Last night I had the fuel pump manually jumped as I had not yet wired in a fuel pump relay. This evening I went ahead and did than, then wrapped all the wiring with the same OE loom tape before fastening it to the backing plate with zip ties and installing the covers. The fuel pump relay coil is grounded by the ECU to activate the fuel pump. The coil is fed with switched 12v, and the drive side is fed with a constant 12v just as it is in a native MS43 vehicle.

    Engine wiring with fuel pump relay:


    Leave a comment:


  • MR 325
    replied
    Awesome!

    Leave a comment:

Working...
X