
A couple weeks ago I found a 91 318iS on Craigslist in a sad state of affairs. The owner had stripped it down to fix it up and or make a race car. After he was nearly done with the tear down he became overwhelmed and ended up shelving the project for while. As it happens the winds of work changed and he had to move out of state and could not take this car with him.
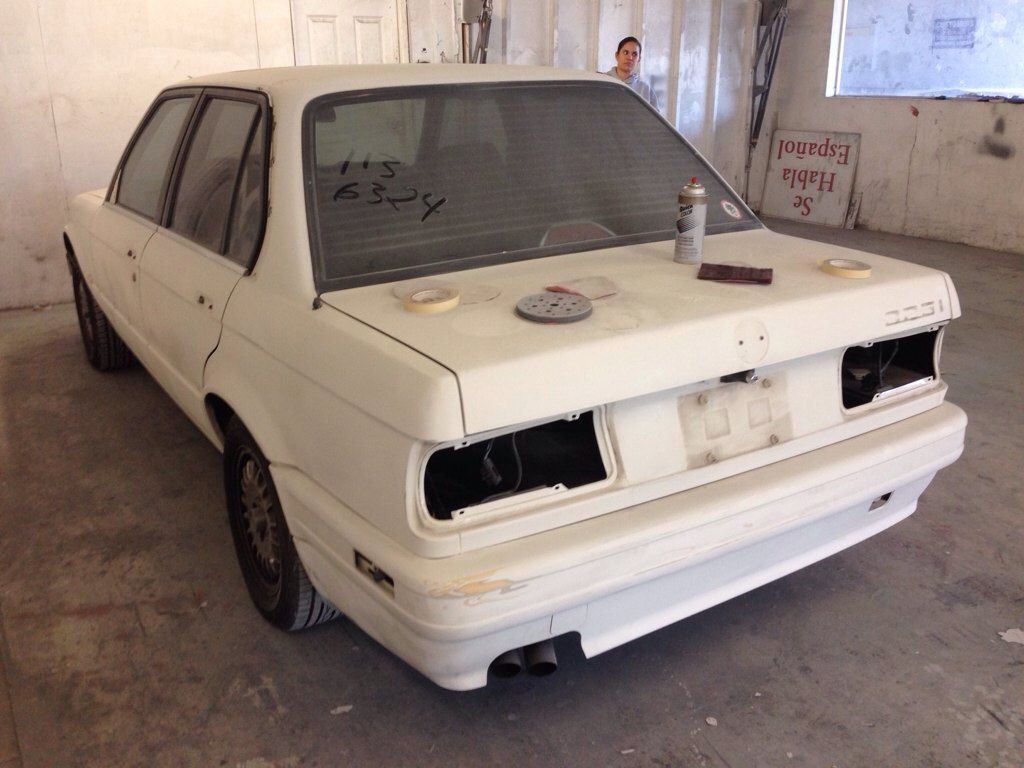
Here were the pictures from the Craigslist ad:
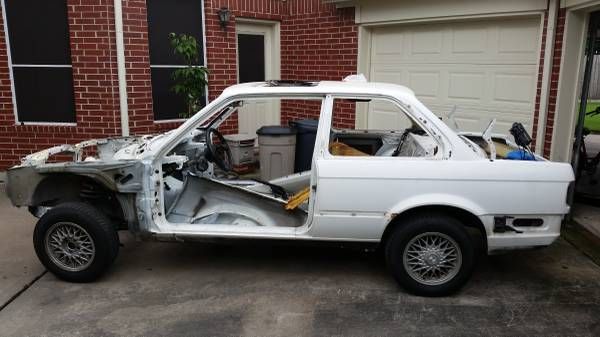
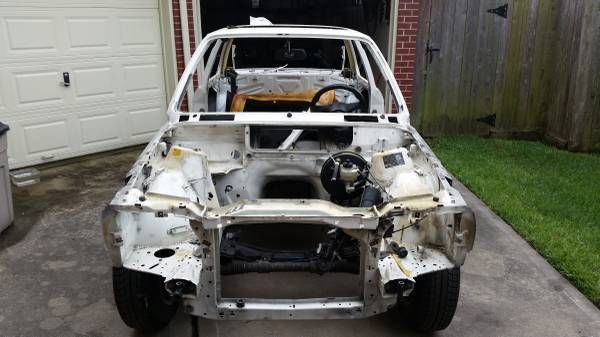
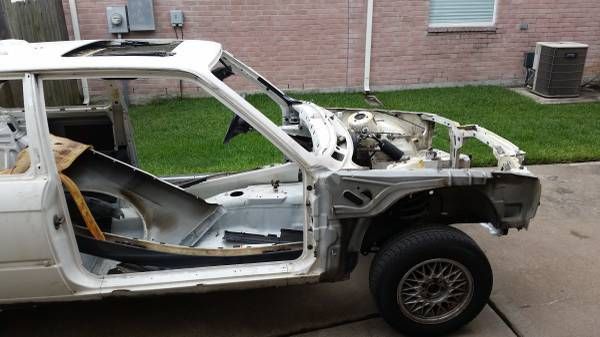
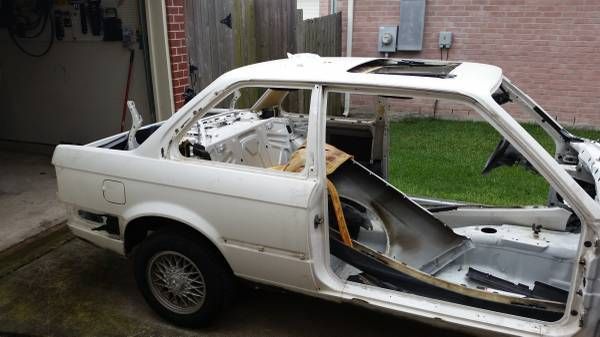
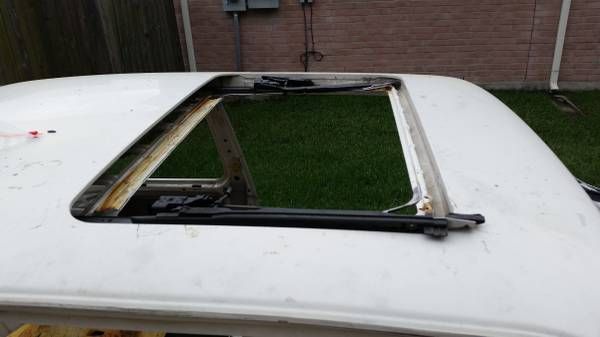
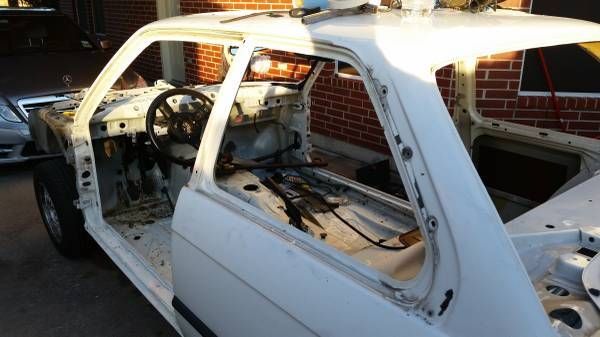
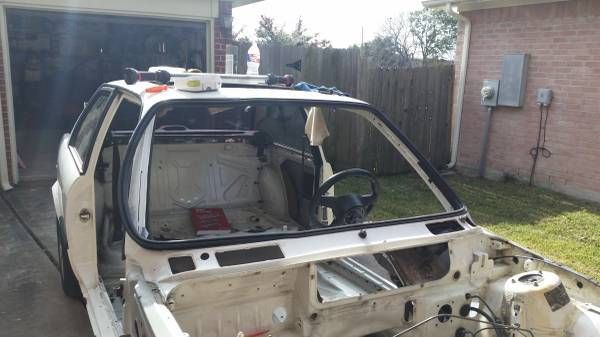
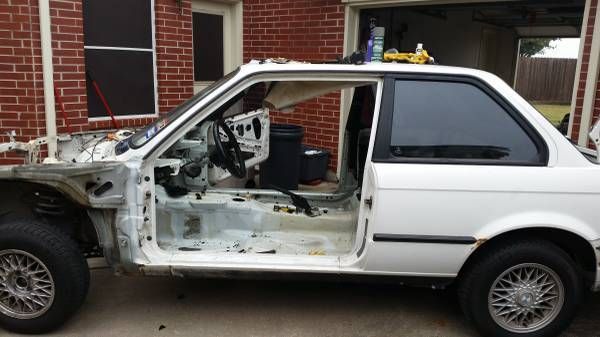
It obviously looked pretty damn rough, but the price was right... $250.... and it looks reasonably straight body wise. I emailed the seller and ended up reaching an informal agreement to buy the car pending his return to Houston in a few weeks.
Knowing what a huge undertaking this car would be to do right I had to enlist the help of some friends. I made a few contacts and I'm pleased to announce that I have several sponsors onboard to help with what I anticipate will be a monumental build. BMW of Houston North & Guten Parts have stepped up to provide all of the brand new OE and hard to find euro parts needed for the build. Imperial Collision will be providing a most excellent respray in BMW Imolarot II. Dsylva-Tech.ca will be providing the software expertise to crack the EWS and provide the tune for my chosen drivetrain. Last but not least Lonestar Imports Auto Salvage has provided the hand picked drive train package from their extensive inventory of European cars for salvage.
This past Weds he finally made it into town and I hurried across town after work to have a look.
The car was more or less as advertised, some surface rust here and there where the car has road scars but nothing major. While I was there I looked at the nearly complete (missing wing) MTechnic II kit the seller also had. We negotiated back and forth and settled on $1500 for the kit & car under the stipulation I get it all out of the way ASAP as he was trying to move. No problem! Can do!
I returned the following night to pay the seller in full, take the title and load up my E39 Touring with the most valuable loose parts to bring home.
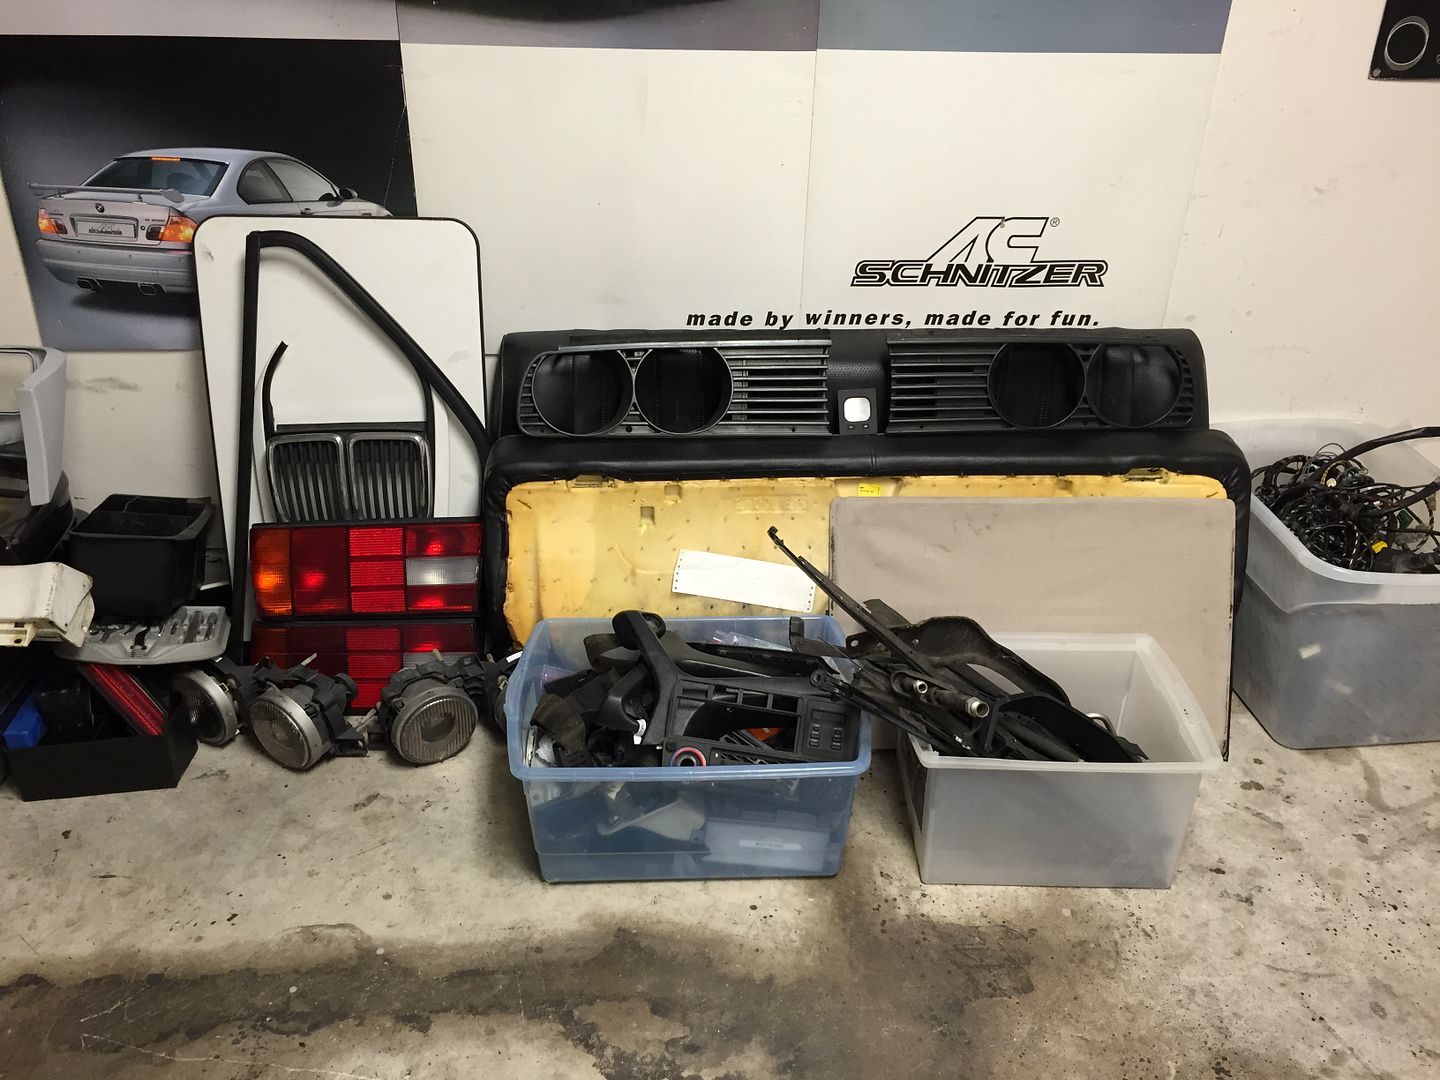
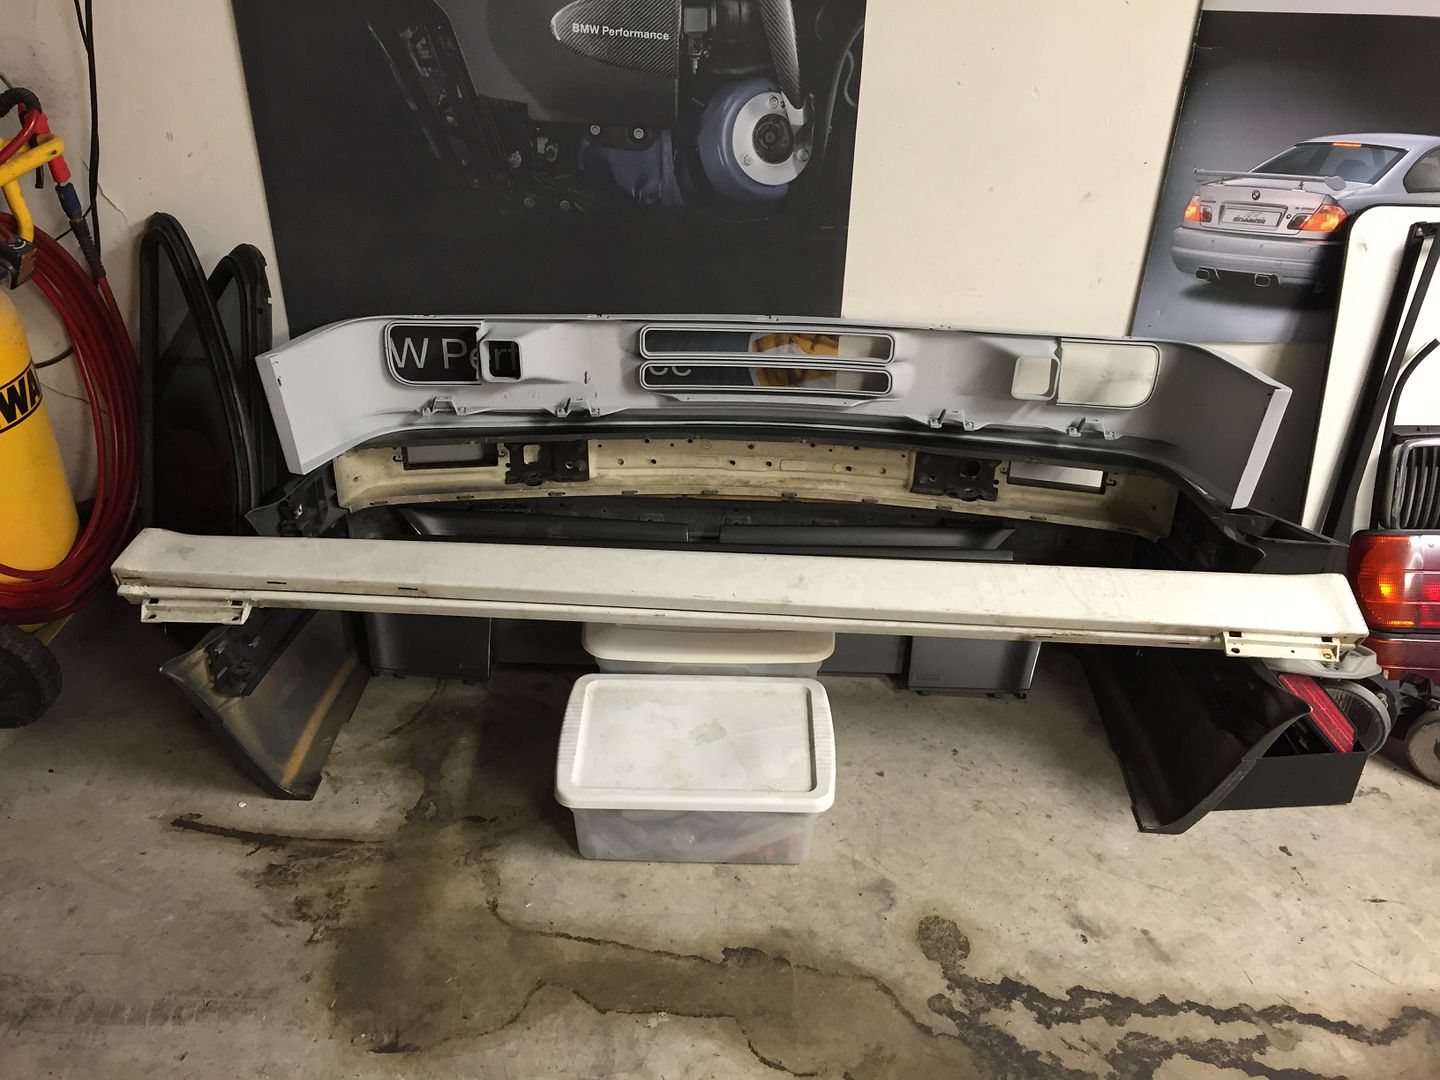
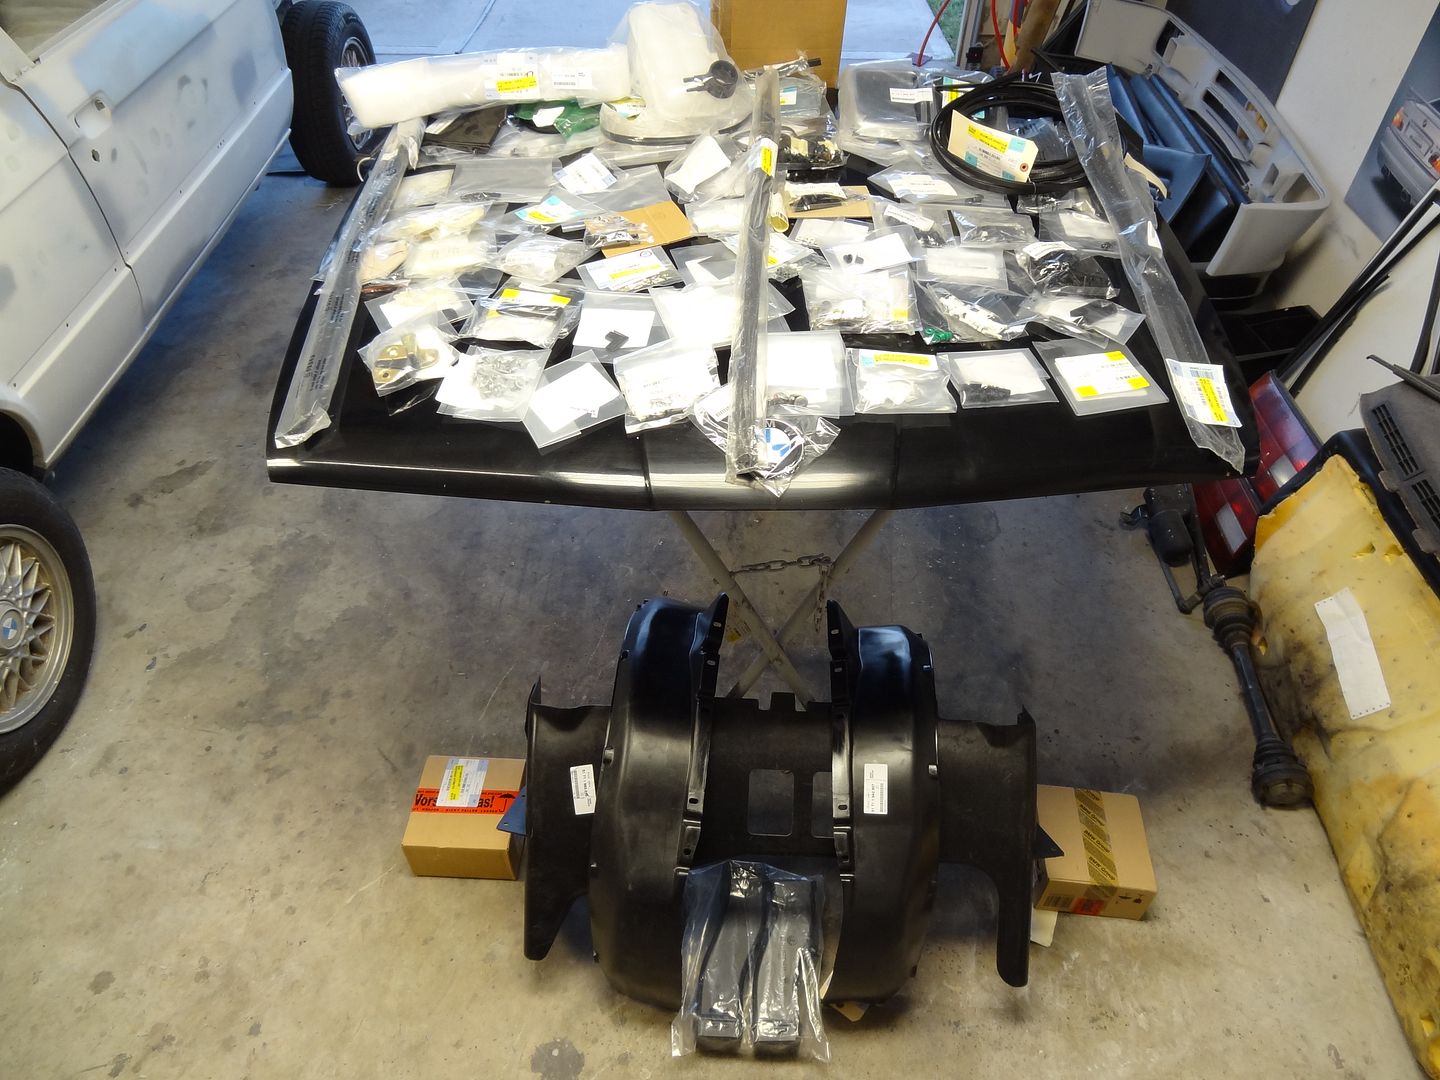
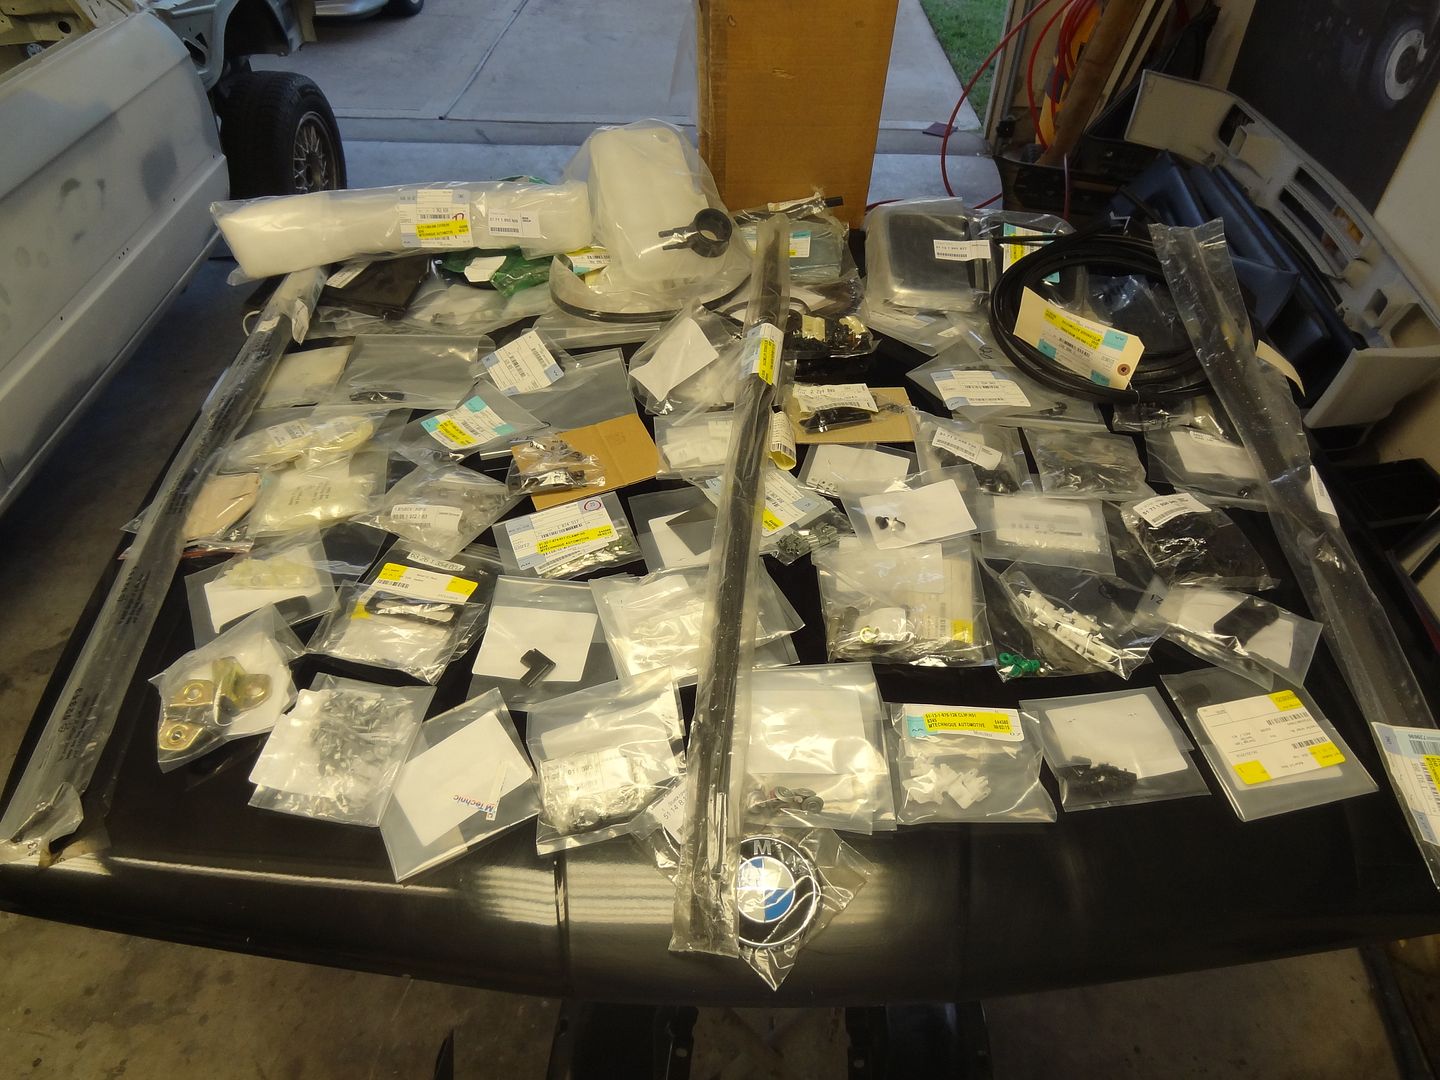
Among the loose parts are a nearly brand new pair of US Elipsoids, complete untarnished tool kit, euro battery tray w/ hazard triangle, complete MTechnic II kit less the rear wing w/ brand new front fascia, euro grills, euro clock, several tubs of bagged & tagged hardware, and one small tub full of dealer bagged all brand new MTechnic II hardware to install the kit that the owner had already ordered. Score!
The car came with all of the original VIN matching body panels except the plastic bumpers and the front valance. Although both front fenders were included they are simply too rough to repair between the dents and the corrosion damage from someone jacking on them at the bottom.
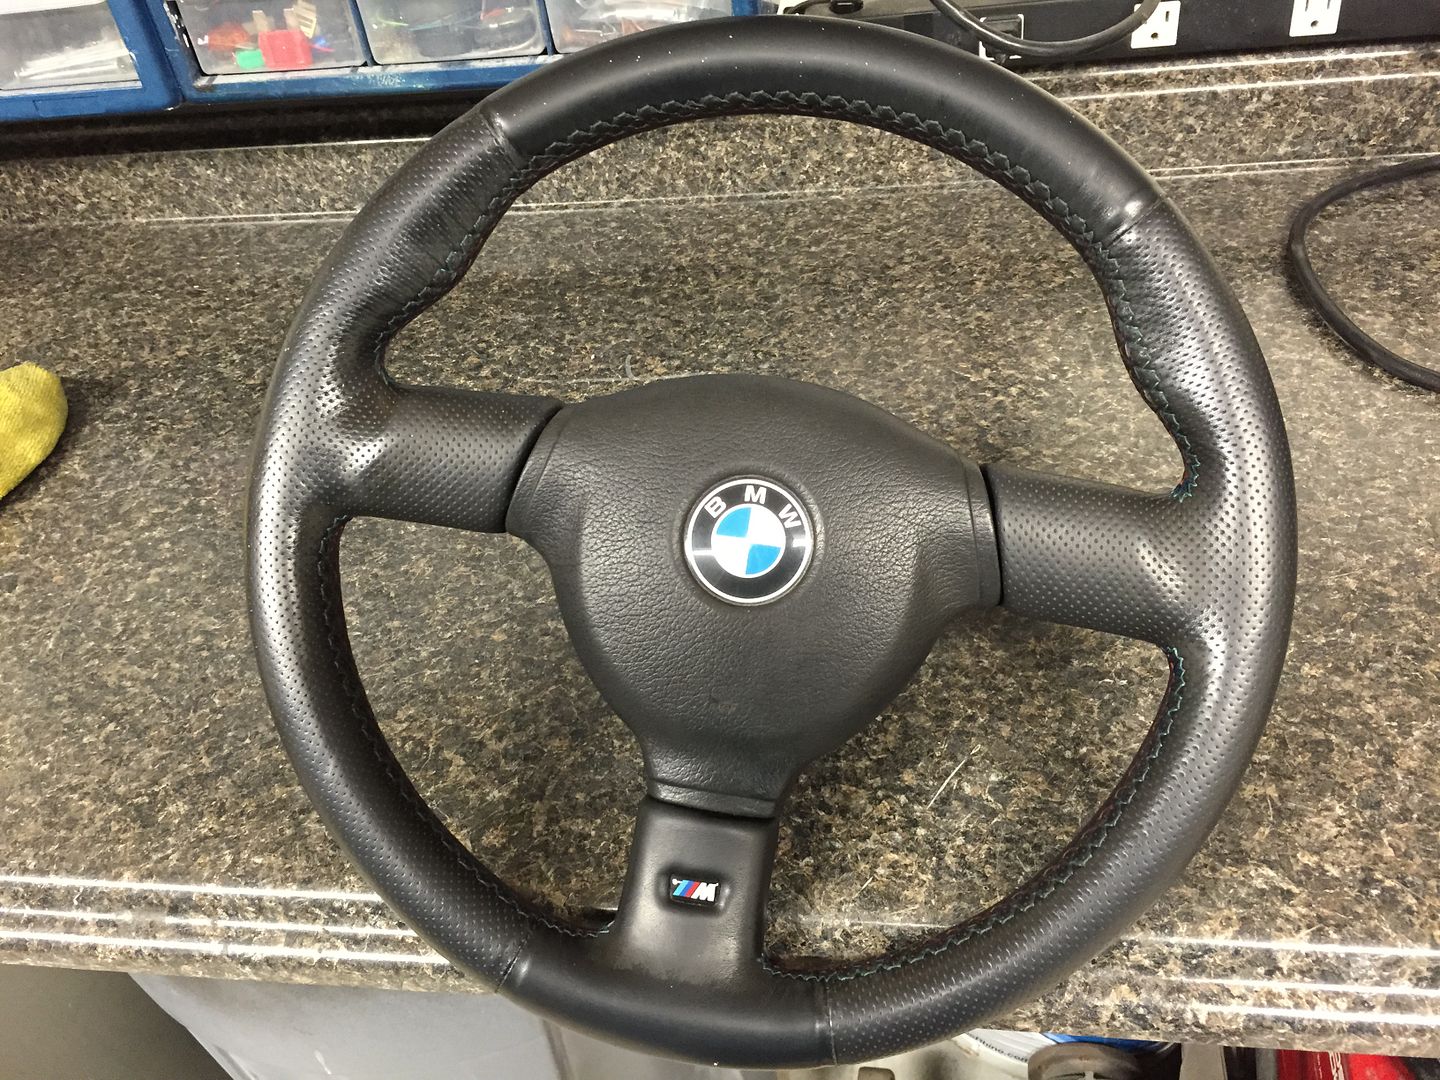
Also included with the car was a rather unique MTechnic II steering wheel, reupholstered in thicker rimmed leather with the OE style tri color M stitching.
The car also came with the original owners manual and service booklet, showing that the car was purchased at Auto-Lessmeister in Frankfurt Germany on Feb 21, 1991.
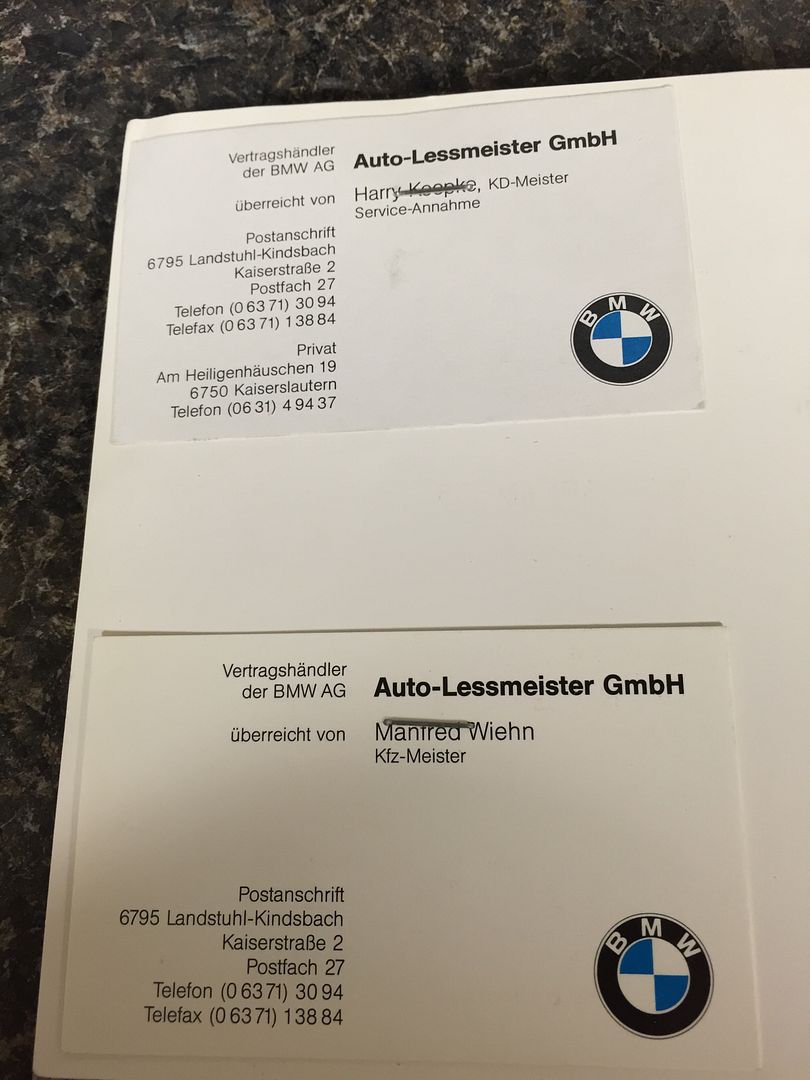
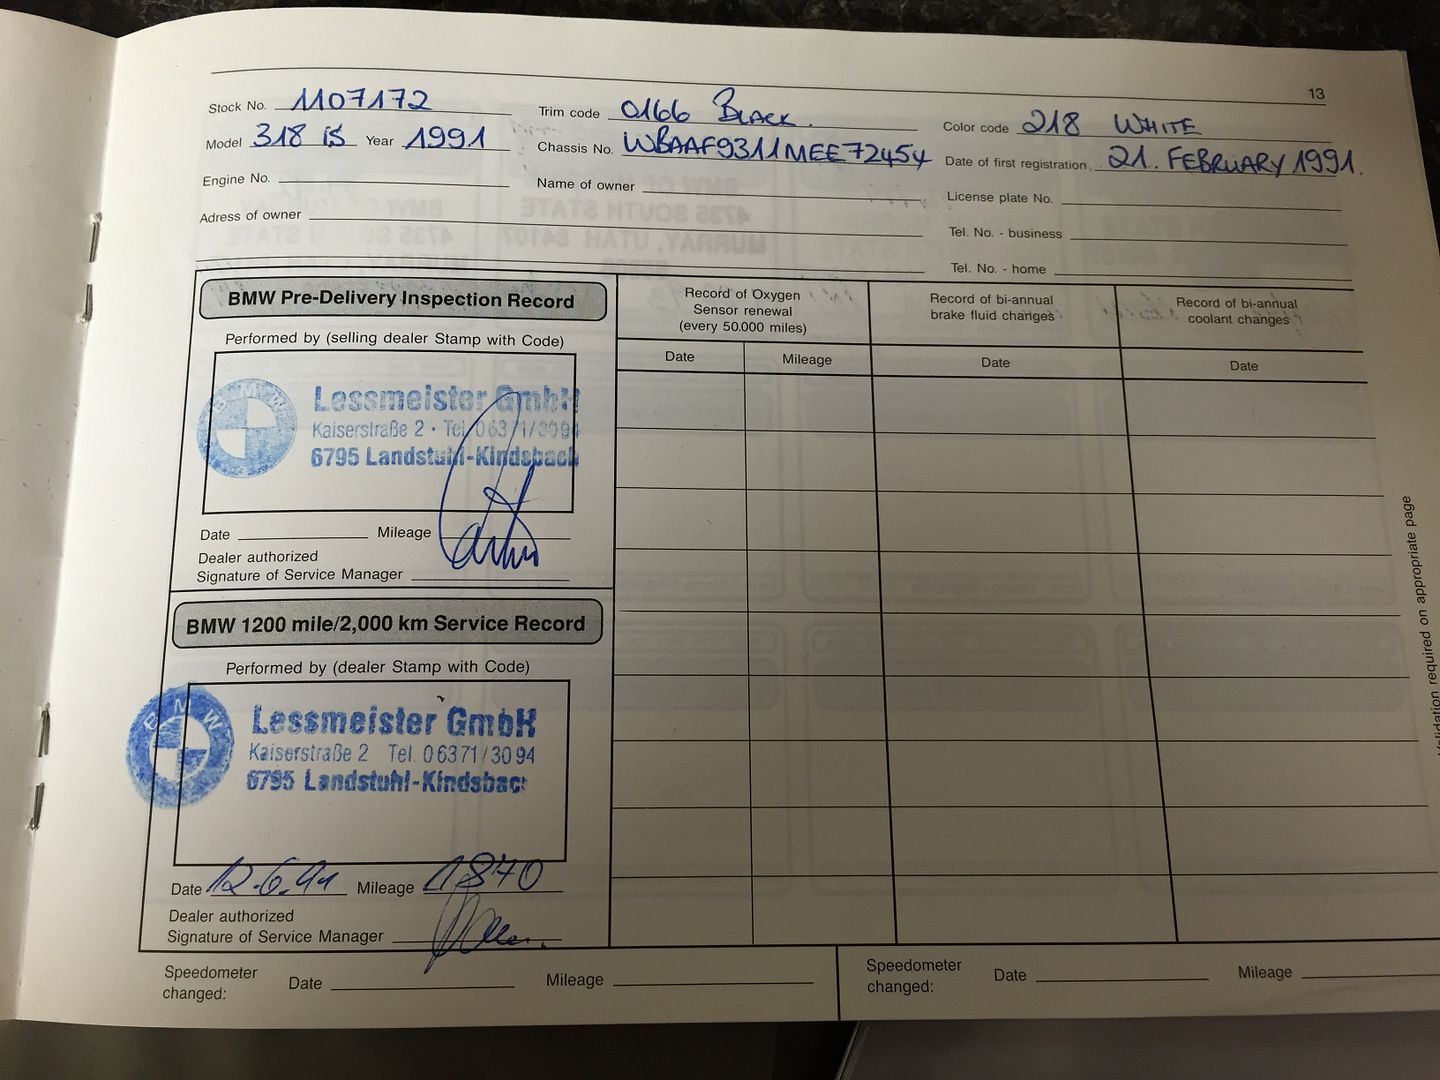
Pretty cool bit of paper to have, apparently it was purchased by a US service member there and brought back home. First US registration shows to have been in Feb of 1996.
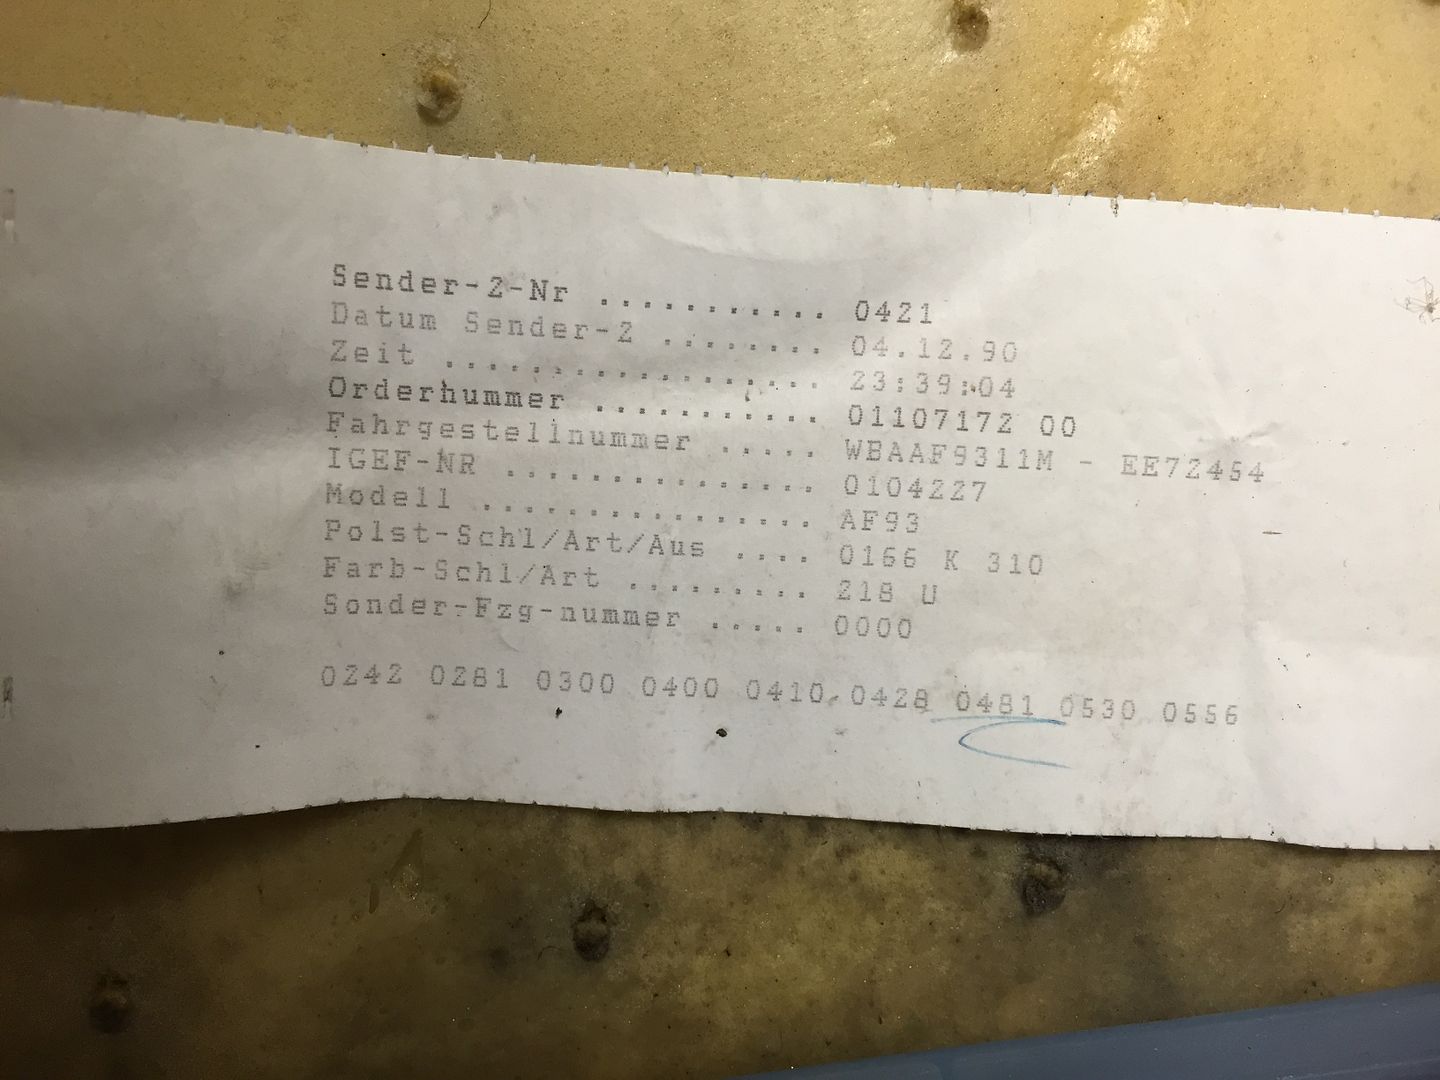
Build sheet under the rear seat still intact:
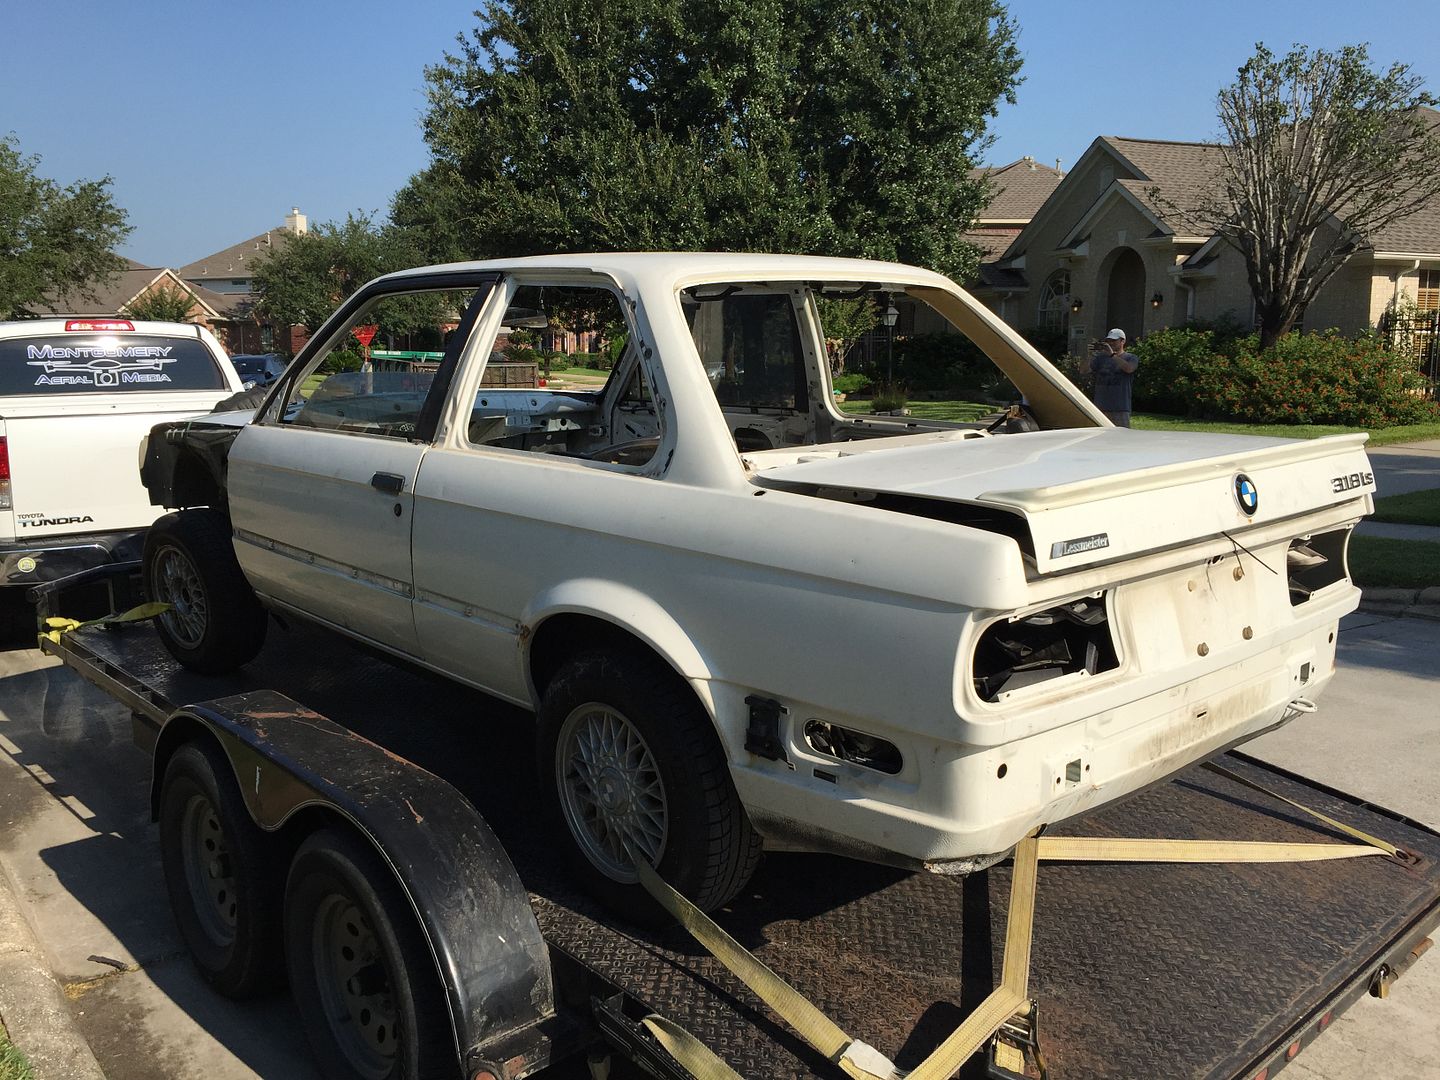
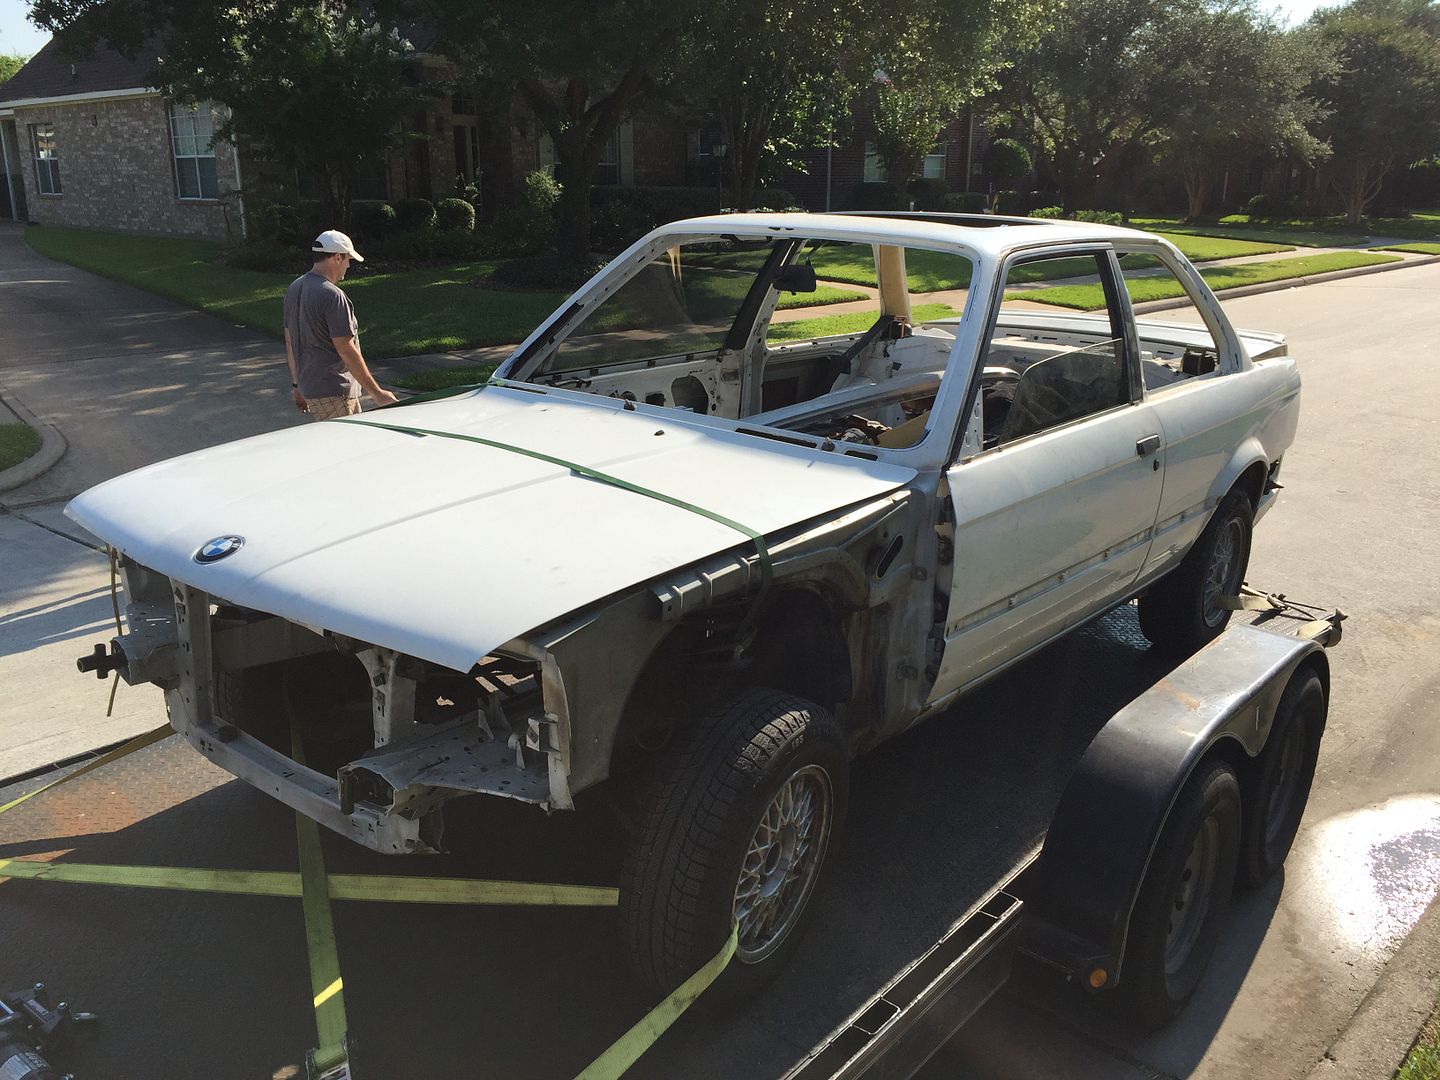
Fast forward this morning... I rode back over there with a friend with his truck/trailer to pick up the car. We got it loaded up and tied down with no problem and brought her home.
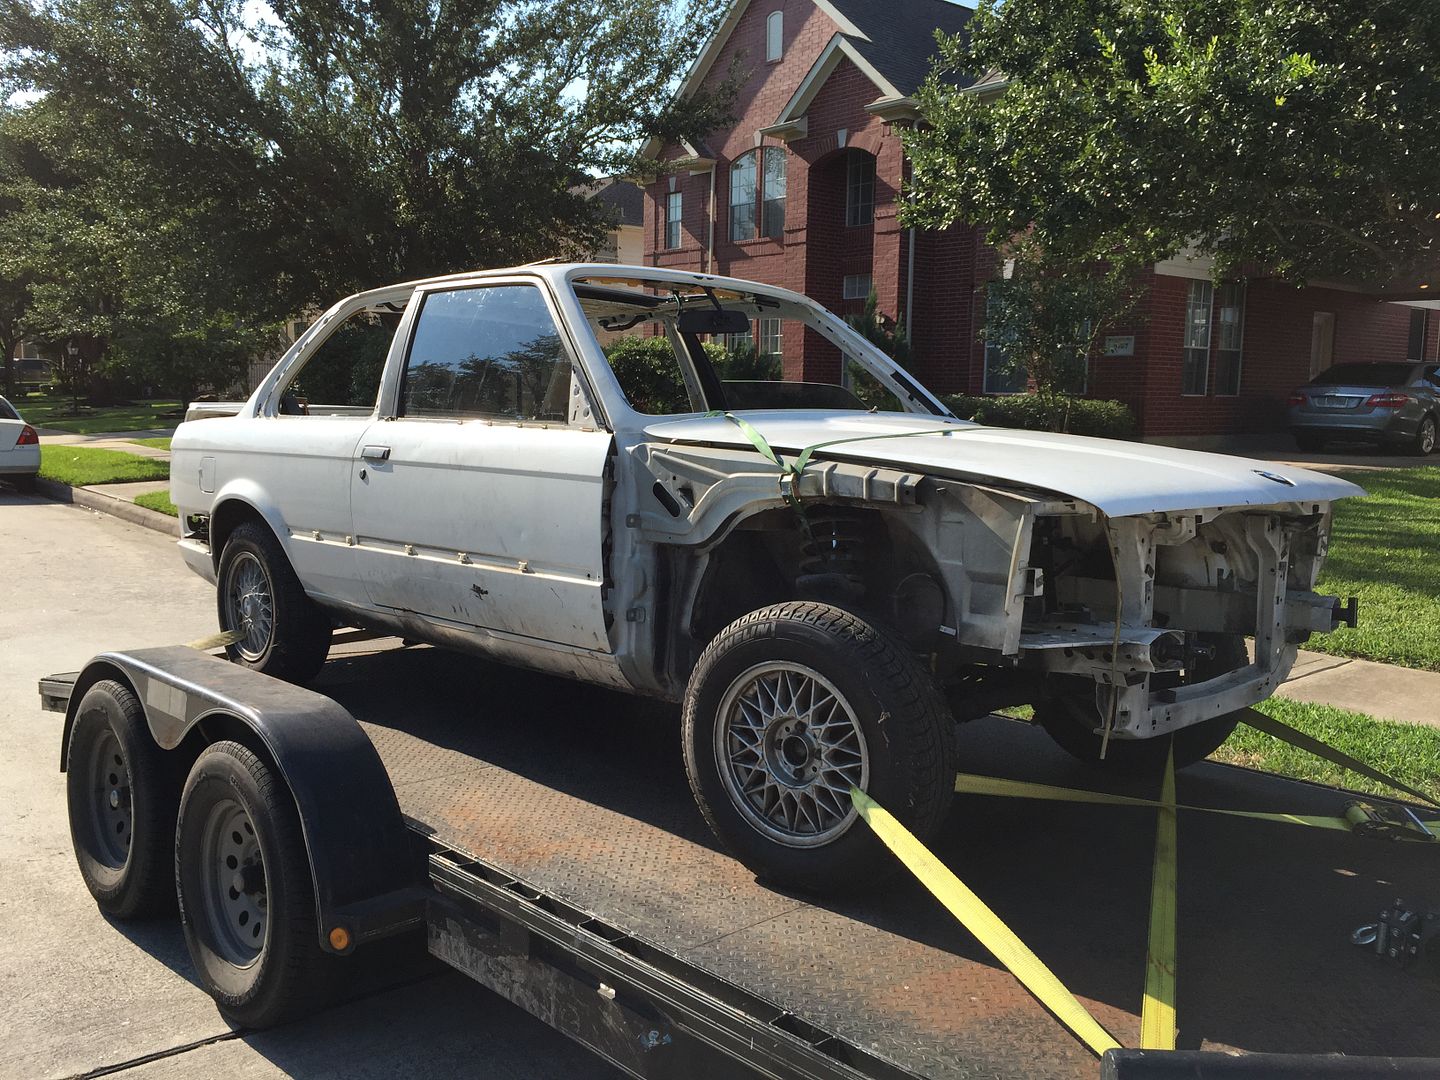
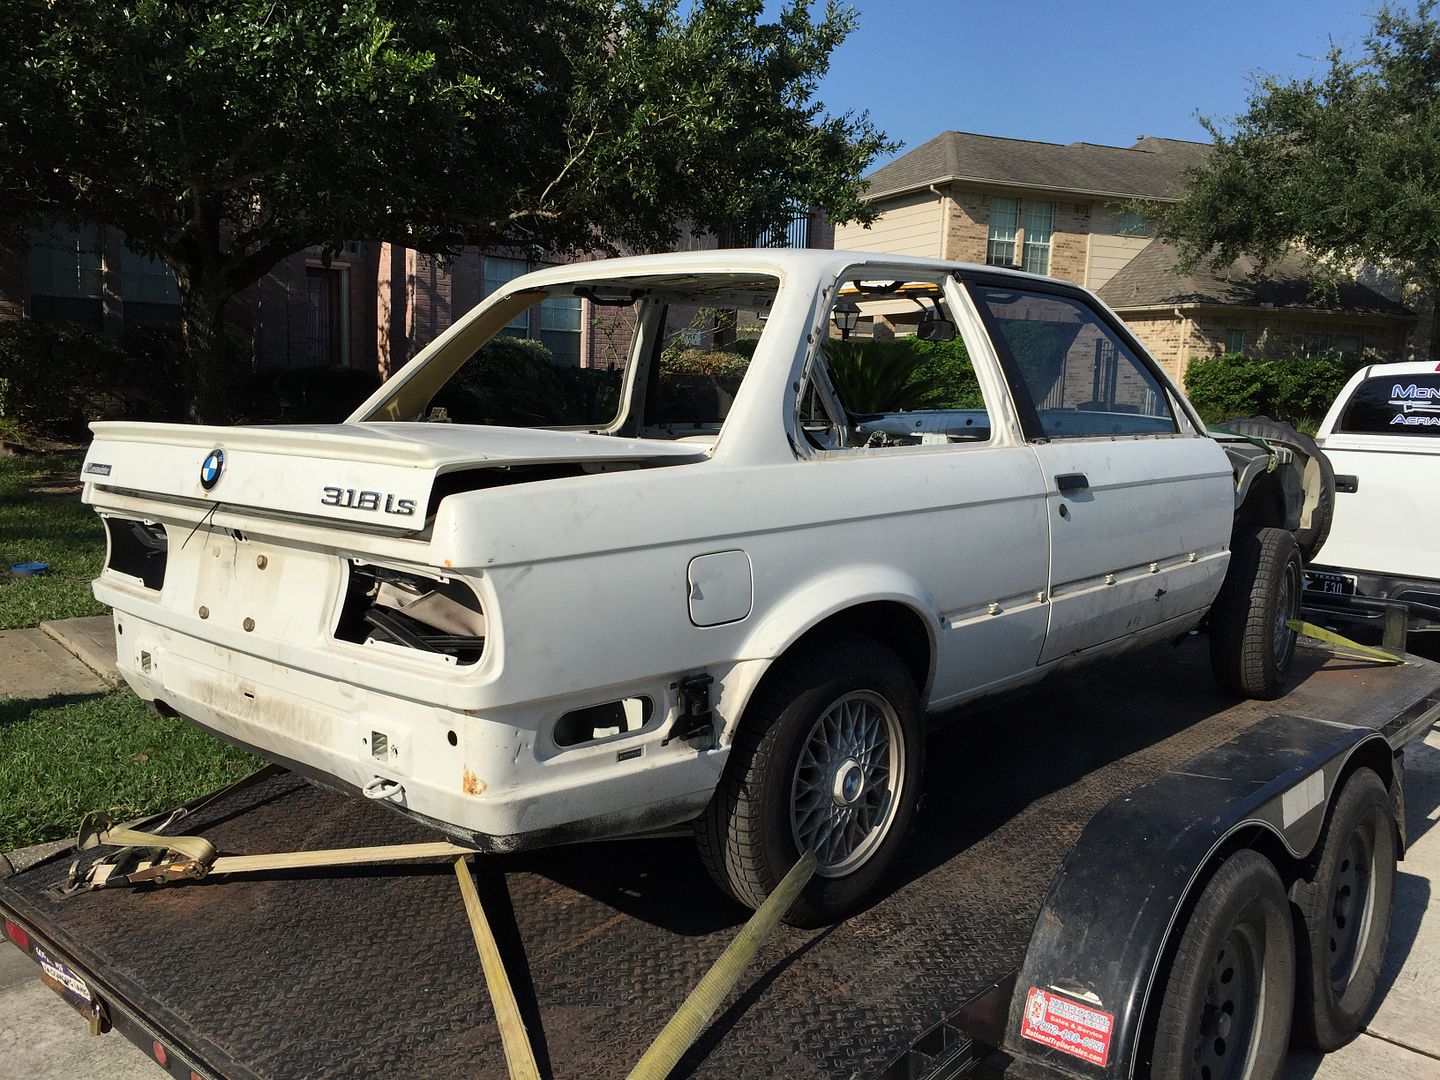
Note the Lessmeister badge still on the trunk 24 years later!
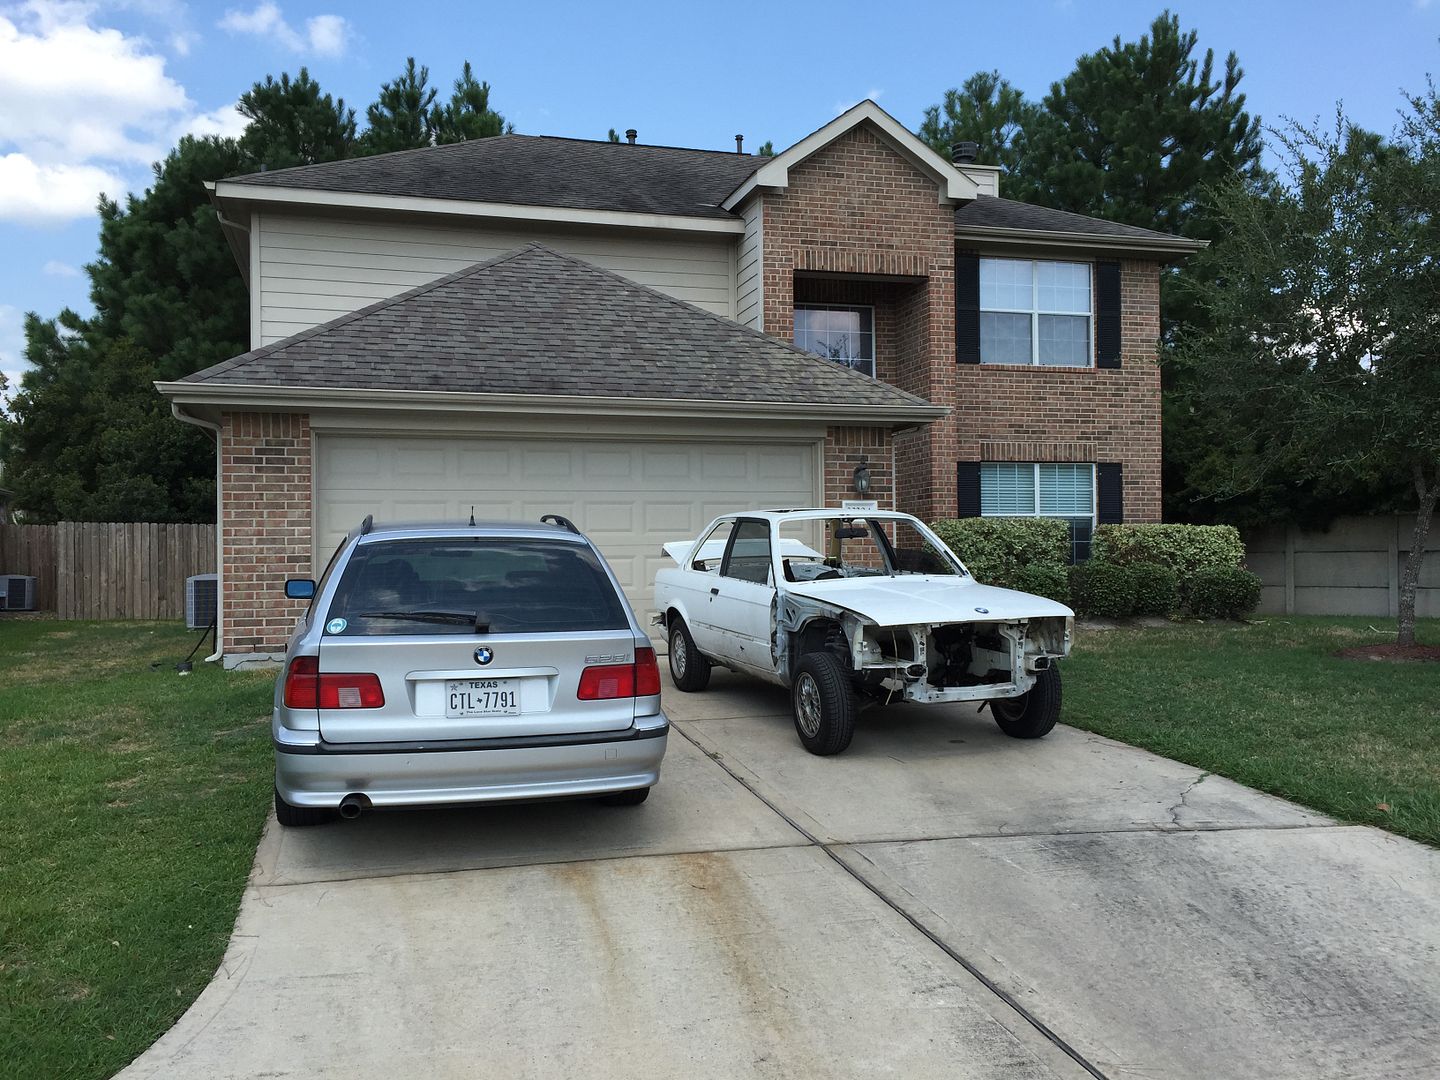
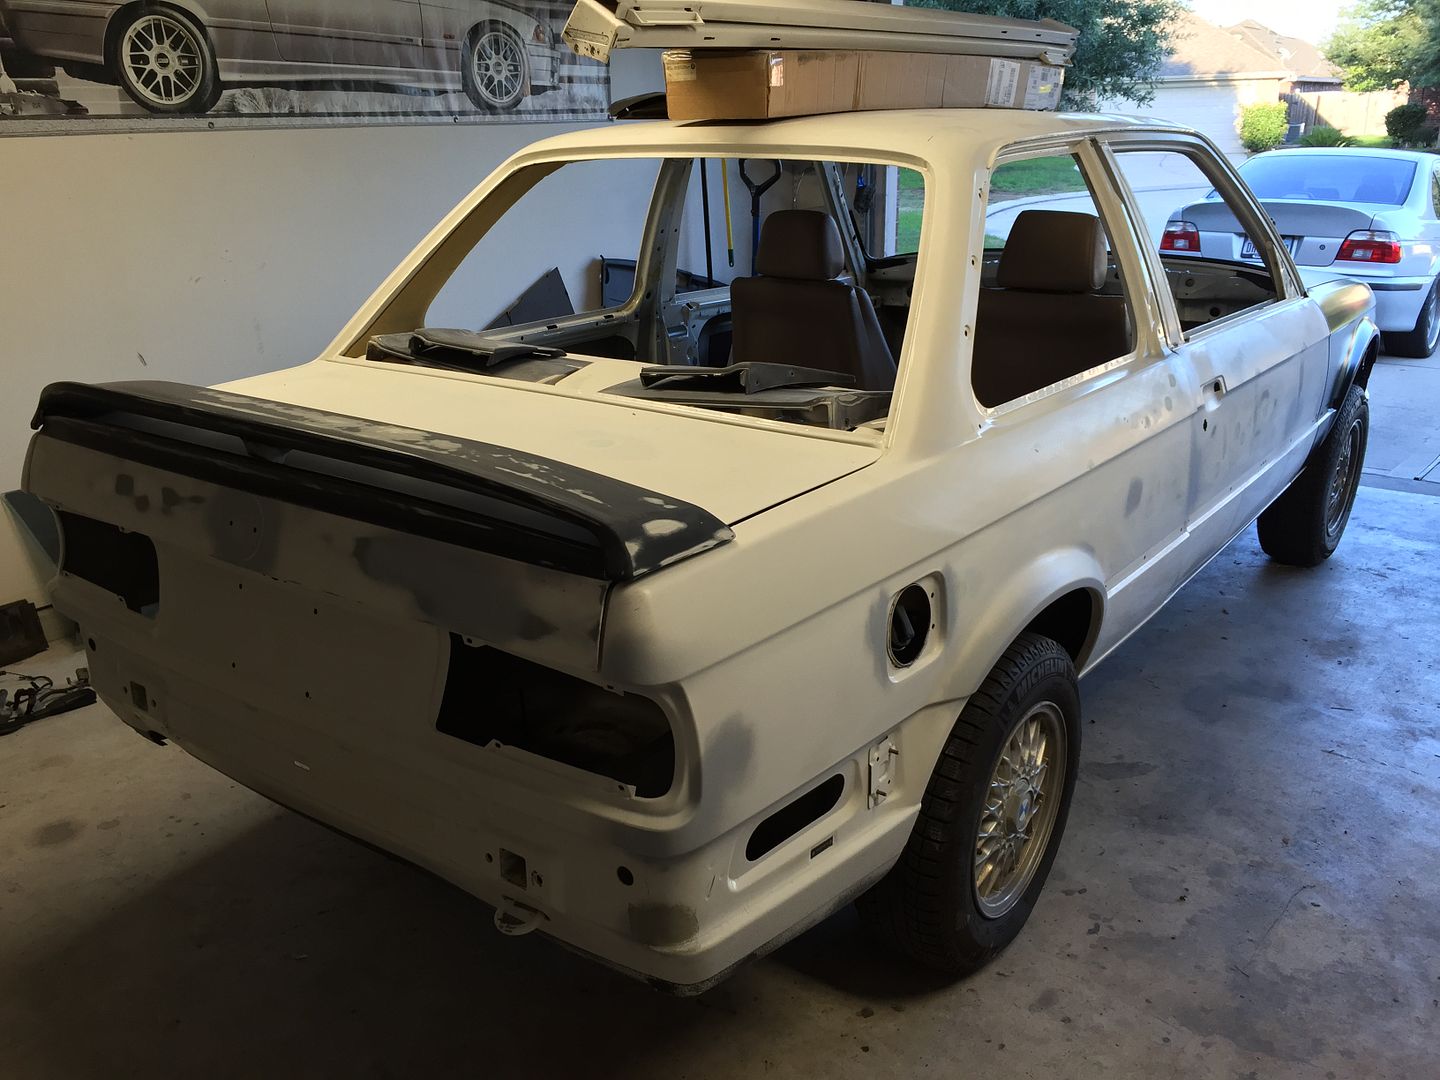
Deposited in my driveway so work can begin:
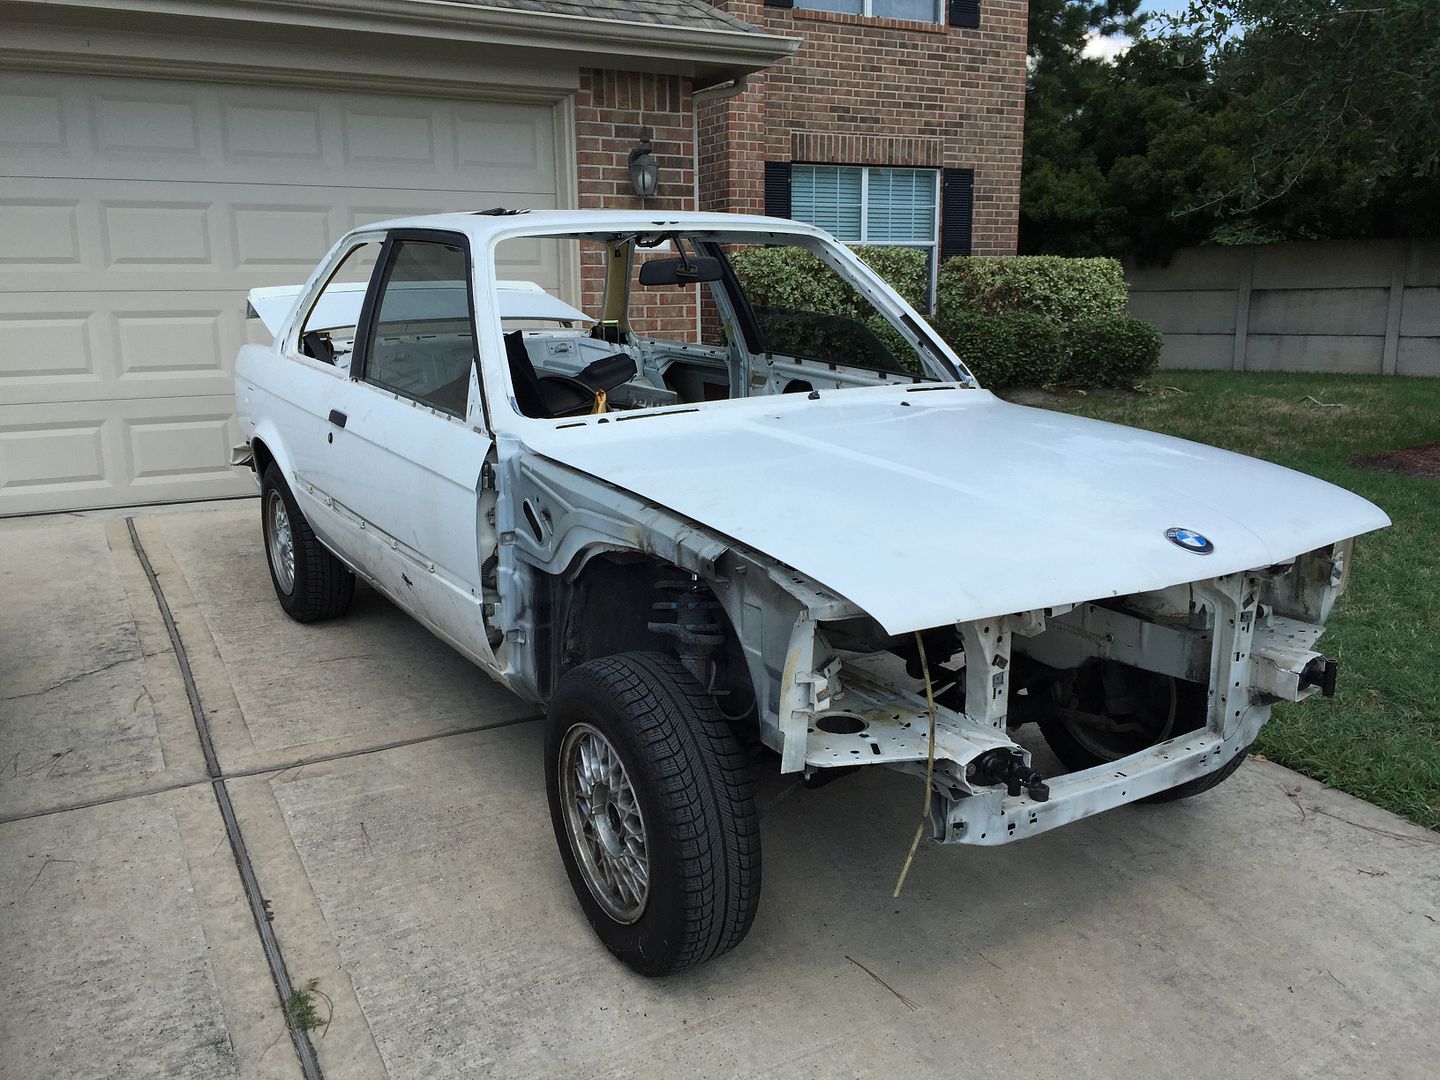
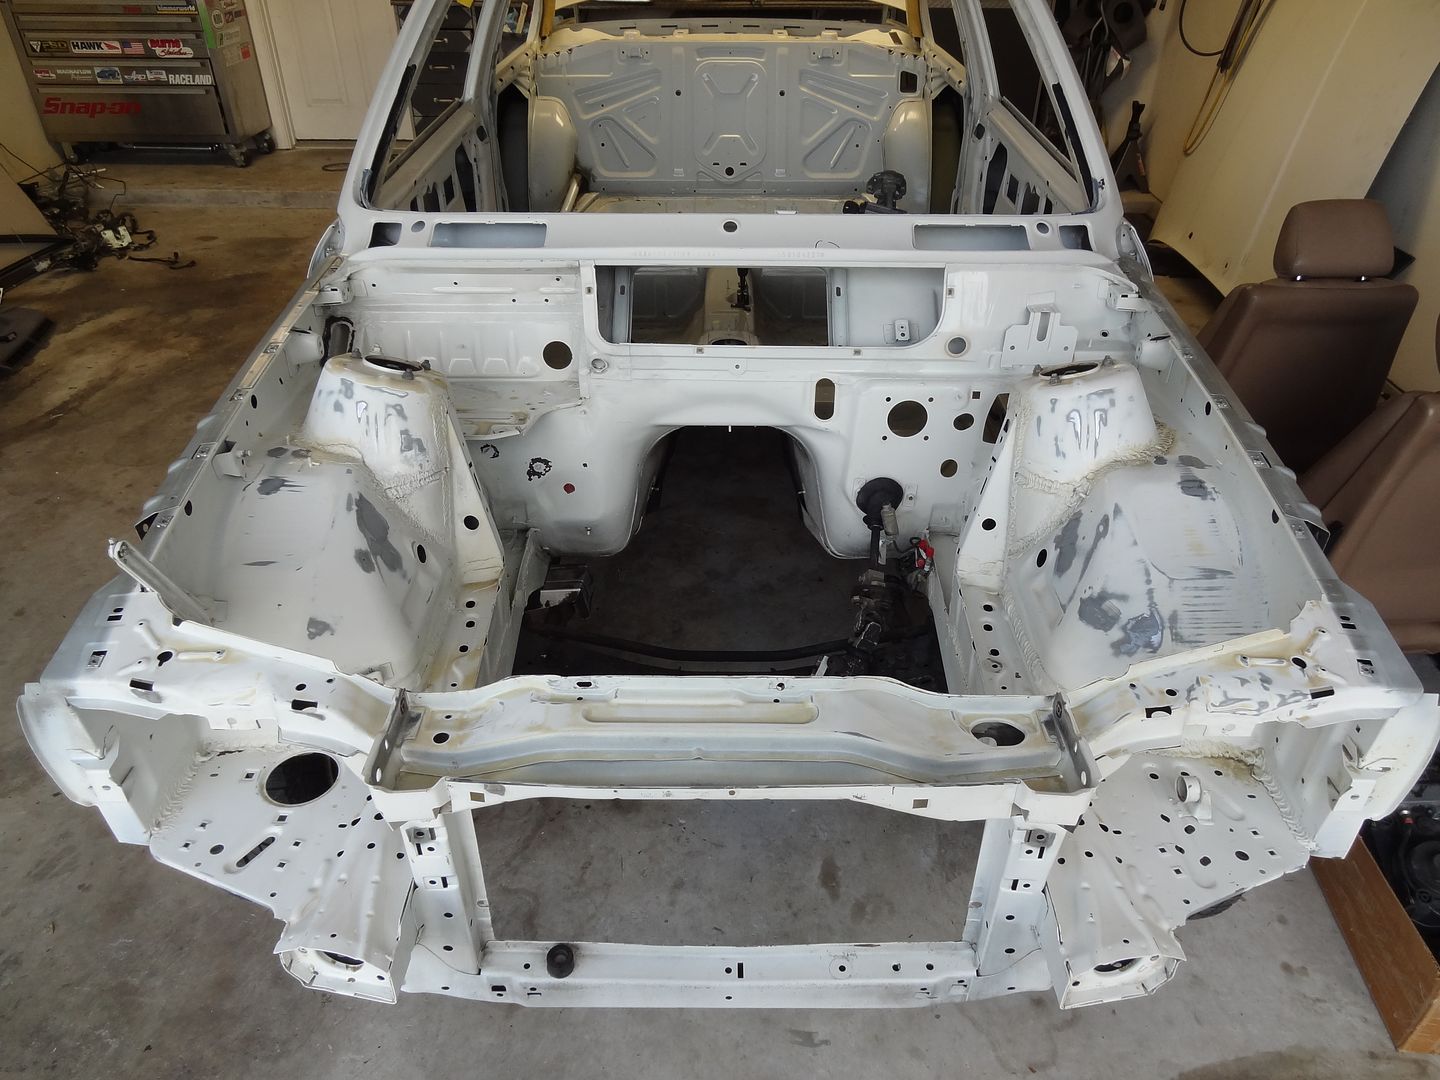
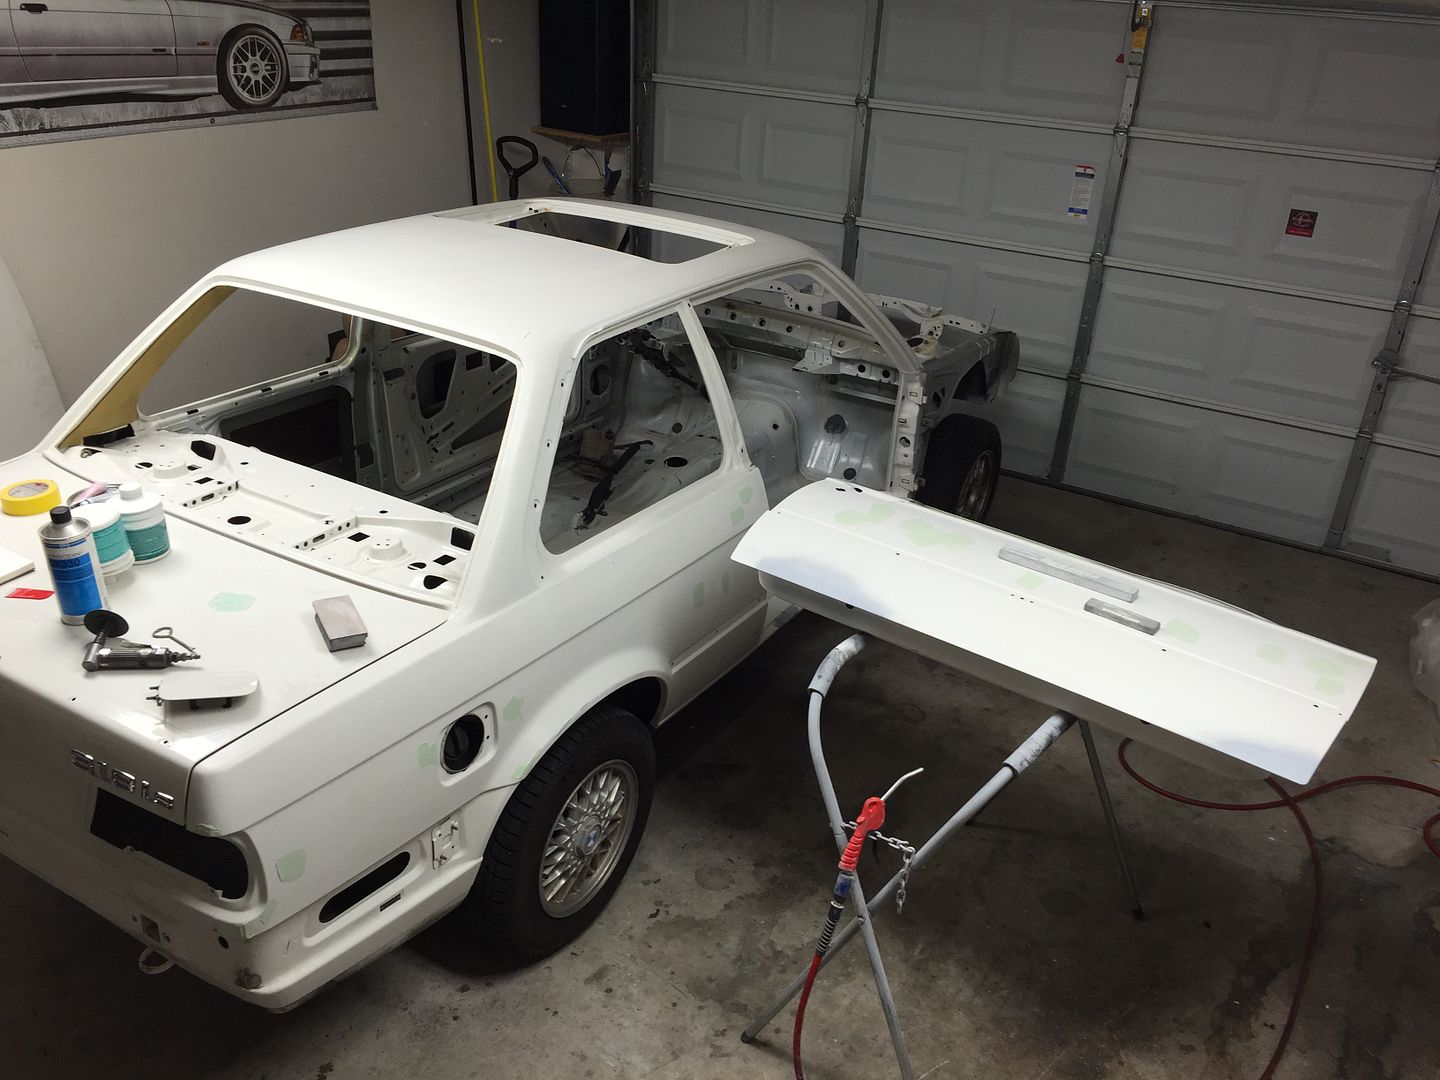
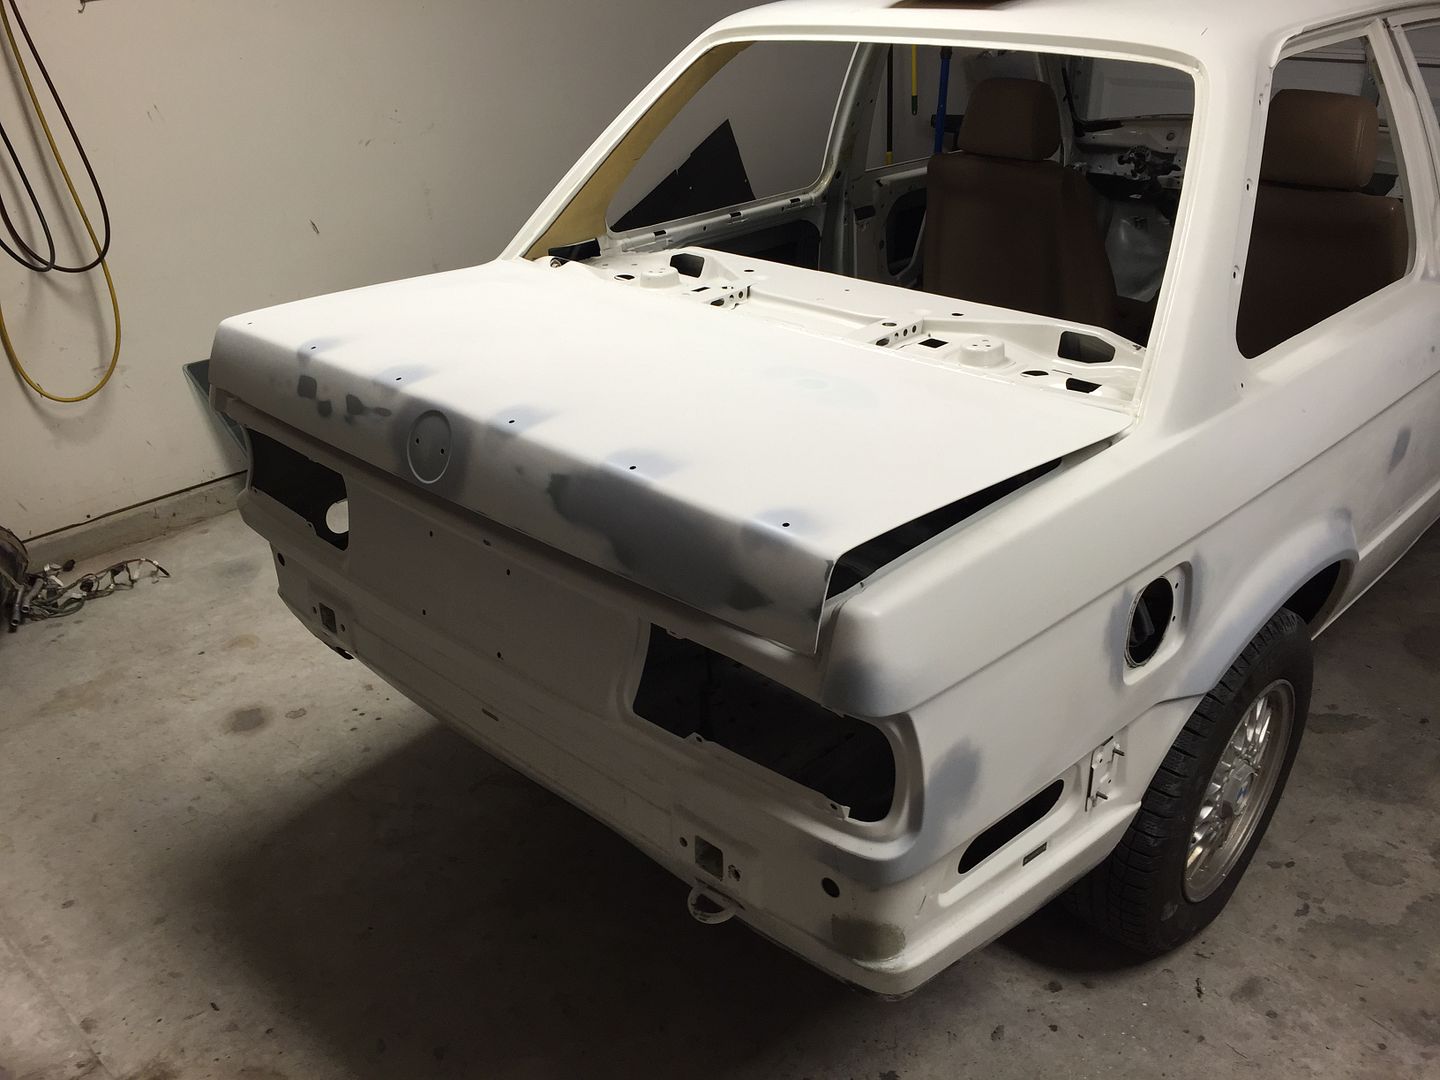
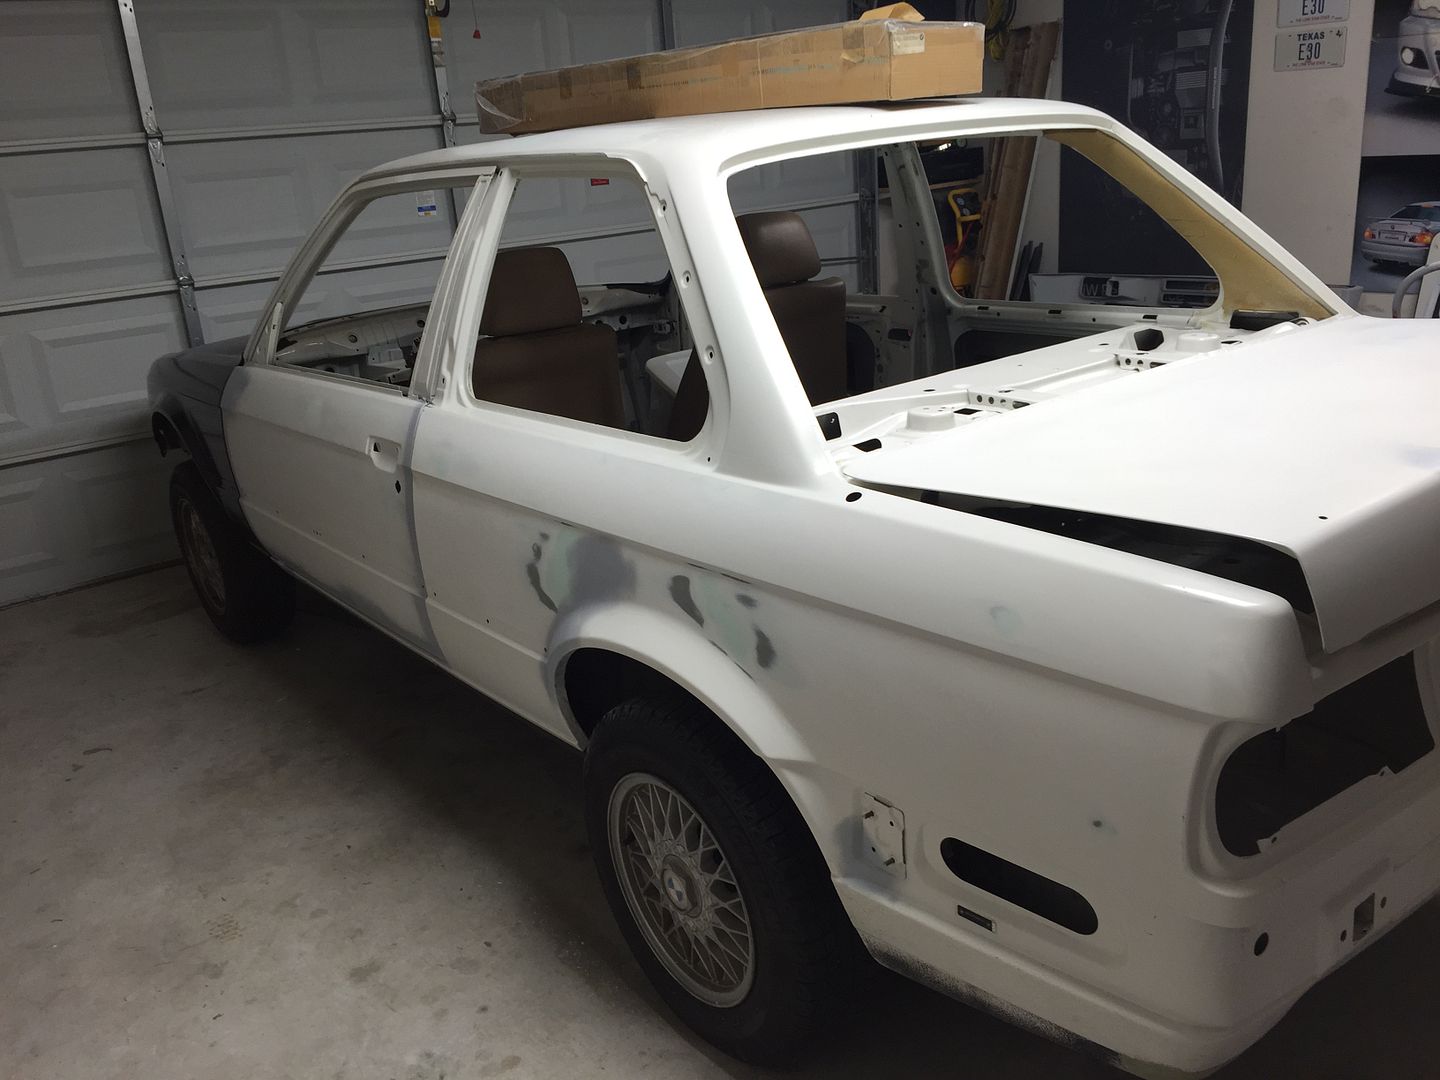
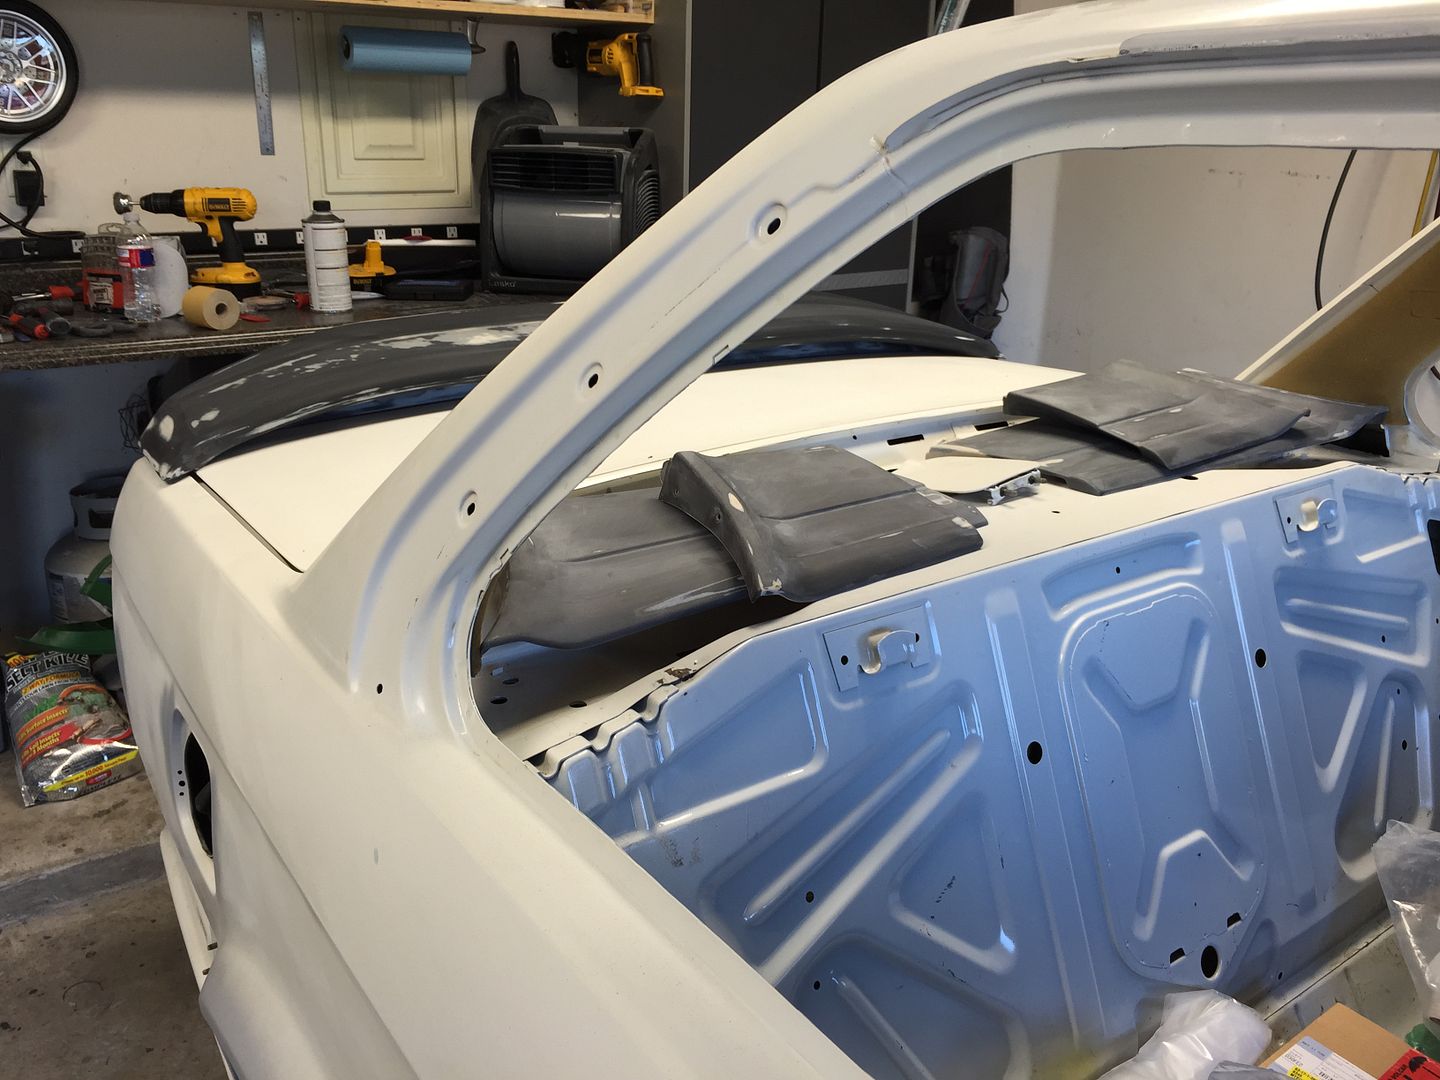
I spent the next 8 hours completely removing just about everything that isn't going to get painted, and wet scrubbing the chassis inside & out to clean the panels in preparation for bodywork.
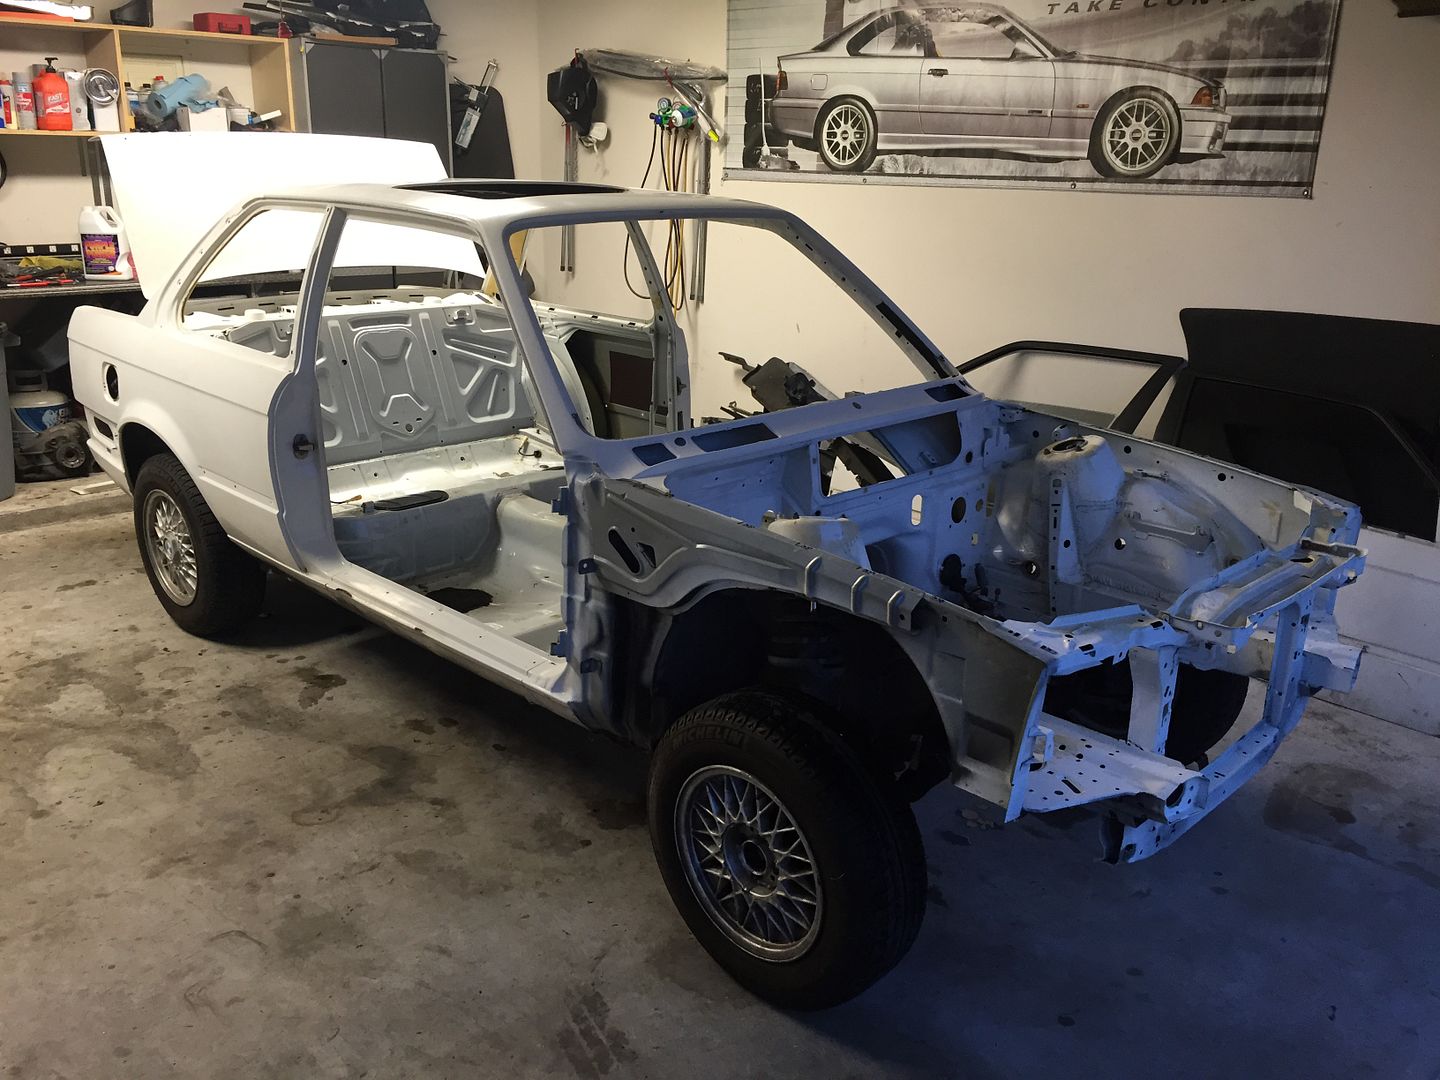
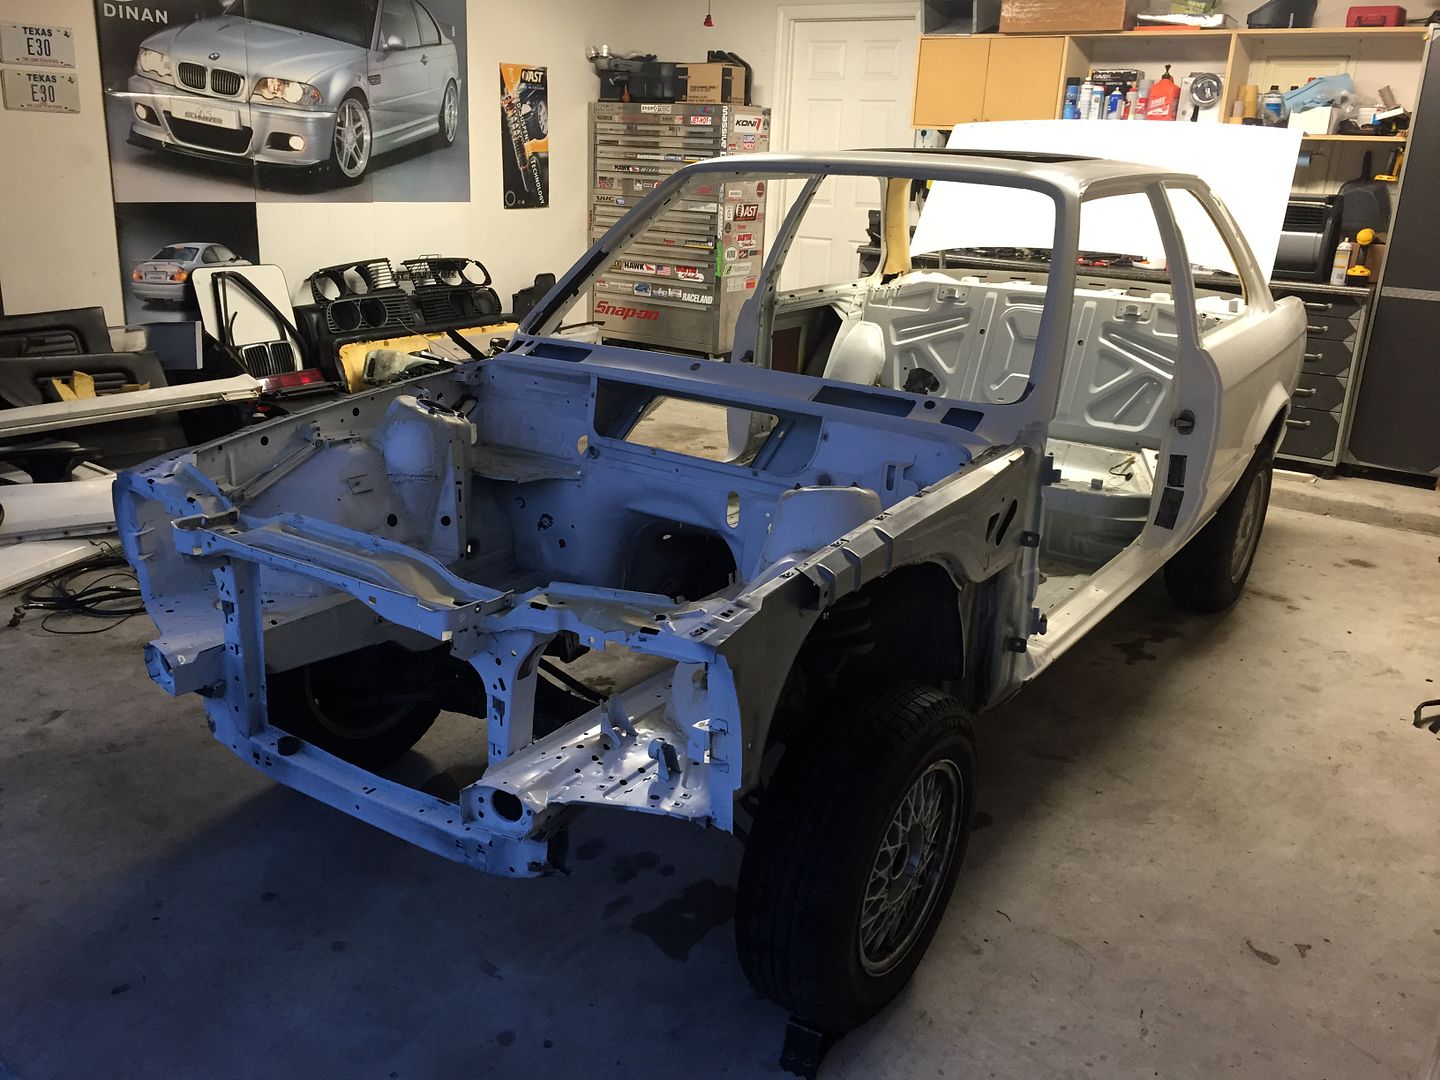
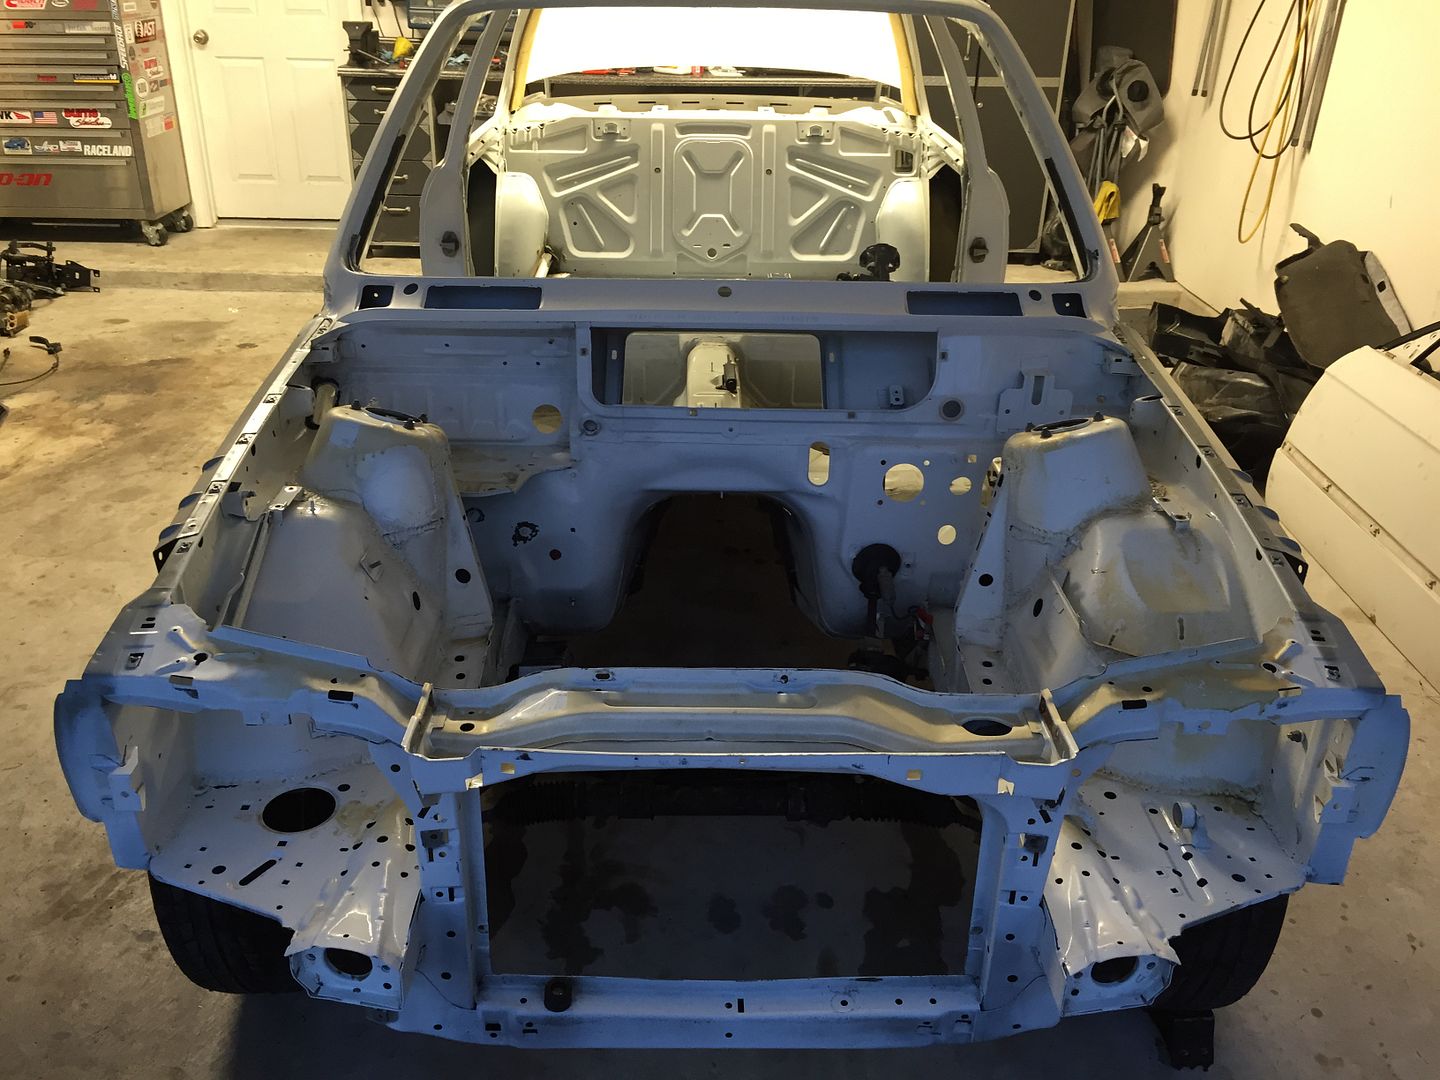
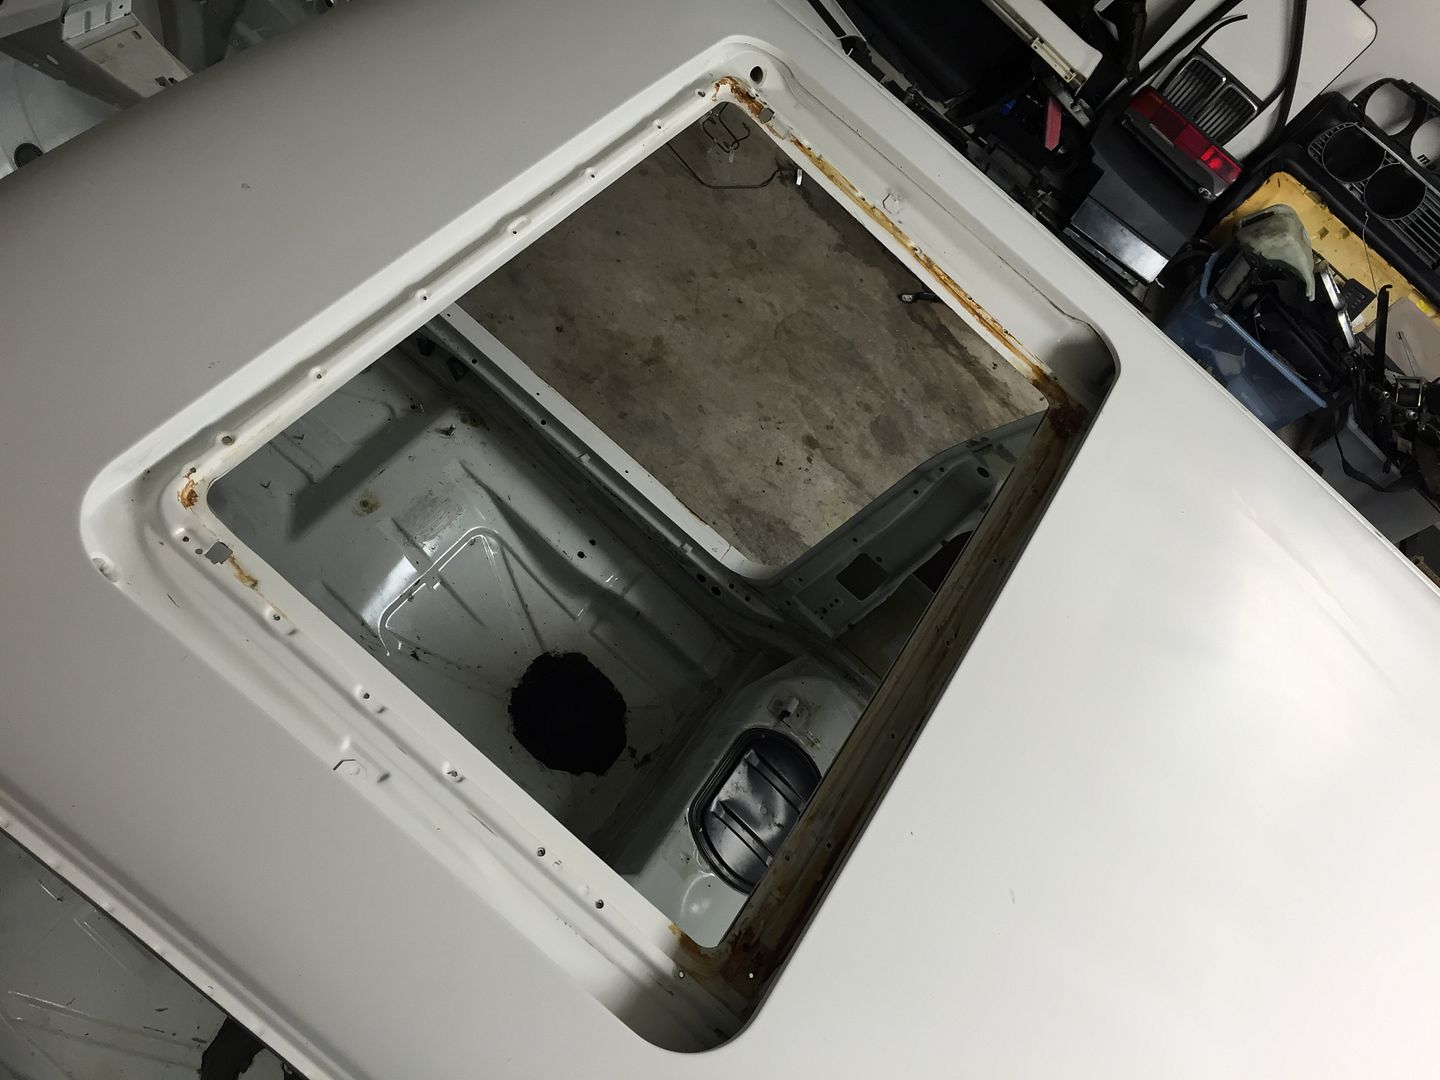
The orange crap around the sunroof is headliner contact cement, not rust.
That's it for now. The car is in the garage and drying itself off. Repair of dings, dents and surface rust begins tomorrow.
Not a whole lot of visual progress today so I didn't take many pictures. I got both doors completely gutted and rehung on the car, and started to repair the damage to the passenger side rocker panel.
It looks like someone had a curbing incident and it was pushed in a bit. I used a stainless rod and tapped it out from the back side until it was as close to flush as the metal would allow for.
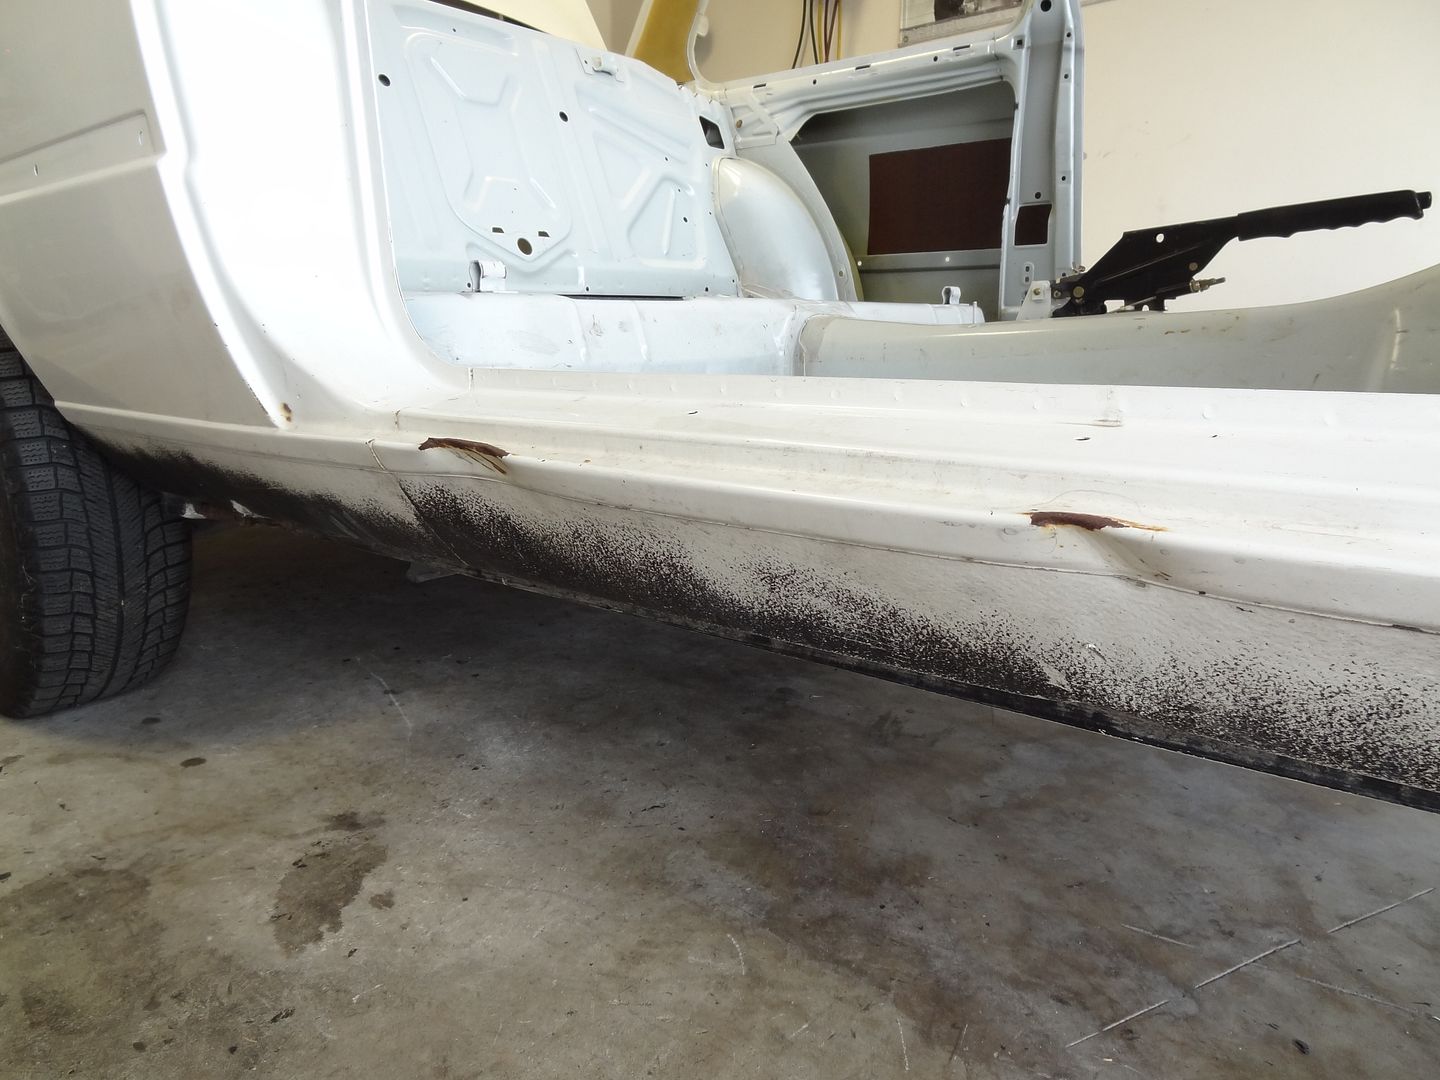
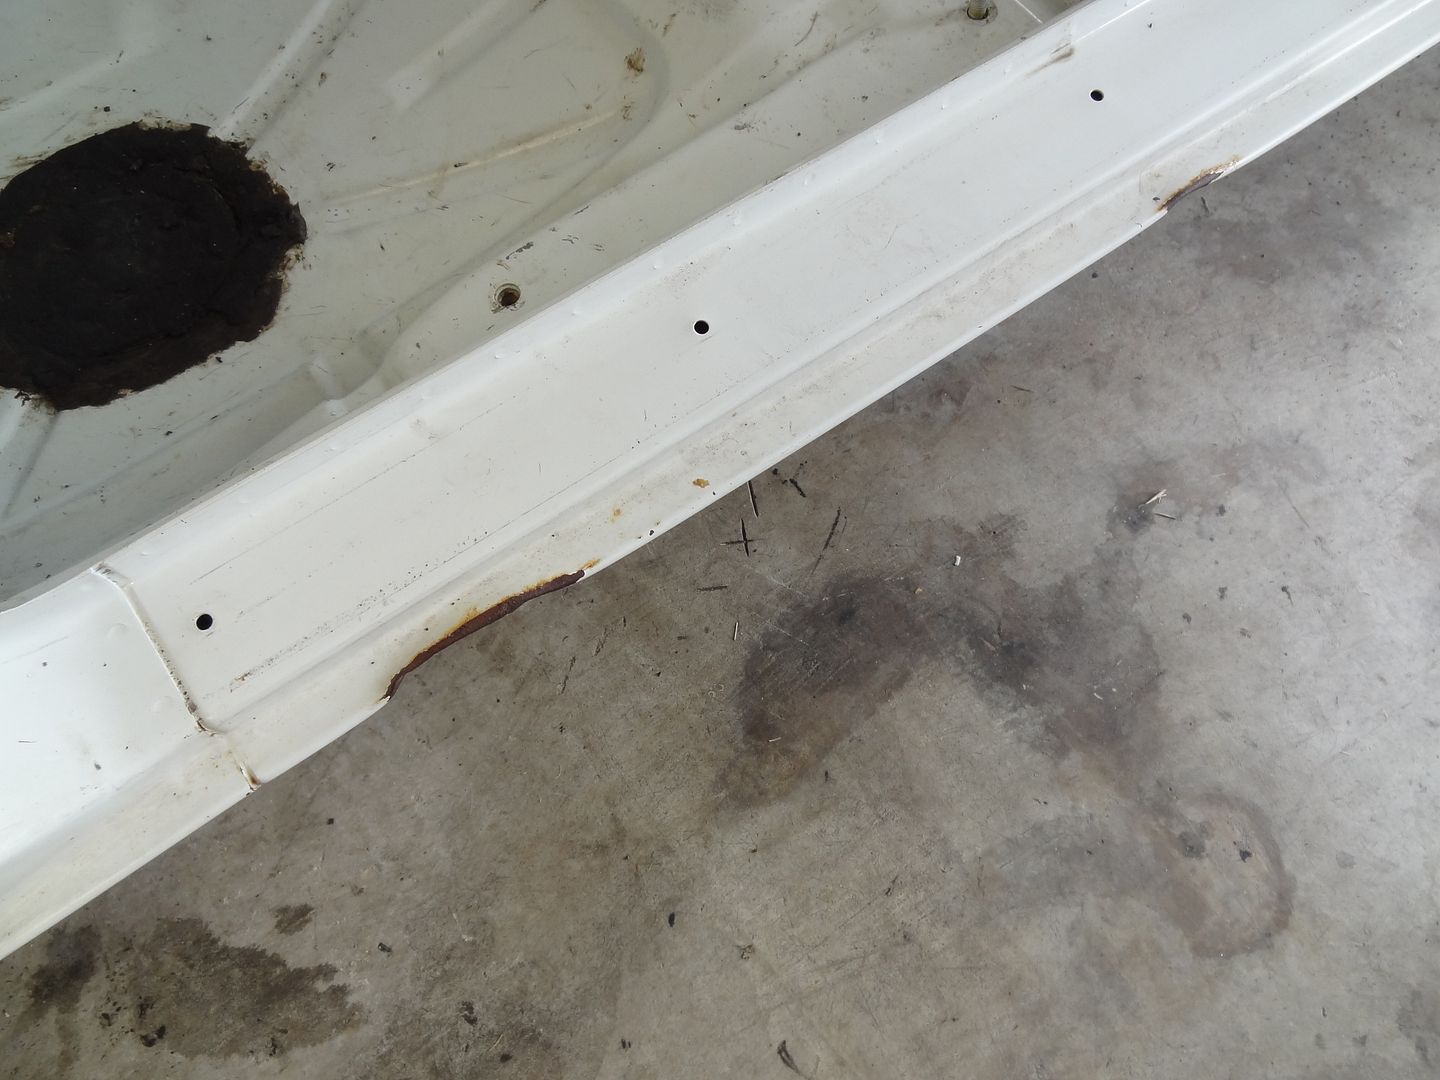
It will be flushed with filler from here after I finish dressing the metal for rust.
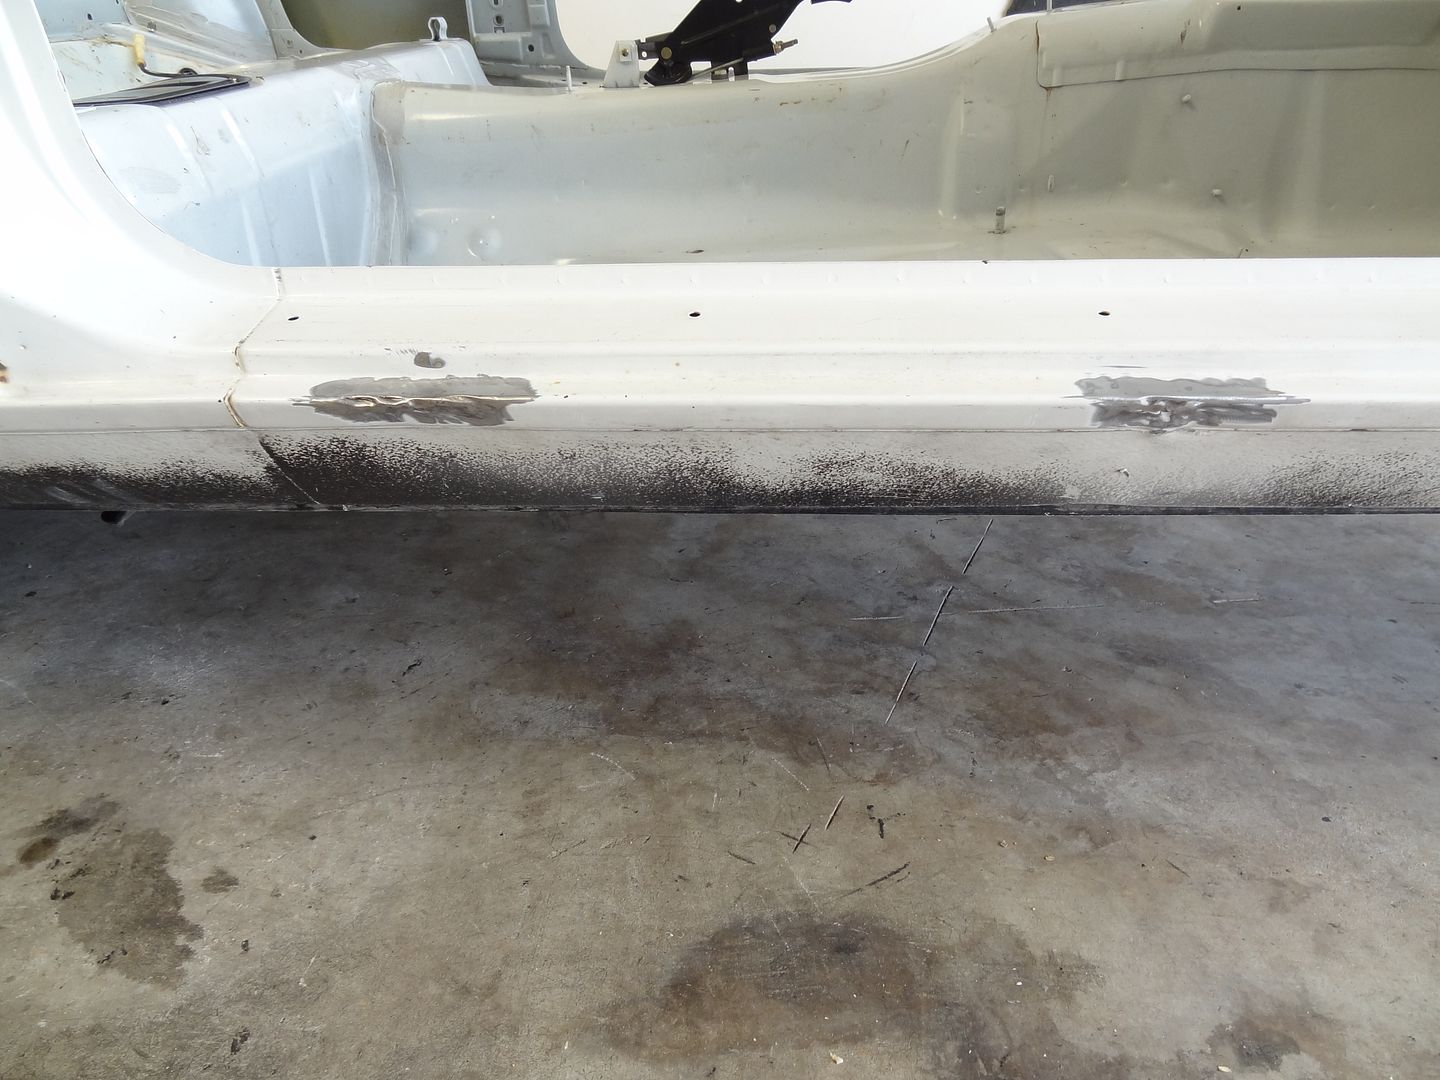
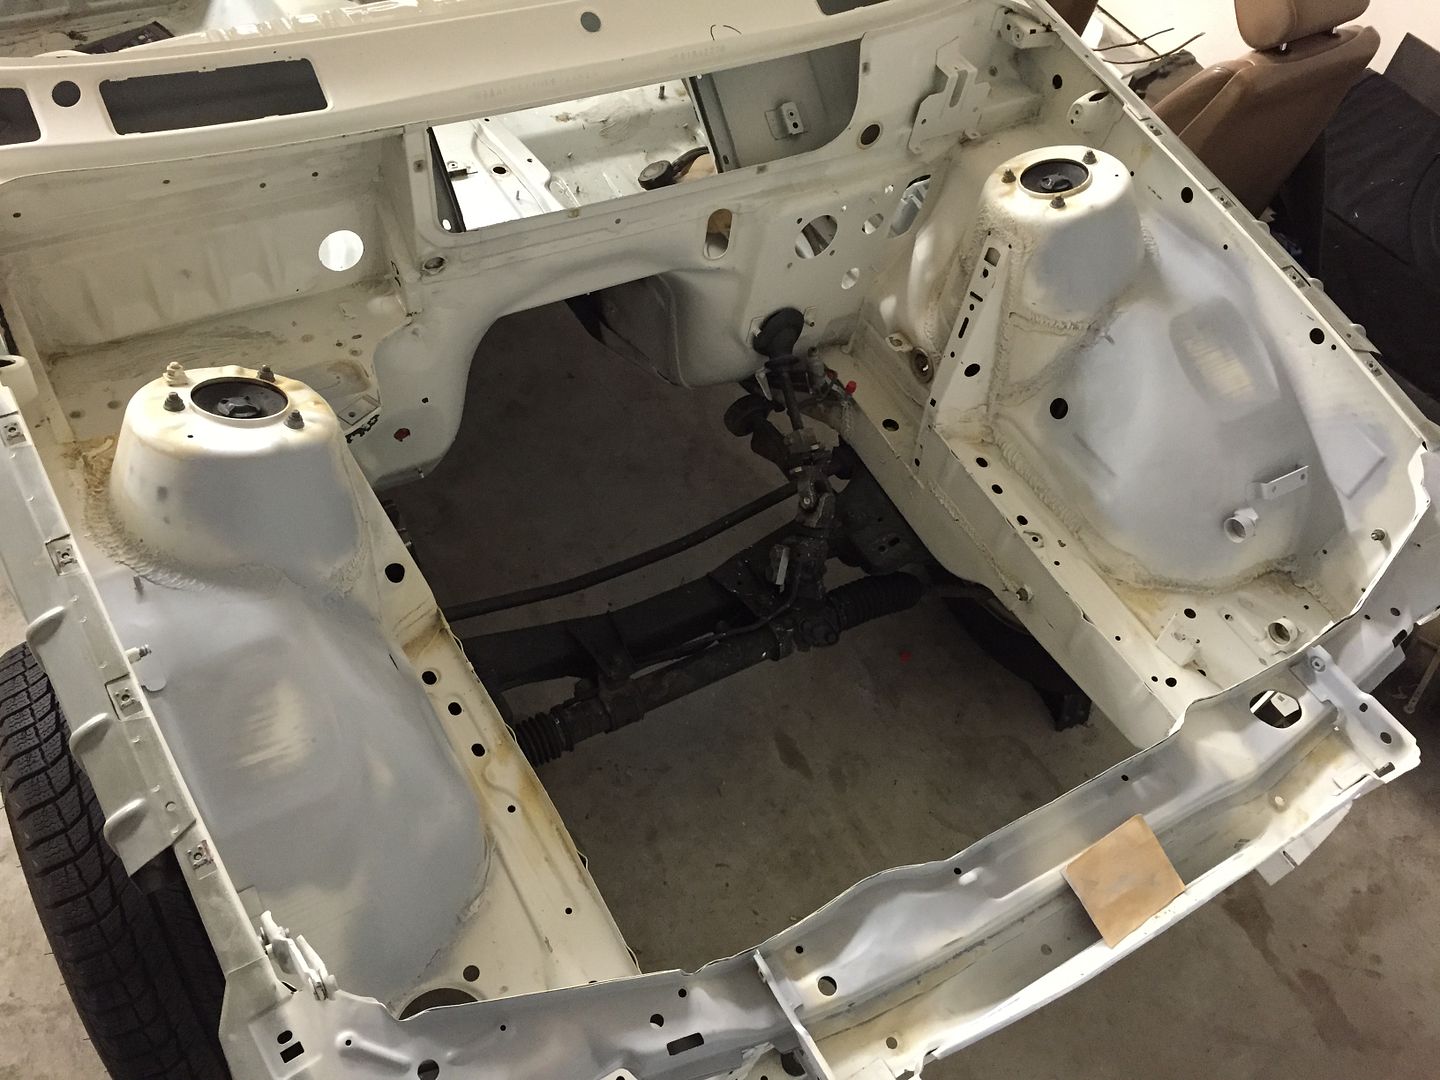
After that I started drilling the spot welds out on brackets in the engine bay I'm not going to need, and sanded down some places along with cosmoline removal.
Some bodywork going on this week, cleaning up various door dings in the body and wrapping up the removal of excess brackets etc in the engine bay.
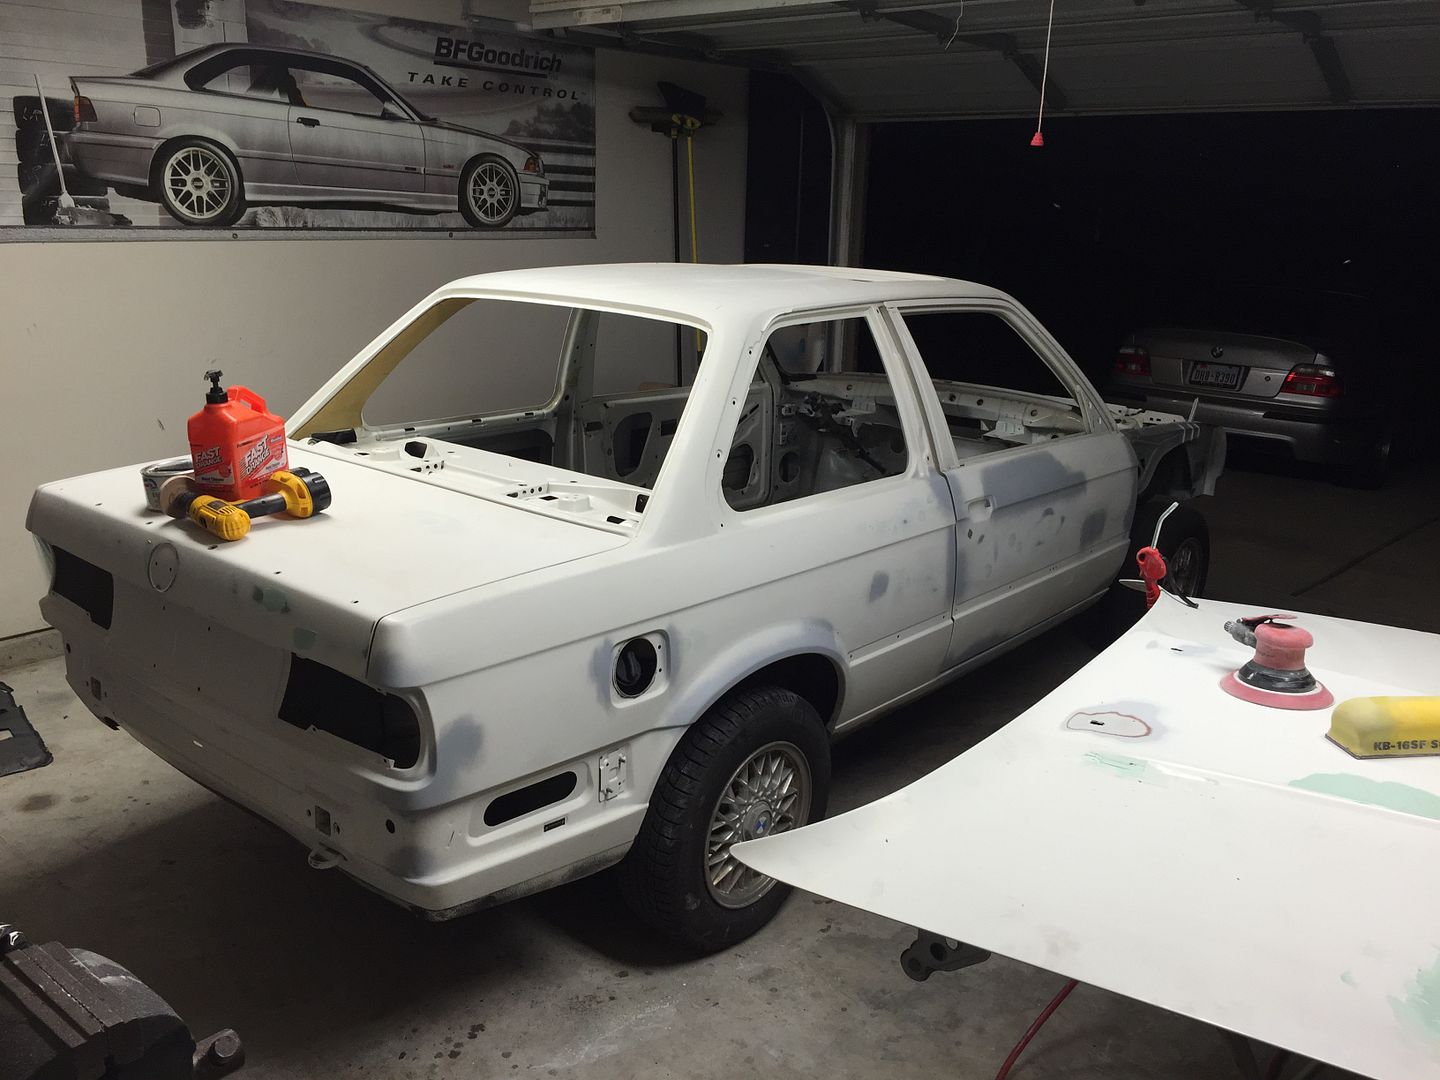
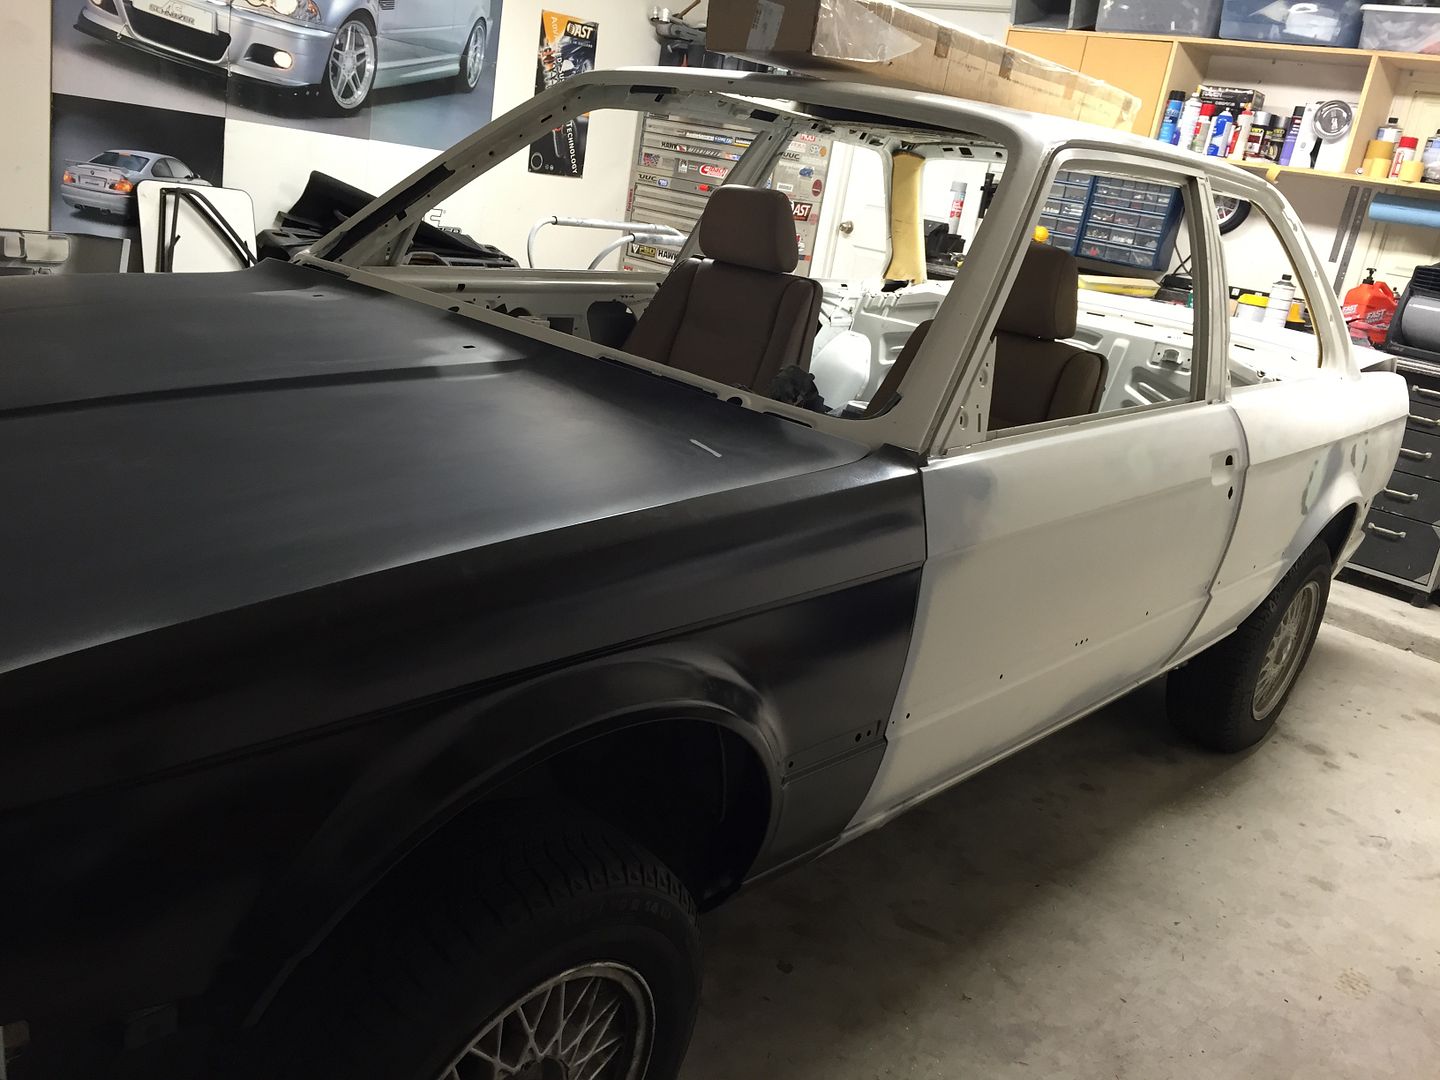
Another night, more progress. Passenger door, rocker panel, and quarter panel are straight. Now working on hood and trunk.
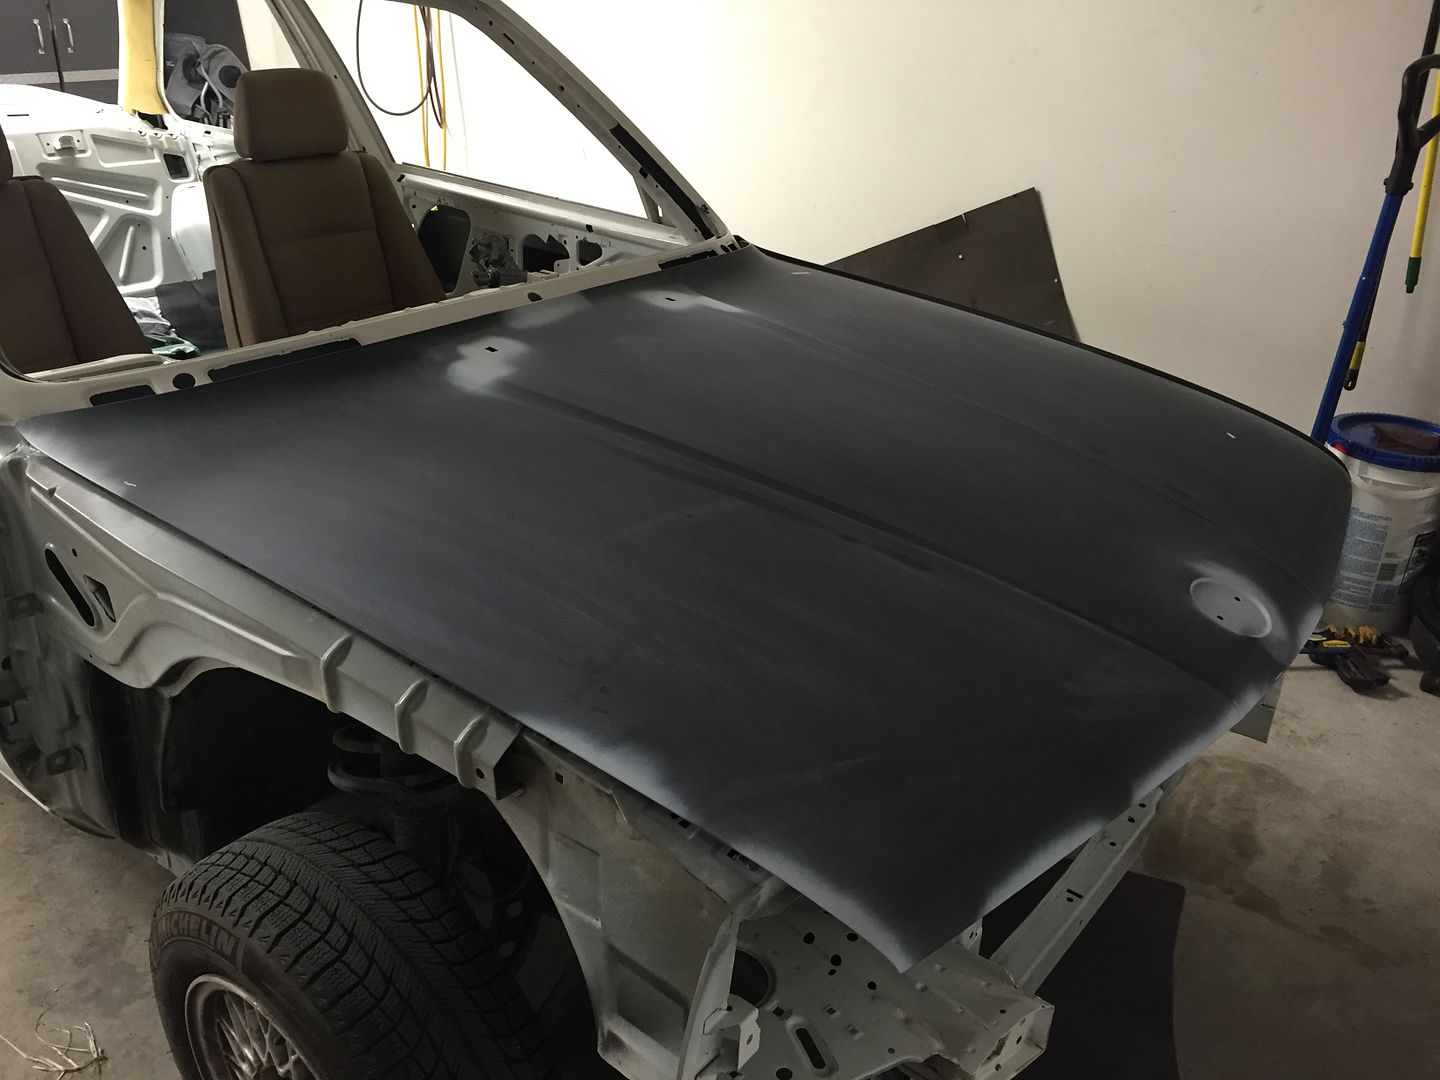
I went and picked up a replacement hood from a friend today as after I started sanding on the original hood I found it had a lot of filler, and substandardly applied filler at that. I just didn't want to use it like that even if I could make it "right"
I also went by BMW of Houston North to pickup my first parts order, which includes new front fenders, front valance, plastic undertrays, fender liners, mtech brake ducts, foglamps, door glass wipers, glass locking strips, grills, seals, and a staggering amount of shiny new nuts, bolts, screws, clips, clamps etc.
I want as little used/original hardware as possible going back on the car. Every fastener will be clean, new and correct.
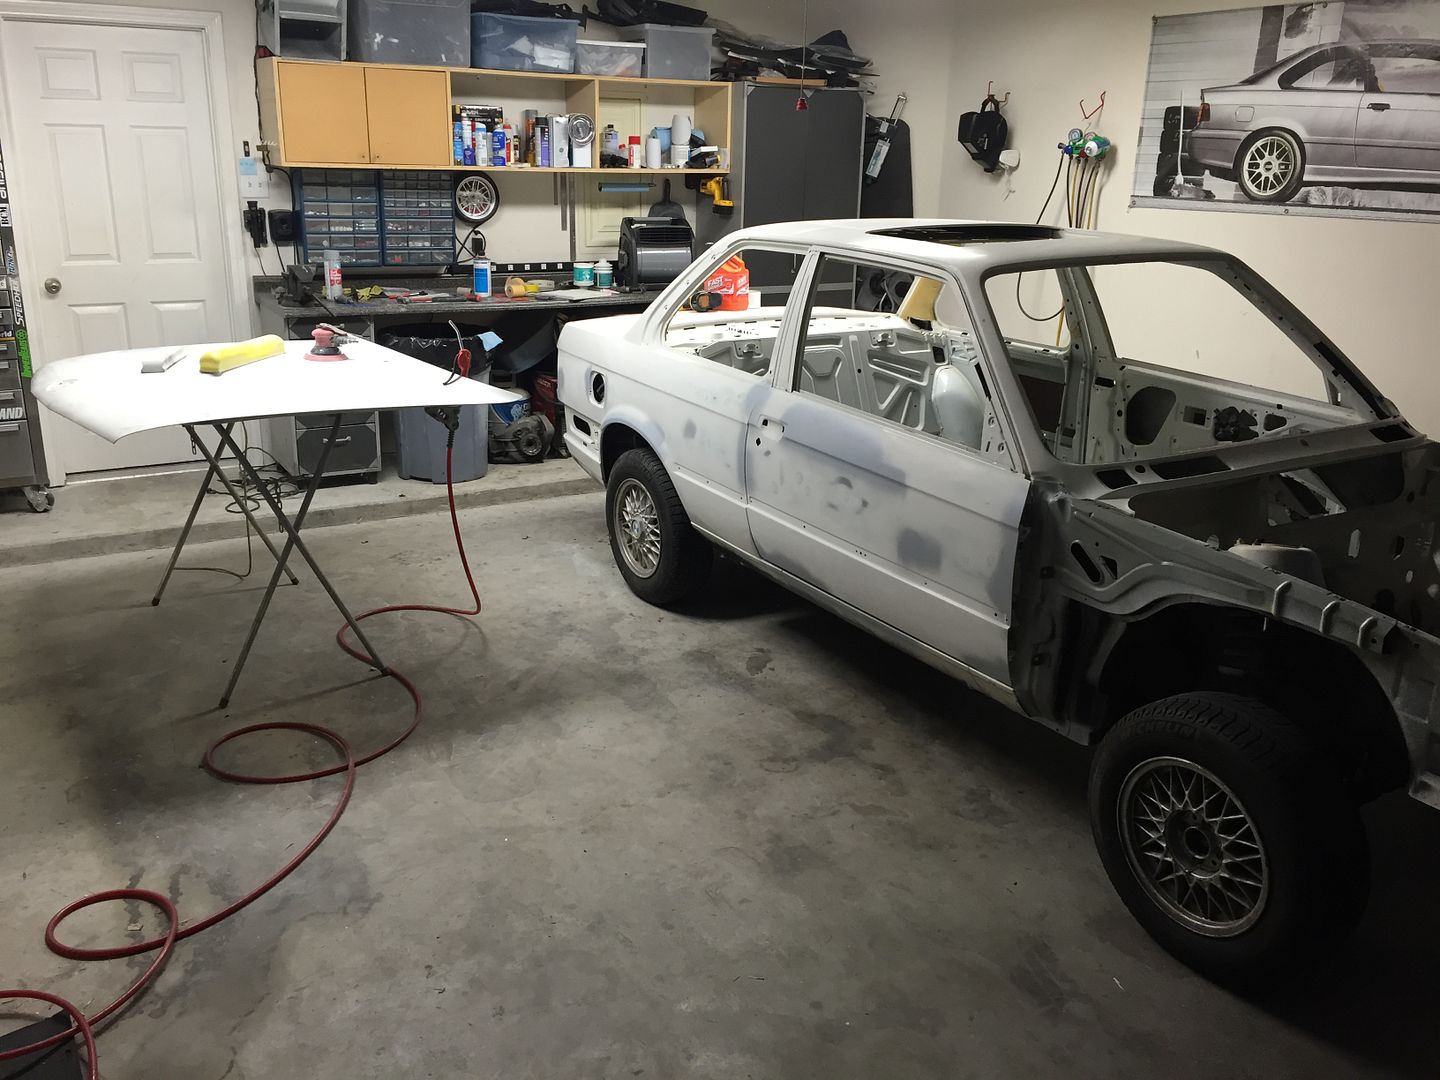
Tons of progress on the E30 today. Finished blocking out the trunk, replacement hood, drivers quarter panel, drivers door and the roof. My arms, hands and fingers are feeling the paaaiiiinnn.
I've made such rapid forward progress I'm nearly on a parts hold. I'm waiting on the MTechnic sideskirt mounting clips to come from Germany so I can mock up the sideskirts and drill the mounting holes. Unfortunately for whatever reason BMW AG has them blocked in the US system as a EURO/BAD/USNOHAVE part number. Odd that every other part came in those aside.
The passenger fender and the front valance should be in Tuesday and then I can start fitting the hood, fenders, and setting the door gaps etc.
I haven't had much time this week to work on the car, but I did manage some solid progress today.
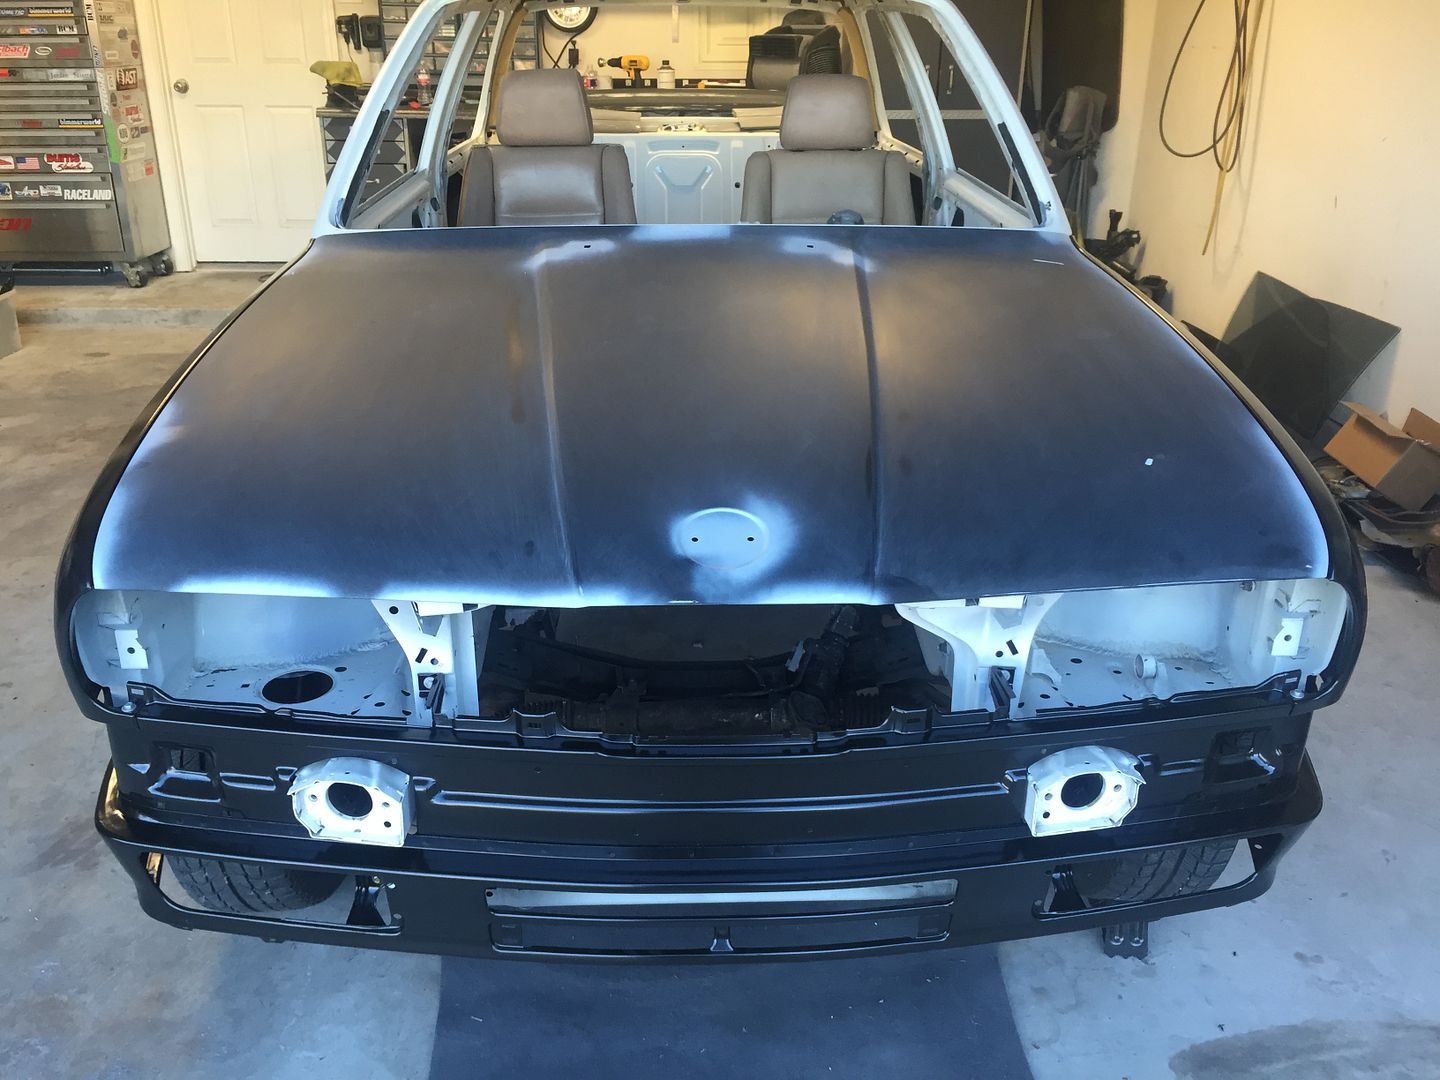
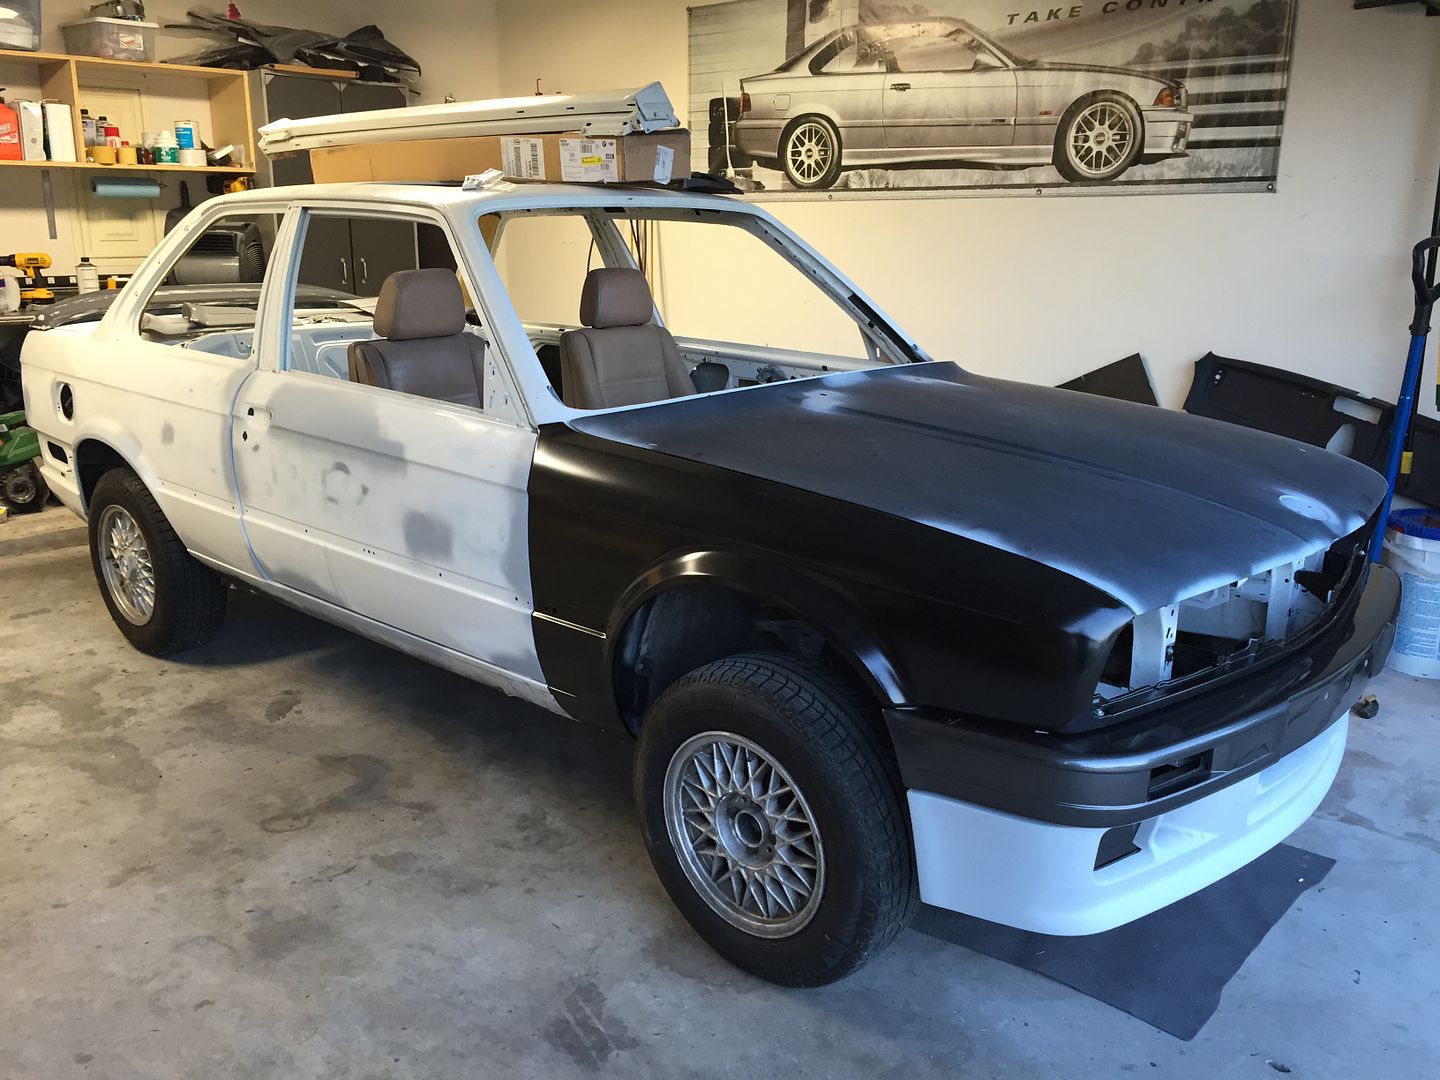
I got the new passenger side fender installed, hung the new front valance and adjusted the panel fit of the doors/fenders/valance/hood to get everything as fit as possible. Every screw holding these on is brand new too!
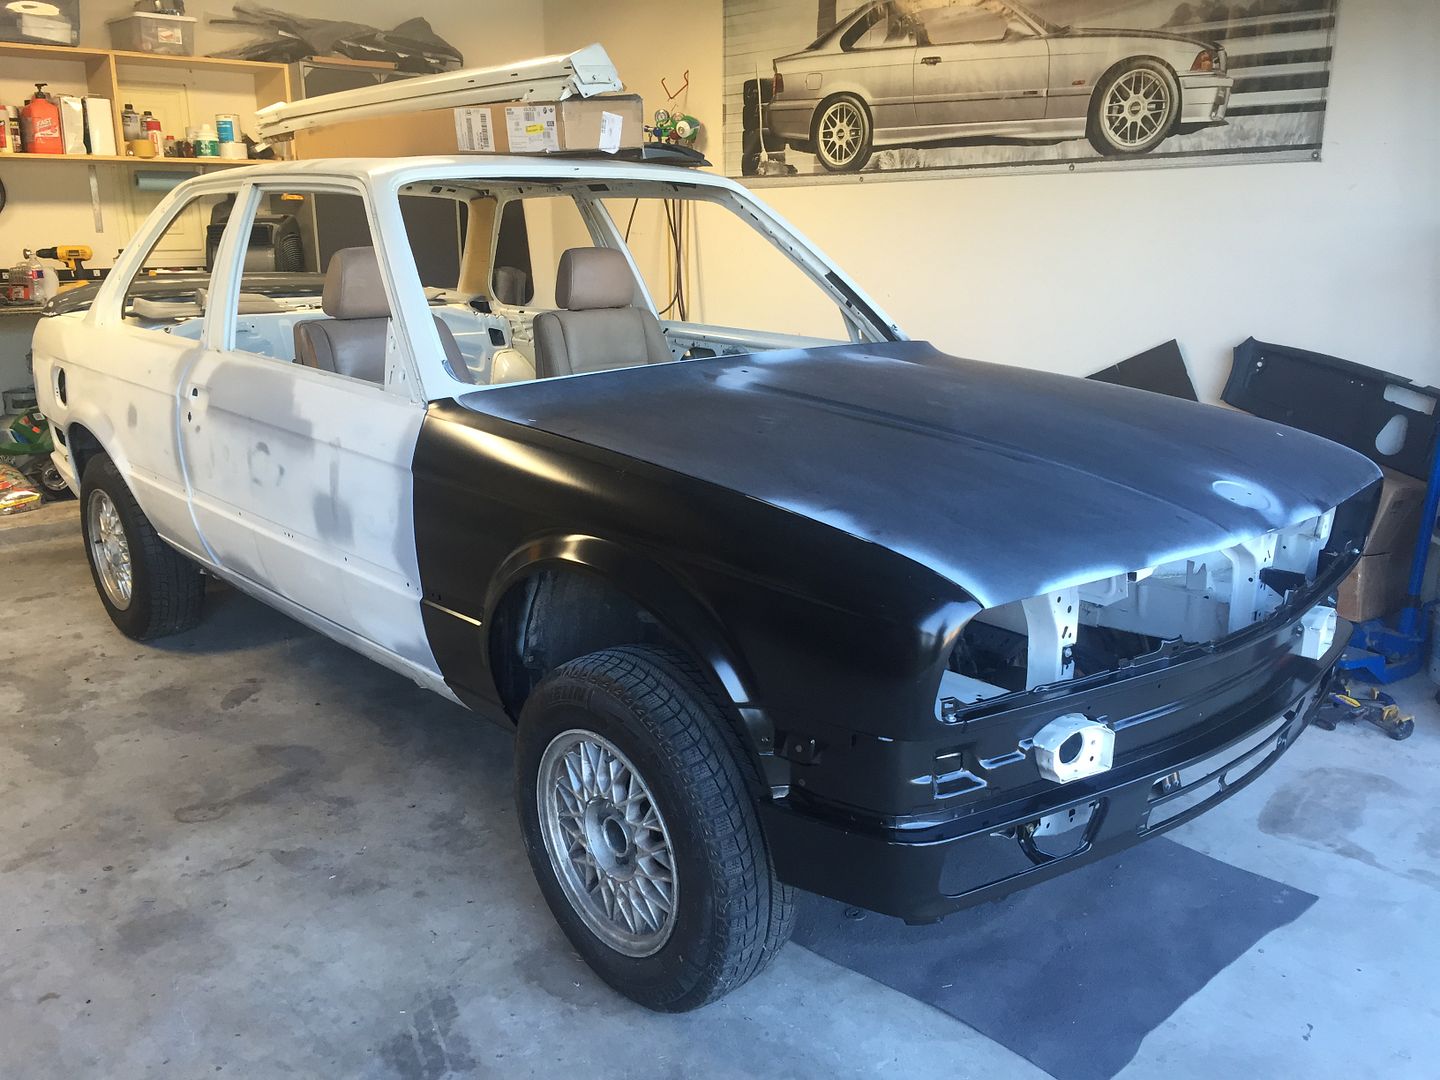
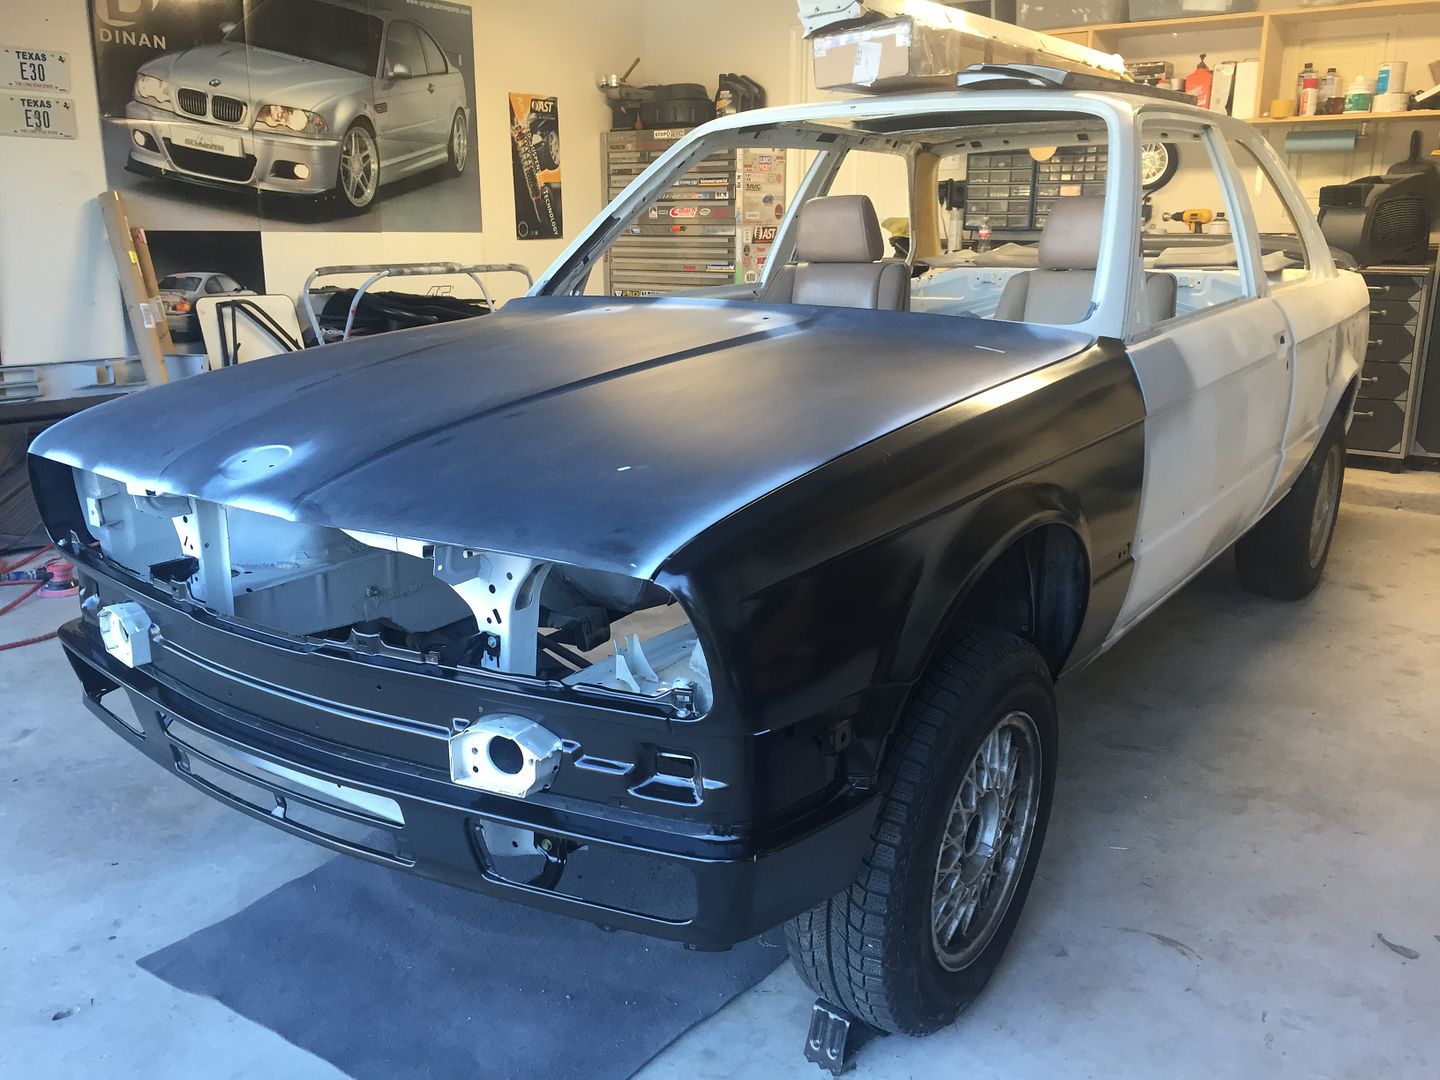
Oh yeah, and my MTechnic II rear wing came in so I got that all sanded down too.
One more picture today with the new MTechnic II front valance and the used front bumper test fit.
I'm super excited to announce I have a new sponsor for this build, Ehrlich Wheels, who will be building me a completely one of a kind set of period correct 3 piece wheels to finish off the cars exterior. The owner Paul is well known in the BMW community and one of the very best at what he does, making wheels that don't exist into a reality. You can check them out at http://ewheelworks.us/
Lots of work progress this evening. Addressing some important issues, and also correcting some shortcomings that I believe exist in the MTechnic II kit that have bothered me.
First off I needed to drill the mounting holes in the new valance for the clips that hold the MTechnic II valance. There are also 2 on the sides that are hidden with the valance snapped in place.
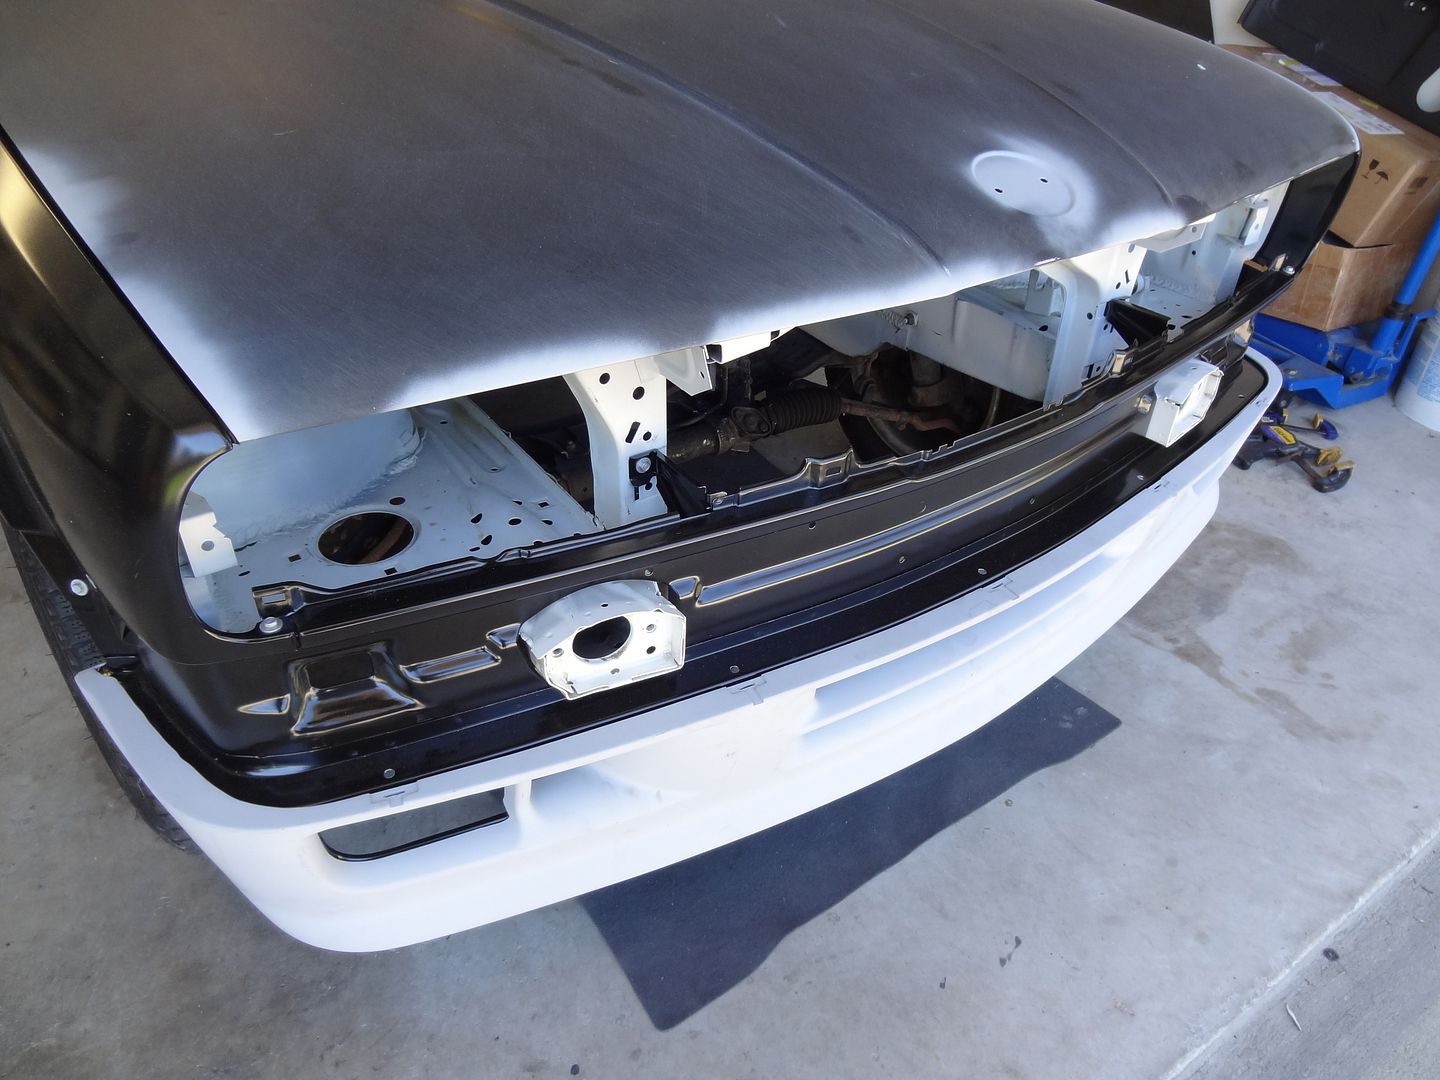
State law or not I hate front license plates on cars. I don't run them on my car and this one shall be no exception... alas it has two sets of holes drilled in the front cover, and an additional set of factory knockouts cast into the cover. I ground down these areas in preparation for some Lord Fusor 143 to fill in these undesired bits.
The large center hole has a push pin plastic rivet in it. I replaced this with a pressed fit cap head bolt, bonded in place and shaved over permanently.
While the Fusor set up on the front bumper I moved my attention to the rear.... which was sort of a bastard case. Someone else widened the exhaust opening in the bumper.... considerably... probably to fit some heinous aftermarket exhaust. Since I would want something to fit properly there I was left with filling back in the section of missing plastic.... or would I?.... One thing that has always bothered me about the MTechnic II rear bumper is that the exhaust cutout is offset about 2" to the left to match the factory 325i slant tips. I didn't think this looked good in the 80's and it sure doesn't look good now.
An example of this pictured on someone elses project:
I had this good used, damn near new Remus muffler on hand and the dimensions of the can and the shape/size of the tips suit the E30 perfectly. Its also made in Austria, so yeah.. I'm going to use it.
I mocked up the Remus centered on the tow hook cover.
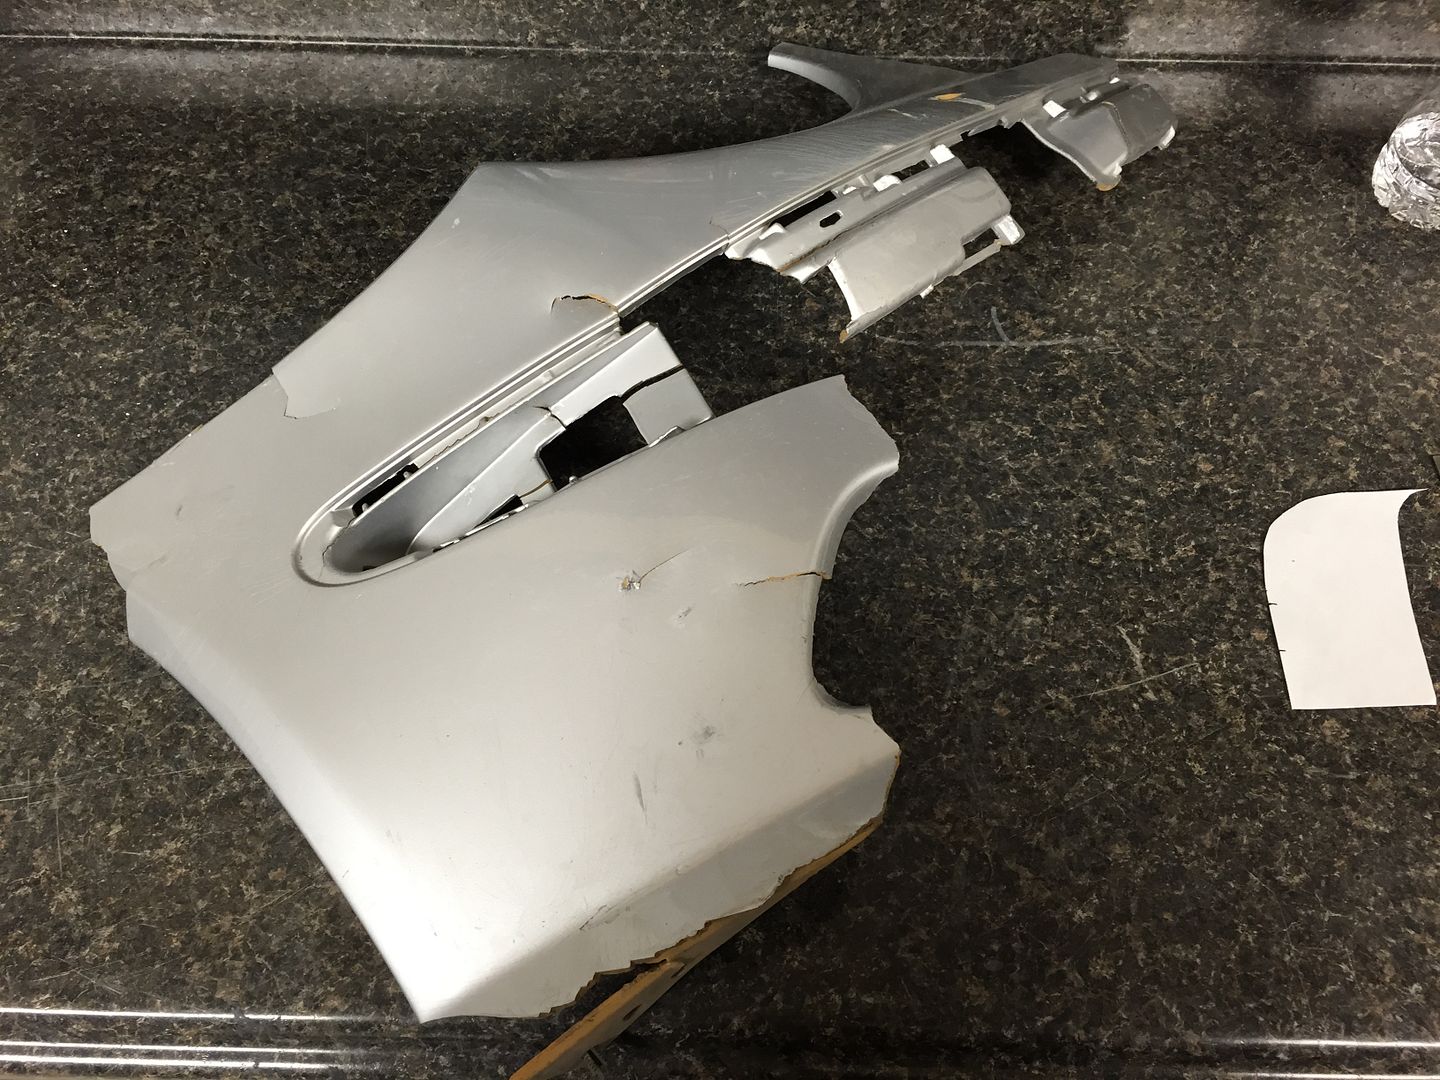
Looks good, but that is a tough contour to match given that I'm working with PolyurethaneGF, which is a thermalset plastic. It does not melt or react to heat to bend until it gets hot enough to liquefy.... I needed a donor piece of identical PURGF15 to use as a filler panel... but I wasn't going to find a MTechnic II bumper as a donor. I looked around at work and found a section of the front bumper on a E55 AMG that had a really similar contour, and it is PURGF15 as well. Most excellent.
Hard to tell in the picture but that lower section kicks out, just like the rear bumper does.
I made a paper template, transferred it to the Mercedes bumper donor and cut it out with the air saw, taped in place. Nice fit!
I laminated the front side with mylar tape and then flipped the bumper over to prep the back side for an application of Fusor 143. I saved the tail so I can bend it back down to finish the cutout like it was originally, rather than just a cut opening.
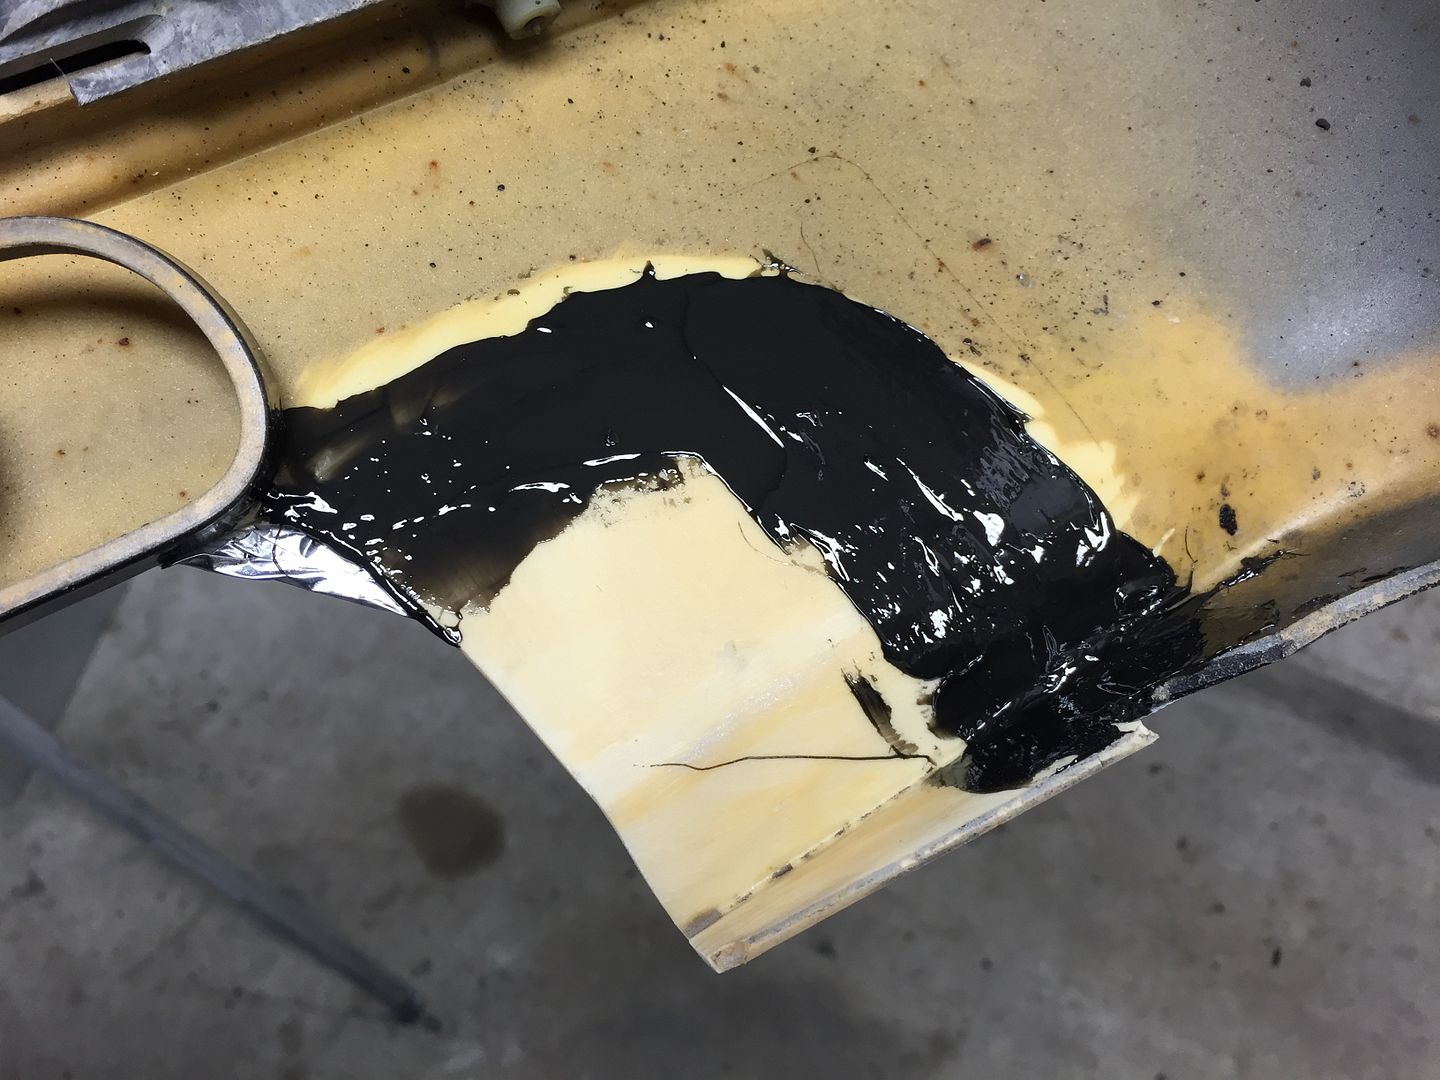
I finished this evening by prepping the front side and applying another coat of Fusor 143. I'll have to let this all set up overnight and I can start finish work tomorrow.
Here were the pictures from the Craigslist ad:


It obviously looked pretty damn rough, but the price was right... $250.... and it looks reasonably straight body wise. I emailed the seller and ended up reaching an informal agreement to buy the car pending his return to Houston in a few weeks.
Knowing what a huge undertaking this car would be to do right I had to enlist the help of some friends. I made a few contacts and I'm pleased to announce that I have several sponsors onboard to help with what I anticipate will be a monumental build. BMW of Houston North & Guten Parts have stepped up to provide all of the brand new OE and hard to find euro parts needed for the build. Imperial Collision will be providing a most excellent respray in BMW Imolarot II. Dsylva-Tech.ca will be providing the software expertise to crack the EWS and provide the tune for my chosen drivetrain. Last but not least Lonestar Imports Auto Salvage has provided the hand picked drive train package from their extensive inventory of European cars for salvage.
This past Weds he finally made it into town and I hurried across town after work to have a look.
The car was more or less as advertised, some surface rust here and there where the car has road scars but nothing major. While I was there I looked at the nearly complete (missing wing) MTechnic II kit the seller also had. We negotiated back and forth and settled on $1500 for the kit & car under the stipulation I get it all out of the way ASAP as he was trying to move. No problem! Can do!
I returned the following night to pay the seller in full, take the title and load up my E39 Touring with the most valuable loose parts to bring home.


Among the loose parts are a nearly brand new pair of US Elipsoids, complete untarnished tool kit, euro battery tray w/ hazard triangle, complete MTechnic II kit less the rear wing w/ brand new front fascia, euro grills, euro clock, several tubs of bagged & tagged hardware, and one small tub full of dealer bagged all brand new MTechnic II hardware to install the kit that the owner had already ordered. Score!
The car came with all of the original VIN matching body panels except the plastic bumpers and the front valance. Although both front fenders were included they are simply too rough to repair between the dents and the corrosion damage from someone jacking on them at the bottom.
Also included with the car was a rather unique MTechnic II steering wheel, reupholstered in thicker rimmed leather with the OE style tri color M stitching.

The car also came with the original owners manual and service booklet, showing that the car was purchased at Auto-Lessmeister in Frankfurt Germany on Feb 21, 1991.


Pretty cool bit of paper to have, apparently it was purchased by a US service member there and brought back home. First US registration shows to have been in Feb of 1996.
Build sheet under the rear seat still intact:

Fast forward this morning... I rode back over there with a friend with his truck/trailer to pick up the car. We got it loaded up and tied down with no problem and brought her home.


Note the Lessmeister badge still on the trunk 24 years later!


Deposited in my driveway so work can begin:


I spent the next 8 hours completely removing just about everything that isn't going to get painted, and wet scrubbing the chassis inside & out to clean the panels in preparation for bodywork.


The orange crap around the sunroof is headliner contact cement, not rust.
That's it for now. The car is in the garage and drying itself off. Repair of dings, dents and surface rust begins tomorrow.
Not a whole lot of visual progress today so I didn't take many pictures. I got both doors completely gutted and rehung on the car, and started to repair the damage to the passenger side rocker panel.
It looks like someone had a curbing incident and it was pushed in a bit. I used a stainless rod and tapped it out from the back side until it was as close to flush as the metal would allow for.


It will be flushed with filler from here after I finish dressing the metal for rust.

After that I started drilling the spot welds out on brackets in the engine bay I'm not going to need, and sanded down some places along with cosmoline removal.

Some bodywork going on this week, cleaning up various door dings in the body and wrapping up the removal of excess brackets etc in the engine bay.


Another night, more progress. Passenger door, rocker panel, and quarter panel are straight. Now working on hood and trunk.


I went and picked up a replacement hood from a friend today as after I started sanding on the original hood I found it had a lot of filler, and substandardly applied filler at that. I just didn't want to use it like that even if I could make it "right"
I also went by BMW of Houston North to pickup my first parts order, which includes new front fenders, front valance, plastic undertrays, fender liners, mtech brake ducts, foglamps, door glass wipers, glass locking strips, grills, seals, and a staggering amount of shiny new nuts, bolts, screws, clips, clamps etc.
I want as little used/original hardware as possible going back on the car. Every fastener will be clean, new and correct.


Tons of progress on the E30 today. Finished blocking out the trunk, replacement hood, drivers quarter panel, drivers door and the roof. My arms, hands and fingers are feeling the paaaiiiinnn.


I've made such rapid forward progress I'm nearly on a parts hold. I'm waiting on the MTechnic sideskirt mounting clips to come from Germany so I can mock up the sideskirts and drill the mounting holes. Unfortunately for whatever reason BMW AG has them blocked in the US system as a EURO/BAD/USNOHAVE part number. Odd that every other part came in those aside.
The passenger fender and the front valance should be in Tuesday and then I can start fitting the hood, fenders, and setting the door gaps etc.
I haven't had much time this week to work on the car, but I did manage some solid progress today.
I got the new passenger side fender installed, hung the new front valance and adjusted the panel fit of the doors/fenders/valance/hood to get everything as fit as possible. Every screw holding these on is brand new too!


Oh yeah, and my MTechnic II rear wing came in so I got that all sanded down too.


One more picture today with the new MTechnic II front valance and the used front bumper test fit.

I'm super excited to announce I have a new sponsor for this build, Ehrlich Wheels, who will be building me a completely one of a kind set of period correct 3 piece wheels to finish off the cars exterior. The owner Paul is well known in the BMW community and one of the very best at what he does, making wheels that don't exist into a reality. You can check them out at http://ewheelworks.us/
Lots of work progress this evening. Addressing some important issues, and also correcting some shortcomings that I believe exist in the MTechnic II kit that have bothered me.
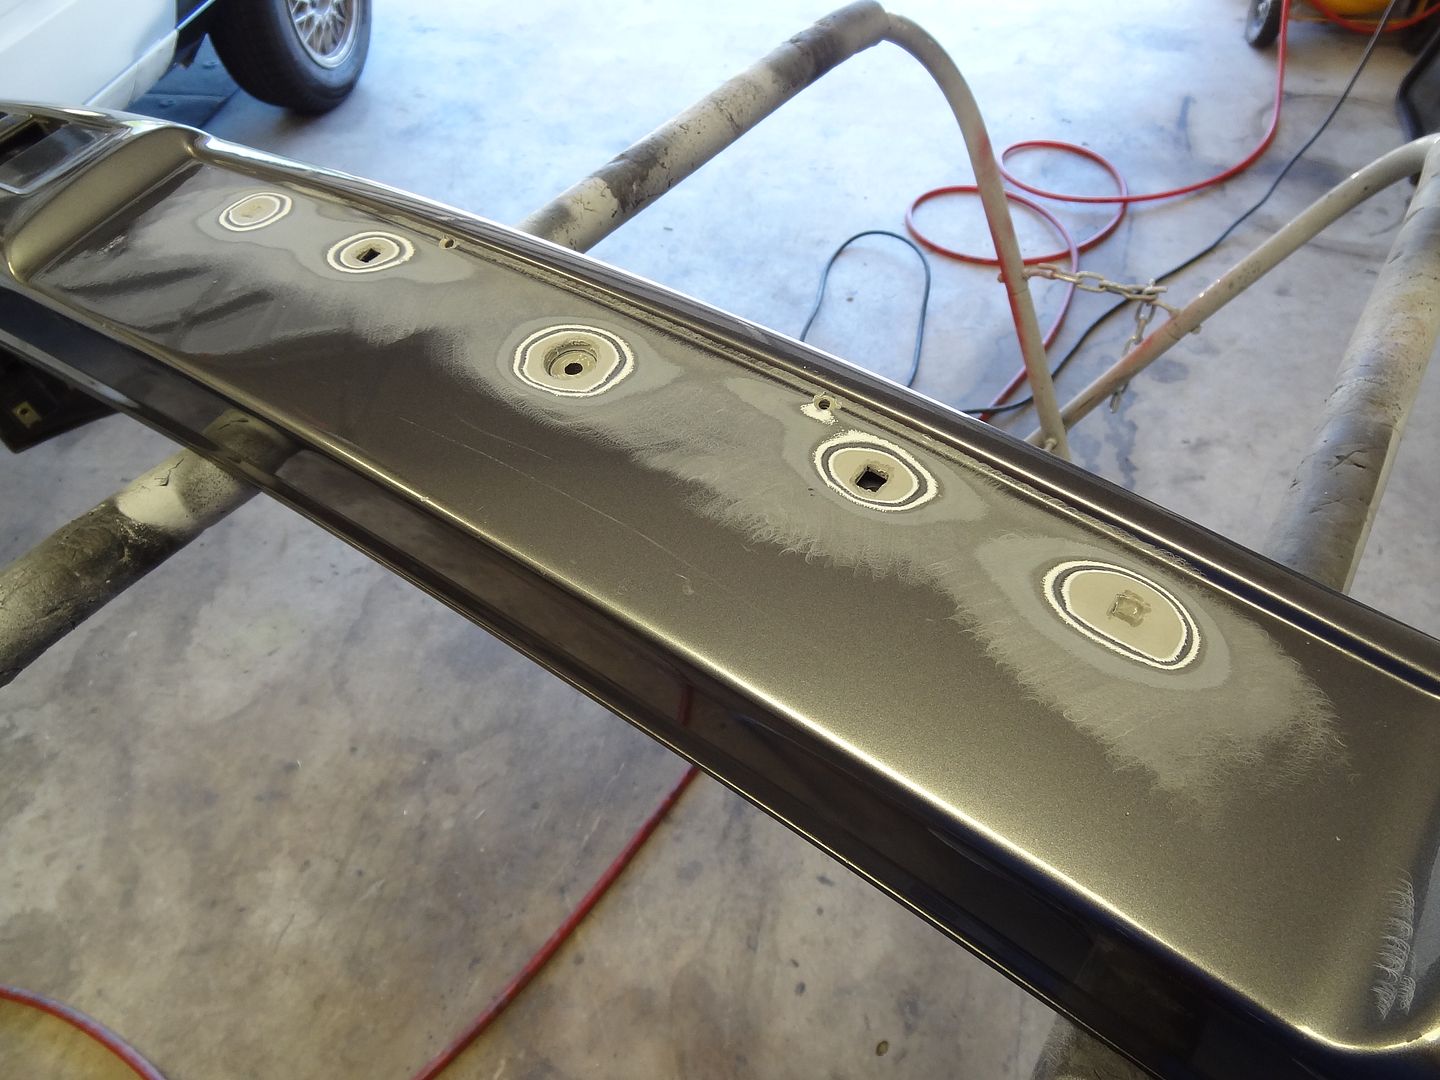
First off I needed to drill the mounting holes in the new valance for the clips that hold the MTechnic II valance. There are also 2 on the sides that are hidden with the valance snapped in place.

State law or not I hate front license plates on cars. I don't run them on my car and this one shall be no exception... alas it has two sets of holes drilled in the front cover, and an additional set of factory knockouts cast into the cover. I ground down these areas in preparation for some Lord Fusor 143 to fill in these undesired bits.

The large center hole has a push pin plastic rivet in it. I replaced this with a pressed fit cap head bolt, bonded in place and shaved over permanently.
While the Fusor set up on the front bumper I moved my attention to the rear.... which was sort of a bastard case. Someone else widened the exhaust opening in the bumper.... considerably... probably to fit some heinous aftermarket exhaust. Since I would want something to fit properly there I was left with filling back in the section of missing plastic.... or would I?.... One thing that has always bothered me about the MTechnic II rear bumper is that the exhaust cutout is offset about 2" to the left to match the factory 325i slant tips. I didn't think this looked good in the 80's and it sure doesn't look good now.
An example of this pictured on someone elses project:

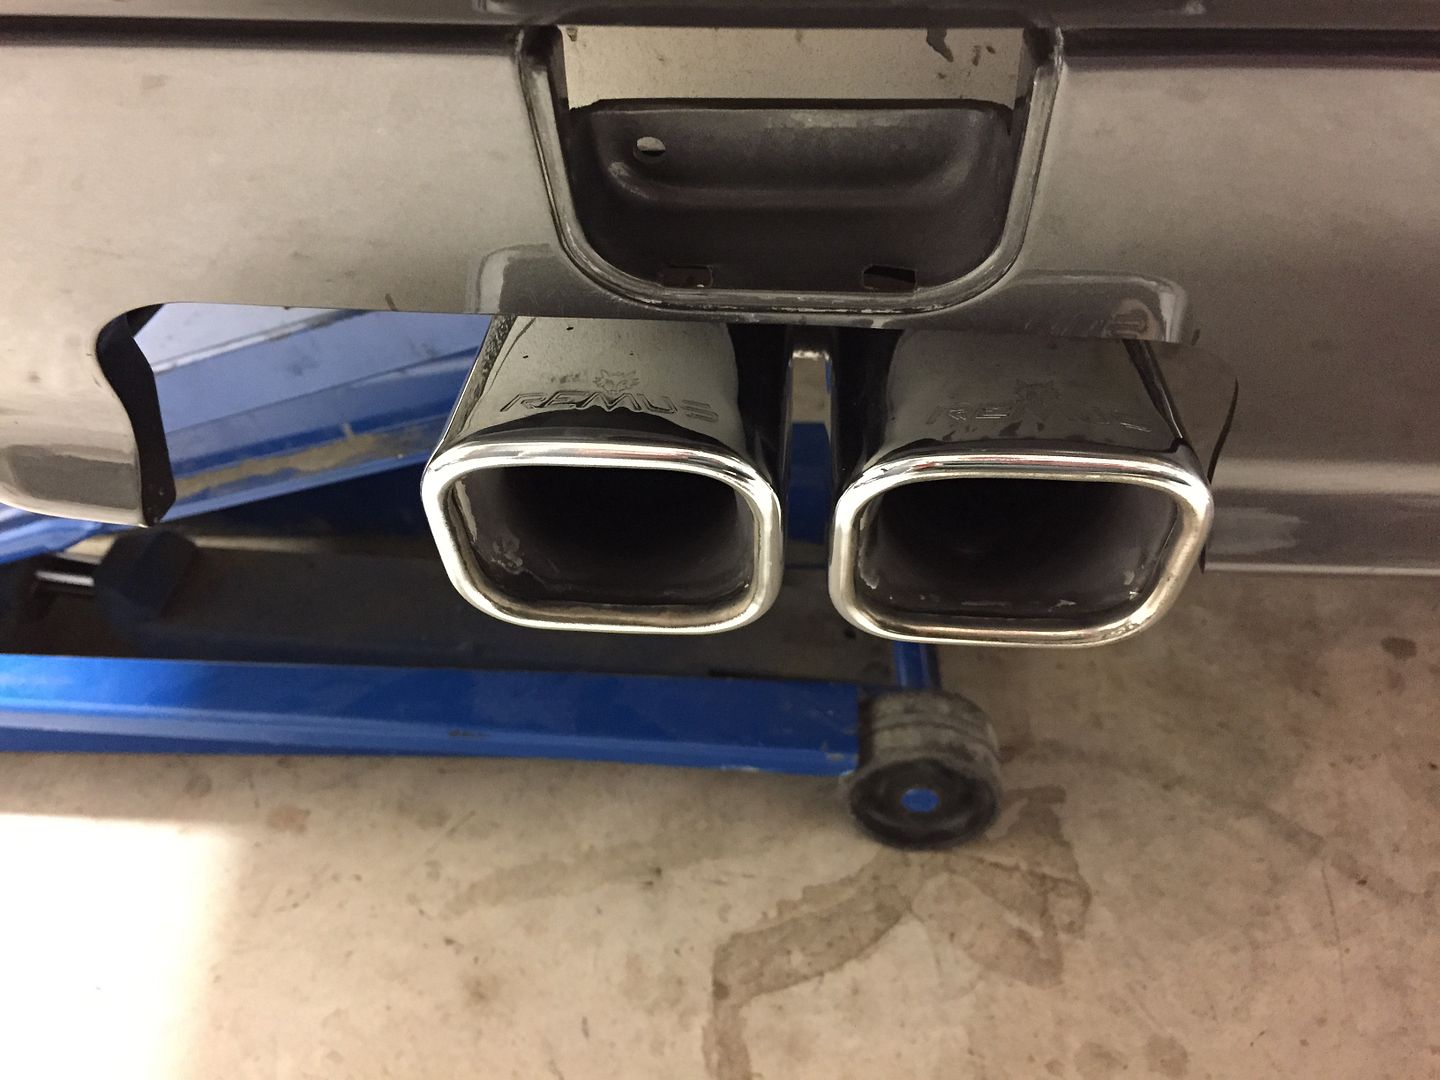
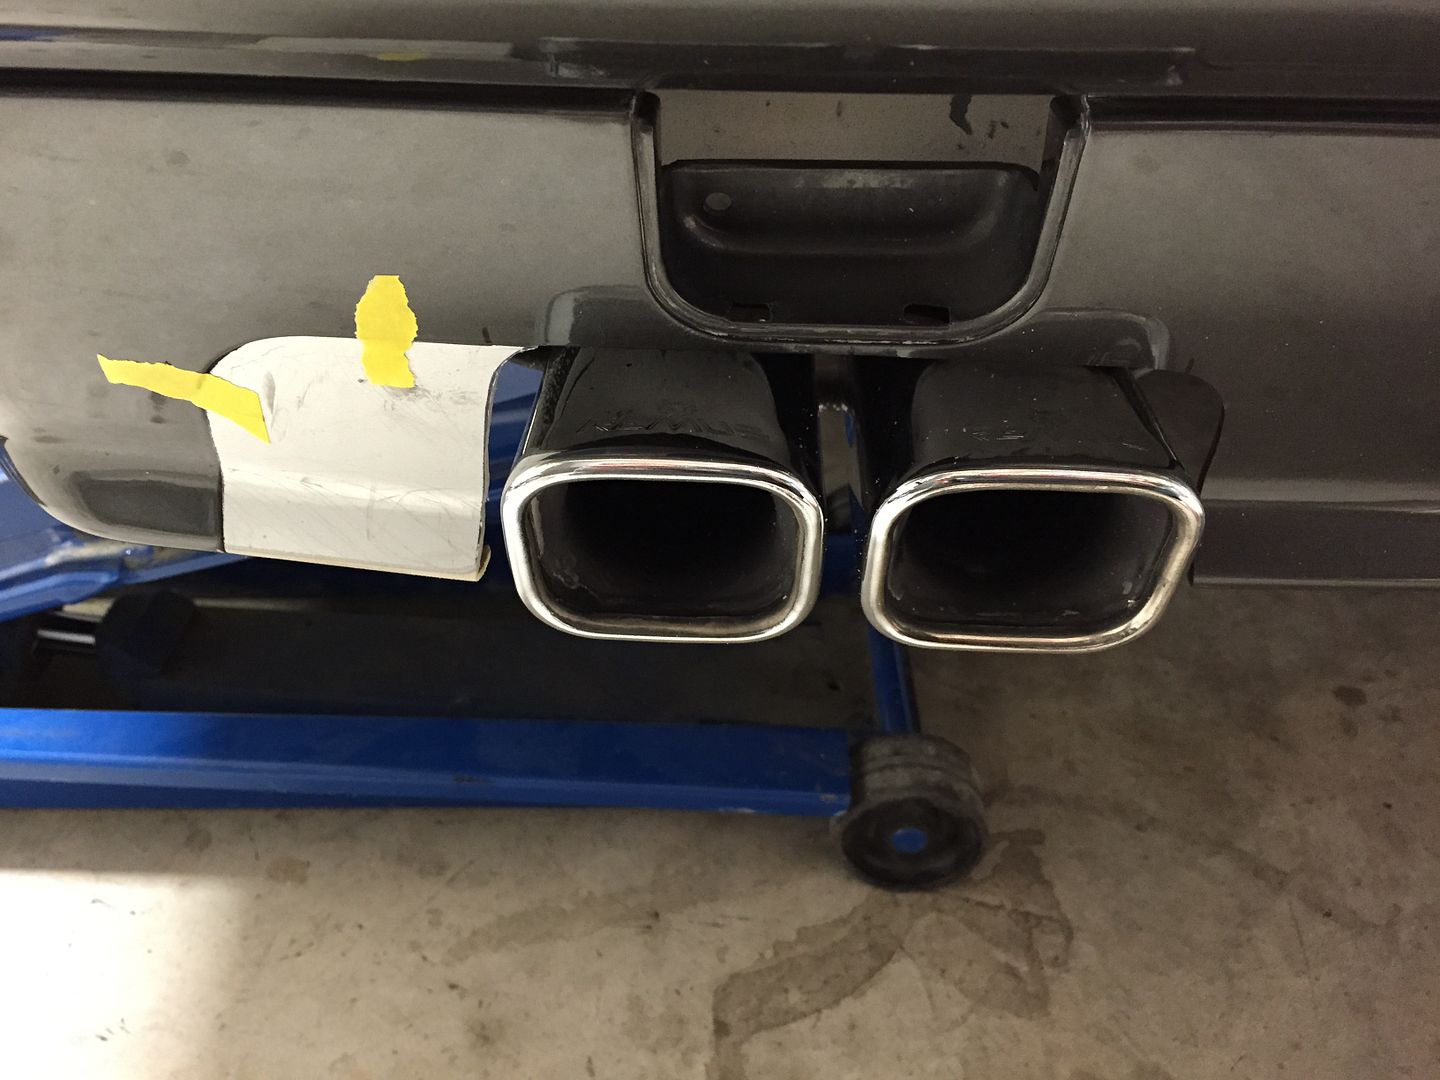
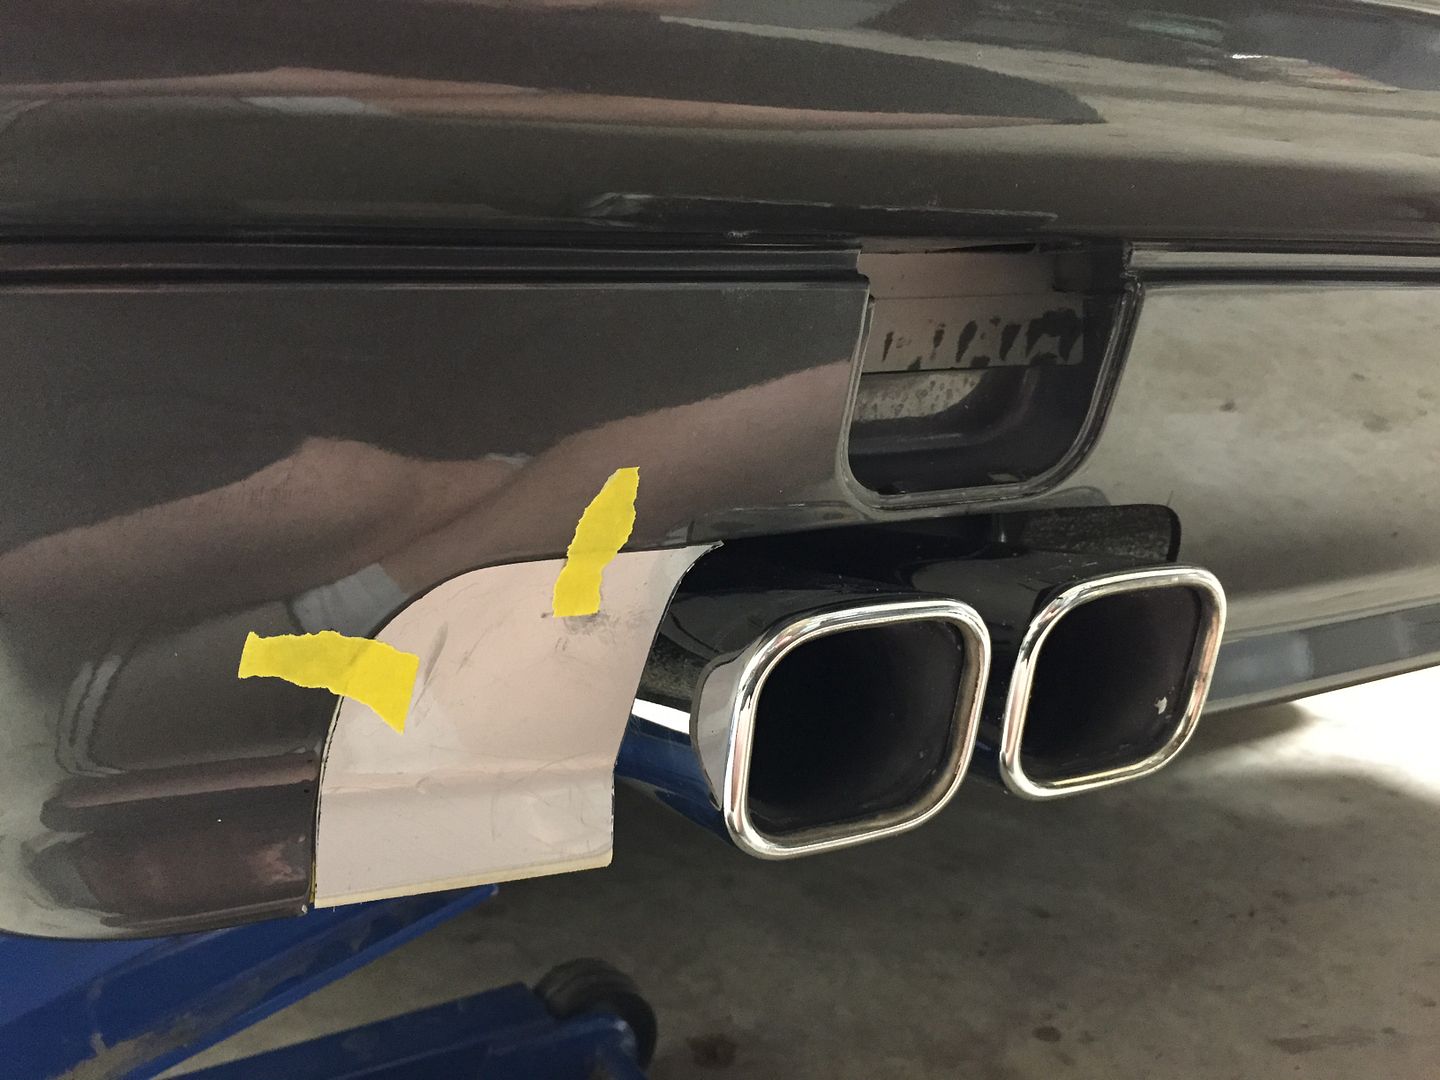
I had this good used, damn near new Remus muffler on hand and the dimensions of the can and the shape/size of the tips suit the E30 perfectly. Its also made in Austria, so yeah.. I'm going to use it.
I mocked up the Remus centered on the tow hook cover.

Looks good, but that is a tough contour to match given that I'm working with PolyurethaneGF, which is a thermalset plastic. It does not melt or react to heat to bend until it gets hot enough to liquefy.... I needed a donor piece of identical PURGF15 to use as a filler panel... but I wasn't going to find a MTechnic II bumper as a donor. I looked around at work and found a section of the front bumper on a E55 AMG that had a really similar contour, and it is PURGF15 as well. Most excellent.
Hard to tell in the picture but that lower section kicks out, just like the rear bumper does.

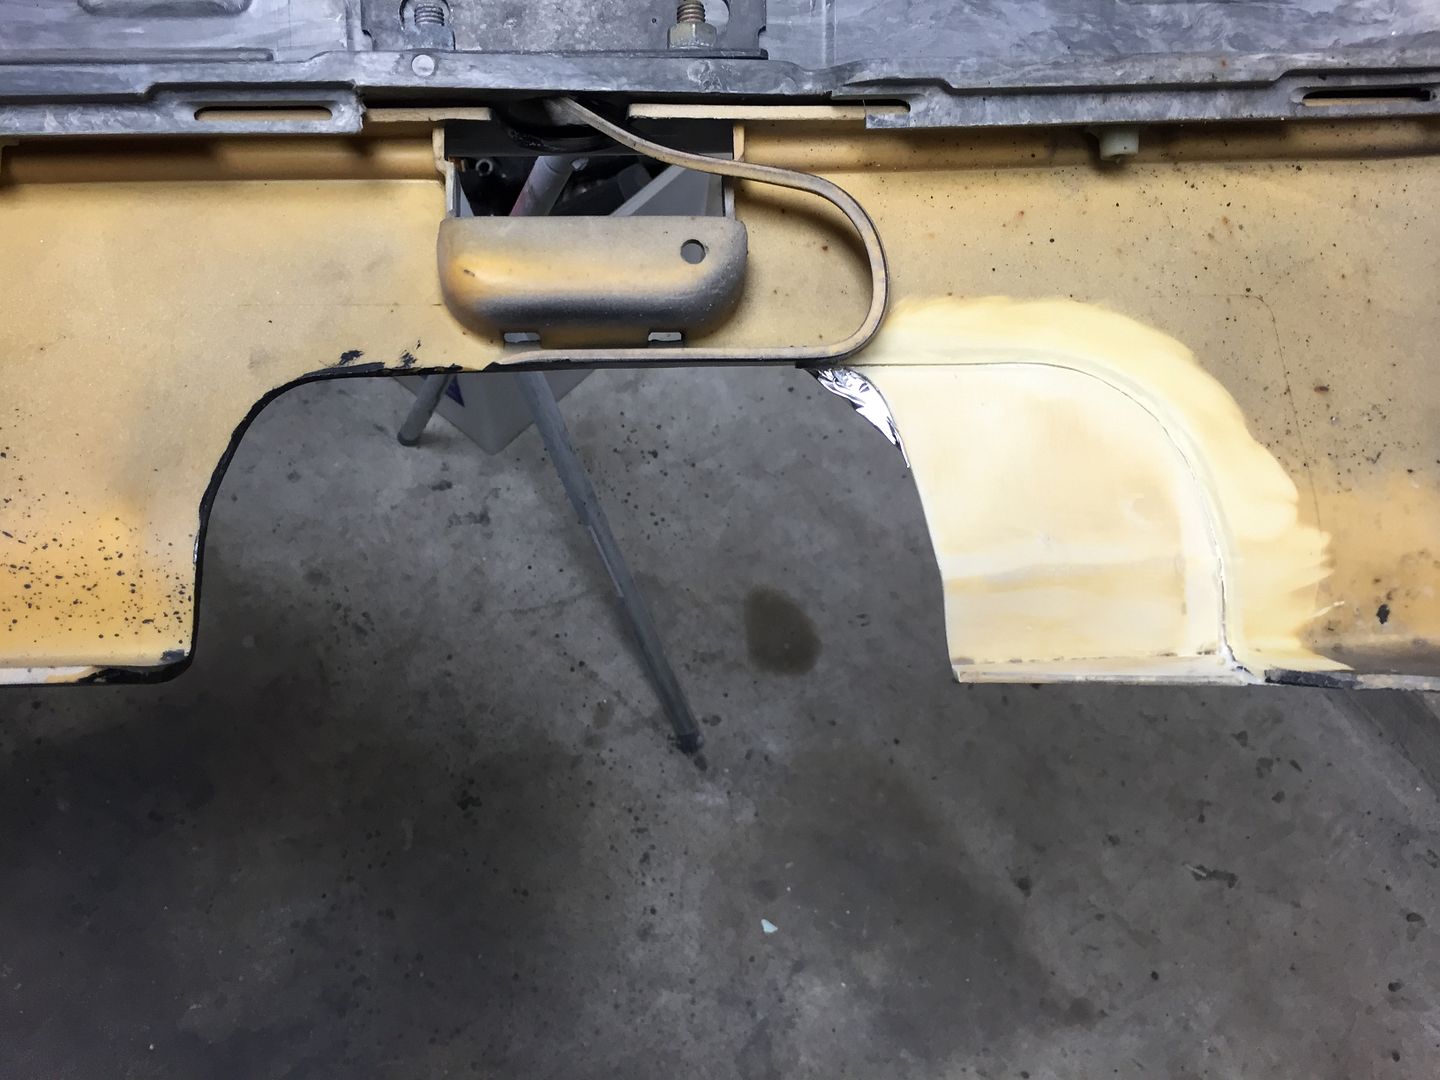
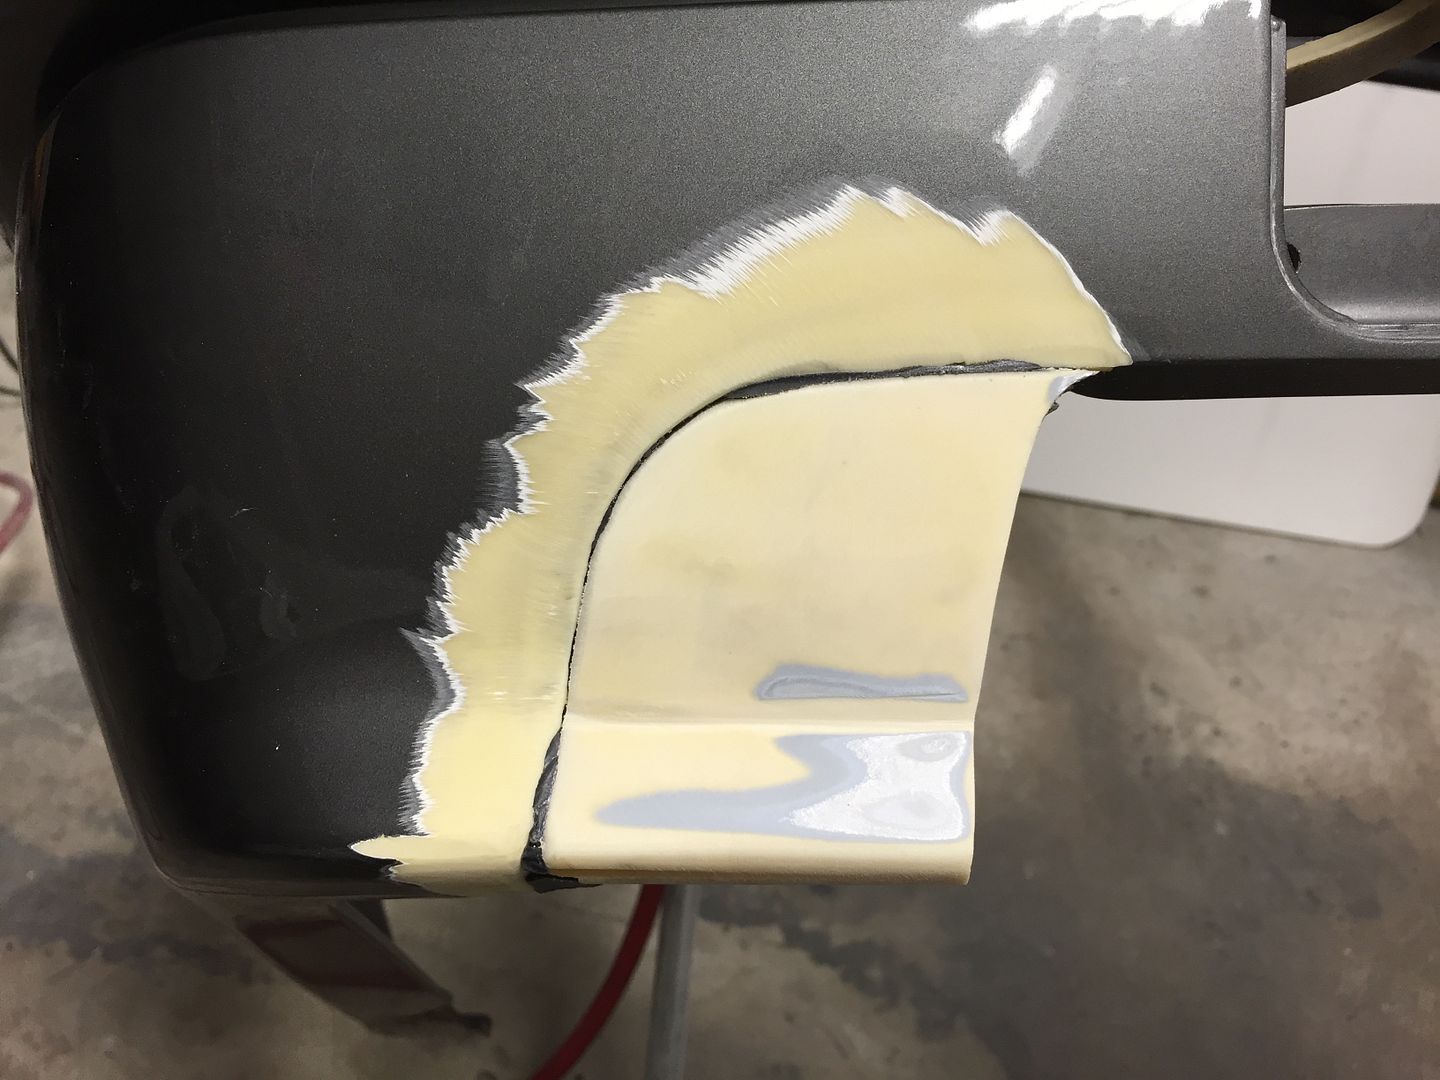
I made a paper template, transferred it to the Mercedes bumper donor and cut it out with the air saw, taped in place. Nice fit!


I laminated the front side with mylar tape and then flipped the bumper over to prep the back side for an application of Fusor 143. I saved the tail so I can bend it back down to finish the cutout like it was originally, rather than just a cut opening.


I finished this evening by prepping the front side and applying another coat of Fusor 143. I'll have to let this all set up overnight and I can start finish work tomorrow.


Comment