
So some people have seen my other project thread. http://www.r3vlimited.com/board/showthread.php?t=339058
I'm starting a new page for all other composites related projects I'm going to make from here on out. Progress will be slow it's just a free time thing for now. It will be picture heavy so you don't have to read a damn thing! Mostly car stuff but some non-car stuff will appear here as well.
To kick this off I'm starting with my '88 bumpers. Starting with the rear since it's probably the world's most straight forward composites project and moving to the front later on since there's a tiny bit more going on with that one in terms of attachment. Planning on infusing these.
So, here I've added a good size flange, plugged all the holes, and applied some release wax. A few more wax coats and its ready for gelcoat.
[IMG]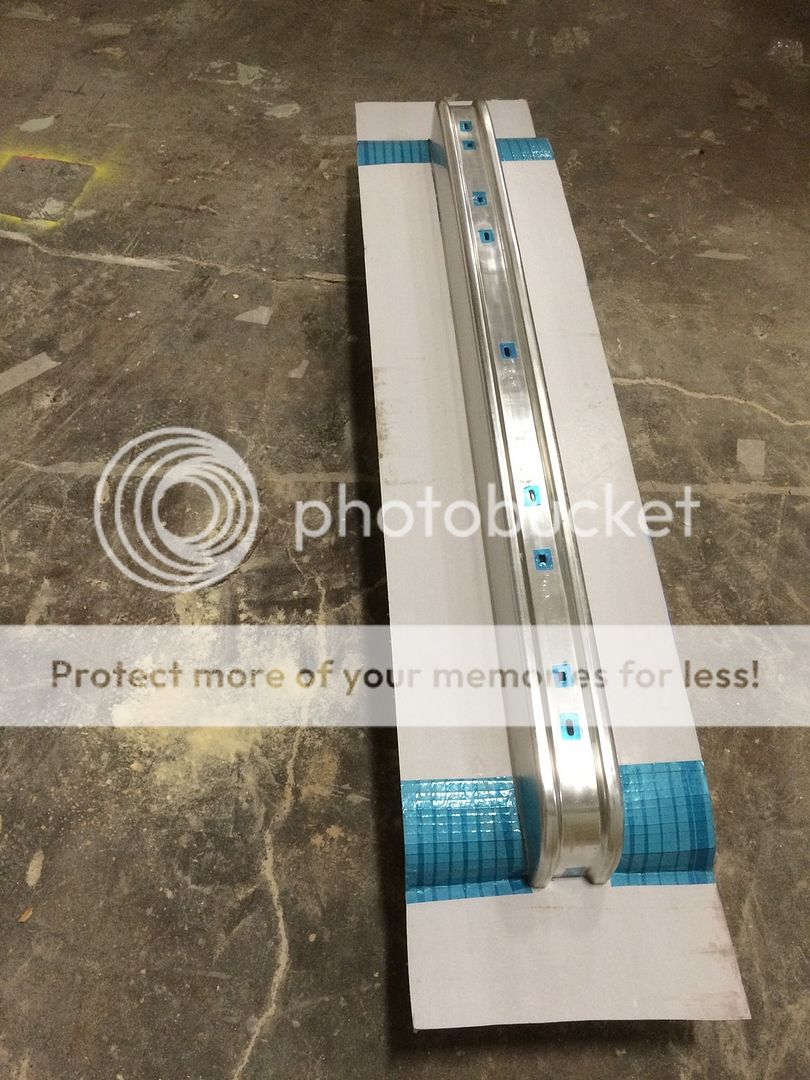 [/IMG]
I'm starting a new page for all other composites related projects I'm going to make from here on out. Progress will be slow it's just a free time thing for now. It will be picture heavy so you don't have to read a damn thing! Mostly car stuff but some non-car stuff will appear here as well.
To kick this off I'm starting with my '88 bumpers. Starting with the rear since it's probably the world's most straight forward composites project and moving to the front later on since there's a tiny bit more going on with that one in terms of attachment. Planning on infusing these.
So, here I've added a good size flange, plugged all the holes, and applied some release wax. A few more wax coats and its ready for gelcoat.
[IMG]
 [/IMG]


Comment