If this is your first visit, be sure to
check out the FAQ by clicking the
link above. You may have to register
before you can post: click the register link above to proceed. To start viewing messages,
select the forum that you want to visit from the selection below.
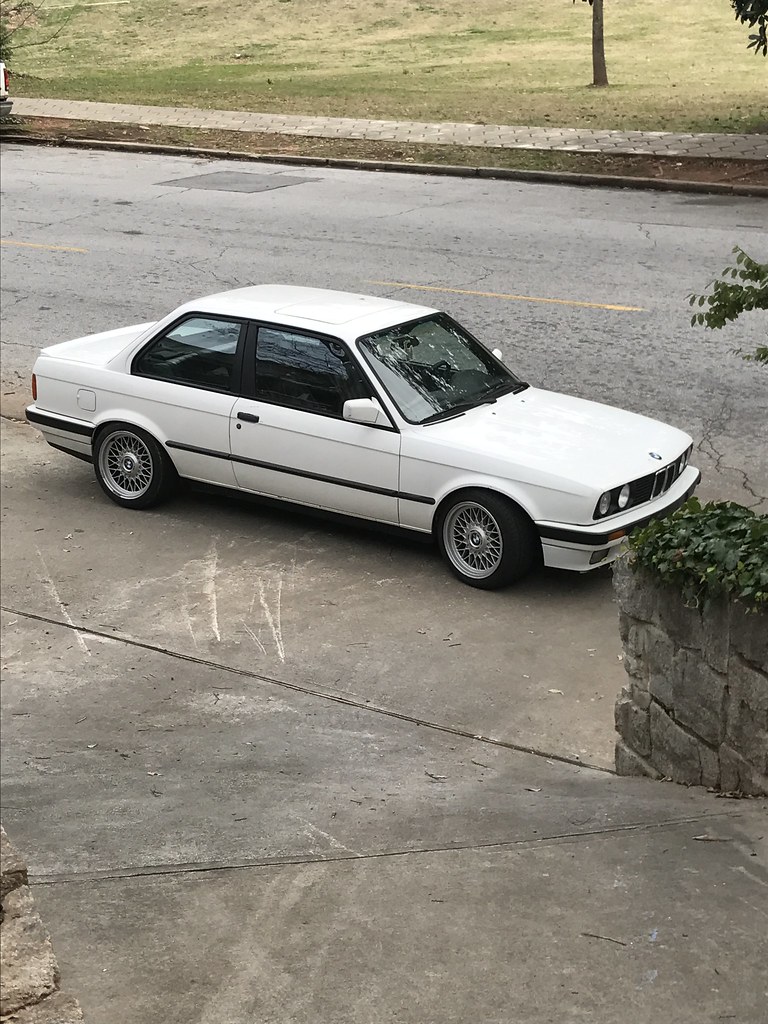
Loving this so far. How do those style 5s fit up front with your offset? What tire are you running? I'd love it if someone produced a low-offset-adding front 5 lug kit.
Have 205/45R16, mostly because that is what 90% of people with style 5s are running. I think I would have prefered a 205/50R16 for the extra ground clearance. I want to run a 225/45R16 though. Fits pretty well up front with this setup kinda pokes on one side and more flush on the other, my camber isn't terribly even side to side in the front until I get camber plates. Rolled the rear fenders a good amount but not the front and it hasn't been rubbing.
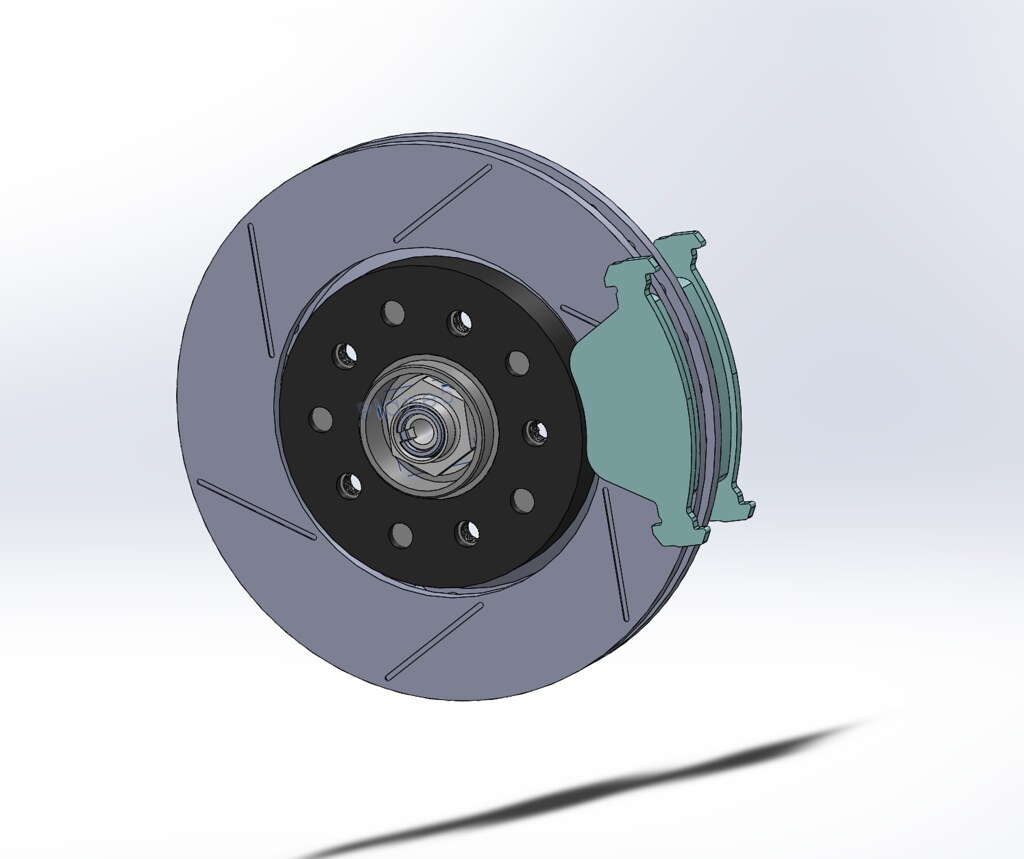
Looking around more at 5-lug conversions I saw this one from gnmzl on stanceworks.
Looks like a redrilled rotor to work with the lower offset he got. I'm gonna CAD up something similar.
I started out modeling something based on this setup, I think it ended up being really low on material @ the step, I don't remember exactly why I got away from it. It could have been spacing for my e46 m3 rotors.
Loving this so far. How do those style 5s fit up front with your offset? What tire are you running? I'd love it if someone produced a low-offset-adding front 5 lug kit.
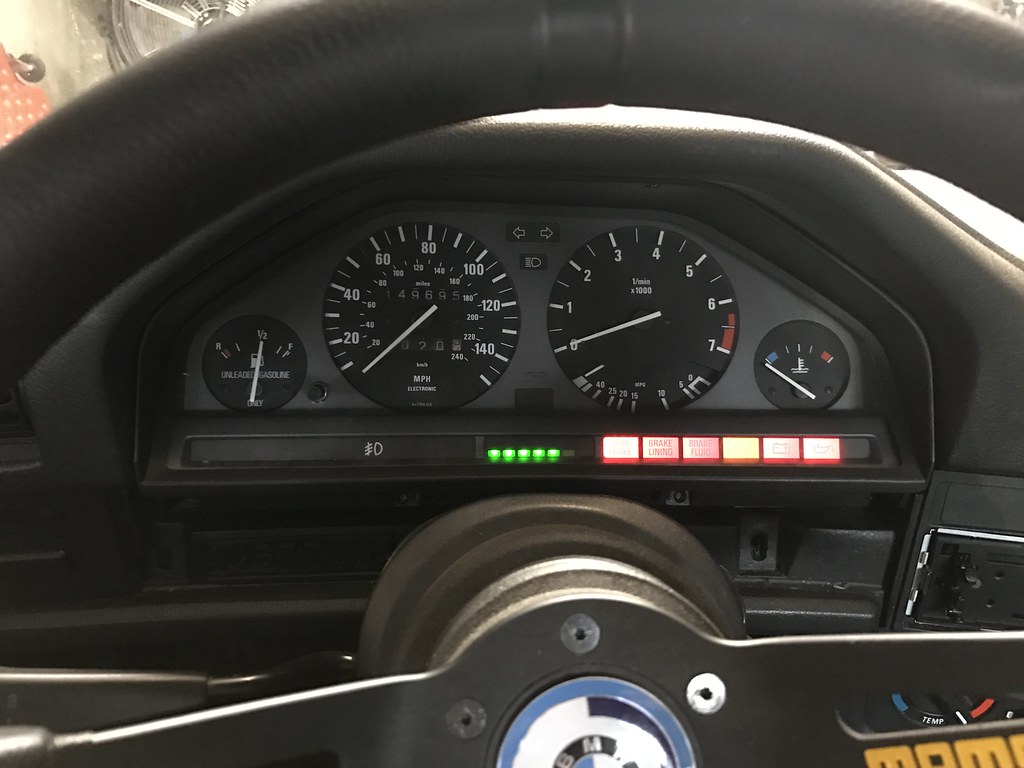
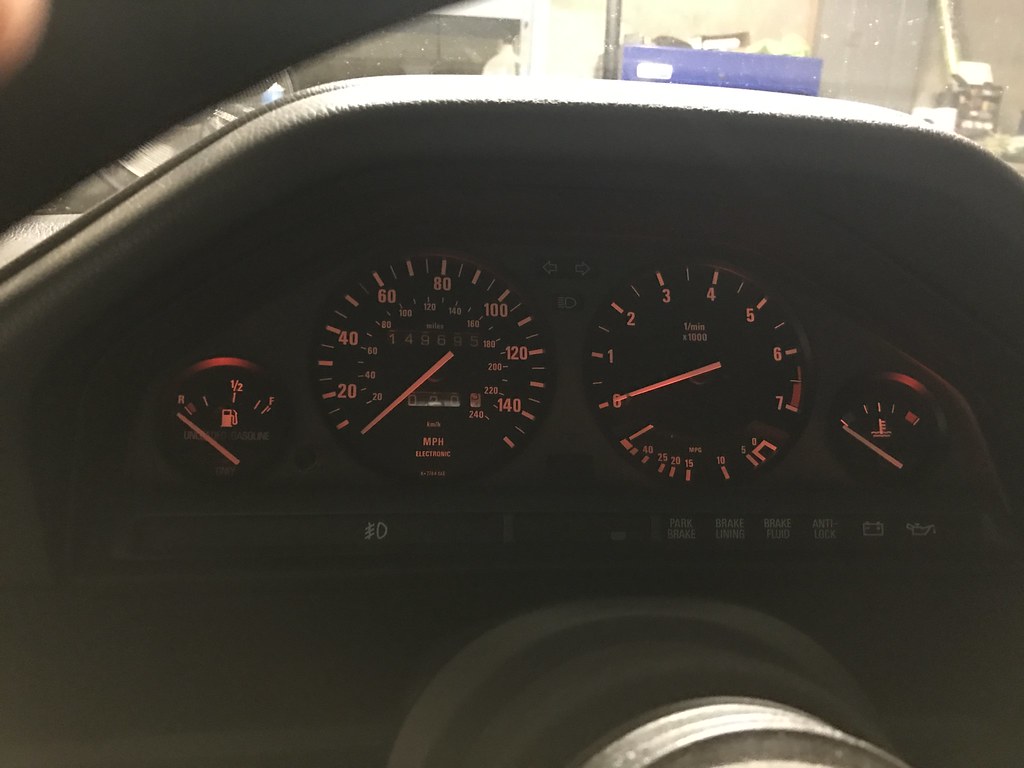
I've previously replaced the odometer gears and SI batteries on separate occasions.
Due to check engine light bulb and left side night time illumination bulbs being burned out it was time to take the cluster out again. Much easier to do this if you have a deep dish steering wheel as it does not need to come off.
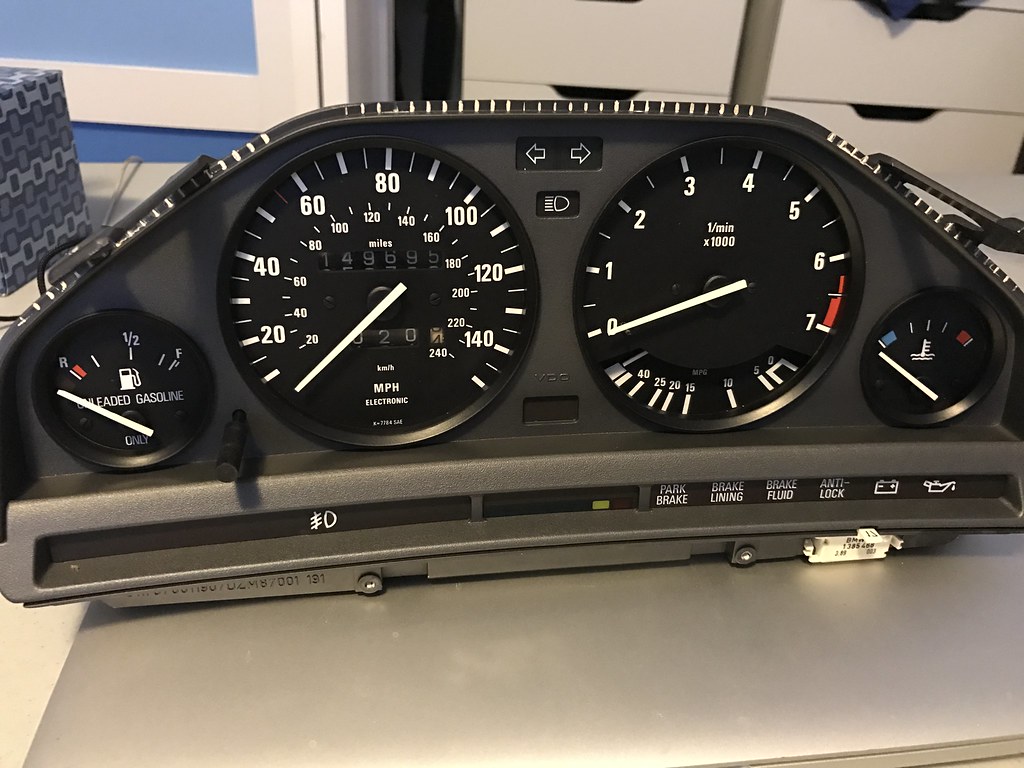
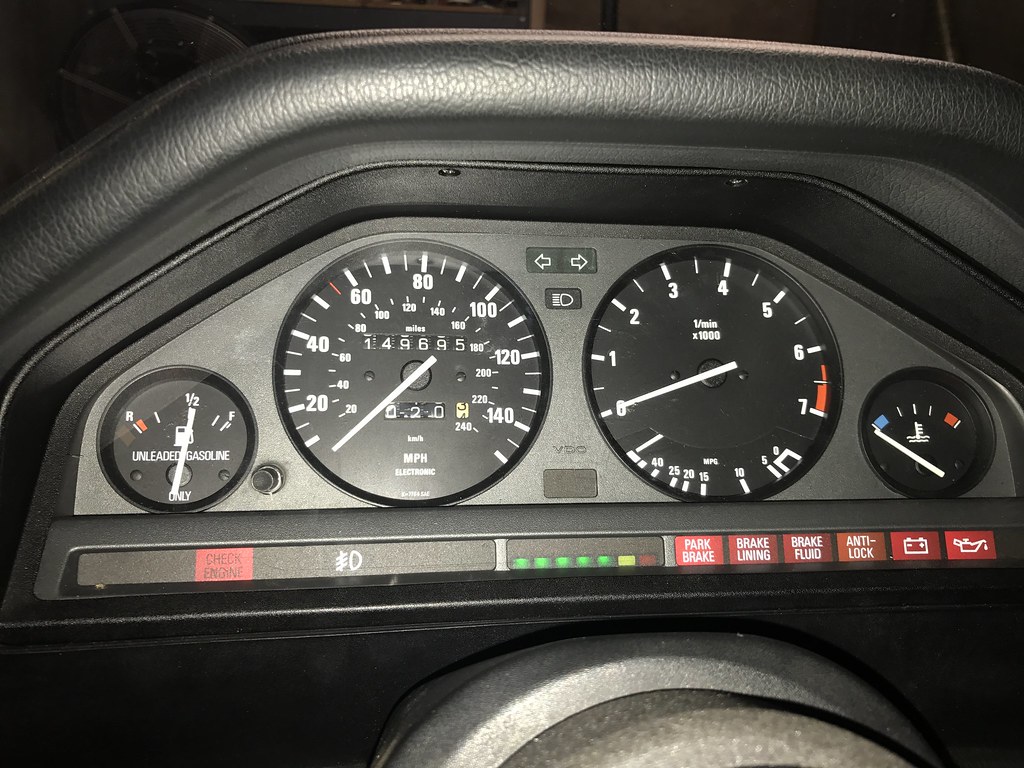
Added black trim rings, went back and forth on painting the needles but decided to leave them white.
Check out automotivetouchup.com as well. They sell colormatch paint for cheaper than paintscratch and it's just as good, if not better. I used it to paint my shaved engine bay.
However, any color match paint you get from a rattle can usually doesn't ever harden like real automotive paint. BUT, you can get 2 part rattle cans now. I plan on getting my next paint from here (if I don't have an air compressor and paint booth set up before).
I used the spray max clear coat like you linked, best spray can clear I've used, didn't know you could get colors. I have an air compressor so if I ever need to paint something much bigger than this I'd invest in a sprayer.
Check out automotivetouchup.com as well. They sell colormatch paint for cheaper than paintscratch and it's just as good, if not better. I used it to paint my shaved engine bay.
However, any color match paint you get from a rattle can usually doesn't ever harden like real automotive paint. BUT, you can get 2 part rattle cans now. I plan on getting my next paint from here (if I don't have an air compressor and paint booth set up before).
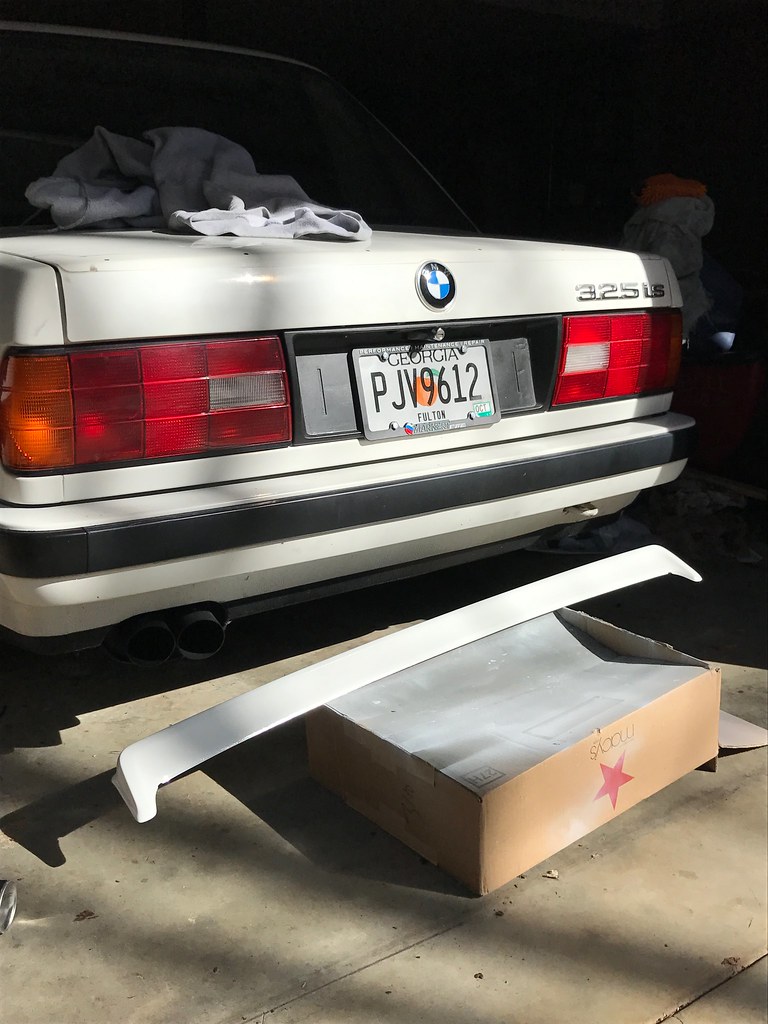
Trunk was leaking when it was raining last week. I'm pretty sure it was getting under the spoiler and going in the mounting holes. I've taken it off once before and the plastic nuts that hold in on dont have the same holding force after one use.
Anyway it was a good time to repaint the spoiler and put it back on with new hardware.
Paint from paintscratch seems like a pretty good match.
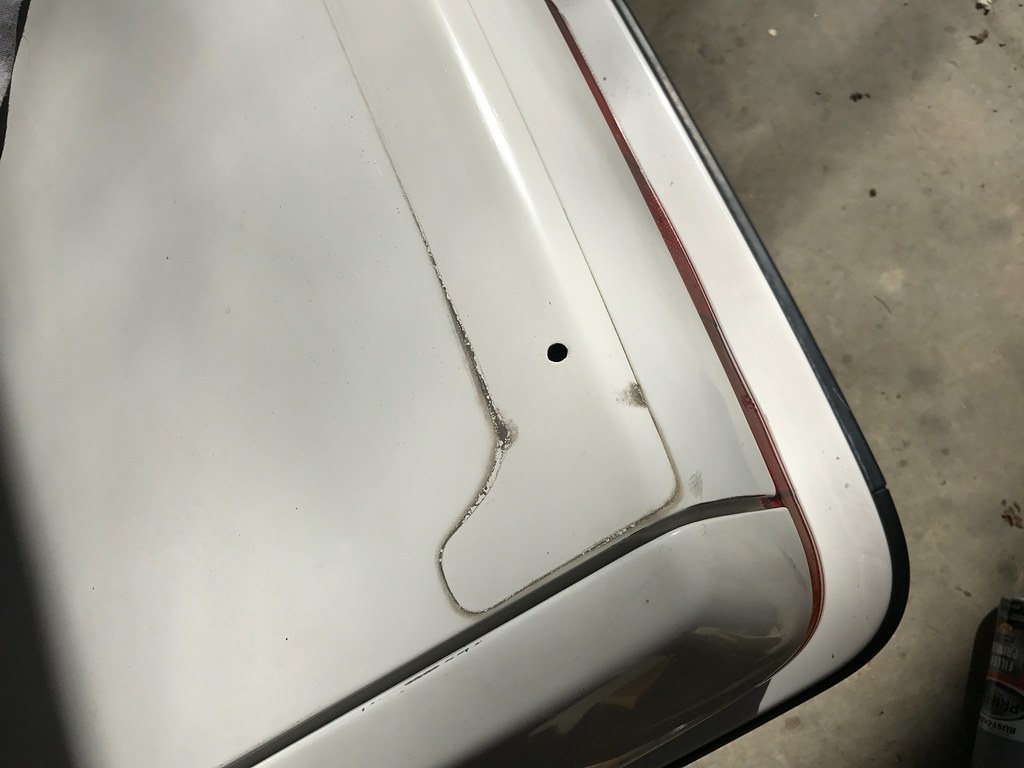
Marks in the paint from years of wear, got a little better with some polish but won't be going away:
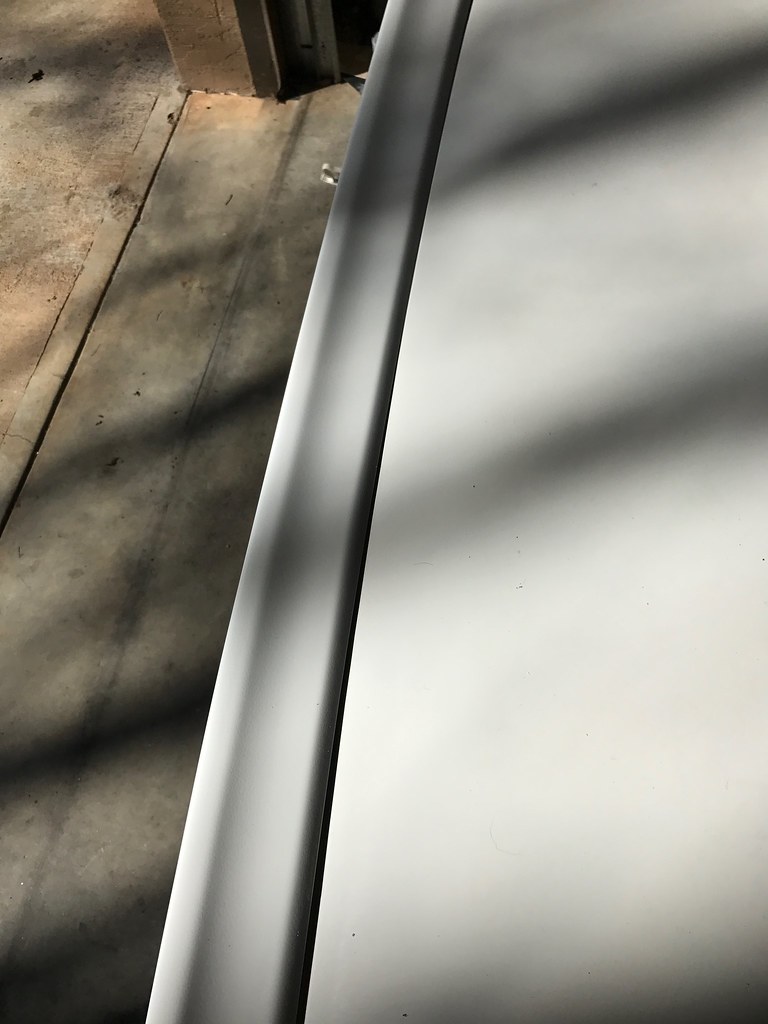
Pretty good amount of orange peel but after some polish I think it will be acceptable, the paint isn't my main concern anyway. Good color match for 27 yr old white
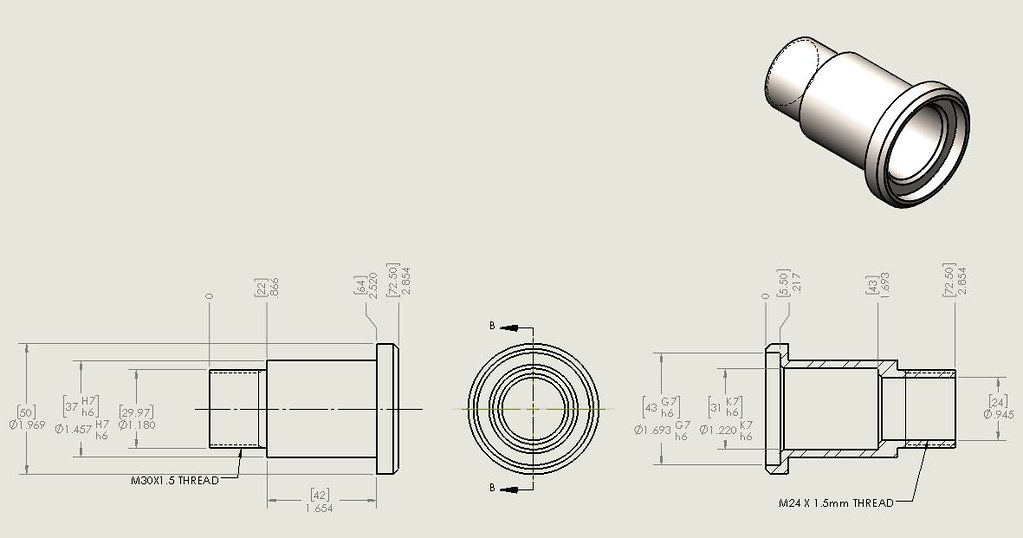
The one thing I can think of to help with that would be to tap the hole from the back side. Start with a thread starting tap, then switch to a closed end hole tap and stop just where the threads need to be for the spindle
Thanks putting the drawing up though! Good to have something to cross reference, I need to get a hub to get actual measurements for, my model just has internet based dimensions.
Just an FYI, I am sure you know this, but a bottom end tap is still going to have a taper to it... like this
To get a true thread to the bottom tap you will have to have one made, my machinist has made one for me before when I needed one, he just grinds down an existing tap
Made an order to get the rear 5 lug conversion redone using my old trailing arms
Interested to see the quality of the Optimal hubs. They're a German company, not sure where they do their manufacturing. The price is unbeatable, I looked around for used OEM hubs and it would have cost more, if people were even willing to sell them, most wanted to sell the rear as a whole.
Got a front E36 dust collar to measure that and see how it would fit in
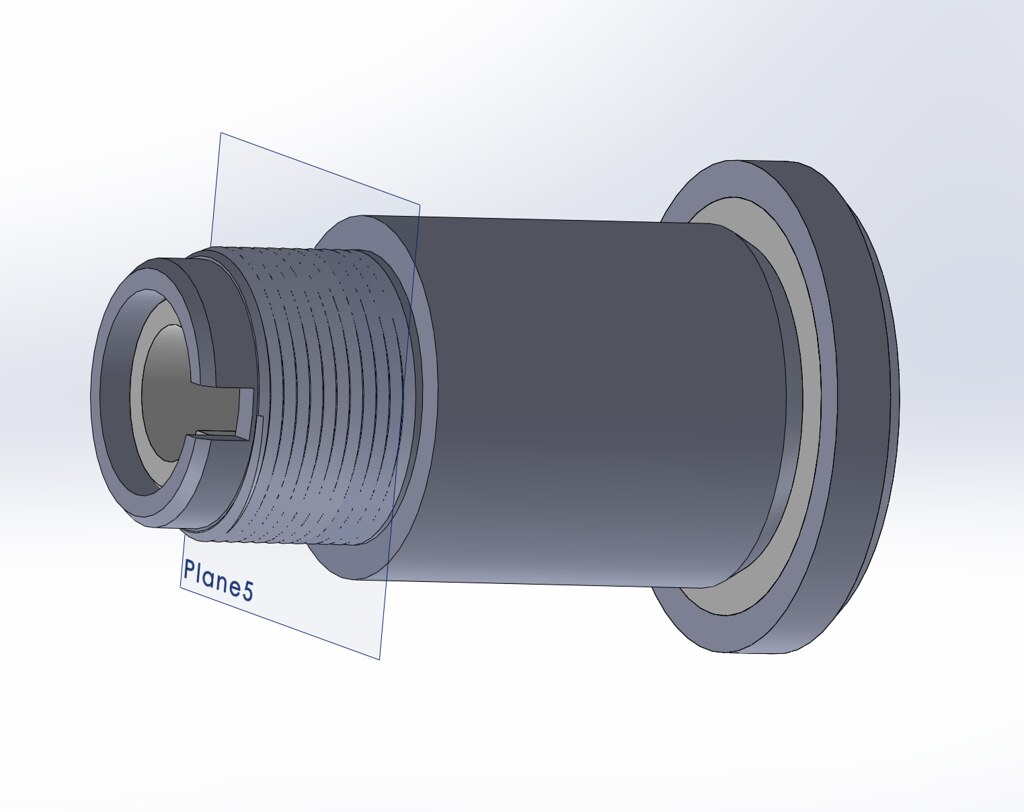
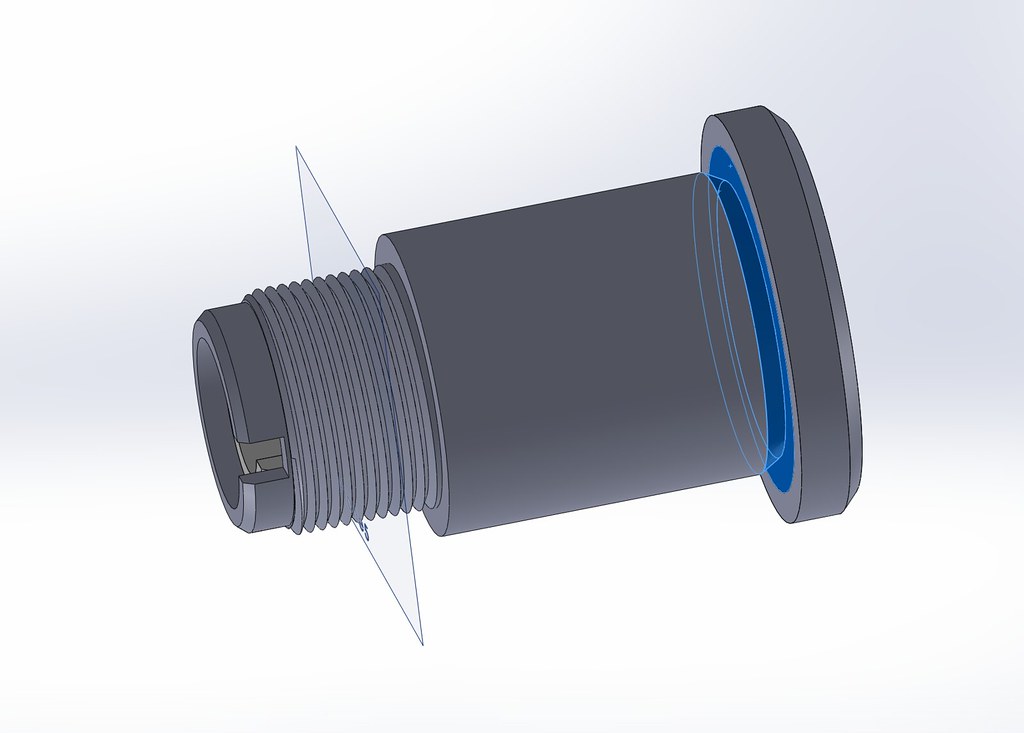
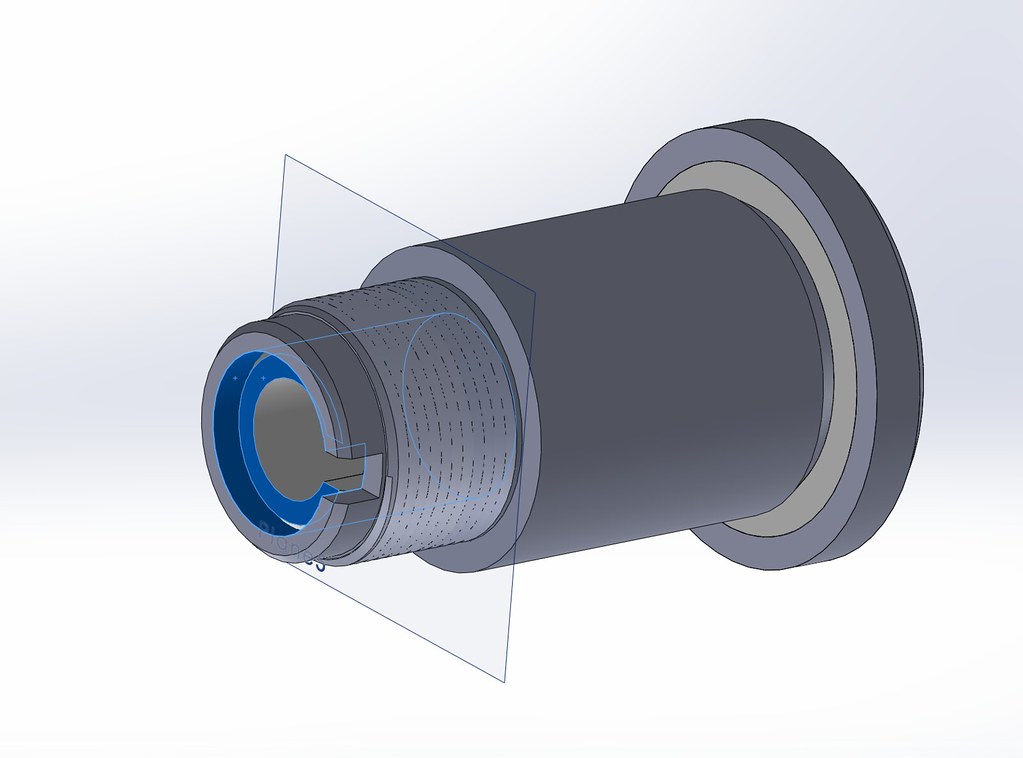
Looking good... This is where I ended up. I'm not a big fan of the lack of material between the int and ext threads on the nose of it, but it *shouldn't* be an issue under normal driving conditions
The one thing I can think of to help with that would be to tap the hole from the back side. Start with a thread starting tap, then switch to a closed end hole tap and stop just where the threads need to be for the spindle
Thanks putting the drawing up though! Good to have something to cross reference, I need to get a hub to get actual measurements for, my model just has internet based dimensions.
Looking good... This is where I ended up. I'm not a big fan of the lack of material between the int and ext threads on the nose of it, but it *shouldn't* be an issue under normal driving conditions


 e30 spindle capture by Jonathan braswell, on Flickr


Leave a comment: