


Inarguably, the most important aspect of cage design is strength and integrity, and while there's an immense amount of wonderful rollcage fabrication out there (and all far better than mine, no doubt), it's the place I see skimped out on most often as I peruse threads and facebook groups. More often than not, "cage builders" seem to skip building proper nodes - where tubes meet - in favor of quicker fabrication. Is it safe? Yeah, probably. But is it right? No, not by my book at least. It doesn't mean you or your cage is wrong, it's just not how I like to work.
An example of what I'm talking about (seen on an E36 sedan, from google images). None of the tubes "intersect." The door bar is below the belt bar, the diagonal misses the rear braces, etc, as does the a-pillar bar. Each of these tubes dead-ends into another perpendicular tube.
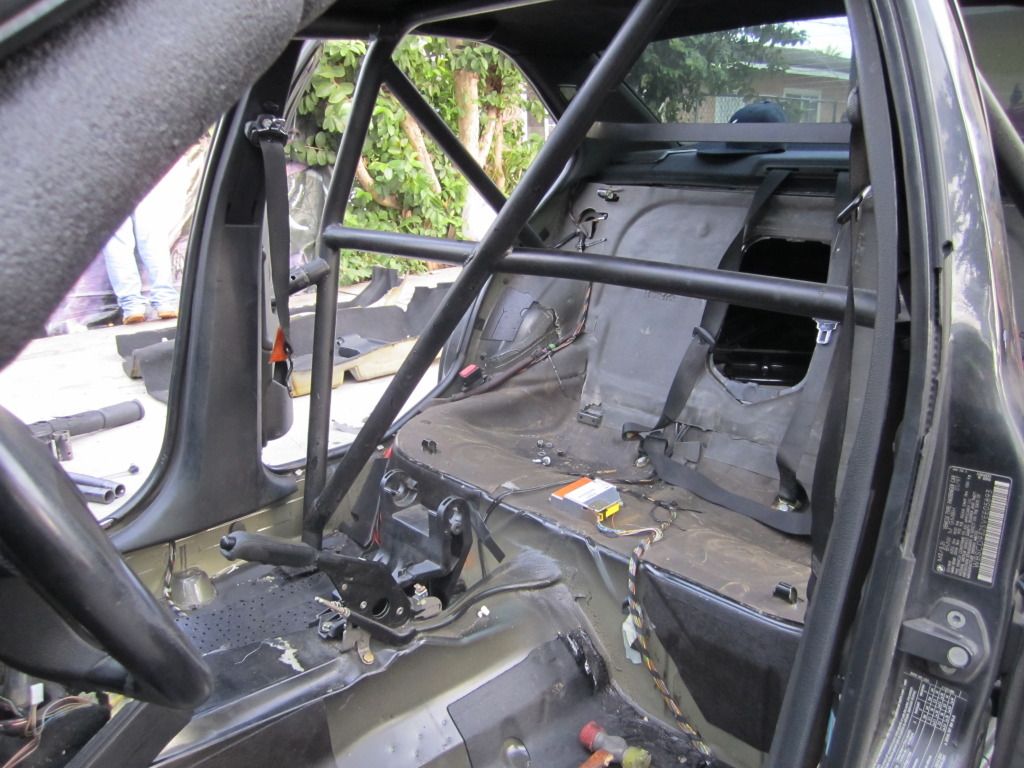
You'll see none of the tubes actually meet each other. It's quicker to build this way, but it provides poor load paths in the event of an accident. It also doesn't look very nice. The photo below is one of the few reference photos I have of the actual E28 Group A roll cage - bolted together, and also not incredibly well designed.

You can see in this picture, of my cage, a general idea of my layout and noding. Every tube meets another, "noding" correctly. Again, it may not be important to others, but it was to me, so I spent a lot of time getting it right.

I wish I had taken more photos of stripping the interior itself, but I didn't. It was, by far, the most laborious part of the whole build. Removing the sound deadener and the adhesive for it was a monumental task that took several long nights of scrubbing - the best chemical I found for it was Xylene, which is an adhesive dissolver. It took a few of us to get the job done. The common "dry ice" trick does not work at all on E28s, and I'd imagine it goes for other BMWs as well. Good luck to you if you decide to strip your interior and repaint it. It was an awful job, and probably a month long from start to finish, including the cage build too.
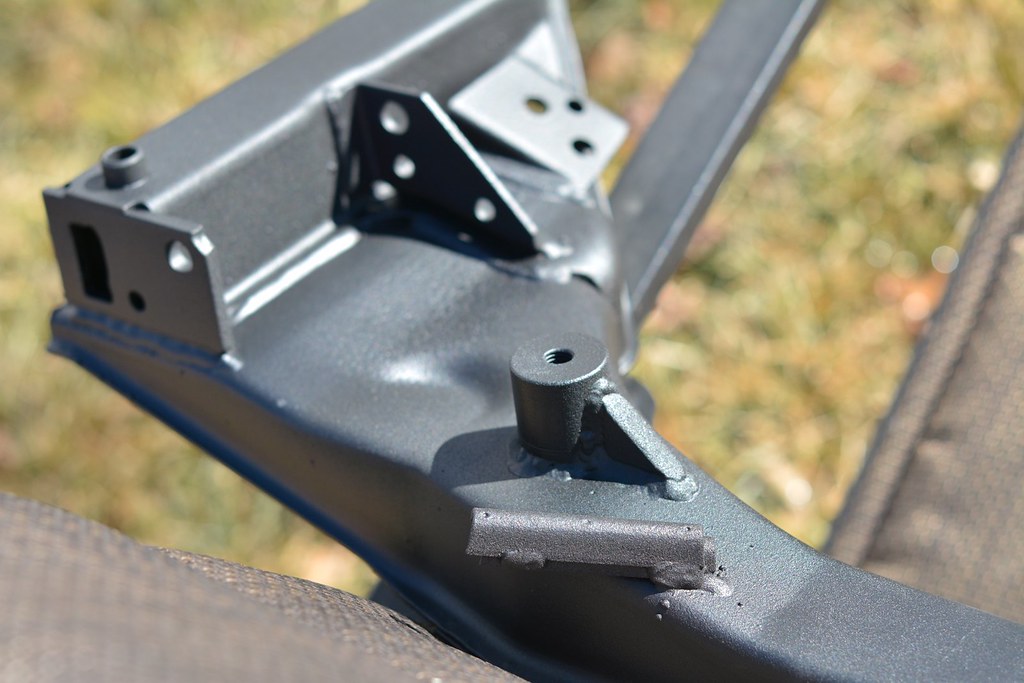
For my roll cage, I opted to build atop plinth boxes, which are a bit stronger than attaching directly to the floor, and they allow the cage to be dropped away from the roof for final welding. Here's a bit of before and after for a front and rear plinth box.

Here's one in place - this one's on the driver's rear. All four plinth boxes are slightly different due to asymmetry in the floor pan. For the finished cage, there is a base plate to each plinth box - it is not welded directly to the floor. This was just mockup purposes. You can also see the adhesive I was dealing with. It covered every inch of the interior. It haunts me to this day.

More adhesive. In some instances and places in the car, it was a few milimeters thick. We had to remove ALL of it to ensure a good finish on the floor pan.

Here's the front two plinth boxes (and base plates) mocked into position. I'm no pro welder, so affixing my base plate material to the floor, effecitvely, was hard. Strong? Yes. Pretty? Eh, not so much. Sorry, professionals out there.


From there, I moved on to cage construction, of which I didn't take too many photos.

My position for the rear bars is a bit atypical. Normally, E28 cages head straight to the wheel well arch, forward of the strut tower. It's very easy to access and mount to, and it's very strong. I wanted to attach directly to the strut tower, and thus had to remove a sement of the rear bulkhead on each side. The sheet metal is in the way, normally. On the to-do list, to this day, is to rivet in some nice aluminum covers to seal it back off. It's the only part of the car I feel is "unfinished" in its current state.


My good friend Riley Stair joined in for the weekend to help knock out the cage, since my SEMA clock was ticking.
Following the cage build, and a WHOLE lot more interior cleanup, we were finally ready to prep and paint the interior of the car. A few of us did prep work, but it was my good friend Cory Hutchison that did the paintwork itself, and the outcome is honestly better than I ever expected. Masking took an impressively long time, with lots of paper, tape, and foil used to keep everything clean. We had to paint in stages, masking the floor off first to paint the cage, and then the cage to paint the floor, all in an effort to prevent overspray problems and to ensure a factory-like finish.

Here you can see the cage dropped down, so that the top could be painted. This was another reason for painting the floor separately - I had to lift the cage back into place, and weld it up.


Here's where things finally started to come together. Also in the mix was dying the headliner to black, to keep things true to the "M5" theme. I also, after everything was said and done, took the time to re-wrap the whole harness with black cloth tape, to clean up the inside of the car.


And a few final photos:


I wish I had a good photo to show off the paintwork on the floor, but it really did come out beautifully. I feel bad trampling all over it when I get in and out of the car. Overall, aside from a couple small details, the interior is really where I want it to be. I'll add another short post about my choice of interior amenities.



Leave a comment: