
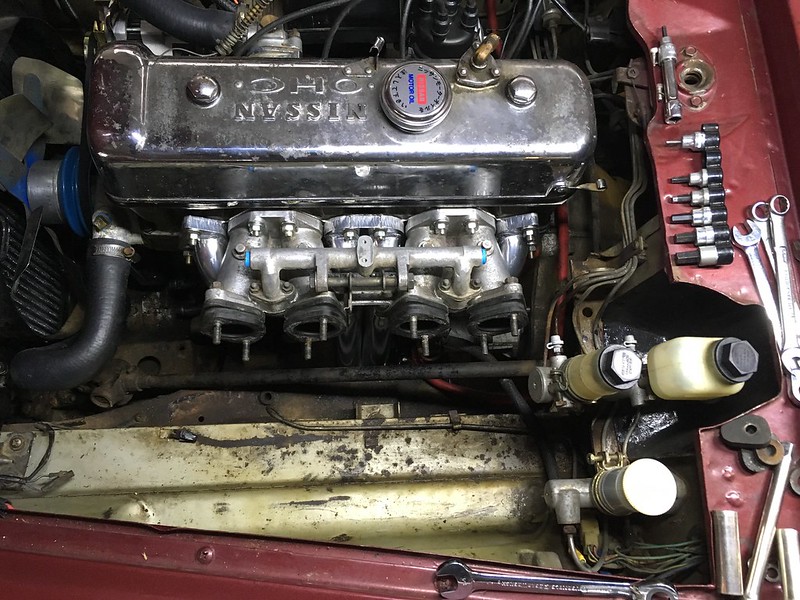
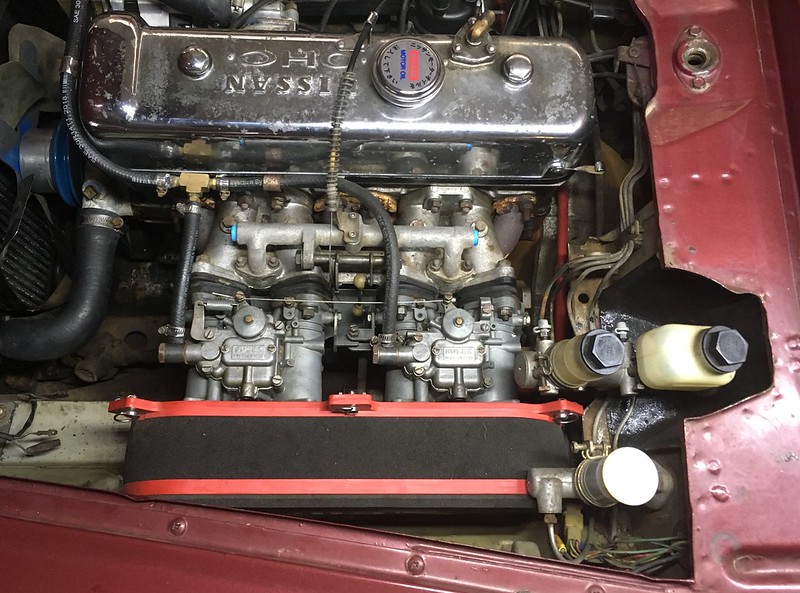
anyways, I had a little time today and the goal was to finish getting the manifolds on and well... 4/4 for the intake are on (easy), and 3/4 of the lower shared nuts/ yokes (aka the fat washers) are on.I also found the 4th yoke, and it was a round one. I was a little worried about the thickness of the flange, but it looks to be done on purpose as its nearly a perfect match for the intake manifold as well. I also spent a few minutes cleaning up the intake itself. Mostly the part that matters on the flange, but cleaned up what I could. Its better... anyways heres a few pics to entertain you with:
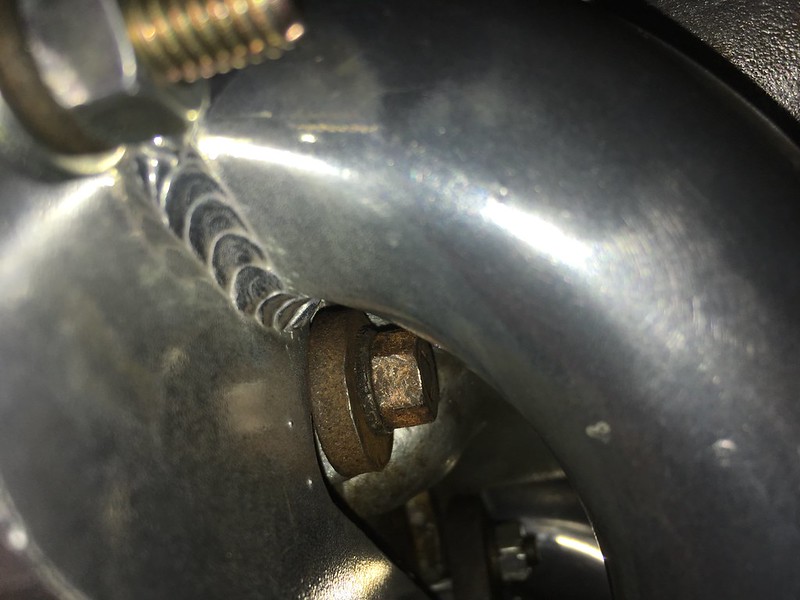
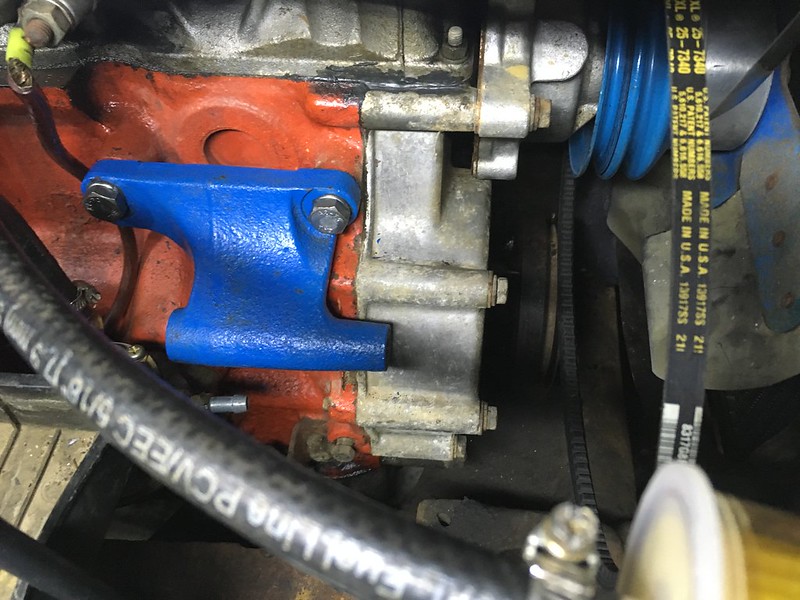
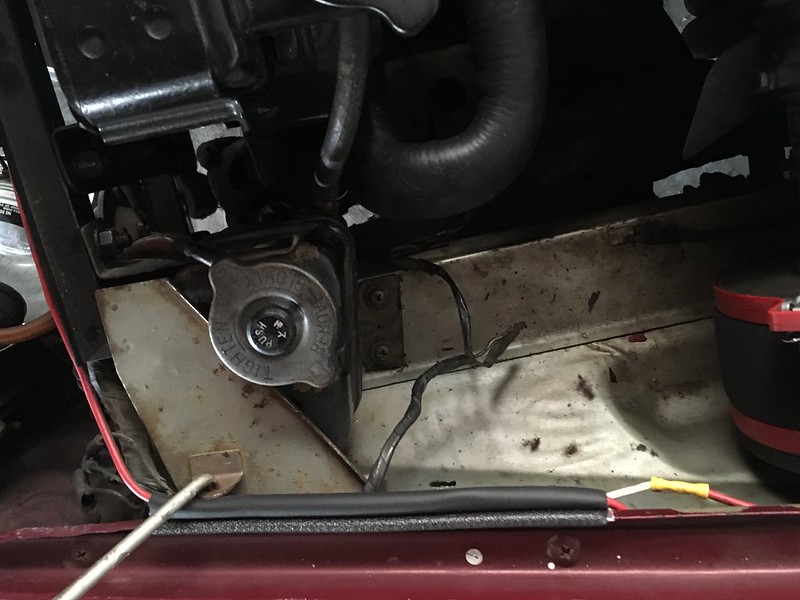
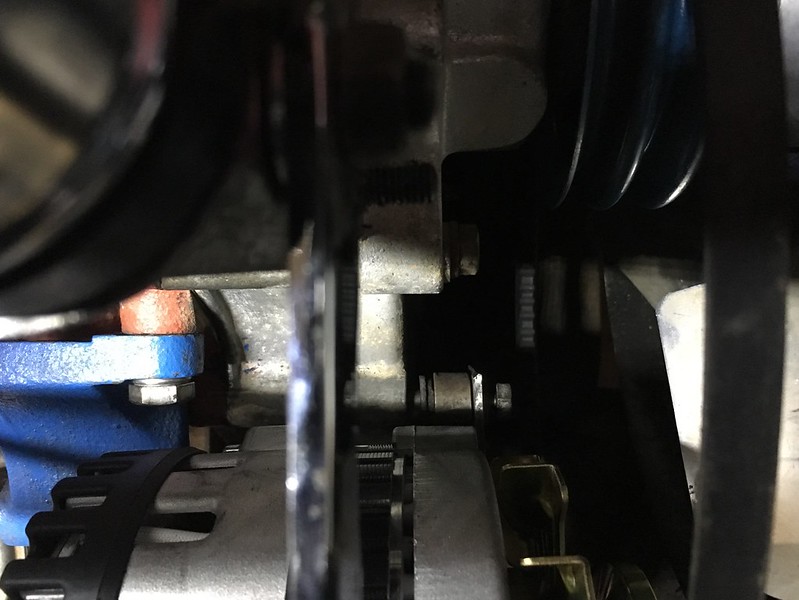
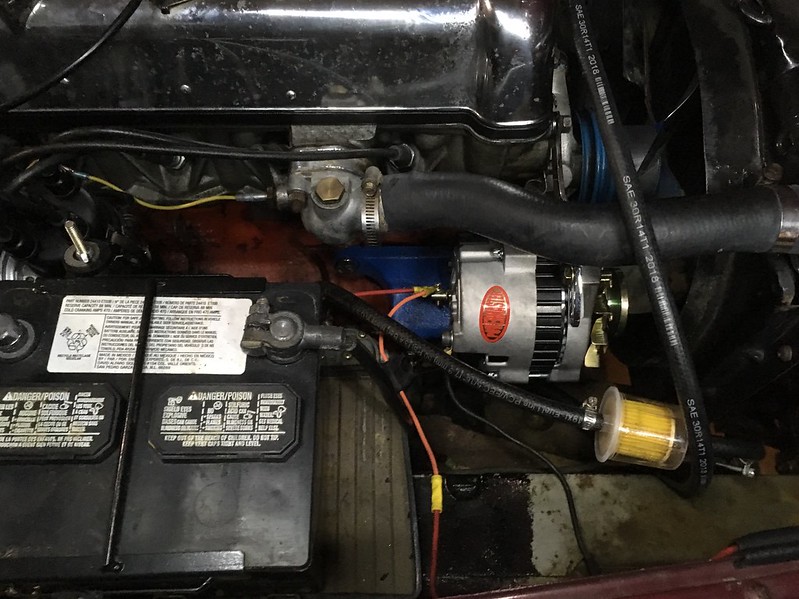
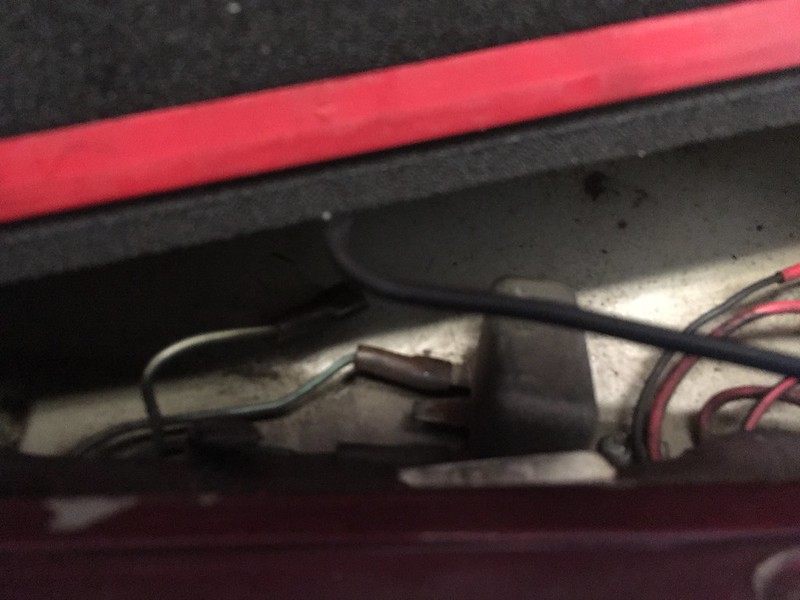
a shot of whats going on down there ( What were the Japanese thinking?!)
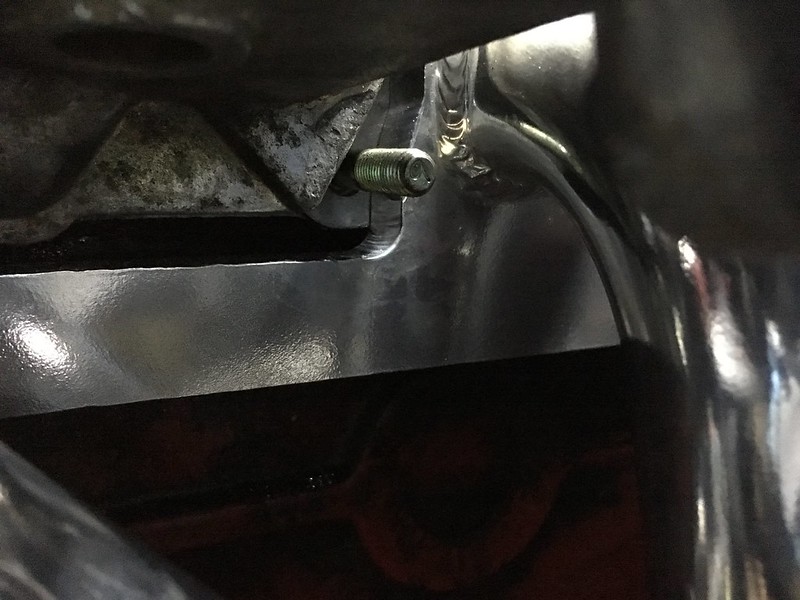 Finishing up by 2mAn
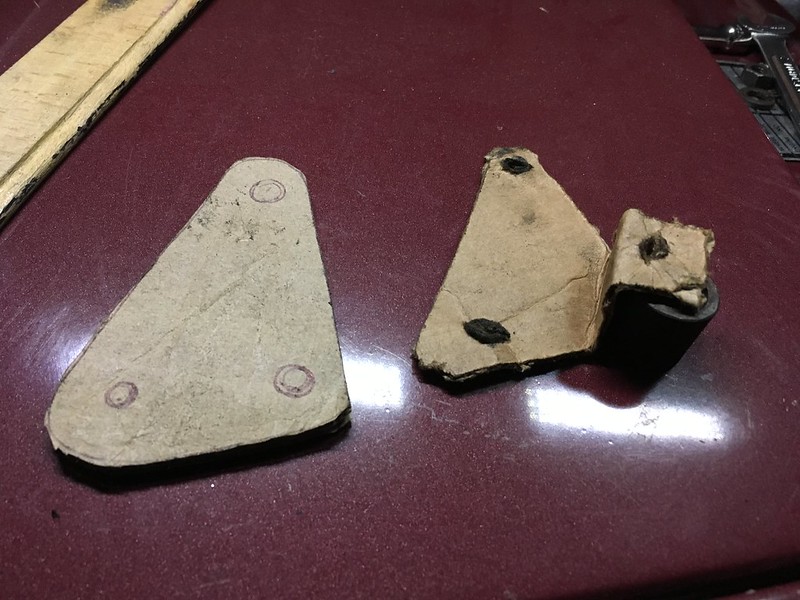
I started by adding a small washer and a lock washer, but I didnt like this and took these off...
 Finishing up by 2mAn
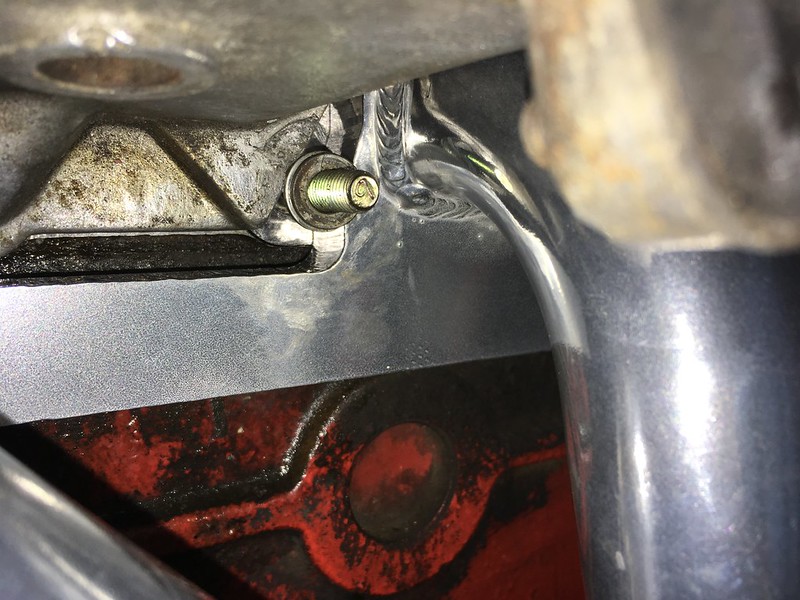
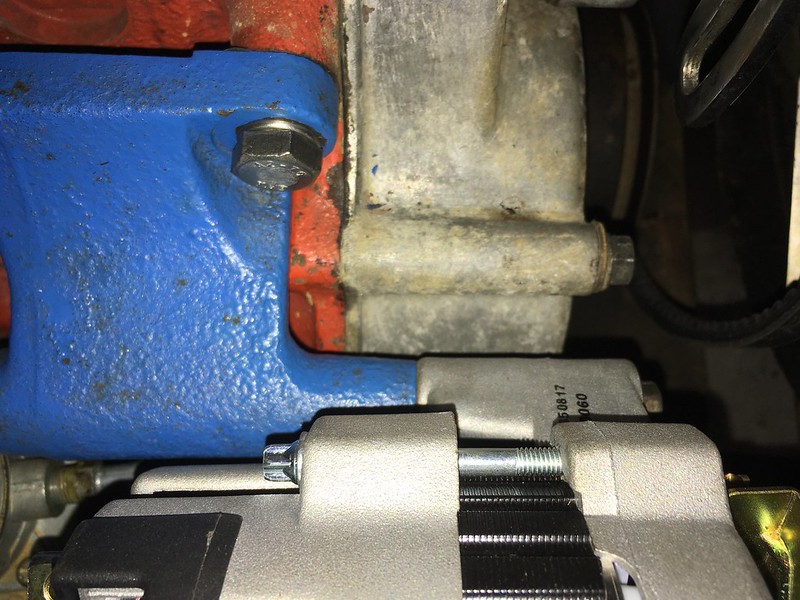
I tightened it down and with just the yoke, lock washer and nut, but I didnt like how it rotated itself, so back off again...
 Finishing up by 2mAn
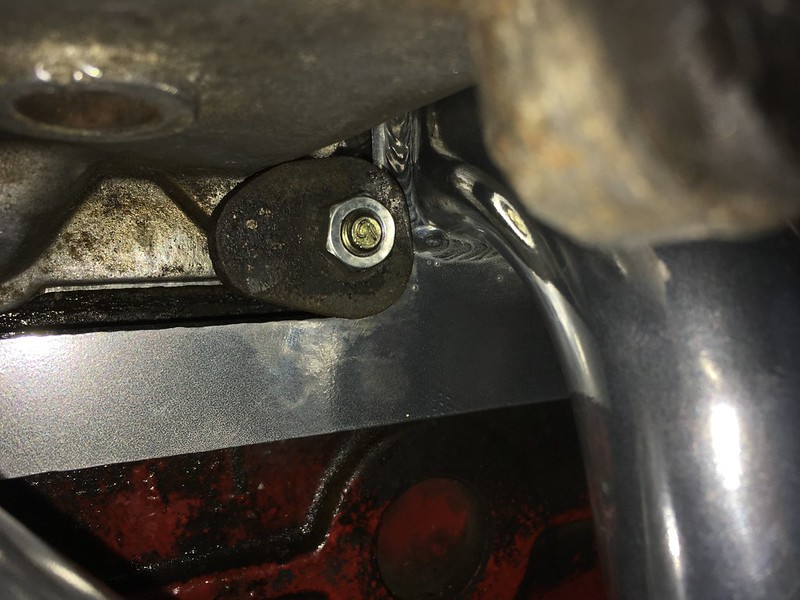
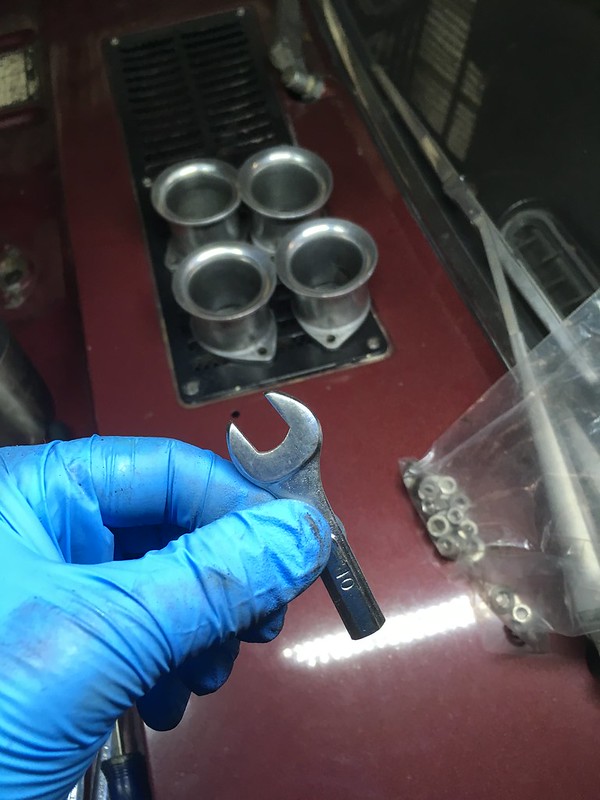
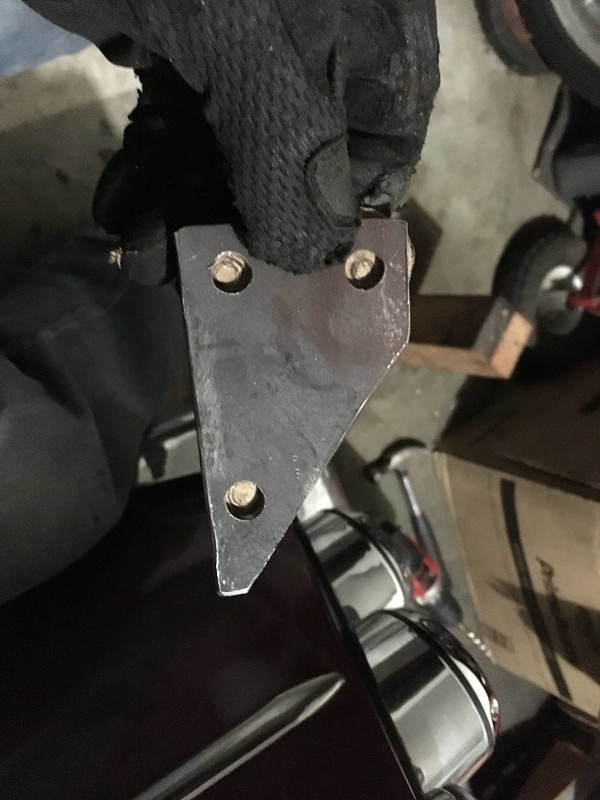
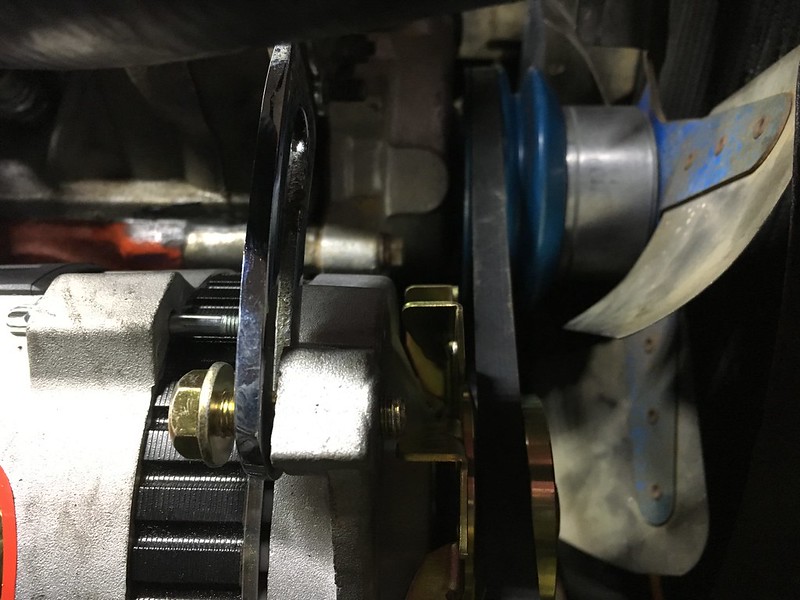
I like this. stud, no washer, big yoke, then a lock washer and finally the nut. rotated so the fatter part was straight down.
 Finishing up by 2mAn
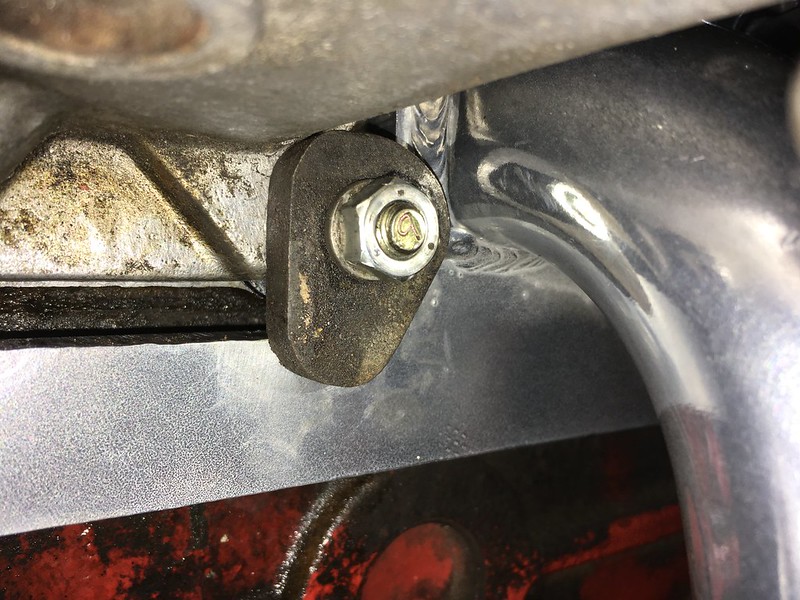
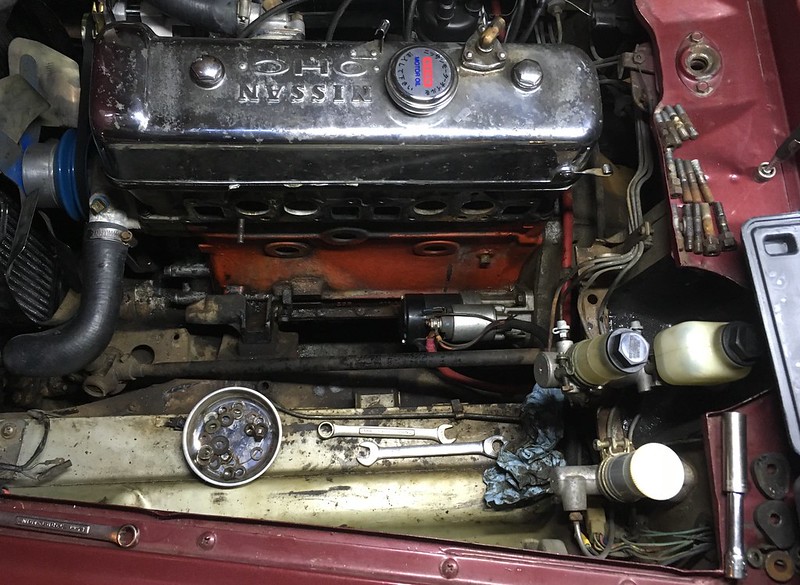
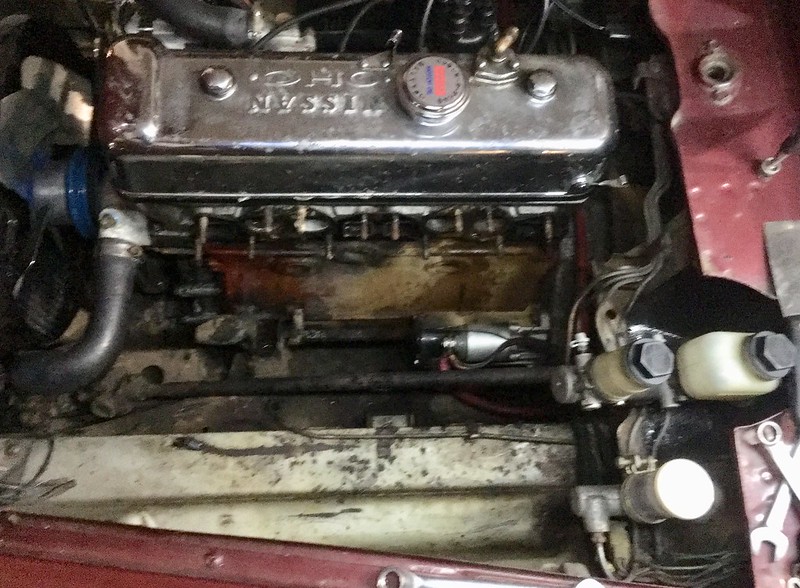
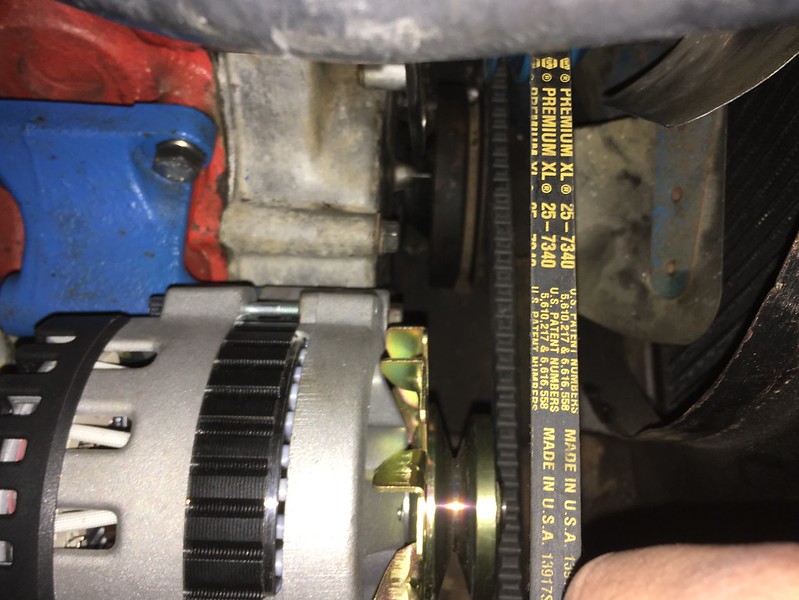
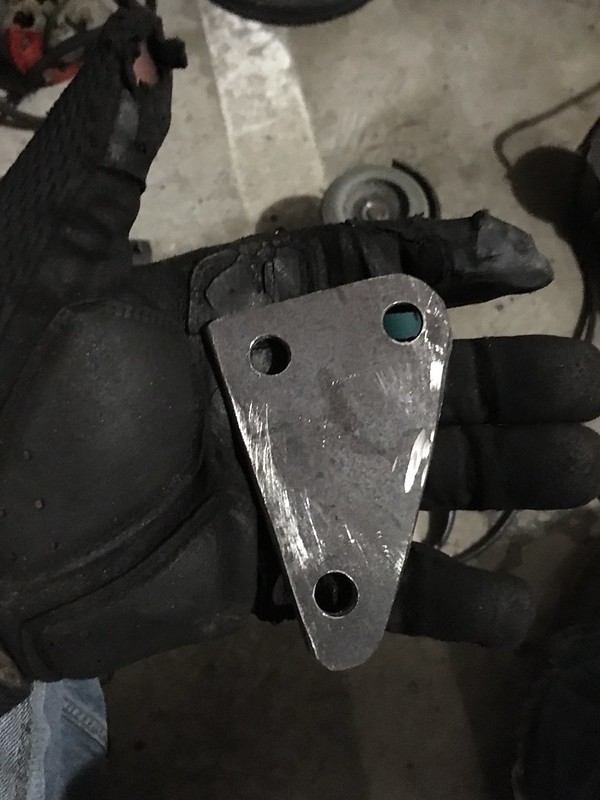
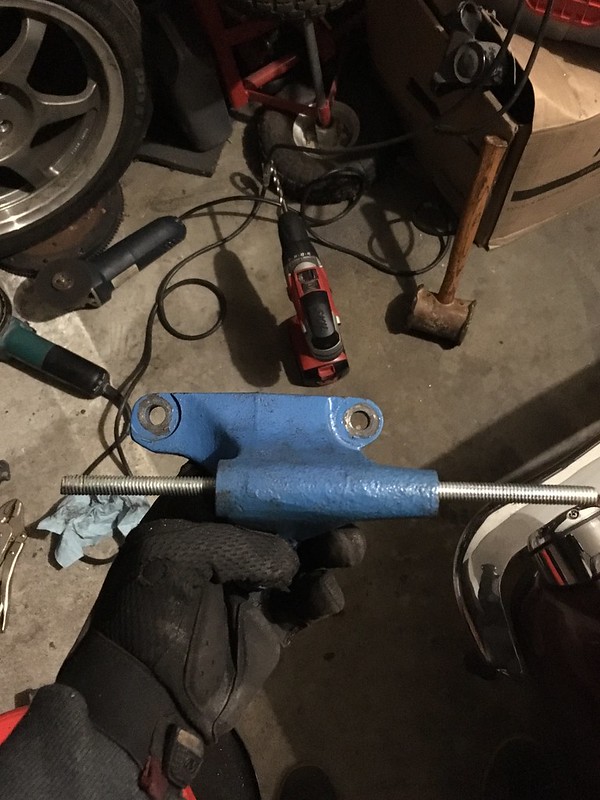
heres the shorter old stud that I couldnt get off. I tightened this as best as I could, we'll see if its good enough!...
 Finishing up by 2mAn
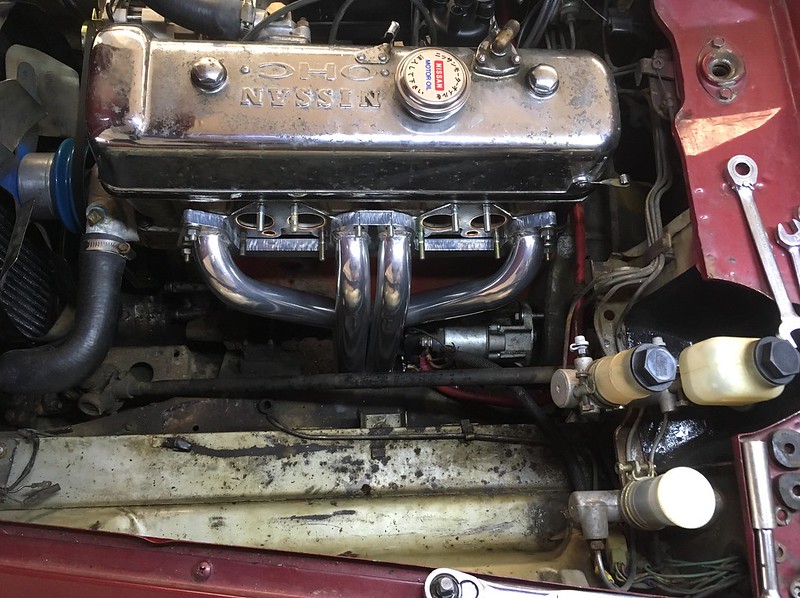
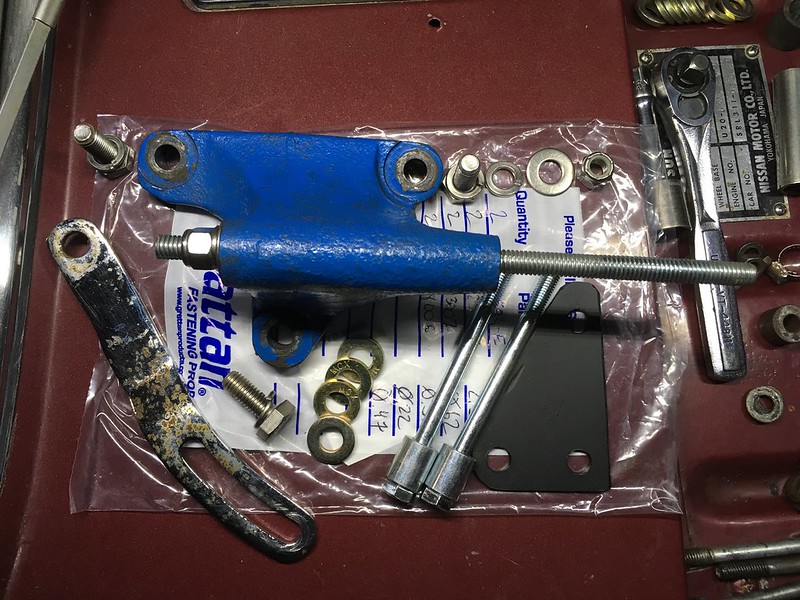
getting close!
 Finishing up by 2mAn
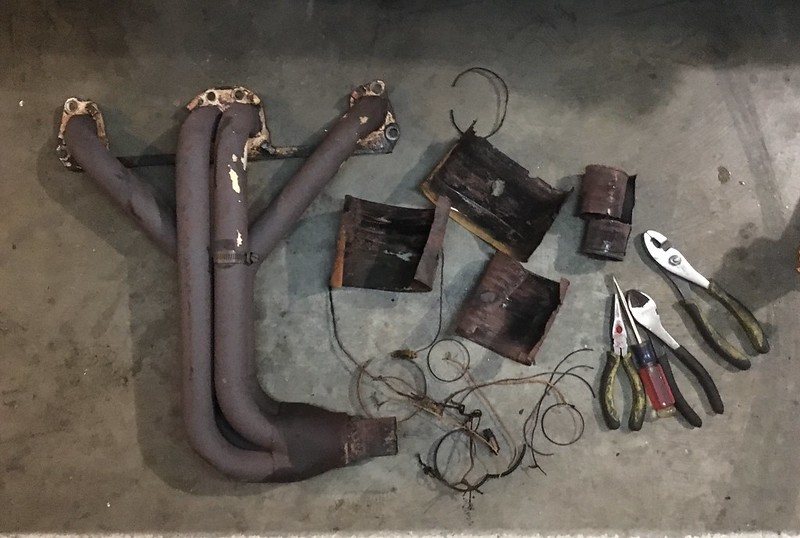
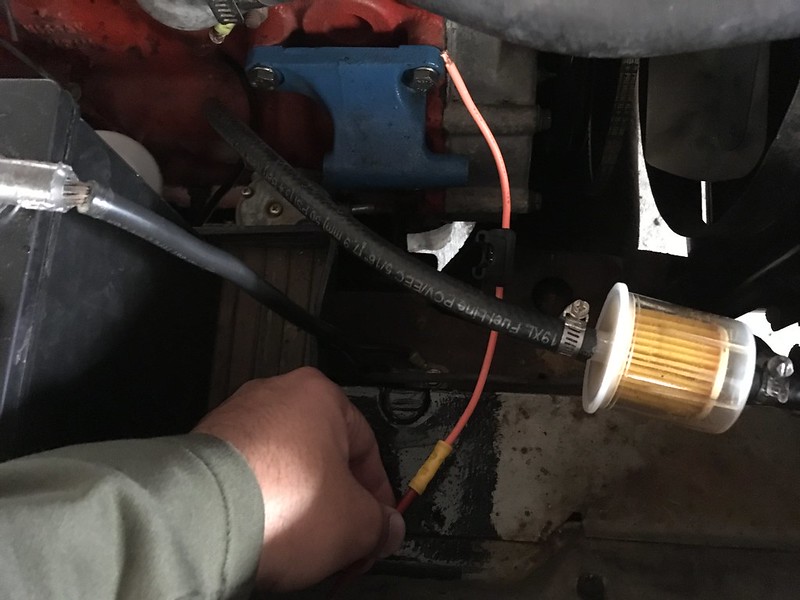
I stopped here because my light died and I actually had some other work to do, so hopefully tomorrow I can get that final one completed, and starter tightened on. Then it will just be the carbs and getting the exhaust welded up. Its quite a big taper from the header to the piping behind it. I'll probably see what the exhaust shop has available and have them move the transition much further back where it goes from ~2" to whatever is on there now.


Leave a comment: