Lacey, the Lachssilber 325iS - oem+ 5spd. swap daily driver build

Collapse
X
 
  • Time
  • Show
Clear All
new posts

  • vtechnik
    replied
    Alright, time for the package update. This post is kinda long, so I've been putting it off. This is basically a bunch of engine maintenance that I should've done within the first week of ownership.

    Note: I know 90% of r3v knows how to do the tbelt but like I said in my original post I regret not documenting so posting this stuff may seem basic for some (including me) but it may also help me a few months from now if I forget what I did.

    Things I did this week and last weekend:
    - Timing Belt
    - Waterpump
    - Tensioner
    - Thermostat
    - Cam Seal
    - Rocker Shaft Seals
    - Valve Cover Gasket
    - Painted Valve Cover
    - Adjusted Valves
    - Fuel Filter
    - Antenna Seal
    - Hood Strut
    - Alternator Belt
    - A/C belt
    - Topped off ATF
    - Excessively flushed coolant
    - Cleaned ICV

    On the immediate horizon, hopefully tomorrow:
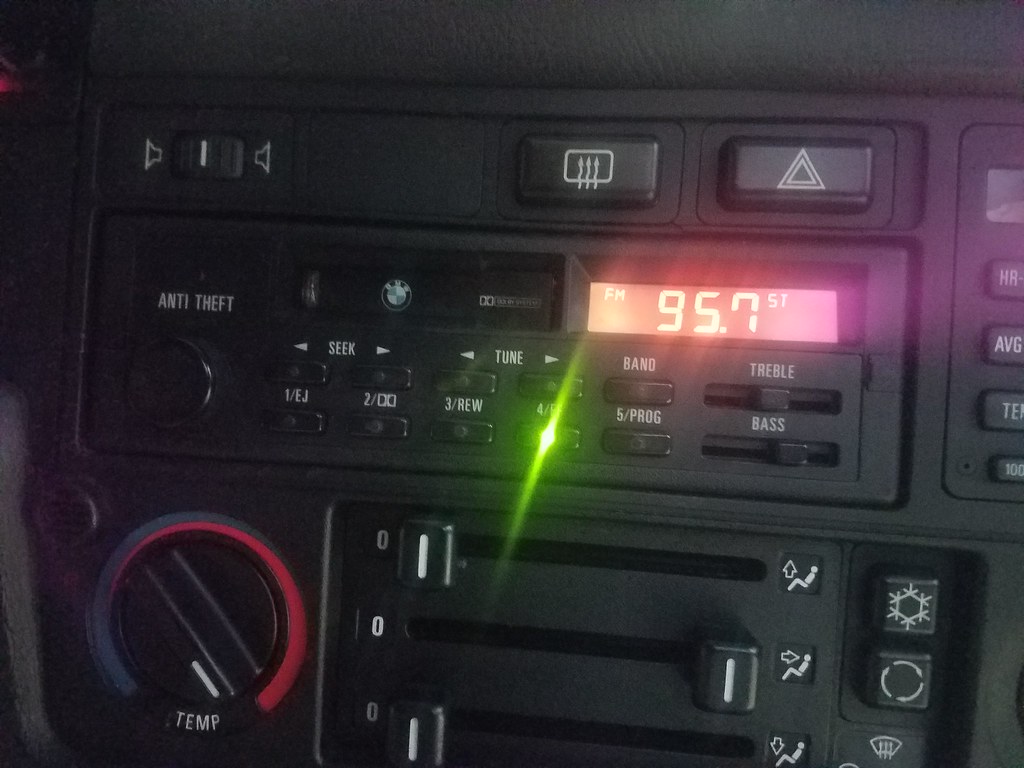
    - fix radio knob
    - change oil using Rotella t5 << Opinions? It's 15w40, and its roughly 35-60F here right now
    - car wash
    - vacuum out trunk full of water
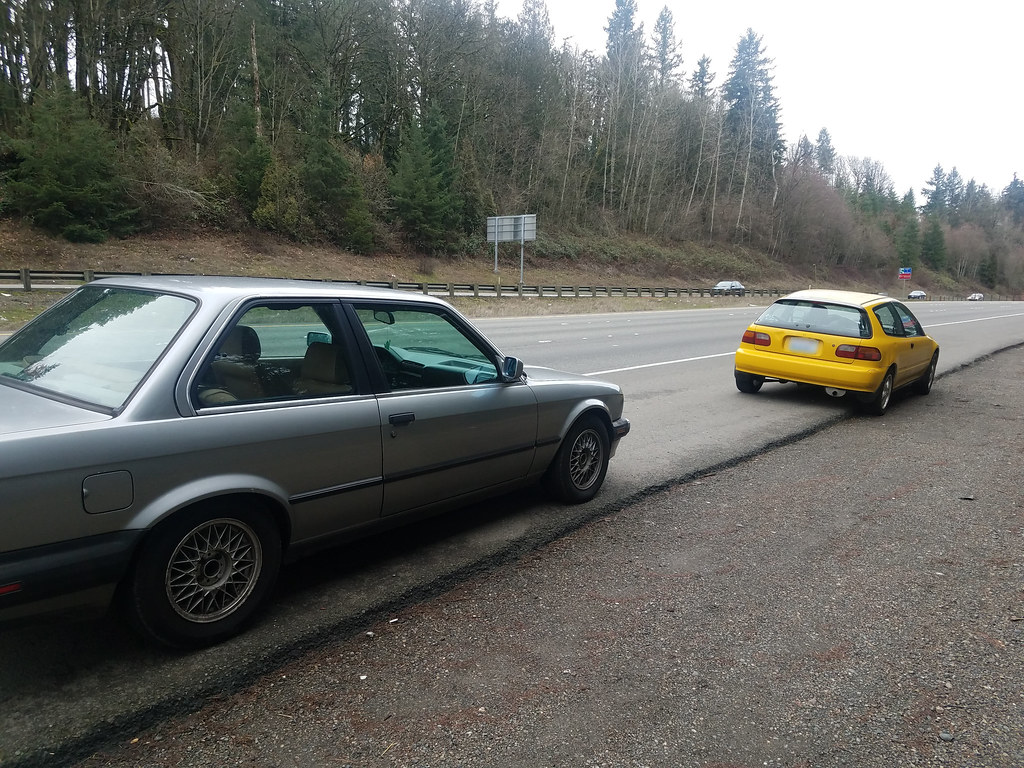
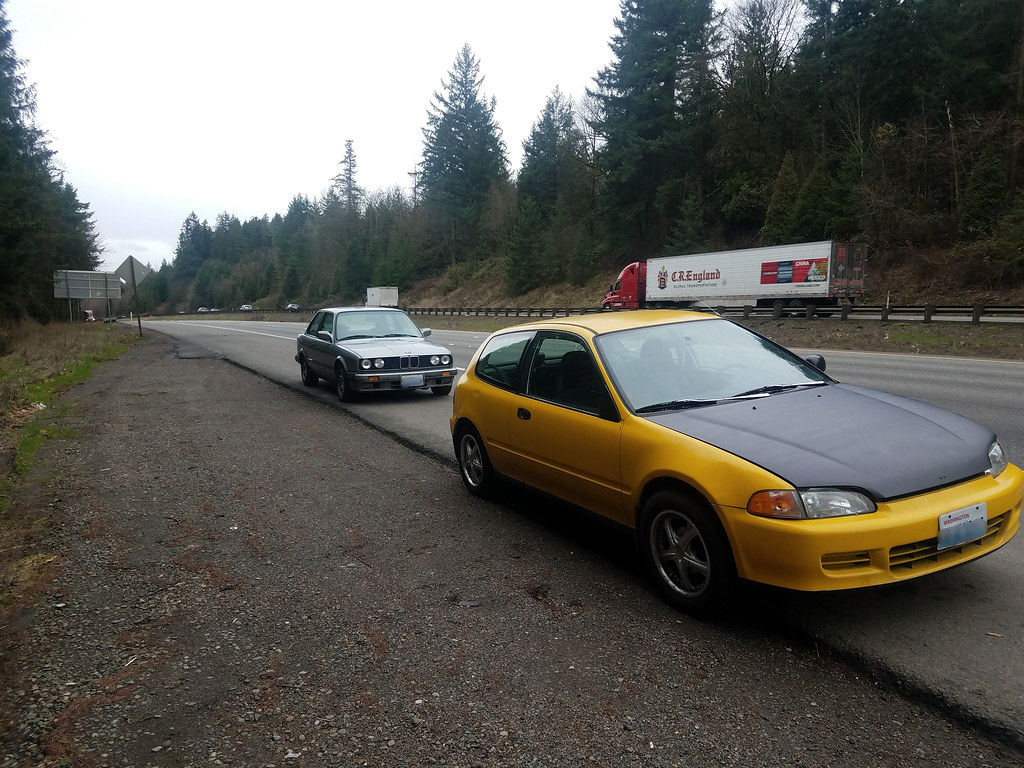
    - hopefully cruise some back roads and post pics

    This weekend:
    - buff & wax paint
    - oil pan gasket?

    Most all these pics were taken on my phone so bare with me..

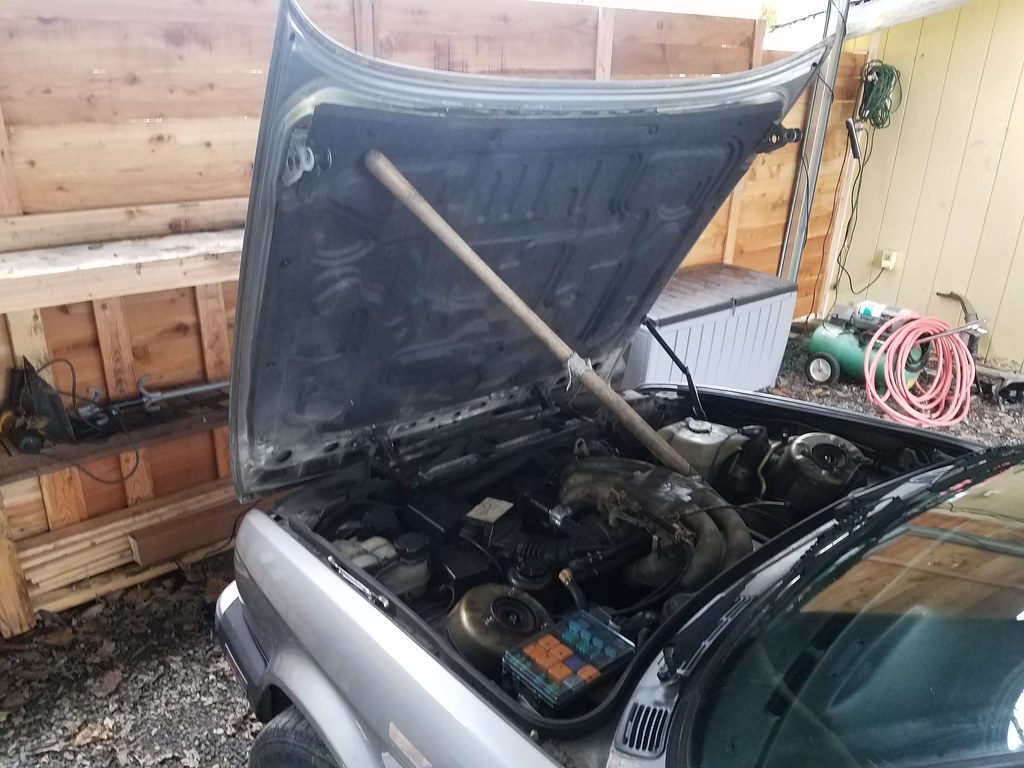
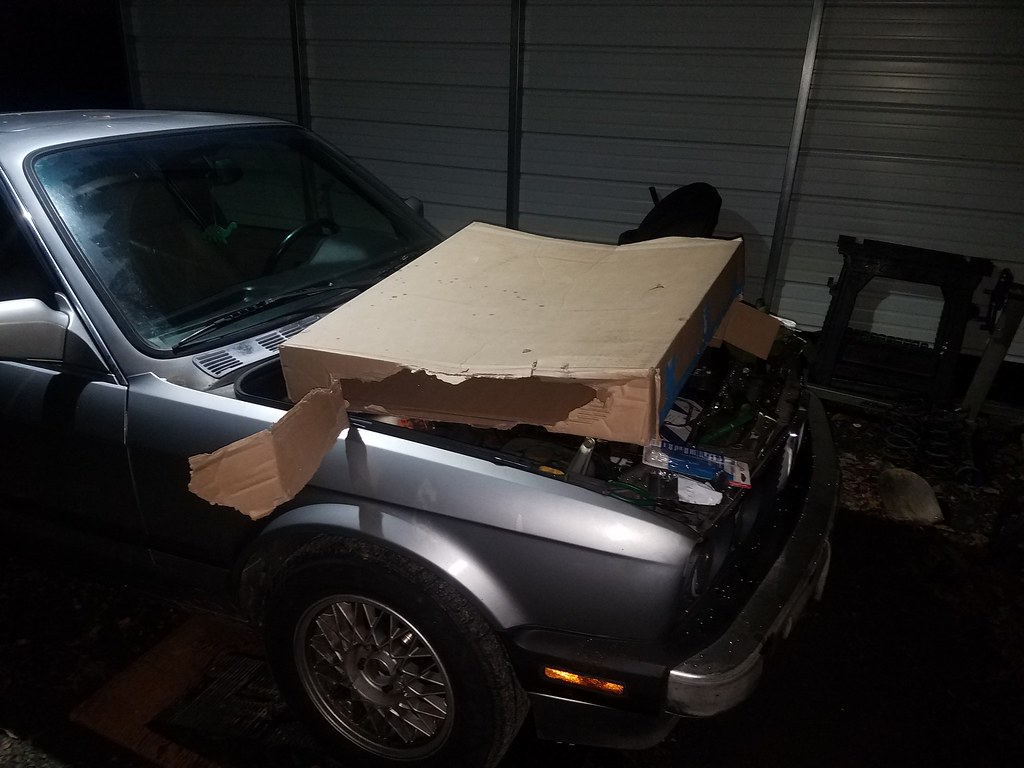
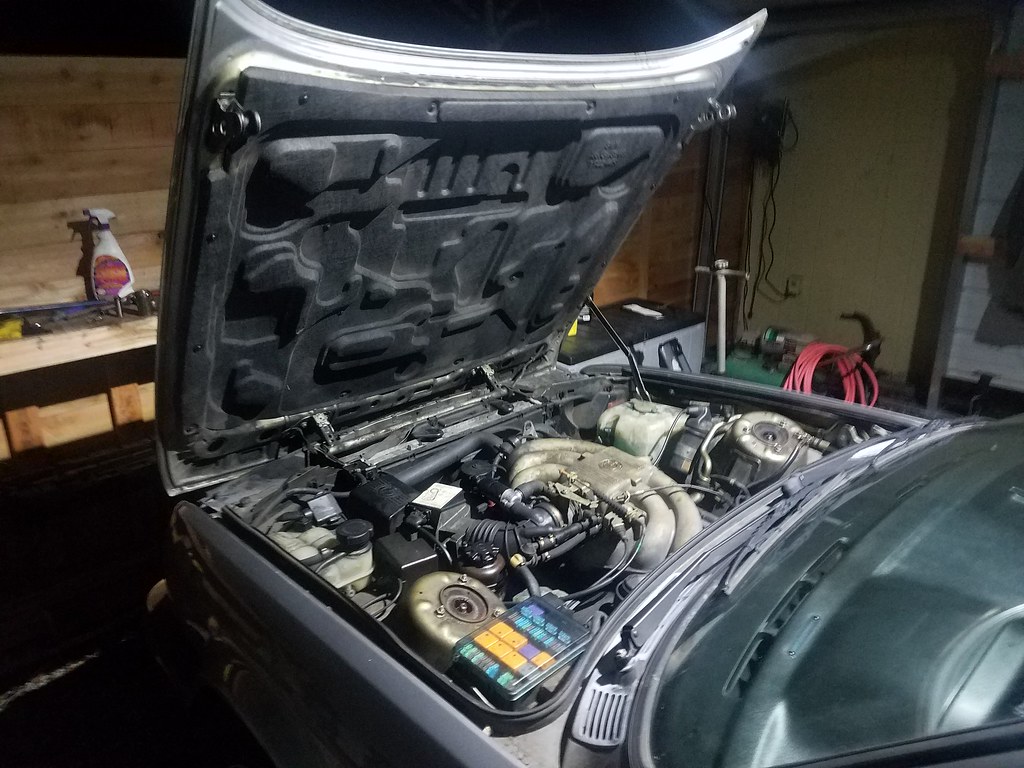
    The hood strut was blown up until this point so a shovel was my hood prop


    Off with the hood... the canvas


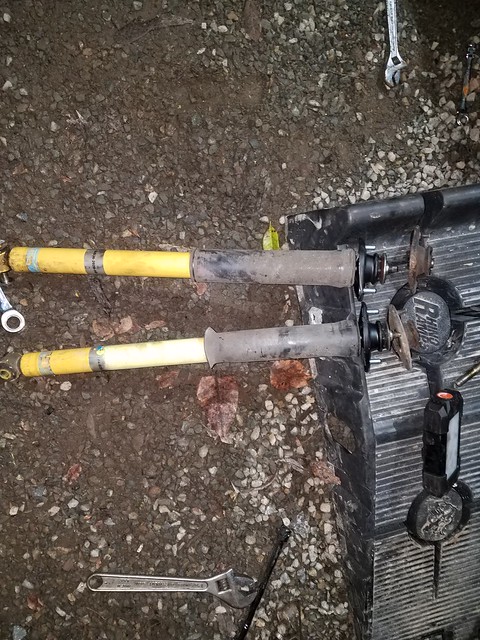
    Out with the radiator


    Fan Clutch out along with some hoses, huuuge s/o to rob for letting me borrow his genuine bmw specialty tools and snap on tools. My bicycle wrench no longer does tbelts like it used to lol


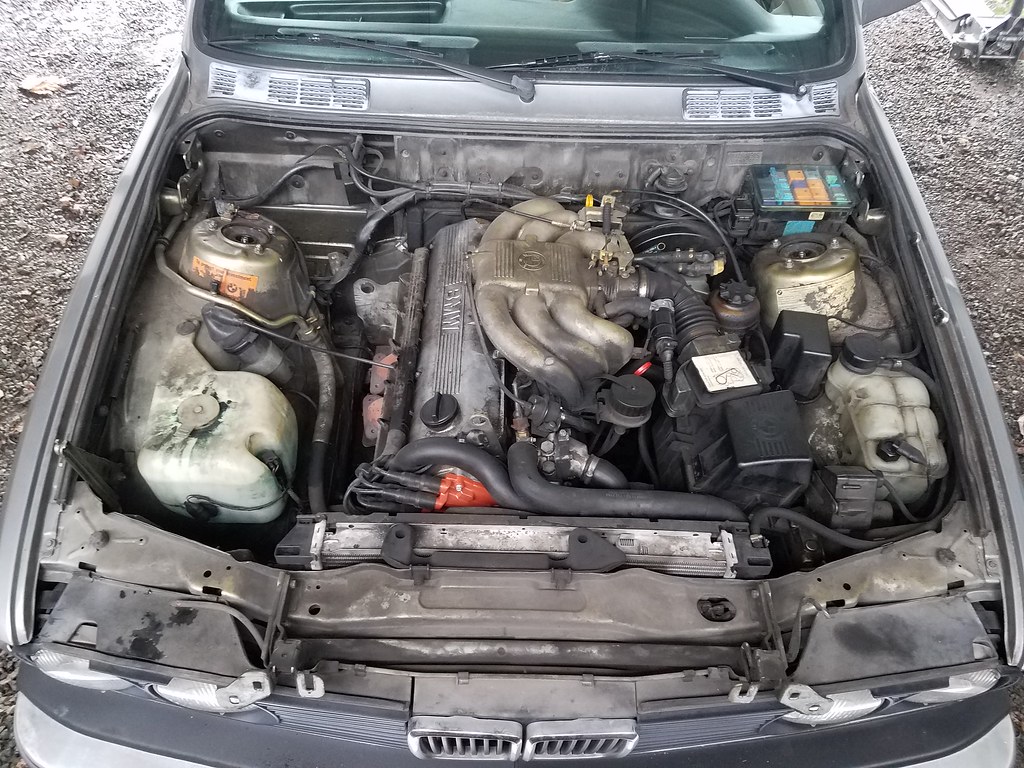
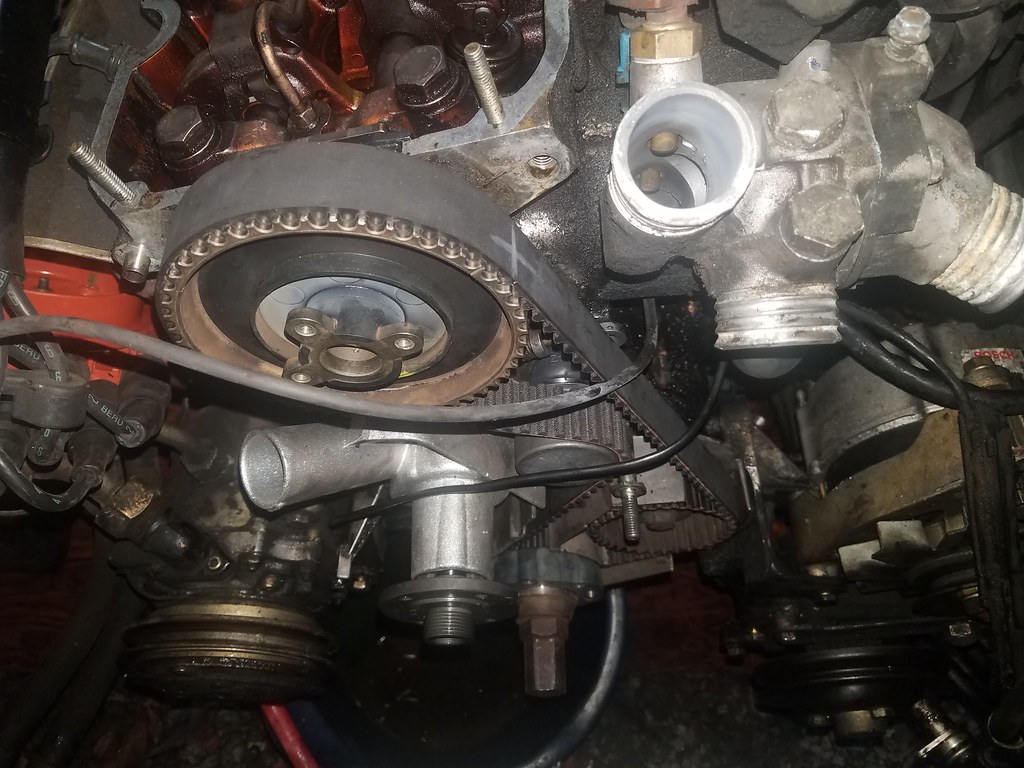
    Took out the rest of the stuff covering the belt. Some how didn't break the 8mm bolt that holds the cover on, that one always gives me trouble.


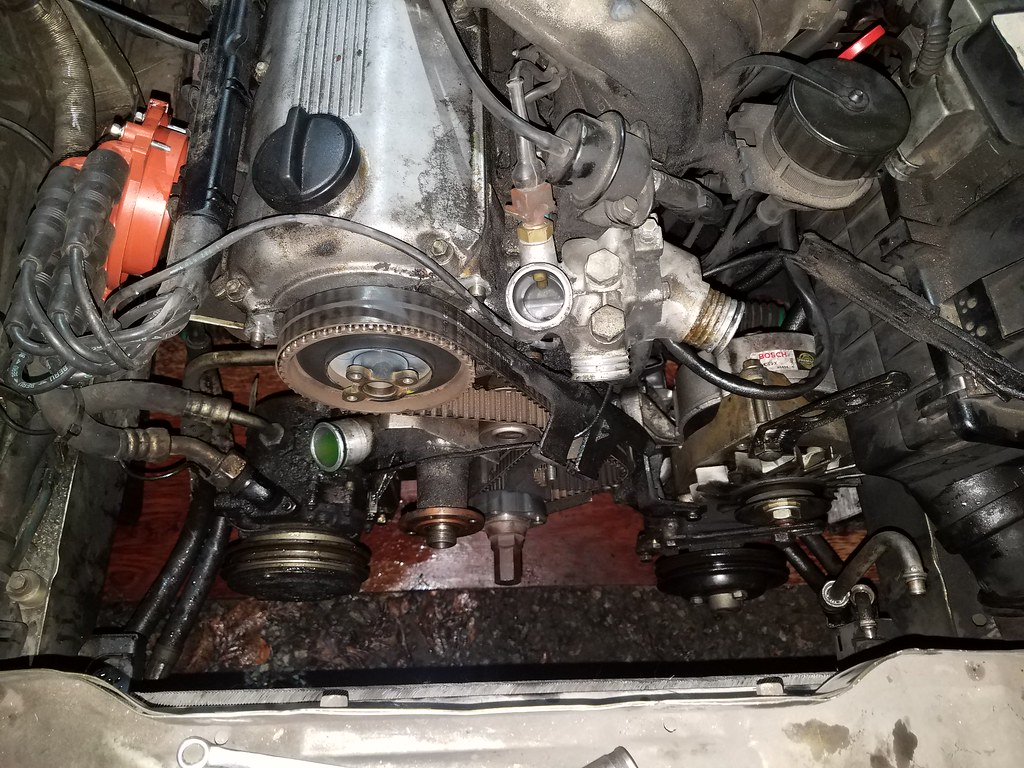
    Belt close up, never really know how to judge these things but given that the middle has some sort of wear mark and the Continental markings were near rubbed off I'd assume it was on the last half of its life


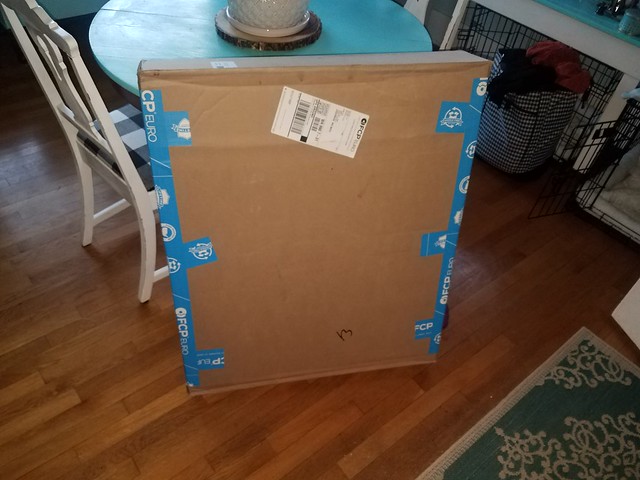
    At this point the FCP box showed up, impeccable timing as usual


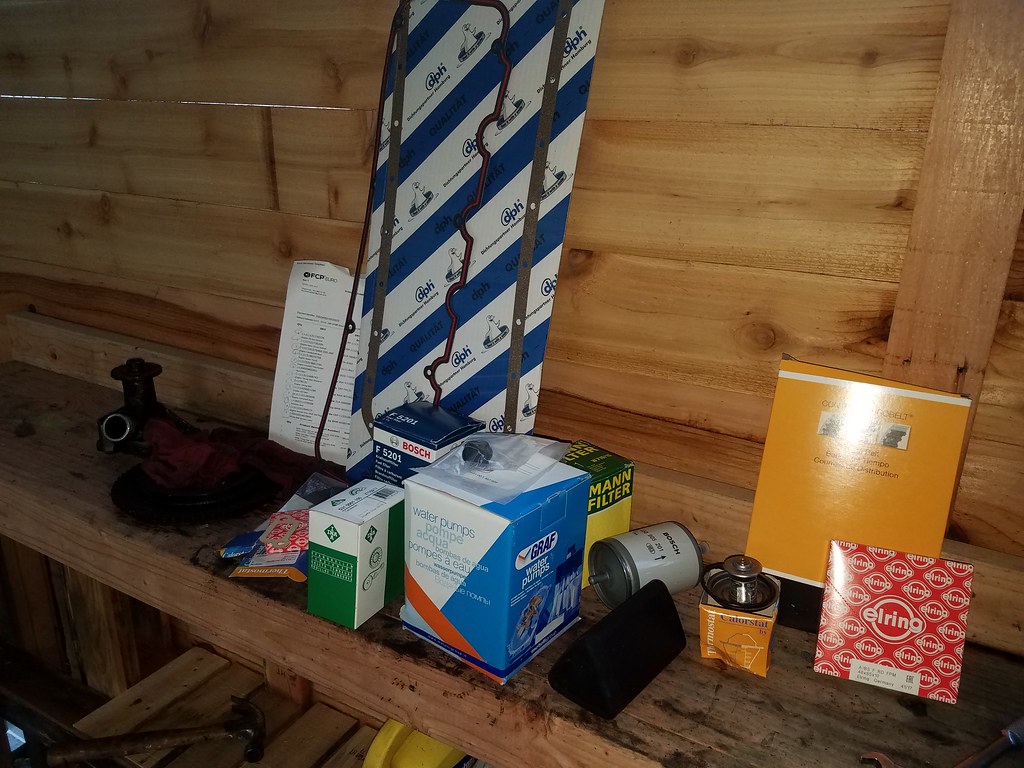
    They even sent a perfect sized package to cover my workstation as I quit for the day


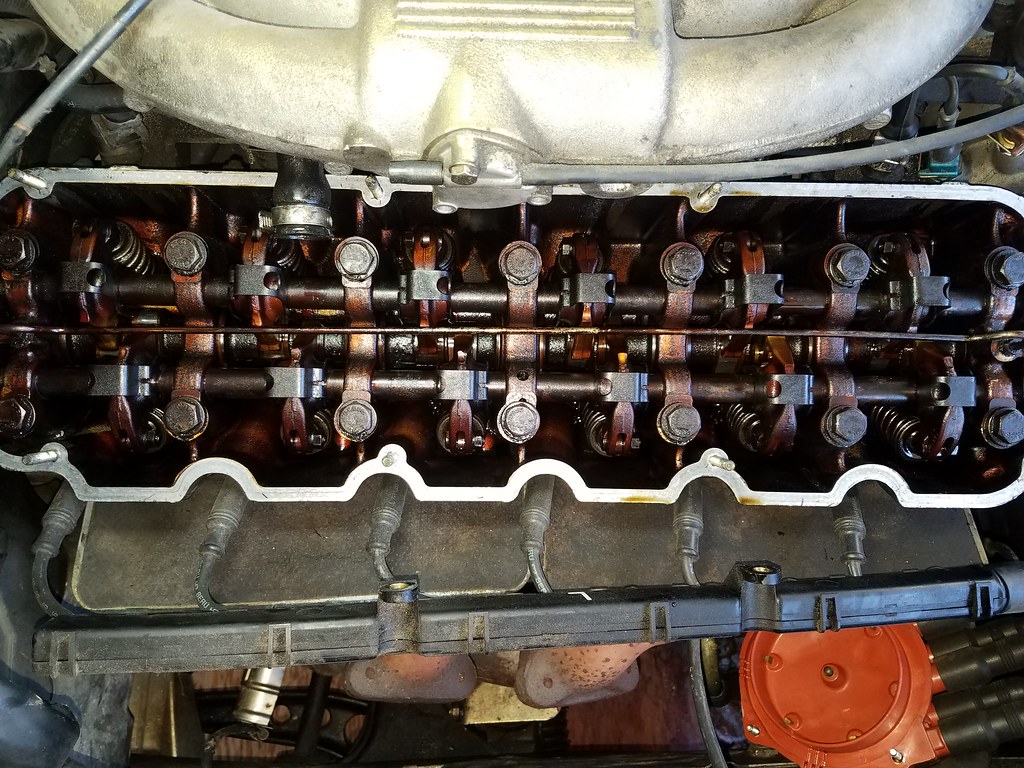
    Next day I spent adjusting the valves and installing new seals. It's pretty grimmey in there which is why I opted for Rotella. I hear they have really good cleaning agents and high zinc content which is good for these engines? I'm no oil expert so feel free to educate me.


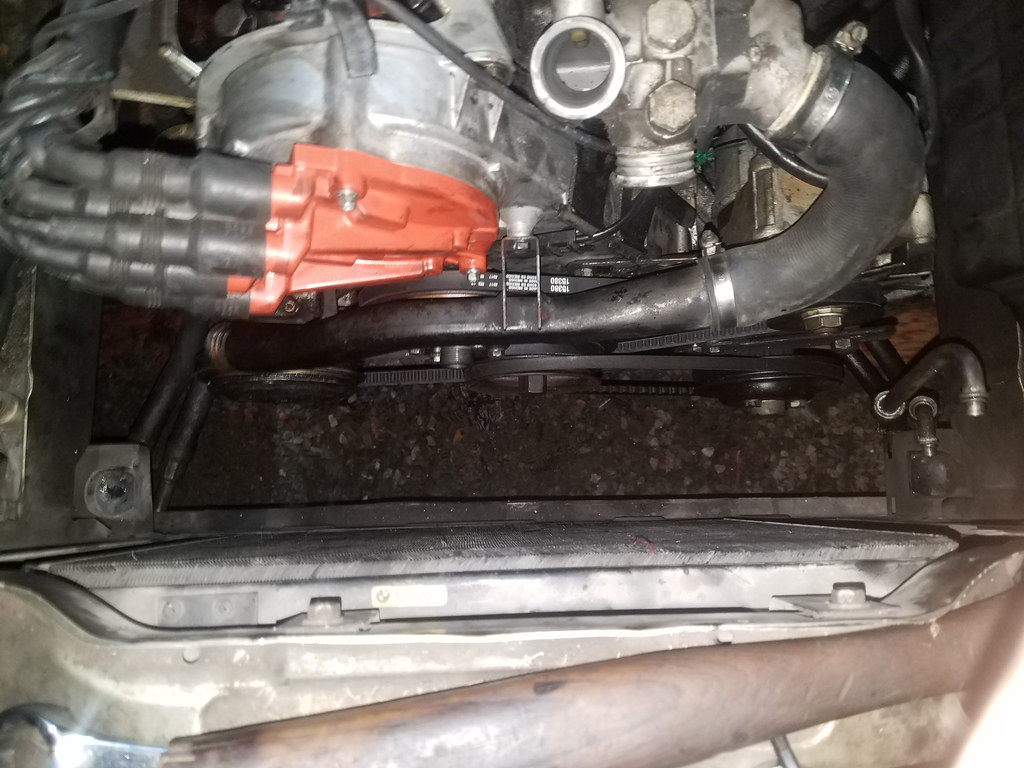
    After that and the cam seal was done I slipped the new belt on along with the pump and tensioner


    From there it was just reverse but I used new accessory belts besides the power steering belt. I also replaced the thermostat which is undocumented but the old thermostat rusted in half basically, which caused my overcooling problems. My leaky waterpump seal compensated by trying to overheat the engine. Both are fixed now which is nice not having an eye glued to the temp gauge

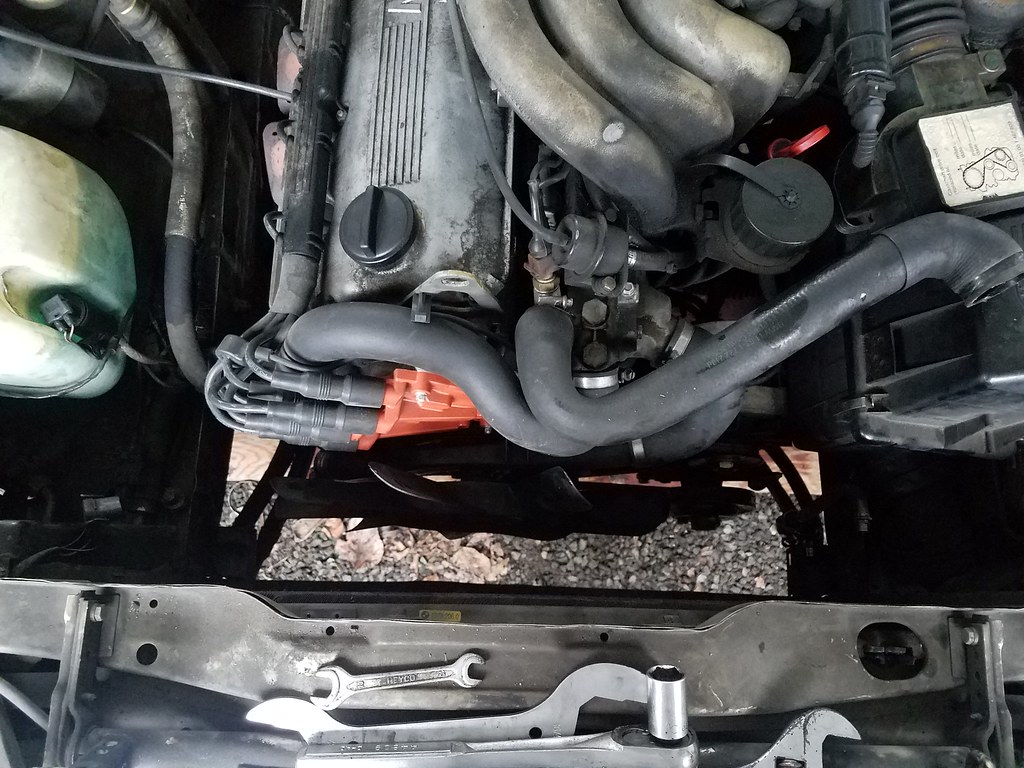
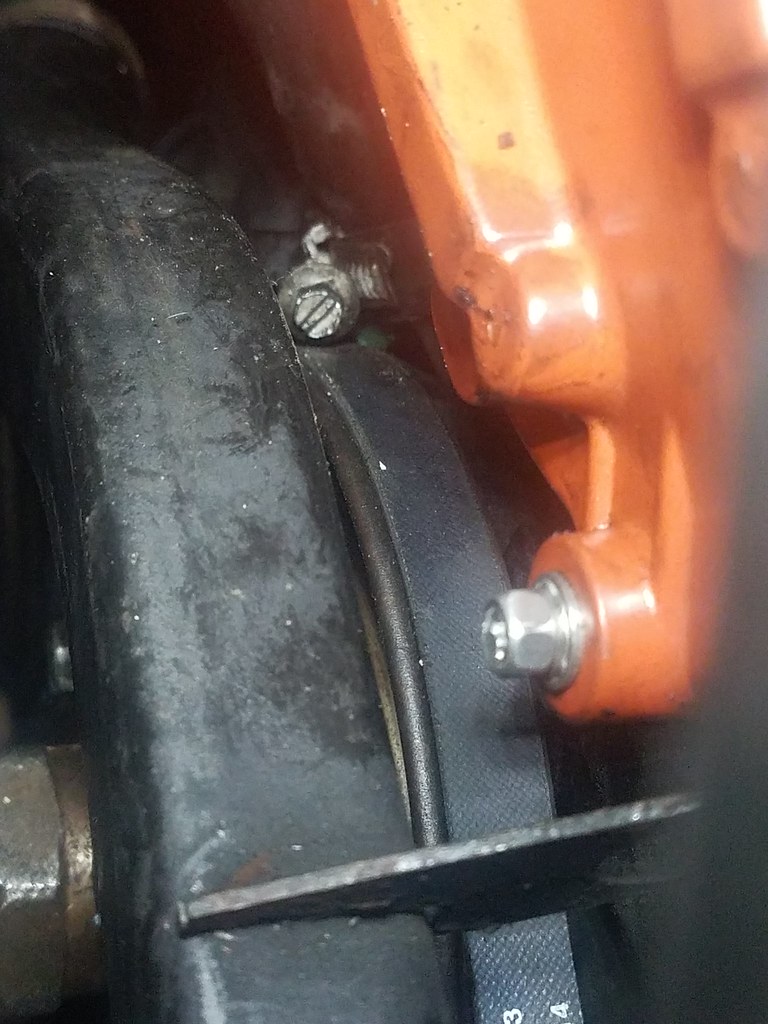
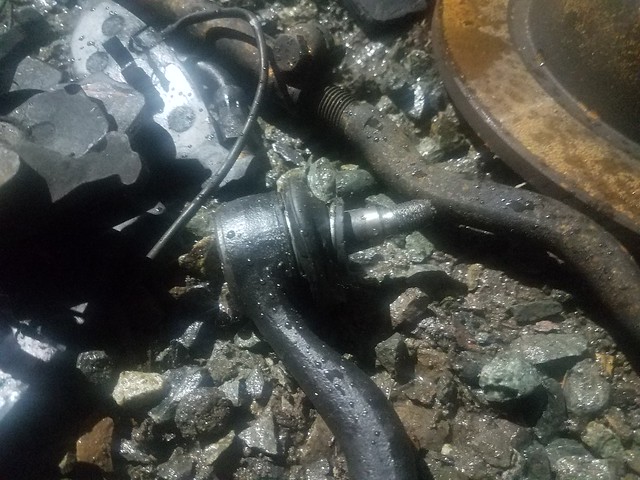
    QUESTION: Anybody know the factory position of this clamp? It's on the water pump hose. this was the easiest way to access it when the radiator was out but I feared it was gonna hit the belt. Later on it bit me in the butt cause there was a leak on that hose and it was difficult to reach with everything in place. I rotated it towards the exhaust which made it uncomfortable to get to. It still leaked so I double clamped it and really cranked it down. Last night it was causing enough problems for me to throw a wrench across my driveway. Anyway I woke up this morning and it seems like it decided to seal because there were no leaks under the car and when I drove to oreillys to get more coolant and clamps the car didn't leak when cold or at full temp. Weird. I'll watch my coolant levels hopefully it fixed itself... probably not though.


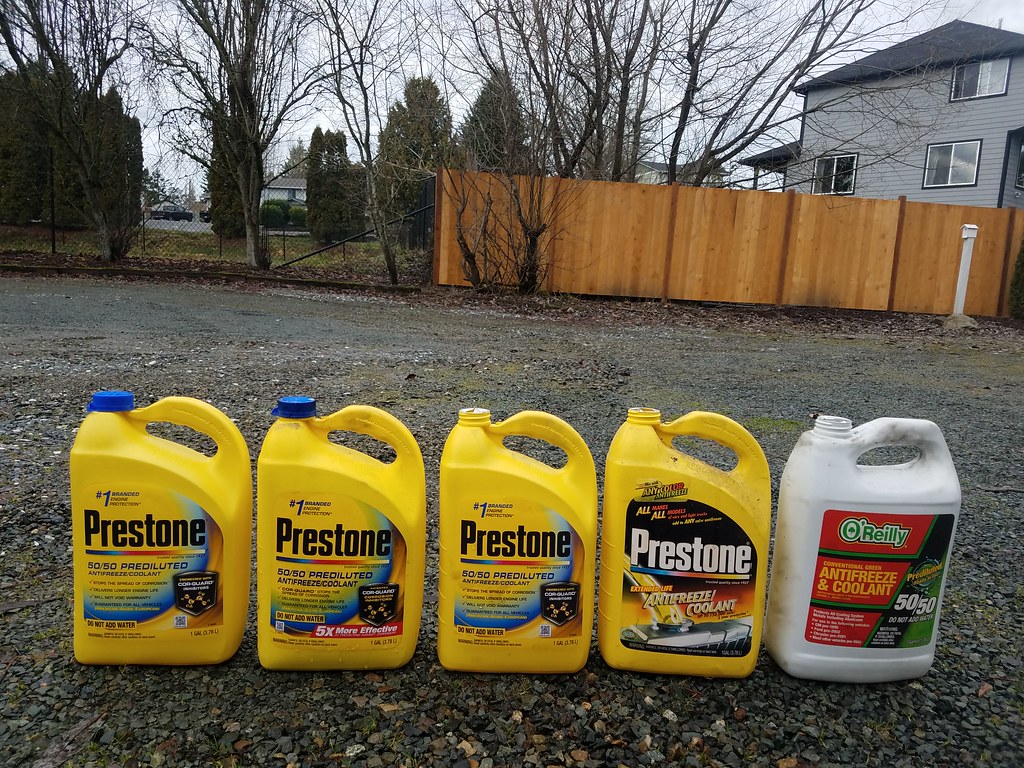
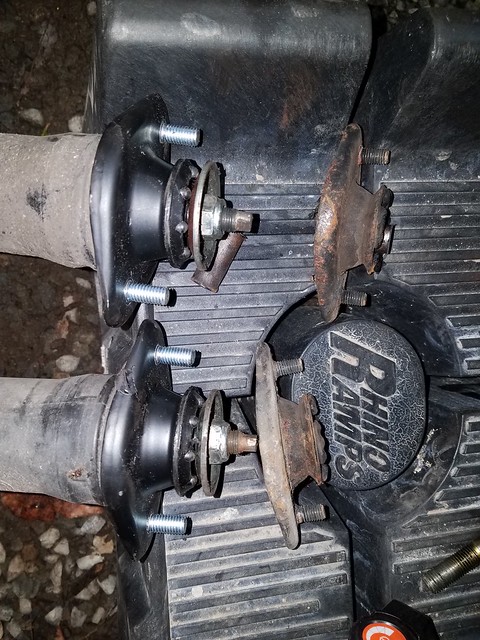
    Went through a lot of coolant. The one on the left is full from buying it this morning.


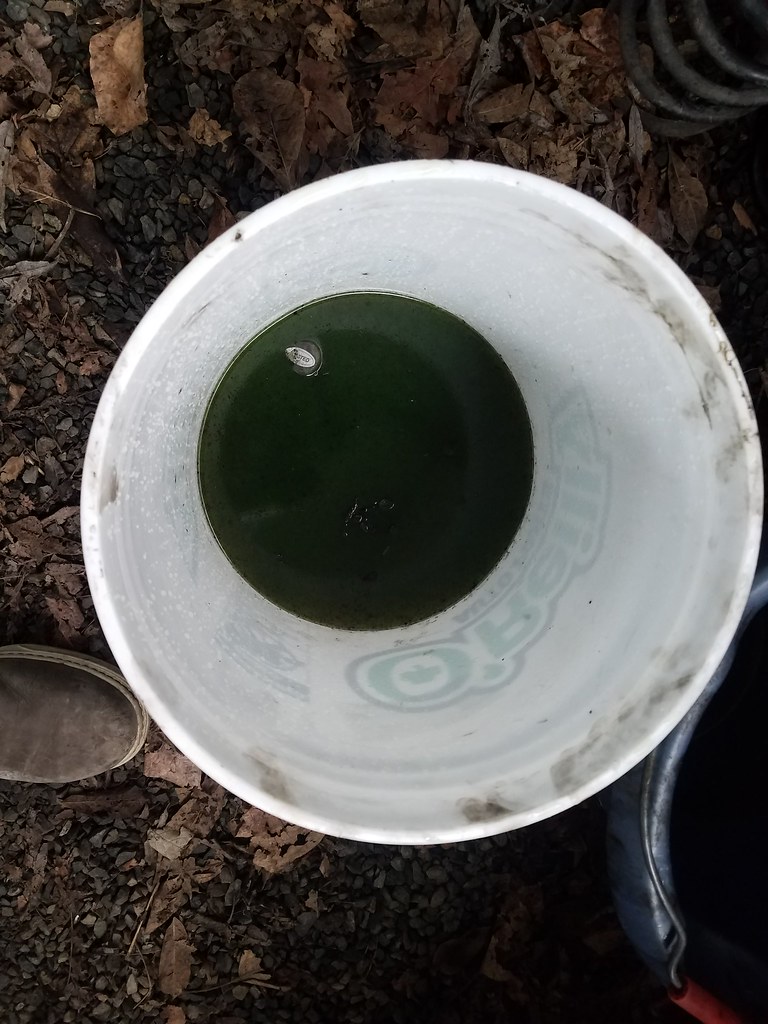
    And for those about to ask why you didn't just reuse the coolant
    1. I unintentionally spilled a lot the first time trying to drain it
    2. The coolant I did manage to catch ended up in buckets that had a little water, a little atf, and a little oil in it. Still not sure how I'm going to dispose of the two buckets in an ecofriendly way.


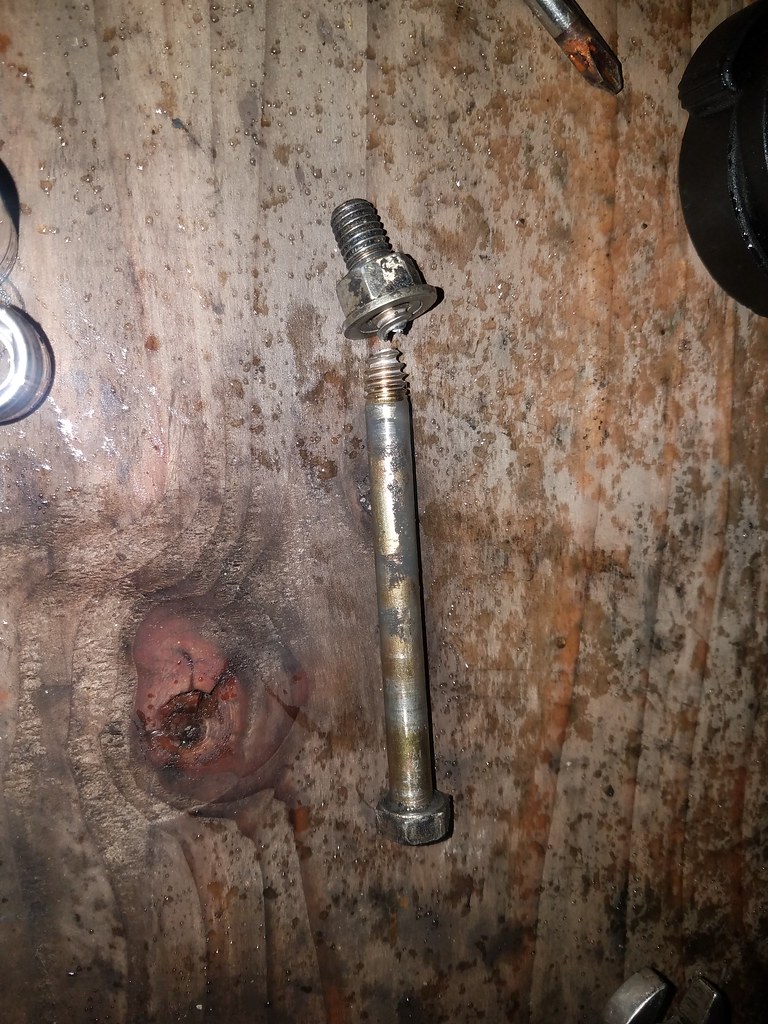
    I also broke my A/C bracket bolt trying to retension the belt.. so yeah that was fun.


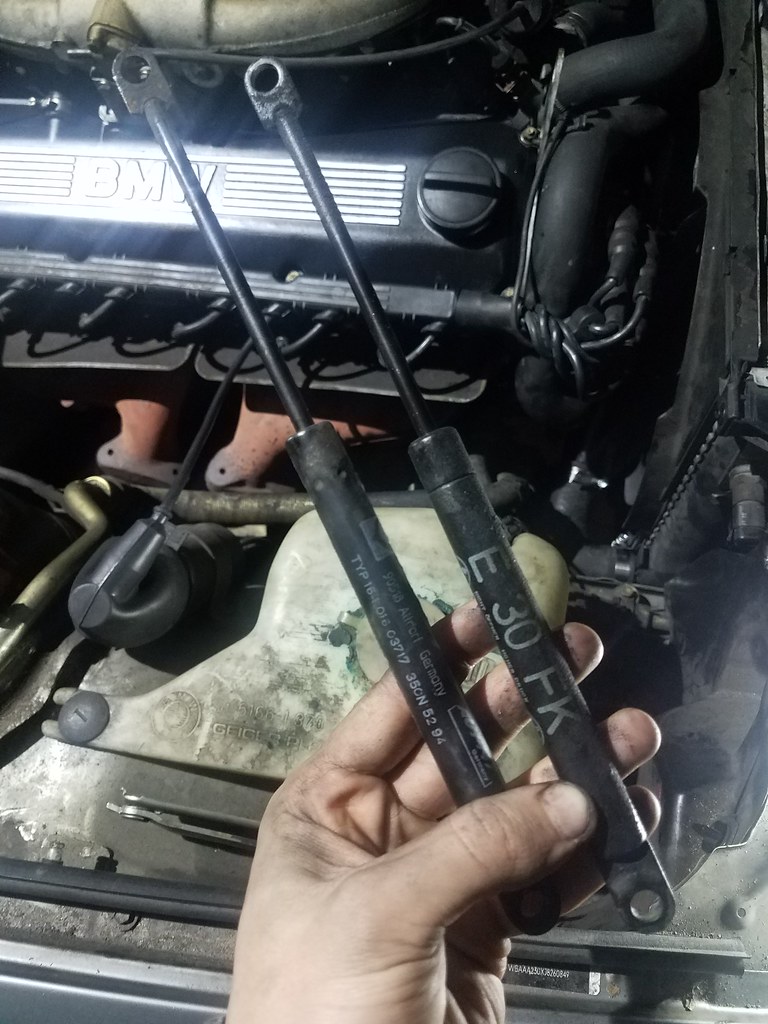
    Also replaced the original hood strut, ready for car shows now :)


    And of course after all that work I had to give the engine bay a little more bling, VHT wrinkle and regular old clearcoat. I used VHT clear coat before and it melted the VHT wrinkle off somehow. Annoyed and confused I redid it this way and it turned out really nice imo


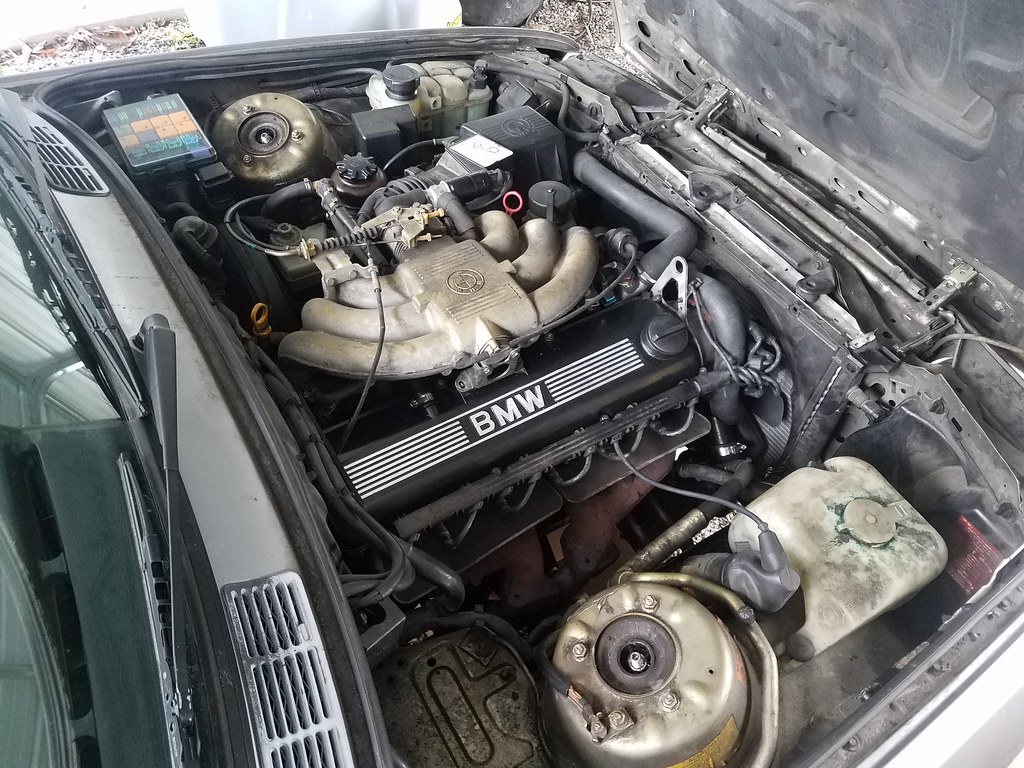
    Then the best part of the whole timing belt job.. adding the oem sticker belt sticker
    Last edited by vtechnik; 01-18-2018, 09:17 AM.

    Leave a comment:


  • vtechnik
    replied


    For future reference / alignment nerds

    -3.97 total toe, yikes.

    Leave a comment:


  • vtechnik
    replied


    I'm going to try this tomorrow, seems like it would work pretty well.

    Leave a comment:


  • vtechnik
    replied
    Originally posted by paynemw
    I had the same issue with one of my first cars. I was told that move the volume around would help clean the connection and brush. from my understanding there are a few ways to rectify this. However, you might want to read through the research yourself. I threw this into Google and got a few good videos and some articles: "how does an old radio volume knob work"
    Ahhh I would've never thought to move the volume knob around to clean the contacts, I'll have to try that next time I park my car. Thank You!

    Leave a comment:


  • paynemw
    replied
    Originally posted by vtechnik
    I have a small problem which I don't think is easily fixable but I'm going to ask anyway. When I first start my car and the radio deck is cold, the volume knob is super sensitive. If I touch it to turn the music down or up I get a static that is blisteringly loud. Once the deck is warmed up the knob is normal and all static disappears. I assume its just the volume contacts breaking connection due to the connections being cold. Then when the deck warms up the connections expand and reach full contact? I guess my question is, has anyone had a similar problem and a simple fix? If I have to disassemble the radio and resolder the volume connections I'll put it on the bottom of the to do list but if something as simple as a washer can fix it then I'd like to know. Thanks
    I had the same issue with one of my first cars. I was told that move the volume around would help clean the connection and brush. from my understanding there are a few ways to rectify this. However, you might want to read through the research yourself. I threw this into Google and got a few good videos and some articles: "how does an old radio volume knob work"

    Leave a comment:


  • vtechnik
    replied
    Pretty much the last quick update till I'm fully caught up to date. I went down to the local BMW dealership to finally reset the radio code. music makes dailying Lacey so much more pleasant. The premium BMW sound system is still in perfect condition luckily.


    I have a small problem which I don't think is easily fixable but I'm going to ask anyway. When I first start my car and the radio deck is cold, the volume knob is super sensitive. If I touch it to turn the music down or up I get a static that is blisteringly loud. Once the deck is warmed up the knob is normal and all static disappears. I assume its just the volume contacts breaking connection due to the connections being cold. Then when the deck warms up the connections expand and reach full contact? I guess my question is, has anyone had a similar problem and a simple fix? If I have to disassemble the radio and resolder the volume connections I'll put it on the bottom of the to do list but if something as simple as a washer can fix it then I'd like to know. Thanks

    (Oh and aftermarket deck is not a "fix"... OEM or DIE! :hitler:)

    Then my birthday came around and I got the ultimate 80's styled BMW cruising starter kit:

    (sorry for low quality pics)

    80's watch? *check*


    Assortment of 70's and 80's cassettes? *check*


    Cop wannabe shades? *check*


    BMW dad hat? *check*


    Baller ///M jacket? *check*


    And for kicks and giggles my parents got me a coloring book because I like to draw cars


    and cause you guys might ask...


    Waiiiit..... bottle caps?? :rippedoff:

    Leave a comment:


  • vtechnik
    replied
    Originally posted by ScottSneed
    Looks good so far! Ahh, and I dig your Civic man! Miss my ej coupe, don't miss peeking out the window all the time to watch for thieves
    Thanks Scott! Yeah I know that feeling too well. I told the guy I sold it to that if he ever wants to sell it let me know. He just contacted me a week ago saying someone broke into it and now it won't run. He offered to sell it to me for half of what I sold it to him for. I couldn't find the funds in time but I'm preoccupied with Lacey anyway.

    Also now that I'm on the subject. On Friday, for the first time ever I pulled over on the freeway and not because my car was broken :D I was driving to school when a yellow blob appeared on the shoulder. I was running late as is so I had to pass it up but once I got out of class I got on the freeway and headed back for it. What is it? A Carnival Yellow EG hatch aka: my second place dream car, under my E30 ;) (Ik a civic as my dream car, don't hate. I will own a carnival SiR someday). Anyway I had to pull over to take pics of my two favorite cars next to each other. Later on I ran the vin and it turns out it was a white cx at some point but it still made my day


    Leave a comment:


  • ScottSneed
    replied
    Looks good so far! Ahh, and I dig your Civic man! Miss my ej coupe, don't miss peeking out the window all the time to watch for thieves

    Leave a comment:


  • vtechnik
    replied


    The hype is real..

    Leave a comment:


  • vtechnik
    replied
    Originally posted by bruner
    Ayyyy thanks for the s/o! Way to get her done! She's coming along nicely. Also you should slap some paint on that rear strut tower bar.
    Thanks man. Aztec green pearl? lolol, still not 100% sure I'm gonna keep it. I'll put some silver paint on it once I get to cleaning out the trunk / fixing the seals next week

    Leave a comment:


  • bruner
    replied
    Ayyyy thanks for the s/o! Way to get her done! She's coming along nicely. Also you should slap some paint on that rear strut tower bar.

    Leave a comment:


  • vtechnik
    replied


    Modified. :devil:


    AND.. touchdown


    Dirty after operation


    Much better


    Better stance pics and alignment specs to come

    Final thoughts: Love the grippy feel to it, comfortable enough to daily, perfect for my goals :up:

    Things I wish I would've done while I was here.. (on a college student budget but these would've been nice to do while i was there)
    - Subframe bushings, really not looking forward to dropping the subframe to get rid of the drivers side clunk
    - E46 rack, duh.
    - wheel bearings, mine are fine but preventative maintenance would've been nice

    Anyway hope you guys are enjoying the updates, next major maintenance is onto the engine.

    Leave a comment:


  • vtechnik
    replied
    After being fed up with wheel gap and feeling like a fitment noob I got to work crossing things off the build list. Sticking to the original plan, H&R's and billy's is the way for me. Lacey already had a set of Bilstein's on the car and I had a set of race H&R's sitting around from one of my last e30s; so this combo was the cheapest option and the best combo for my goals. I didn't take nearly enough pictures as I would've liked to but it's just so hard to stop and document when you're having so much fun

    Note: If I were to do it again I would've definitely done the timing belt first because I'm not sure of the history of the motor and the waterpump is leaking pretty bad now. Ik ik, cardinal rule of m20s is "Do that timing belt!" but the lowered lyfe was more important to me in the moment. Timing belt, waterpump and an engine tune up is on the immediate horizon though so fret not.

    Without further ado

    What I was working with:


    Parts List
    - Control Arms
    - Tie rods
    - CA bushings
    - Sway bar links
    - Rear strut mount bushings (not in pic)
    - Newish front strut mount bushings (not in pic)
    - Rotors
    - Pads
    - Sensors
    - Rear strut bar (not in pic)
    - Race H&R's (fronts not in pic)
    - Braided brake lines

    Out with the old.


    Overall some stuff was still in good condition and some stuff was whooped. New is always nice in my book

    Ooooo glossy! :p


    Probably what was causing pads to wear unevenly
    polished all them up really well and added lube, I don't think Bentley advises lube but it felt so right so I did it lol


    After that I took the strut assemblies and ca bushings w/ mounts down to the shop I used to work at. I swapped the springs over, pressed in the new bushings with the help of my old coworker (s/o to Rob) and from there it was reassembly. 2 tubes of locktite and 2 packets of grease later,

    Offfiiiiciallly....

    Leave a comment:


  • vtechnik
    replied
    After I had Lacey for 2 weeks and felt comfortable reliably driving her I spent a little time on the weekend to road trip to some fellow e30 enthusiasts in Bellingham.

    First I met up with Bruner and the killer project he's been working on recently...


    Then we headed over to a local friend to meet up and finish some work Bruner was doing. Got a solid opportunity to compare prefacelift and postfacelift aswell. Not hating or anything but.. :late:


    Almost identical down to the plate frame, just one year apart. Oh and his has an M30b35 swap, yeah i'm jealous. What a fun car to ride in though. I'm not sure what his r3v name is, but I'll post here when I find out. Sorry for not taking pics of the engine bay but look for the car at the picnic, it'll more than likely be next to mine.


    And on the way home I picked up a set of these and mounted rubber...


    Shortly after that I found that stock height just isn't going to cut it anymore, yikes.


    Cringeworthy amount of wheel gap lol


    Didn't stop me from practicing my stance photography though


    Leave a comment:


  • alistairolsen
    replied
    Looking good so far!

    Leave a comment:

Working...