Balleristic's Turbo 318is

Collapse
X
 
  • Time
  • Show
Clear All
new posts

  • Balleristic31
    replied
    Entry #6
    I'm a little behind with updates, hoping to catch everything in the thread up this week.

    Was having some charge pipe fitment issues going into and out of the intercooler. The bracket didn't lift the in/outlet high enough above the pinch weld on the frame rail to allow the silicone elbow and clamp to fully engage.
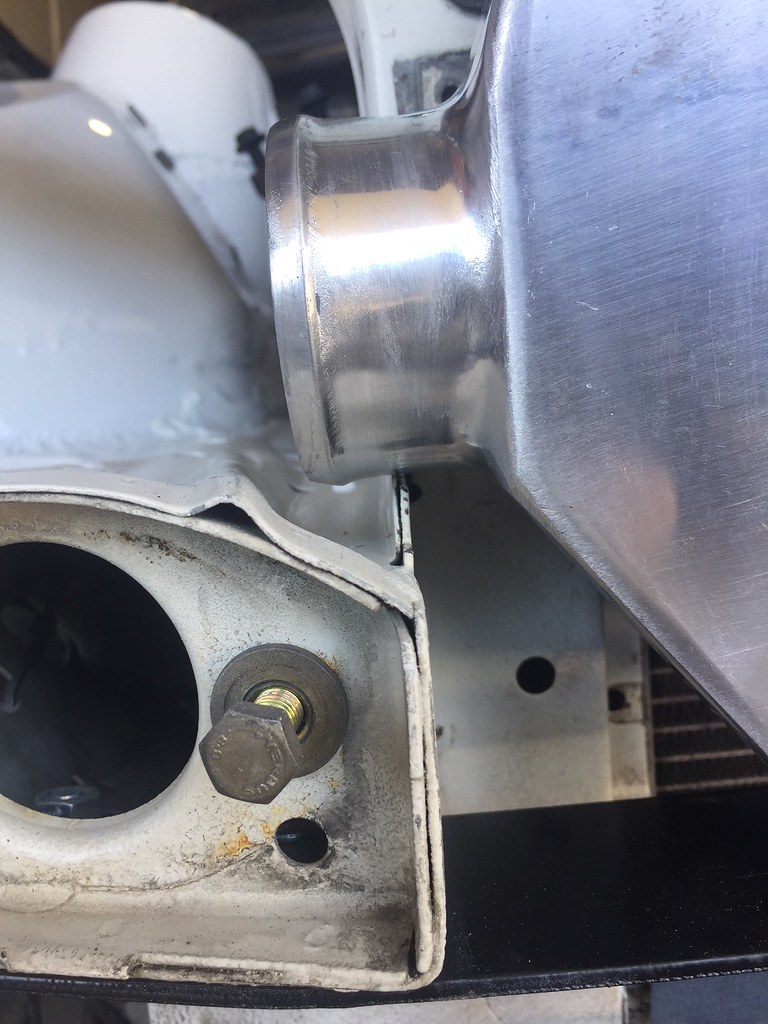
    IMG_1919 by Nick Brema, on Flickr

    A quick trip to Baller Hardware (seriously that is my local hardware store), and a couple of these sweet little nylon spacers later, we had proper fitment.
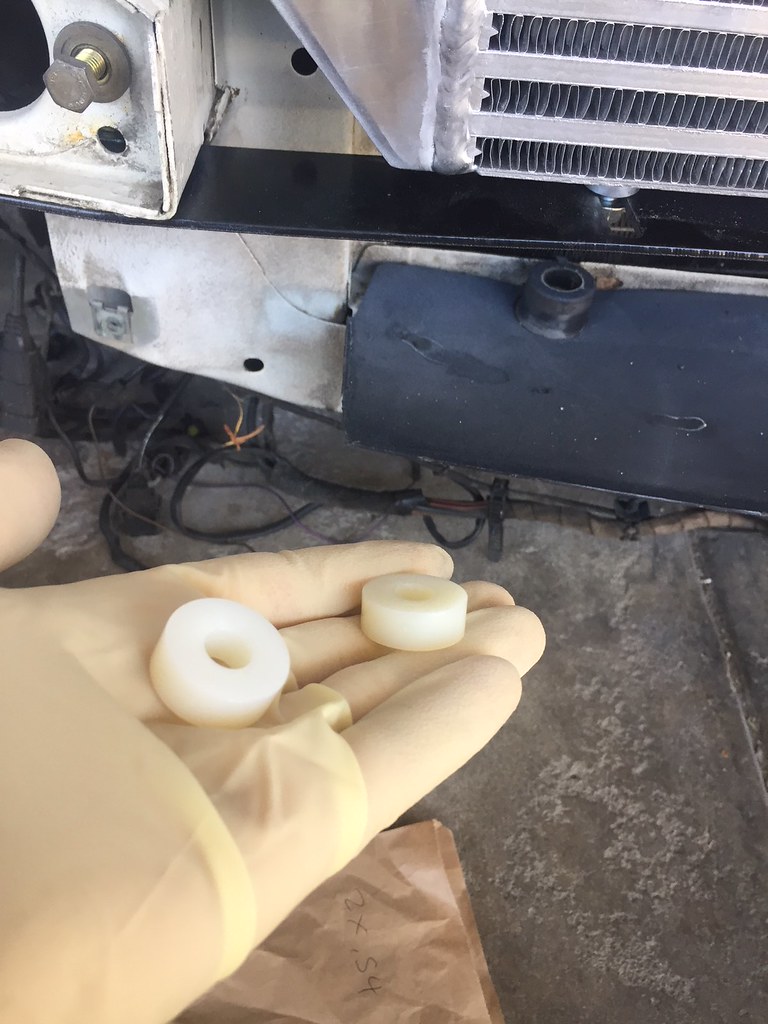
    IMG_1922 by Nick Brema, on Flickr
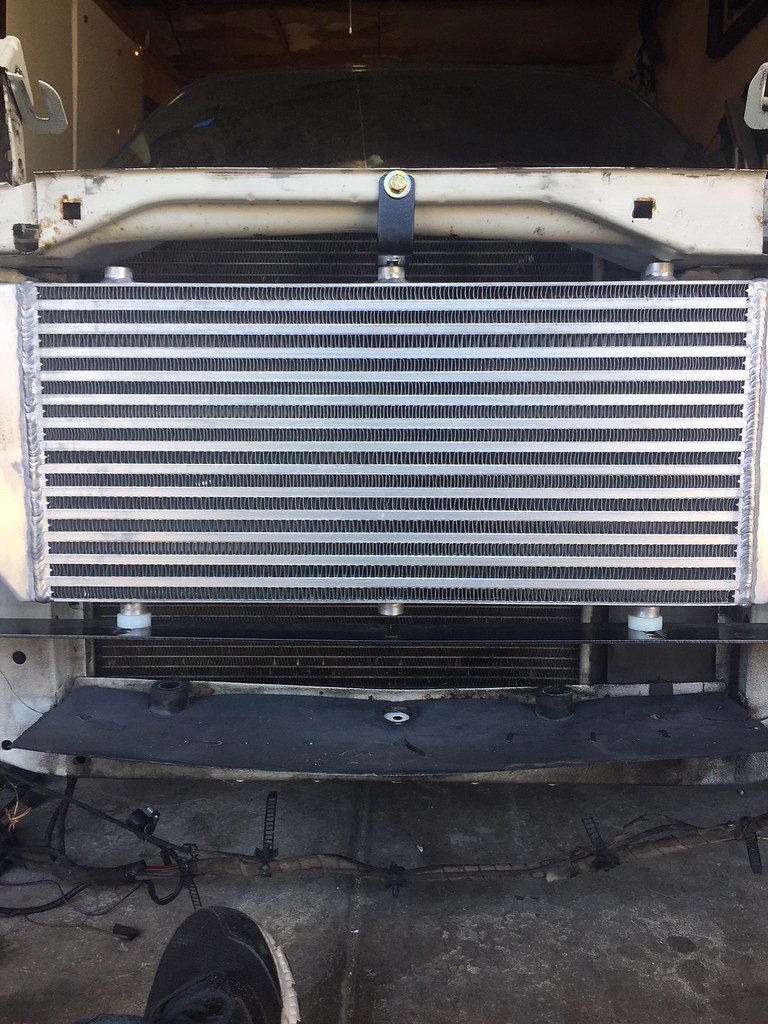
    IMG_1923 by Nick Brema, on Flickr
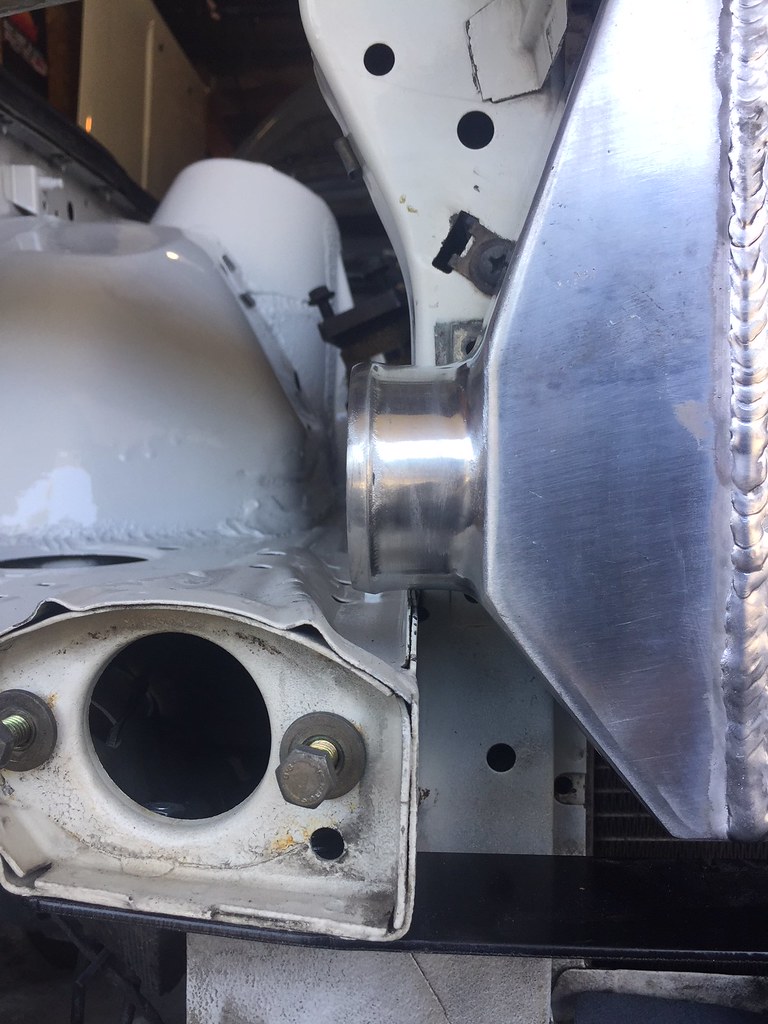
    IMG_1924 by Nick Brema, on Flickr
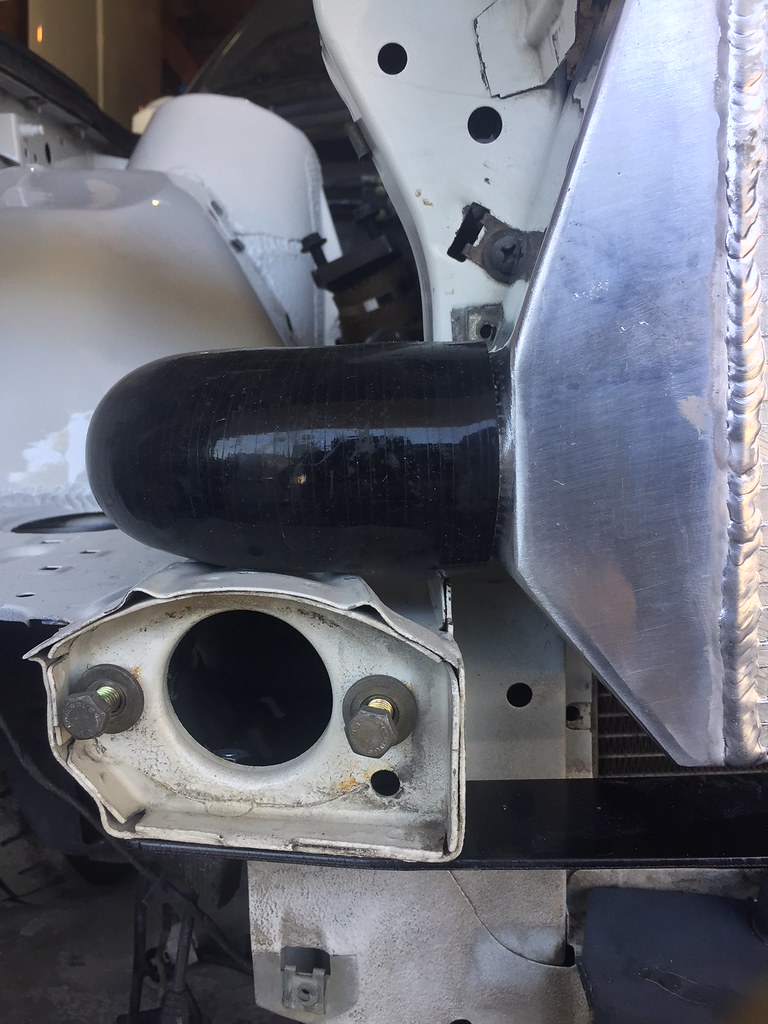
    IMG_1927 by Nick Brema, on Flickr

    Then it was time to clearance the headlights in order for them to fit around the charge piping. Tight but perfect fit!
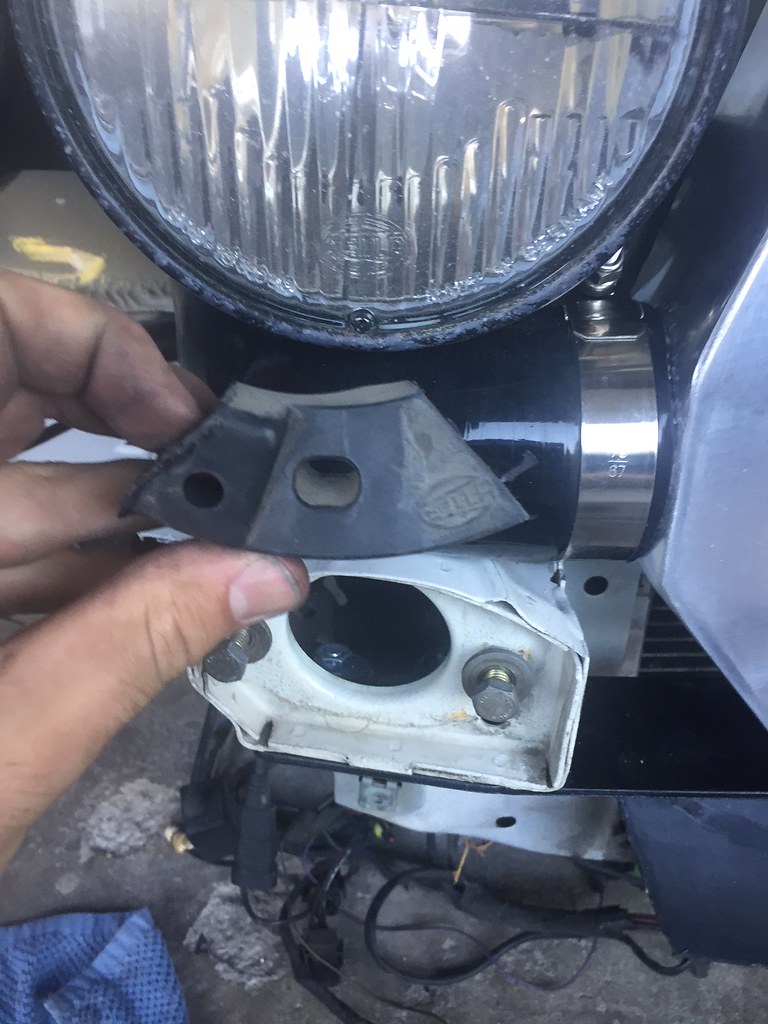
    IMG_1937 by Nick Brema, on Flickr
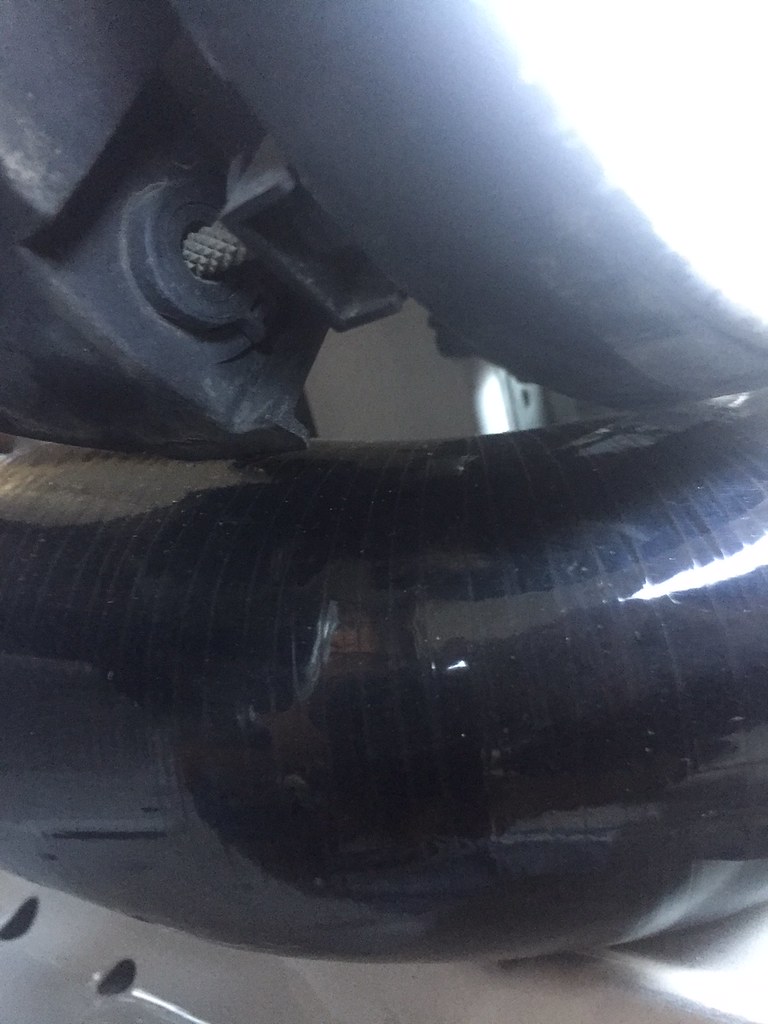
    IMG_1936 by Nick Brema, on Flickr
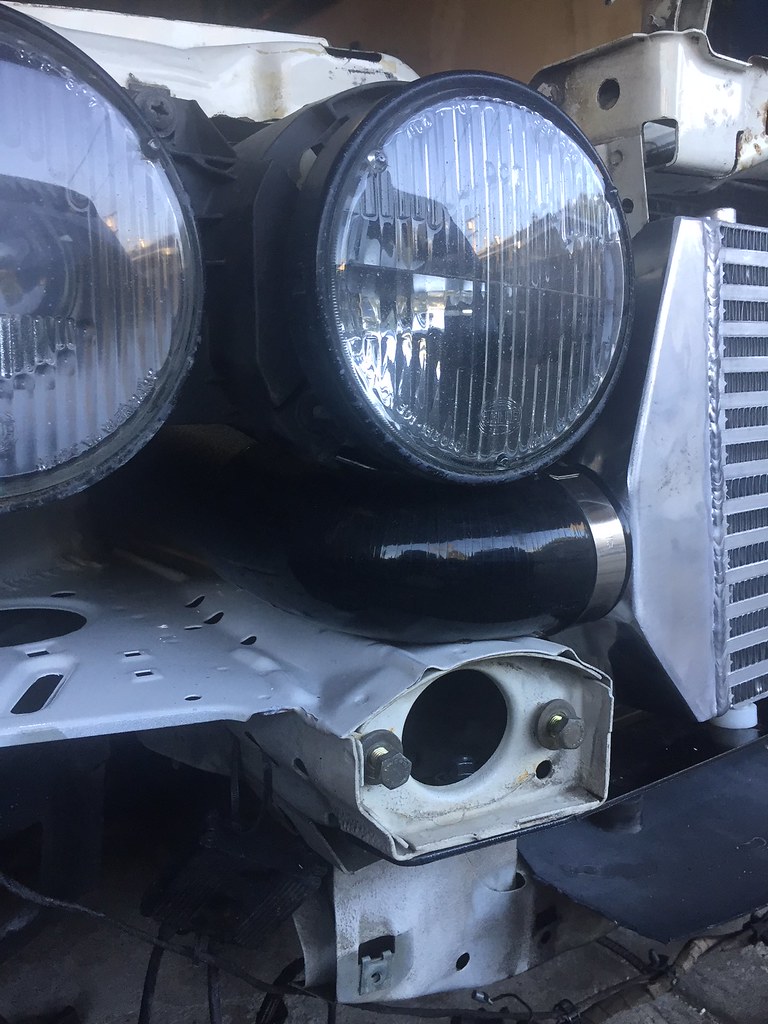
    IMG_1934 by Nick Brema, on Flickr

    Then it was time to switch gears a bit and pull the valve cover to check the torque value (85ftlbs) on the ARP headstuds before forcing some boost in there. Touched up the valve cover while it was off.
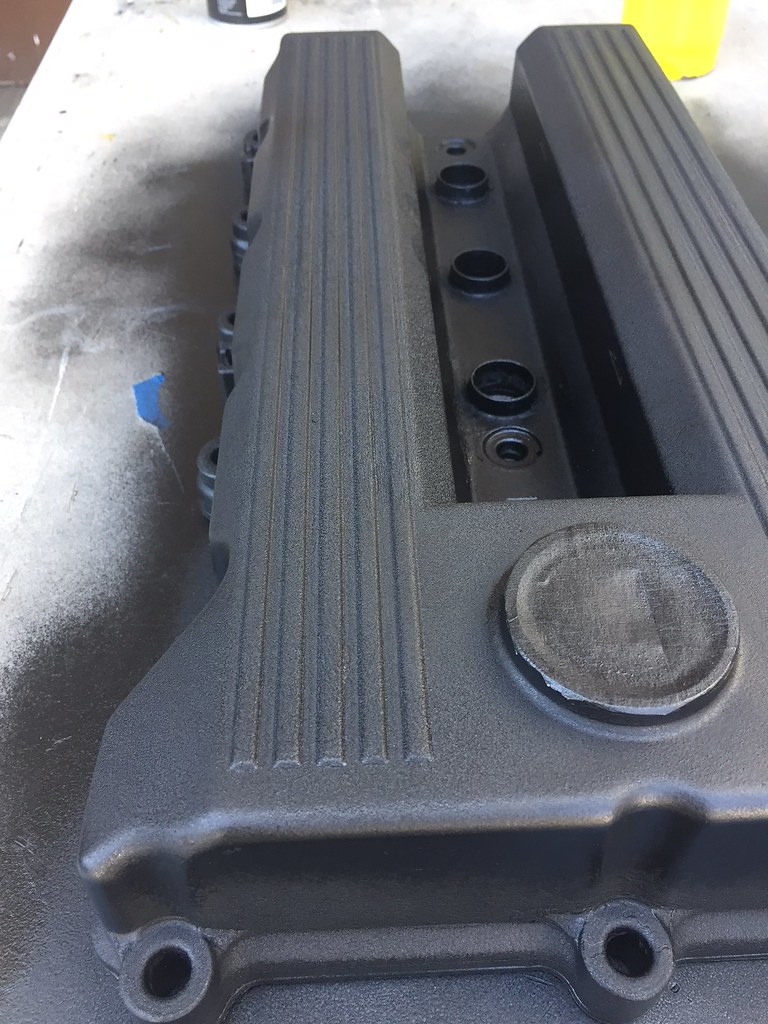
    IMG_1931 by Nick Brema, on Flickr

    Head looks great ~10k after the rebuild!
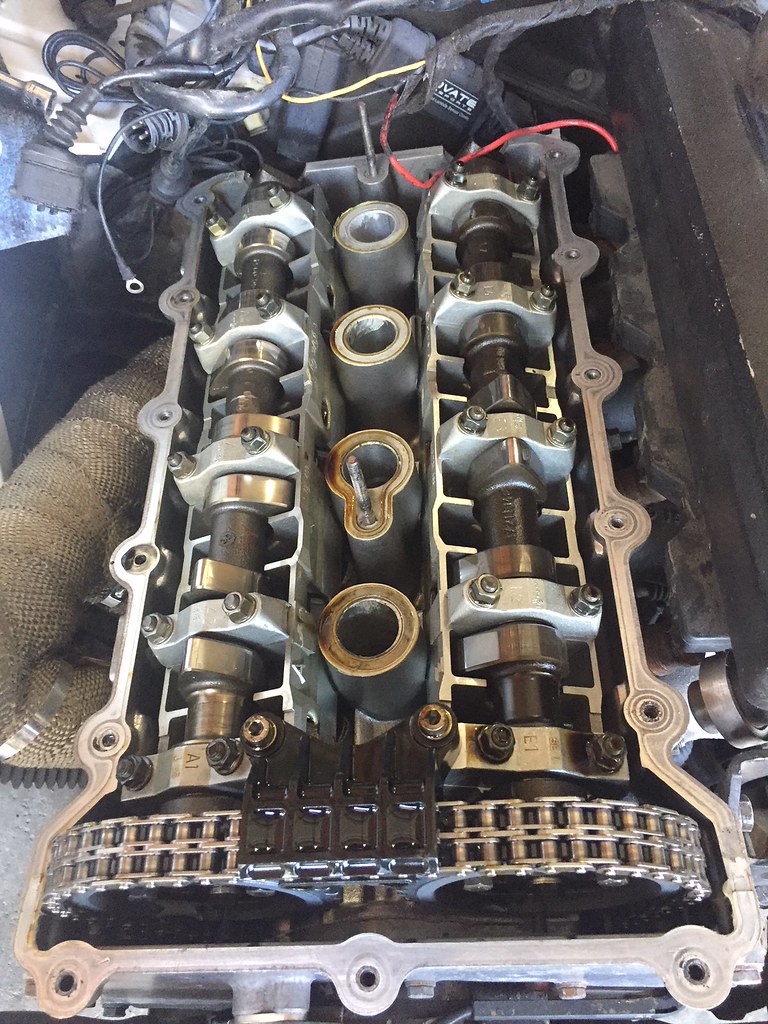
    IMG_1928 by Nick Brema, on Flickr
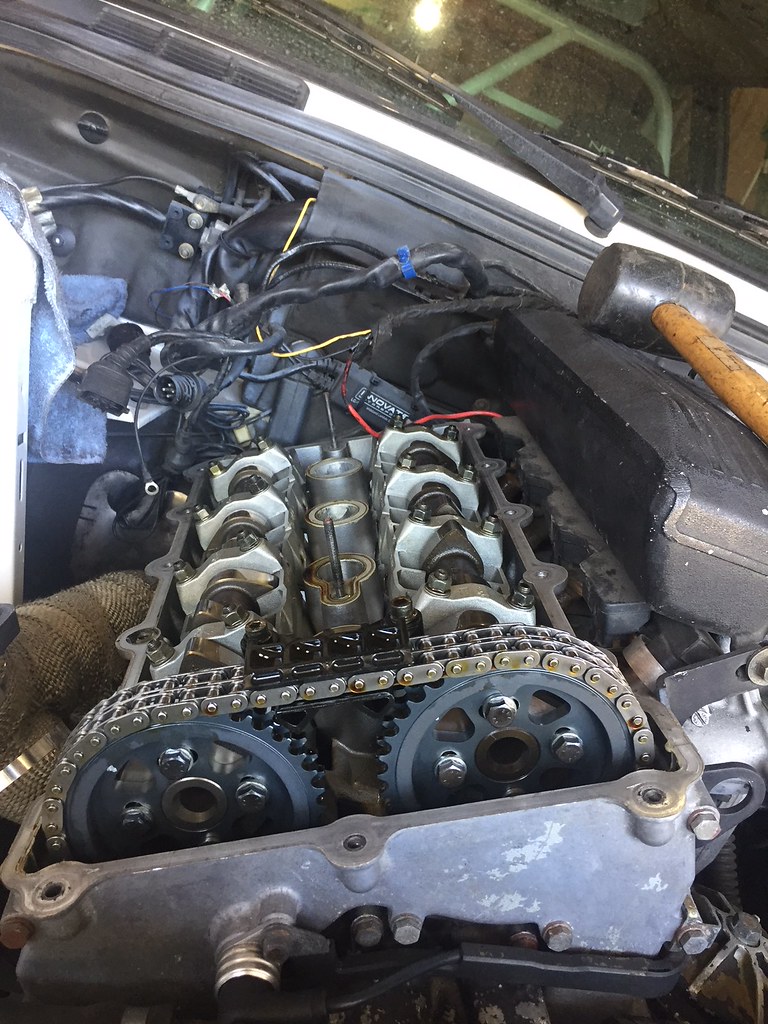
    IMG_1929 by Nick Brema, on Flickr
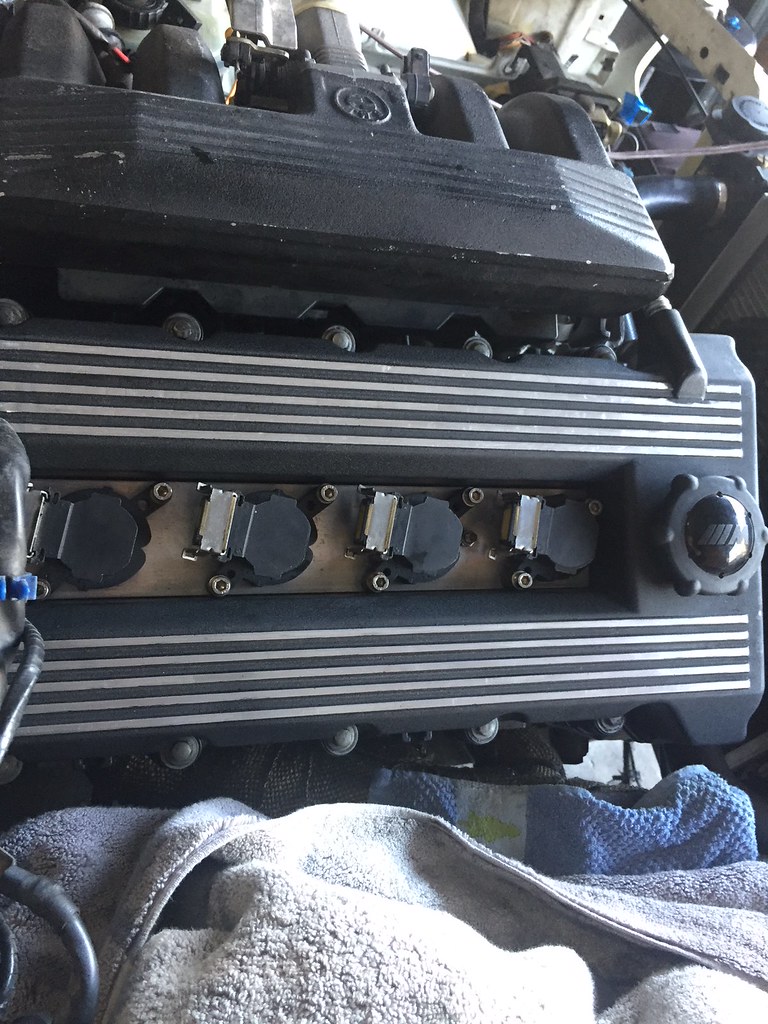
    IMG_1933 by Nick Brema, on Flickr
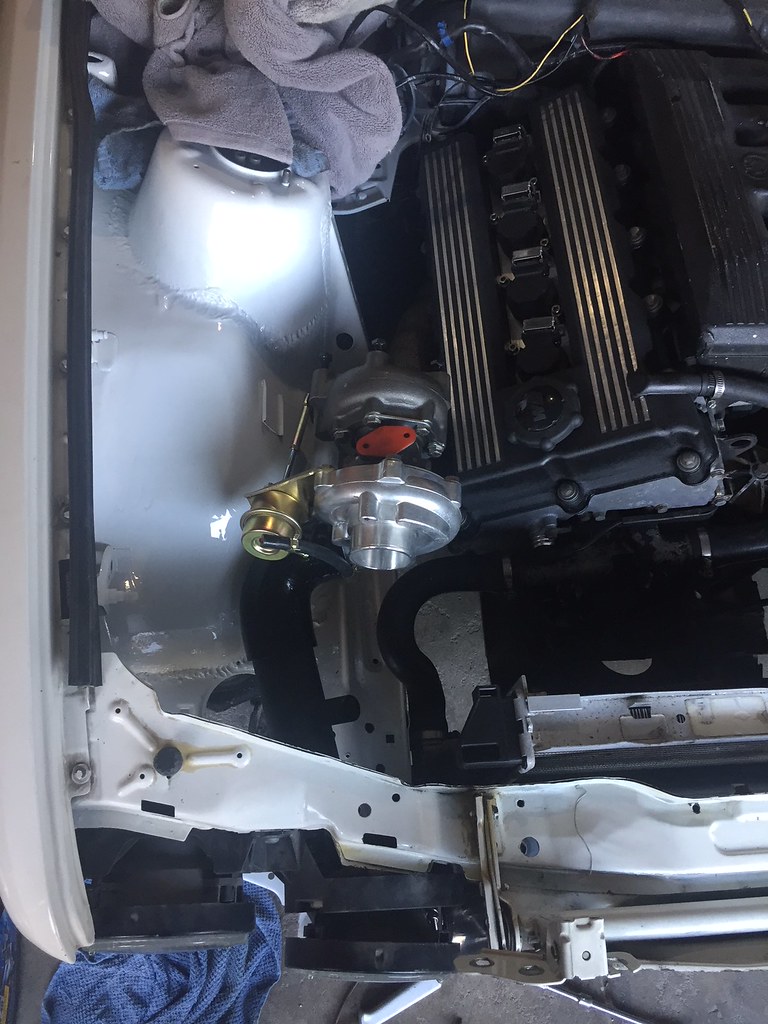
    IMG_1938 by Nick Brema, on Flickr

    Switched gears again and went to the other side of the motor to deal with the injectors. This is really such a quick job on the M42!
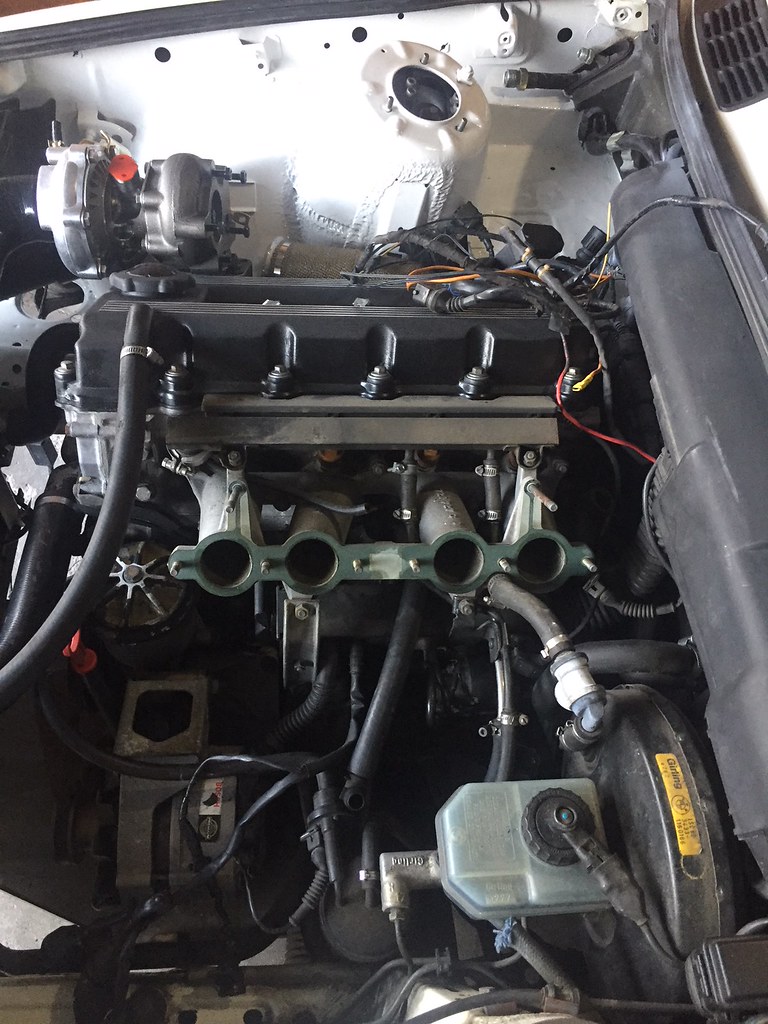
    IMG_1953 by Nick Brema, on Flickr
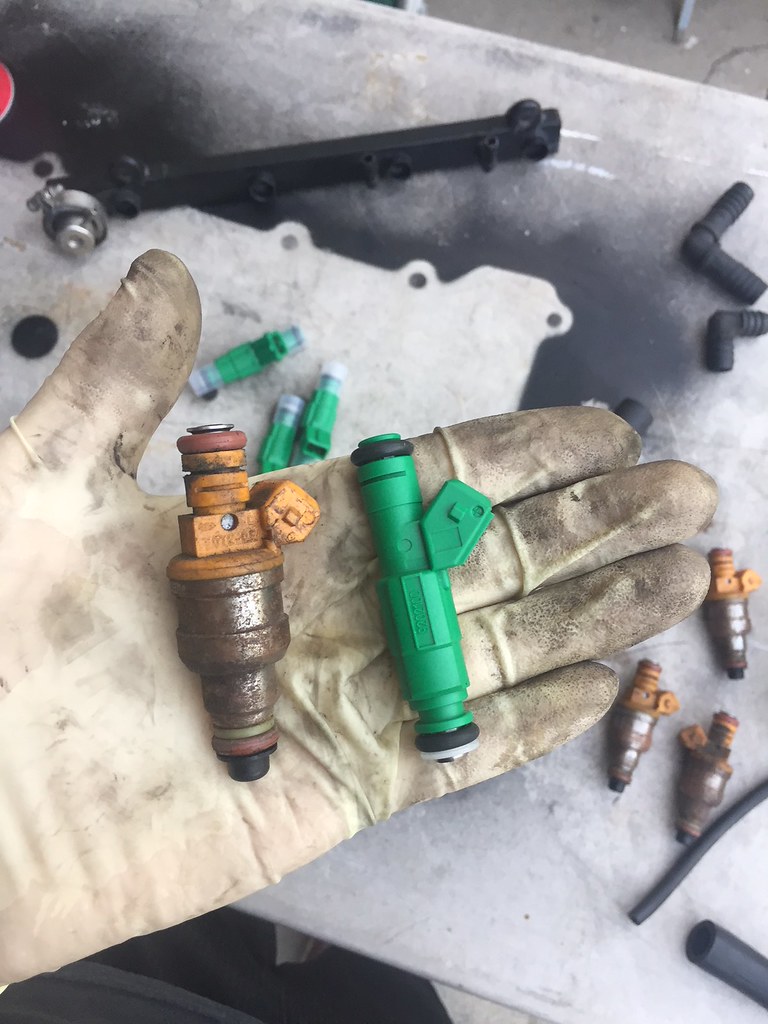
    IMG_1955 by Nick Brema, on Flickr
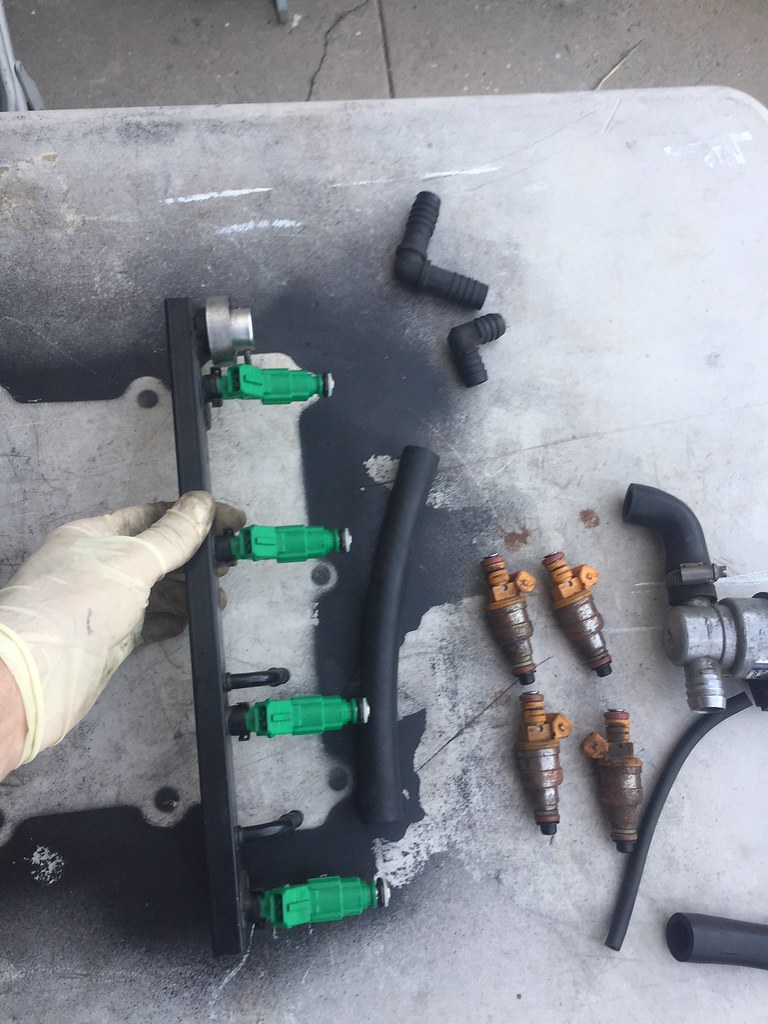
    IMG_1956 by Nick Brema, on Flickr
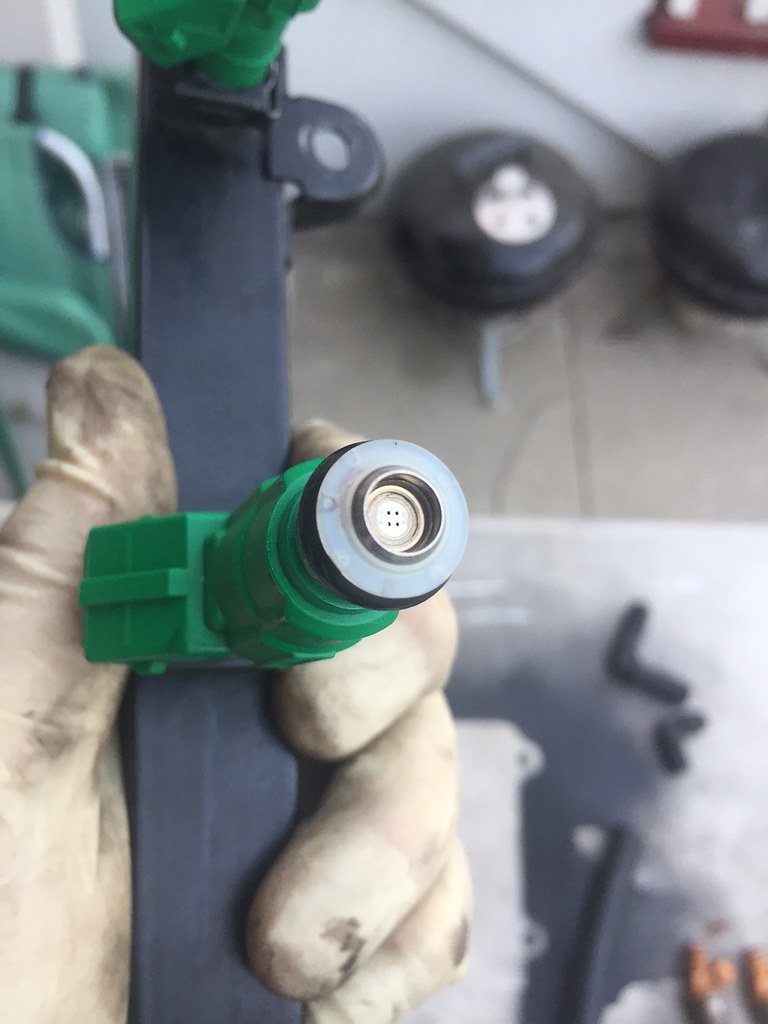
    IMG_1957 by Nick Brema, on Flickr

    Finally, here is a picture of the head port match up to the manifold before I bolted it all together. Not the best... but we will see. My head has been ported for reference.
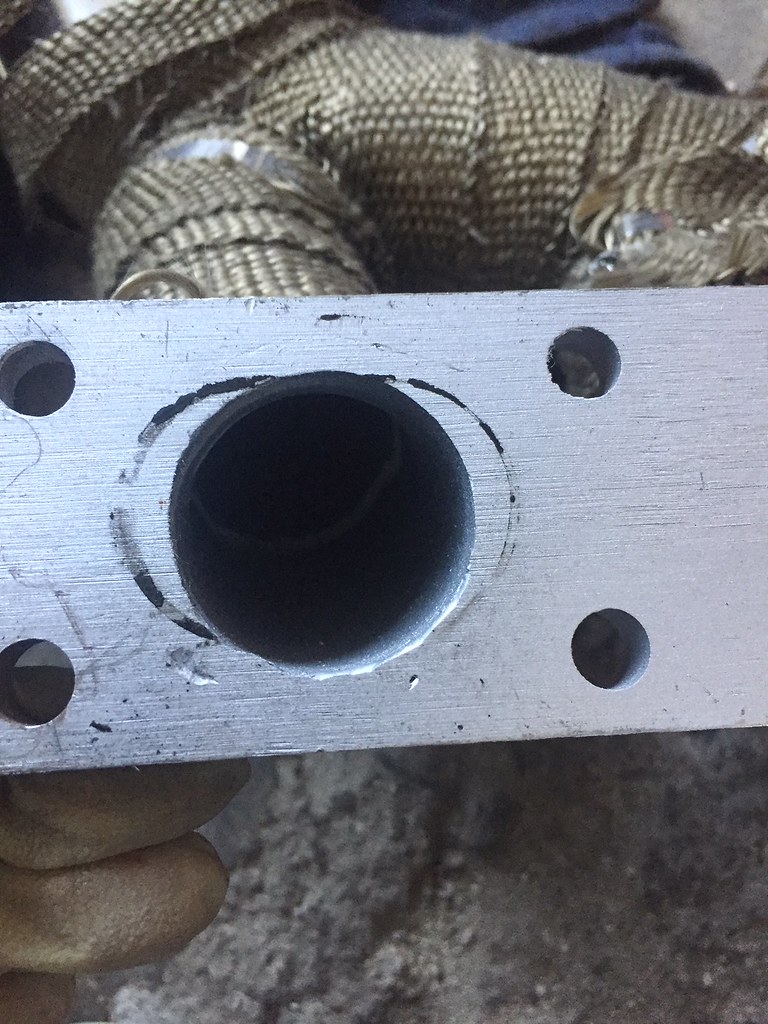
    IMG_1902 by Nick Brema, on Flickr

    That's all the pictures I have on the computer for now! Plenty more off of my phone coming soon.
    Leave a comment:


  • downforce22
    replied
    cant wait to see this thing once it is together

    Leave a comment:


  • Balleristic31
    replied
    Entry #5

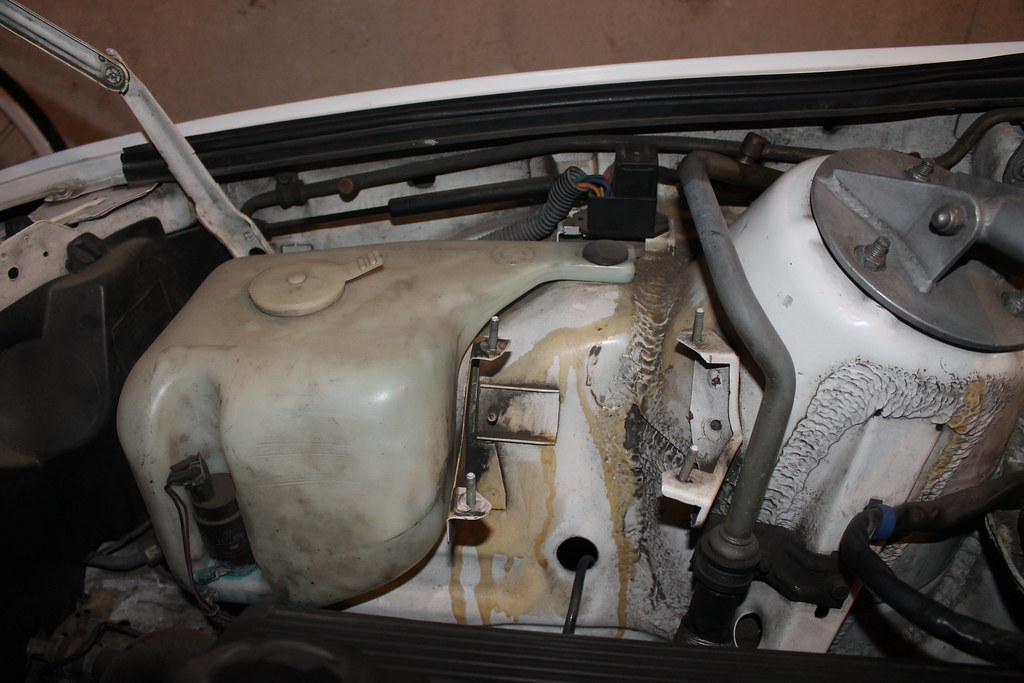
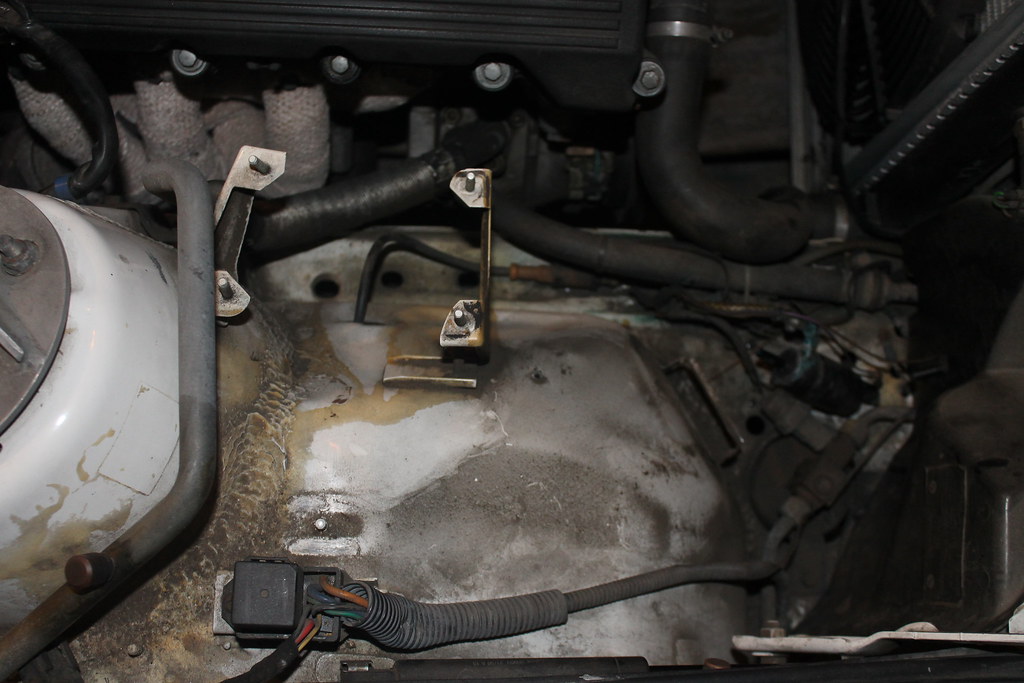
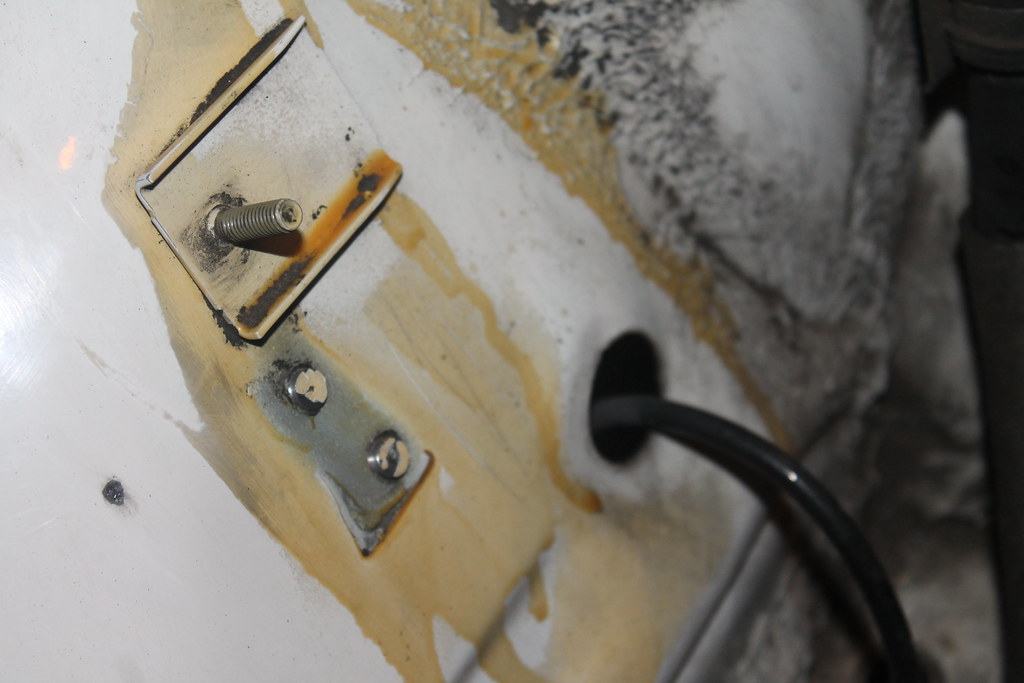
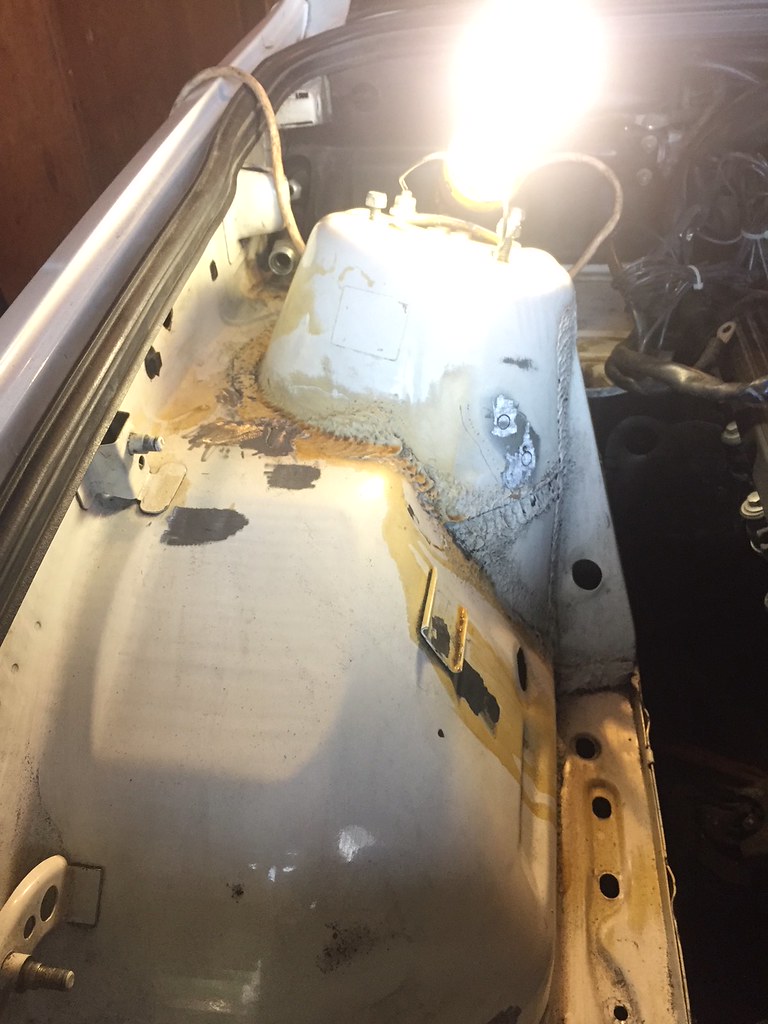
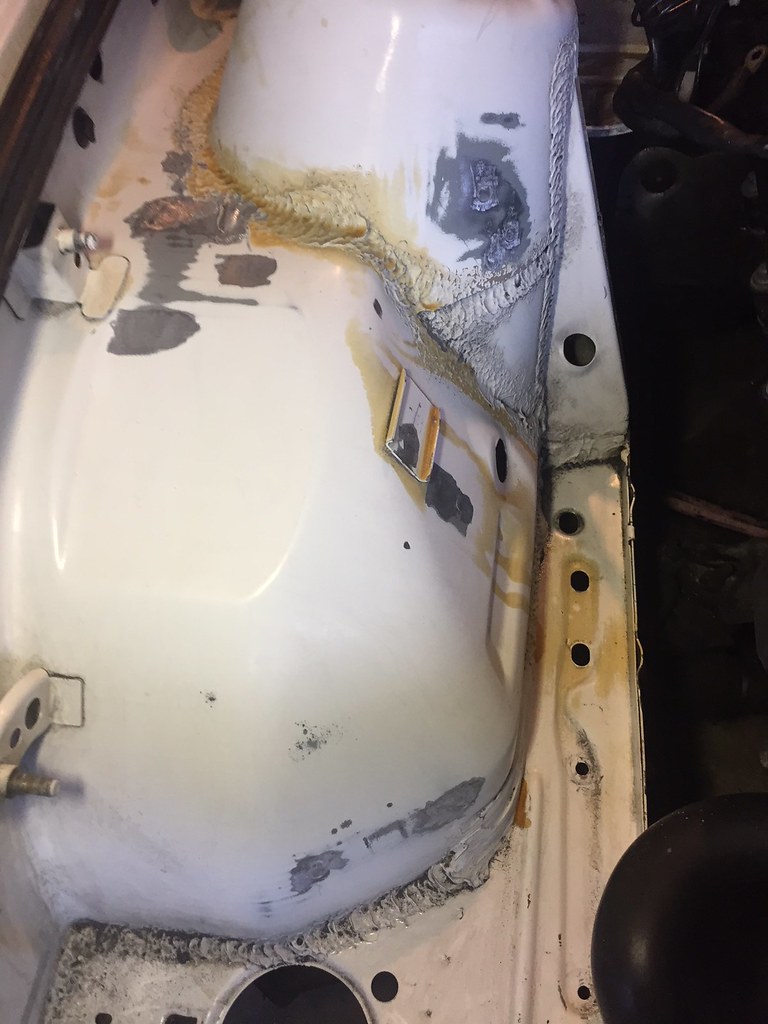
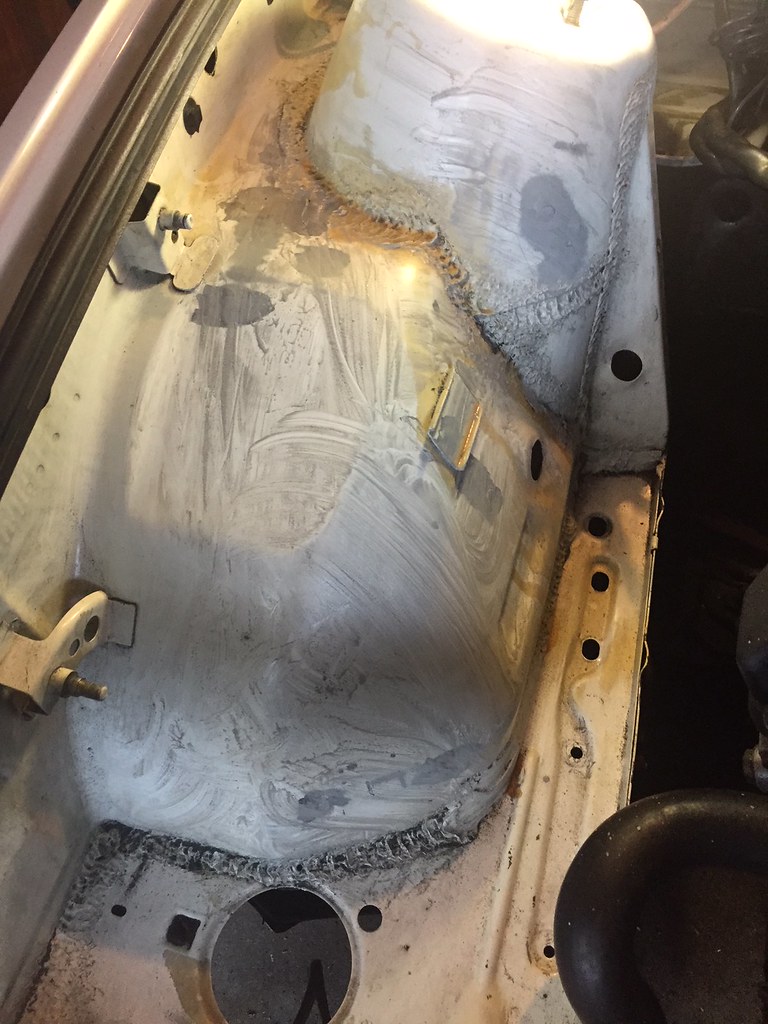
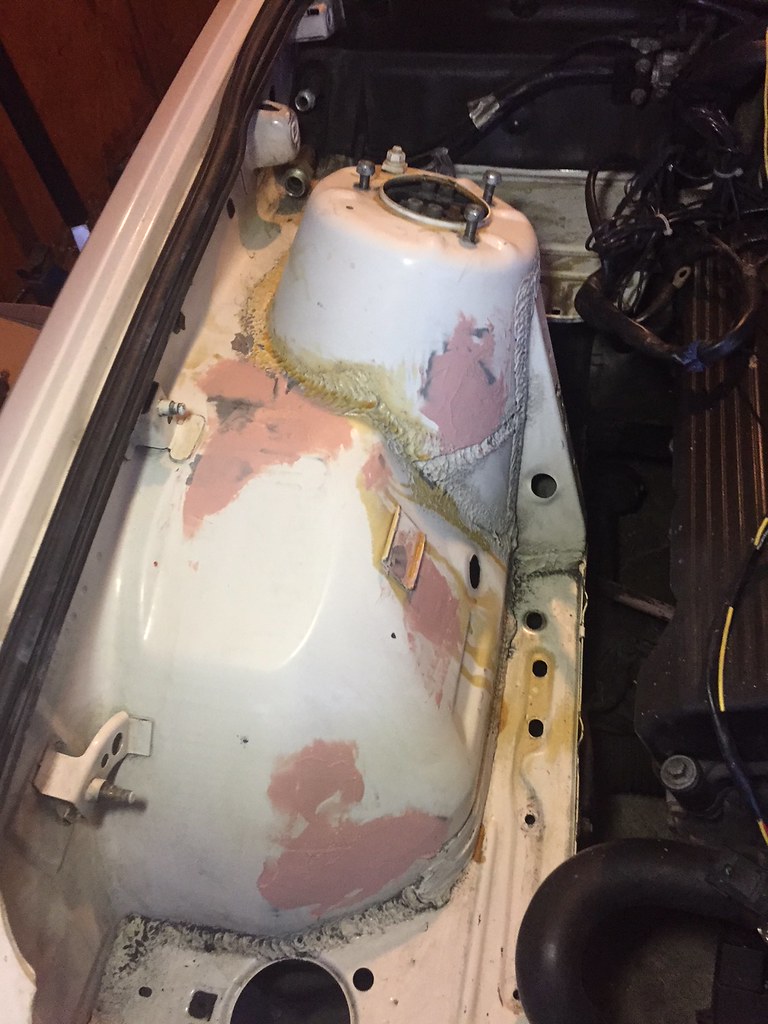
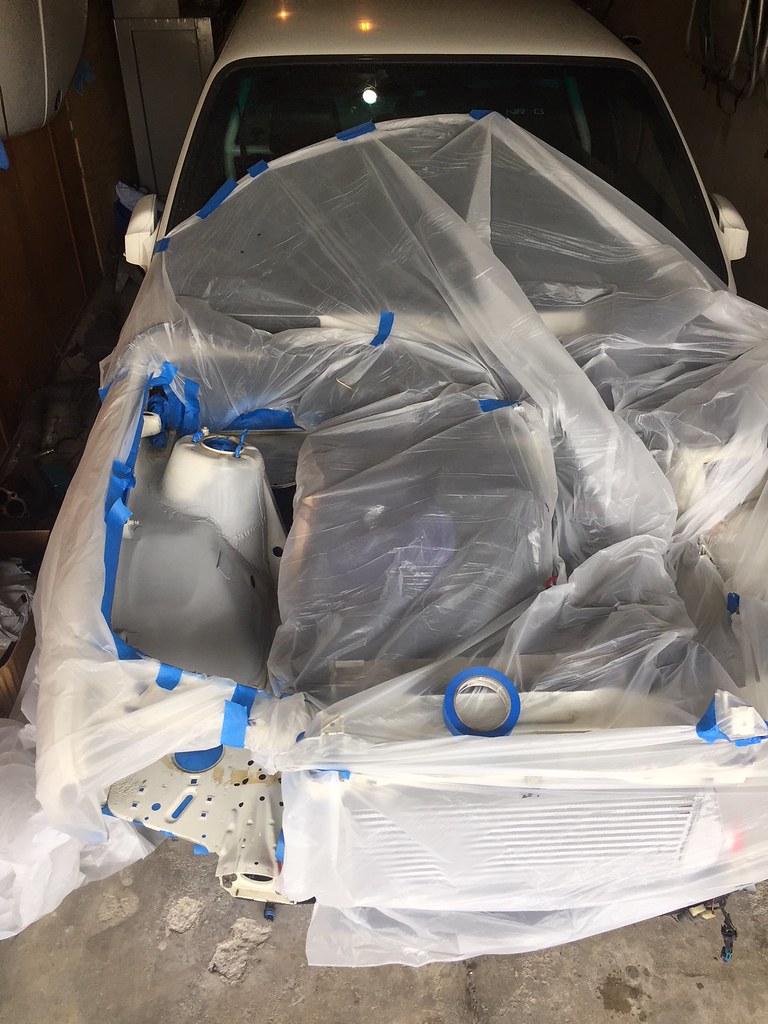
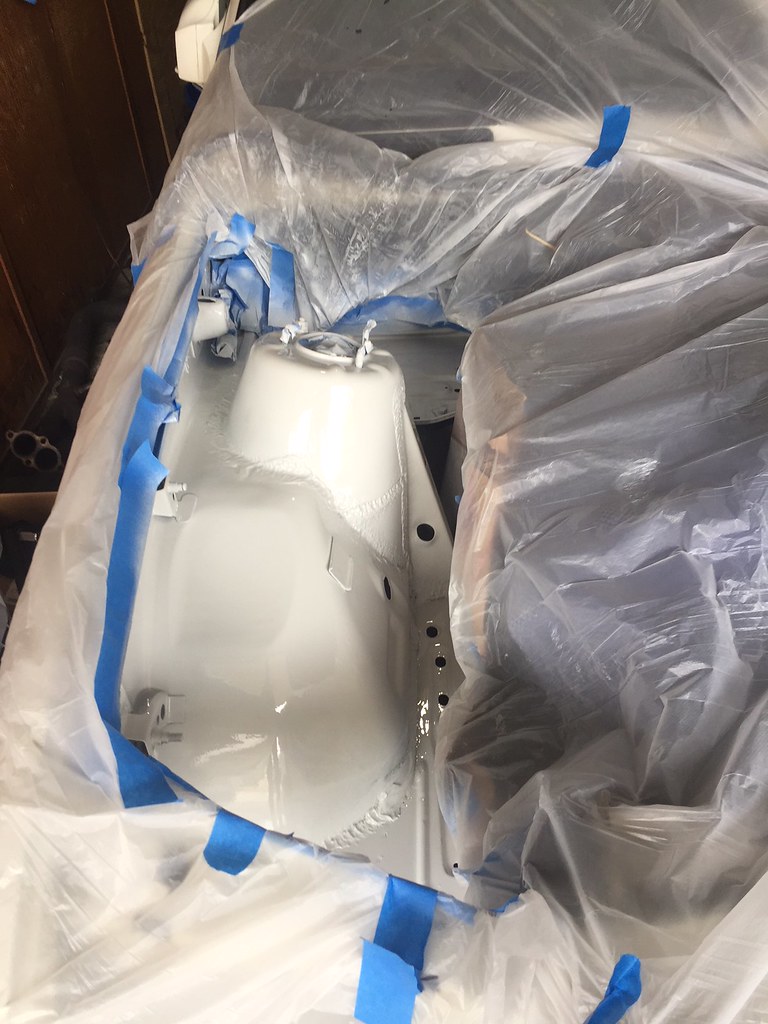
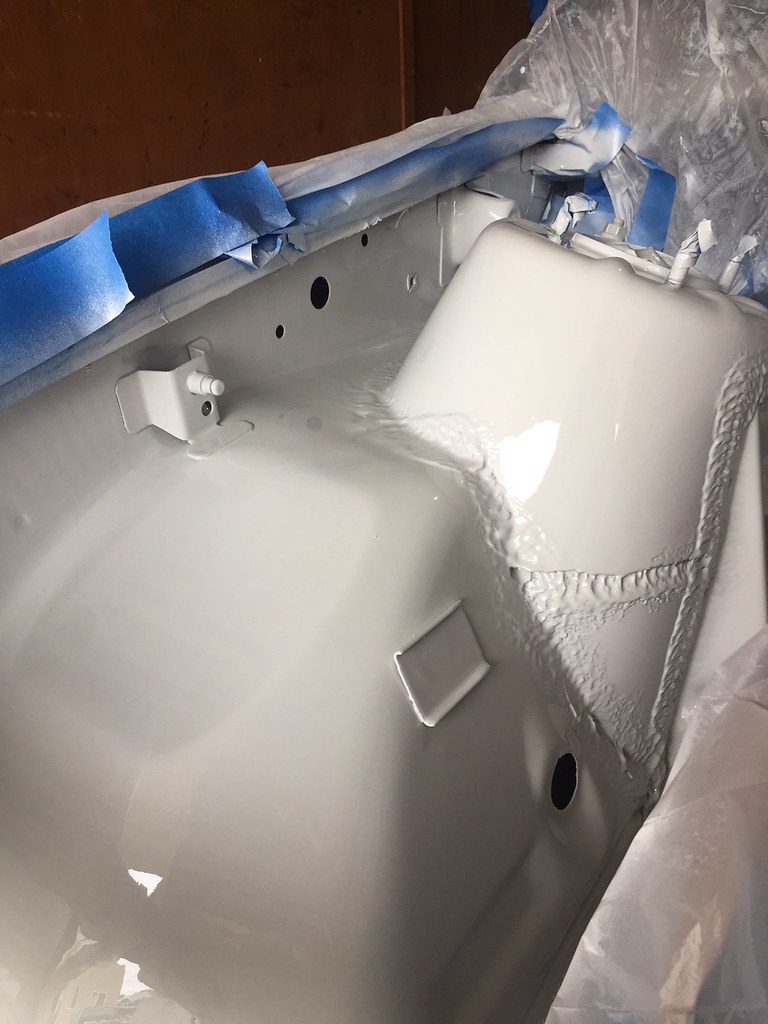
    Ok time for a real update. The work shown here spans about a month of various weeknights after work and weekends slowing chipping away at the project I was most dreading: "shaving" and painting the passenger side of the engine bay.

    As you can see in the photos below, my engine bay was in pretty rough shape going into this. I hadn't cleaned it in years and I just couldn't leave it that way and install the turbo over all the gunk and cosmoline.
    IMG_9091 by Nick Brema, on Flickr
    IMG_9098 by Nick Brema, on Flickr
    IMG_9100 by Nick Brema, on Flickr

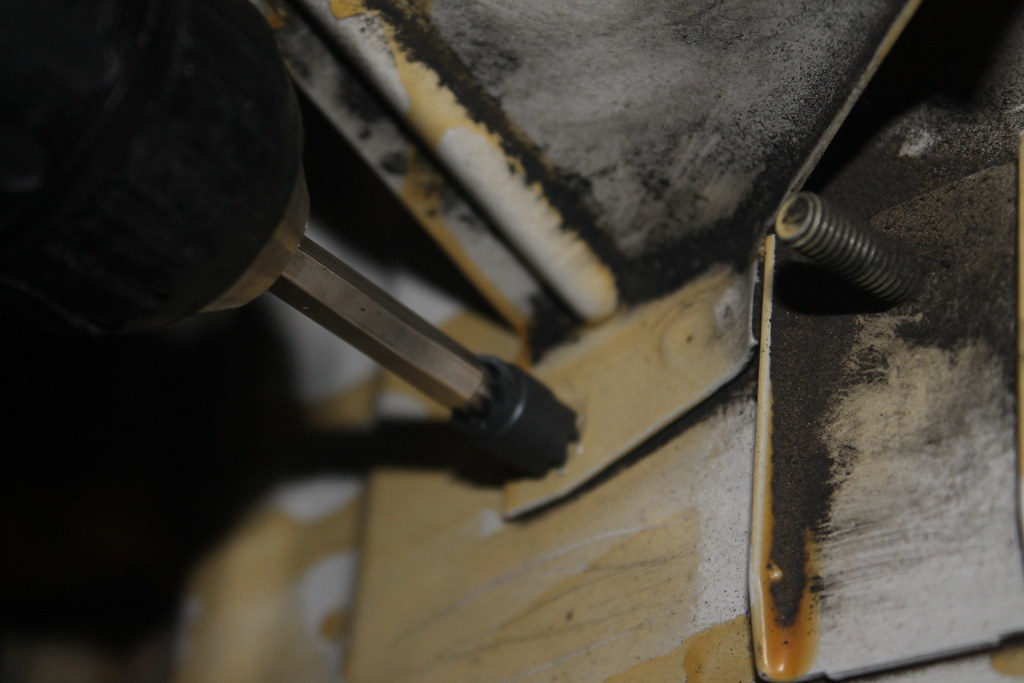
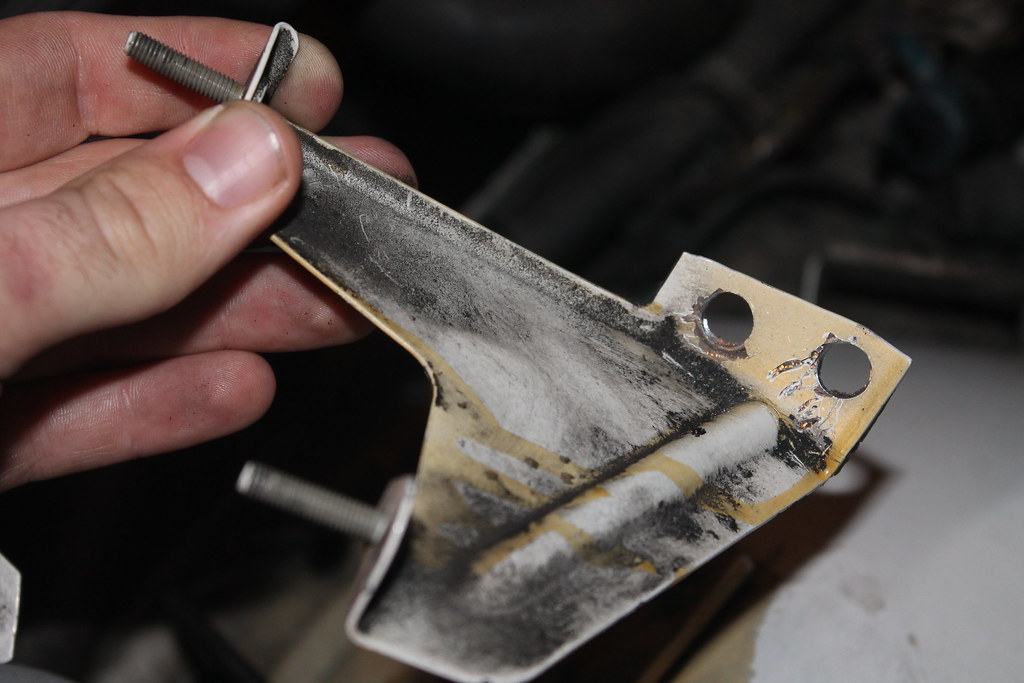
    First to go were the coil brackets. Enter the $5 harbor freight spot weld cutter. I love this thing!
    IMG_9103 by Nick Brema, on Flickr
    IMG_9104 by Nick Brema, on Flickr
    IMG_9106 by Nick Brema, on Flickr

    I then removed all of the A/C hoses and components from the engine bay. No pictures of this.

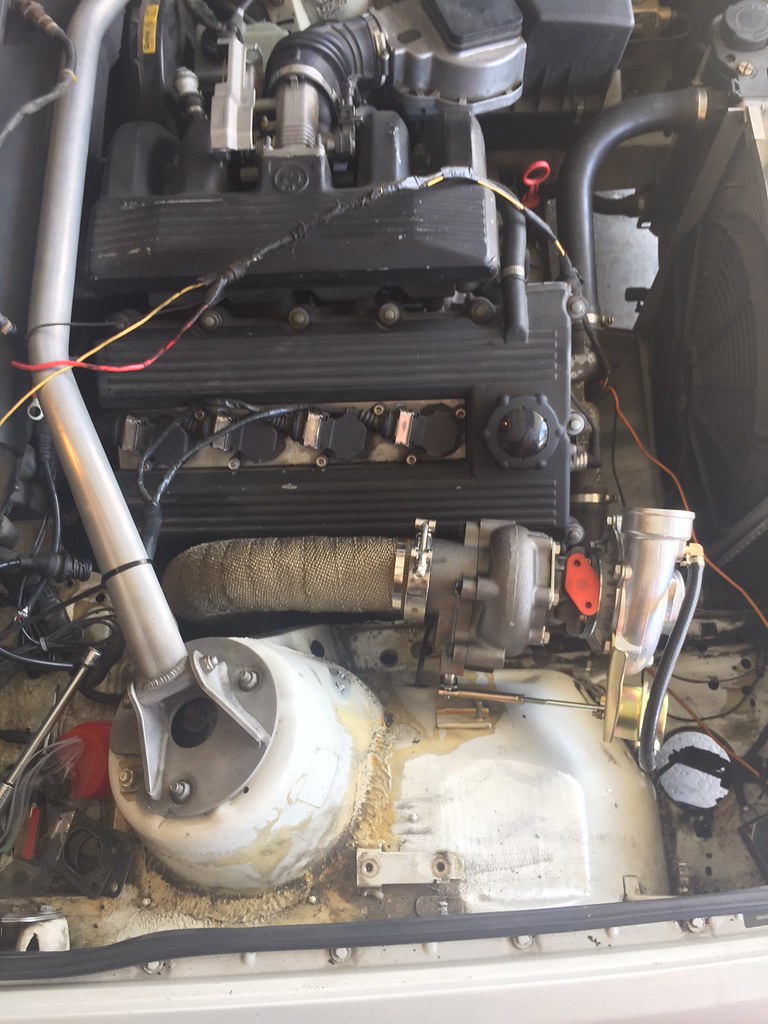
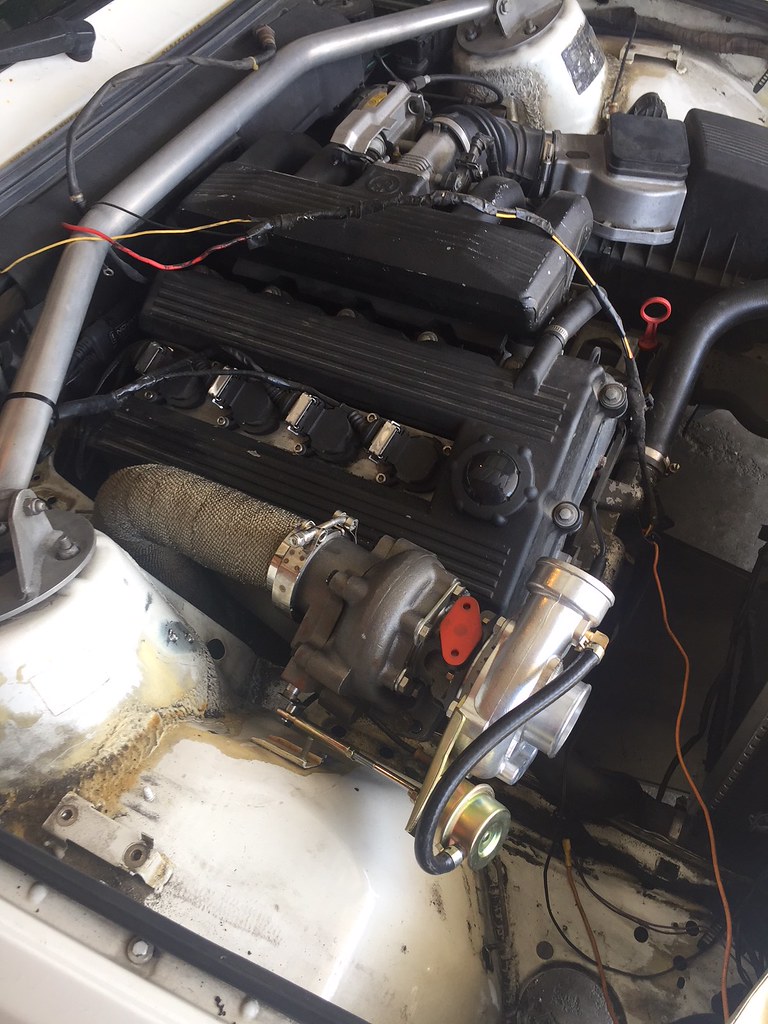
    After that was all out of the way, I decided it was a good time to mock up the manifold, turbo, and downpipe.
    IMG_1616 by Nick Brema, on Flickr
    IMG_1617 by Nick Brema, on Flickr

    It fits! Looks pretty good in there!

    Next up came all the cutting, grinding, sanding, filling, sanding, priming, sanding, priming etc. that comes along with body work. Did I mention I hate body work and suck at it??
    IMG_1641 by Nick Brema, on Flickr
    IMG_1645 by Nick Brema, on Flickr
    IMG_1643 by Nick Brema, on Flickr

    Then messily glob on too much filler. (Yay sanding!)
    IMG_1646 by Nick Brema, on Flickr

    Skip forward to some primer:
    IMG_1651 by Nick Brema, on Flickr

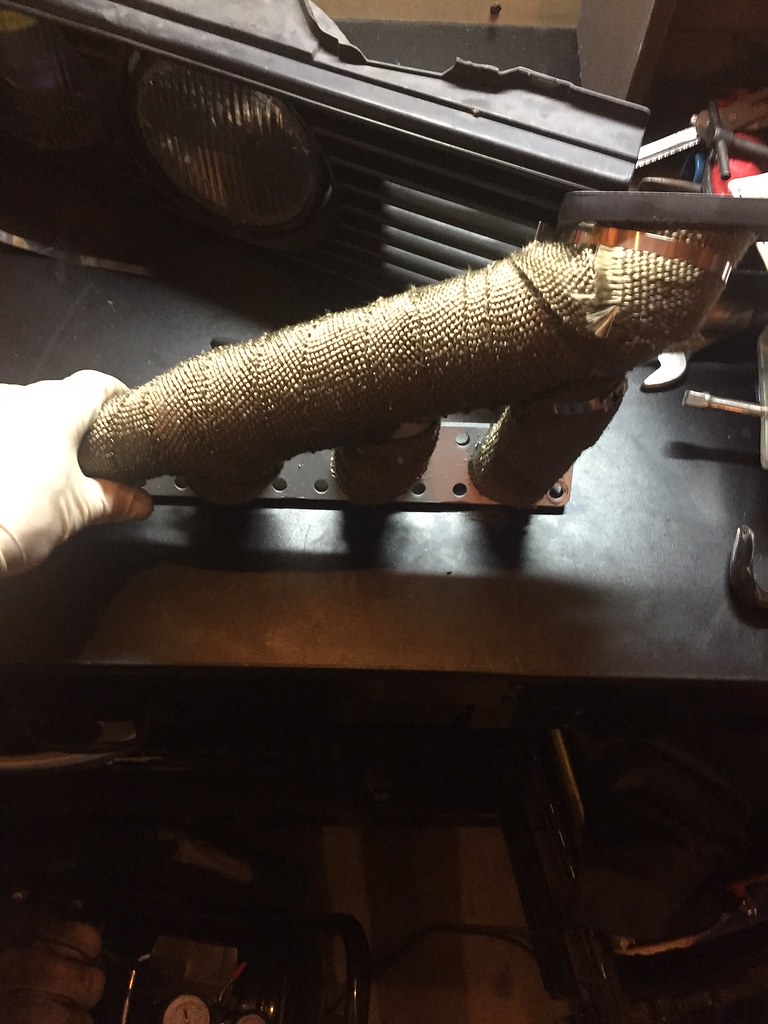
    While all that was happening I also wrapped the manifold. Not as clean as the downpipe but whatever.
    IMG_1648 by Nick Brema, on Flickr

    Then finally today after months of body work, I did my final priming and sanding and ended up here:
    IMG_1886 by Nick Brema, on Flickr

    Then comes the butter! :D
    IMG_1887 by Nick Brema, on Flickr
    IMG_1888 by Nick Brema, on Flickr

    SO GLAD THAT IS DONE. I'm writing this post while the paint is drying. A few imperfections here and there but this is an engine bay so who really cares right?

    Once the paint dries progress will come at a much more steady pace. Very excited!

    Leave a comment:


  • Balleristic31
    replied
    Originally posted by e30rida
    Did you have to modify the slave cylinder shaft on the M42 to use the RHD flywheel? They also require the use of the M20 clutch/pressure plate, does that include the clutch release bearing as well or it uses the stock m42 bearing?


    No modification was needed on any of the clutch hydraulics with the RHD flywheel.


    I used a stock M20 TOB and it works totally fine. If I recall correctly, the M20 and M42 release bearing are the same part number.

    Leave a comment:


  • e30rida
    replied
    Did you have to modify the slave cylinder shaft on the M42 to use the RHD flywheel? They also require the use of the M20 clutch/pressure plate, does that include the clutch release bearing as well or it uses the stock m42 bearing?

    Leave a comment:


  • stanz
    replied
    This is inspiring man! Great story and beautiful car! I’m sure you’re excited to get the turbo kit sorted out. Sub’d for updates. Cheers!

    Leave a comment:


  • Balleristic31
    replied
    Originally posted by downforce22
    I just did the flywheel swap last saturday as well and I agree with most everything you posted. My starter is not any louder though. I used a lightweight m20 flywheel, which normally weights 18lbs, mine was lightened to 9.6lbs. So I would expect mine to weight about the same as yours. I noticed the pedal is heavier too and my engine revs more freely, mostly on downshifts and from stoplight to stoplight.

    I also am on track for my highest fuel economy since the swap and I haven't even been trying for fuel economy. I've got a 3.73 med case 3.73 and now I can actually pass in high gear while on the highway. I've got a turbo and manifold sitting, just have to figure out a few things with the MS unit which is the next step before turbo. I have to decide if I want to turbo because I really like the way it drives right now.


    Thanks for confirming some of my thoughts regarding the flywheel.


    I too was torn between turbo or keeping the car relatively stock engine wise as I have always loved the way the car could be absolutely smashed on with little to no consequences near the limit. However, after almost 10 years at stock power levels it was time for a change. There will definitely be a learning curve while driving the car 10/10s but once I can sort that all out I think the results will be fantastic.

    Leave a comment:


  • downforce22
    replied
    I just did the flywheel swap last saturday as well and I agree with most everything you posted. My starter is not any louder though. I used a lightweight m20 flywheel, which normally weights 18lbs, mine was lightened to 9.6lbs. So I would expect mine to weight about the same as yours. I noticed the pedal is heavier too and my engine revs more freely, mostly on downshifts and from stoplight to stoplight.

    I also am on track for my highest fuel economy since the swap and I haven't even been trying for fuel economy. I've got a 3.73 med case 3.73 and now I can actually pass in high gear while on the highway. I've got a turbo and manifold sitting, just have to figure out a few things with the MS unit which is the next step before turbo. I have to decide if I want to turbo because I really like the way it drives right now.

    Leave a comment:


  • spiDmang
    replied
    I've gotten the turbo itch lately as well...Your build looks like it's off to a good start!

    Leave a comment:


  • Balleristic31
    replied
    Entry #4
    Got the clutch installed last weekend with the help of my brother getting the transmission back up and in. Unfortunately, I didn’t take really any pictures of the install, but you all know what a transmission looks like installed. ;)

    Few notes regarding the results of the flywheel and clutch swap:
    - The starter sounds completely different (louder) as the car cranks. It’s aligned properly and the alignment plate is in place and at the proper orientation. I guess I can attribute it to the much lighter flywheel transmitting more noise through the starter? If anyone has put the RHD flywheel in let me know if your starter made more noise afterwards. My starter was a little noisy before so maybe that's the problem.
    - I filled the trans up with Redline MTL (80w90). WOW. What a difference in input shaft bearing noise. Previously I had just been using the recommended ATF, but my transmission sounded like it was about to rattle itself apart. Now, even with the light flywheel, the transmission is almost silent at idle and shifts great even when ice cold. Even the 2nd gear downshift is a bit happier (synchronizers are definitely failing). Would highly recommend the MTL.
    - Clutch feel is stiffer than before, but I’m not blown away with the weight of the pedal. I bled the slave really well (bleeder screw facing up), and the stainless clutch line definitely feels nice, but it doesn’t feel as stiff as my brother’s brand new clutch installed on his M20. The clutch grabs fairly high on the pedal as well, but not any higher than my brother’s M20 car. When it does grab it feels solid. Maybe a clutch stop is in my future.
    - Engine response is fantastic with the light flywheel. The car pulls much harder through the lower gears and the zingy M42 really feels more alive. I’m itching to get started installing the turbo stuff :D.


    Speaking of, my kit came in a couple weeks back. I've been extremely busy with work and took a quick trip to the Grand Canyon this weekend so nothing has really gotten done on the car.

    image3 by Nick Brema, on Flickr

    I will give my overall impressions of everything as I put stuff together. Right now the order of events looks something like this:

    - Remove/delete Air Conditioning.
    - Clean up and paint the passenger side of the engine bay. Just removing a few brackets here and there and cleaning some wiring up.
    - Kit install

    Hope to get some real work done this weekend!

    Leave a comment:


  • downforce22
    replied
    Following this one for sure

    Leave a comment:


  • AWDBOB
    replied
    Looking good man! This thing is going to be a blast.

    Leave a comment:


  • Balleristic31
    replied
    Flywheel and clutch are in. More details on that later.

    For now...

    image4a by Nick Brema, on Flickr

    image1 by Nick Brema, on Flickr

    Leave a comment:


  • robrez
    replied
    Good stuff on the RHD flywheel. I'm tempted to get one, but I already have an m40 non-ac flywheel on the shelf. I think it will be ok with my under 200hp DASC'd m42. But I'm looking forward to your comparo once it's all buttoned up.

    Leave a comment:


  • Balleristic31
    replied
    Entry #3

    In order to prepare for the additional power generated by the turbo, I knew it was necessary to upgrade and replace my current clutch system. I had previously replaced the heavy original dual mass flywheel with a non-A/C M40 unit I obtained here on the forums from a member in England. The non-A/C flywheel weighed approximately 20lbs before I had it slightly lighted before assembly down to about 17lbs. I had that paired with a stock replacement LUK clutch, and although I never had issues with slippage, the clutch never seemed to bite particularly hard or have really much pedal weight at all (in comparison to other e30s/BMWs I had driven).

    In anticipation of this combination not being up to task to hold the ~200 WHP that the car should be making after all is said and done, I started looking for other options. First, I thought about looking for a high performance replacement clutch to mate with my M40 flywheel, but there weren’t really any good options. Then I looked into the tried and true conversion over to the M20 single mass flywheel, but wasn’t too keen on the cost of a new starter and I would still have to get that lightened/machined which in aggregate was going to be more expensive then my ultimate decision: RHD 7lb chromoly flywheel.

    After exchanging a few emails back and forth with Rama about it, the RHD flywheel was a total no brainer. At a cost of around ~280 shipped to my door in LA, I had an extremely lightweight flywheel that worked with my original starter AND accepted the larger M20 228mm clutch. Rama noted that they had NA M54s down under making around 240whp using a stock Sachs M20 clutch, so I figured that would be plenty of clamping force for the lowly M42.

    Here's the obligatory pile of parts photo for the clutch job. Yes, I know there are only 6 flywheel bolts there, luckily I had a couple spares in my hardware to complete the set.

    IMG_9134

    Here’s a nice little note Condor sent me with the brass guide pin.
    IMG_9129

    So this week work finally slowed down enough that I was able to get the car in the air and pull the trans. Not too bad of a job. Took about 2 hours solo to extract the transmission. Luckily the G240 is nice and light and pretty maneuverable.

    Here you can see my (small) workspace and my neighbors E9 which is always fun to walk out to.
    IMG_9118
    IMG_9117

    And up!

    IMG_9128

    Im going to skip ahead to the part where the trans is off because I was too dirty to take photos 

    Here are some clutch and flywheel comparison photos. Remember you are looking at a single mass M40 flywheel and clutch not the dual mass M42 set.
    IMG_9142
    IMG_9139

    Making sure the ring gear teeth are the same.
    IMG_9138

    I found a scale and weighed the clutch and flywheel assemblies for comparison. Keep in mind the stock M42 dual mass flywheel alone weighs in at 28lbs with no clutch disc or pressure plate. Unfortunately I didn’t have one in the parts bin to compare.

    The lightened M40 flywheel plus stock LUK clutch and pressure plate weighed in at 30lbs even. Not too bad all things considered.

    IMG_9412

    The RHD flywheel with stock M20 clutch disc and pressure plate came in at 22lbs. 8lbs of rotational mass off of the drivetrain!
    IMG_9411

    I installed a near rear main seal and pilot bearing. I used the old bread trick to press the pilot bearing out and it worked like a charm! Pretty funny to get peoples reaction on Instagram to a “bread is a tool” story post. Ignore the torn up header wrap and filth.

    IMG_9144
    IMG_9150

    That’s as far as I got this weekend. Hopefully I’ll have a couple hours to clean and button things up this weekend and get it back on the ground to break in the clutch.

    Oh, and Jake shipped my kit today :D
    Last edited by Balleristic31; 02-27-2018, 04:08 PM.

    Leave a comment:

Working...