Restoring the 2nd produced E30 318is !

Collapse
X
 
  • Time
  • Show
Clear All
new posts

  • kenshin86
    replied
    Update for some fixes I have done in December 2020 during my visit to my home country:

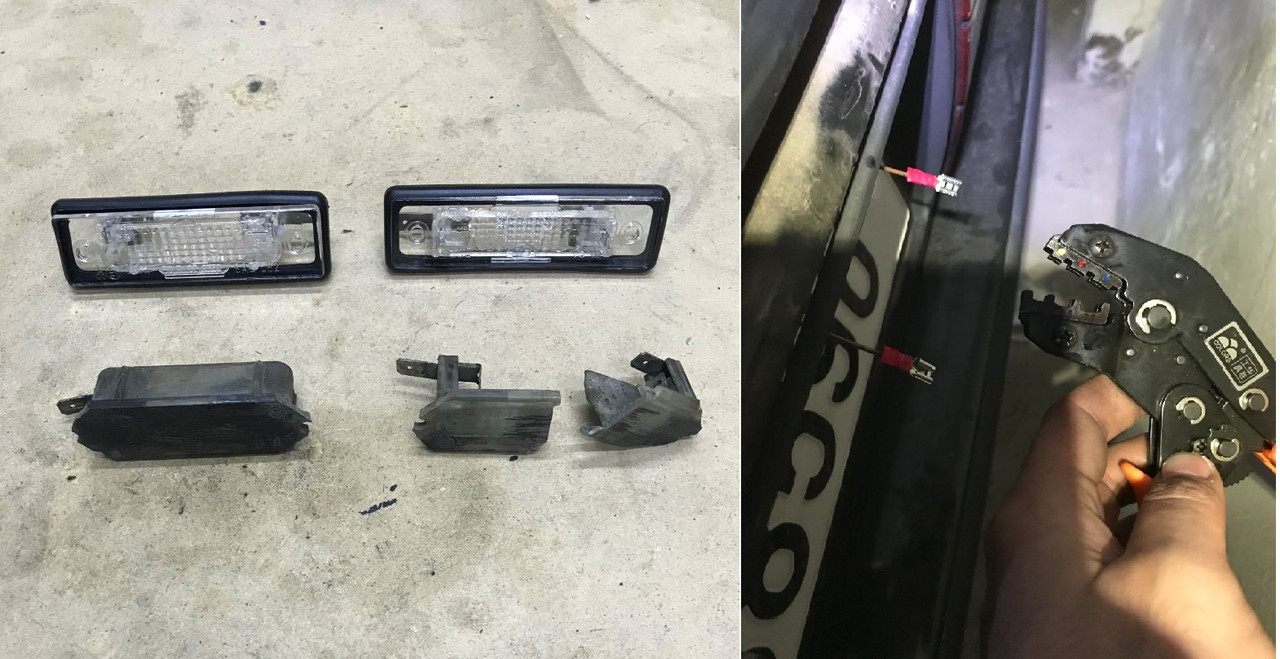
    Rear license plate lights replaced and new connectors crimped, previously it was just a wire warped around:


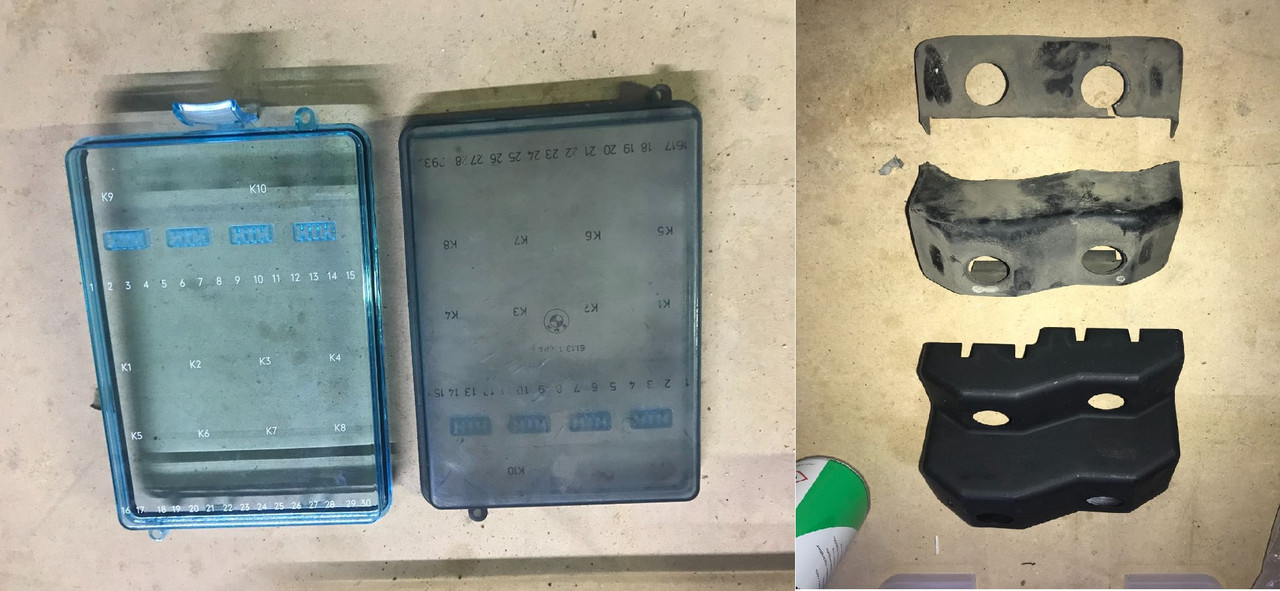
    New fuse box cover and coil pack cover:


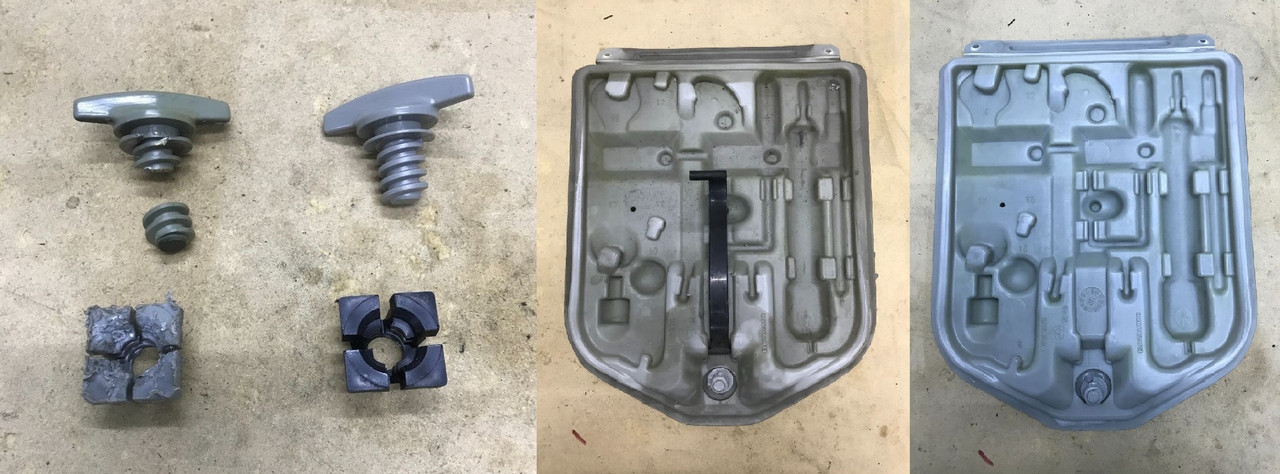
    Tool box cleaned and broken parts replaced:


    Trying to fix my dead rpm, pulled back the SI board and found it has the infamous cluster screw damage, so it was repaired by soldering a wire to bypass the damaged path. Also the batteries were replaced, and found out that the coding plug is not for an M42, so I bought the correct one instead.
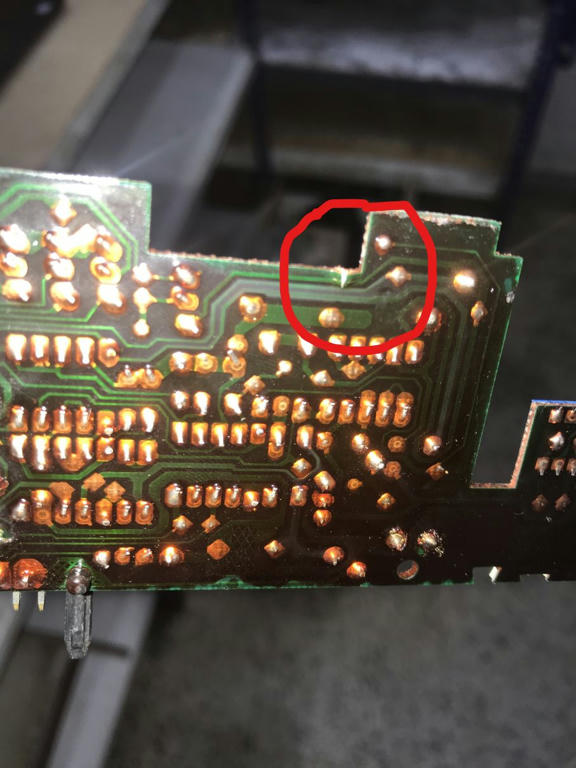
    Click image for larger version  Name:	IMG_3206.jpg Views:	0 Size:	314.6 KB ID:	10118906


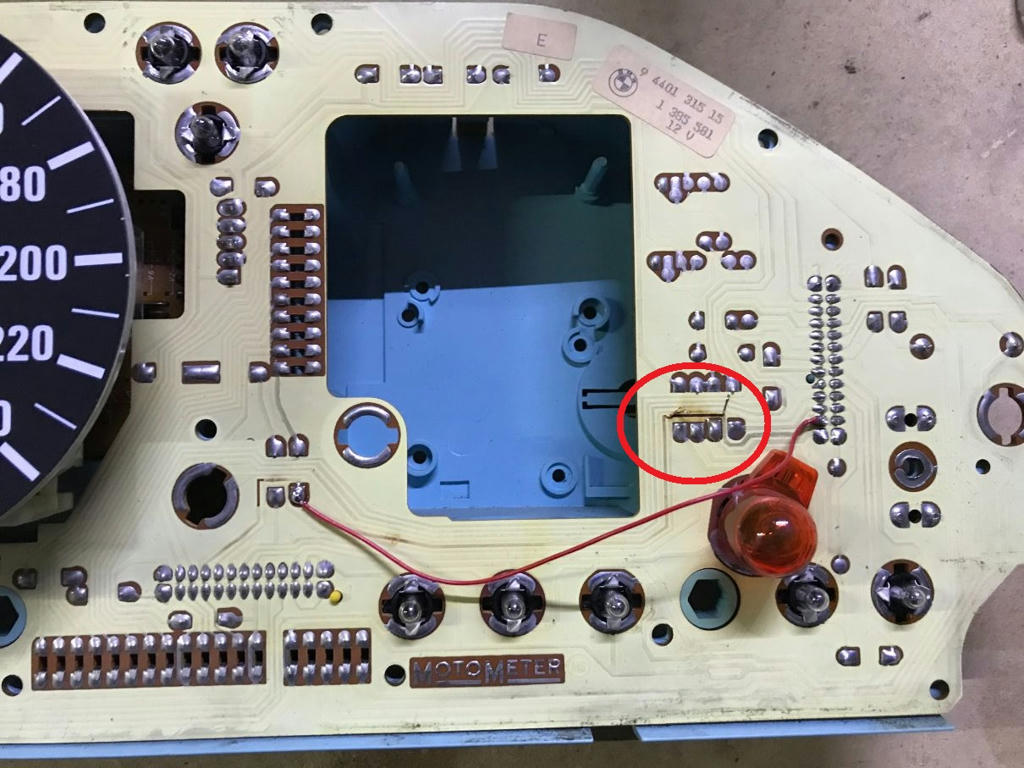
    Cluster also had a path that was burnt, so I soldered a wire to bypass it:


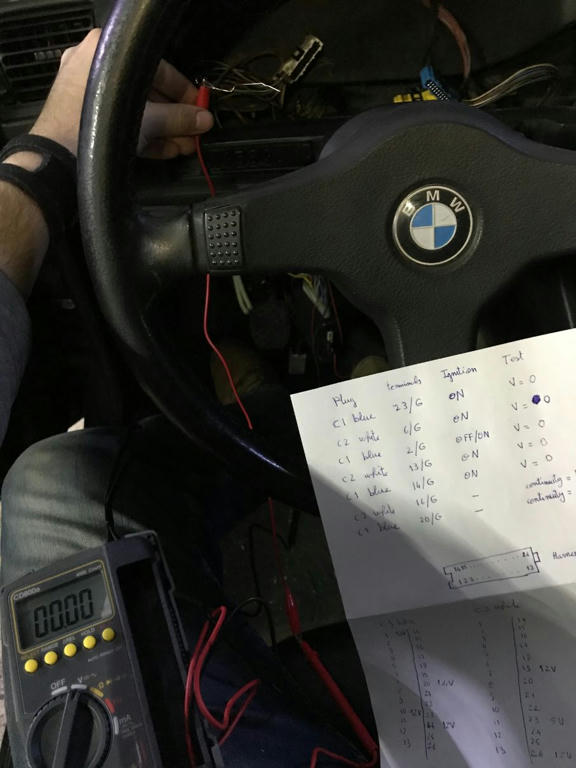
    During my voltage diagnosis for the plugs on the back of the cluster as per the Bentley manual, I have found out that I have no power and no continuity at pin no. 2 in the C1 blue connector.
    As per the wiring diagrams, power at this pin is required for the rpm and SI board operation.
    The power for it comes from fuse no. 21 (RED/GREEN wire) passing by splice #S319 near the driver's side speaker on the floor.
    Doing some research online, I have found that this splice usually corrode and needs re-soldering.
    This will a project for another time.


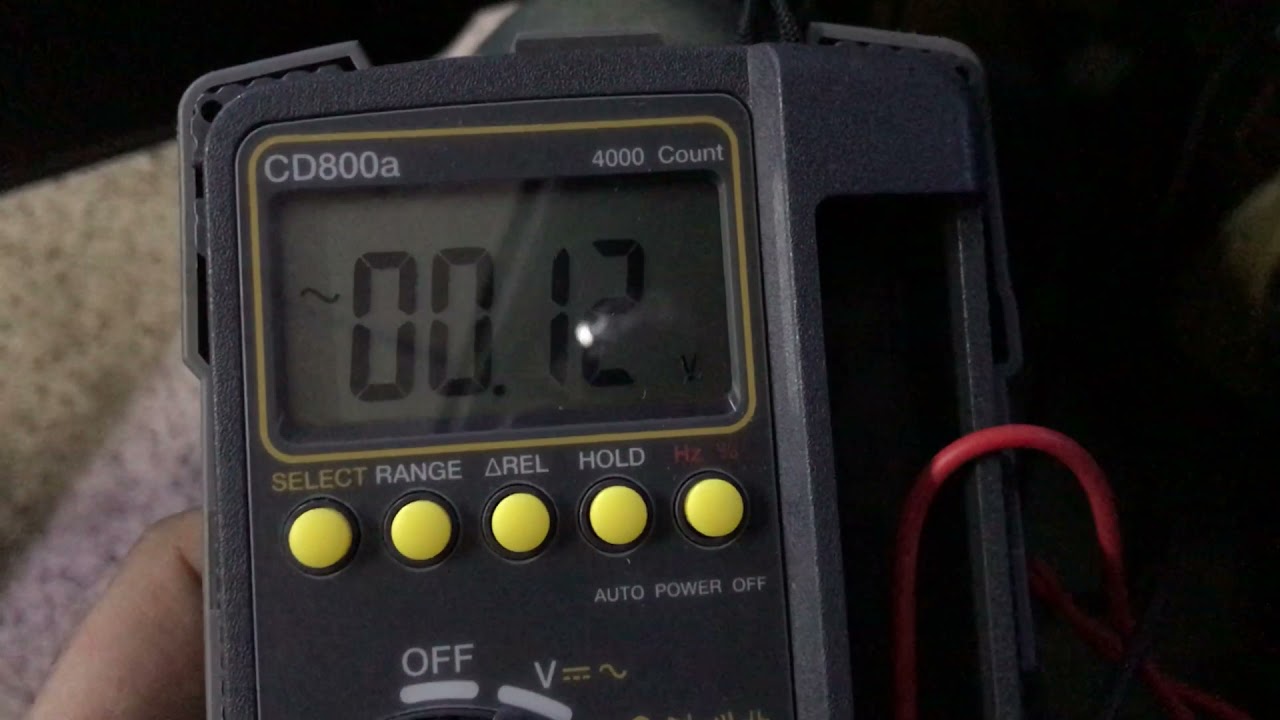
    I have also proven that I have a signal from the ECU for the RPM by setting the multimeter to AC and probing the black wire (pin #7) in the blue connector as you can see in the below video:

    Thanks for reading.
    Last edited by kenshin86; 04-21-2024, 12:22 PM.

    Leave a comment:


  • ElRico_e30
    replied
    Originally posted by kenshin86
    Thank you all for your replies !

    Also when I installed the derlin bushing in the rear shifter assembly arm carrier, after doing hard acceleration or cornering, it becomes difficult or not possible to change gears because there is no play or buffer to absorb the relative motion between engine/transmission and chassis.
    I will either remove the derlin bushing completely or drill it to make it wider or go back to old rubber.
    Greetings from NZ. I too am using the Garagistic delrin rear shifter bushing (and Z3 1.9 shifter), although with no issues with this setup (M40B16). Suggest your issue may be caused by movement elsewhere; I'd already replaced engine, gearbox mounts by the time I'd gotten to replacing all of the shifter bushings. Perhaps wait until you replace your engine and gearbox mounts?

    Hope that helps.

    Leave a comment:


  • Glaede
    replied
    Originally posted by kenshin86
    Thanks for your feedback, I will look into it !
    Sorry, i meant drivers side. Left side of the car Sent from my iPhone using Tapatalk

    Leave a comment:


  • kenshin86
    replied
    Originally posted by Glaede

    I had an E30 once where the RPM gauge didn't work. What i found was some bad wiring in the area of the passenger speaker. There's a connection of wires (if i remember correct - red/green wires). My interior lighting wasn't working either and it was related to the same wires.
    Thanks for your feedback, I will look into it !

    Leave a comment:


  • Glaede
    replied
    Originally posted by kenshin86
    And I need to sort out why the RPM gauge is still not working after replacing the SI board batteries.
    I had an E30 once where the RPM gauge didn't work. What i found was some bad wiring in the area of the passenger speaker. There's a connection of wires (if i remember correct - red/green wires). My interior lighting wasn't working either and it was related to the same wires.

    Leave a comment:


  • Glaede
    replied
    Originally posted by kenshin86

    That's interesting ! never thought of it, so the last numbers should indicate the number of production ?
    I'm not sure what it indicates. My own is build in January 1990 and it has VIN number AD10xxx something.

    Leave a comment:


  • mike.bmw
    replied
    Originally posted by kenshin86
    I have all the parts ready, ball joints (going with OEM rubber) and B4 OE Bilstein gas shocks, as the roads in Lebanon are rough for B6s.
    I went with B4s and H&R OE Sport Springs. To get the 318is to sit level on H&R OE Sport Springs, you can swap out the stock rear lower spring pads with E46 14.5mm rear spring pads. Check out my thread for more info (see signature).

    Leave a comment:


  • kenshin86
    replied
    Originally posted by Glaede
    Great thread and nice work you have done! I have a 318iS my self.

    It's an interesting VIN number you've got. AD00001 and a very early production date for an 318iS. Could this be one of the first produced?
    That's interesting ! never thought of it, so the last numbers should indicate the number of production ?

    Leave a comment:


  • kenshin86
    replied
    Thank you all for your replies !

    Yes, the car drives very well now, still many things to be sorted like suspension.
    The car still have its original shocks and springs.
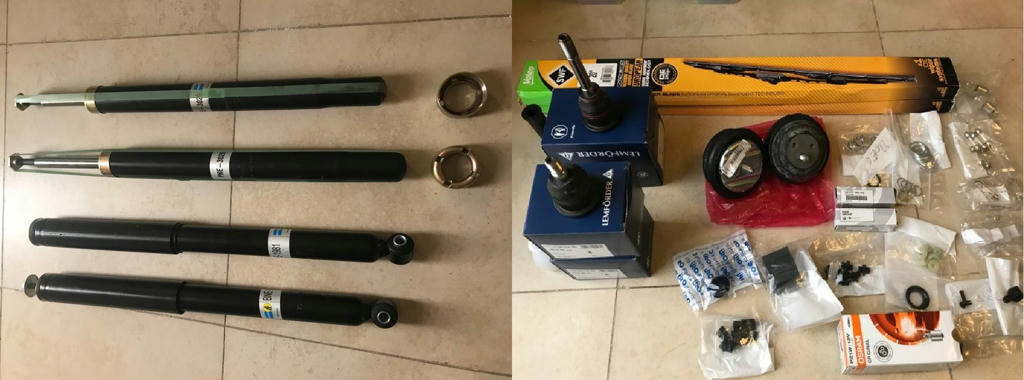
    I have all the parts ready, ball joints (going with OEM rubber) and B4 OE Bilstein gas shocks, as the roads in Lebanon are rough for B6s.

    The vacuum lines on this thing are a real nightmare, the Mess Under the Intake thread helped me a lot.

    The things that are bothering me are:

    The oil pan clearance: as you know the M42 is pretty close to the ground, and I don't intend to lower the car at all.
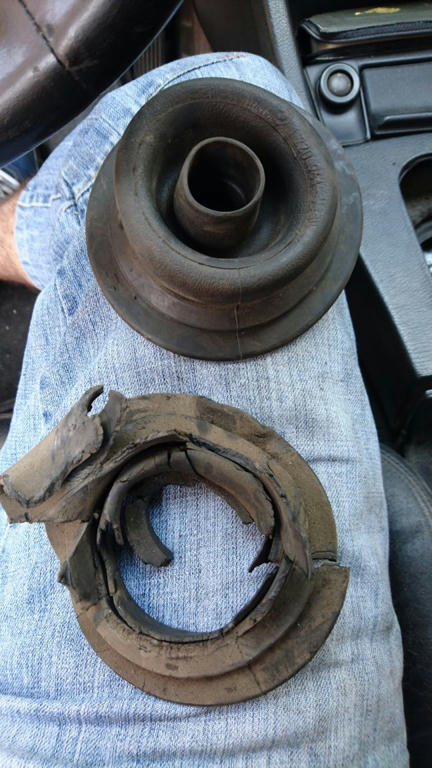
    I hope it will get better when I replace the engine mounts with new ones (with some extra washers) and install new strut tower mounts.

    Also when I installed the derlin bushing in the rear shifter assembly arm carrier, after doing hard acceleration or cornering, it becomes difficult or not possible to change gears because there is no play or buffer to absorb the relative motion between engine/transmission and chassis.
    I will either remove the derlin bushing completely or drill it to make it wider or go back to old rubber.

    And I need to sort out why the RPM gauge is still not working after replacing the SI board batteries.
    Last edited by kenshin86; 03-25-2020, 05:01 AM.

    Leave a comment:


  • Glaede
    replied
    Great thread and nice work you have done! I have a 318iS my self.

    It's an interesting VIN number you've got. AD00001 and a very early production date for an 318iS. Could this be one of the first produced?

    Leave a comment:


  • Tzantushka
    replied
    How did I miss this...?

    A thorough approach to getting everything back to a good baseline.

    Leave a comment:


  • mike.bmw
    replied
    Awesome work! We've done a lot of the same things to our cars. I bet it's driving really well now!

    Leave a comment:


  • vasilis m3
    replied
    Subscribed!

    Keep up the good work!

    Leave a comment:


  • kenshin86
    replied
    Below are the things done to the car in April 2019:

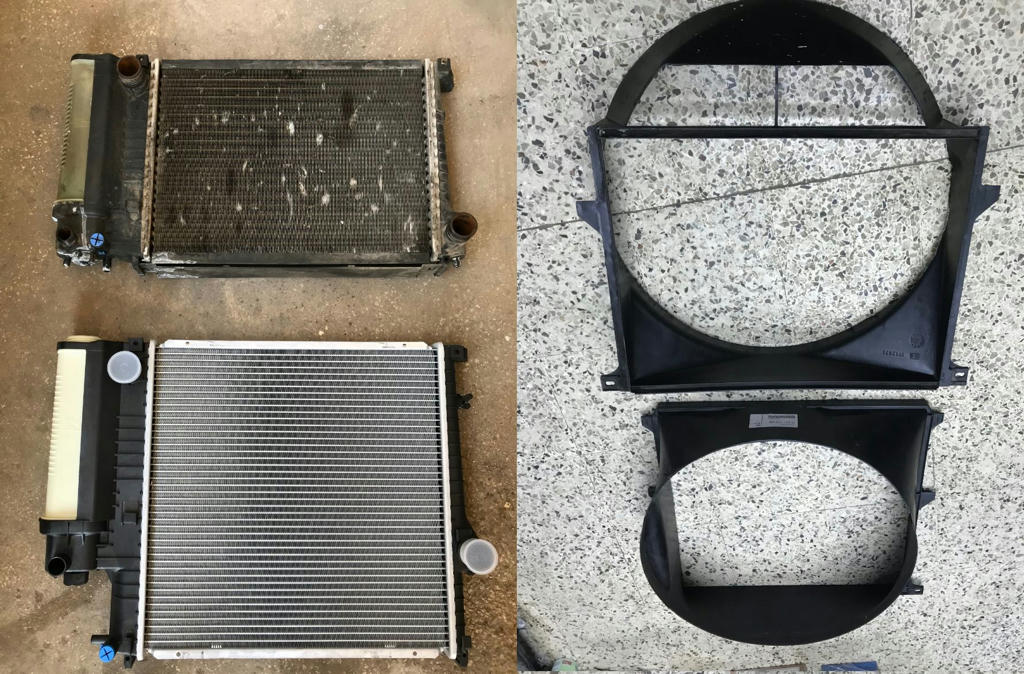
    The existing radiator and fan shroud were not the ones that came with the car.
    No wonder why when sitting in traffic the temp gauge needle starts to climb.
    I replaced them with the correct ones for M42 engine.

    Old radiator and fan shroud on top:


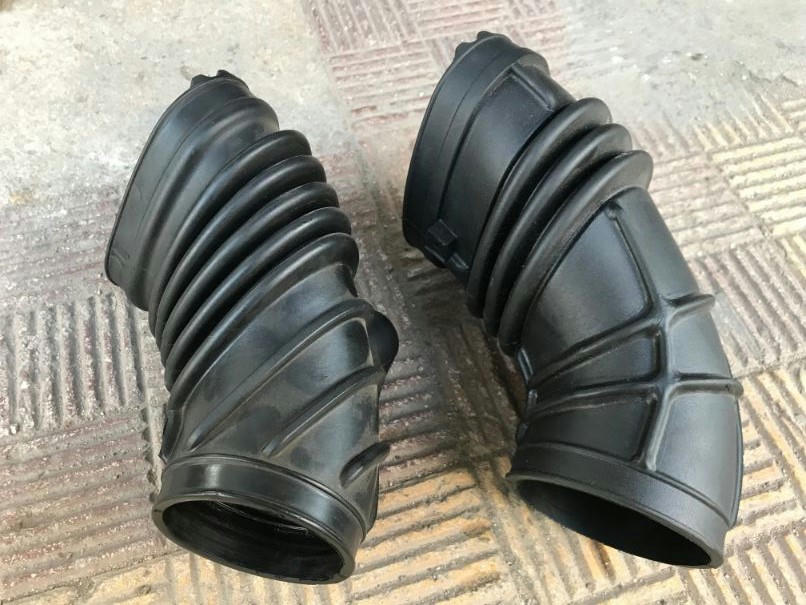
    The intake boot was also from an E36, it was stretched and cracked. The new and correct one can be seen on the right:


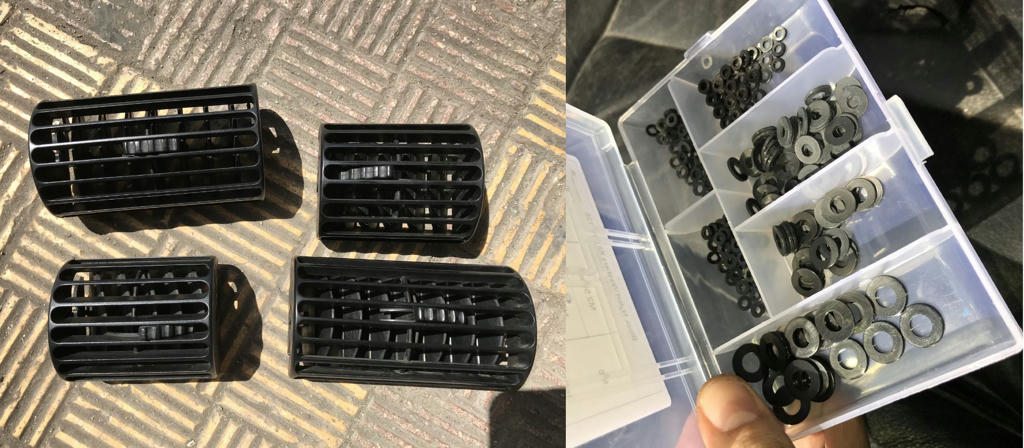
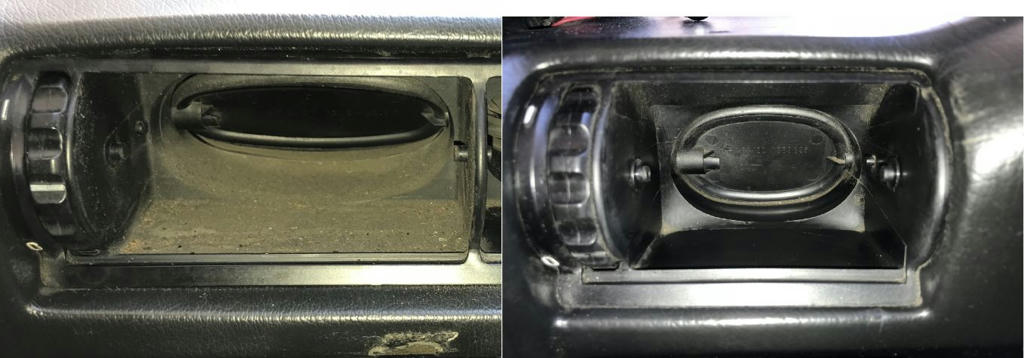
    Popped out the AC vents to install some plastic washers to prevent them from sagging down:


    30 years of dust is cleaned:


    Old vs new shifter boot:


    Old fuel rubber boot near the filling cap was also replaced:


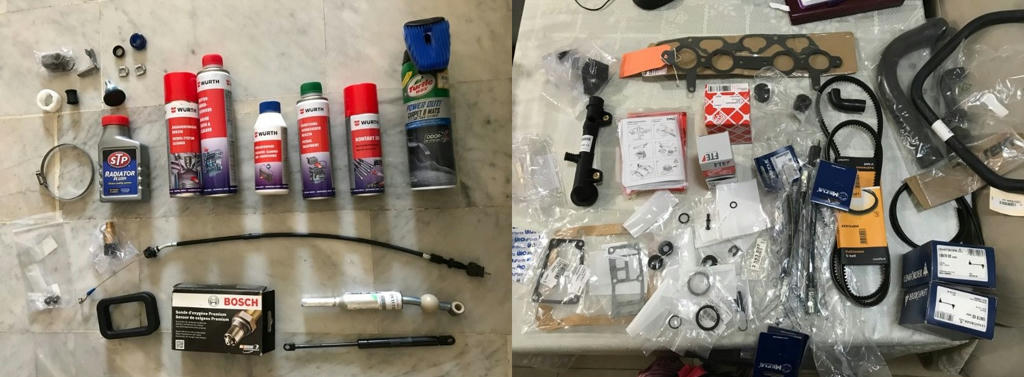
    Below are some pics of the parts bought:


    Leave a comment:


  • kenshin86
    replied
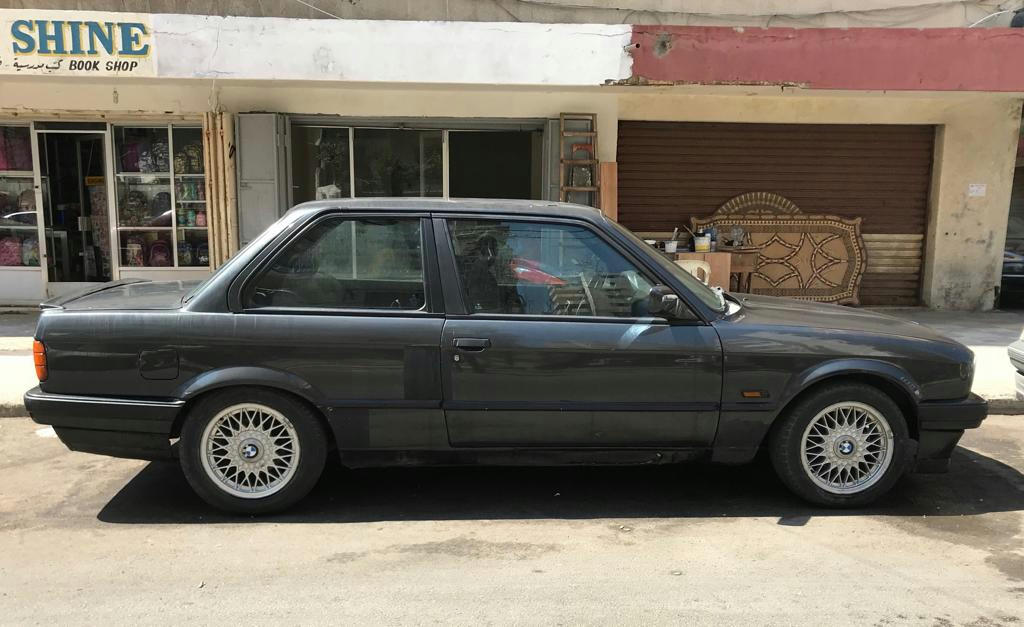
    August 2018, had 2 weeks to work on the car. I was able to source the original 15" BBS wheels for 200 $, car looks much better in my opinion:


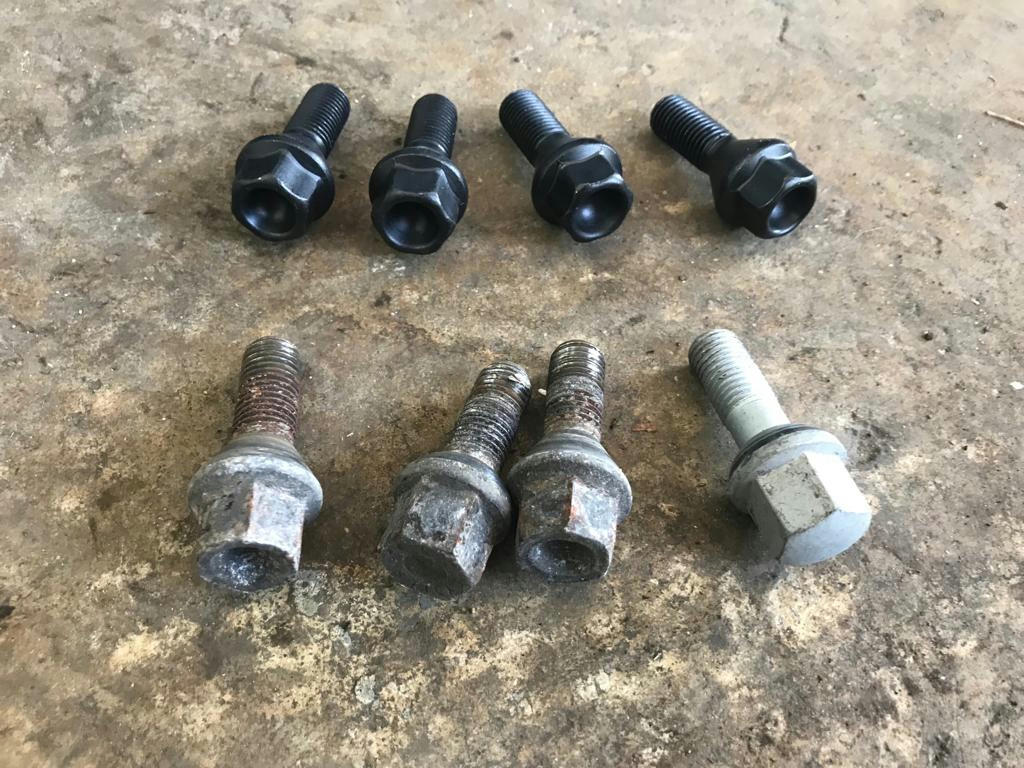
    Old wheel lugs vs new ones:


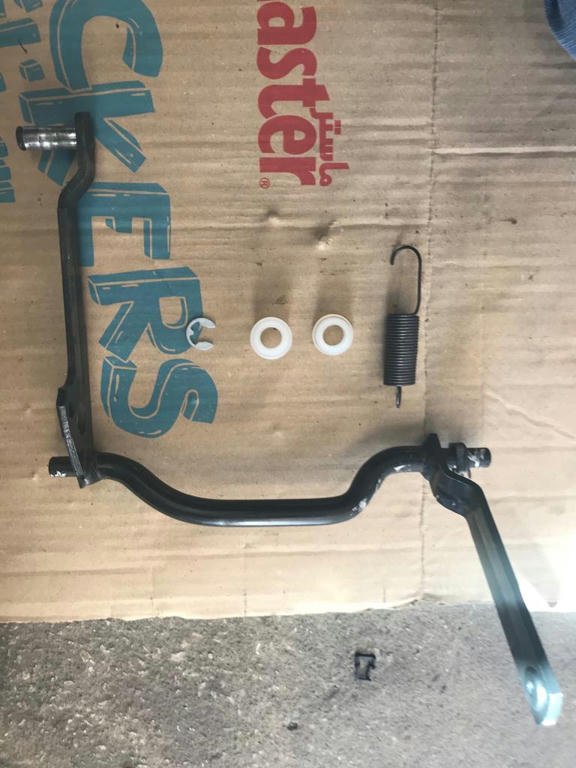
    The throttle pedal linkage had little bit of play, so I replaced all the bushings and the return spring:


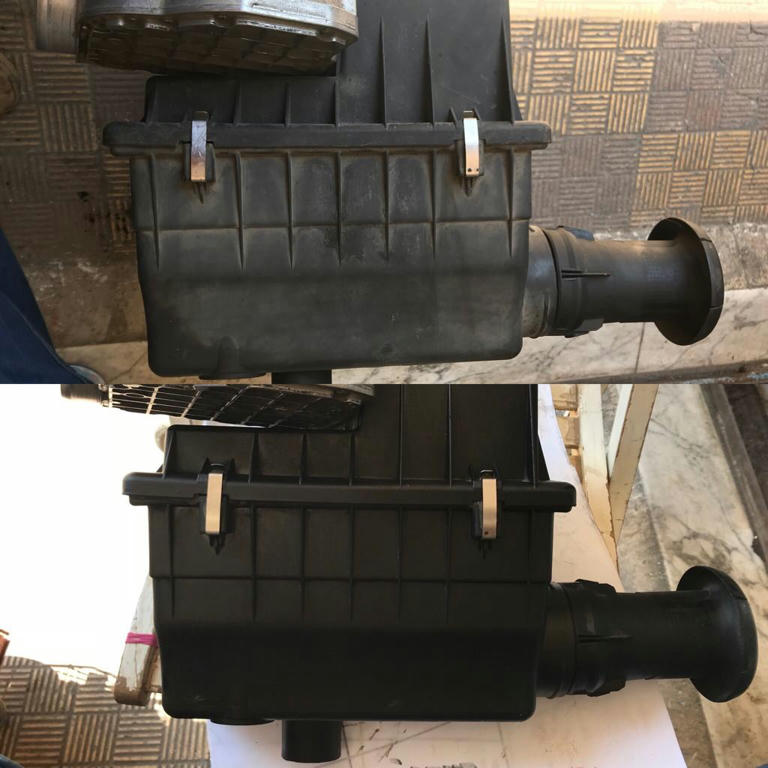
    Here's a shot of the airbox after cleaning it with a mix of boiled linseed oil and thinner:


    It was about time now to do the mess under the intake and clear all the vacuum leaks since the car was not revving at wide open throttle.

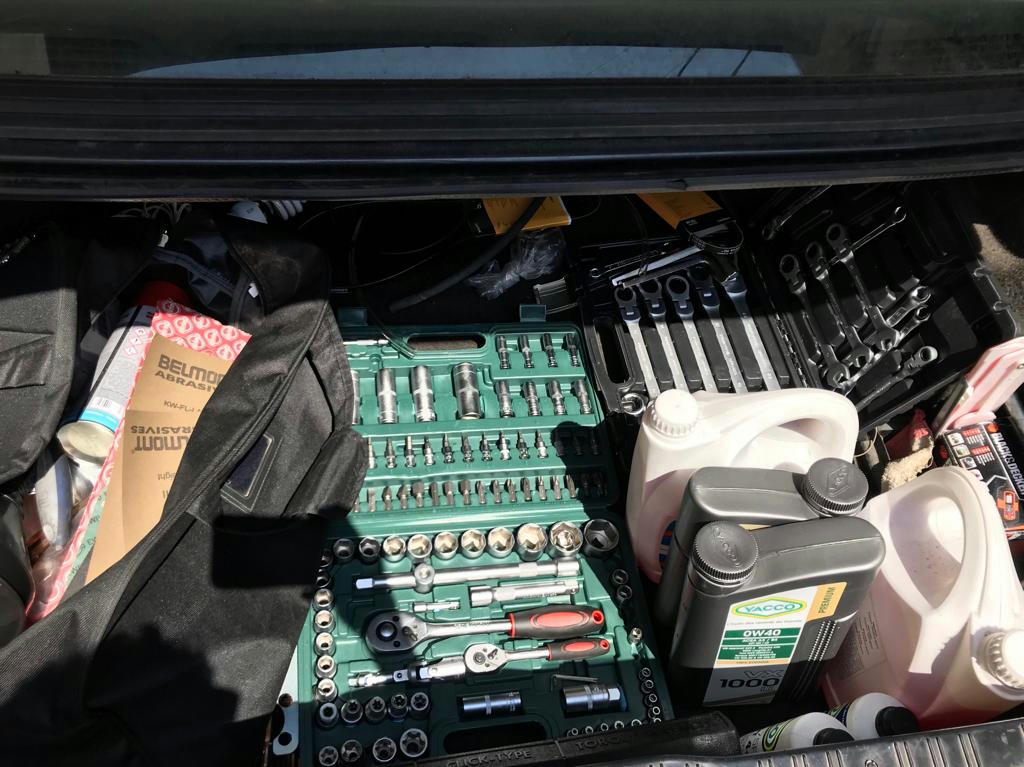
    My set of tools in the trunk, I still don't a dedicated place to work:


    An electrical tape was previously used to repair a broken hose:

    ​

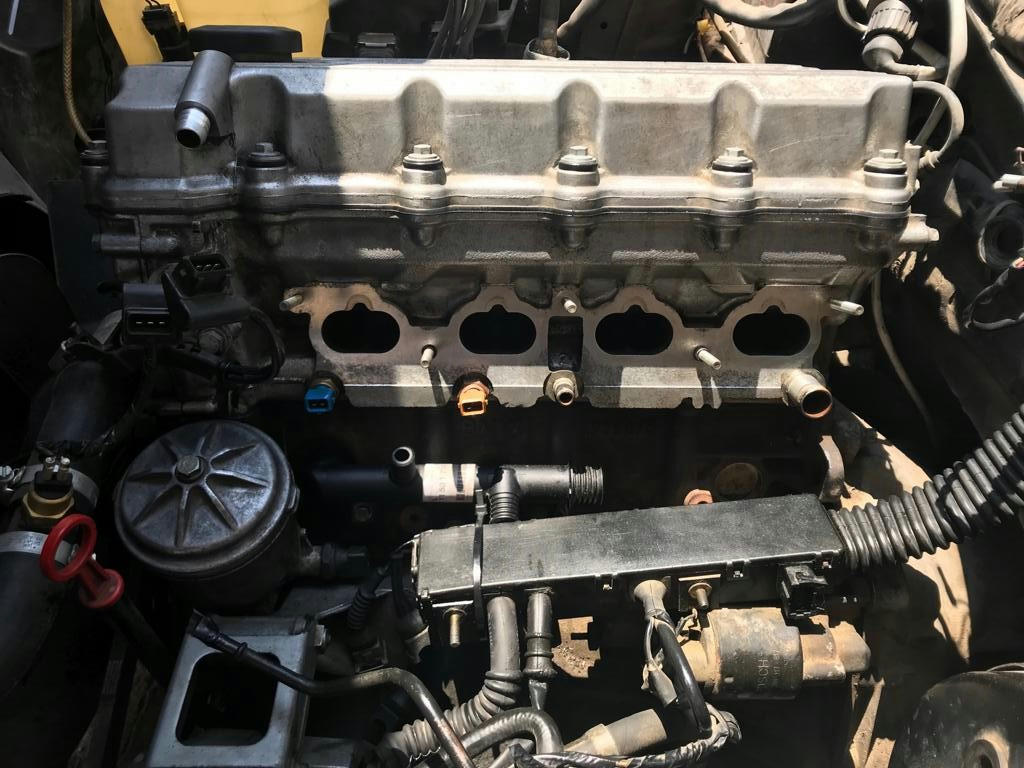
    Upper and lower intake manifold removed and all old hoses taken out to be replaced by new ones:


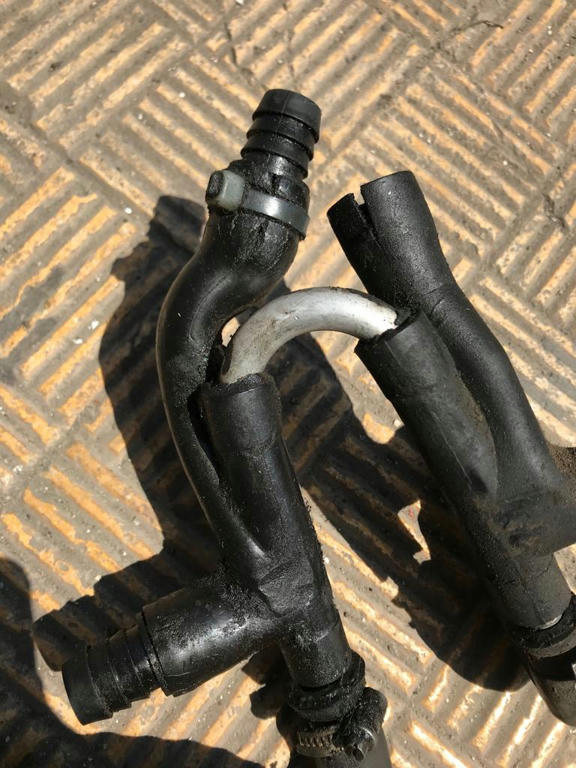
    Broken coolant hoses at the end held together by cable tie for the throttle heater plate:


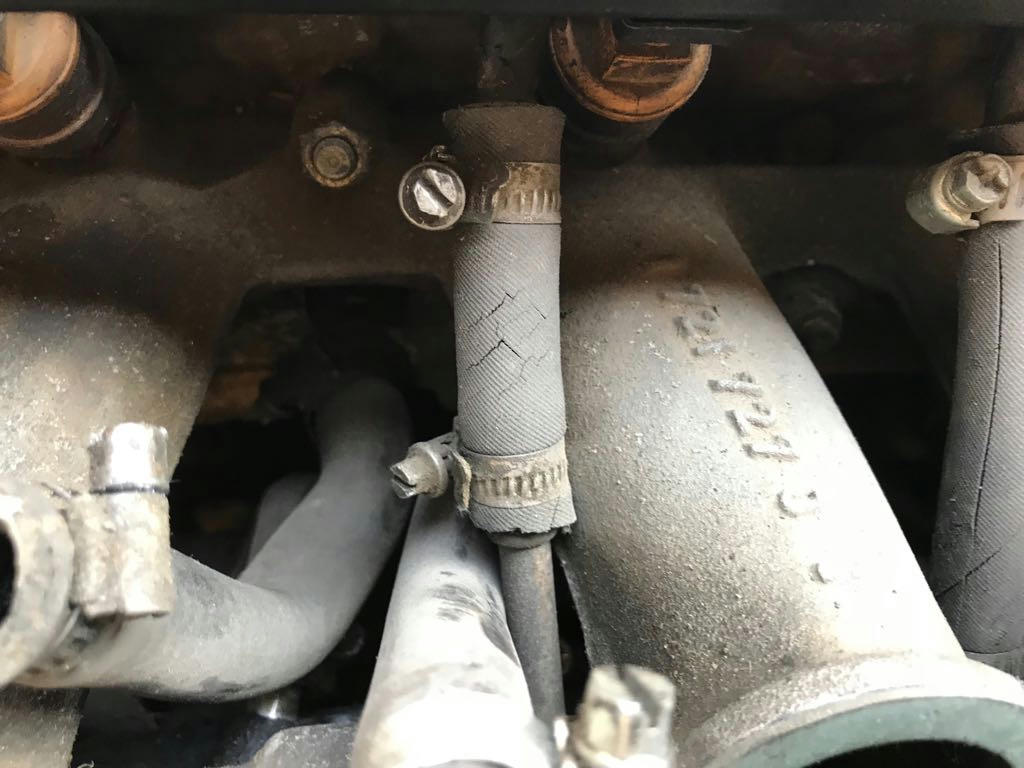
    Cracked fuel hose:


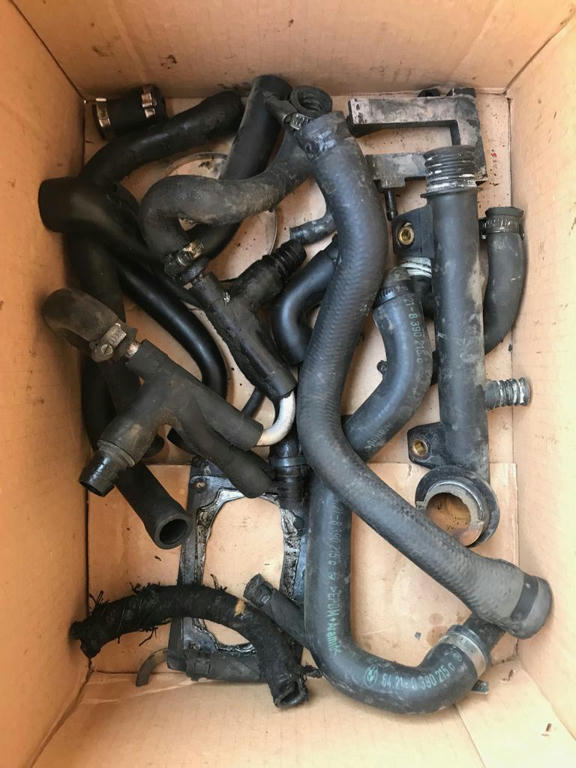
    The sum of all the deleted / replaced hoses:


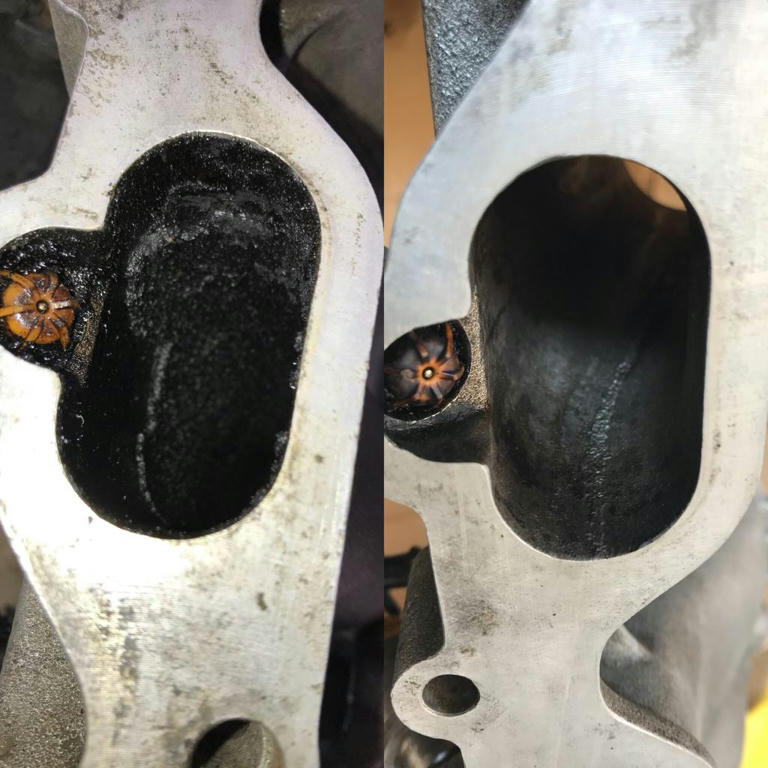
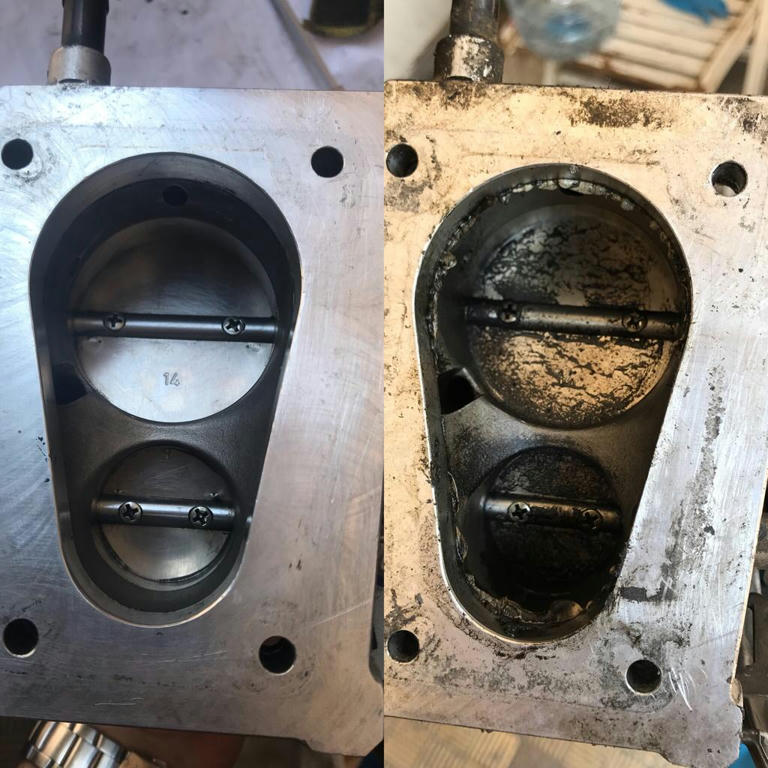
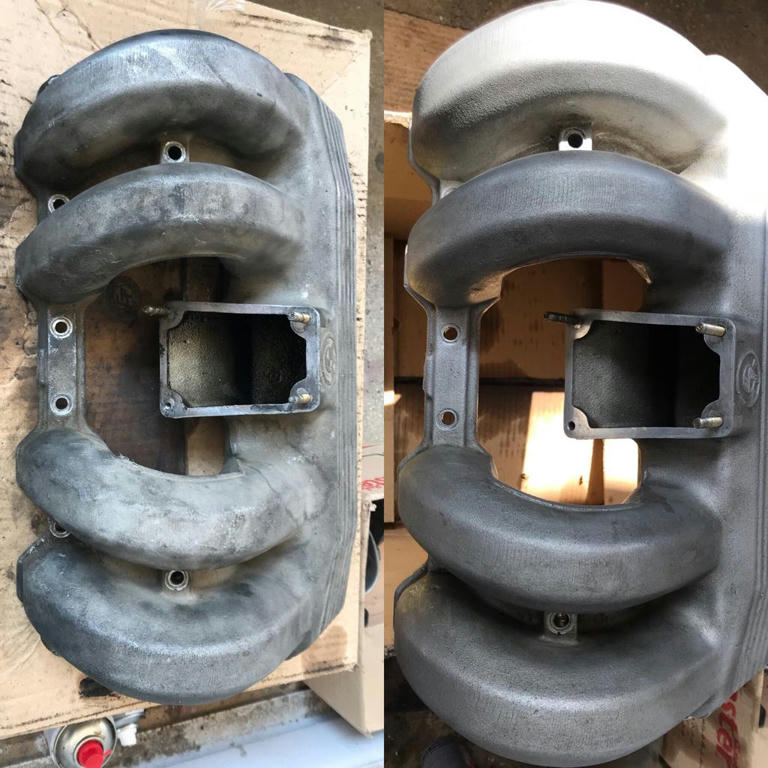
    Below are some pictures before and after the cleaning of 30 years of crud and grime.
    Spraying fuel and using a wire brush gave the best results.

    Lower intake manifold ports:


    Throttle body: notice the excess of gasket maker at the bottom


    upper intake manifold:


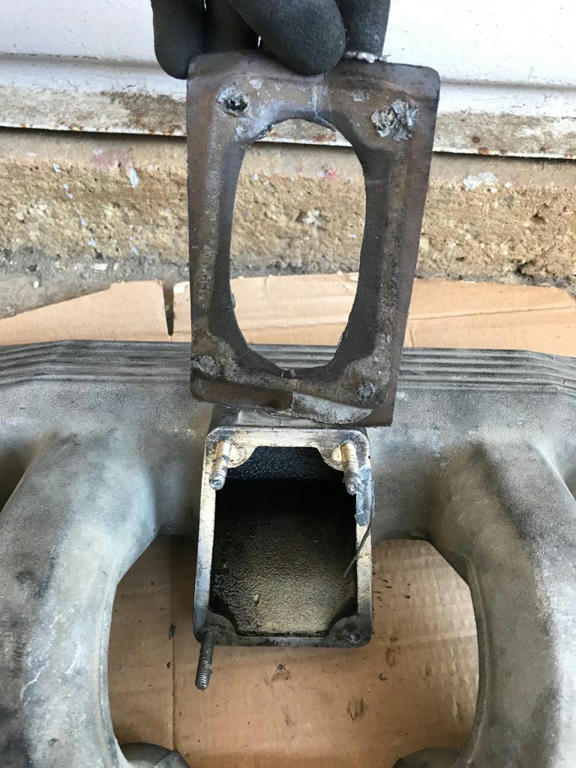
    Previous owner cut an oval shaped opening in the gasket having a size smaller than of the opening of throttle body, choking the air intake in return:

    Last edited by kenshin86; 04-21-2024, 12:21 PM.

    Leave a comment:

Working...