Restoring the 2nd produced E30 318is !

Collapse
X
 
  • Time
  • Show
Clear All
new posts

  • kenshin86
    replied
    Update Spring 2024

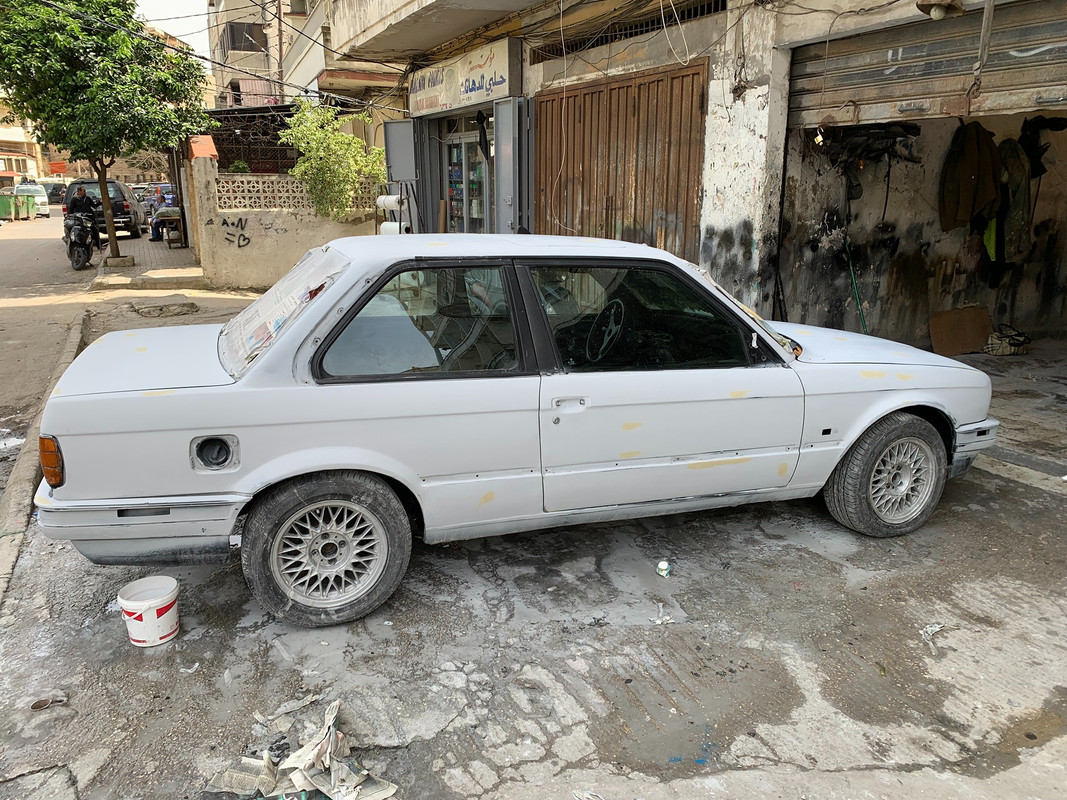
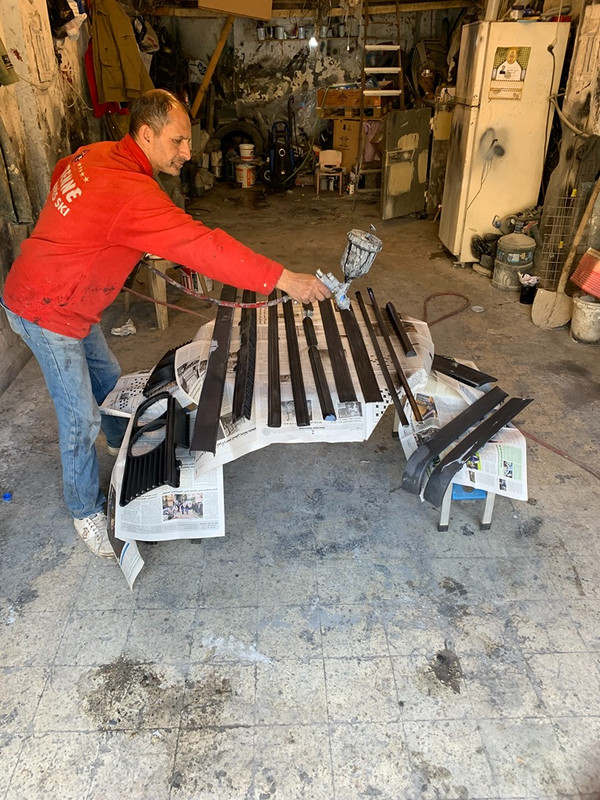
    During this visit I decided to do a full body paint since the whole process will not cost you more than $ 500 in Lebanon.
    It took around 4 weeks to finish and below are the results:
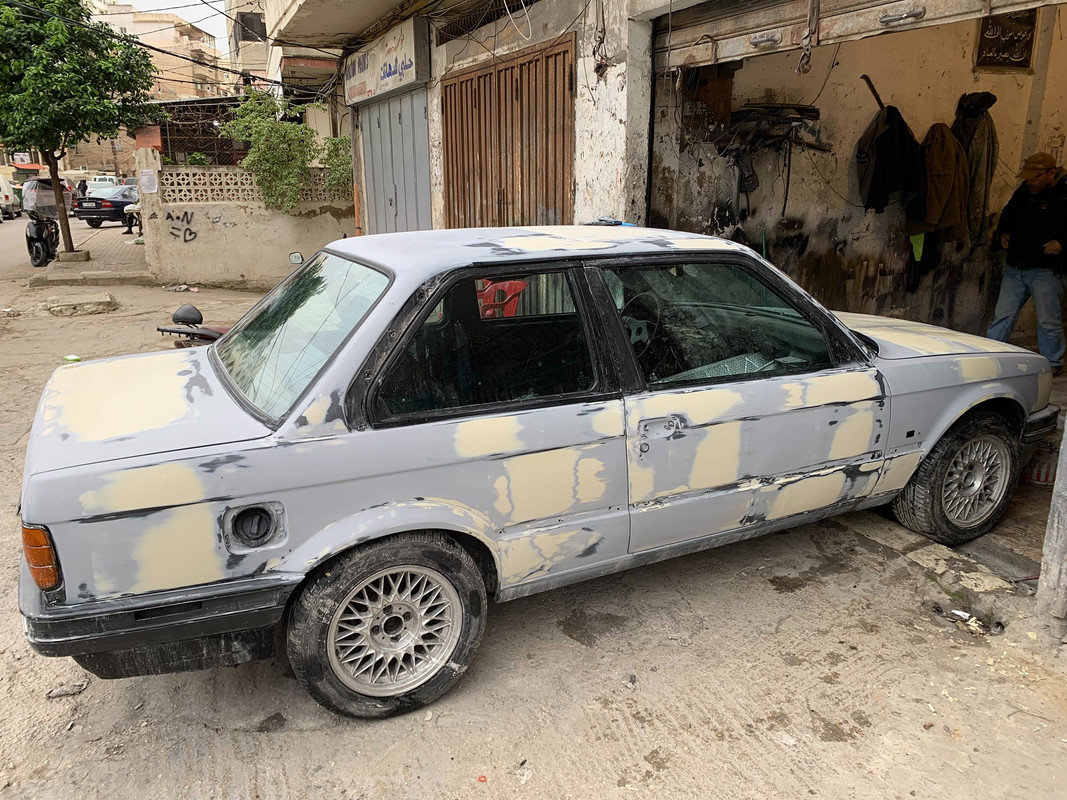


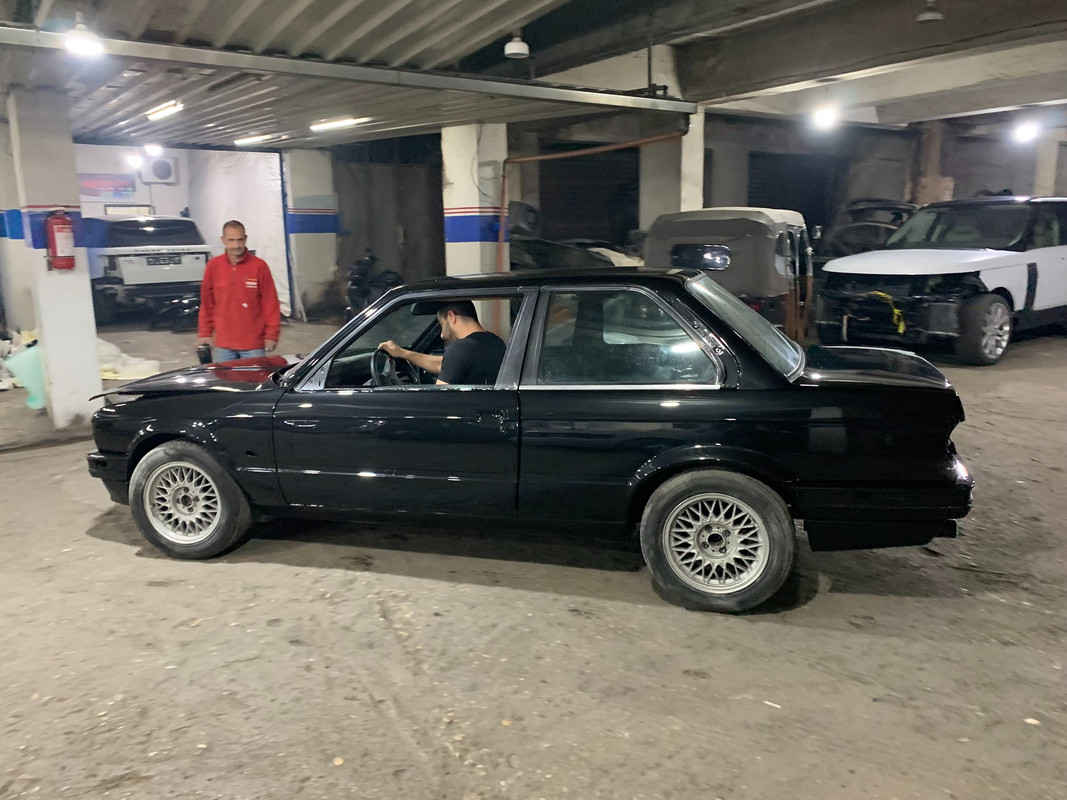
    Coming out of the spray booth:


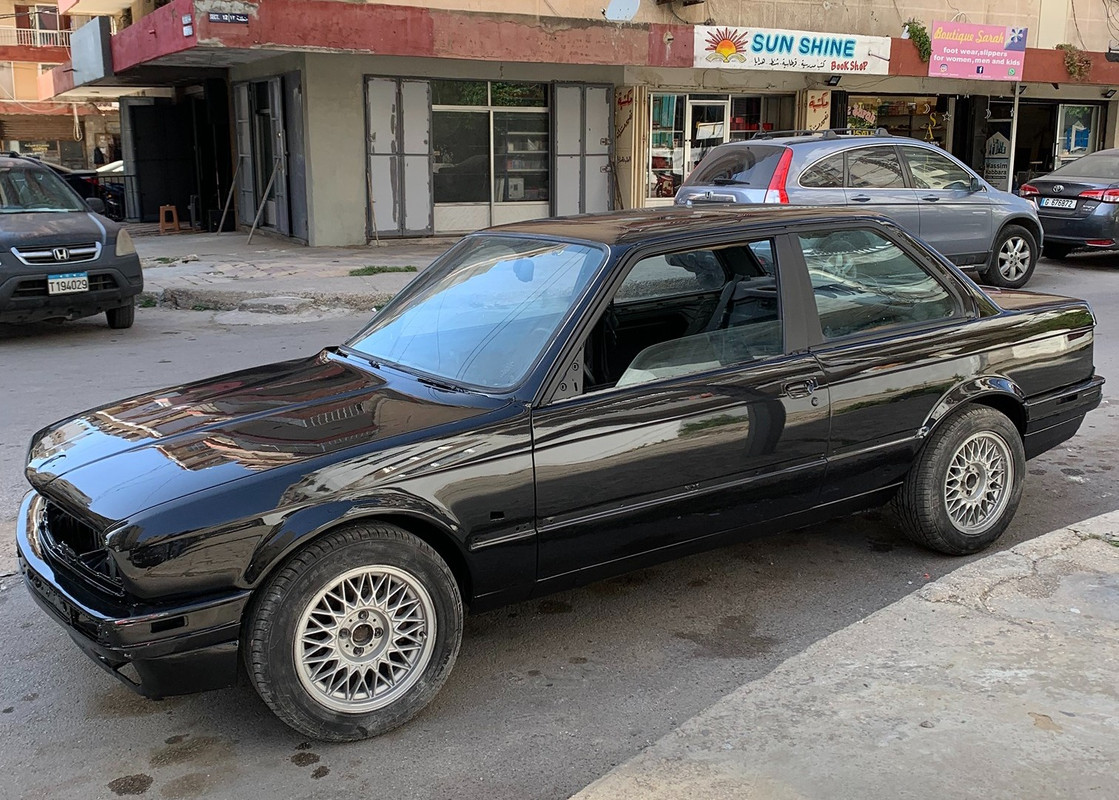
    Reached my garage:

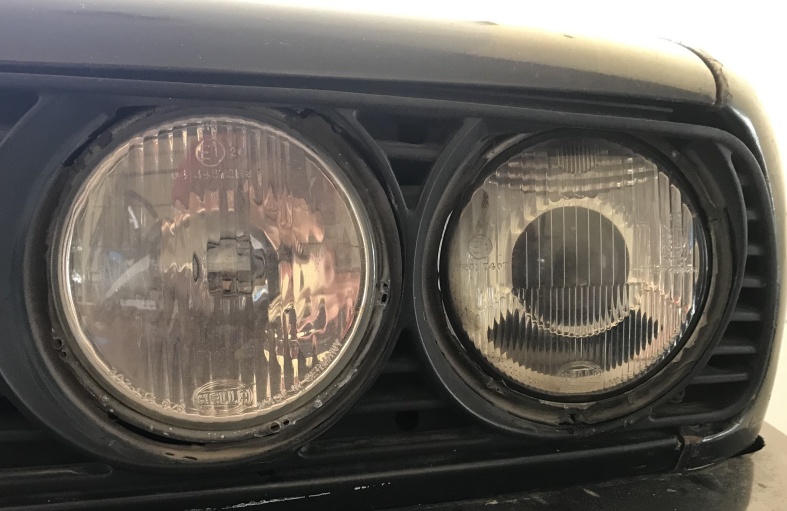
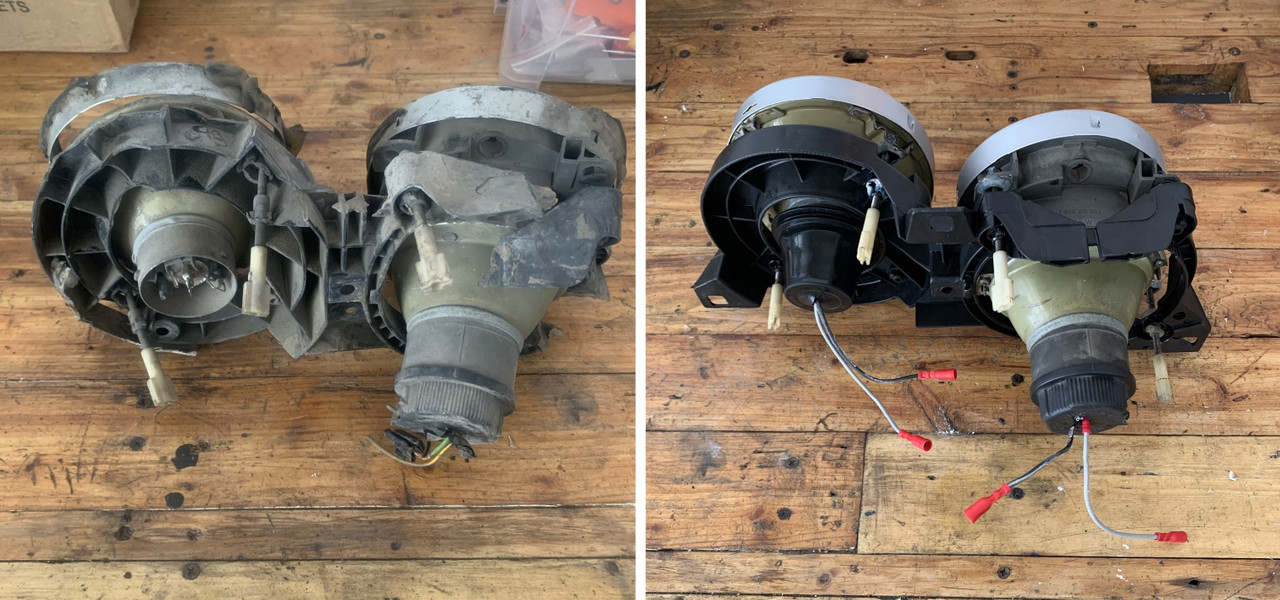
    Identifying all chopped and sliced wires with a help of label machine and crimping in new connectors for the headlights:


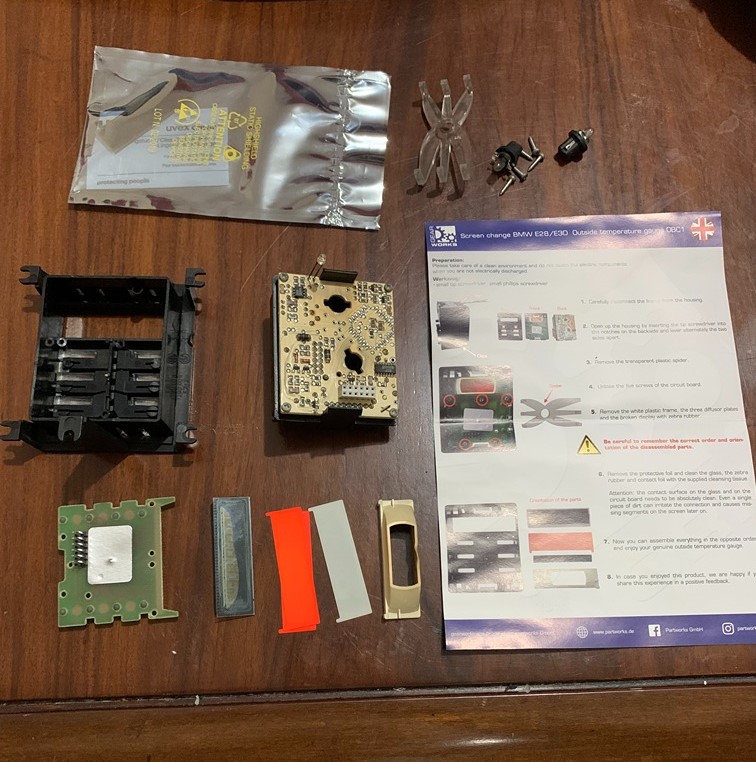
    Replacing OBC damaged screen:

    Next visit in God's will should be the re-installation of the interior/dashboard/seats and hopefully I can get all the wiring sorted out.

    ​
    Last edited by kenshin86; 04-22-2024, 11:10 AM.

    Leave a comment:


  • kenshin86
    replied
    Originally posted by Panici
    That is a seriously impressive pile of items replaced! Nice work.
    Going to keep as spare parts or throw them out?

    I had many of those same rust spots on my car, and a few more on top of that.
    Took years but finally repaired them all!
    I will keep them in case some parts in the future are NLA, and to remind my self how much money I spent :D
    Glad to hear yours is finished, and what a beautiful color especially in the sun !

    Leave a comment:


  • Panici
    replied
    Originally posted by kenshin86
    - The bulk of old/broken/replaced parts:

    - Rust repair
    That is a seriously impressive pile of items replaced! Nice work.
    Going to keep as spare parts or throw them out?

    I had many of those same rust spots on my car, and a few more on top of that.
    Took years but finally repaired them all!

    Leave a comment:


  • kenshin86
    replied
    Summer 2023 update

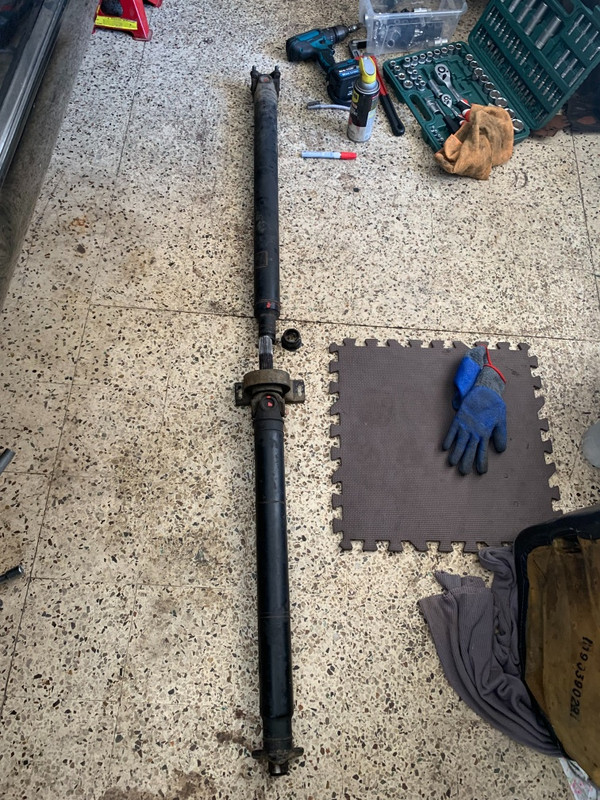
    - Driveshaft vibration

    Recently I started to notice a thumping rotating noise coming from the driveshaft, the center support bearing is solid but I there is a play in the center locking nut: the plastic inside it might be worn or it may need more tightening.


    After driving the car more, the problem was was only observed during on/off throttle or when engaging the clutch.
    As per the Bentley manual troubleshooting table this is most likely caused by a siezed sliding coupling, and indeed upon further inspection the gunk on the splines were baked in so hard I had to use an angle grinder with a brush wheel to clean them.
    In addition, the plastic teeth of the central locking nut were gone, that explains the play in my last video.
    With a new nut and fresh moly grease, the vibration is now gone !


    - Headlight restoration

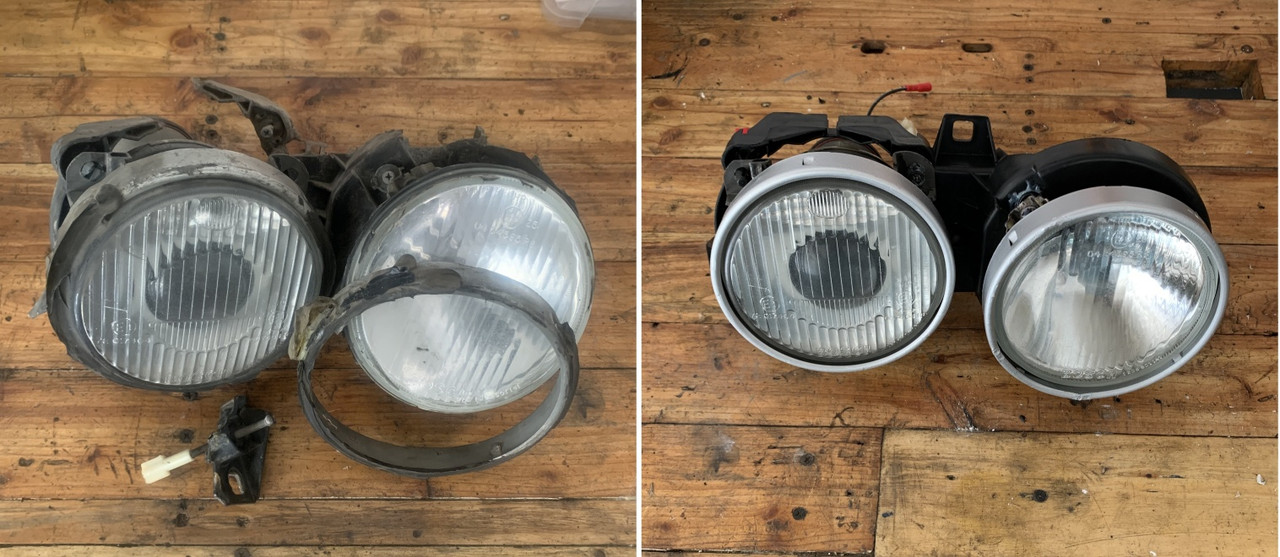
    The plastic frame of my headlights were broken beyond repair, and the light assembly was glued onto the front grill using silicone to hold it in place.
    So I got new frames, 3D printed the broken plastic bits of the adjusting screws, crimped some bullet connectors to the wires instead and painted the metal rings.


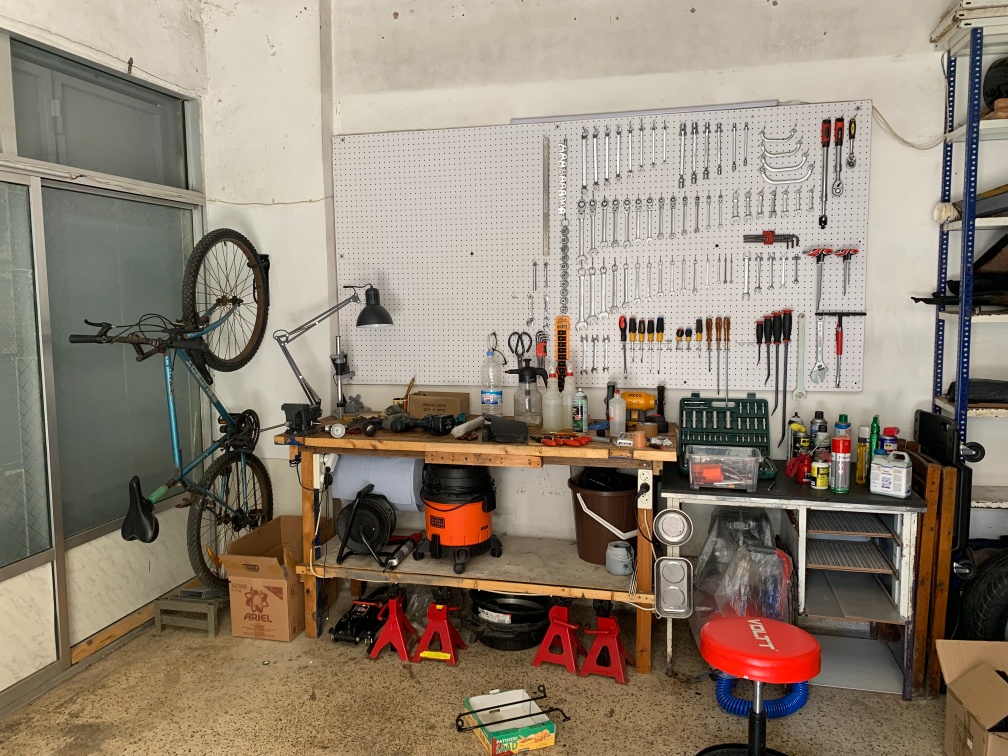
    - the work bench


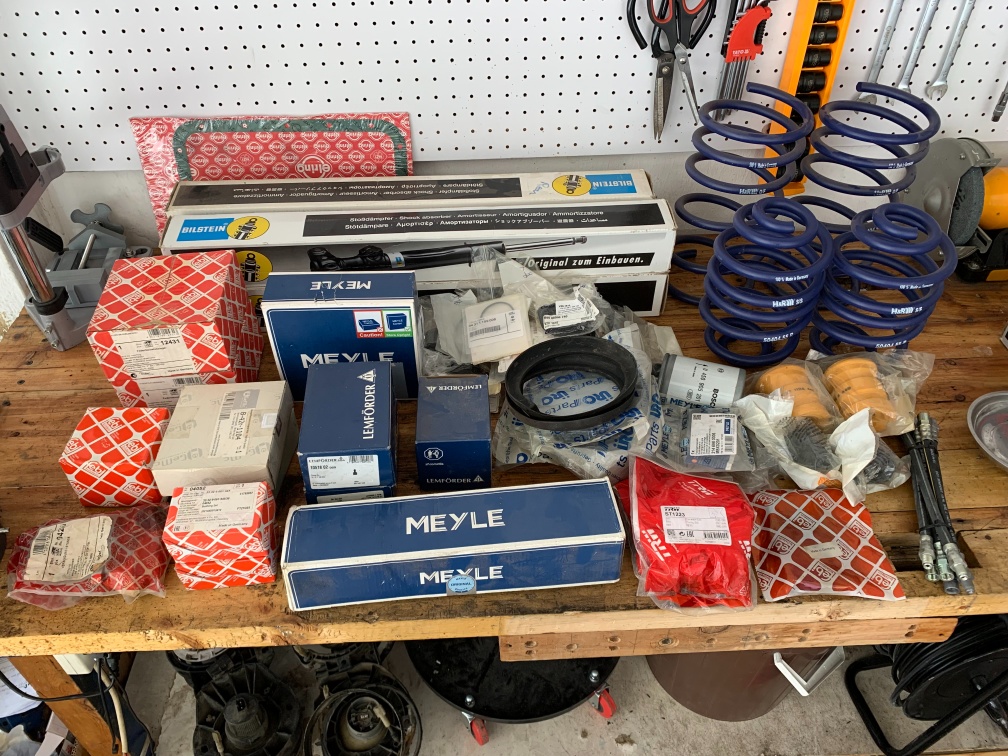
    - remaining parts to be installed


    - rust repair

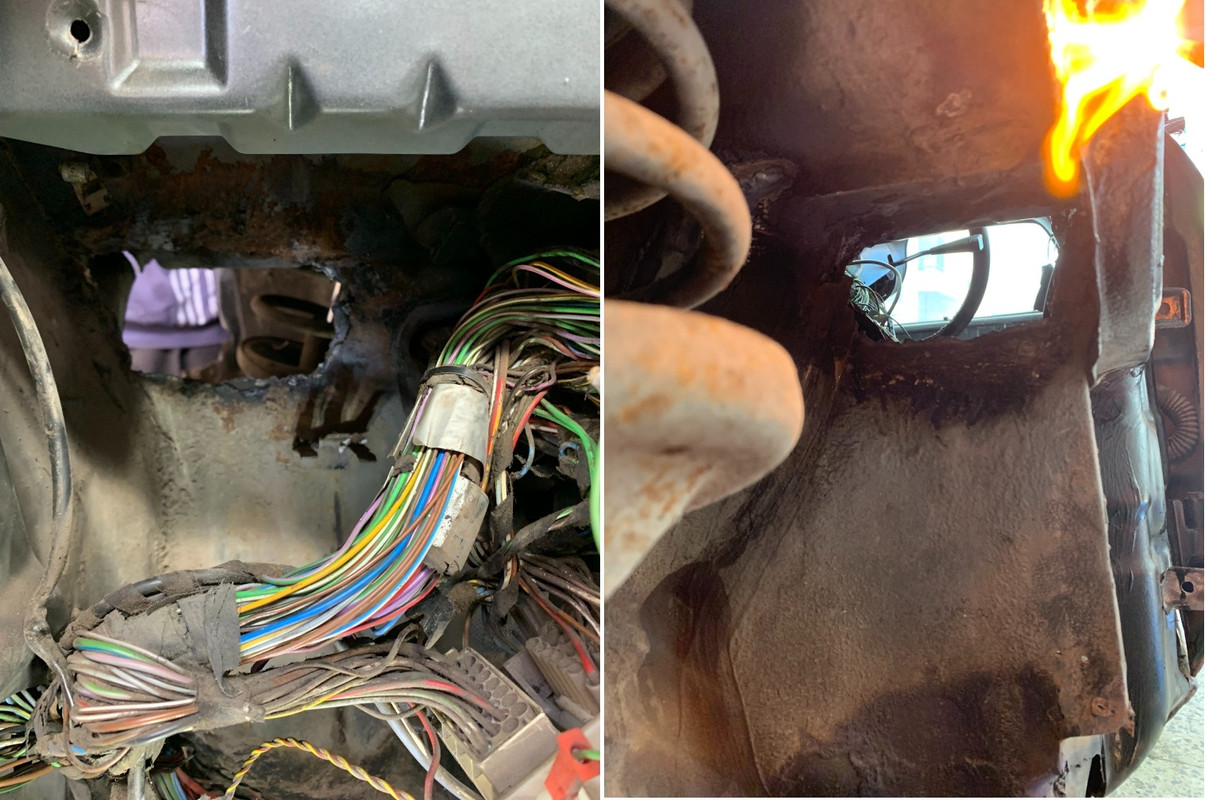
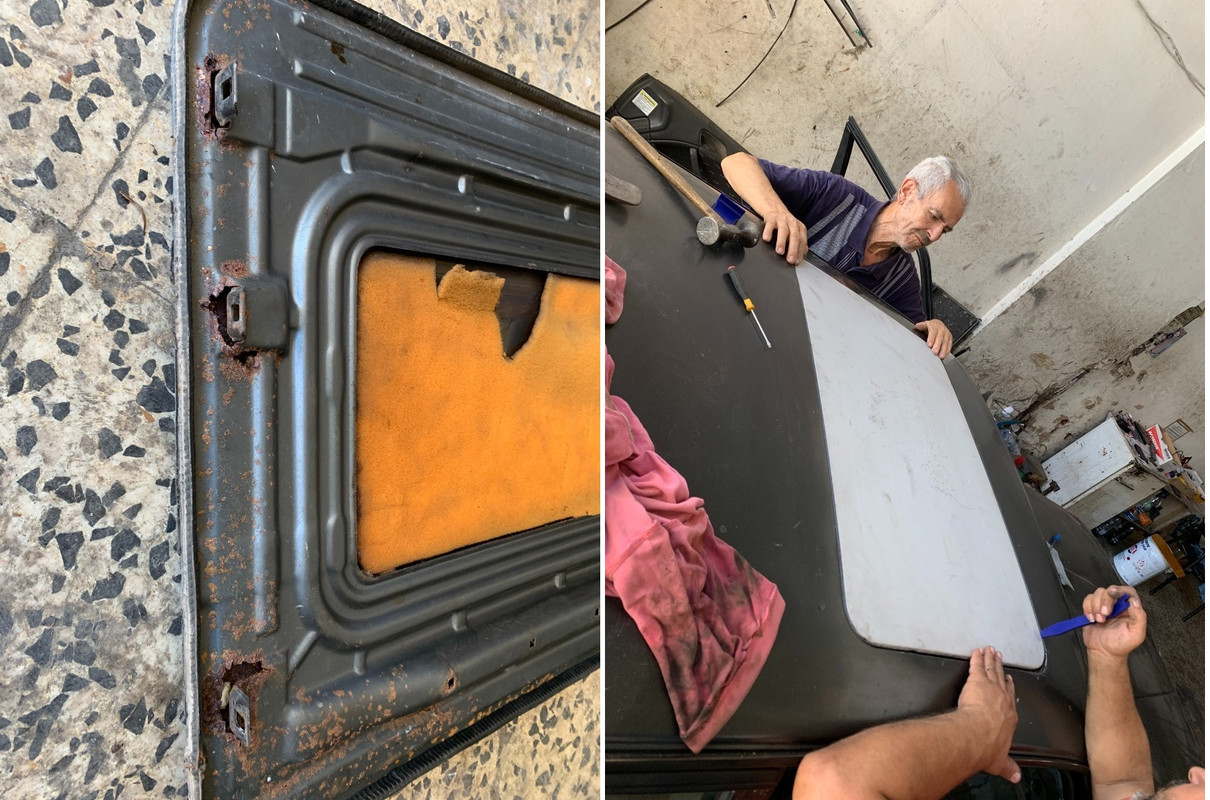
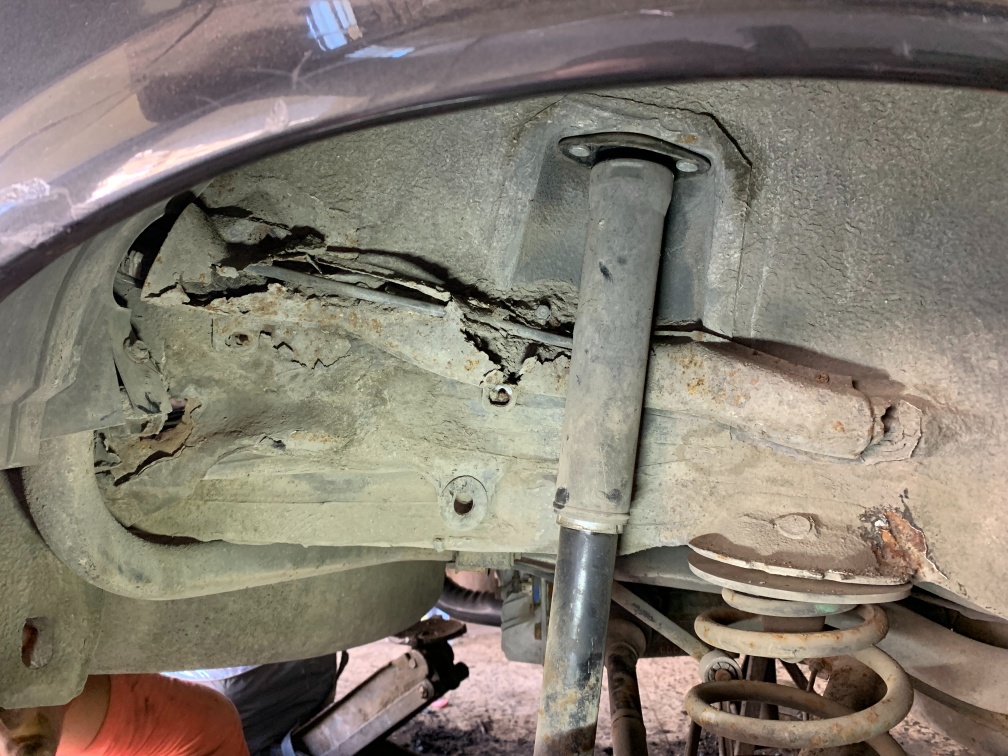
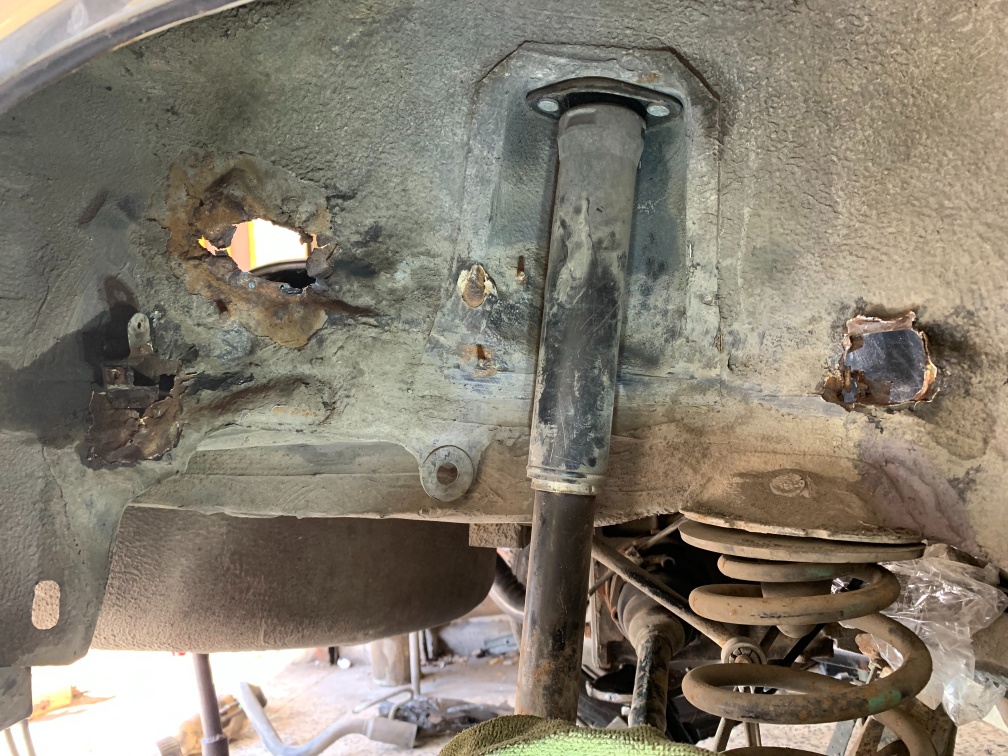
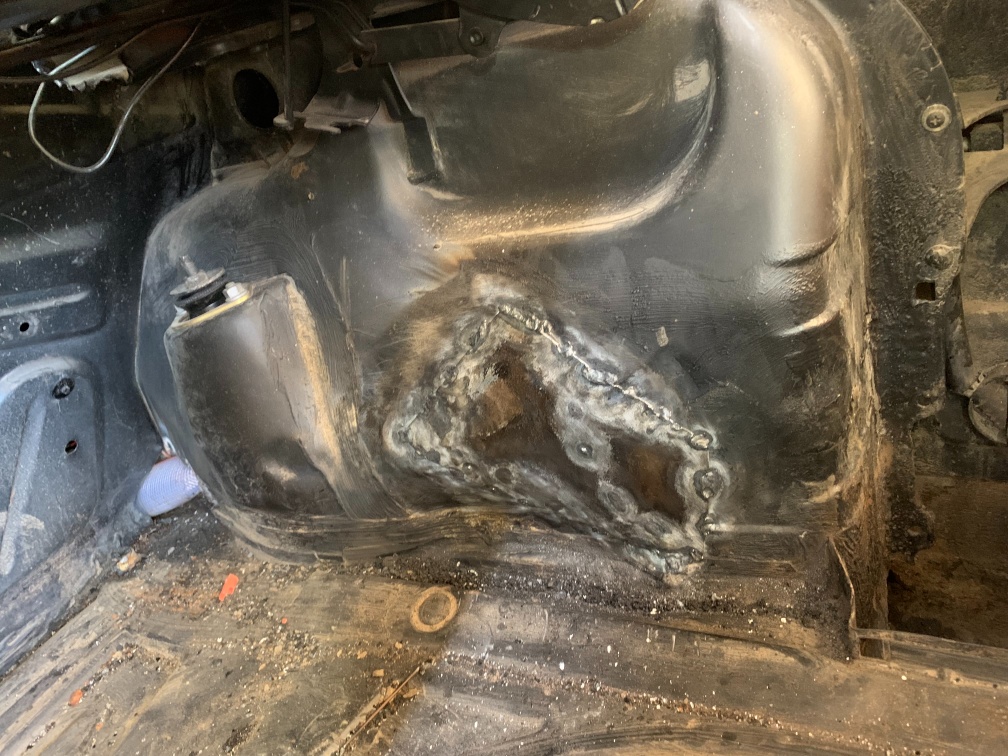
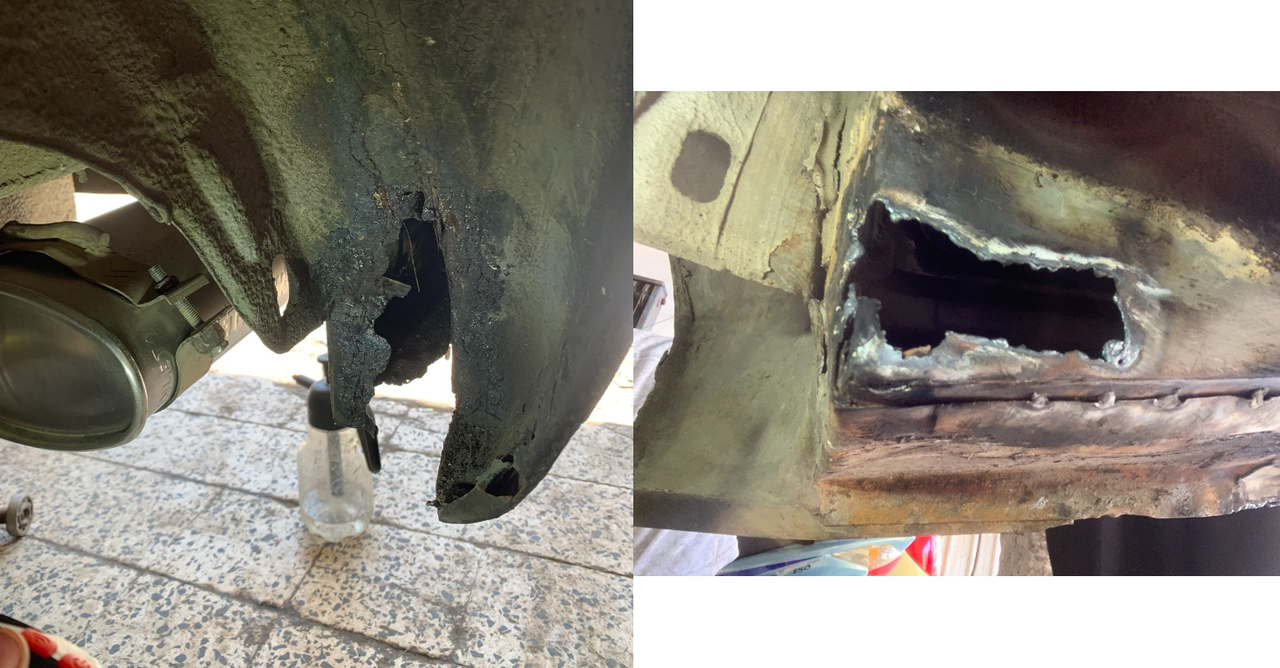
    It was finally the time to do what should have been done from day one: welding work. At the start of this journey 7 years ago I didn't have the knowledge, and was not aware of the common rust locations, and I dreaded the work because of the limited time I can spend in each visit (2 weeks max), so I took the car to a local body shop to uncover the below

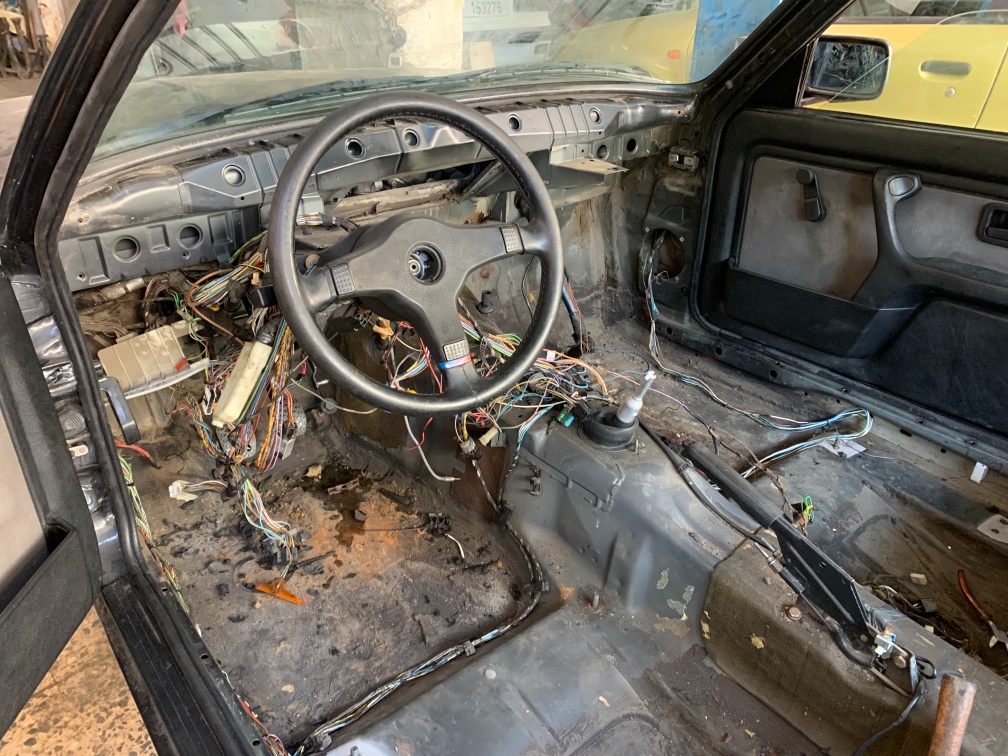
    dashboard removed


    scuttle area


    new sunroof


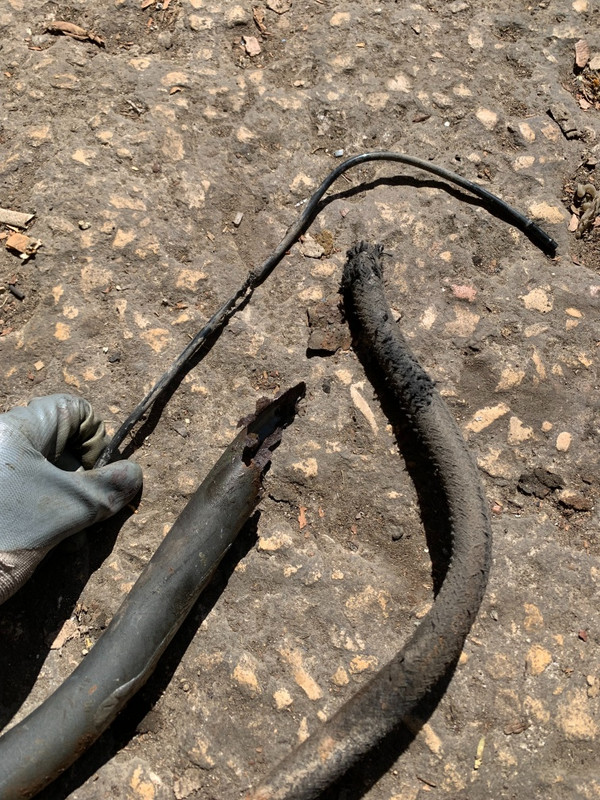
    behind rear wheel, all the fuel hoses were rotted


    new sheet metal was welded on top and covered with fiberglass putty and then epoxy primer.

    Hopefully in the next spring the car will be fully painted.
    Until next time.​
    Last edited by kenshin86; 04-21-2024, 04:53 AM.

    Leave a comment:


  • kenshin86
    replied
    Spring 2023 update

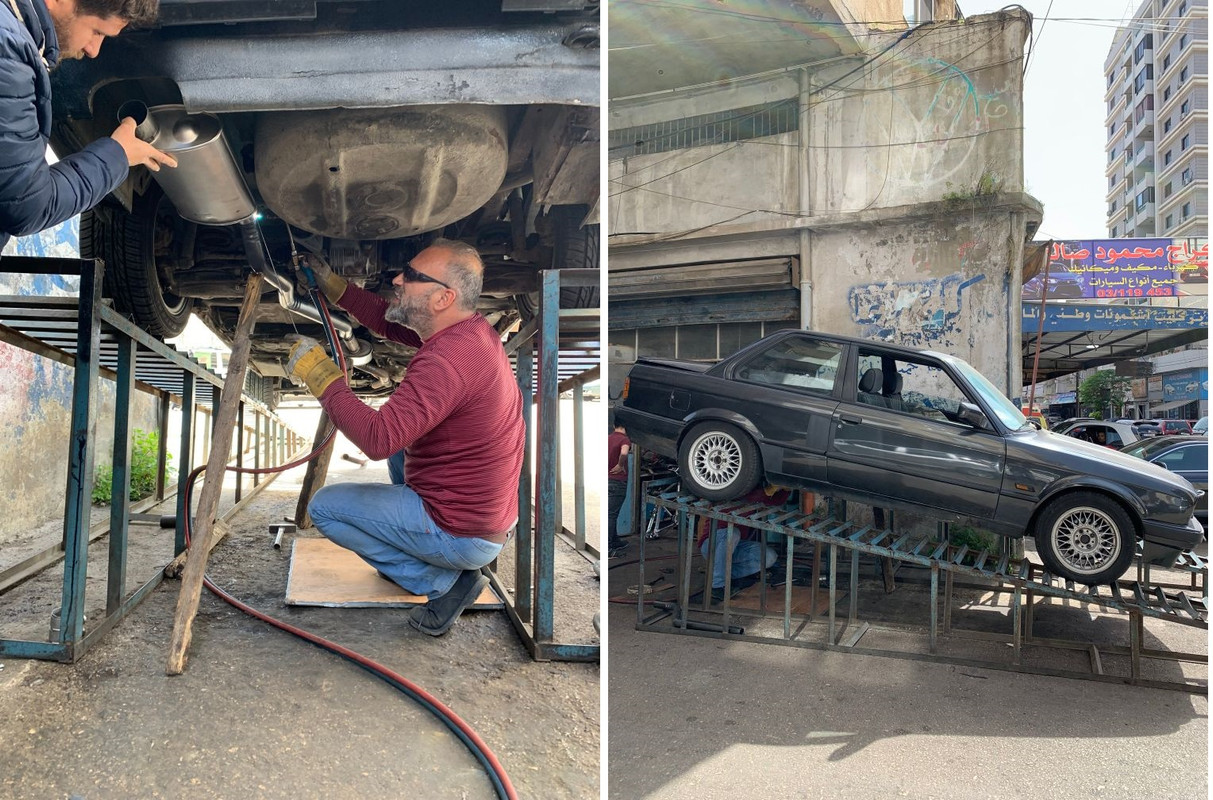
    Without a catalyzer or middle resonator, the exhaust was loud, so I got a new Walker resonator and Quite-Flow SS muffler.
    The existing exhaust was completely rotted and also in the wrong size: 2" pipe was welded after the manifold instead of the standard 2 1/4" for a 318is as seen in the below picture.


    New stainless steel muffler and resonator with correct 2 1/4" pipe.
    The old muffler fell off during removal.


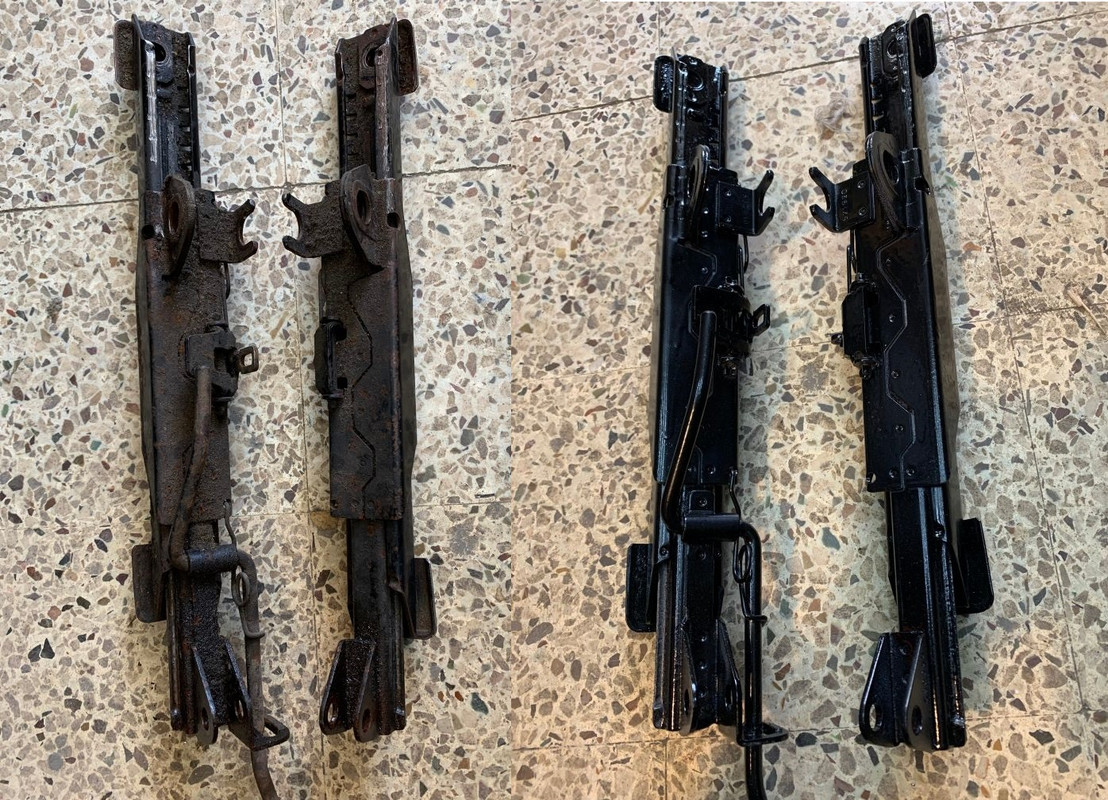
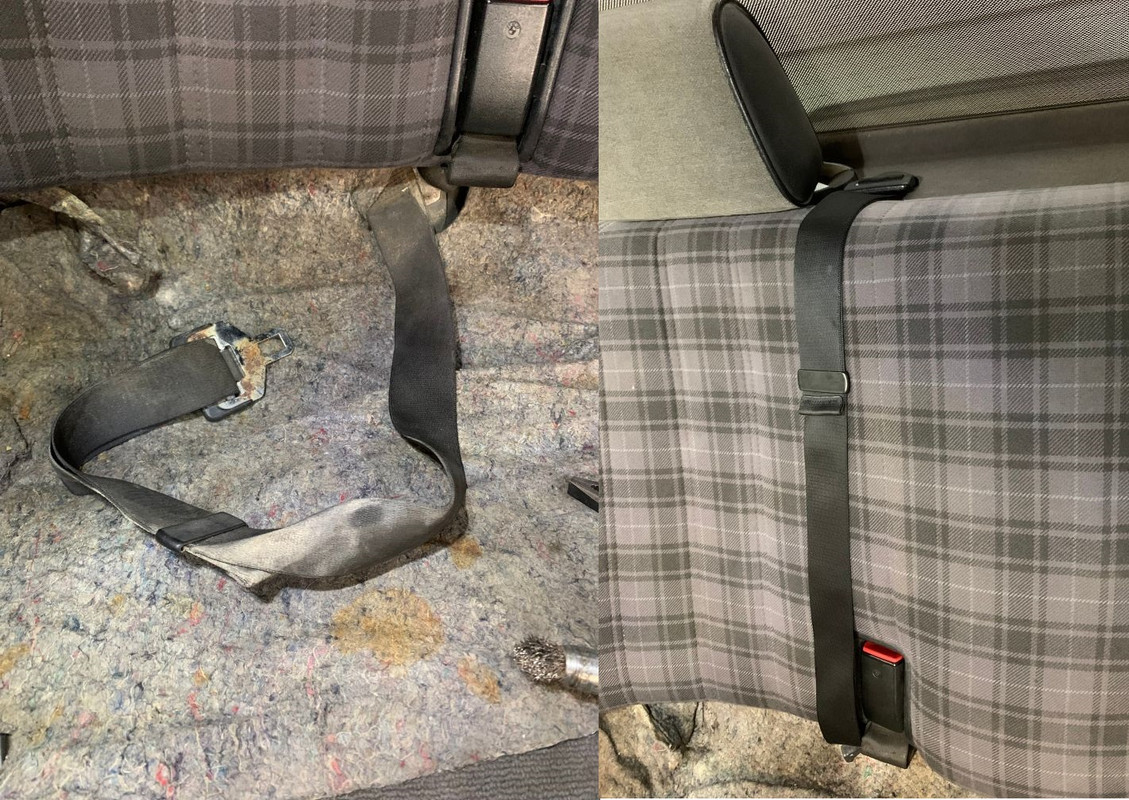
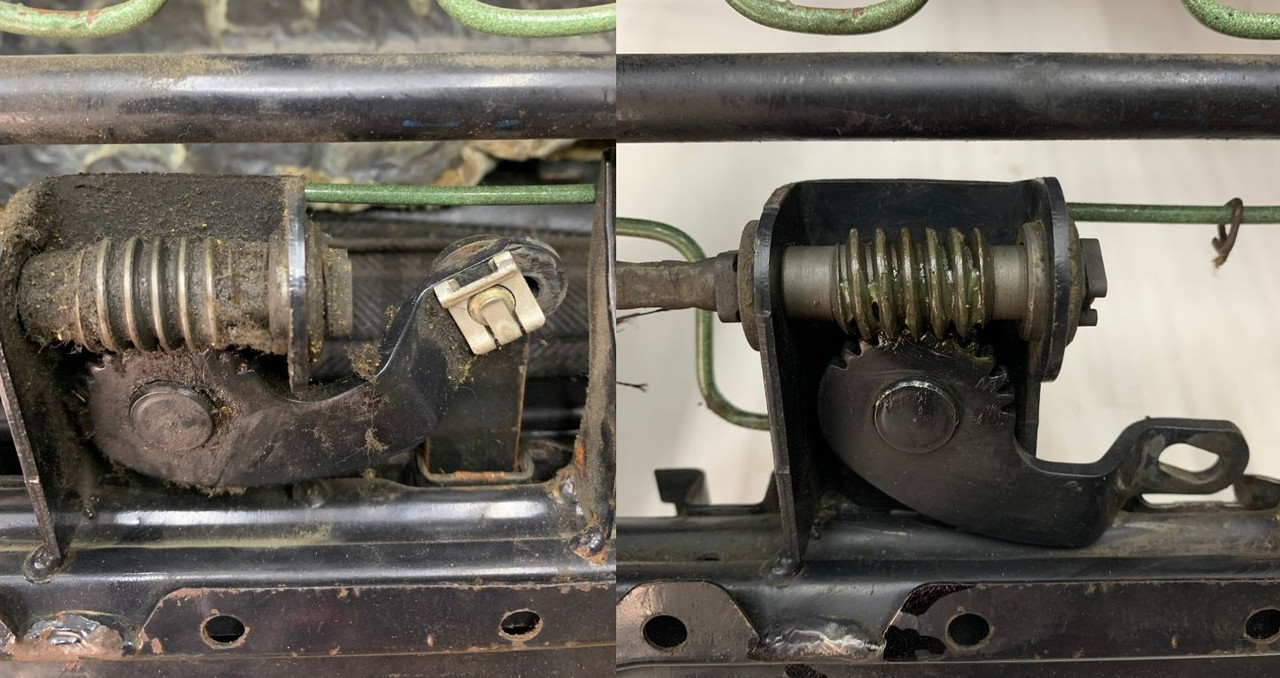
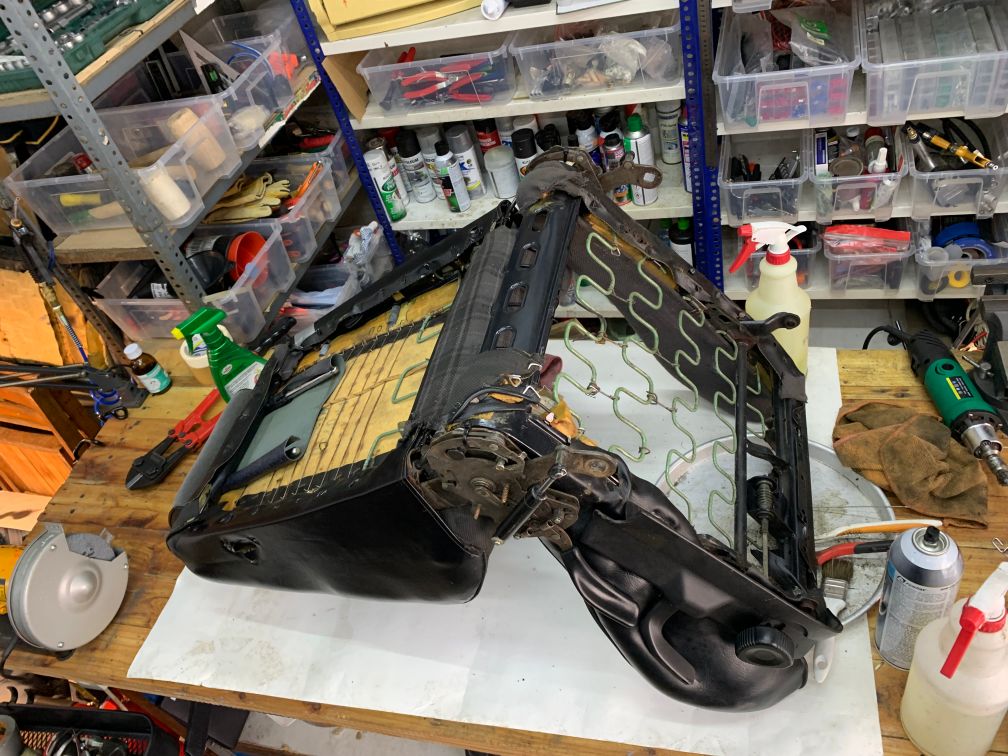
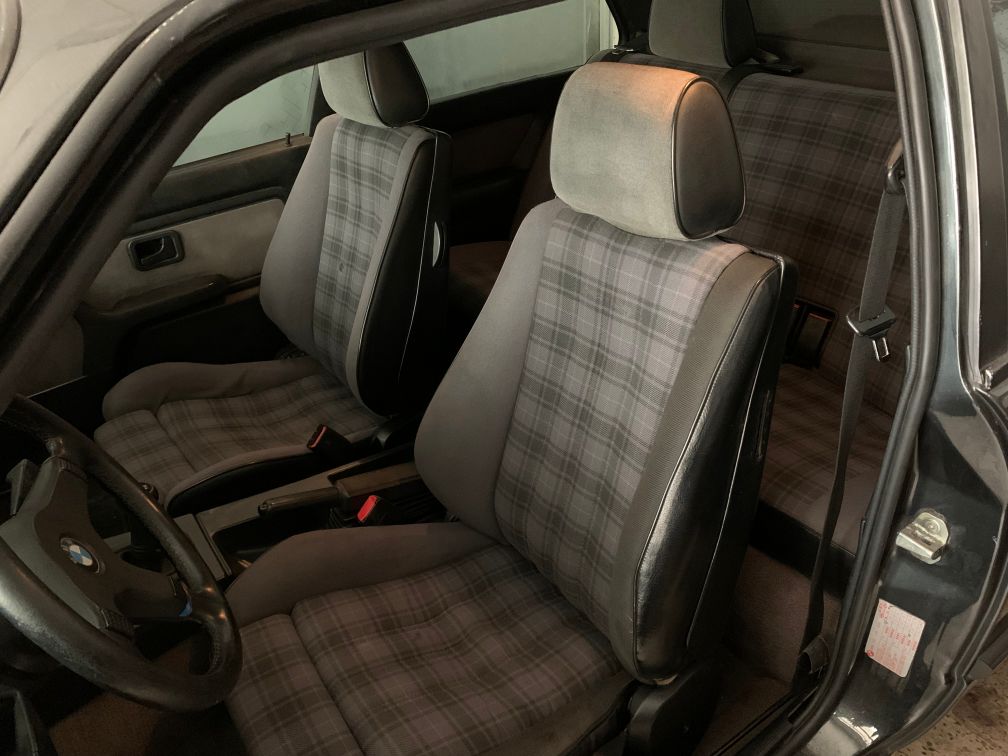
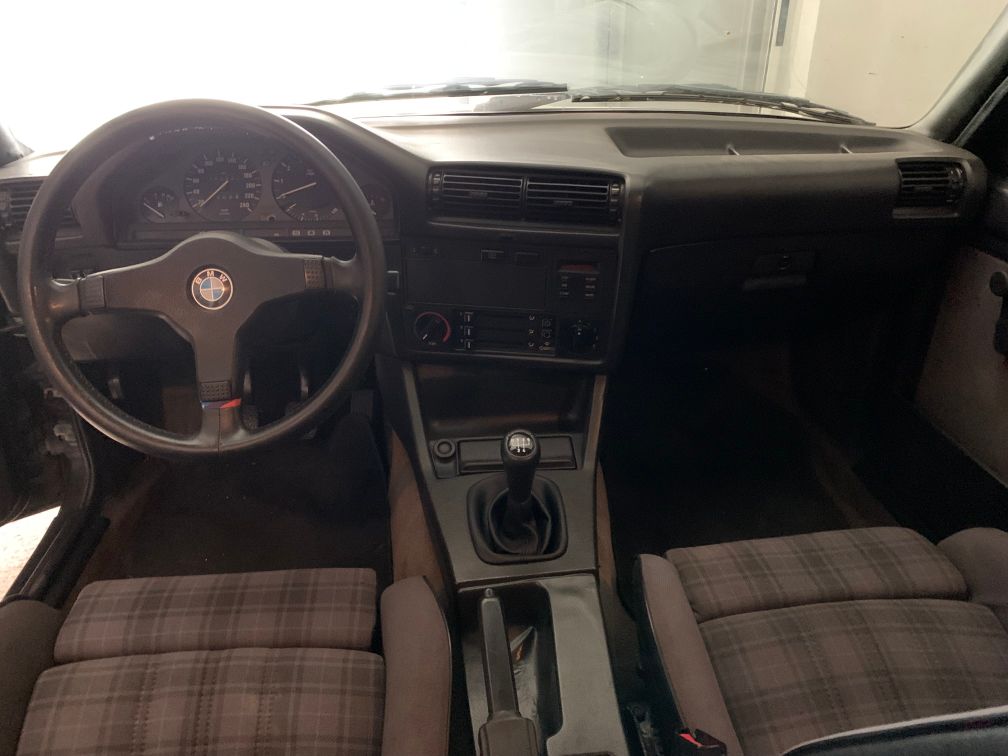
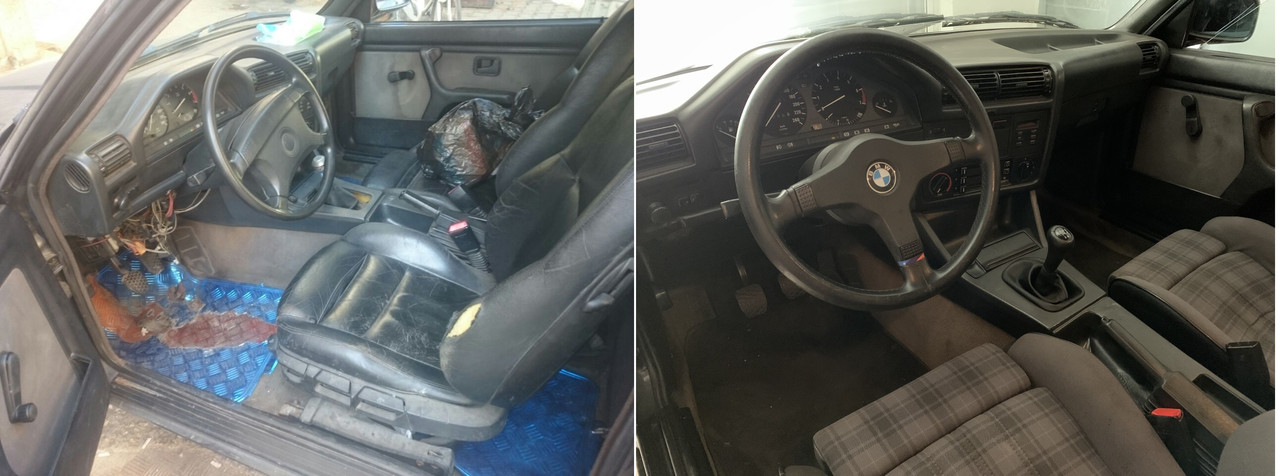
    Finally managed to get iS seats instead of the existing E36 leather seats, and after a lots of cleaning and sorting out small things below are the results:

    seat rails sanded, cleaned, painted and lubed.


    3rd seat belt was hidden under the rear seats.


    knee pad worm gear.


    cloth cleaning


    Before and after:


    Until next summer.

    ​
    Last edited by kenshin86; 04-21-2024, 05:00 AM.

    Leave a comment:


  • Panici
    replied
    That is a great shot with the sun hitting the side of the car.

    Great updates too, really bringing this E30 back up!

    Leave a comment:


  • moatilliatta
    replied
    Great updates! Looks like some exciting drives ahead! :)

    Leave a comment:


  • kenshin86
    replied
    Originally posted by Panici
    Looking good. Nice to breathe life back into an old machine.

    How often are you back home?
    Thanks for your feedback.
    I am usually there for the summer and spring holidays, around 35 days per year, and I spend most of them working on the car.

    Leave a comment:


  • kenshin86
    replied
    Originally posted by AusScare
    Nice updates, looks like a fun project to tinker with when you're back home. Would you consider shipping it to where you live?
    Unfortunately that will not be possible cause I don't have the space or tools to do so, and shipping it back home might not be possible due to regulations.


    ​July 2022 update during summer vacation visit:

    The car completed now 3 years on jack stands, and I am planning to take it out to test it after this repair round at the end of my visit.

    The E36 seats were installed with 6mm bolts (instead of 10mm) drilled directly into the floor.
    In case of an accident, I guess the seats would have been pulled from the floor.
    I fabricated adapter steel plates and used proper M10 bolts.
    The seats themselves are pretty heavy and I will be looking for a chance to buy original sport seats.
    The floor carpet was also cleaned during the process:


    ​
    ​


    I decided the car should be as simple as possible with the main focus on driving, so I replaced the radio with a delete panel, removed the speakers and installed fog lights covers:

    ​
    ​

    The tires were dry rotted and starting to show some serious cracks, so I decided to replace them.
    To my surprise, and after all this time owning the car, I discovered that the 4 tires were not all of the same size !
    Two of them were 255/50/15, and the other two were 255/55/15.
    The thinner profile tire can be seen in the above pictures, that’s why the car was sagging on one side and showing different fender gaps when I first got the car:​​

    ​


    I bought four new 255/55/15 Marshal tires (Korean, part of Kumho brand) keeping the original size:


    ​

    Screws were used to prevent the center caps from being stolen, not an elegant solution.
    I will use some set in screws instead later on.

    ​

    Moving on to the next surprise, I pressed the throttle pedal all the way down to test the throttle body position, and found that there was 1 cm of travel left to reach the stopper ! So I lowered the bolt under the pedal until it was ok.
    So the throttle body was not opening all the way before and full power could not be reached.


    ​


    Finally the time came to replace the slave/master clutch cylinders.
    Brake fluid can be seen leaking and drying out around each one.


    ​
    Clutch pedal eccentric bolt adjusted so the clutch pedal distance from firewall is between 253mm and 264mm as per the manual:

    ​​

    Spark plugs wires are replaced:

    ​

    Current engine bay pics compared to when I first got the car:

    ​


    And finally enjoyed driving the car, until the next visit...


    ​​
    Last edited by kenshin86; 04-21-2024, 04:13 AM.

    Leave a comment:


  • Panici
    replied
    Looking good. Nice to breathe life back into an old machine.

    How often are you back home?

    Leave a comment:


  • AusScare
    replied
    Nice updates, looks like a fun project to tinker with when you're back home. Would you consider shipping it to where you live?

    Leave a comment:


  • kenshin86
    replied
    Update Spring 2022.

    It's been almost 2 years since the last time I drove the car.
    I have my own garage now finally.
    The car is sitting on 4 jack stands, and I only get to work on it when I come to my country for a vacation.
    This summer I will drain the old fuel and spray some fogging oil in the cylinder walls before starting it again.


    1- Since the A/C and heater were not working, and the power steering hoses were leaking, I decided to do some weight reduction.
    This will be a weekend car only and will not be driven in bad weather, so I can live without heating / power steering.
    Below are is the A/C bracket, A/C hoses, heater core, heater valve, blower motor and power steering pump, hoses, reservoir removed.
    The compressor was also removed previously.


    2- The rear spoiler was rotted from the inside cause it was fixed in place using silicone sealant which blocked the water draining channels and led to the corrosion in the trunk where the fixing nuts are:


    drain channel filled with silicone and trunk corrosion:


    corrosion repair:

    ​

    new and old spoiler:

    ​

    3- before and after paint:

    ​

    4- old wipers, of course they are the wrong size:

    ​

    5- All windows weather strips replaced with new:

    ​

    6- plastic molding with epoxy:

    ​


    7 - The pile of all replaced / old parts:


    ​
    Last edited by kenshin86; 04-20-2024, 12:04 AM.

    Leave a comment:


  • kenshin86
    replied
    Update during summer holidays July 2021

    1 - The mess under the dashboard:
    An after market Alarm was previously installed on the car:


    Click image for larger version  Name:	IMG_1615.jpg Views:	0 Size:	288.7 KB ID:	10118917

    It was a huge mess of unprofessional work where all wires were spliced by hand and held together using electrical tape.
    I decided to remove the alarm and to install a kill switch later on.
    First I start by releasing the stress on the wires and cut the zip ties, then for every single pig tail connected to the alarm box, followed its wires and remove it from where it was spliced into (door solenoids, ignition, ect ...) while crimping, applying heat shrinking all liquid electrical tape where required.

    Click image for larger version  Name:	IMG_1639.jpg Views:	0 Size:	264.4 KB ID:	10118918

    And below was the result:

    Click image for larger version  Name:	IMG_1661.jpg Views:	0 Size:	216.2 KB ID:	10118919

    2- Engine mounts replacement
    One of the mounts was completely destroyed and all fluid was out as you can see in the below picture.
    Also they are collapsed and the height difference can be seen and now my oil pan is slightly higher from the ground.


    During installation I faced the well known problem of the locating tabs on the M42 mounts not being in the proper location although they were original BMW ones.
    I ended up grinding them off to be able to install the mounts properly.

    3- Rear shift arm carrier replacement

    Previously I have installed a derlin bushing in place of the stock rubber one in the rear shit arm carrier.
    This did not allow for any play in the engine/transmission assembly back and forth when considering the stock rubber mounts, so during steep uphill/downhill inclines, I was sometimes unable to move the shift lever out of its place.
    So I re-installed a stock one from a used car and I discovered when comparing the 2 pieces that the existing one is also bent.

    Click image for larger version  Name:	IMG_1441.jpg Views:	0 Size:	275.0 KB ID:	10118921

    3- Lock barrels

    Turning the key in the door locks is so hard I was afraid to brake the key inside, so they were removed, cleaned and lubricated with graphite powder.


    4- Antenna delete plug installed.


    6- New parts for future installation: Z3 steering rack from AAE and front strut bar from UUC


    Until next spring !
    Last edited by kenshin86; 04-19-2024, 10:56 PM.

    Leave a comment:


  • Glaede
    replied
    Originally posted by kenshin86
    Well it appears to be exactly that, splice 319 !
    Glad I could help 😊

    Leave a comment:


  • kenshin86
    replied
    Originally posted by Glaede

    I had an E30 once where the RPM gauge didn't work. What i found was some bad wiring in the area of the driver speaker. There's a connection of wires (if i remember correct - red/green wires). My interior lighting wasn't working either and it was related to the same wires.
    Well it appears to be exactly that, splice 319 !

    Leave a comment:

Working...