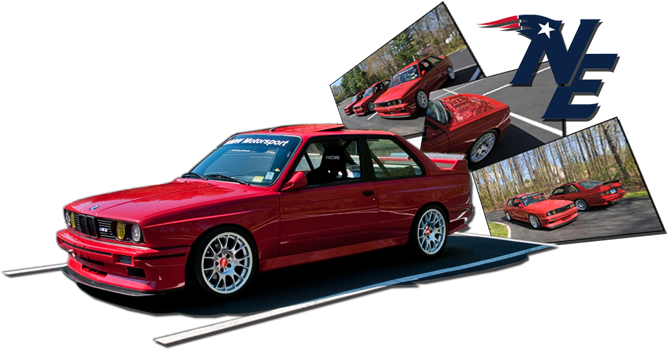
Higher arches look much better when the car is slammed. Not a fan of early tails though. Looks good so far man, any reason why your painting it prior to putting it all together?
Project Facelift
Collapse
X
-
-
The parts will be much easier to paint while off the car, and I won't have to mask the car off or worry about overspray. I always thought it was pretty standard practice to paint parts like this off of the car, that's how it should be done. Why would I mount everything prepped and primed, and then paint them?Comment
-
made in Russia????????? lol thats awsome. anywho cant wait to see the final end, keep us posted with detaled photos.Comment
-
Josh, are you gonna test fit the parts first, remove and then paint them? I think thats what these fellas were refering to.The parts will be much easier to paint while off the car, and I won't have to mask the car off or worry about overspray. I always thought it was pretty standard practice to paint parts like this off of the car, that's how it should be done. Why would I mount everything prepped and primed, and then paint them?
edit....the cuts you made look great man! Nice work, cant wait to see it finished! You gonna do anything about side skirts?
Comment
-
Comment
-
Thats what I was thinking, I almost didnt even make that post. Josh is a smart fella that and he's had plenty of time to plan. Thats deffinatly the best idea though.
Comment
-
Part II - The Abject failure of Aircraft Stripper...
Today (09/24/06), we began stripping the rubberized undercoating off of my late-model front valence. Well actually, we sort of started yesterday. What we had planned to do was soak the paint/rubberized crap with Aircraft Stripper. I was told by several people that this shit would turn the undercoating to goo, and we could just scrape it off with a putty knife.
WRONG! It didn't work, it hardly even softened it up. So what do we do? Go back to Harbor Freight and buy a $5 wire wheel and strip the shit off with a Makita grinder, that's what!
This stuff no workie. Should have guessed, $4 a can at Wal-Mart...
The front valence, before stripping. See at the left of the vents where we tested the grinder. It worked real good...
Andrew going to town on the paint/undercoating. The wire wheel stripped this crap off like it wasn't even there:
One side completed. In the large flat areas, this shit was really thick!
Like I said, THICK. This was after about 3 minutes of stripping this area.
Stripping of the bumper mounting area. About halfway up, the undercoating stopped and it was just paint. VERY easy to remove:
Finished with the lower portion of the valence:
The finished, stripped, smoothed valence. Smooth as a baby's behind. And I should know, I've got one to check it against!
It might not look it in these pics, but this thing is shiny and VERY smooth:
Comment
-
-
Dude... Josh, that shit looks damn good! I always wondered how the texture came off the valance.
Comment
-
Thanks, man. It took roughly 2.5 hours with the grinder/wire wheel to get everything off. We didn't do the backside, though. I'm still going put a coat or 2 of primer on it and paint it, but it doesn't need to be stripped down and prepped as well as the front, seeing as how it will NEVER be seen. I'm actually thinking about getting one of those DIY bedliner kits, and doing the backside of it with that stuff.Comment


Comment