
This Maintenance How-To is about a 1991 318is M42 5-speed.
In this How-To I will guide you through all of the maintenance I am doing to my 202k+ 91is.
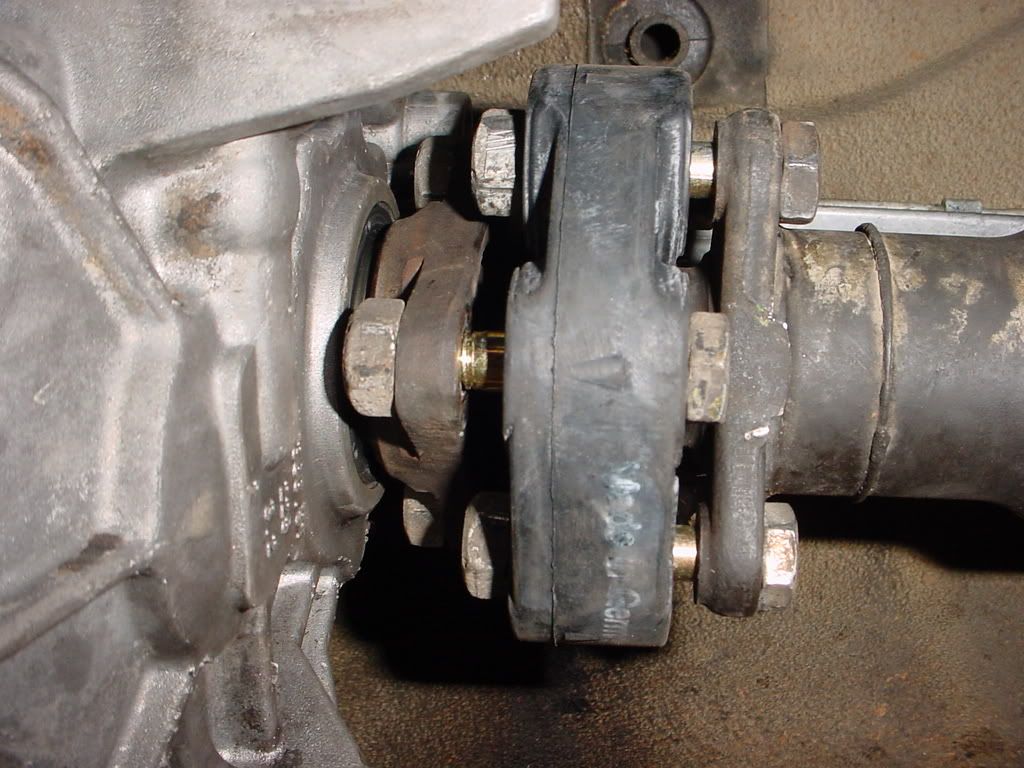
I haven't driven my 91is for over a year because the right motor mount bracket had cracked and broken off of the front sub-frame. I have finally bought all of the parts and found some time to put her back on the road.
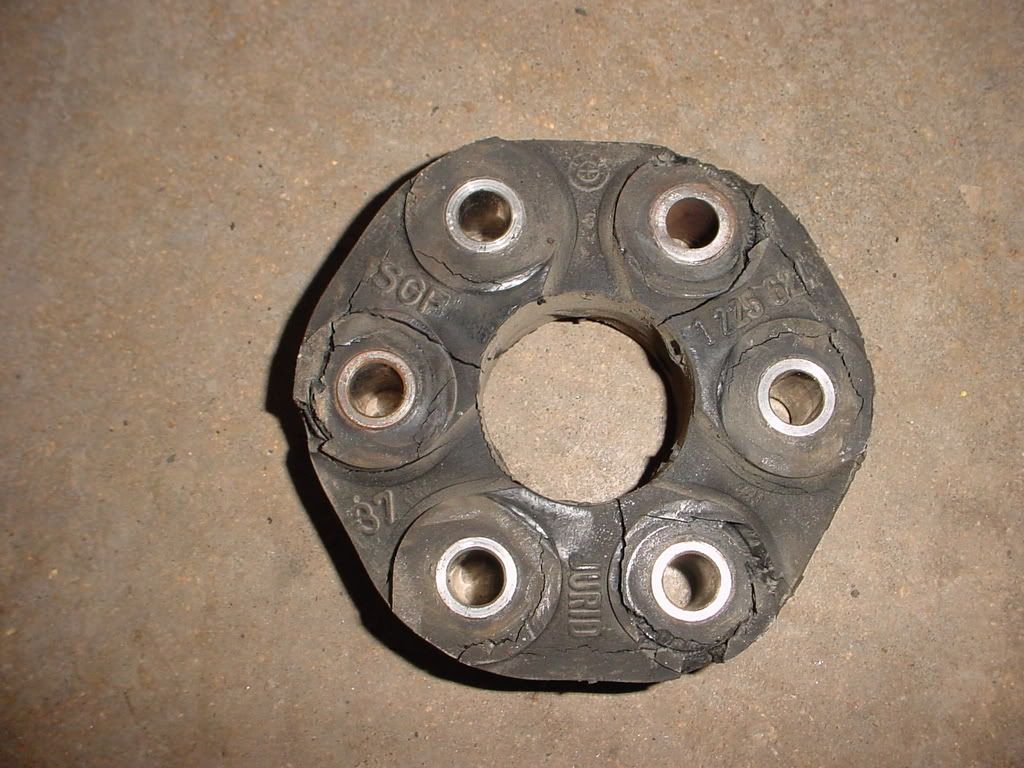
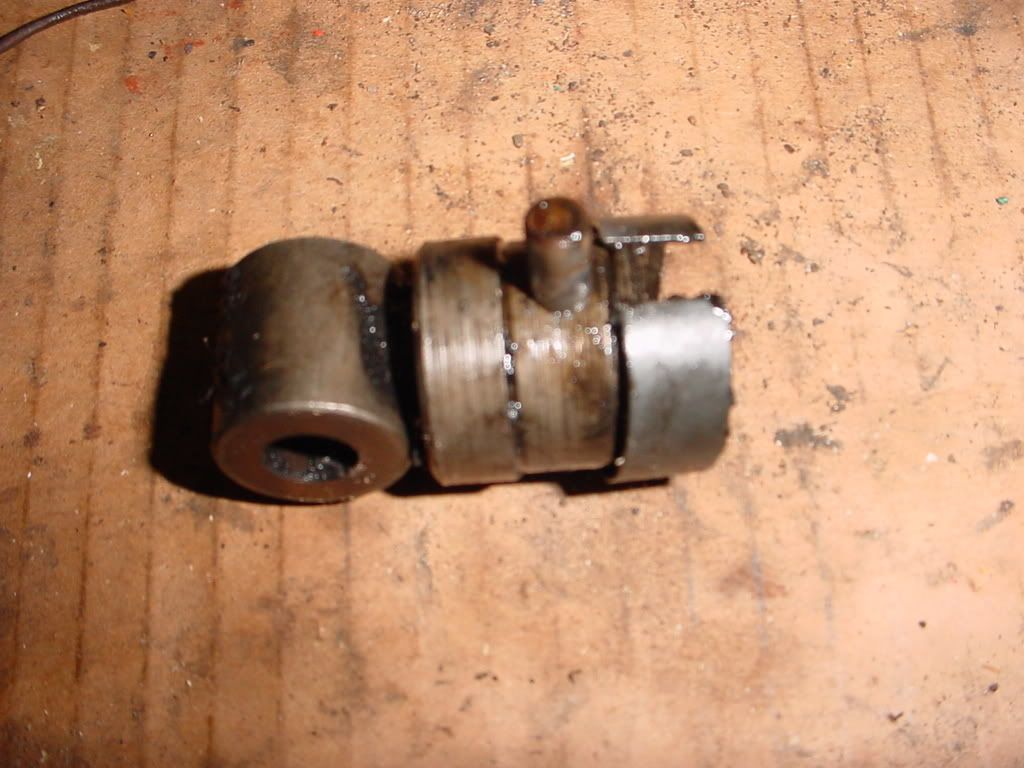
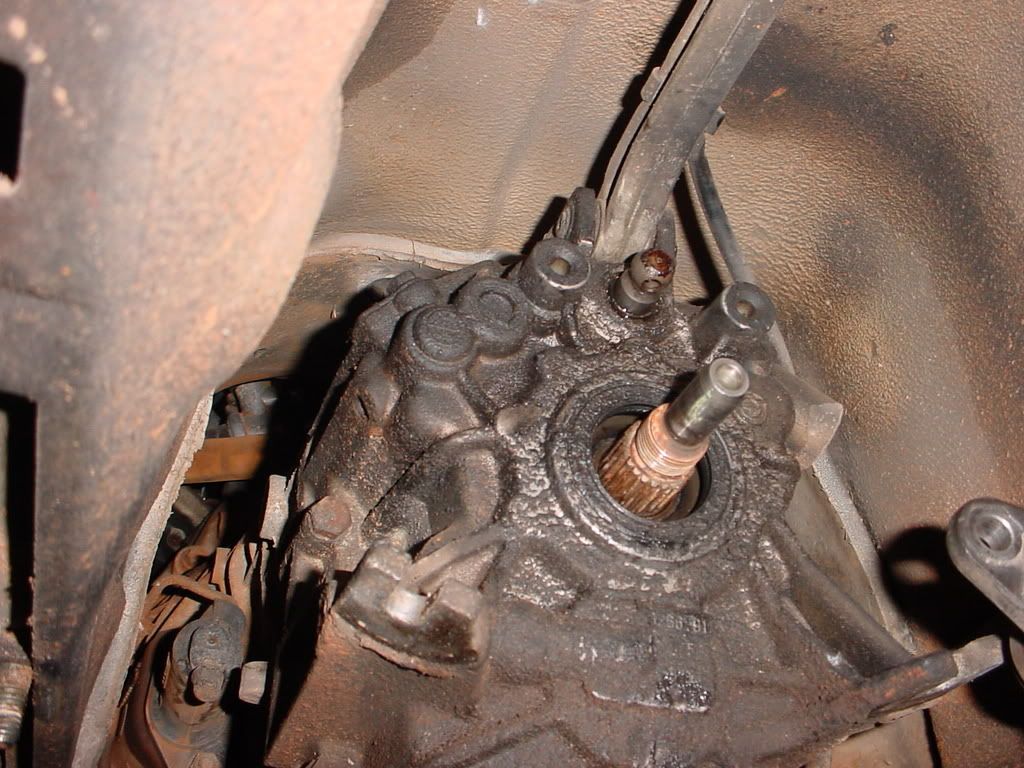
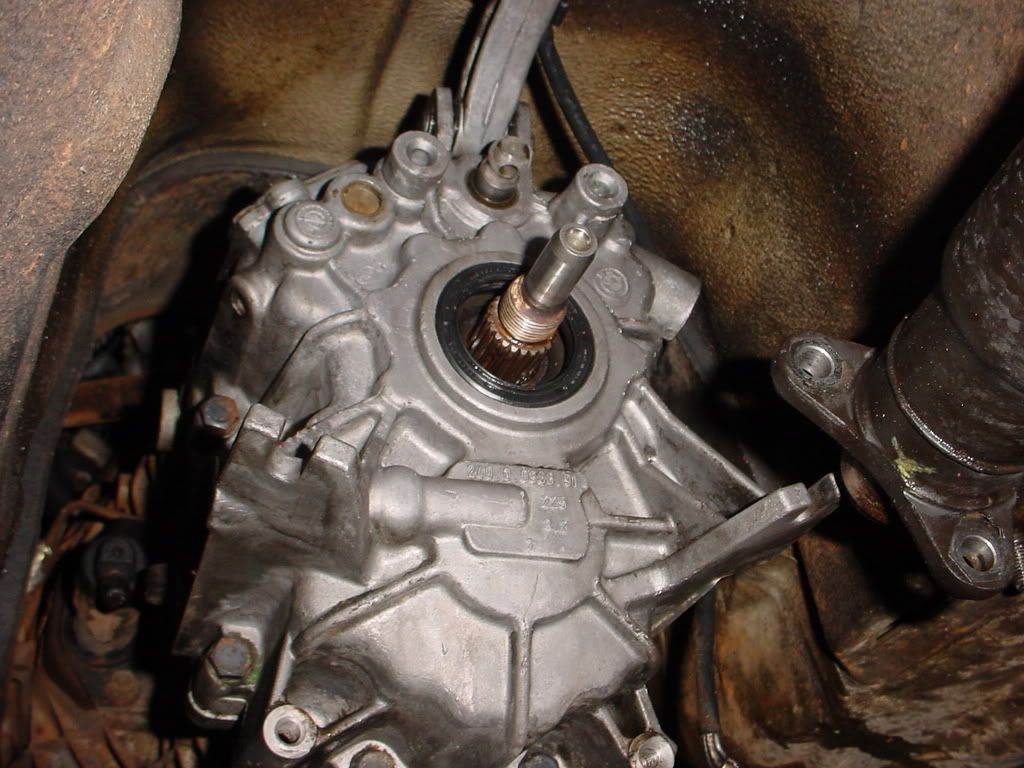
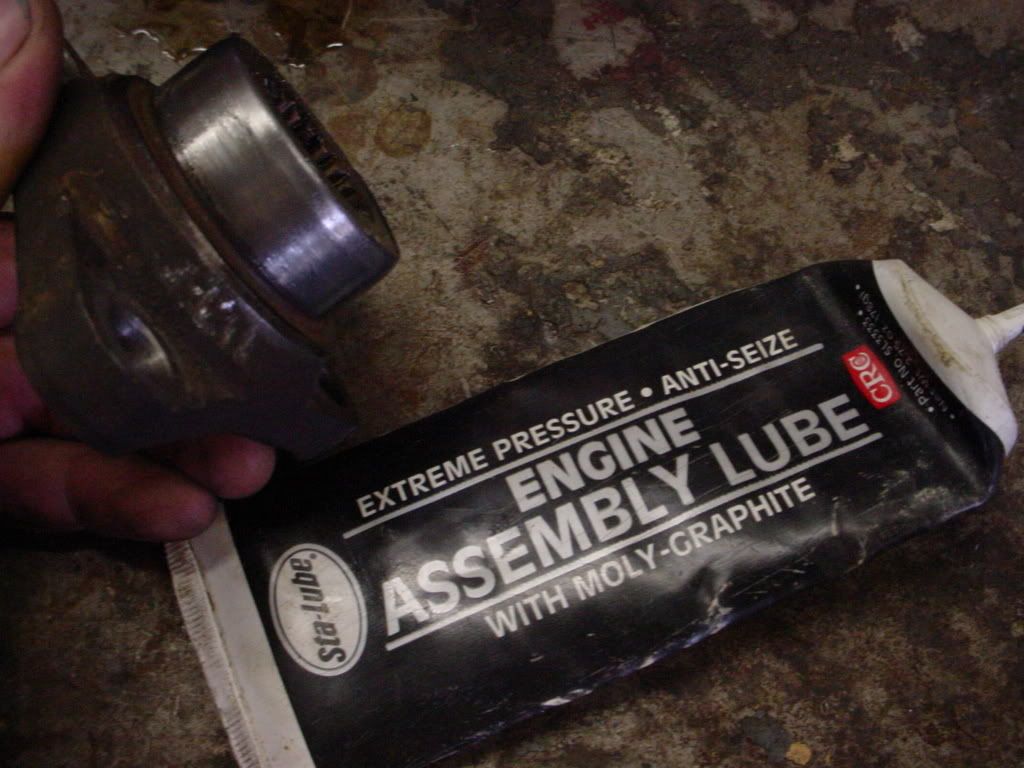
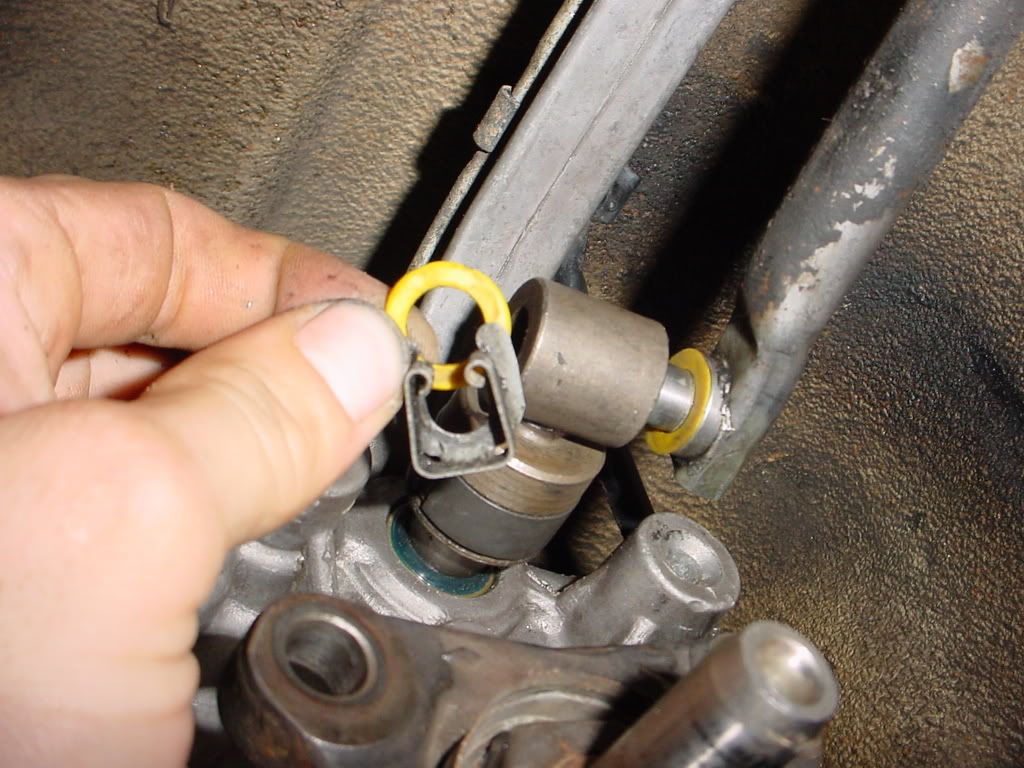
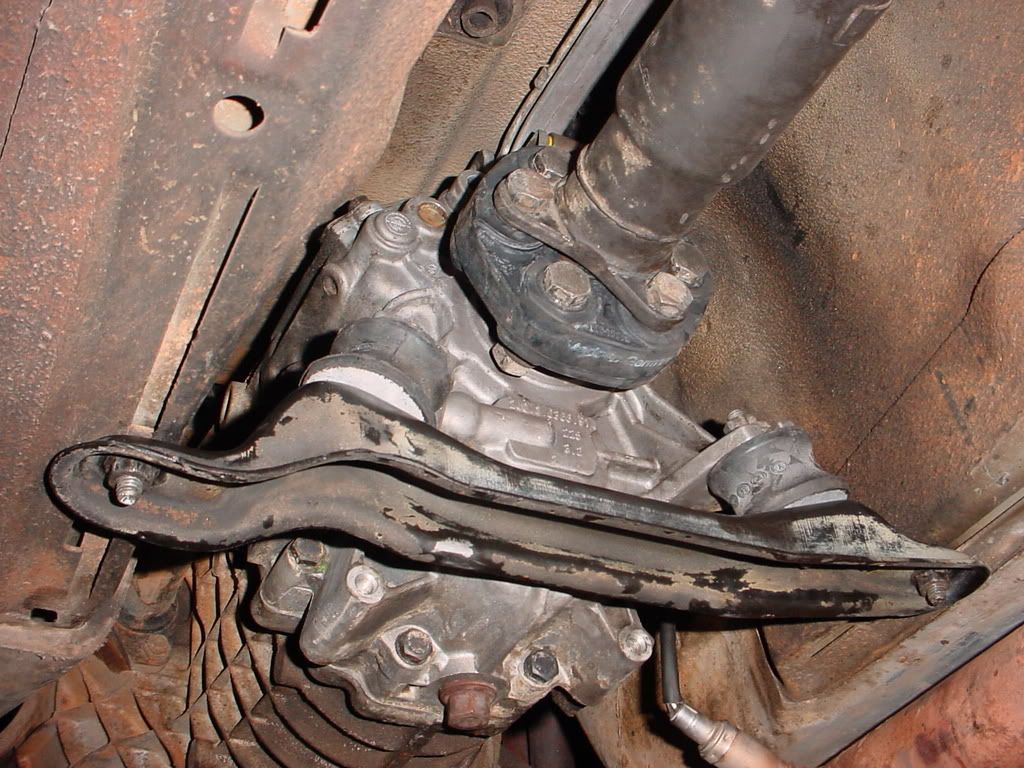
As I was replacing the front sub-frame I also replace the front crank seal, oil pan gaskets, fixed oil pan cracks, sand blasted the upper oil pan, cleaned everything, put a 89i steering rack with new tie rods, new belts, alternator bushings, alternator ground strap and soon to come I will be sealing up the transmission with new rear output-shaft seal, Selector rod seal, Guiebo Flex Disc and both mounts. Then I will sand blast the valve cover and replace the valve cover gaskets.
Parts List:
Front Subframe (Thanks to Wolfgangsnoopy @e30parts.com) $50 Shipped
89i Steering rack (off parts car) W/ New Tierods (whole parts car was $100 8))
(KOperformance.com)
A/c belt $5.88
Power Steering Belt $3.90
Alternator Belt $4.58
Alternator lower 2 Bushings $7.52
Alternator Ground Strap $13.05 ( I had to drill out one of the holes because it was too small )
)
Crankshaft Front Seal $13.45
Lower Oil Pan Gasket $7.83
Upper Oil pan Gasket $11.35
Brake Pad Sensor $2.70
Transmission Mounts $25.24
Seal Output Shaft Manual Transmission $4.48
Flex Disc for Driveshaft Guiebo $40.44
Valve Cover Gasket Set $22.26
Manual Transmission Selector Rod Seal $5.01
(turnermotorsport.com)
All PBR Metal Master Brake Pads $96.42 Shipped
$50.00+ $167.79+ $96.42= $314.11
Then don't forget oil, filter, oil additive, break clean =$$$
Time= +15hr =$$$
Its not cheap but its more then worth it.
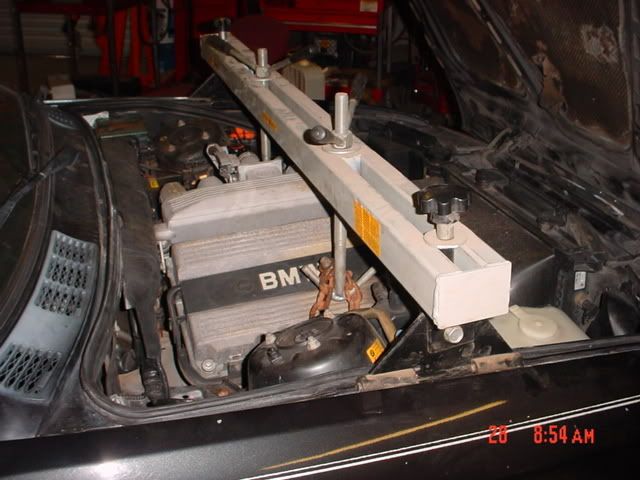
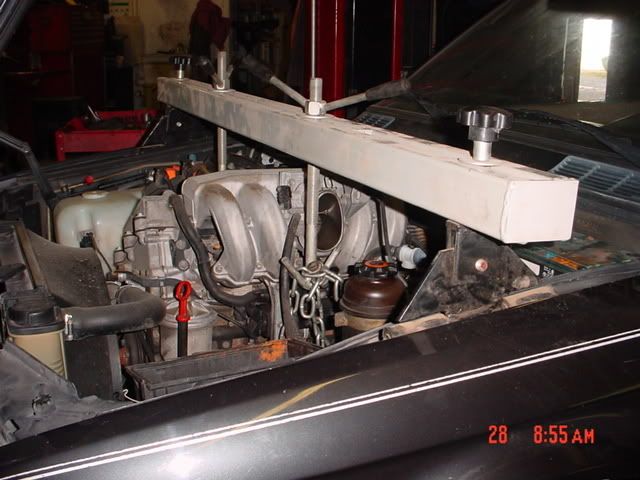
First, support the M42 from above with a suitable lift or support, if you plan on doing this with your vehicle on jack stands I would suggest placing some 2x4 under the jack stands to give the vehicle some extra ground clearance. (Dont continue until the vehicle and M42 are 100% stable)
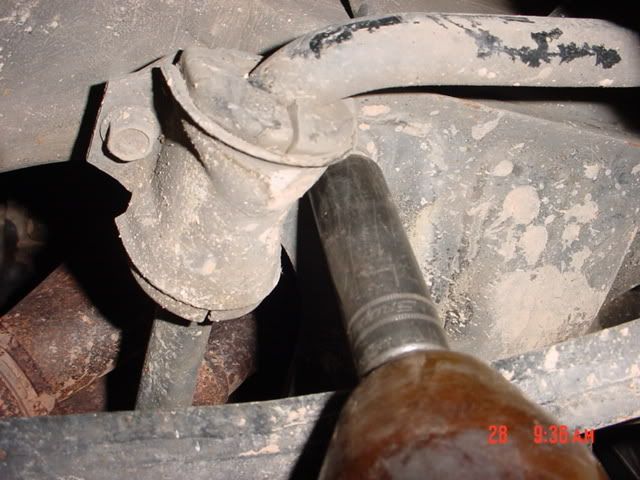
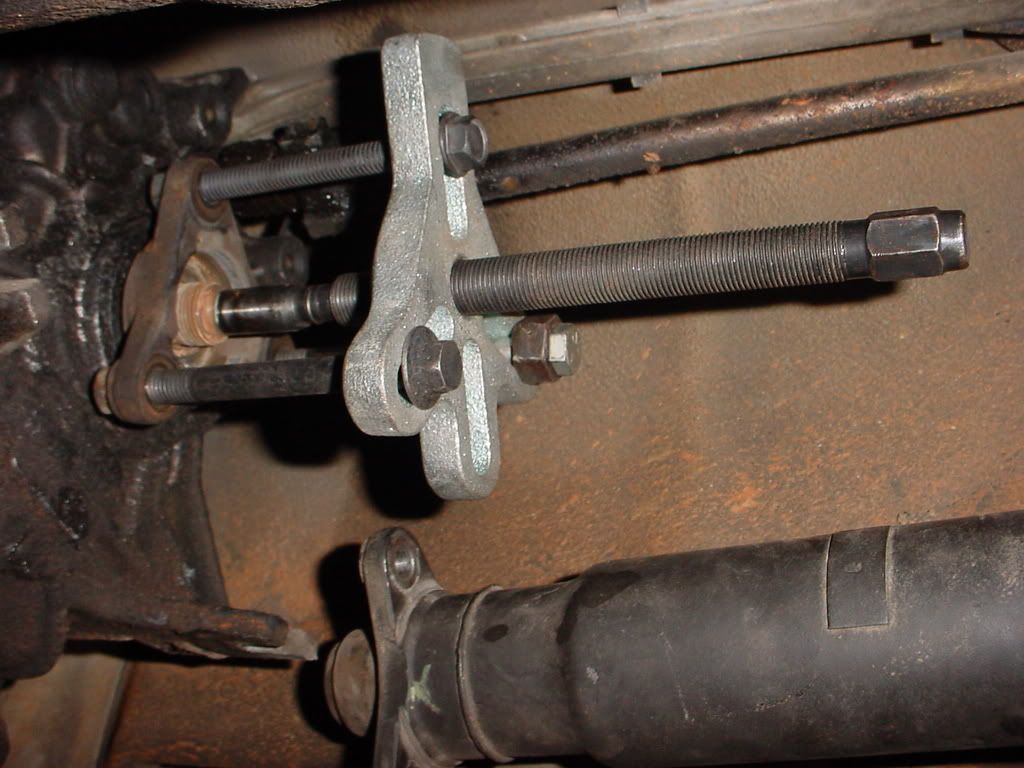
Next, use a ball-joint separator to pop the tie-rods and ball-joints loose from the front strut assembly. (don't hit the threaded part of the tie-rods and ball-joints with a hammer if you plan on reusing them because you will mushroom the threads and will not be able to put the nut back on to tighten it down with out extra work. I would suggest replacing tie-rods and ball-joints)
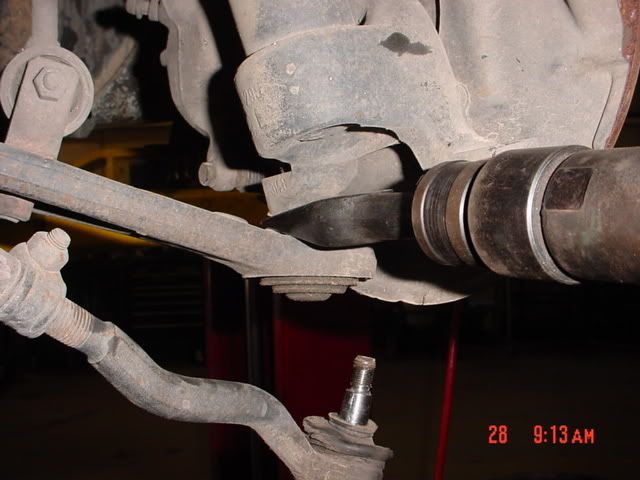
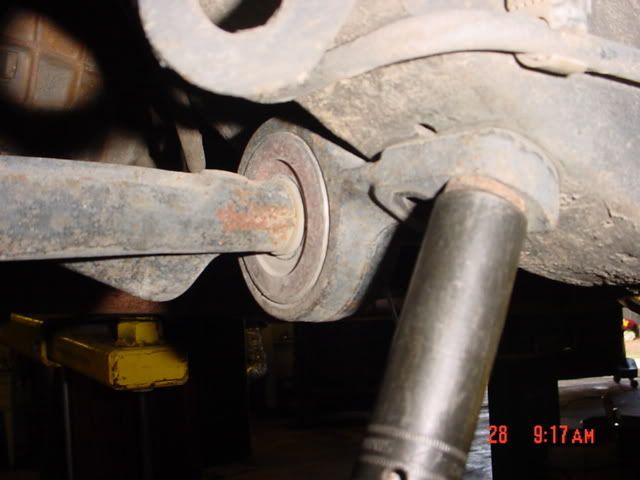
Remove the lower control arm bushing brackets.
Remove the motor mount nuts and raise the M42 off of the front sub-frame.
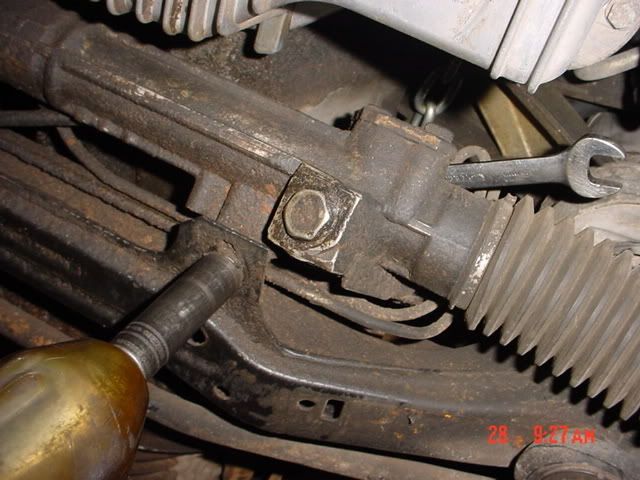
Lock the steering wheel in the straight position then unbolt steering rack from steering column and sub-frame.
You must hold the nut on top to unbolt.
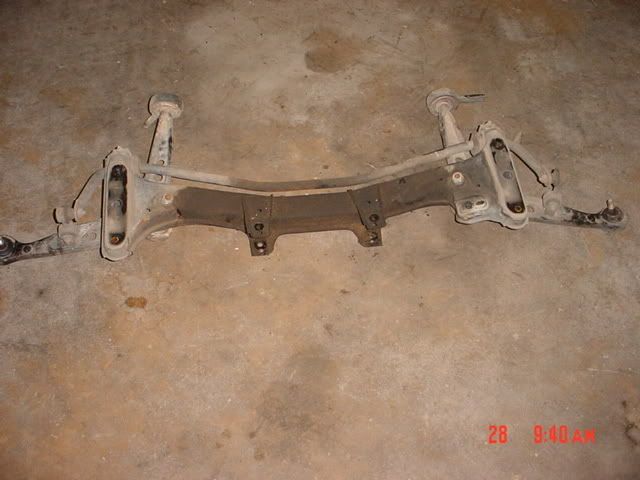
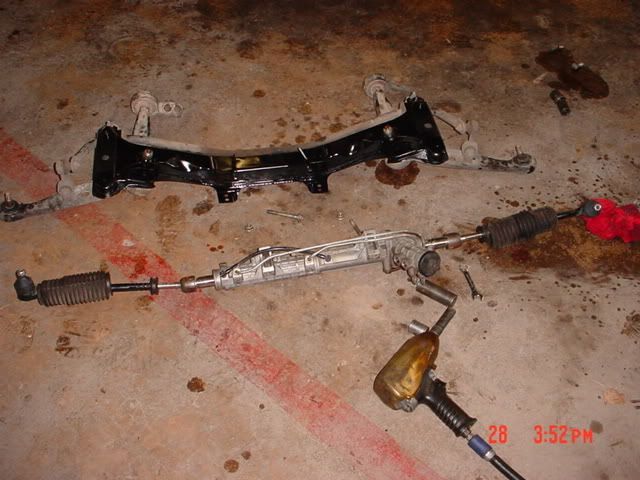
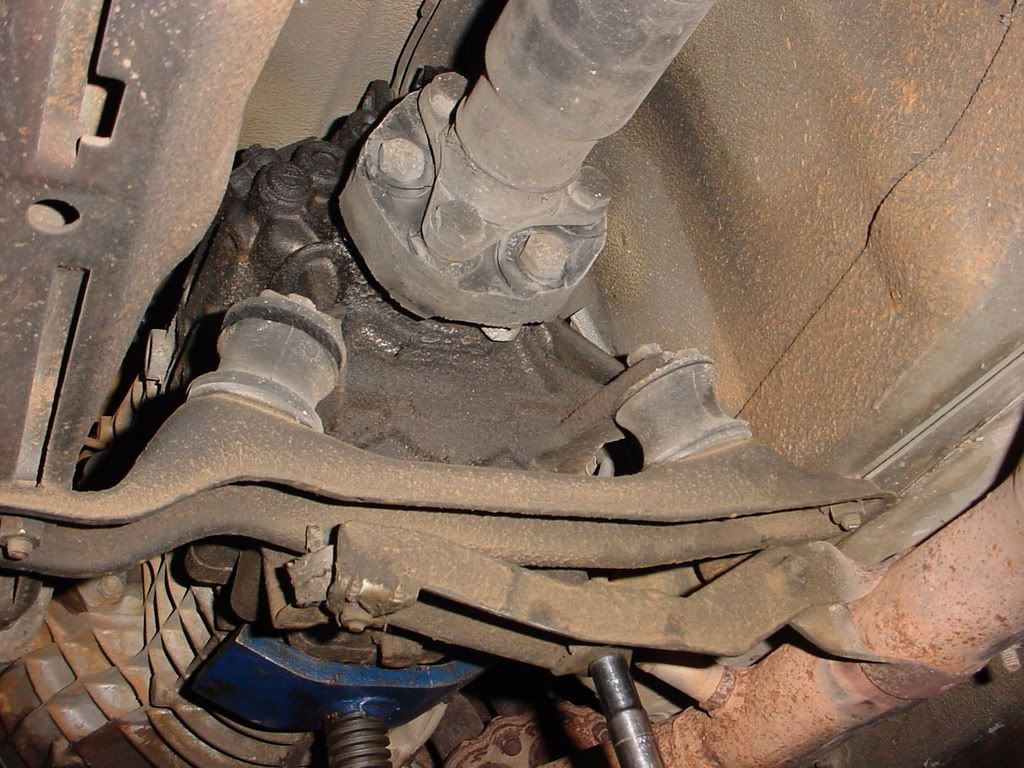
Remove all four front sub-frame bolts and lower the sub-frame, sway-bar, control arm assembly away from the steering rack and set aside.
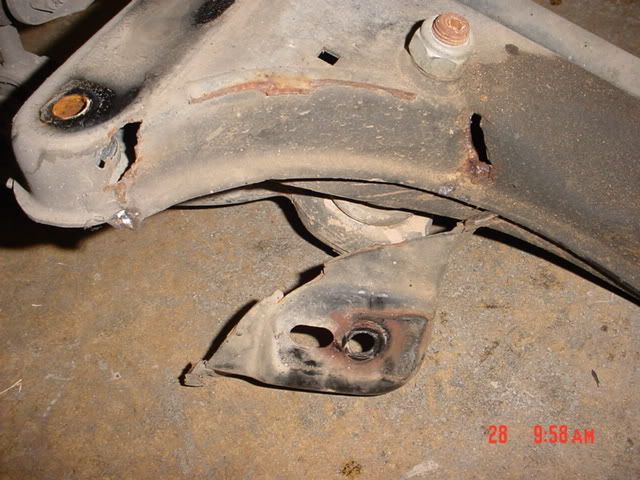
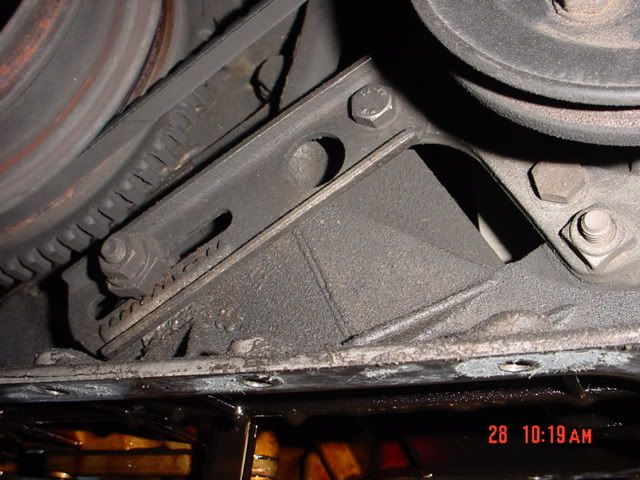
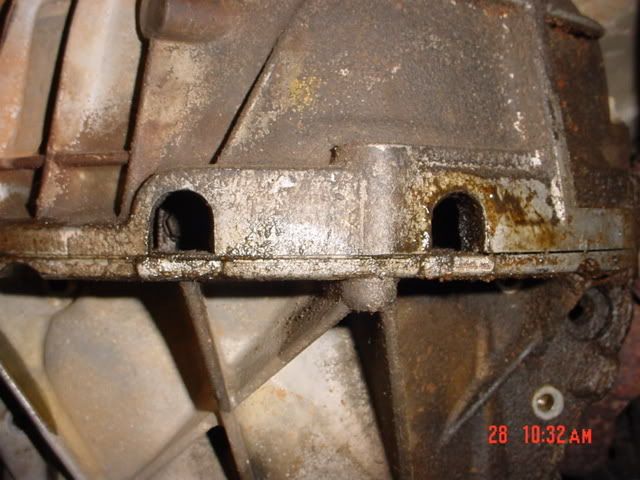
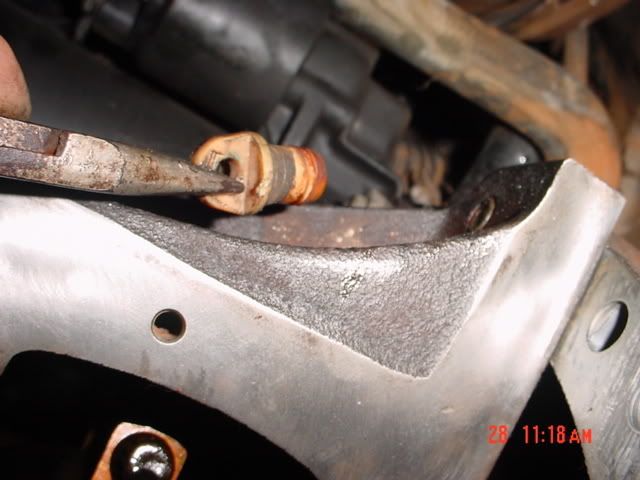
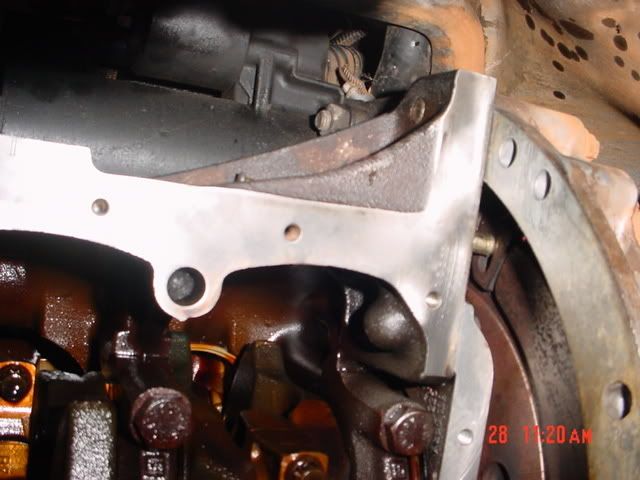
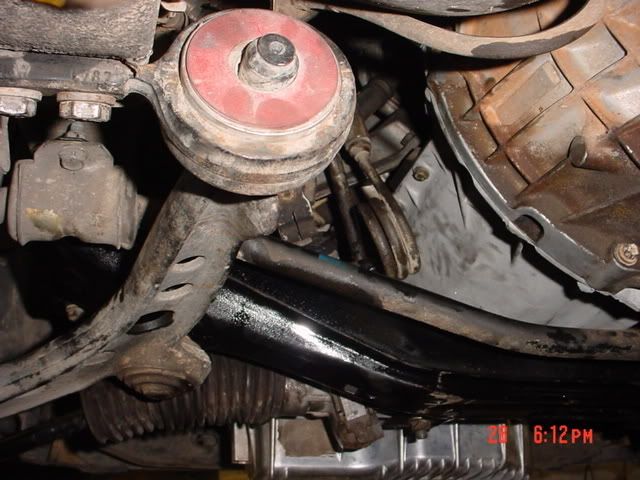
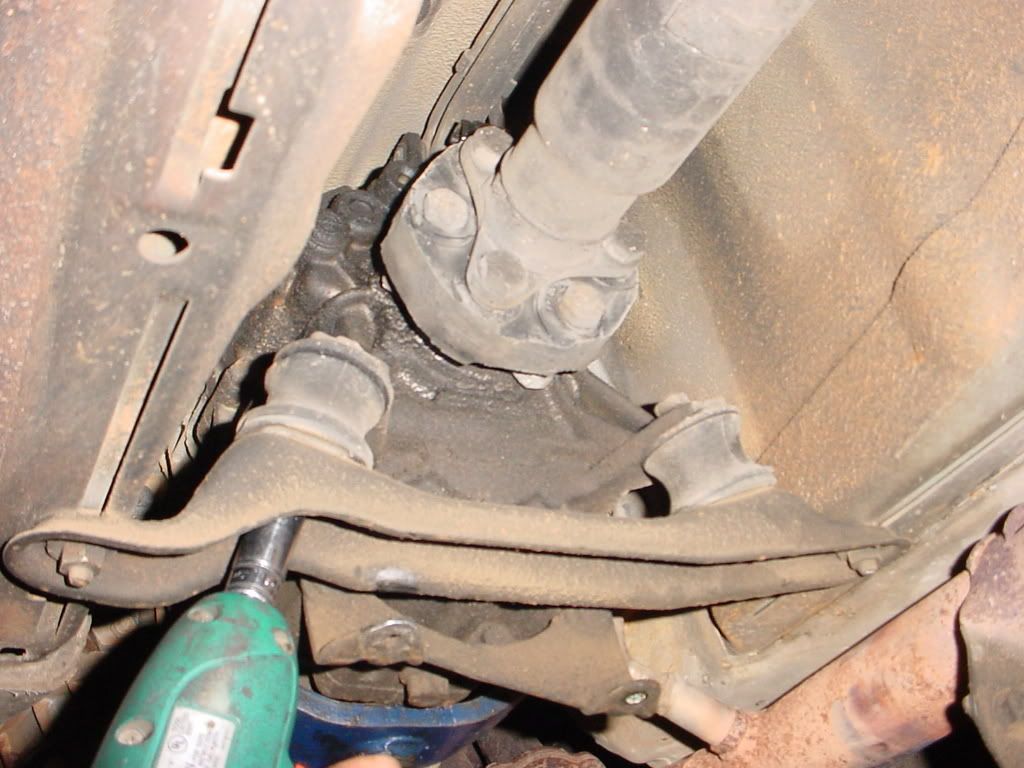
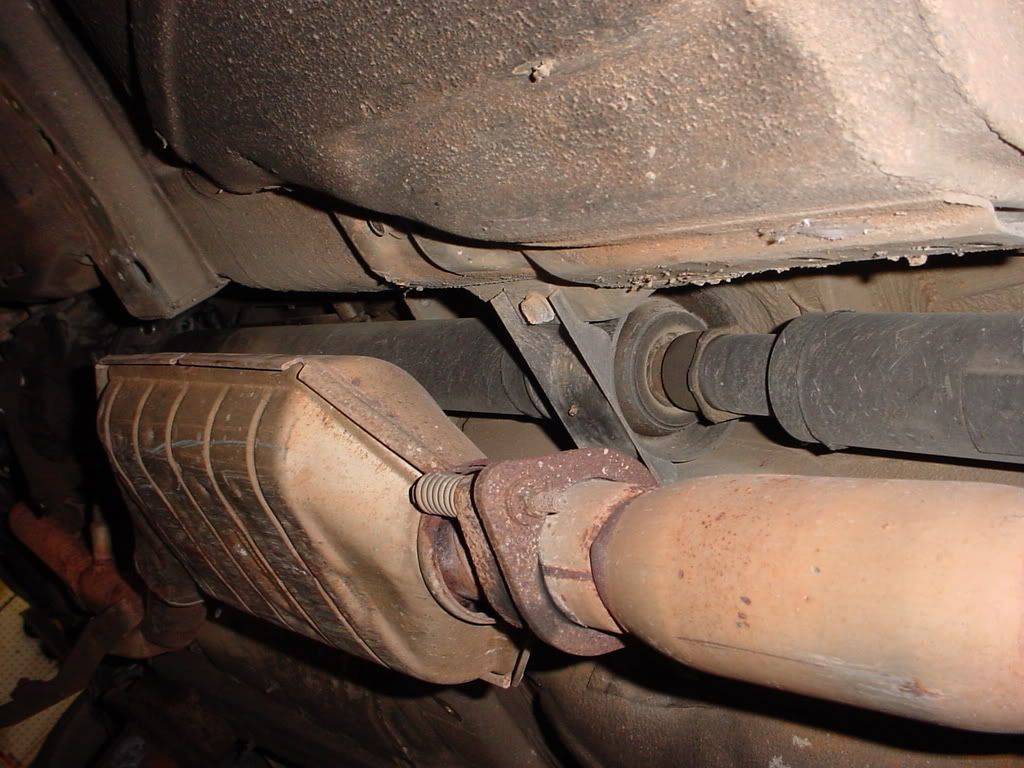
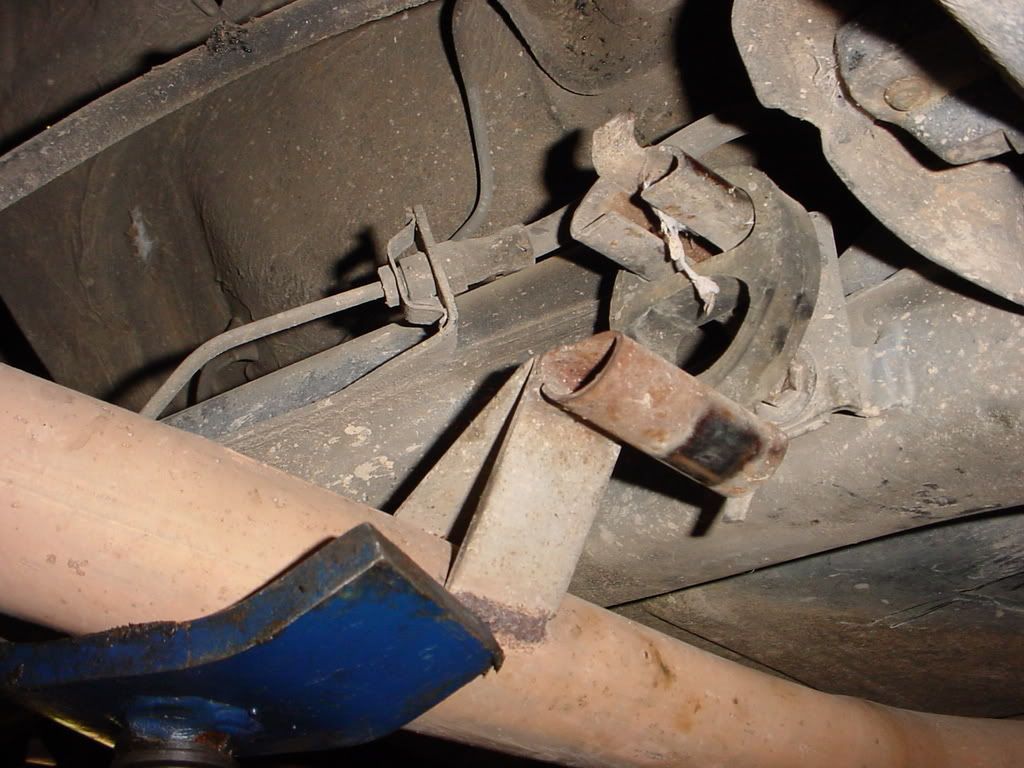
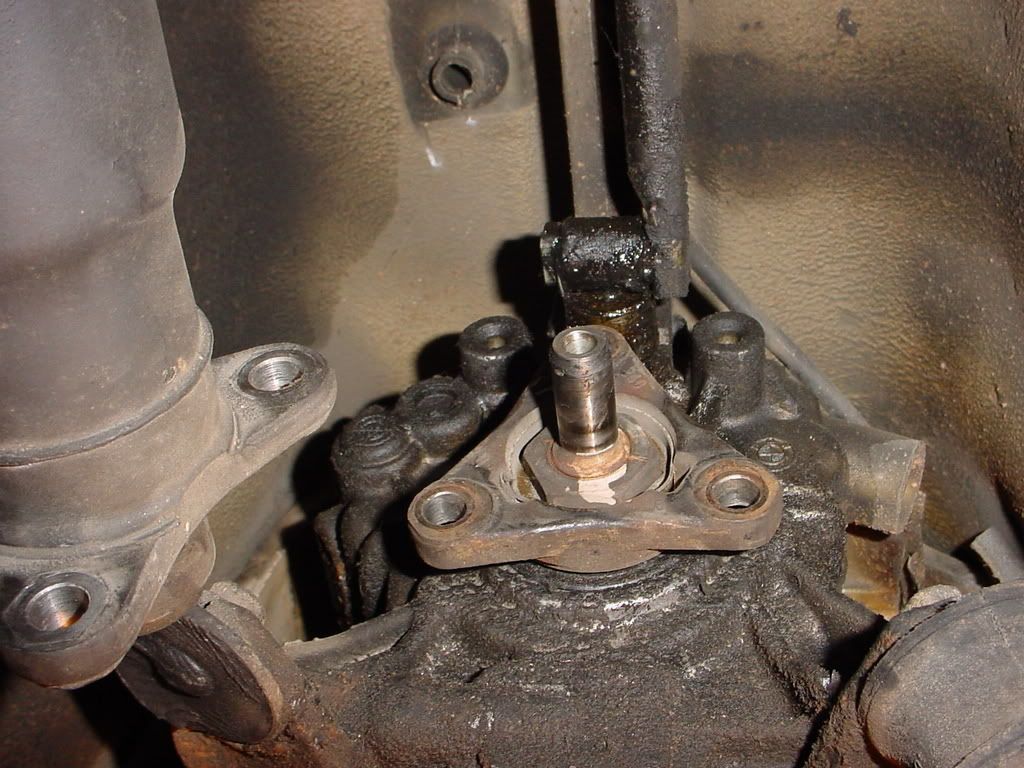
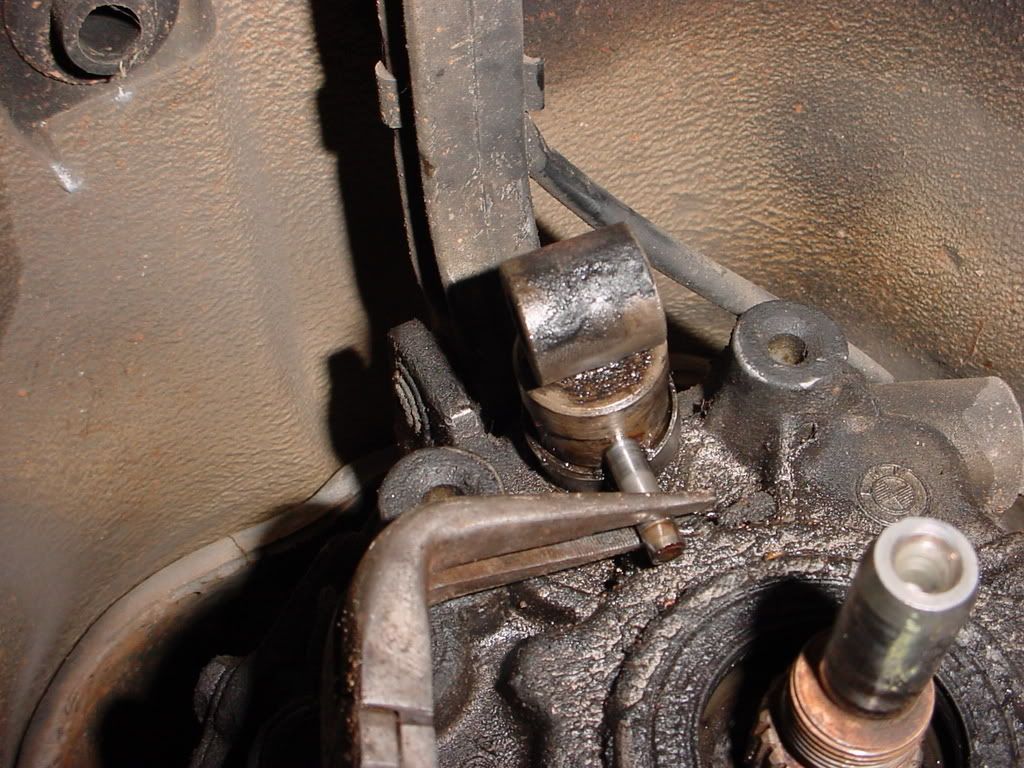
This is the passenger side motor mount bracket that had cracked and eventually broken off of the sub-frame, the motor was resting on the steering rack because of this. This is a normal stress area for e30s and should be looked over closely.
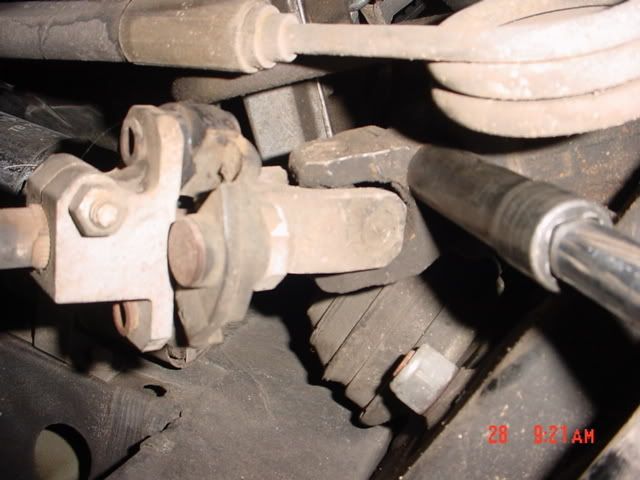
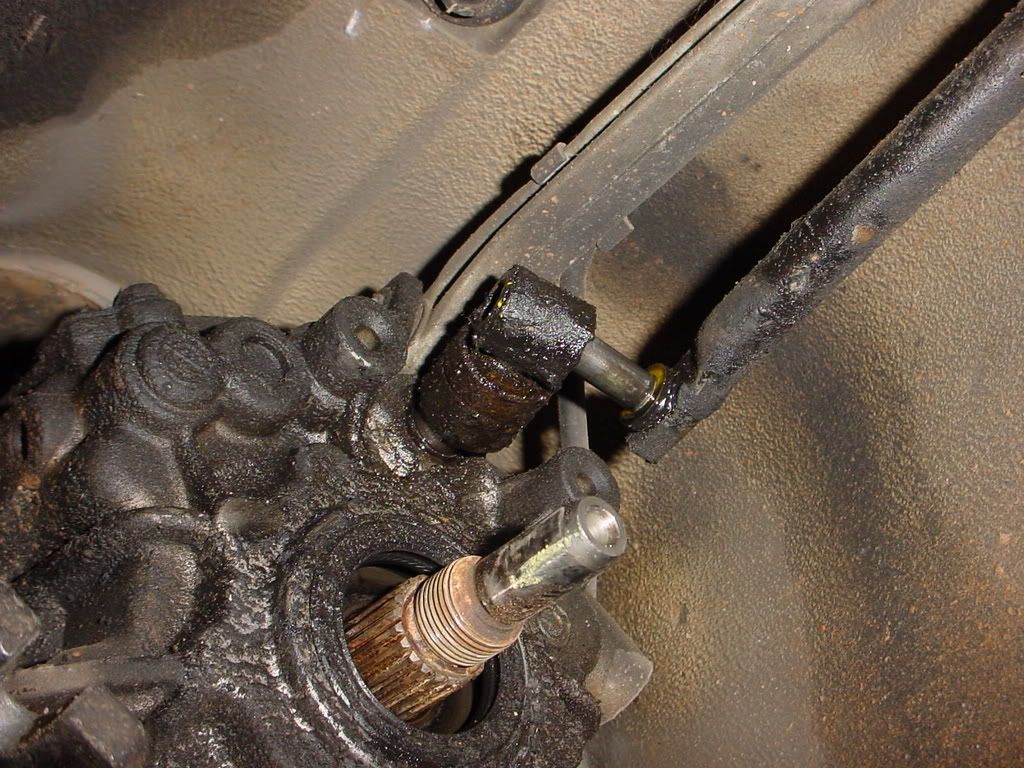
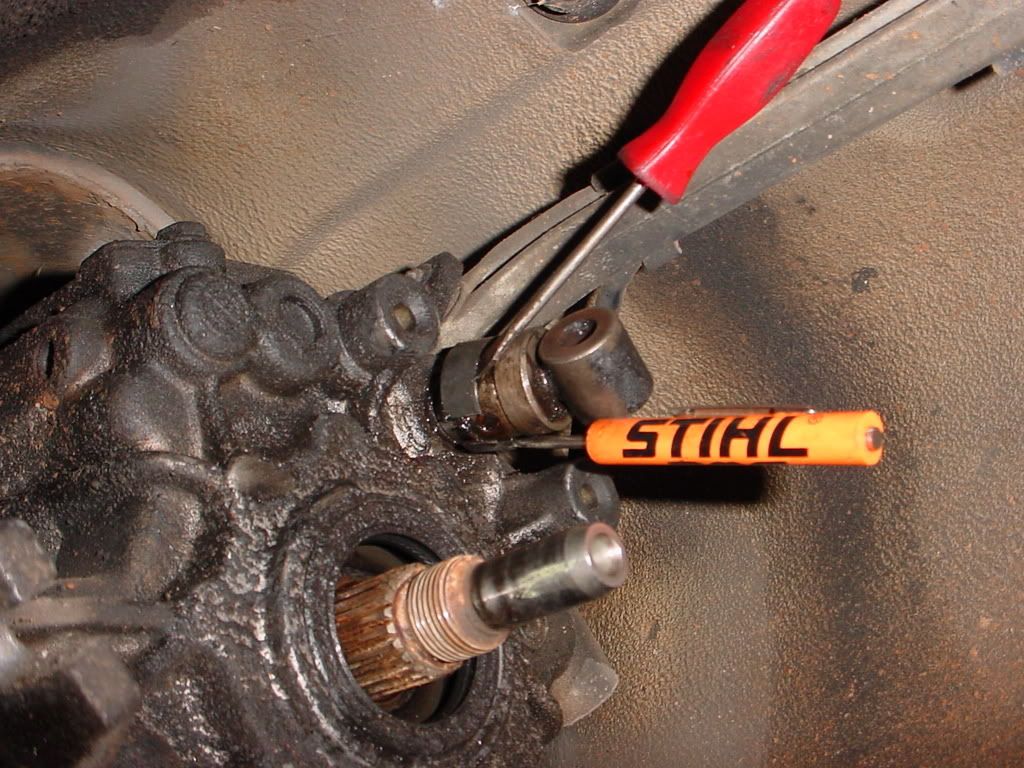
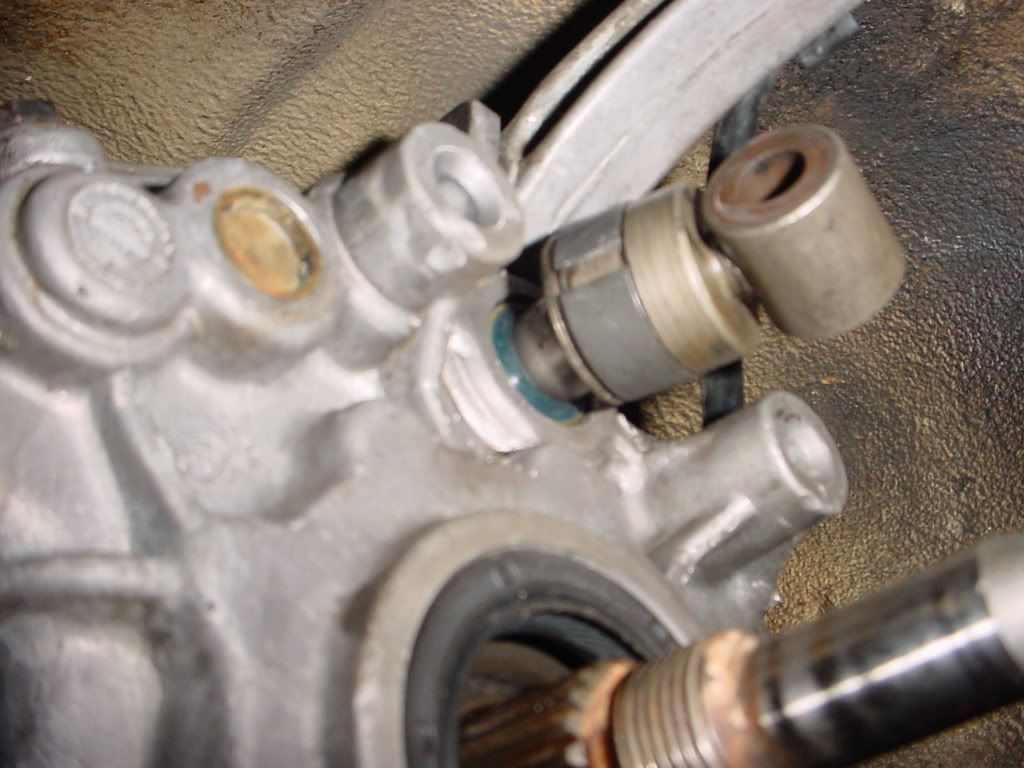
Remove the power steering lines from the power steering rack and set aside, keep the copper washers to match up the new ones or reuse.
Drain oil.
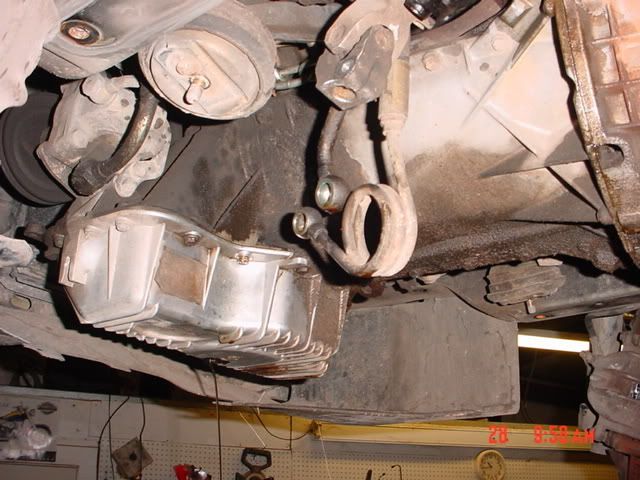

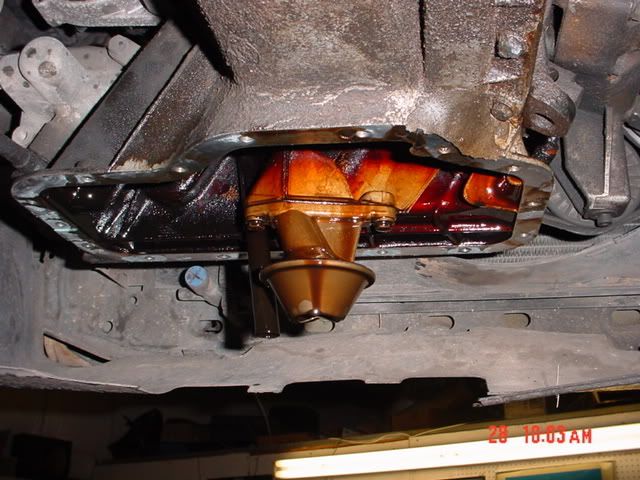
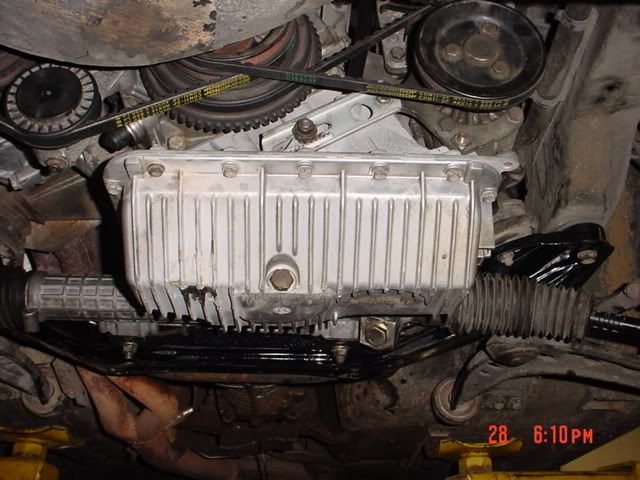
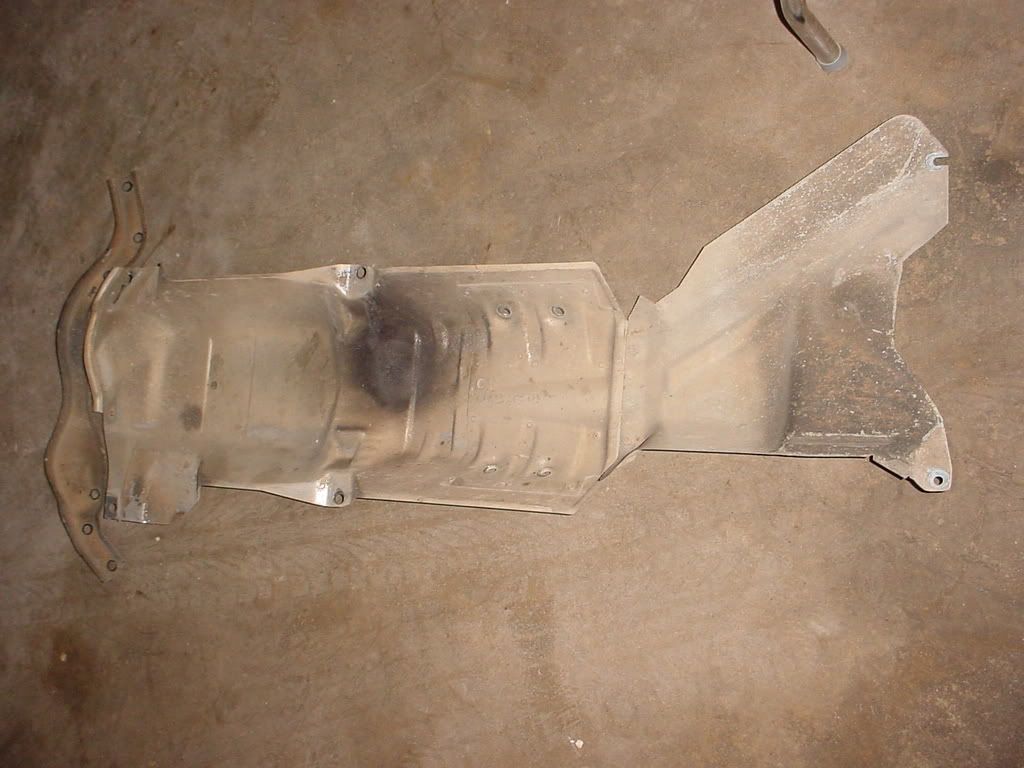
Remove lower oil pan.
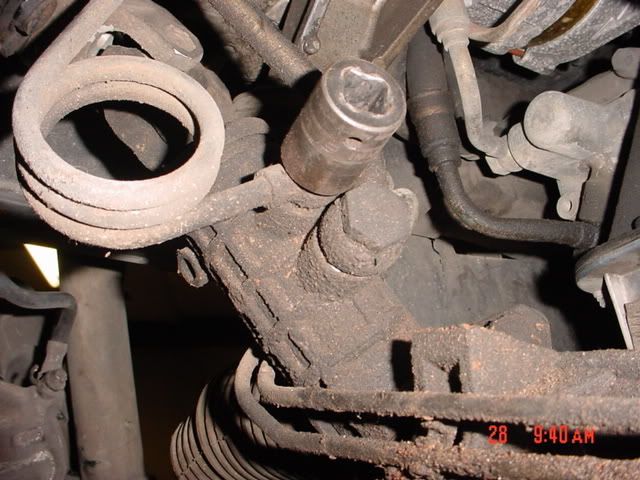
Remove power steering adjuster bracket.
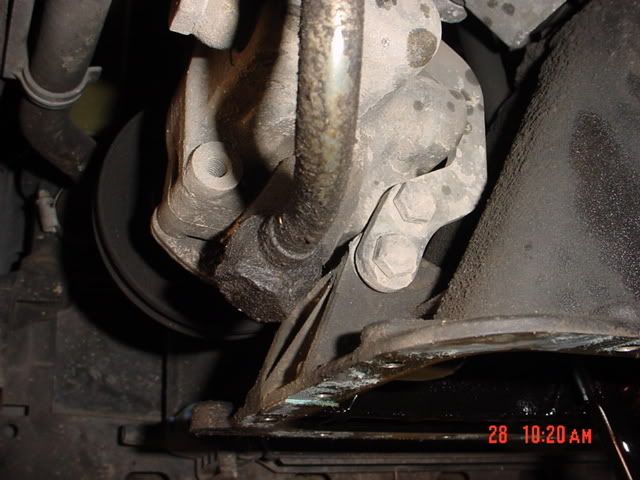
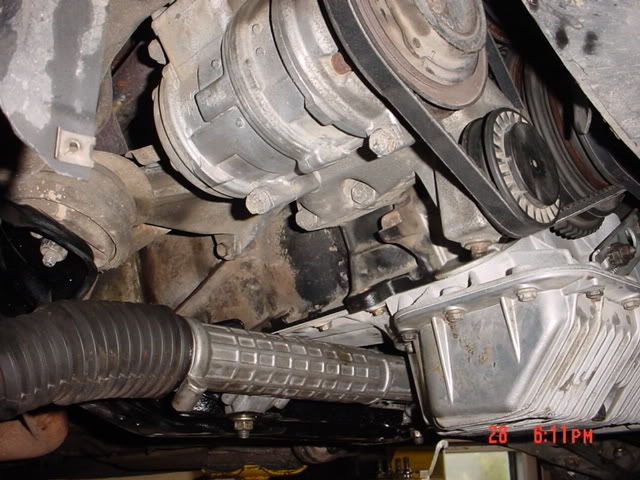
Remove lower power steering pump bracket bolt and move pump aside.
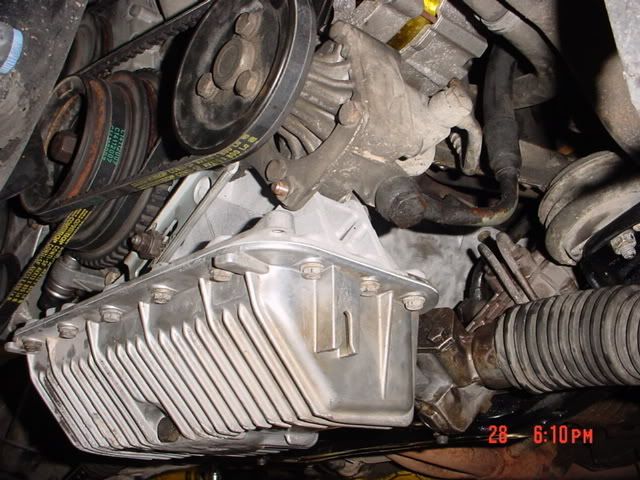
Remove oil dipstick tube, oil pickup and upper oil pan bolts. (if you are missing pan bolts then replace with stronger bolts)
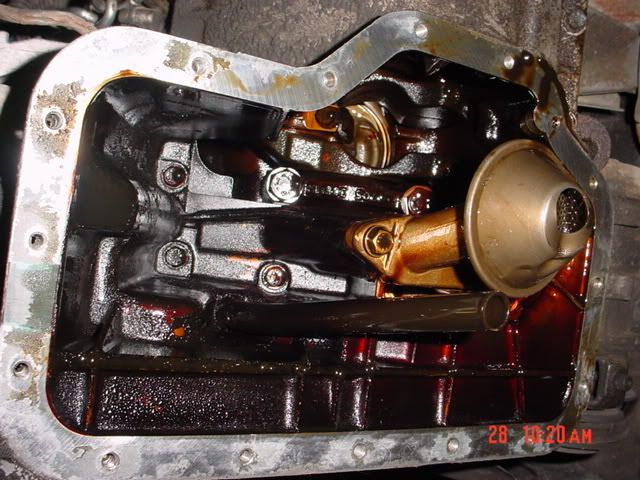
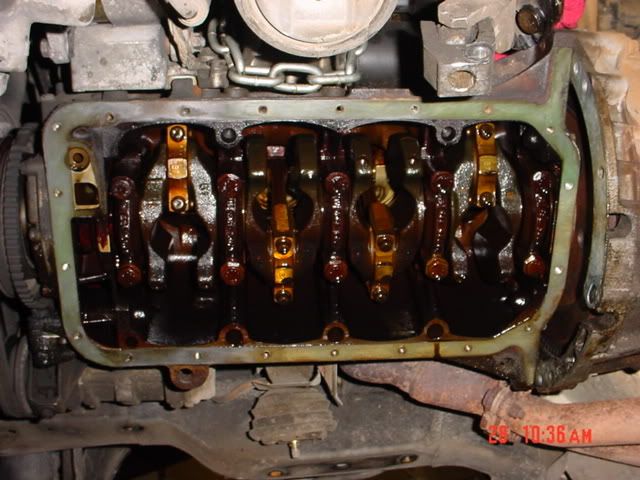
The last two bolts are accessible through these two holes in the bell housing, then the oil pan should fall right off with no prying, so be ready to catch it.
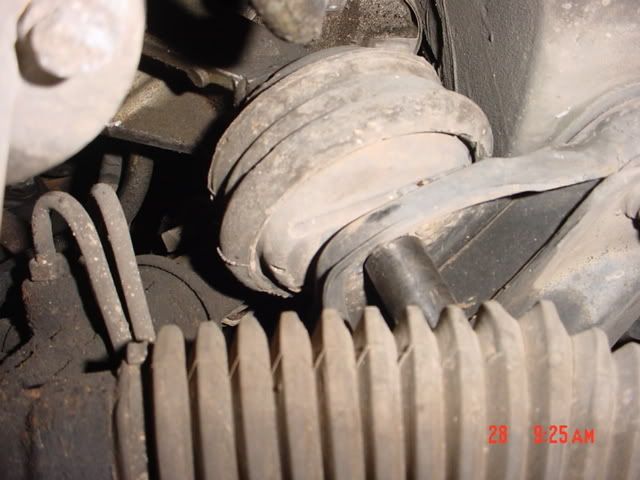
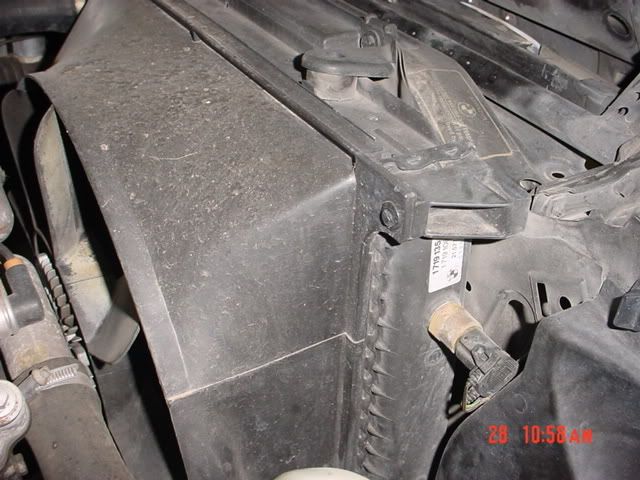
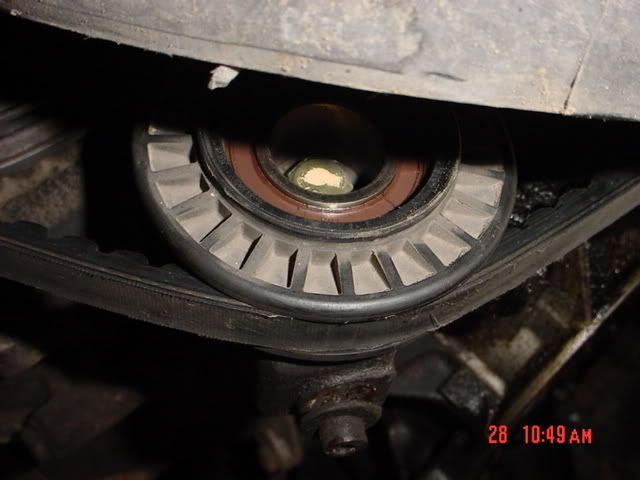
You can remove the fan shroud by pushing the little tab out and then pulling the clip out. The fan shroud will lift out by moving the fan out of the way.
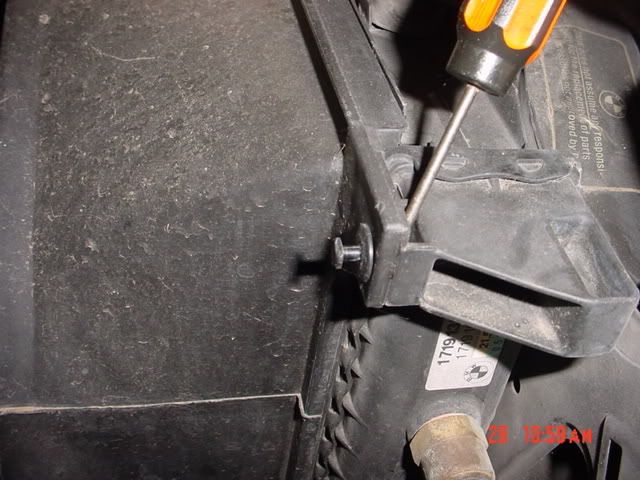
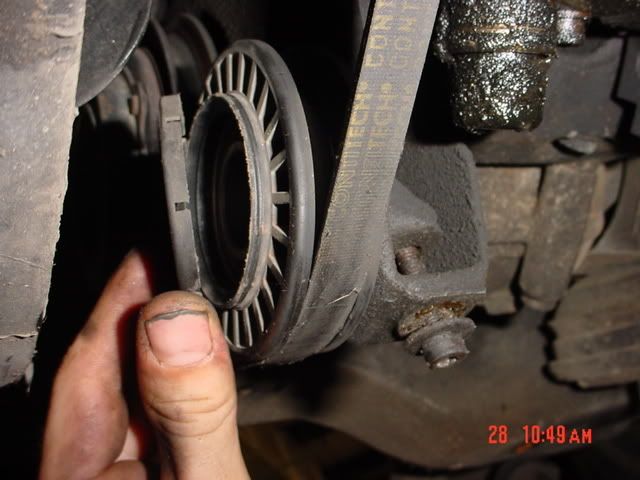
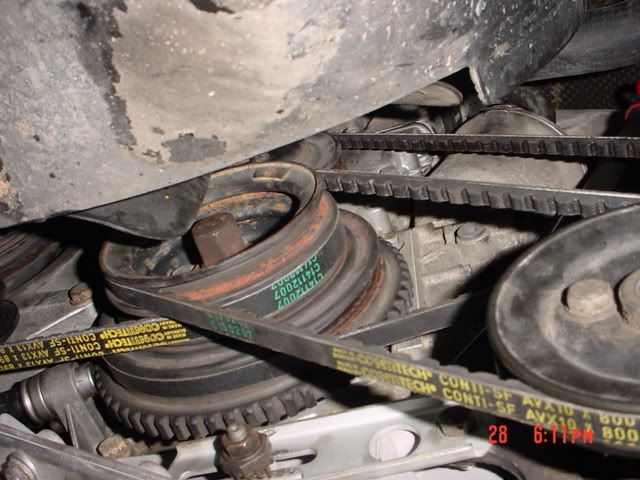
Next, remove the A/C belt by loosening the small allenhead bolt and loosening the bolt under the plastic cover.
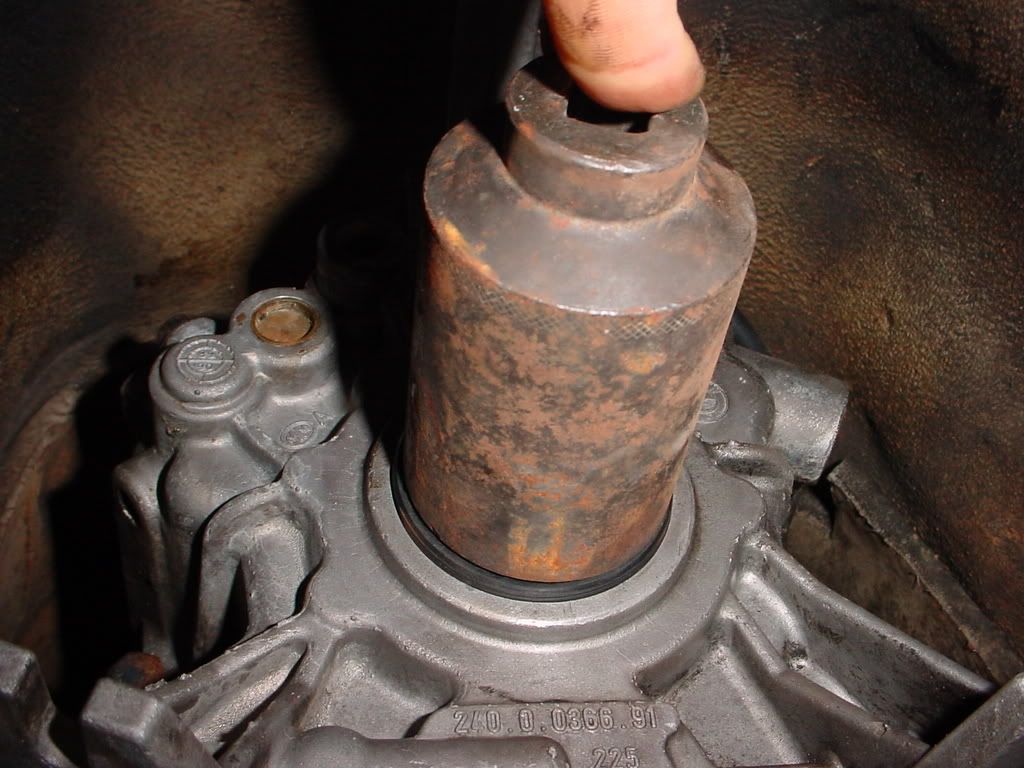
Once all belts are removed, remove the crank pulley bolts and gently pry the pulley off. (you may want to remove the CPS to prevent any accidental damage)
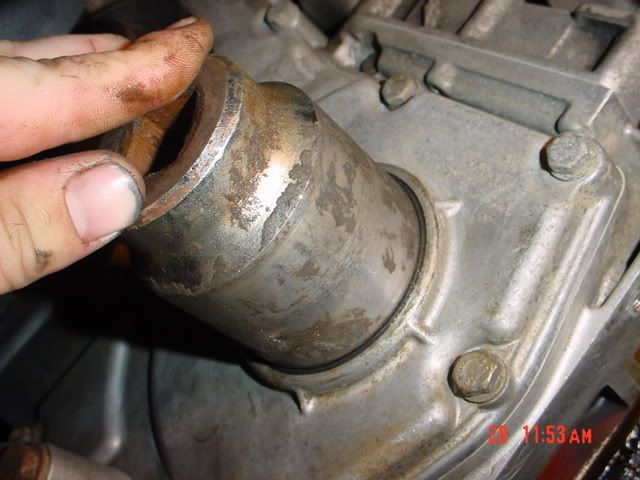
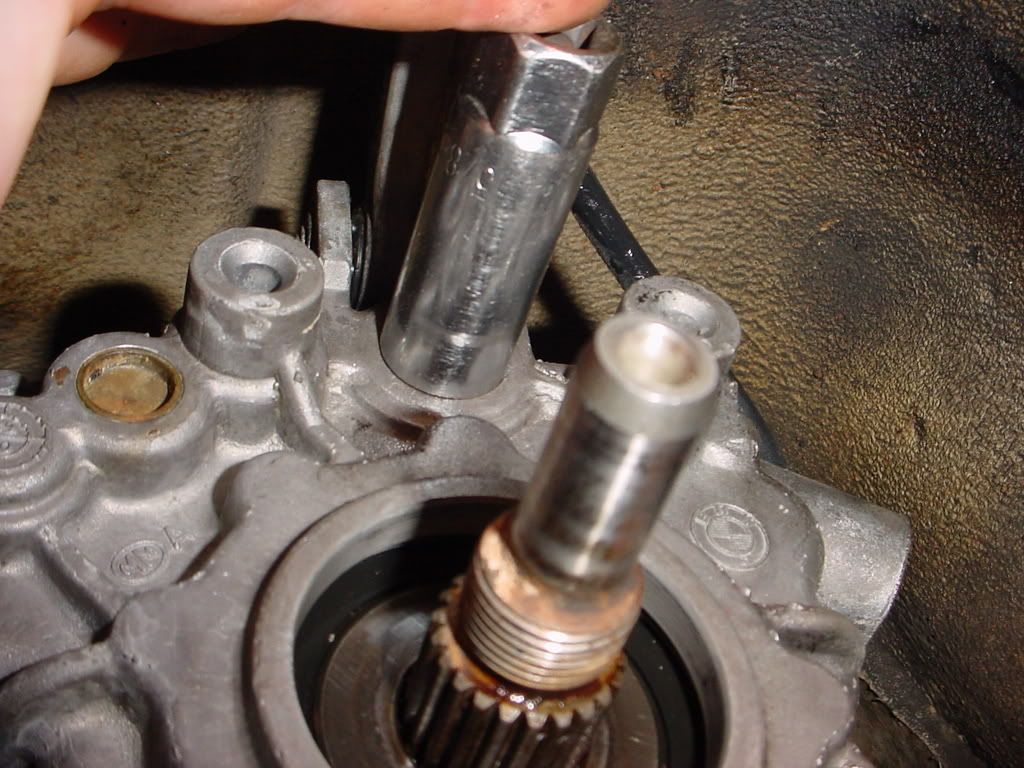
You can see my front crank seal was leaking.

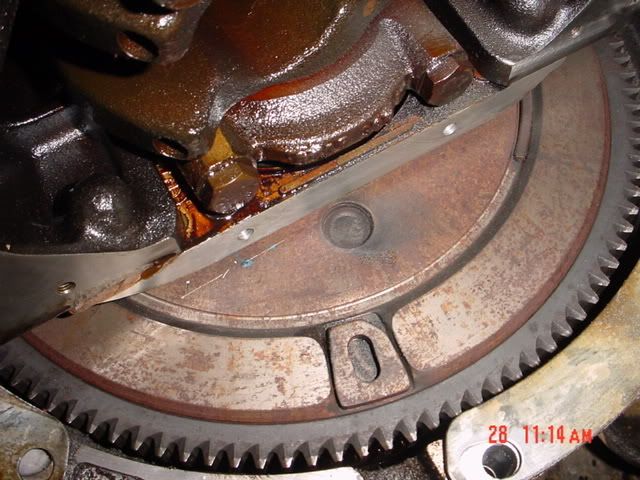
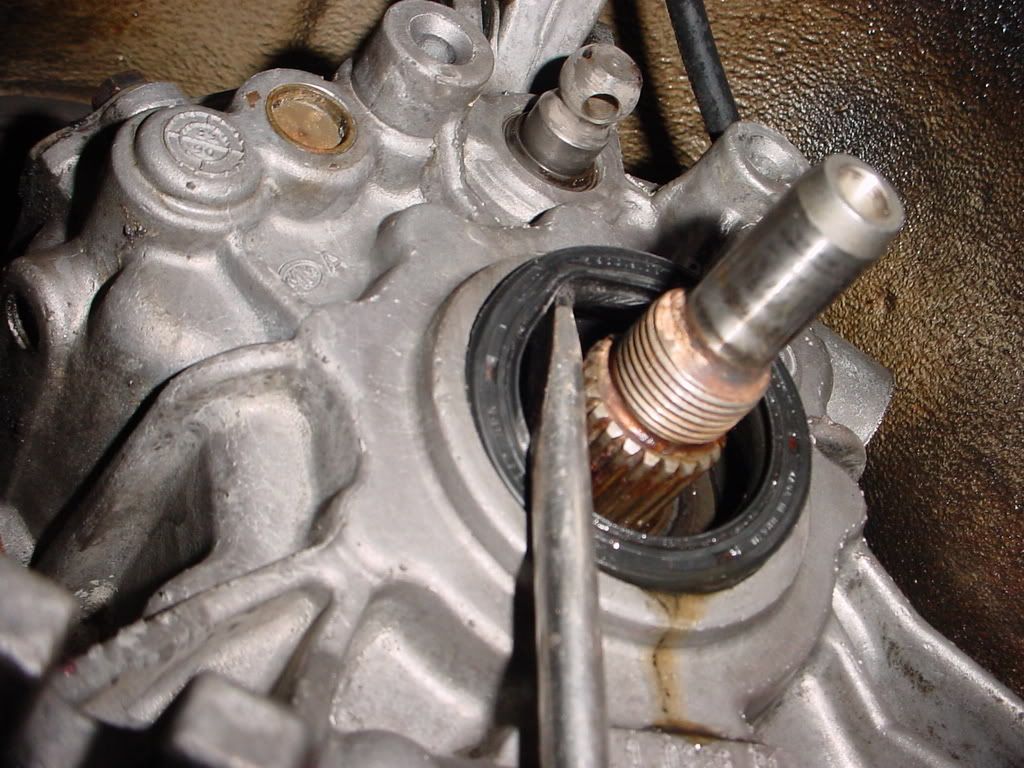
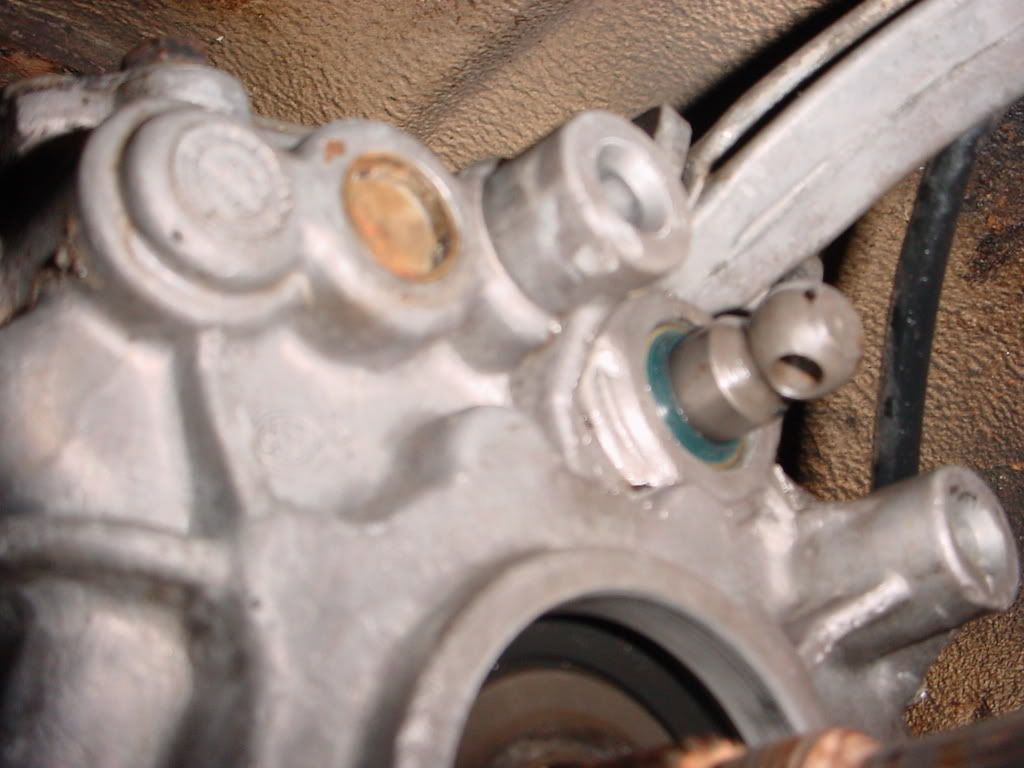
Remove this little plug so you can hold the crank by putting a rod through it and in the flywheel key.
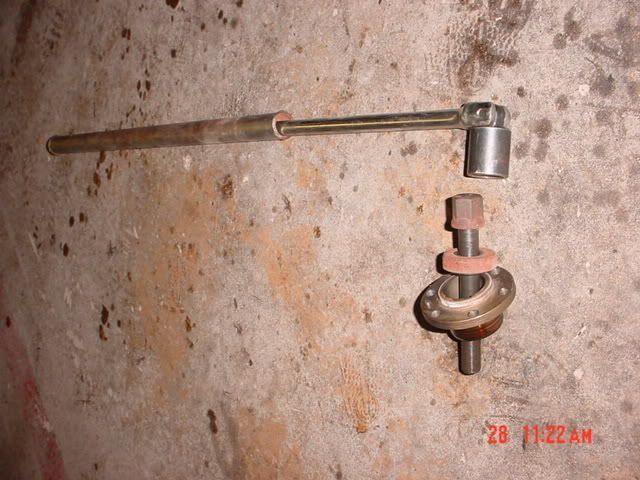
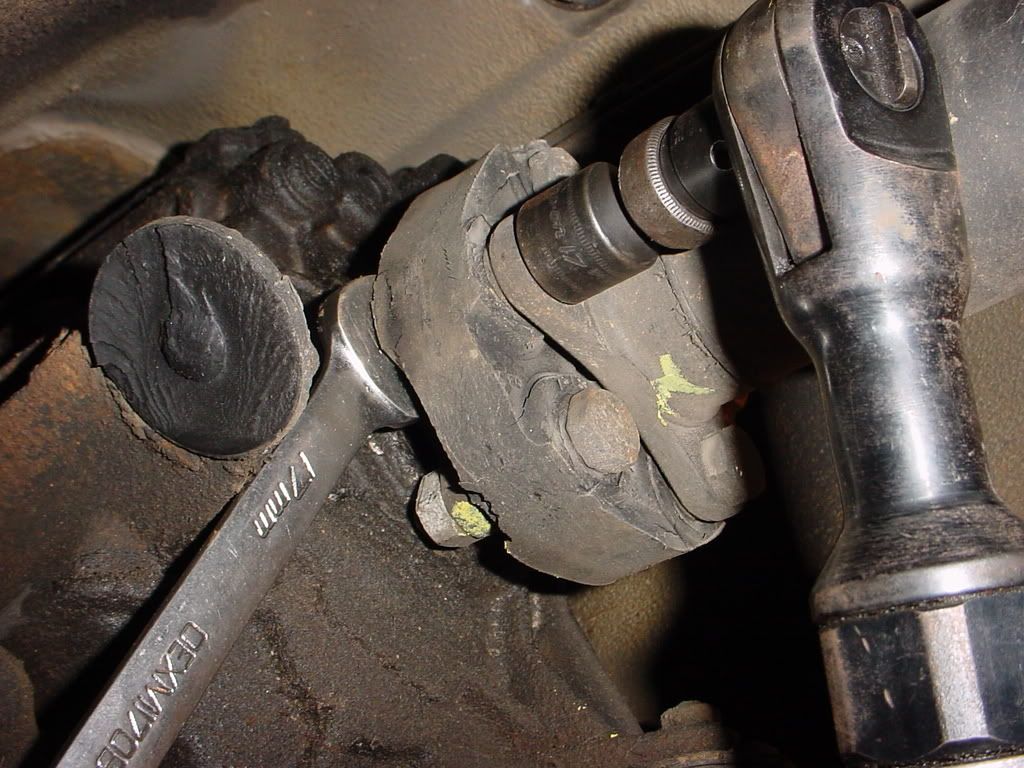
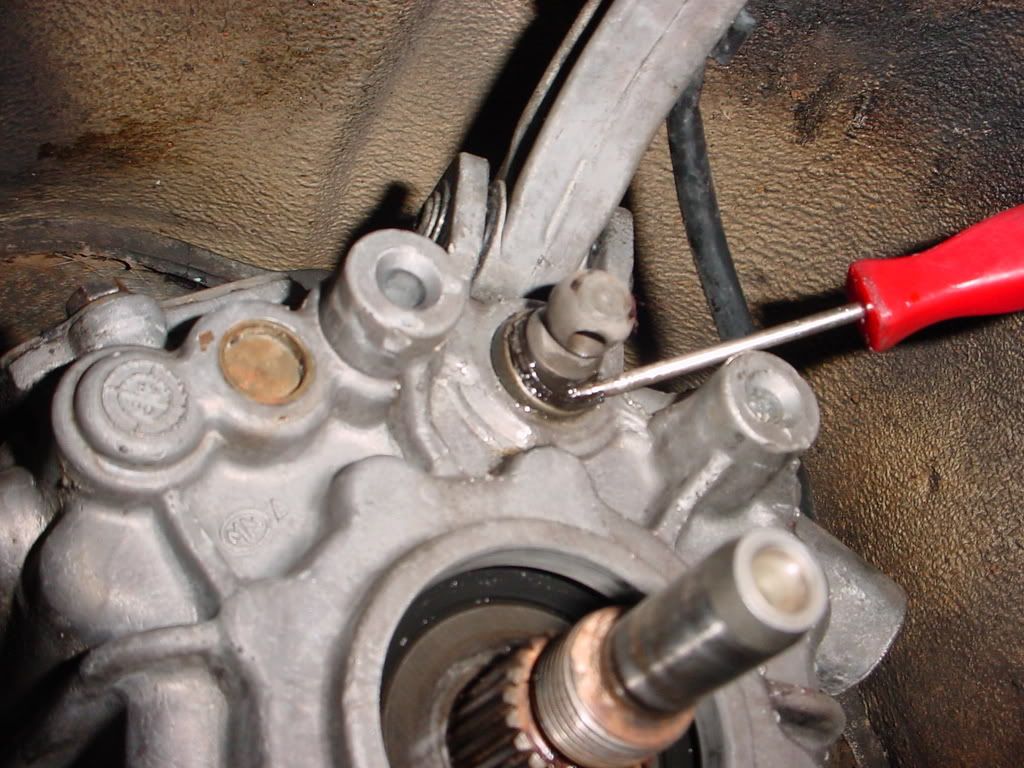
Use a breaker bar and even an extension to break the front crank bolt free.
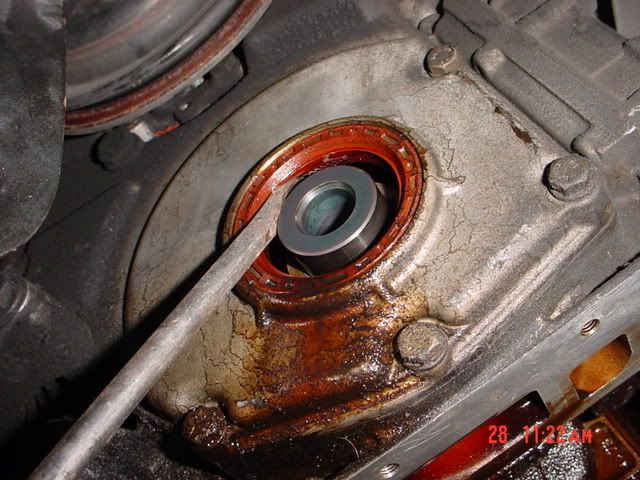
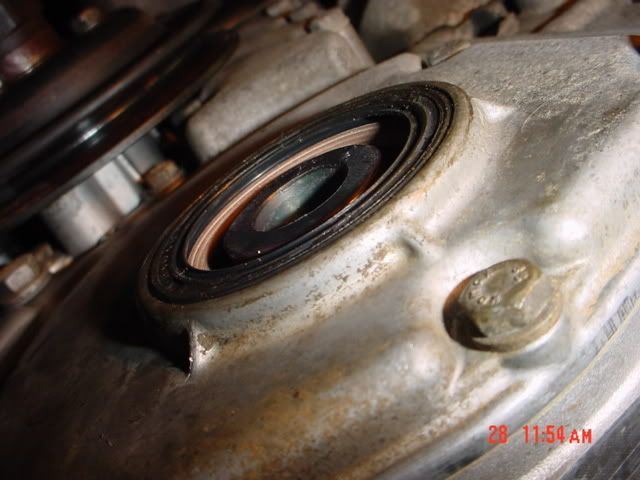
Because of the limiting space I used a flat blade screw driver to pry out the seal instead of a seal puller. When using a screw driver be sure not to scratch the mating surface.
Now that have everything taken apart as far as I want to go, I will clean off all of the old oil and dirt. I first use carb cleaner and a parts cleaner brush to scrub the dirt loose, then I use break clean to spray all of the dirt away and leave a dry clean surface.

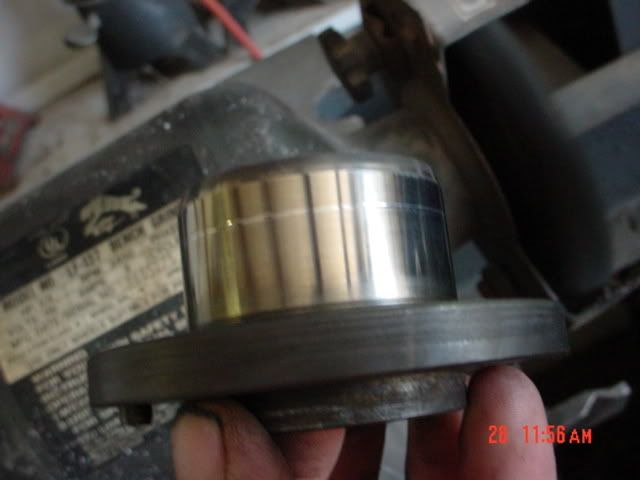
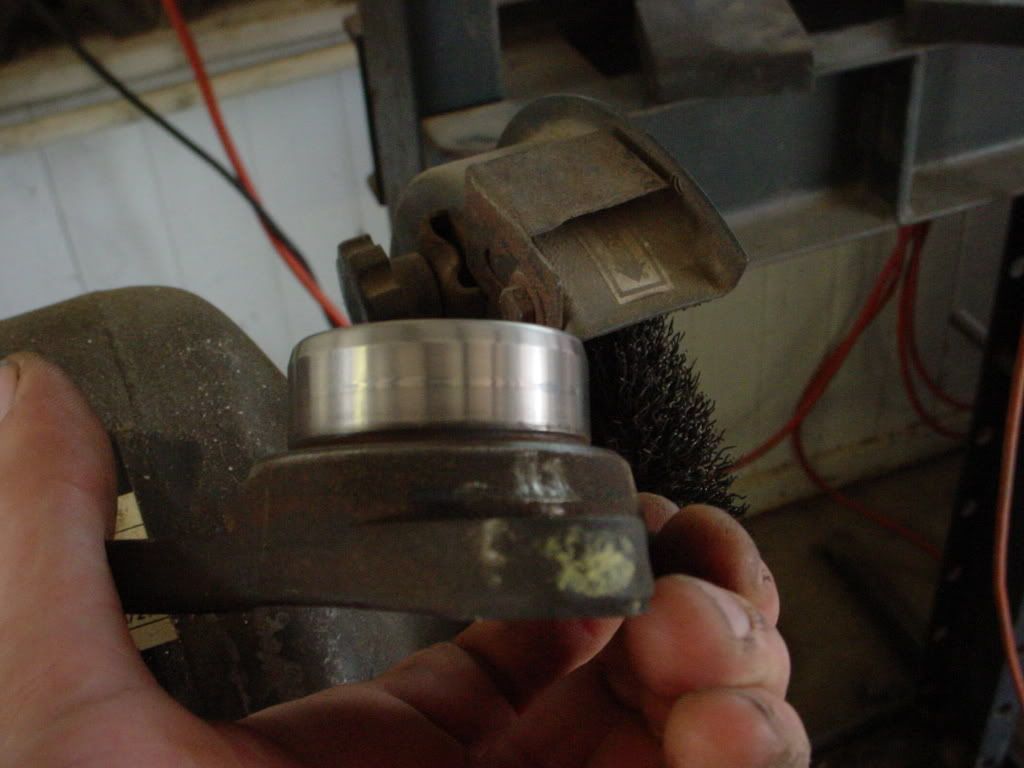
Now that everything is clean I installed the new front crank seal by using a socket near the same diameter and hitting the seal in evenly until it is perfectly flush with the housing.
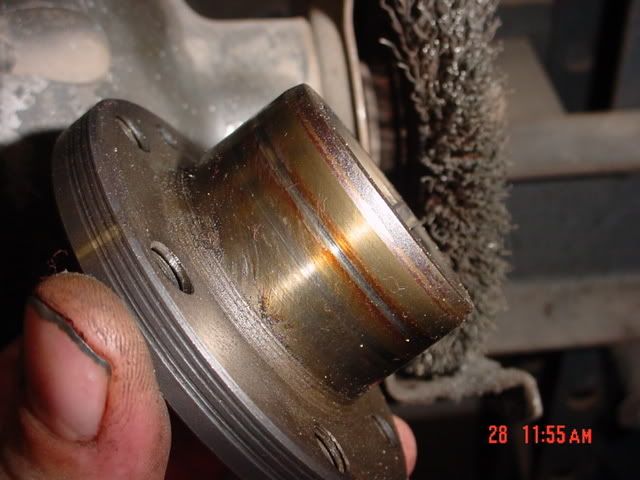
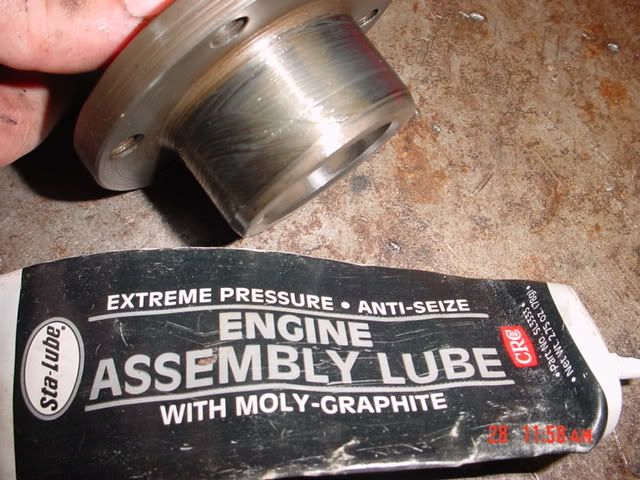
The old seal left a grove which must be smoothed out with a wire wheel then coated in a lubricant to prevent the new seal from leaking.
I then torqued it to 250ft/lb.

Alternator bushing just fall out.
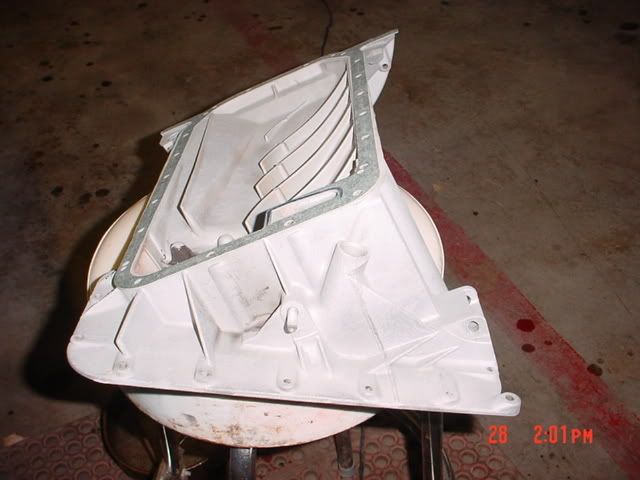
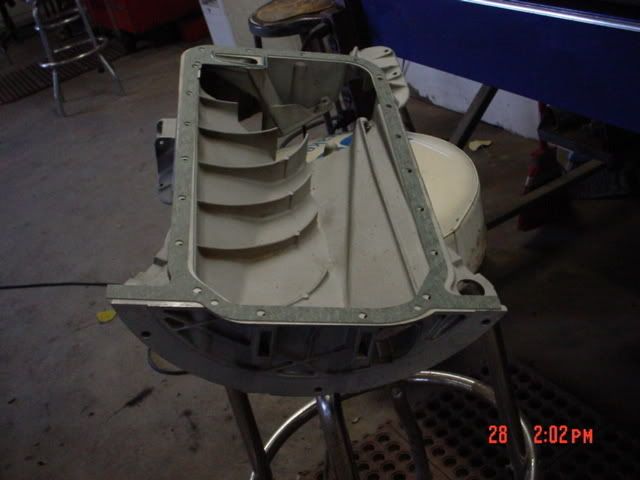
Sand blasted the upper oil pan after the parts washer. (always wear a clean air mask when sand blasting)
When replacing the sub-frame swap over the sway-bar and lower control arms. In my case I reused my Lower control arms and bushings because they only have 12000 miles on them. I also put the new tie-rods on the 89i steering rack, my old rack was bad.
Then put it all back together and go burn the tires off
In this How-To I will guide you through all of the maintenance I am doing to my 202k+ 91is.
I haven't driven my 91is for over a year because the right motor mount bracket had cracked and broken off of the front sub-frame. I have finally bought all of the parts and found some time to put her back on the road.
As I was replacing the front sub-frame I also replace the front crank seal, oil pan gaskets, fixed oil pan cracks, sand blasted the upper oil pan, cleaned everything, put a 89i steering rack with new tie rods, new belts, alternator bushings, alternator ground strap and soon to come I will be sealing up the transmission with new rear output-shaft seal, Selector rod seal, Guiebo Flex Disc and both mounts. Then I will sand blast the valve cover and replace the valve cover gaskets.
Parts List:
Front Subframe (Thanks to Wolfgangsnoopy @e30parts.com) $50 Shipped
89i Steering rack (off parts car) W/ New Tierods (whole parts car was $100 8))
(KOperformance.com)
A/c belt $5.88
Power Steering Belt $3.90
Alternator Belt $4.58
Alternator lower 2 Bushings $7.52
Alternator Ground Strap $13.05 ( I had to drill out one of the holes because it was too small
)Crankshaft Front Seal $13.45
Lower Oil Pan Gasket $7.83
Upper Oil pan Gasket $11.35
Brake Pad Sensor $2.70
Transmission Mounts $25.24
Seal Output Shaft Manual Transmission $4.48
Flex Disc for Driveshaft Guiebo $40.44
Valve Cover Gasket Set $22.26
Manual Transmission Selector Rod Seal $5.01
(turnermotorsport.com)
All PBR Metal Master Brake Pads $96.42 Shipped
$50.00+ $167.79+ $96.42= $314.11
Then don't forget oil, filter, oil additive, break clean =$$$
Time= +15hr =$$$
Its not cheap but its more then worth it.
First, support the M42 from above with a suitable lift or support, if you plan on doing this with your vehicle on jack stands I would suggest placing some 2x4 under the jack stands to give the vehicle some extra ground clearance. (Dont continue until the vehicle and M42 are 100% stable)
Next, use a ball-joint separator to pop the tie-rods and ball-joints loose from the front strut assembly. (don't hit the threaded part of the tie-rods and ball-joints with a hammer if you plan on reusing them because you will mushroom the threads and will not be able to put the nut back on to tighten it down with out extra work. I would suggest replacing tie-rods and ball-joints)
Remove the lower control arm bushing brackets.
Remove the motor mount nuts and raise the M42 off of the front sub-frame.
Lock the steering wheel in the straight position then unbolt steering rack from steering column and sub-frame.
You must hold the nut on top to unbolt.
Remove all four front sub-frame bolts and lower the sub-frame, sway-bar, control arm assembly away from the steering rack and set aside.
This is the passenger side motor mount bracket that had cracked and eventually broken off of the sub-frame, the motor was resting on the steering rack because of this. This is a normal stress area for e30s and should be looked over closely.
Remove the power steering lines from the power steering rack and set aside, keep the copper washers to match up the new ones or reuse.
Drain oil.
Remove lower oil pan.
Remove power steering adjuster bracket.
Remove lower power steering pump bracket bolt and move pump aside.
Remove oil dipstick tube, oil pickup and upper oil pan bolts. (if you are missing pan bolts then replace with stronger bolts)
The last two bolts are accessible through these two holes in the bell housing, then the oil pan should fall right off with no prying, so be ready to catch it.
You can remove the fan shroud by pushing the little tab out and then pulling the clip out. The fan shroud will lift out by moving the fan out of the way.
Next, remove the A/C belt by loosening the small allenhead bolt and loosening the bolt under the plastic cover.
Once all belts are removed, remove the crank pulley bolts and gently pry the pulley off. (you may want to remove the CPS to prevent any accidental damage)
You can see my front crank seal was leaking.
Remove this little plug so you can hold the crank by putting a rod through it and in the flywheel key.
Use a breaker bar and even an extension to break the front crank bolt free.
Because of the limiting space I used a flat blade screw driver to pry out the seal instead of a seal puller. When using a screw driver be sure not to scratch the mating surface.
Now that have everything taken apart as far as I want to go, I will clean off all of the old oil and dirt. I first use carb cleaner and a parts cleaner brush to scrub the dirt loose, then I use break clean to spray all of the dirt away and leave a dry clean surface.
Now that everything is clean I installed the new front crank seal by using a socket near the same diameter and hitting the seal in evenly until it is perfectly flush with the housing.
The old seal left a grove which must be smoothed out with a wire wheel then coated in a lubricant to prevent the new seal from leaking.
I then torqued it to 250ft/lb.
Alternator bushing just fall out.
Sand blasted the upper oil pan after the parts washer. (always wear a clean air mask when sand blasting)
When replacing the sub-frame swap over the sway-bar and lower control arms. In my case I reused my Lower control arms and bushings because they only have 12000 miles on them. I also put the new tie-rods on the 89i steering rack, my old rack was bad.
Then put it all back together and go burn the tires off


Comment