-
Good luck on completing that wing. Its gonna look great. Sorry to hear the news about the door hinge, but hey its all part of the love/hate thing everyone has with their e30. You'll get over it -
the setback previously referred to
yeah, so i've been busy...
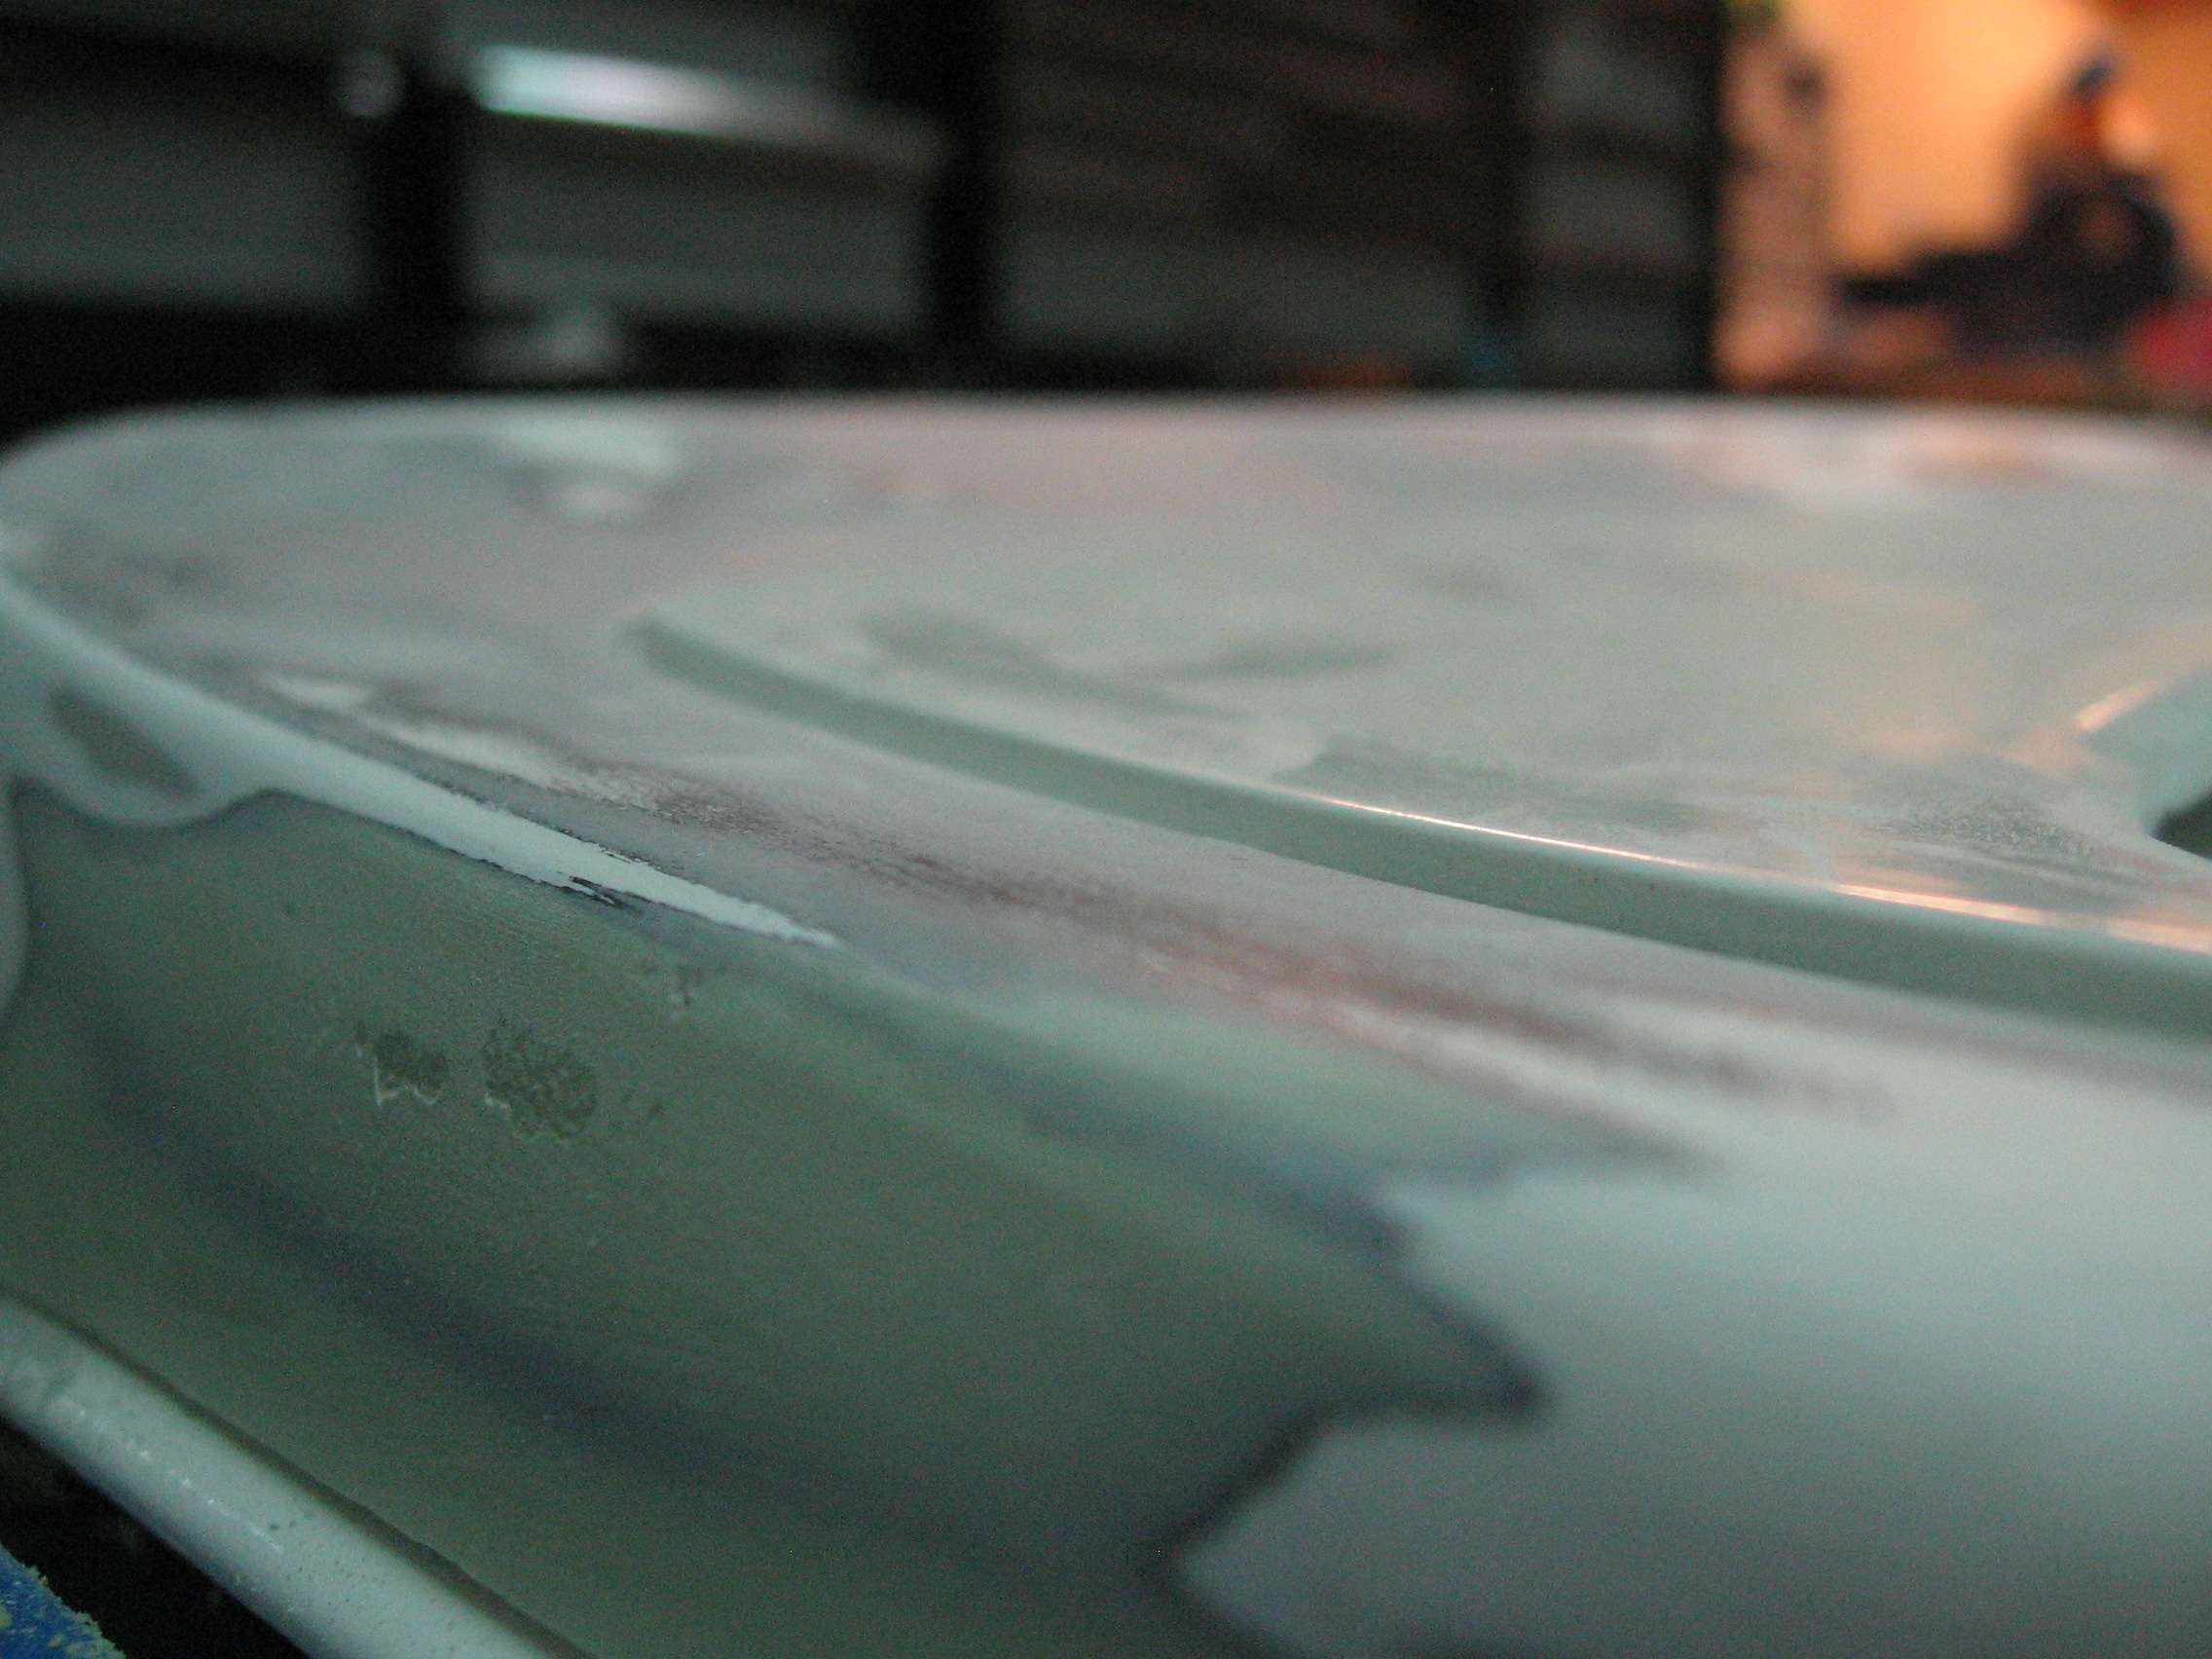
but progress has been made though it's pretty pathetic. First things first. Who wants to guess what happened in this picture?
Details at the end of the post.
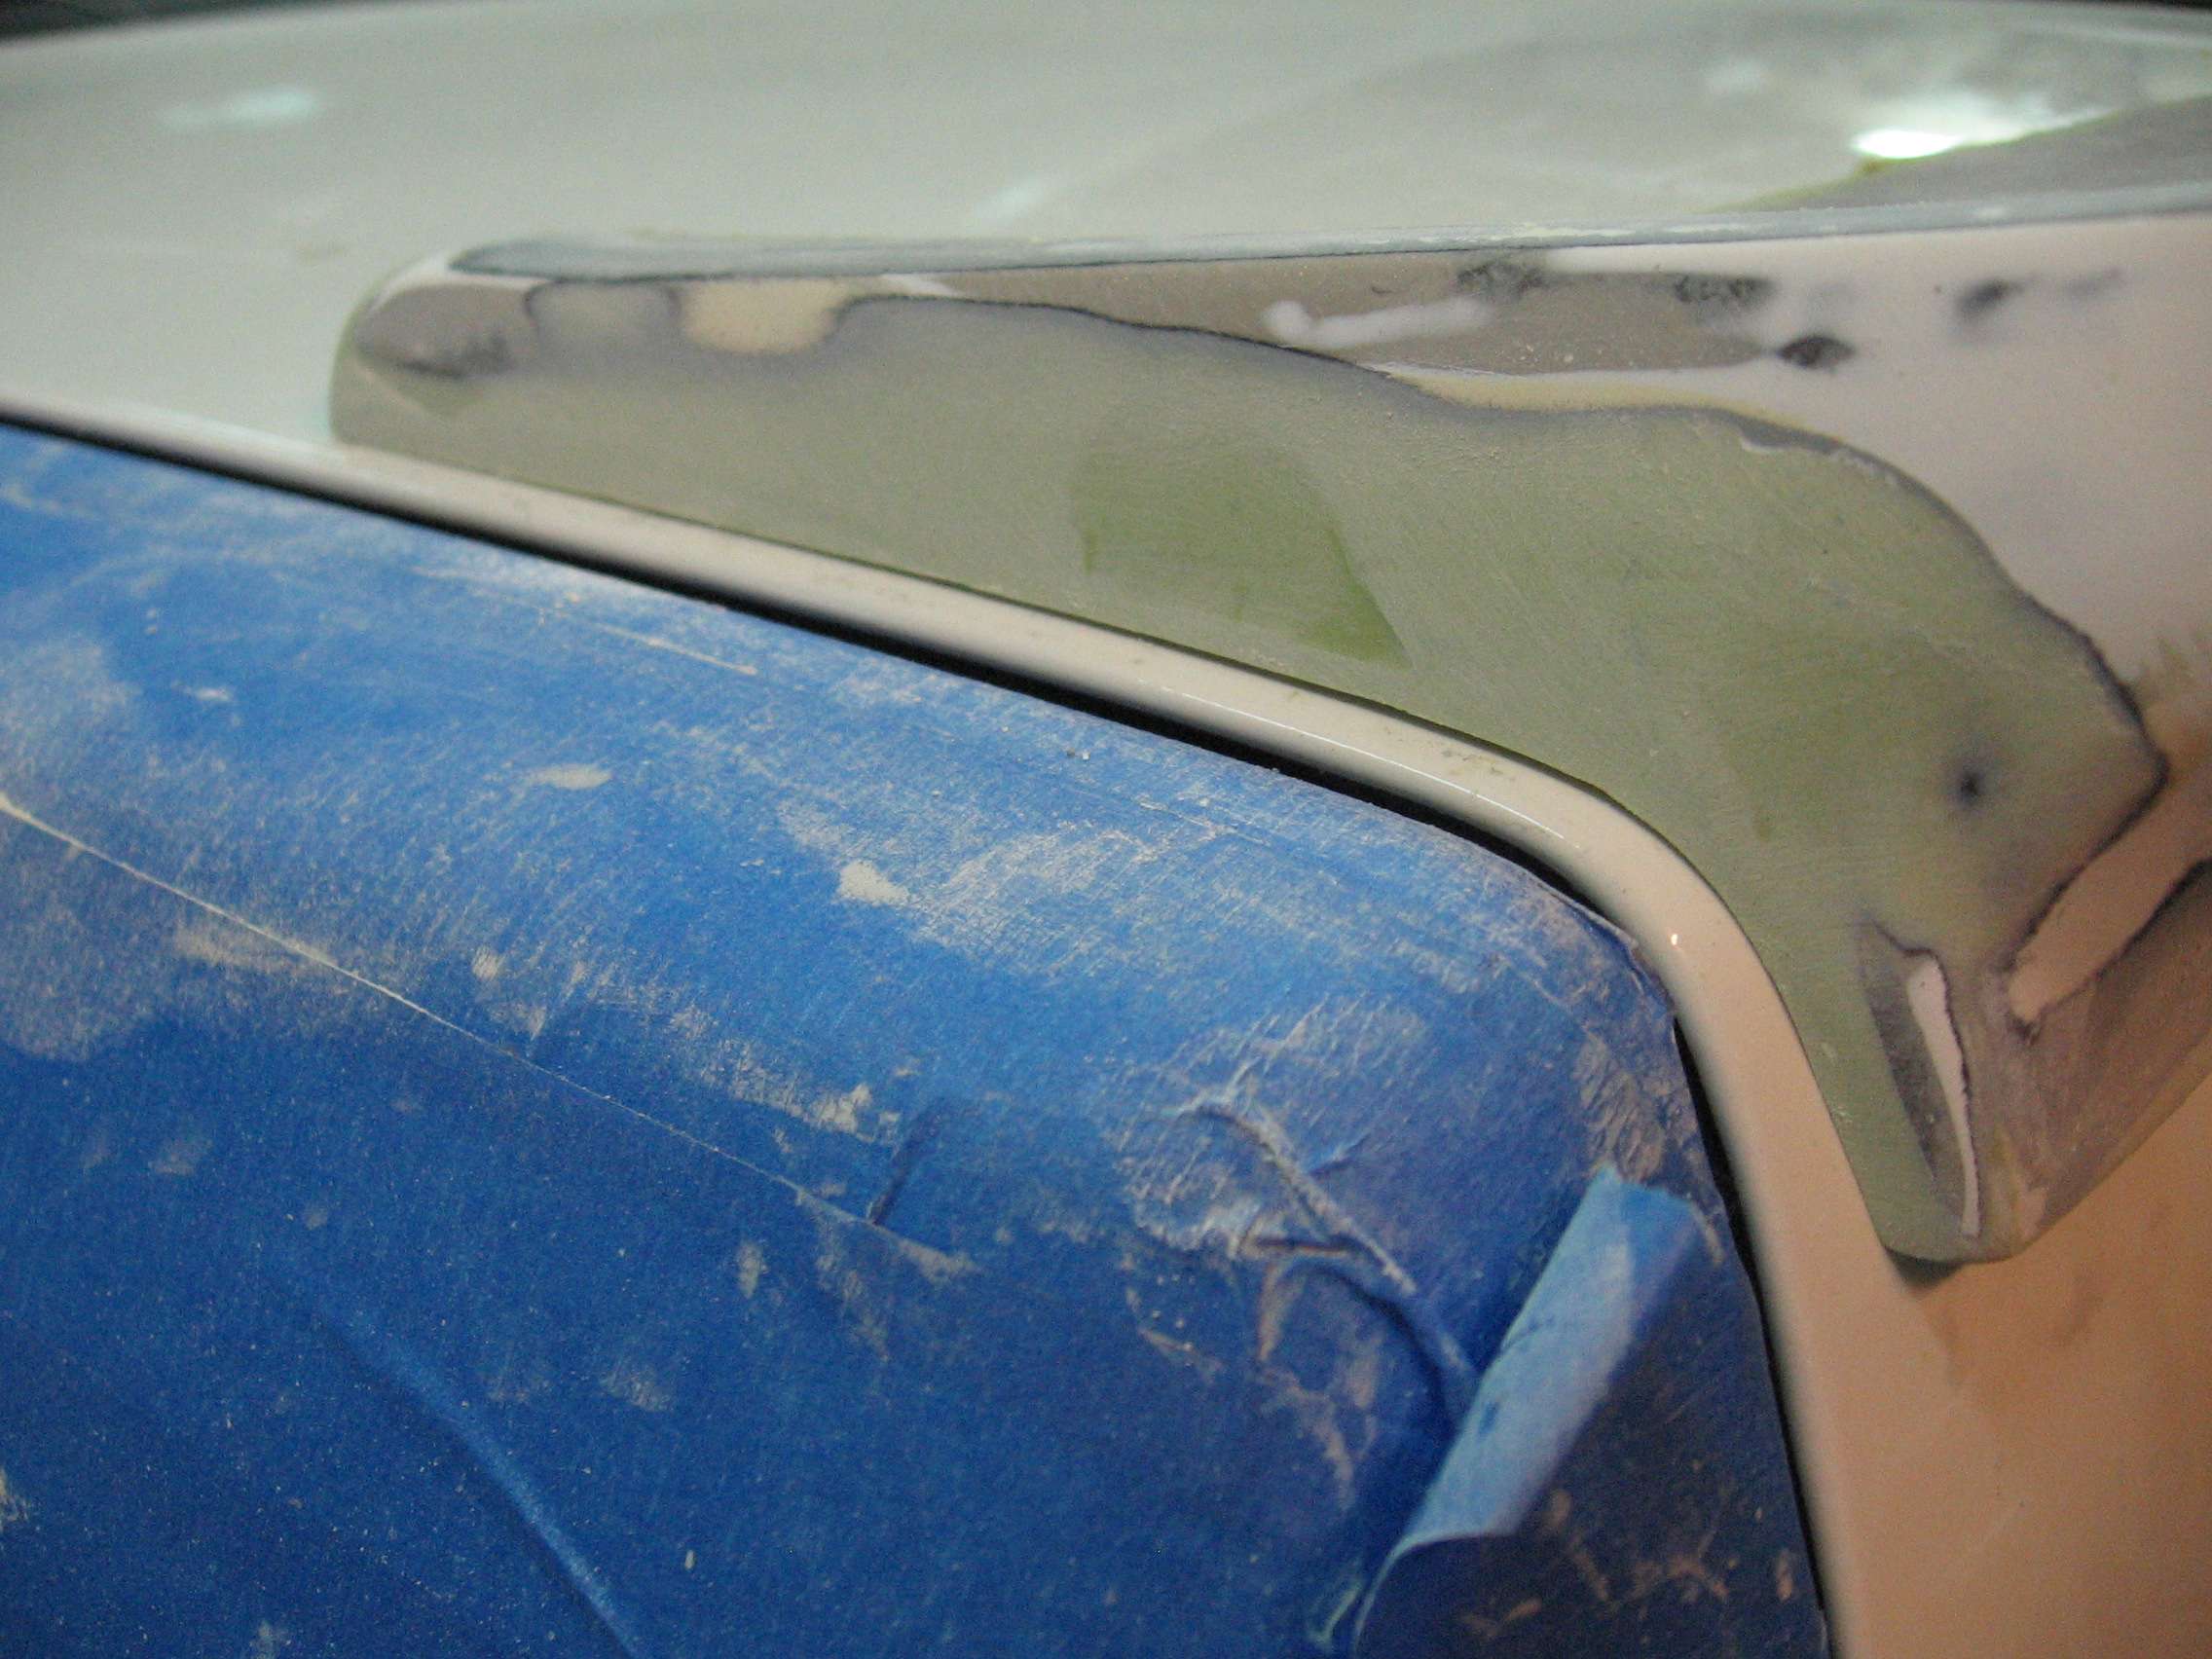
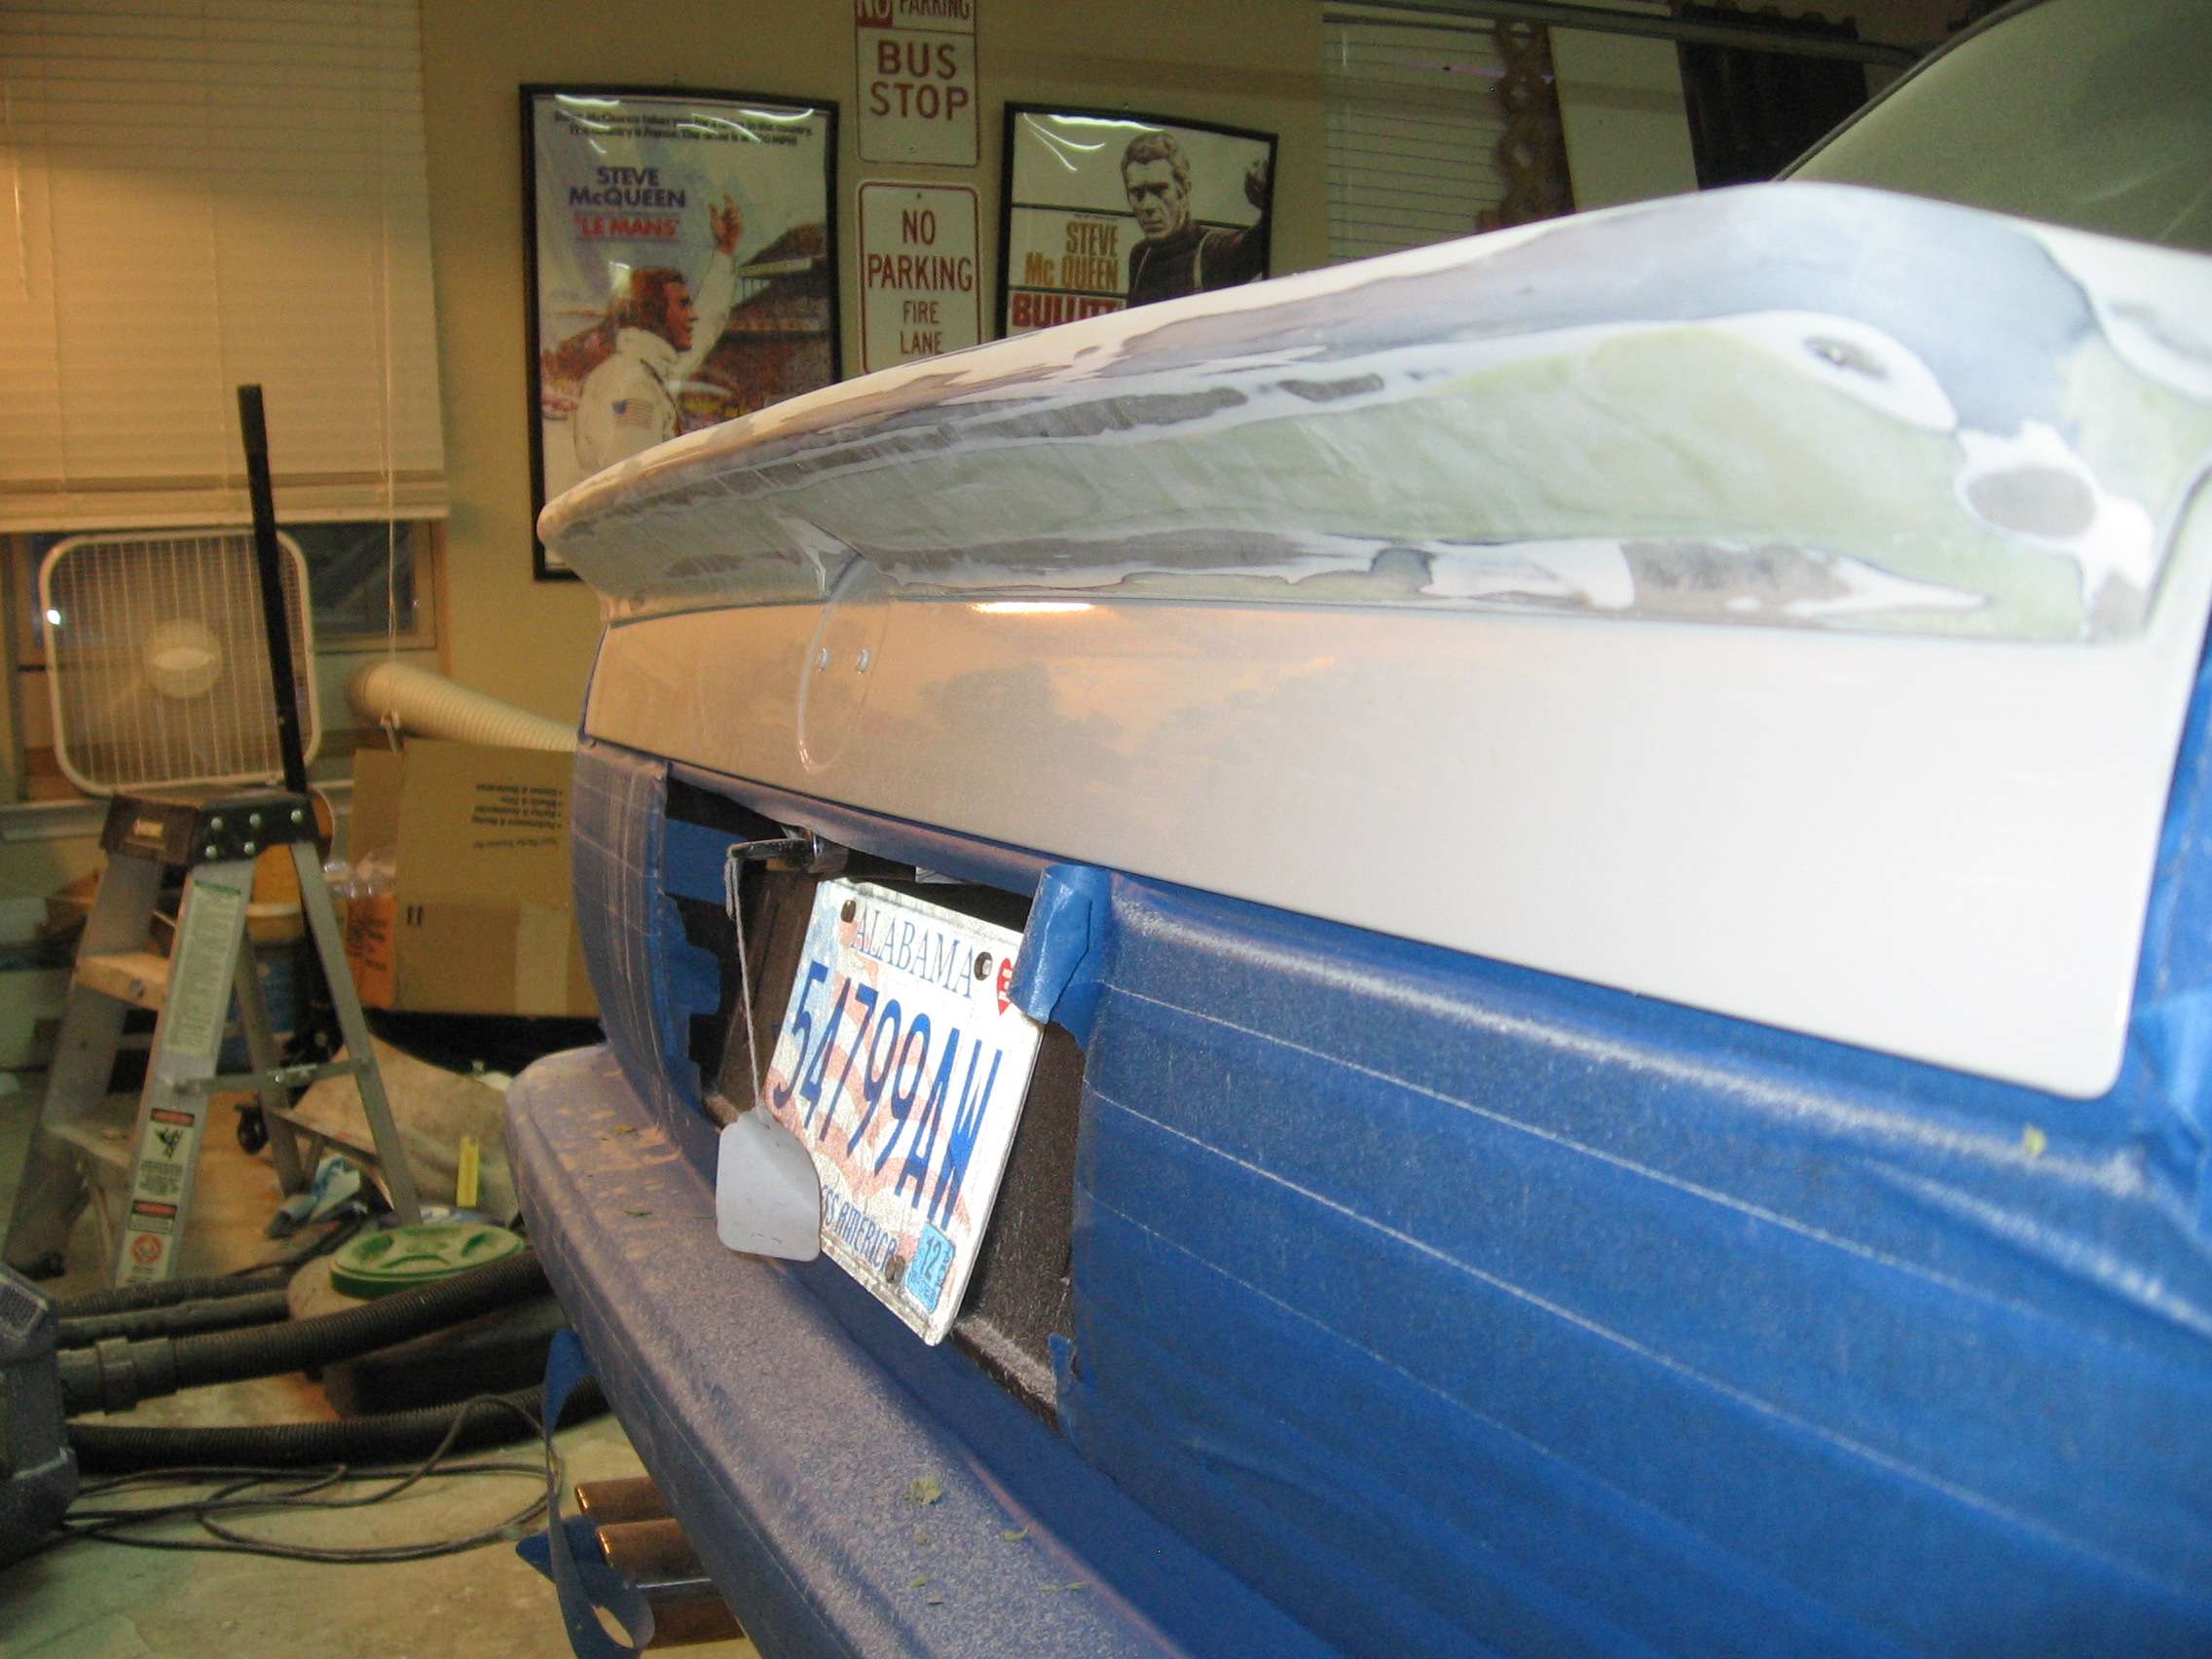
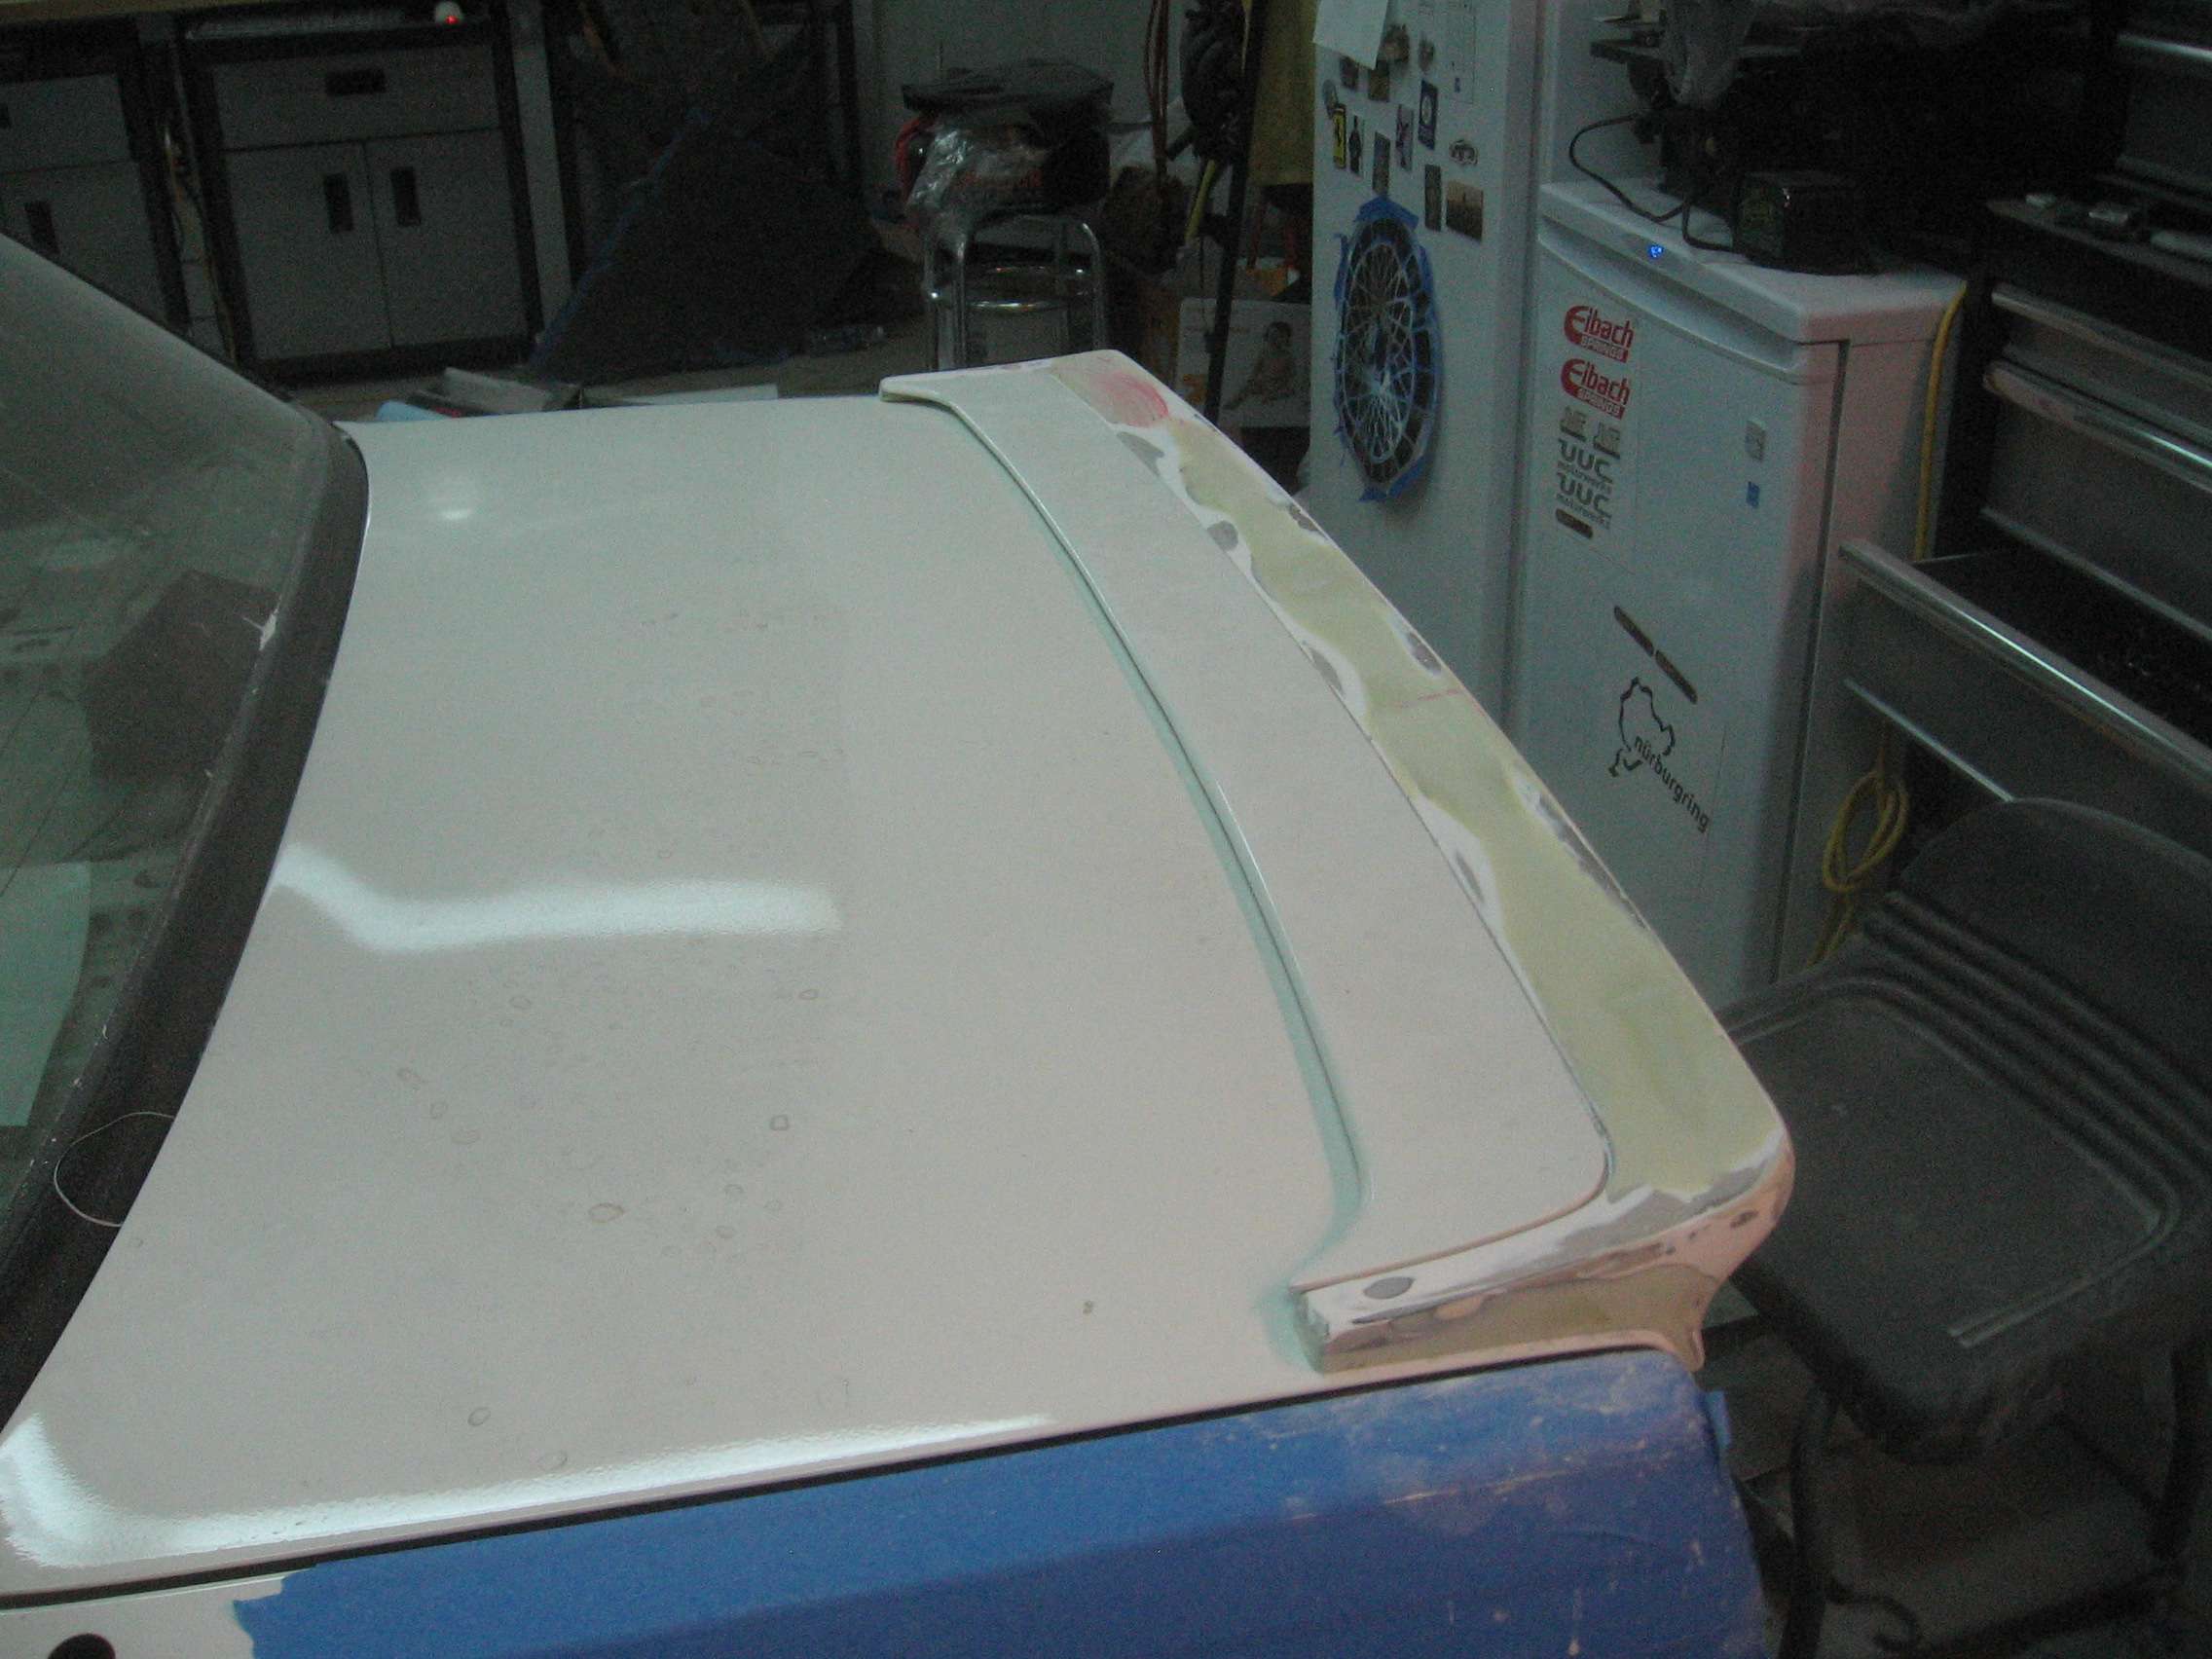
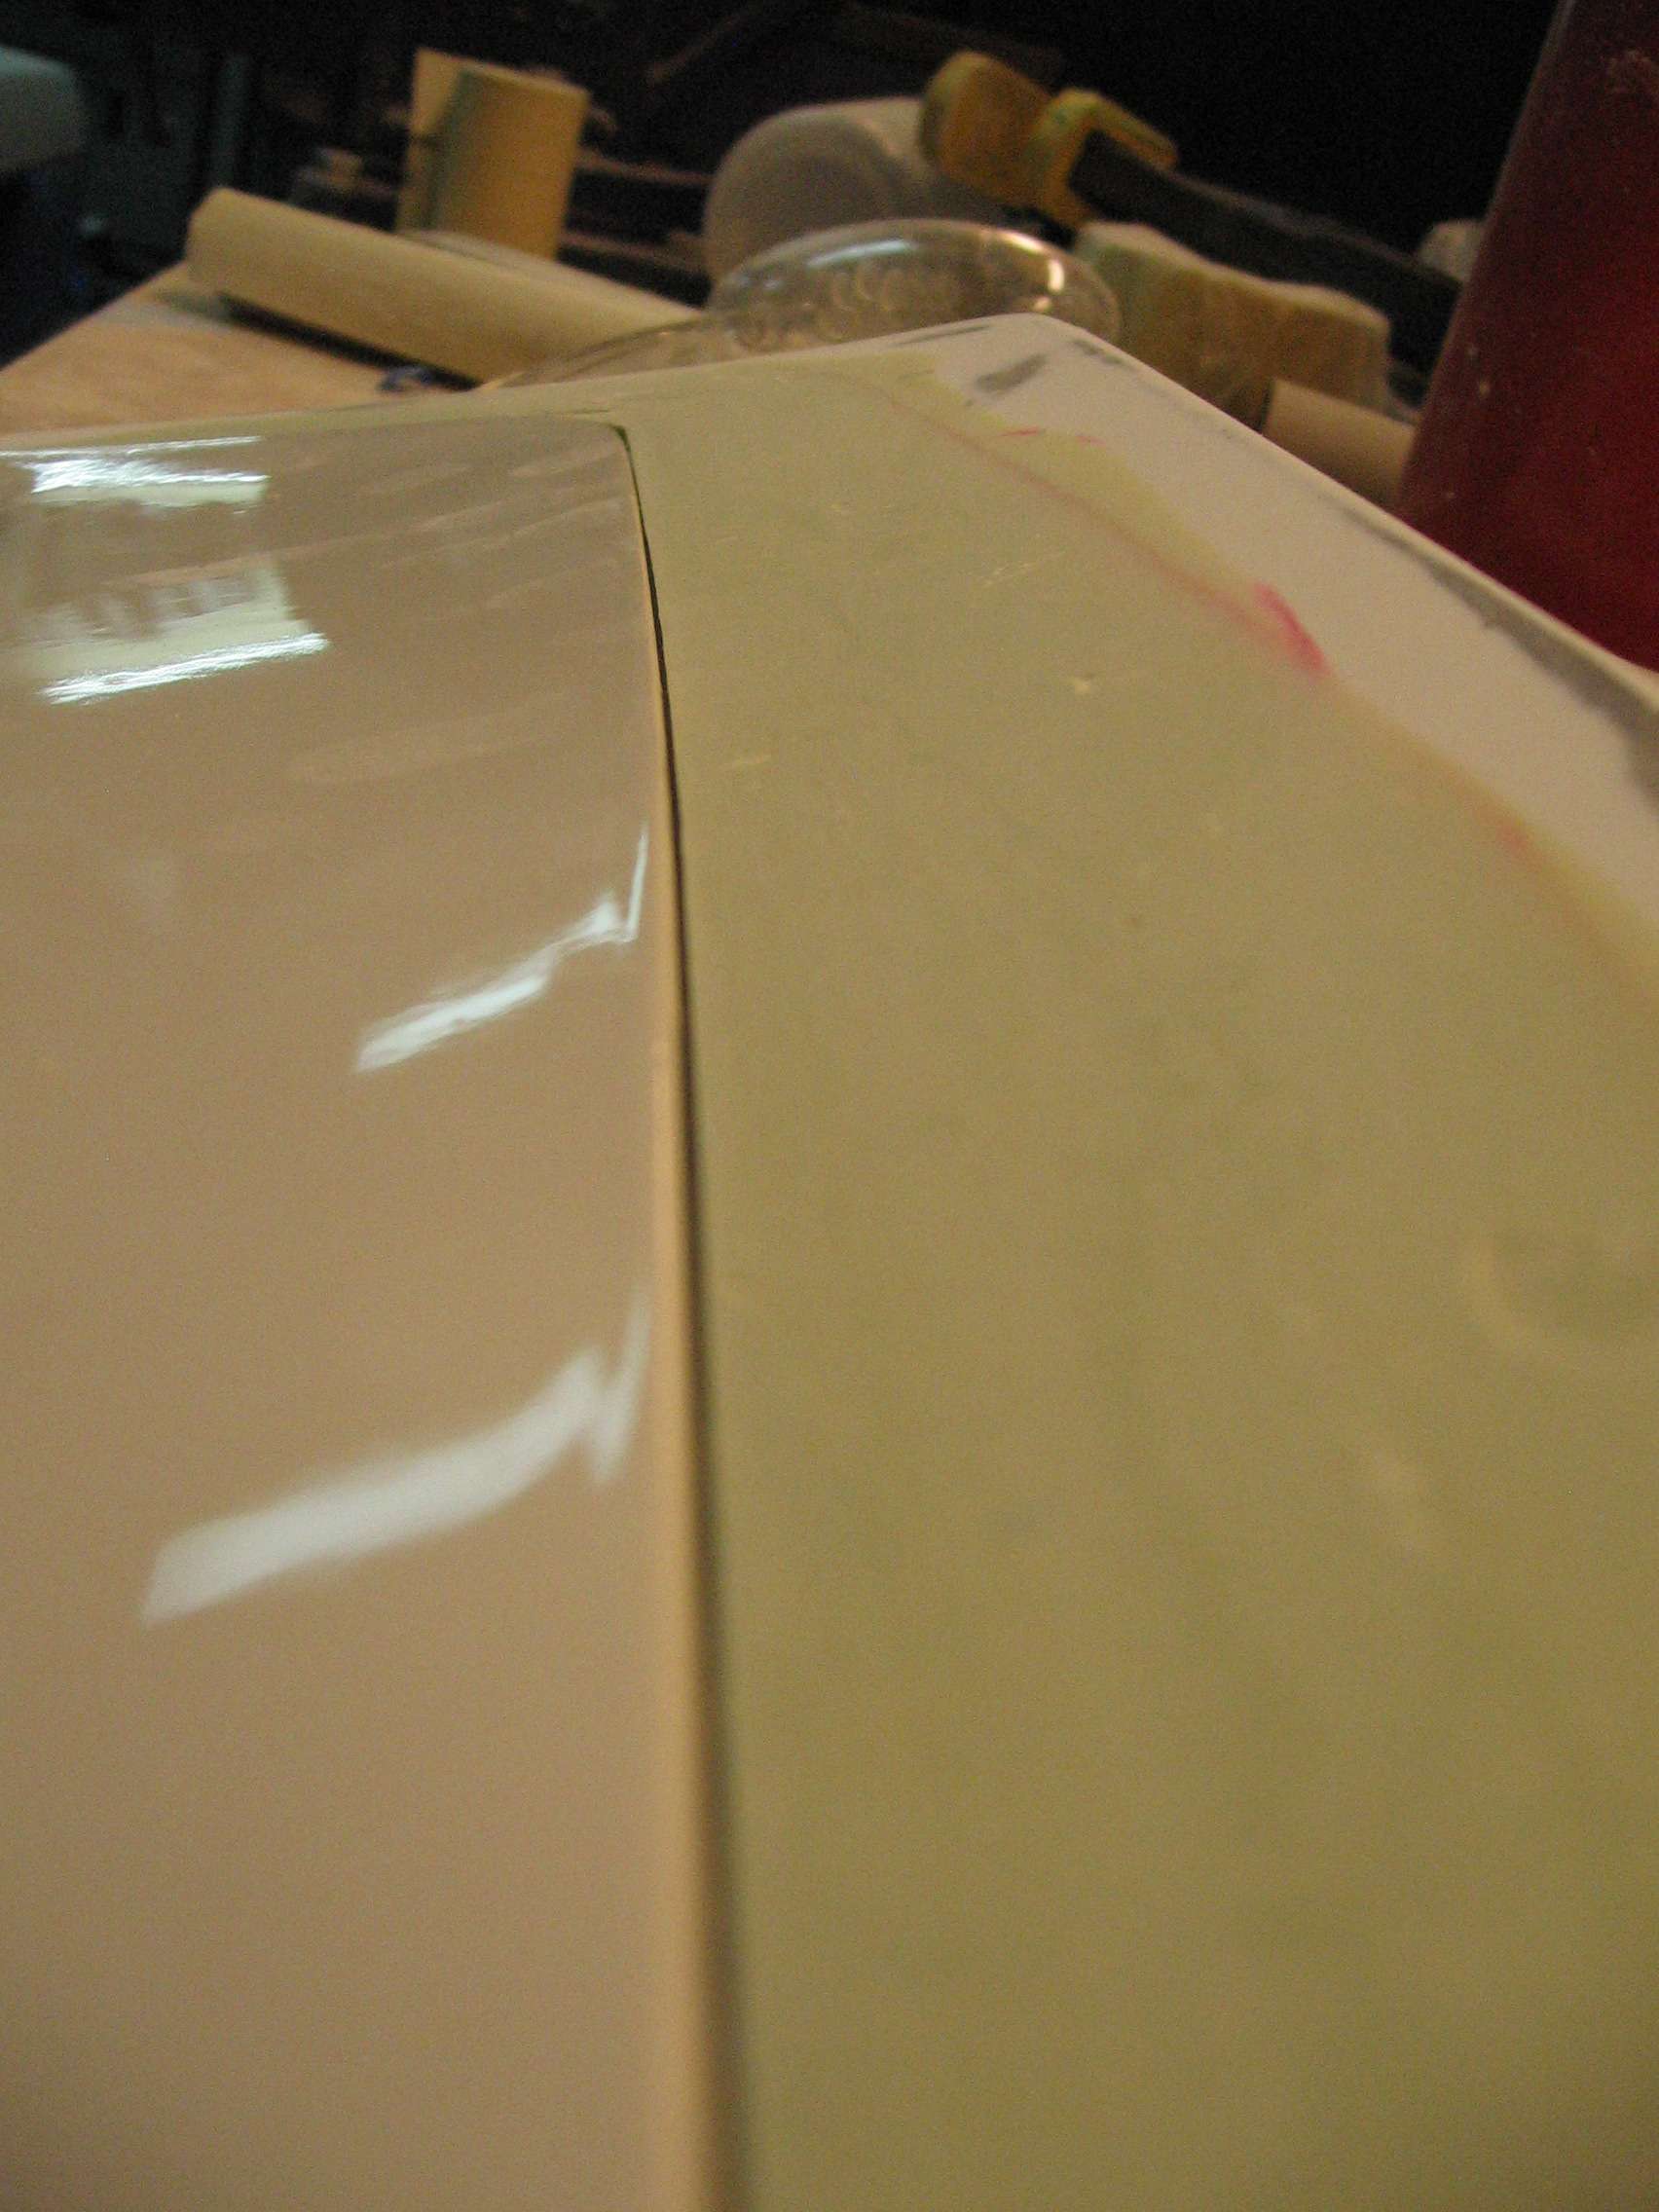
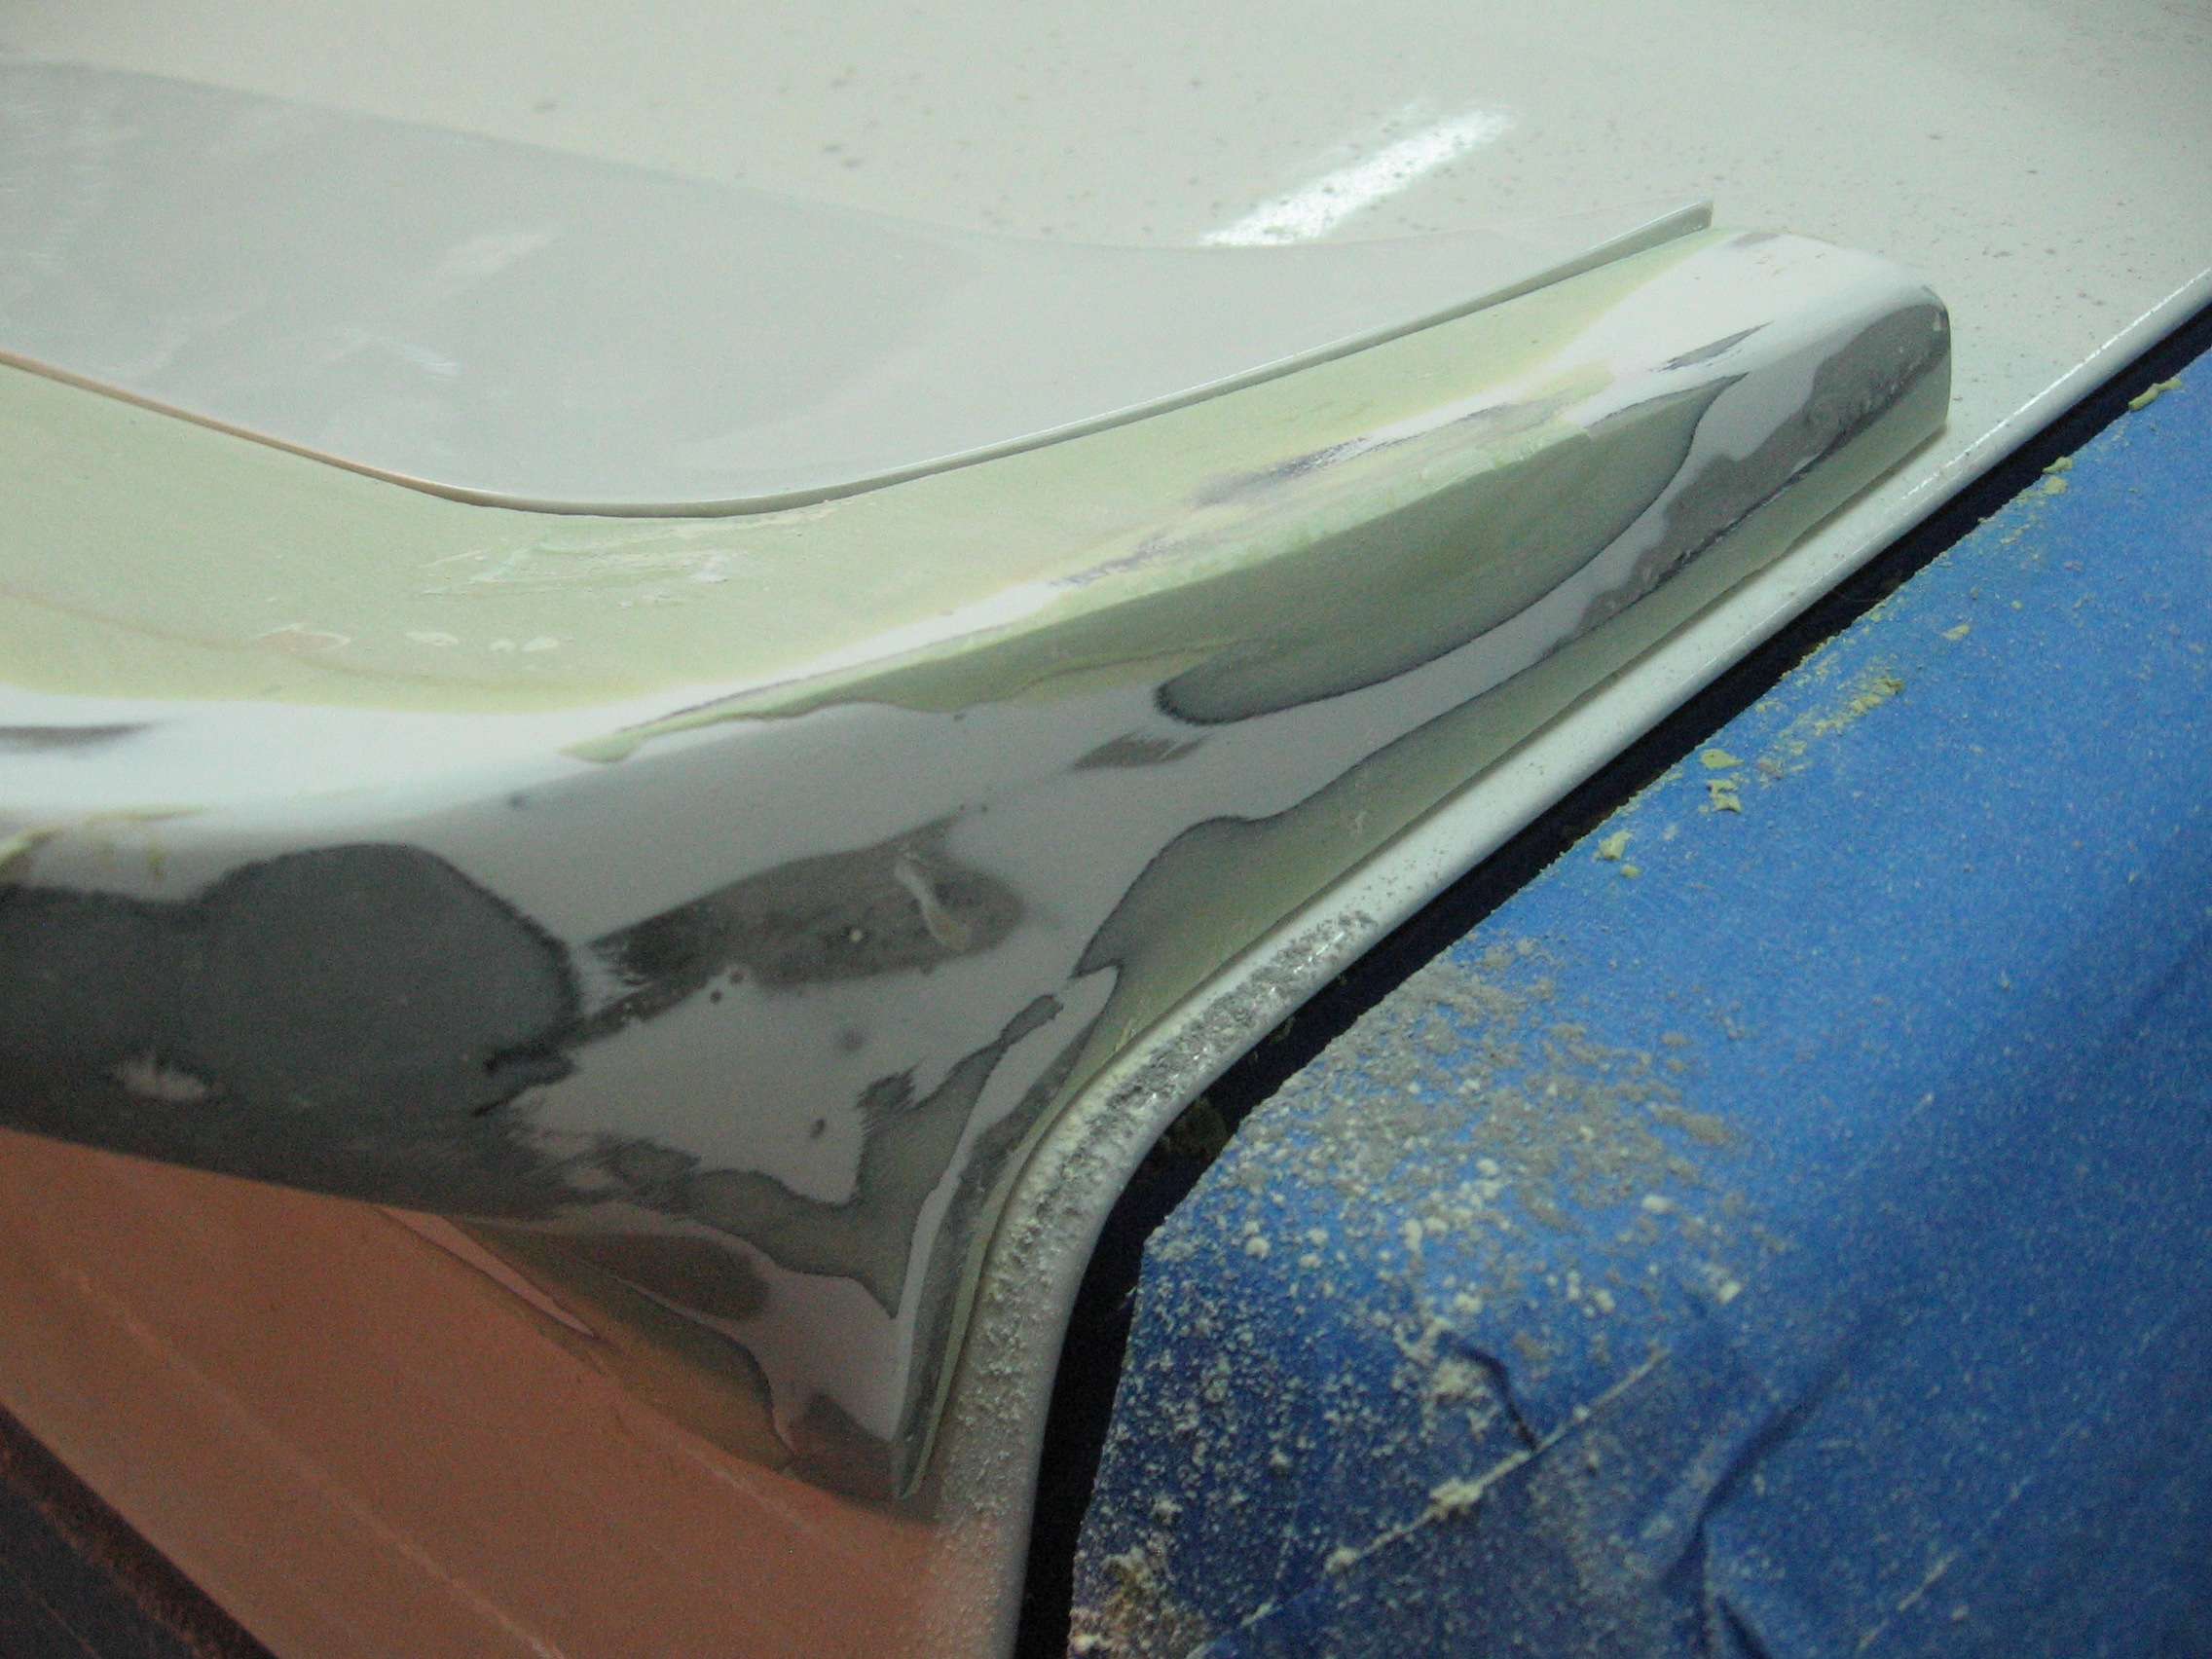
A great deal of work has been spent working on the Mtech I replica wing. I will just say that I am disappointed in the quality of the wing and leave it at that. I think the pictures will do the majority of the talking. I didn't get any pictures of it but I taped the decklid and then bolted the wing down in the correct position. The gaps were atrocious so I filled them with the filler. From there, I used lots of water to soak the tape and some floss to separate the tape from the deck lid. The result was a wing perfectly contoured to the trunk.
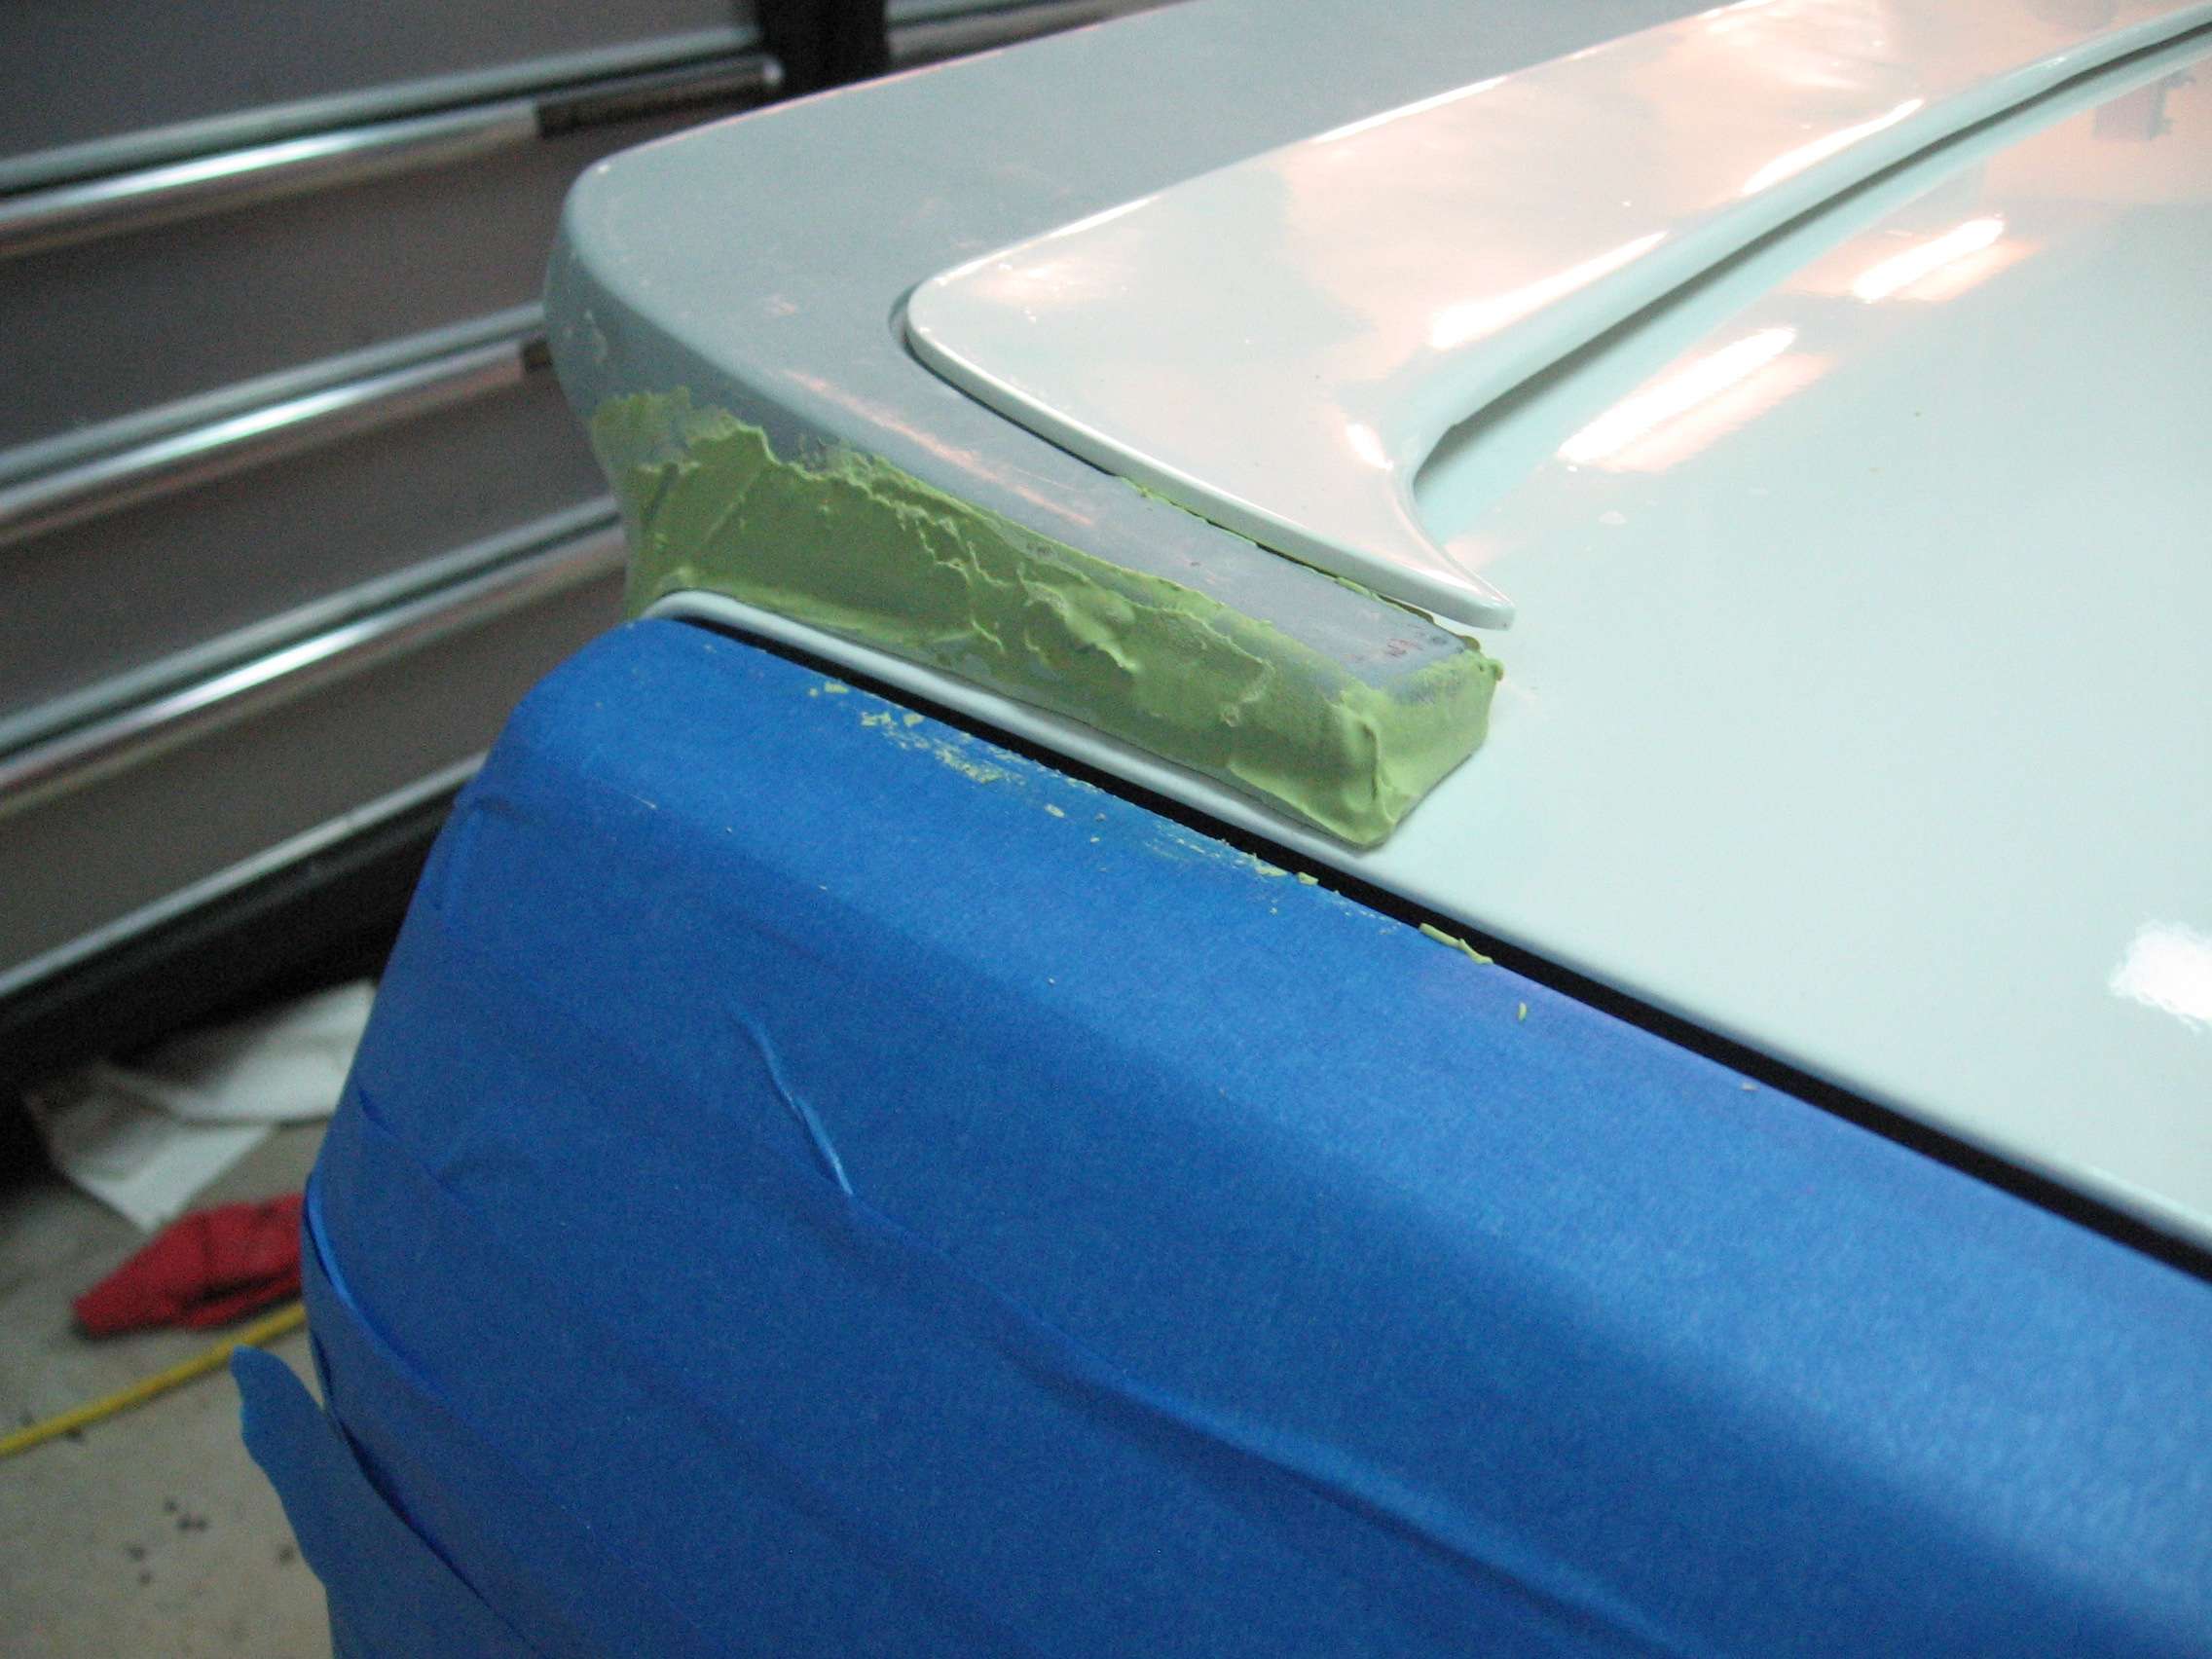
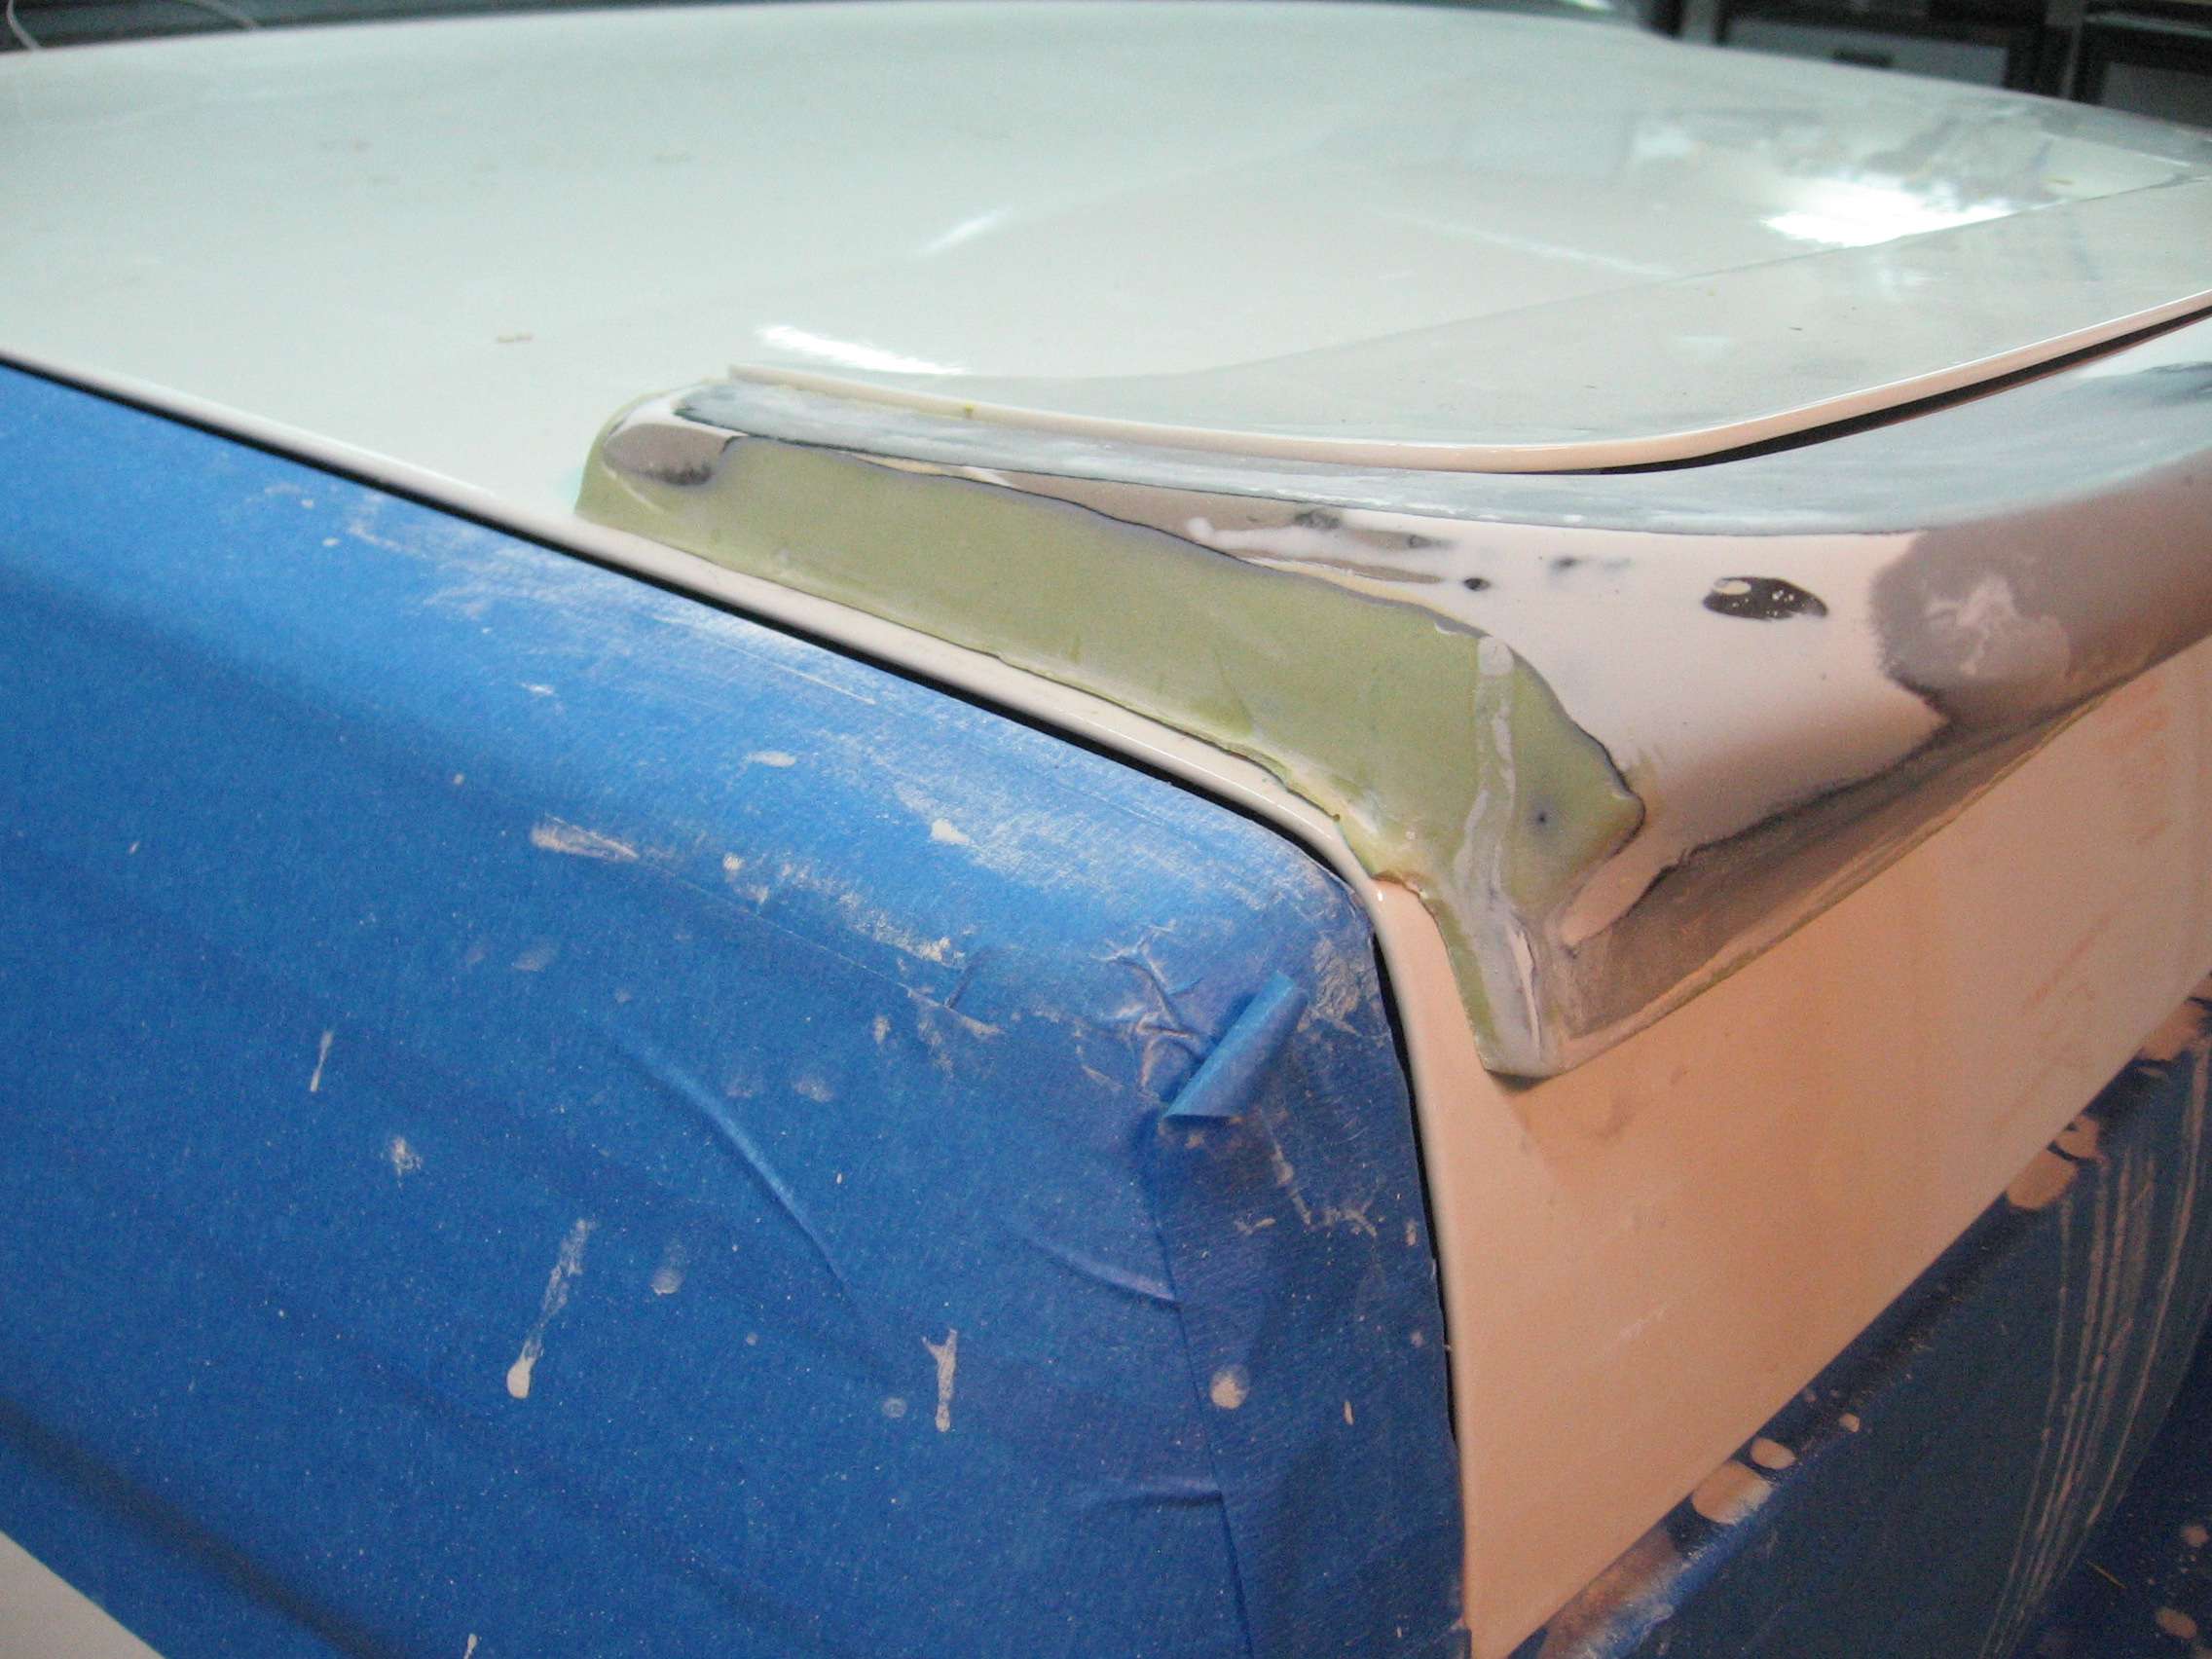
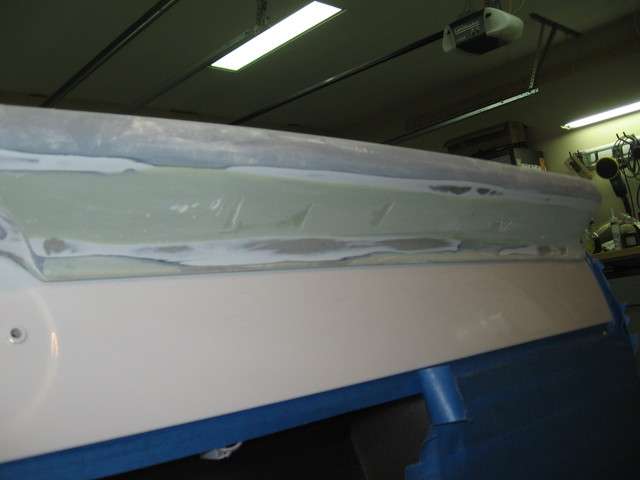
The filler isn't terrible thick either but it made a big difference in appearance. I decided to work on the back of the wing and get it flat. I used some dura block sanding tools and sandpaper combined with some Rage Extreme filler.
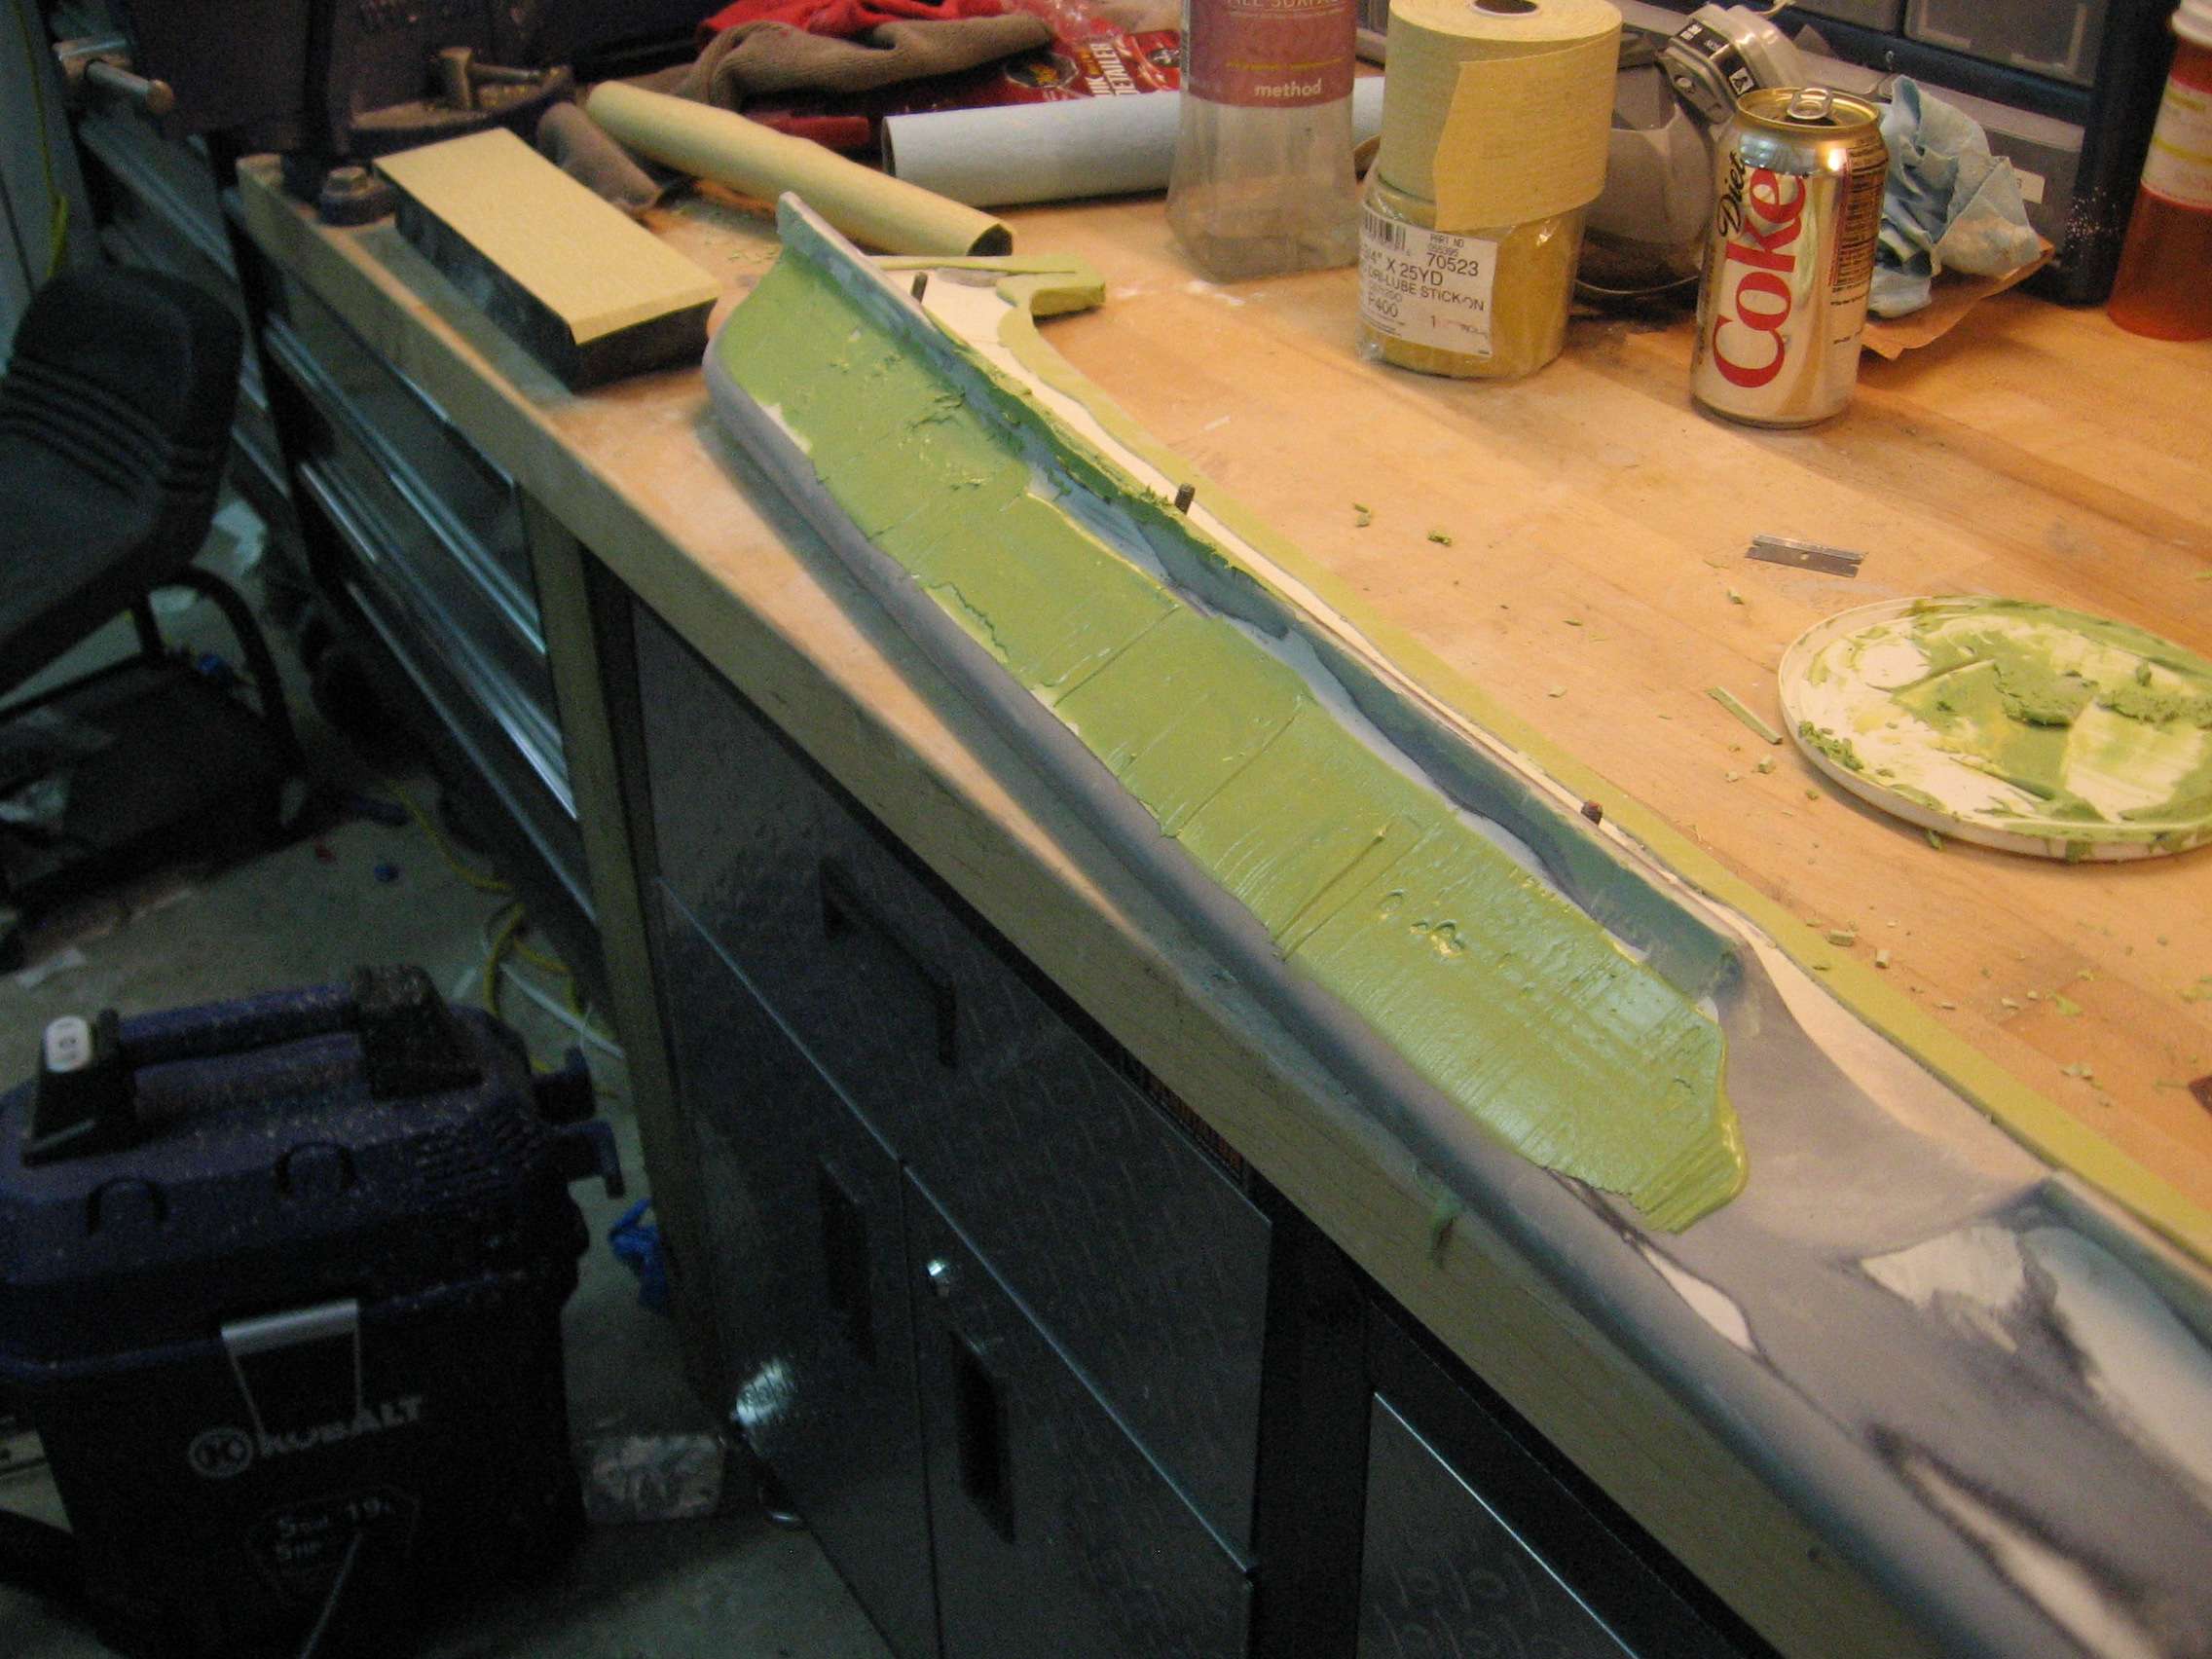
After sanding, things started looking better.
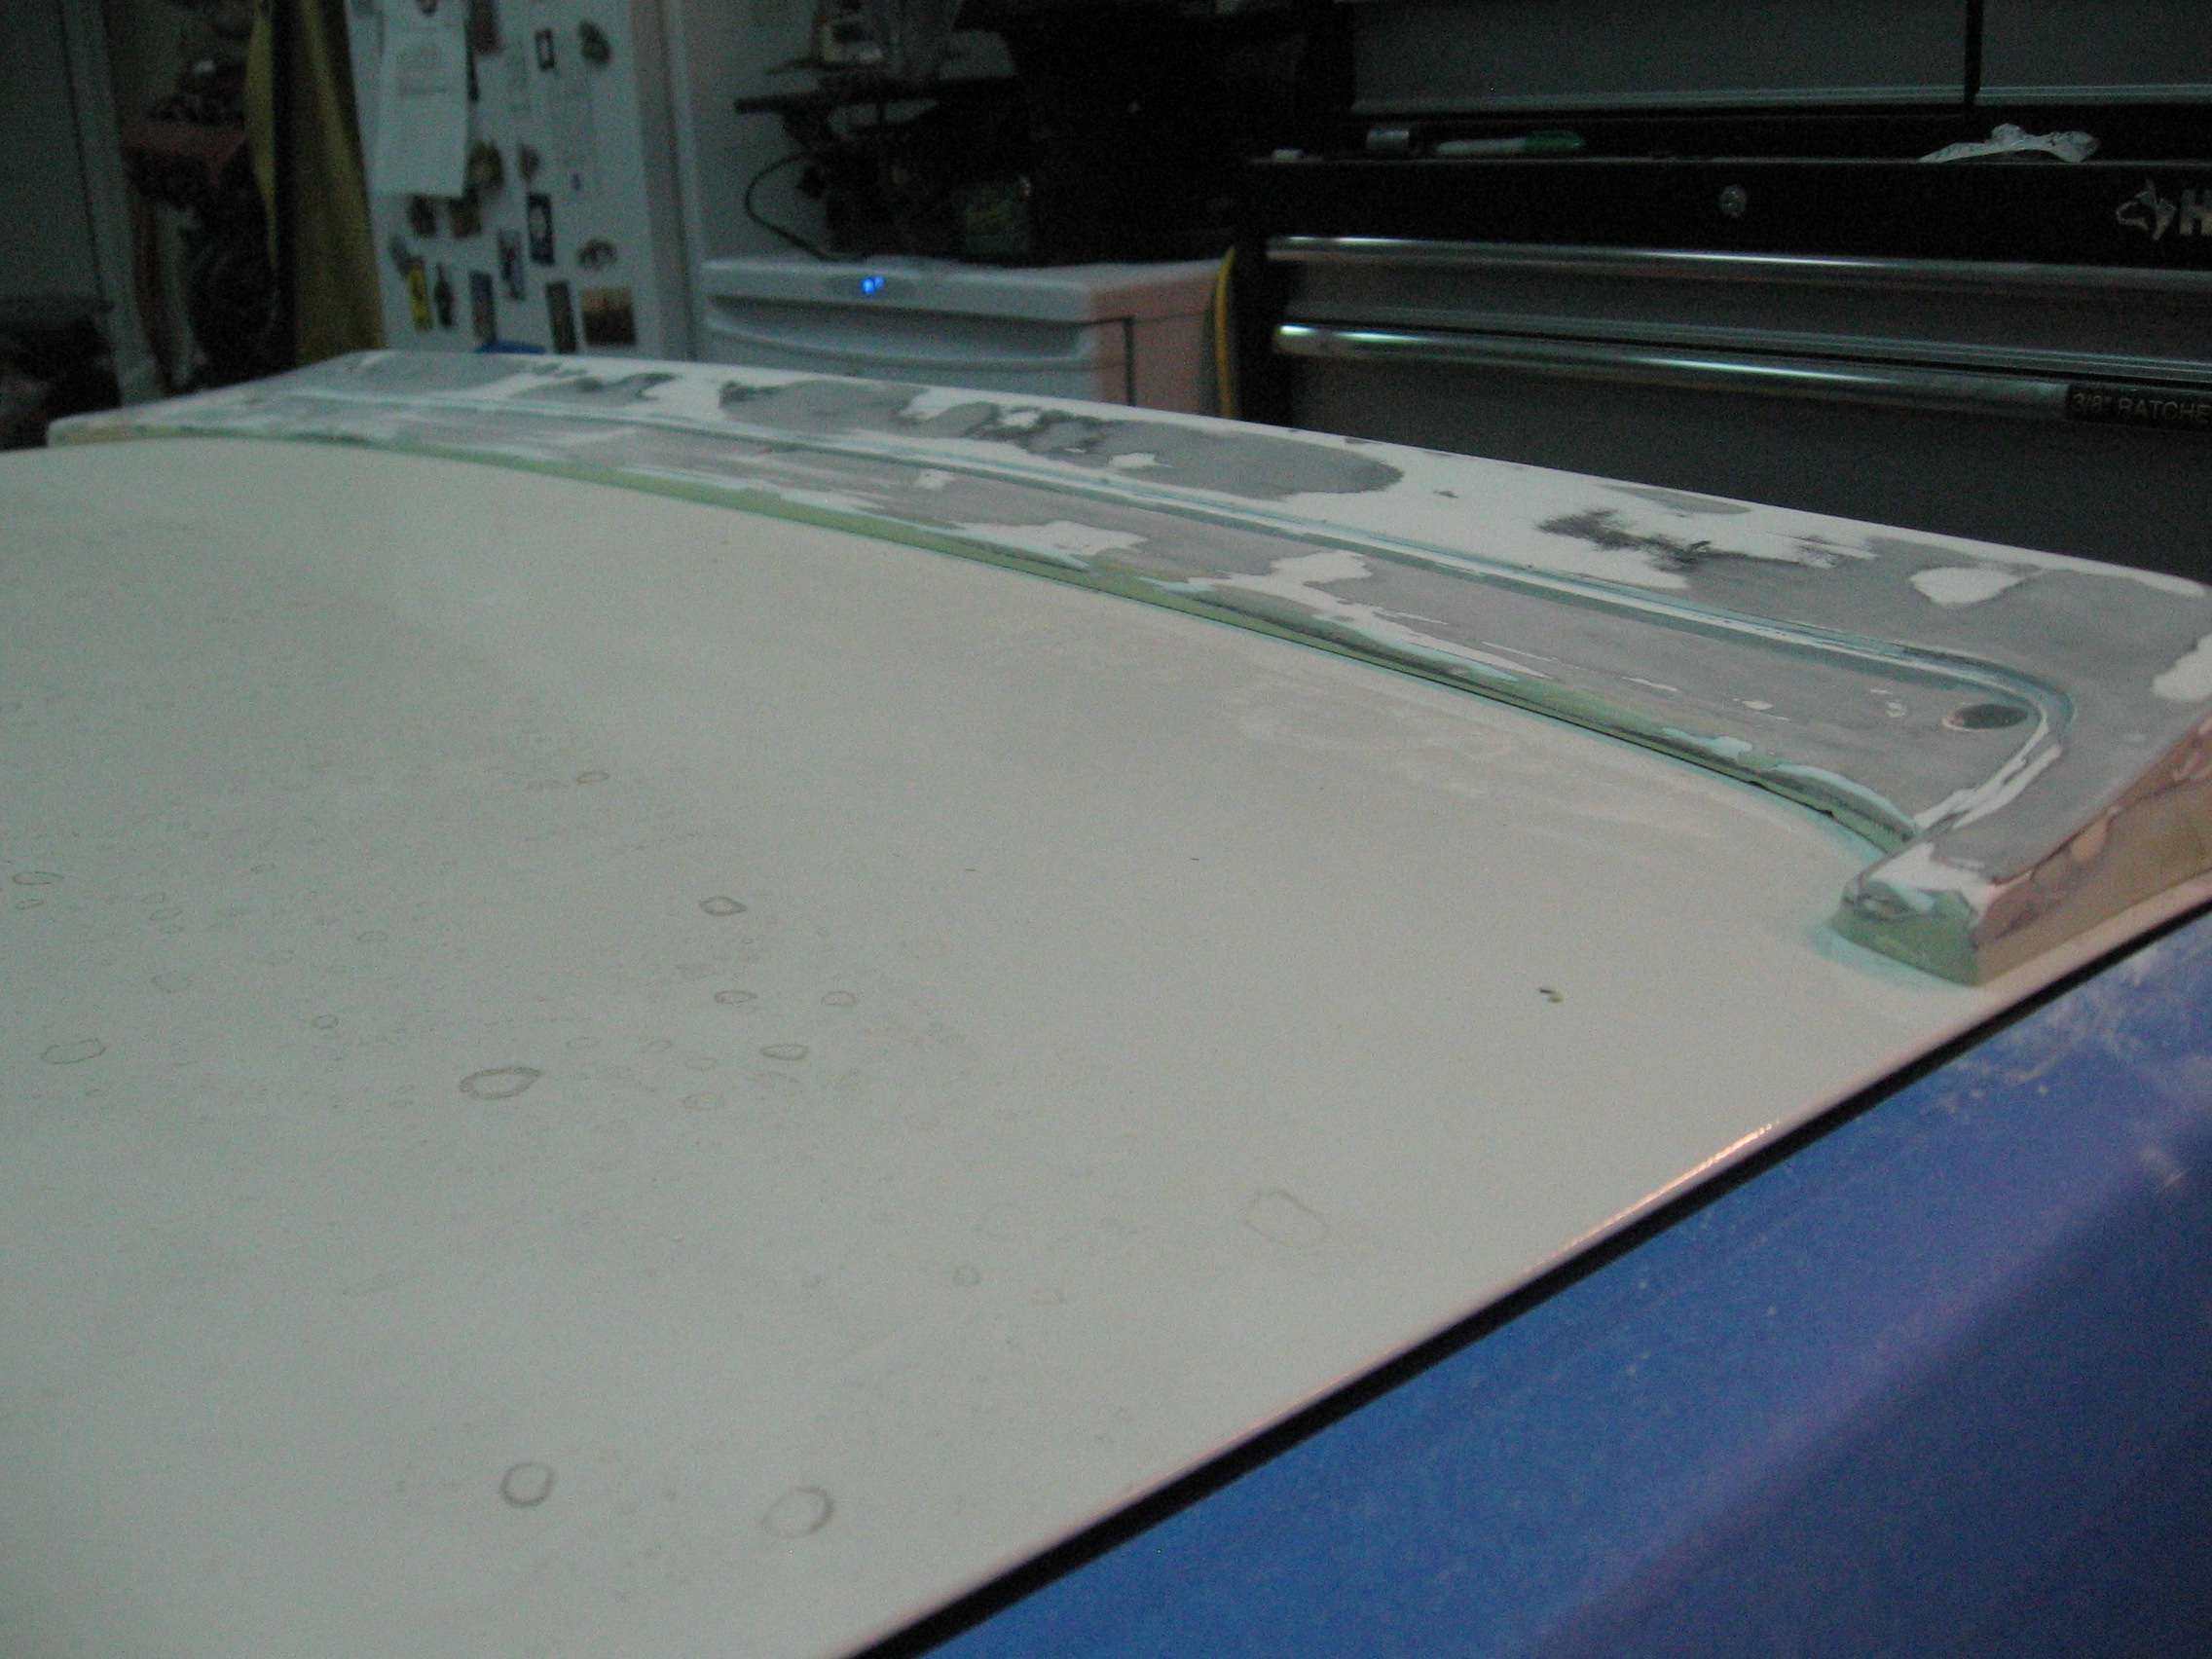
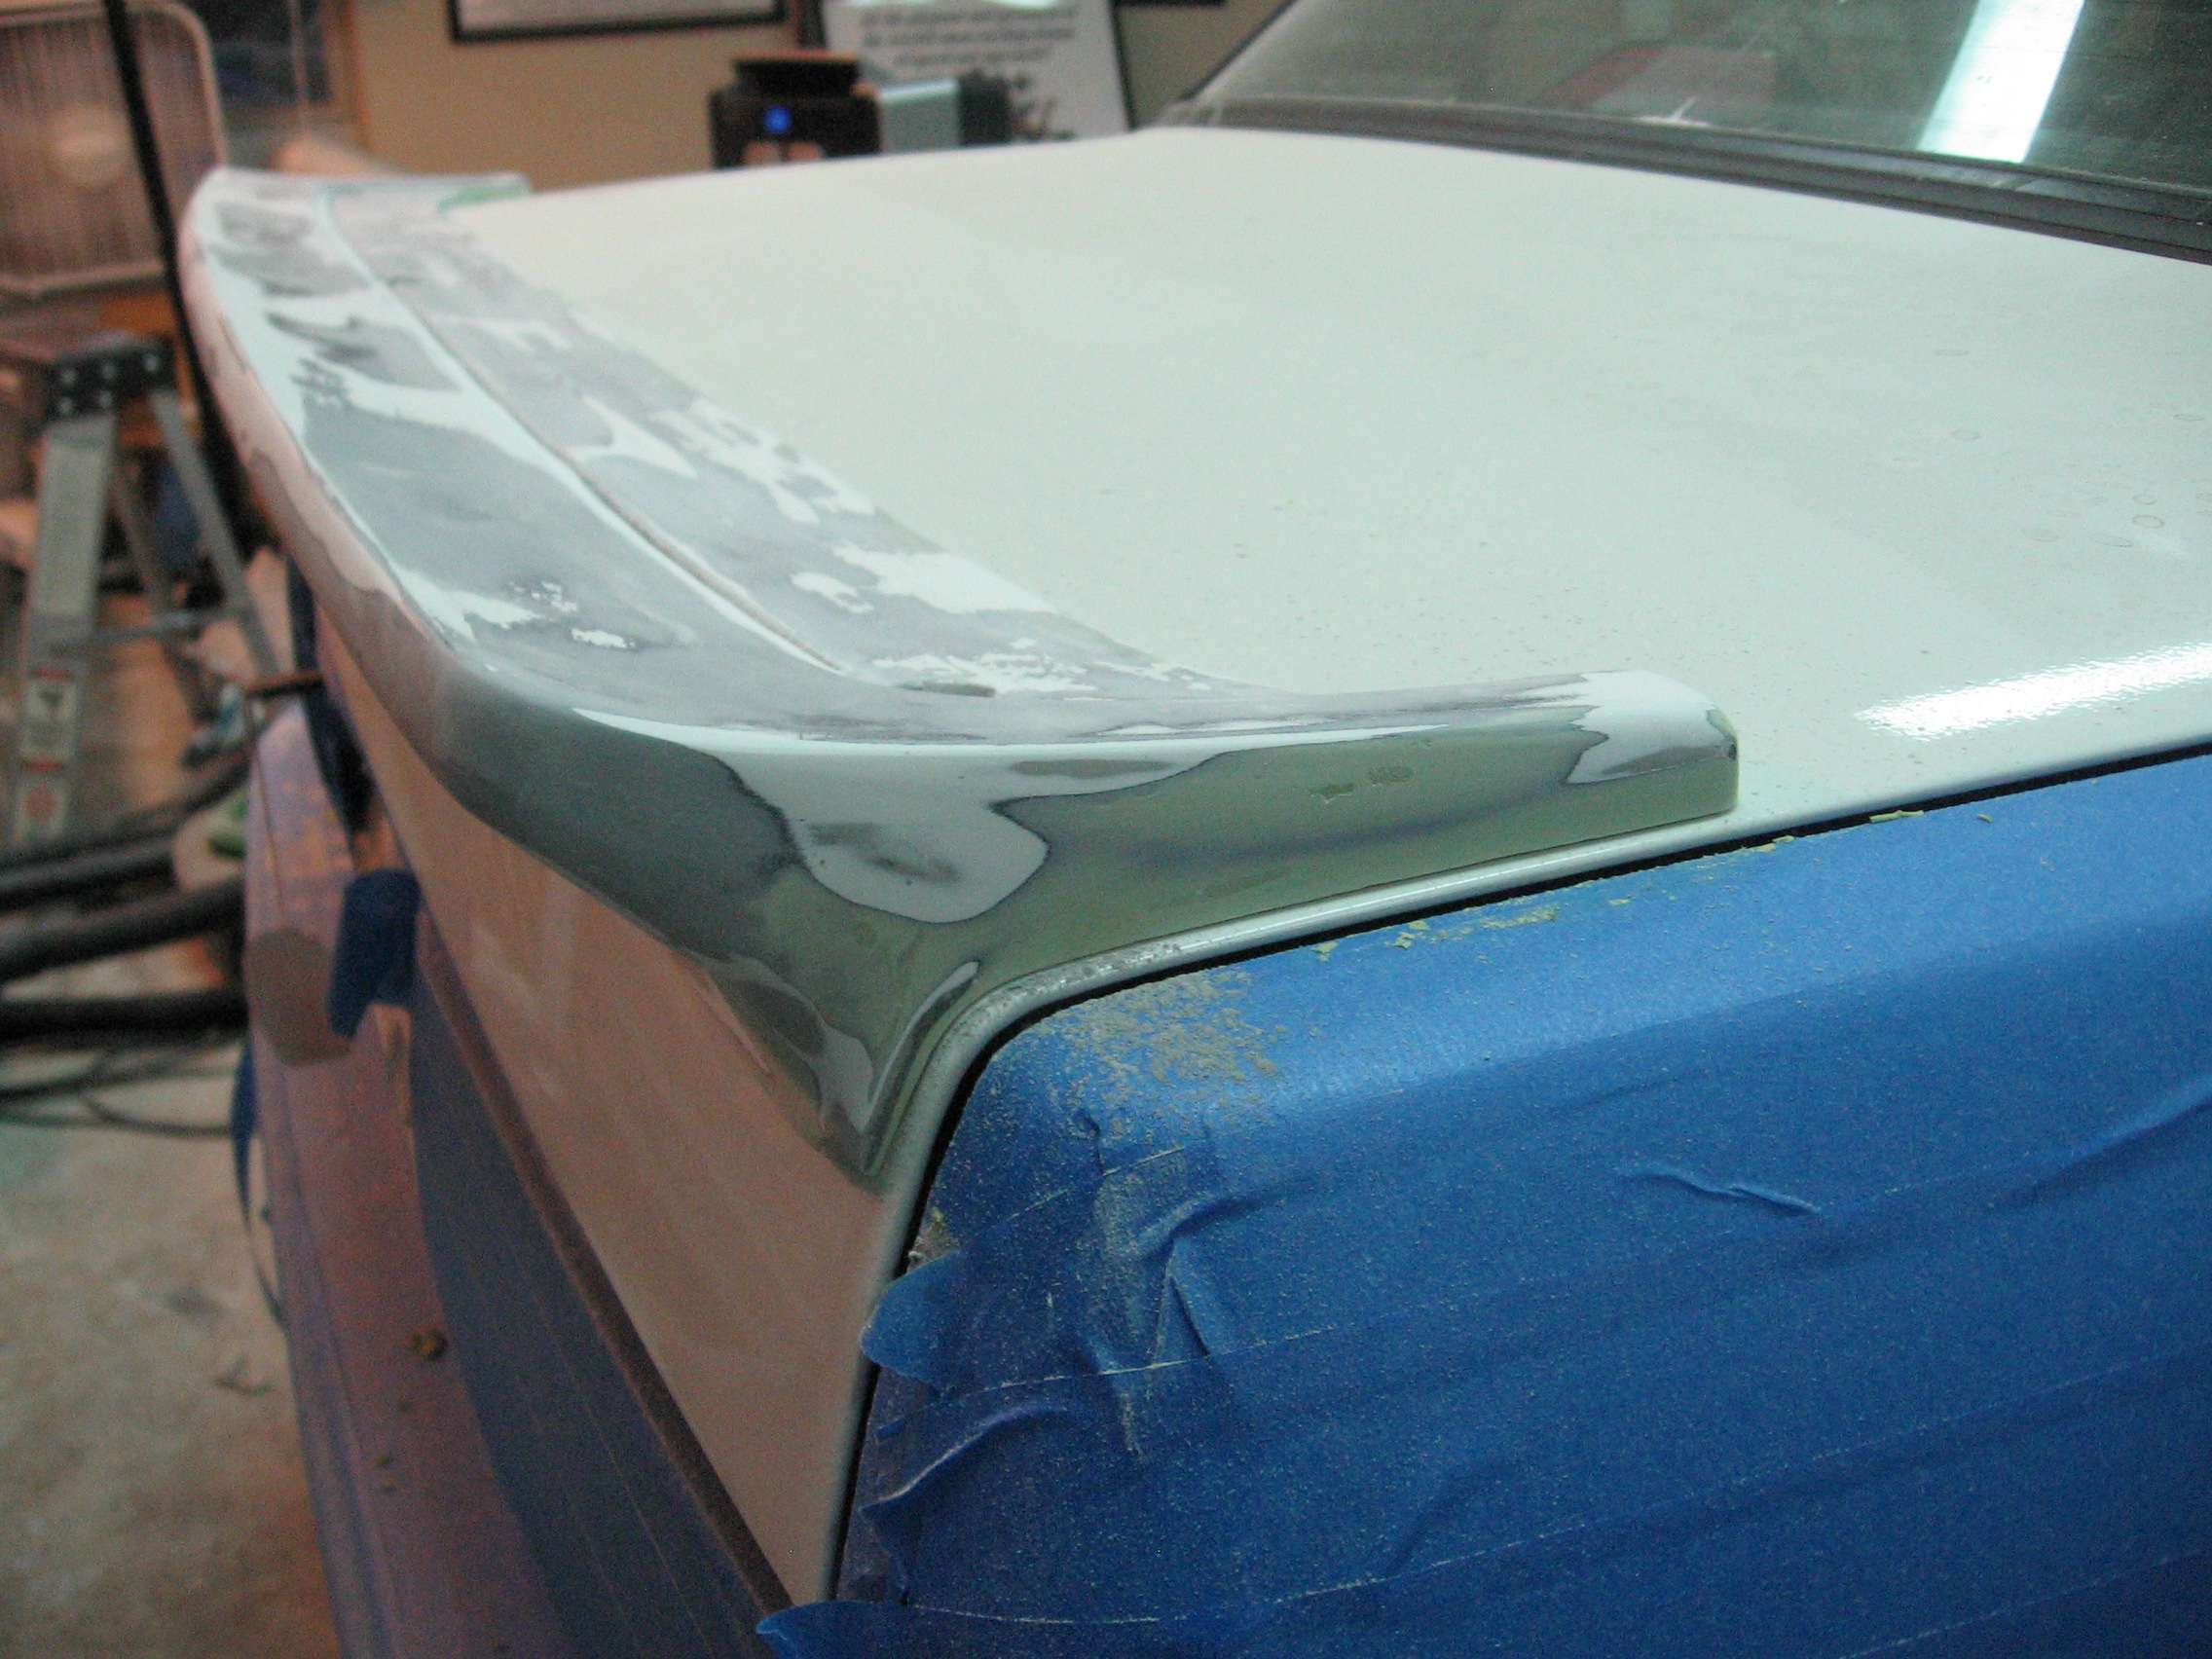
Fitment with the insert still wasn't satisfactory.
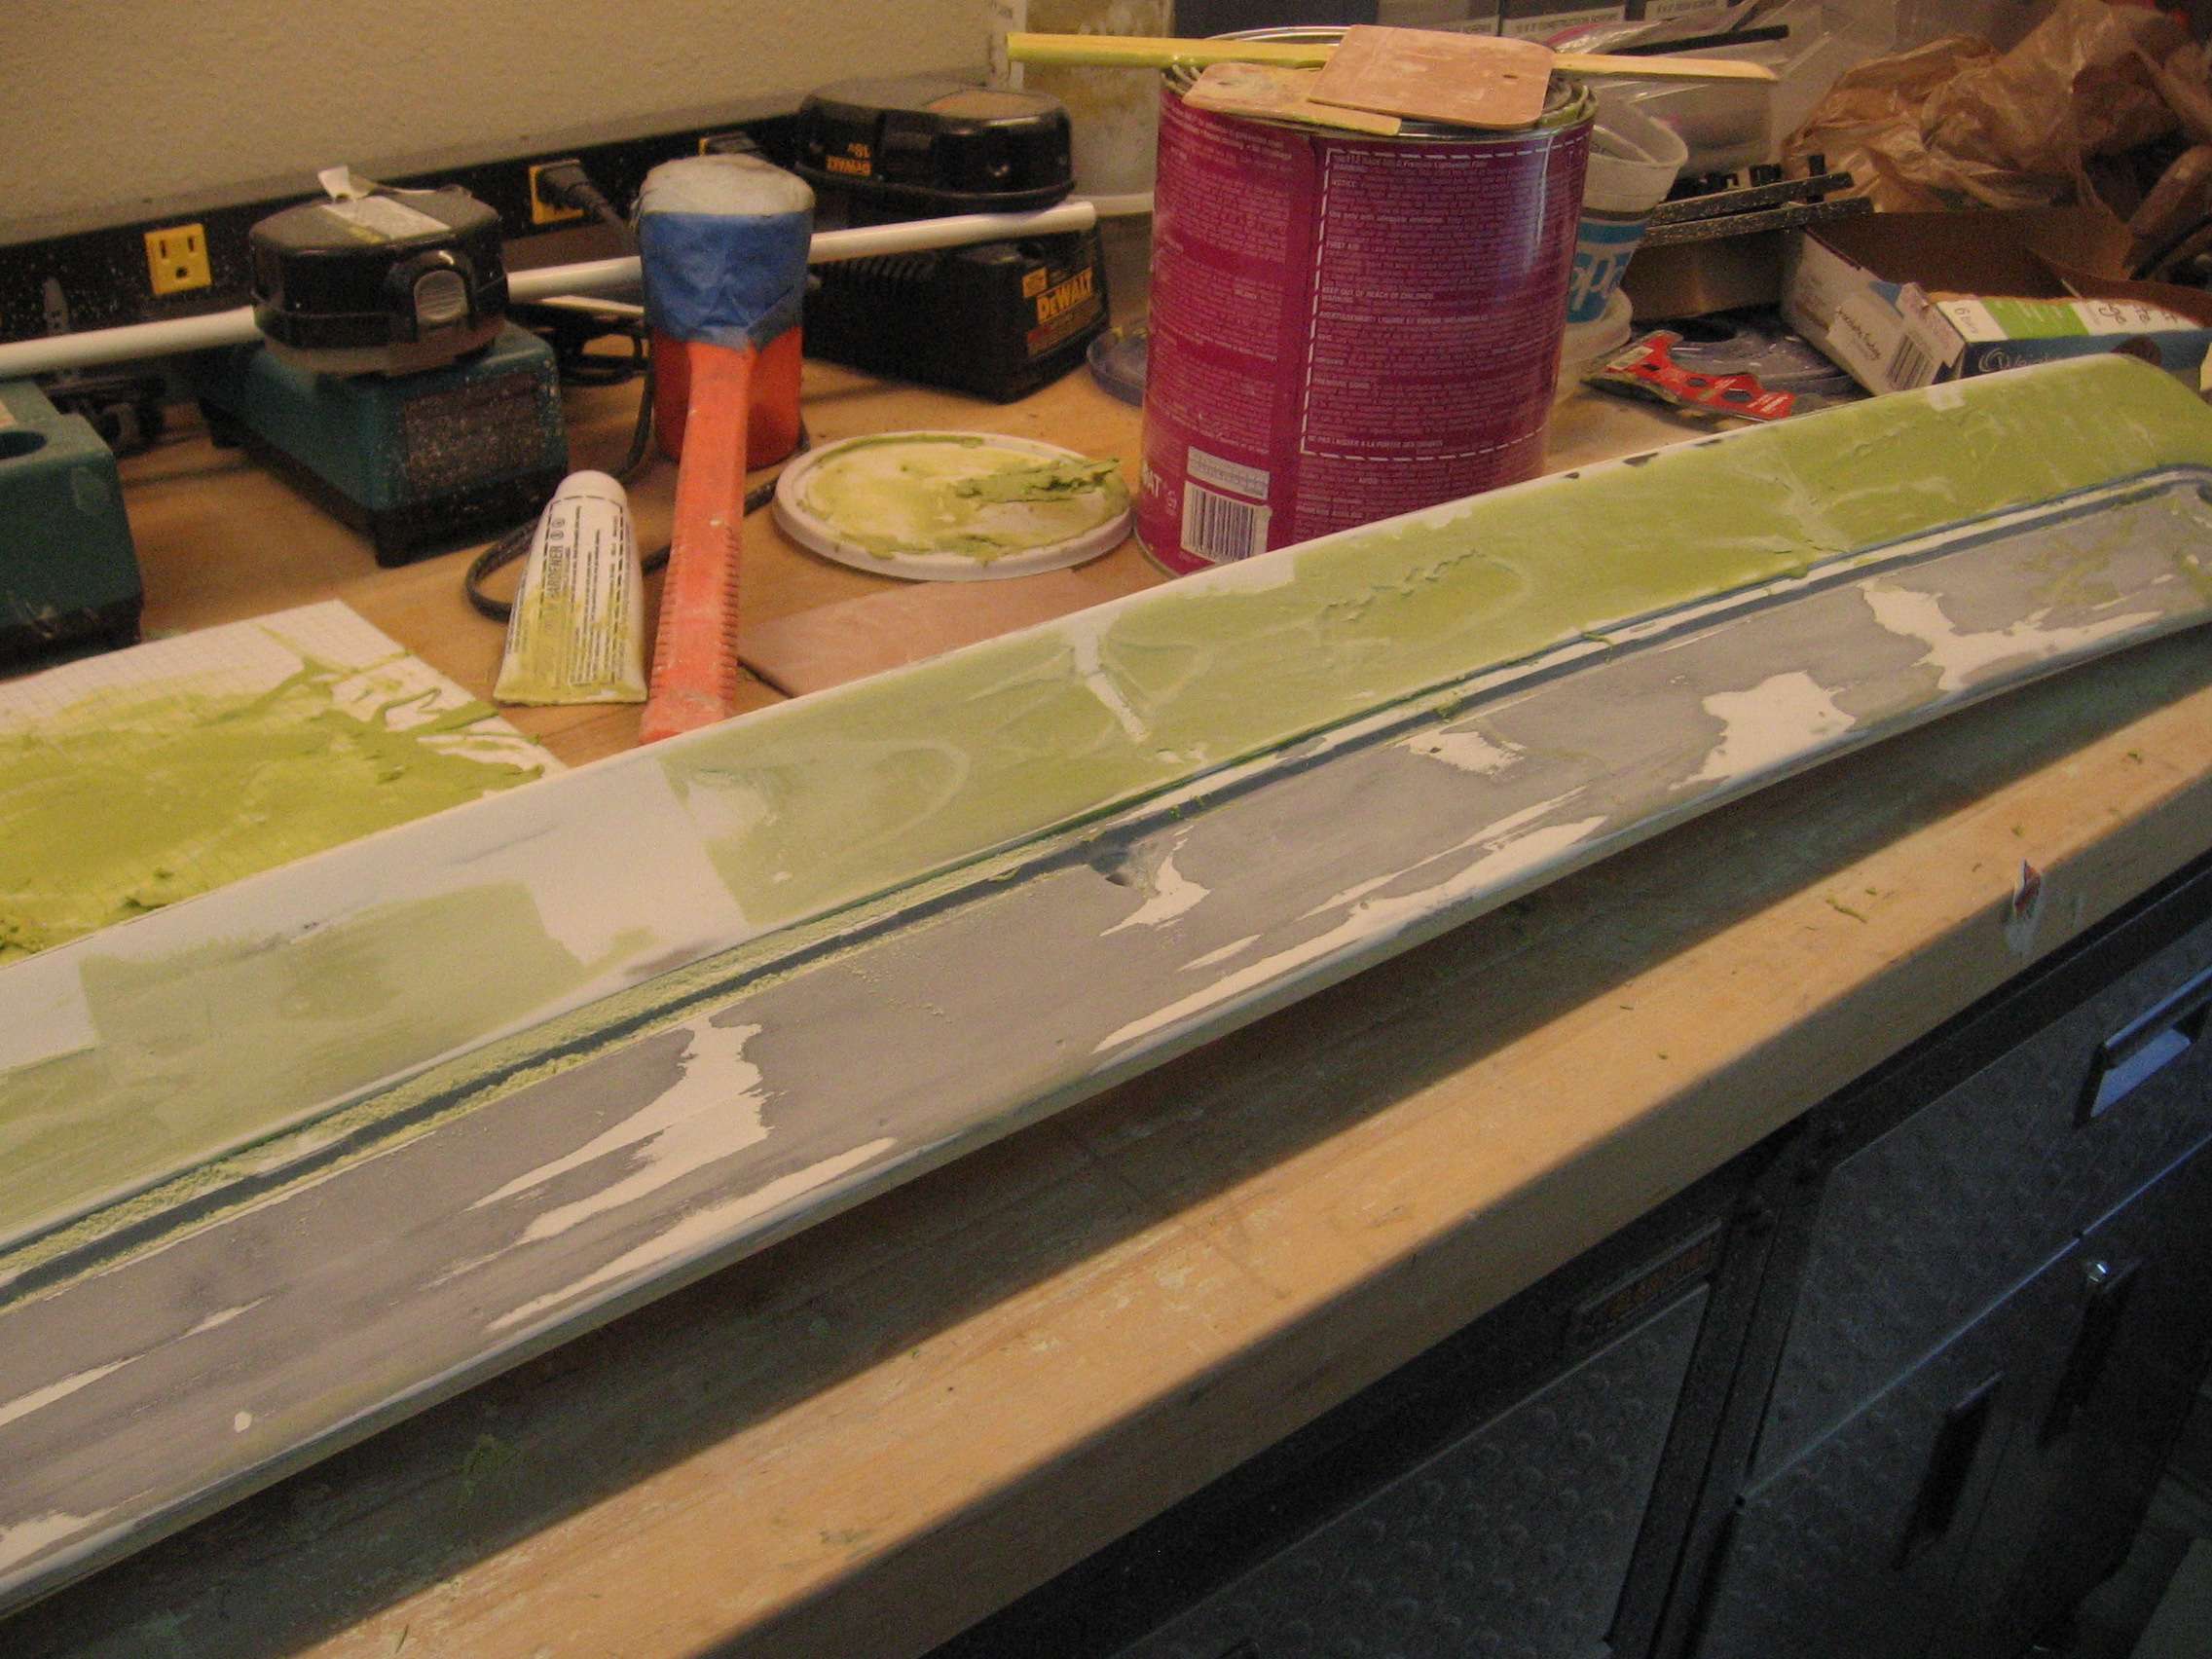
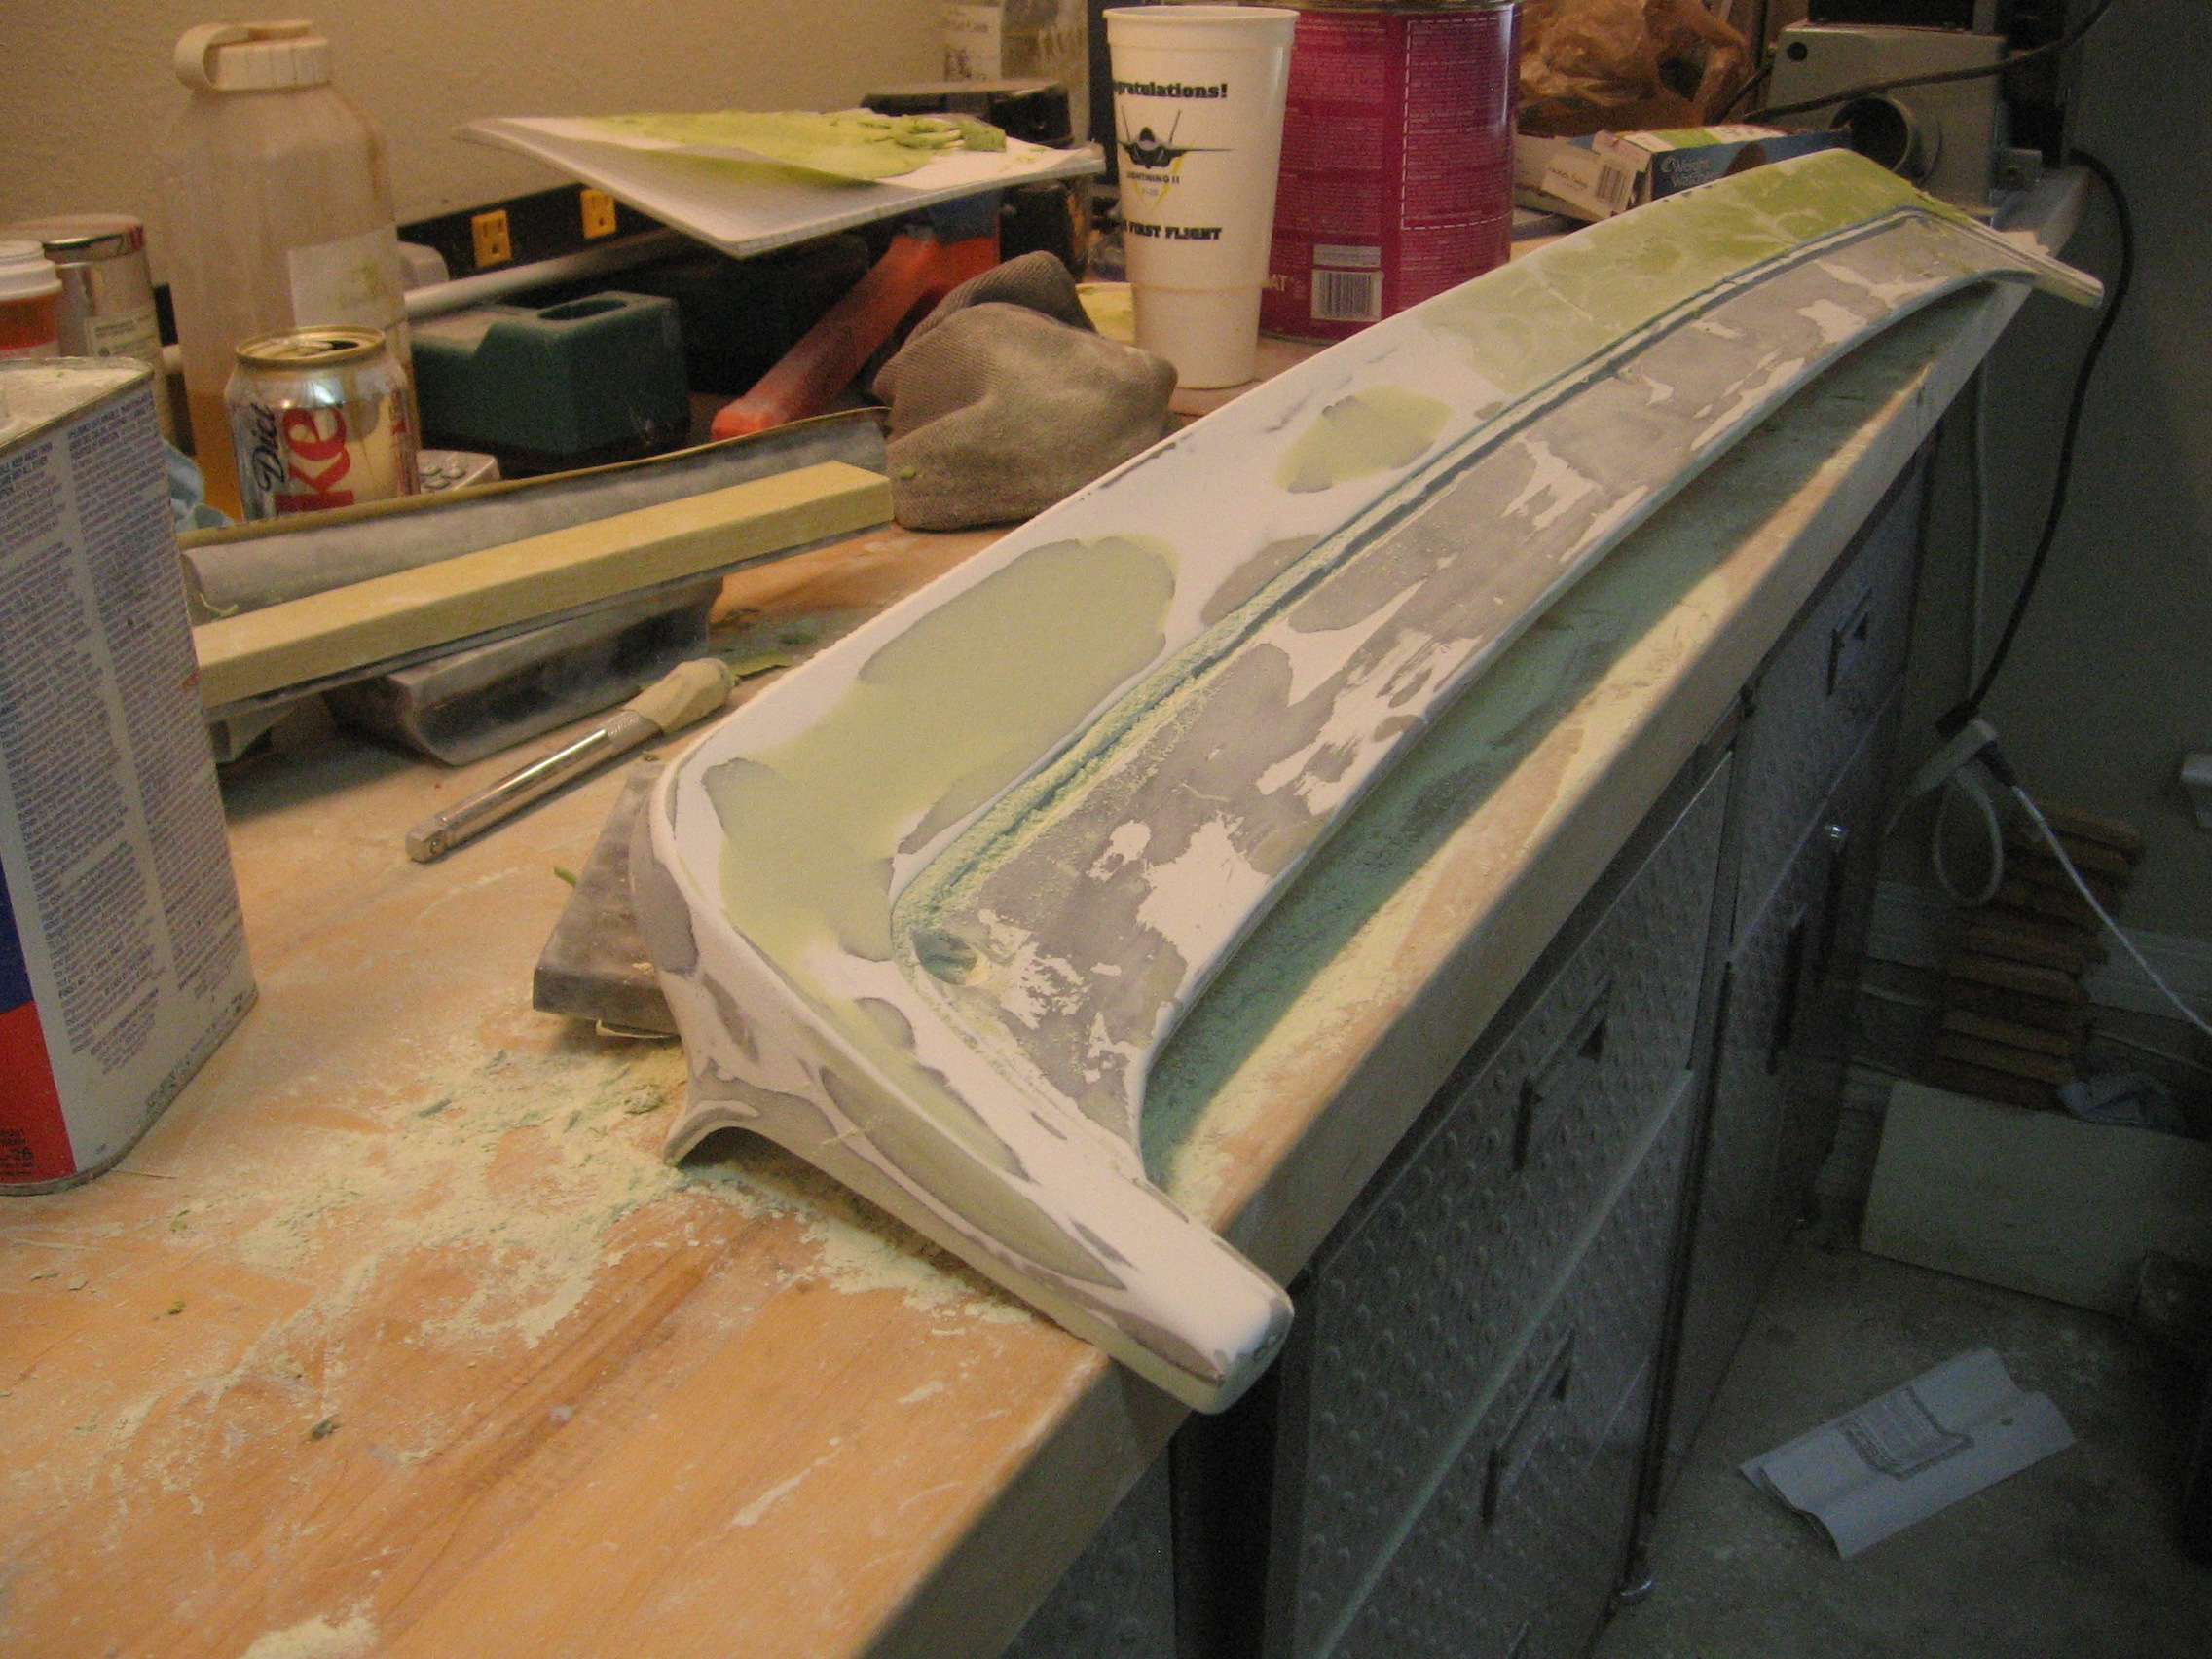
You might notice that the primer looks to be flaking off in spots. After I picked at it I came to find out that the primer did not stick to the top surface at all. That was a lot of work that came off in sad green ribbons. So I started over.
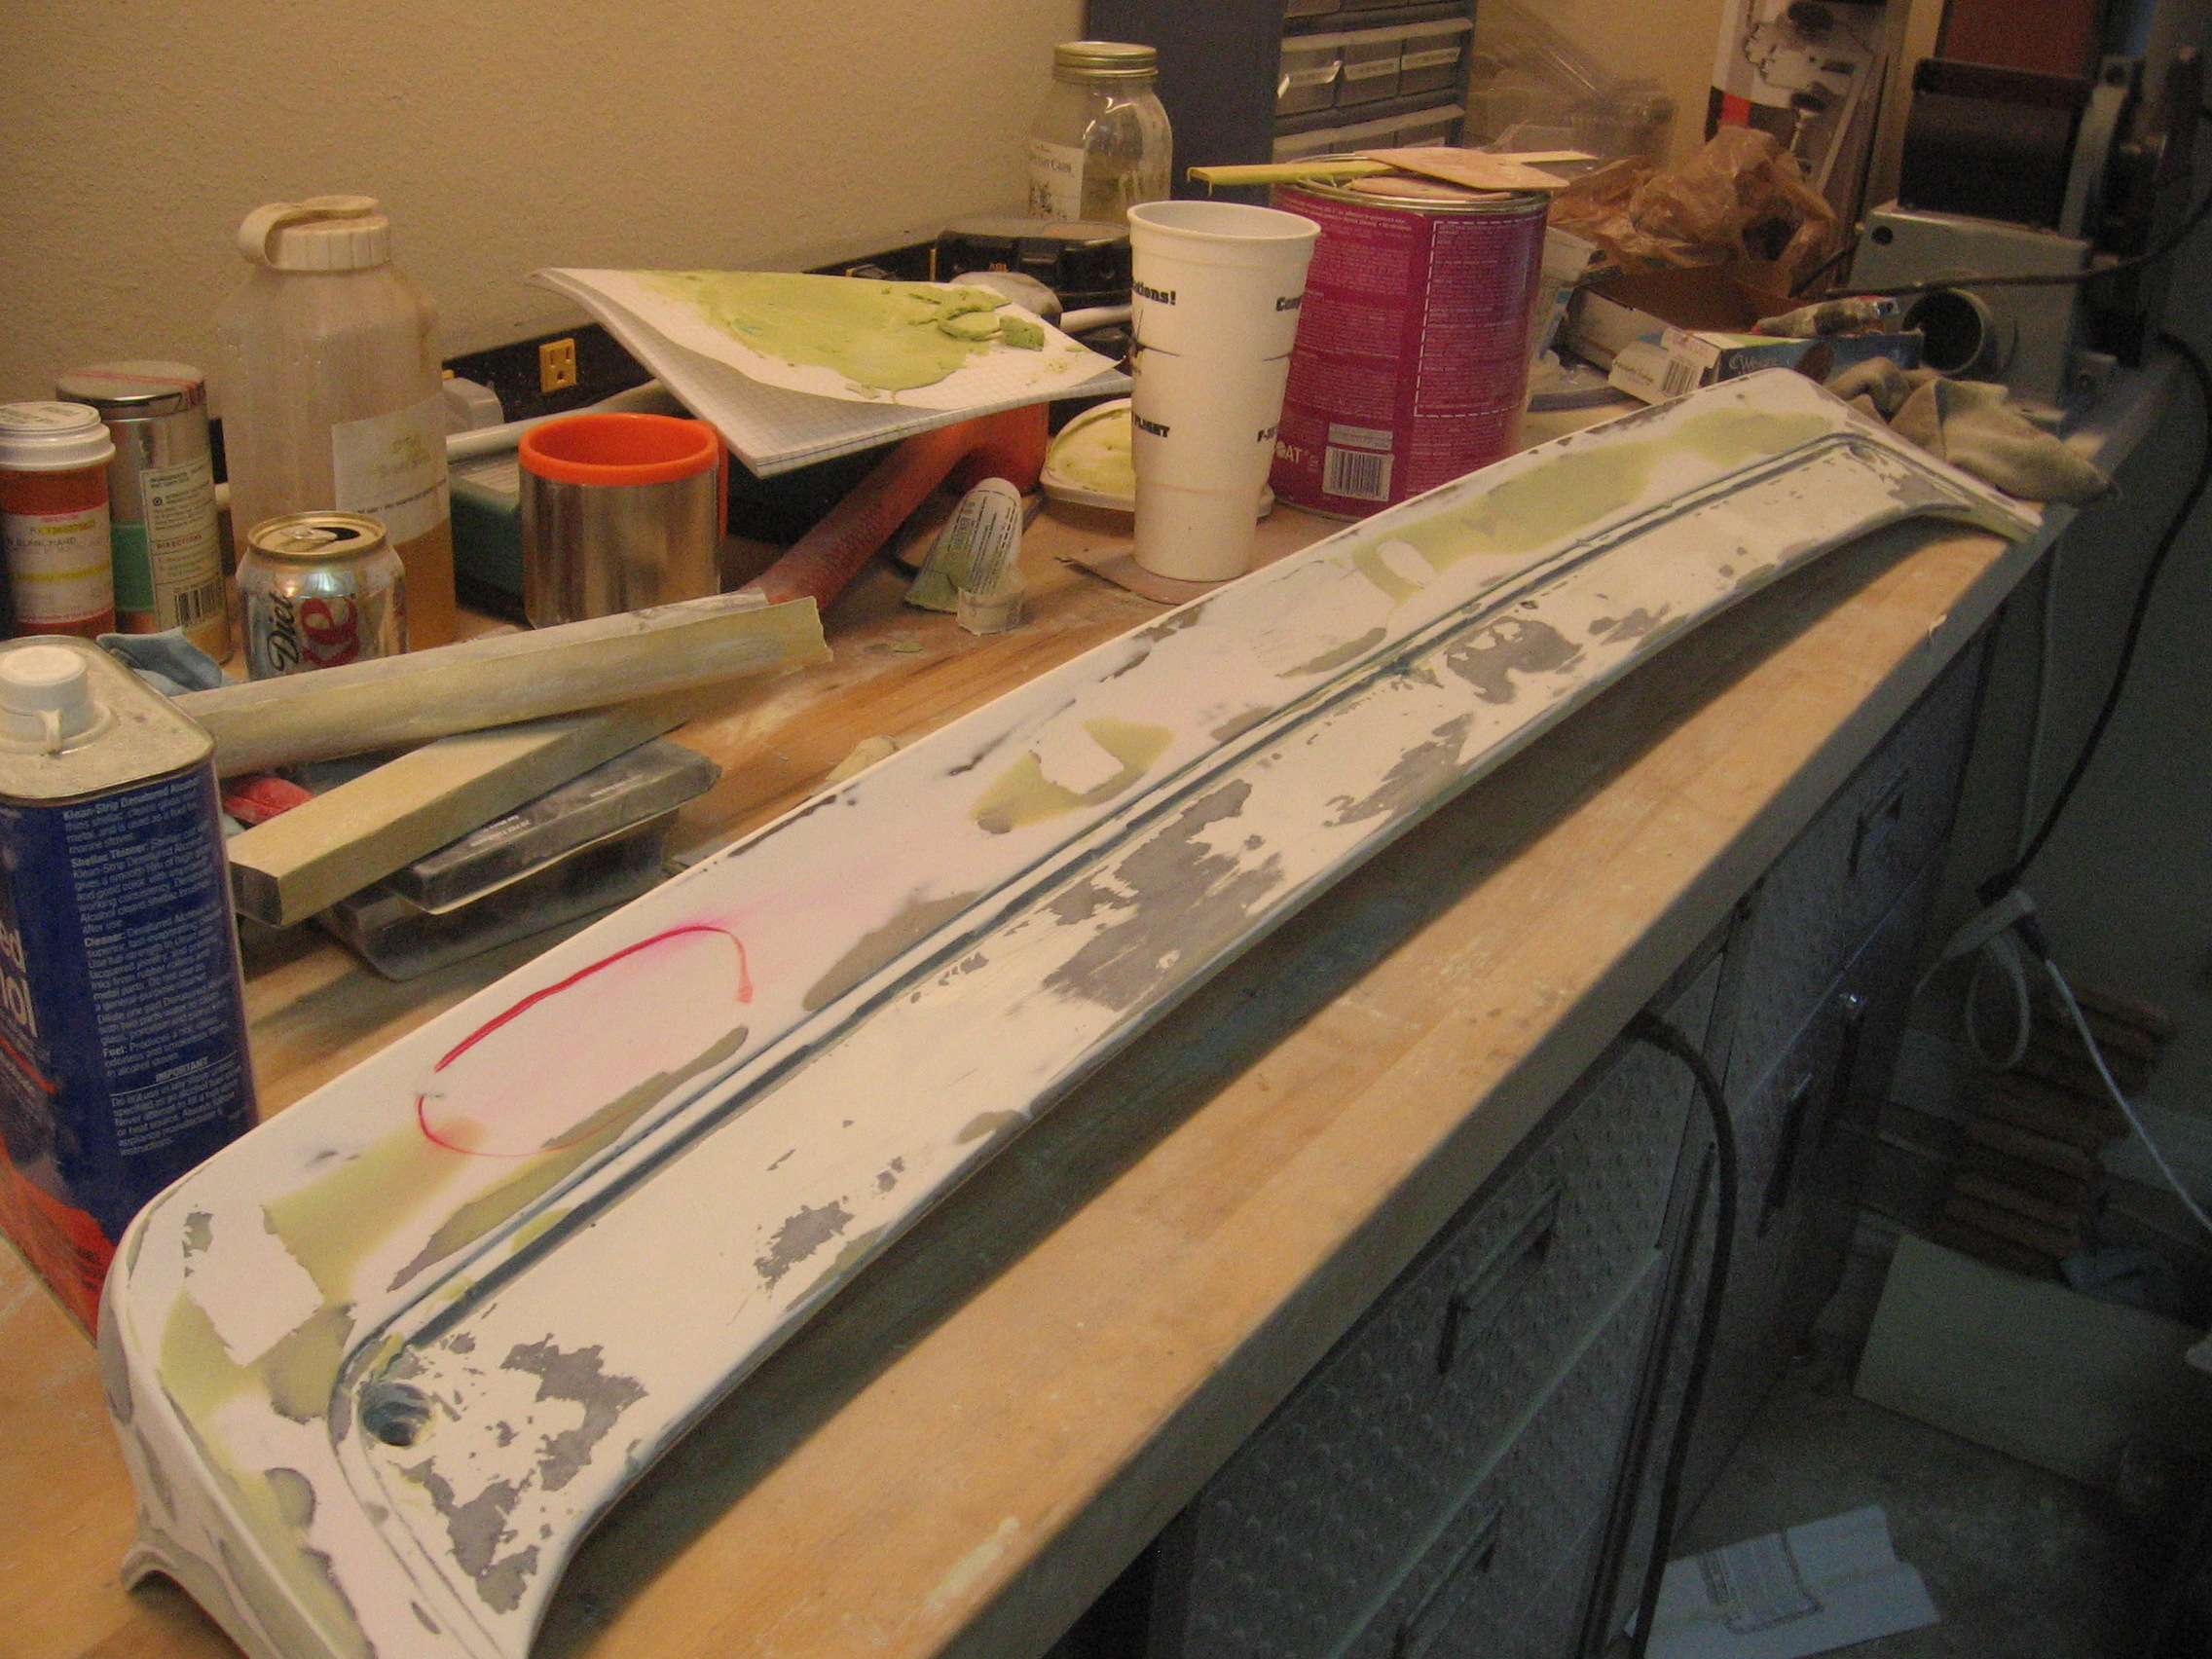
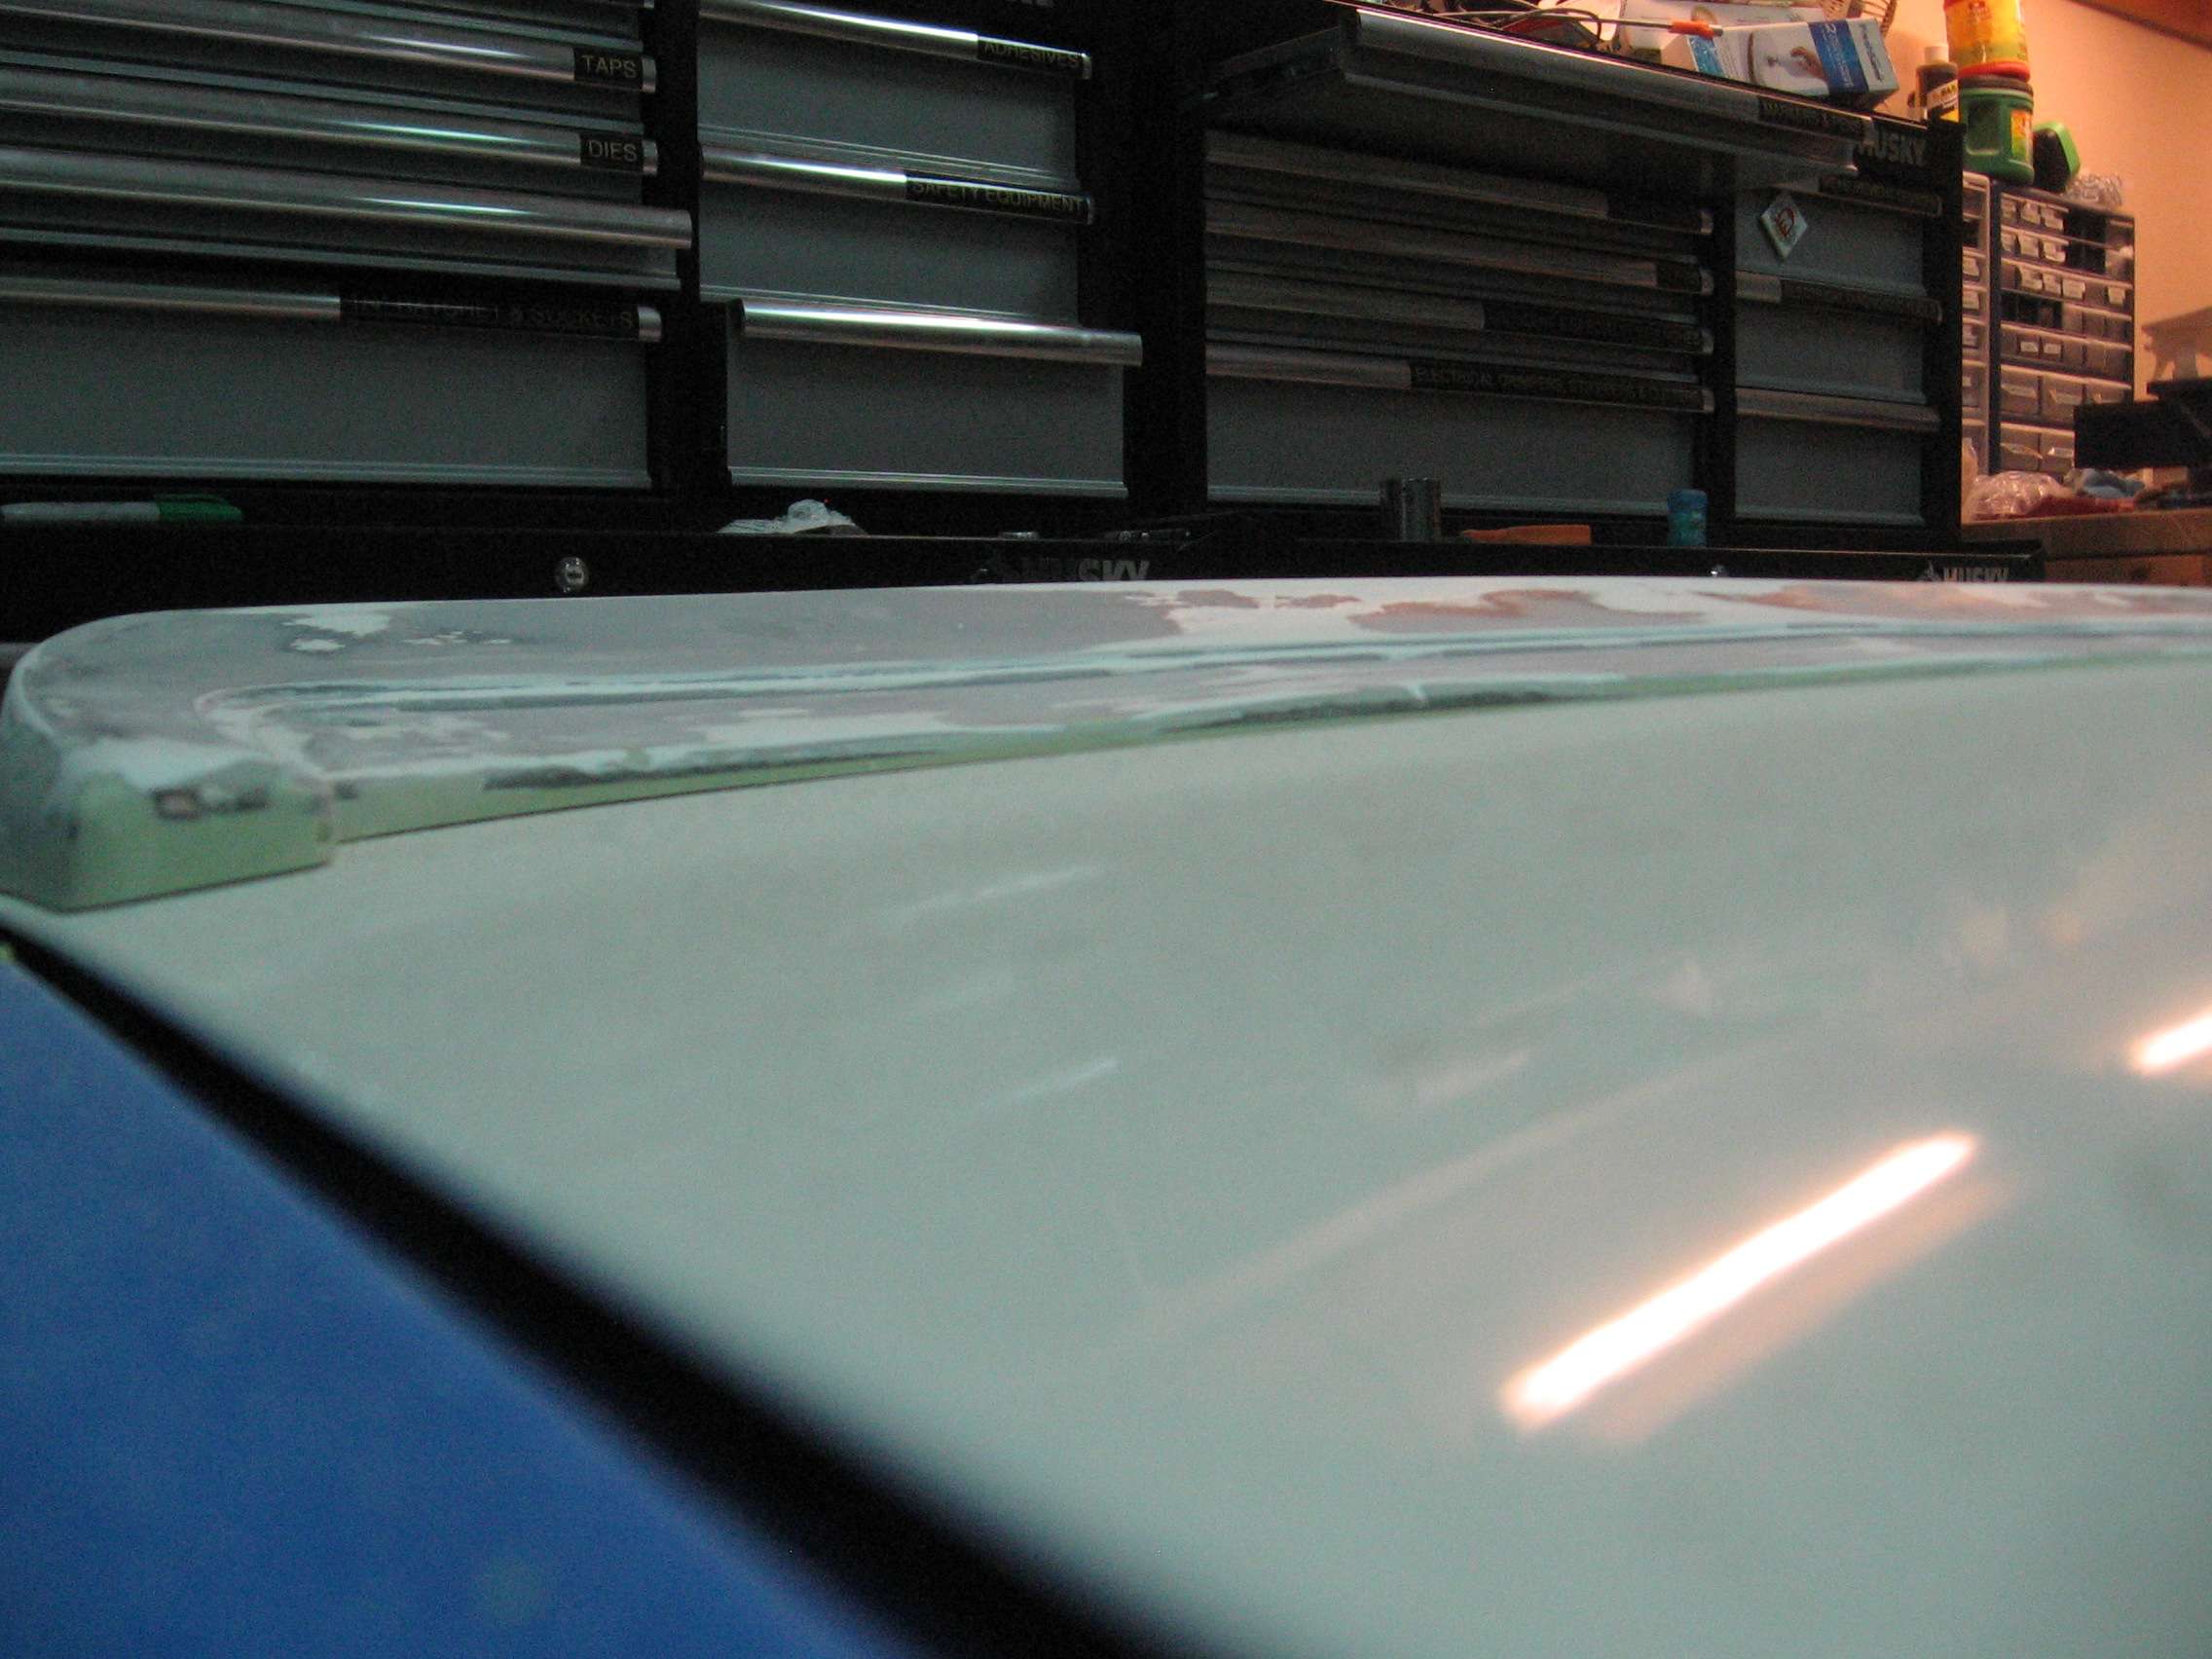
Identifying the known low spots
I needed a sanding form that would provide the correct curvature for the top of the wing. After digging through the garage and house, I found a pet furniture cleaner that had just the right curvature. Worked like a charm.

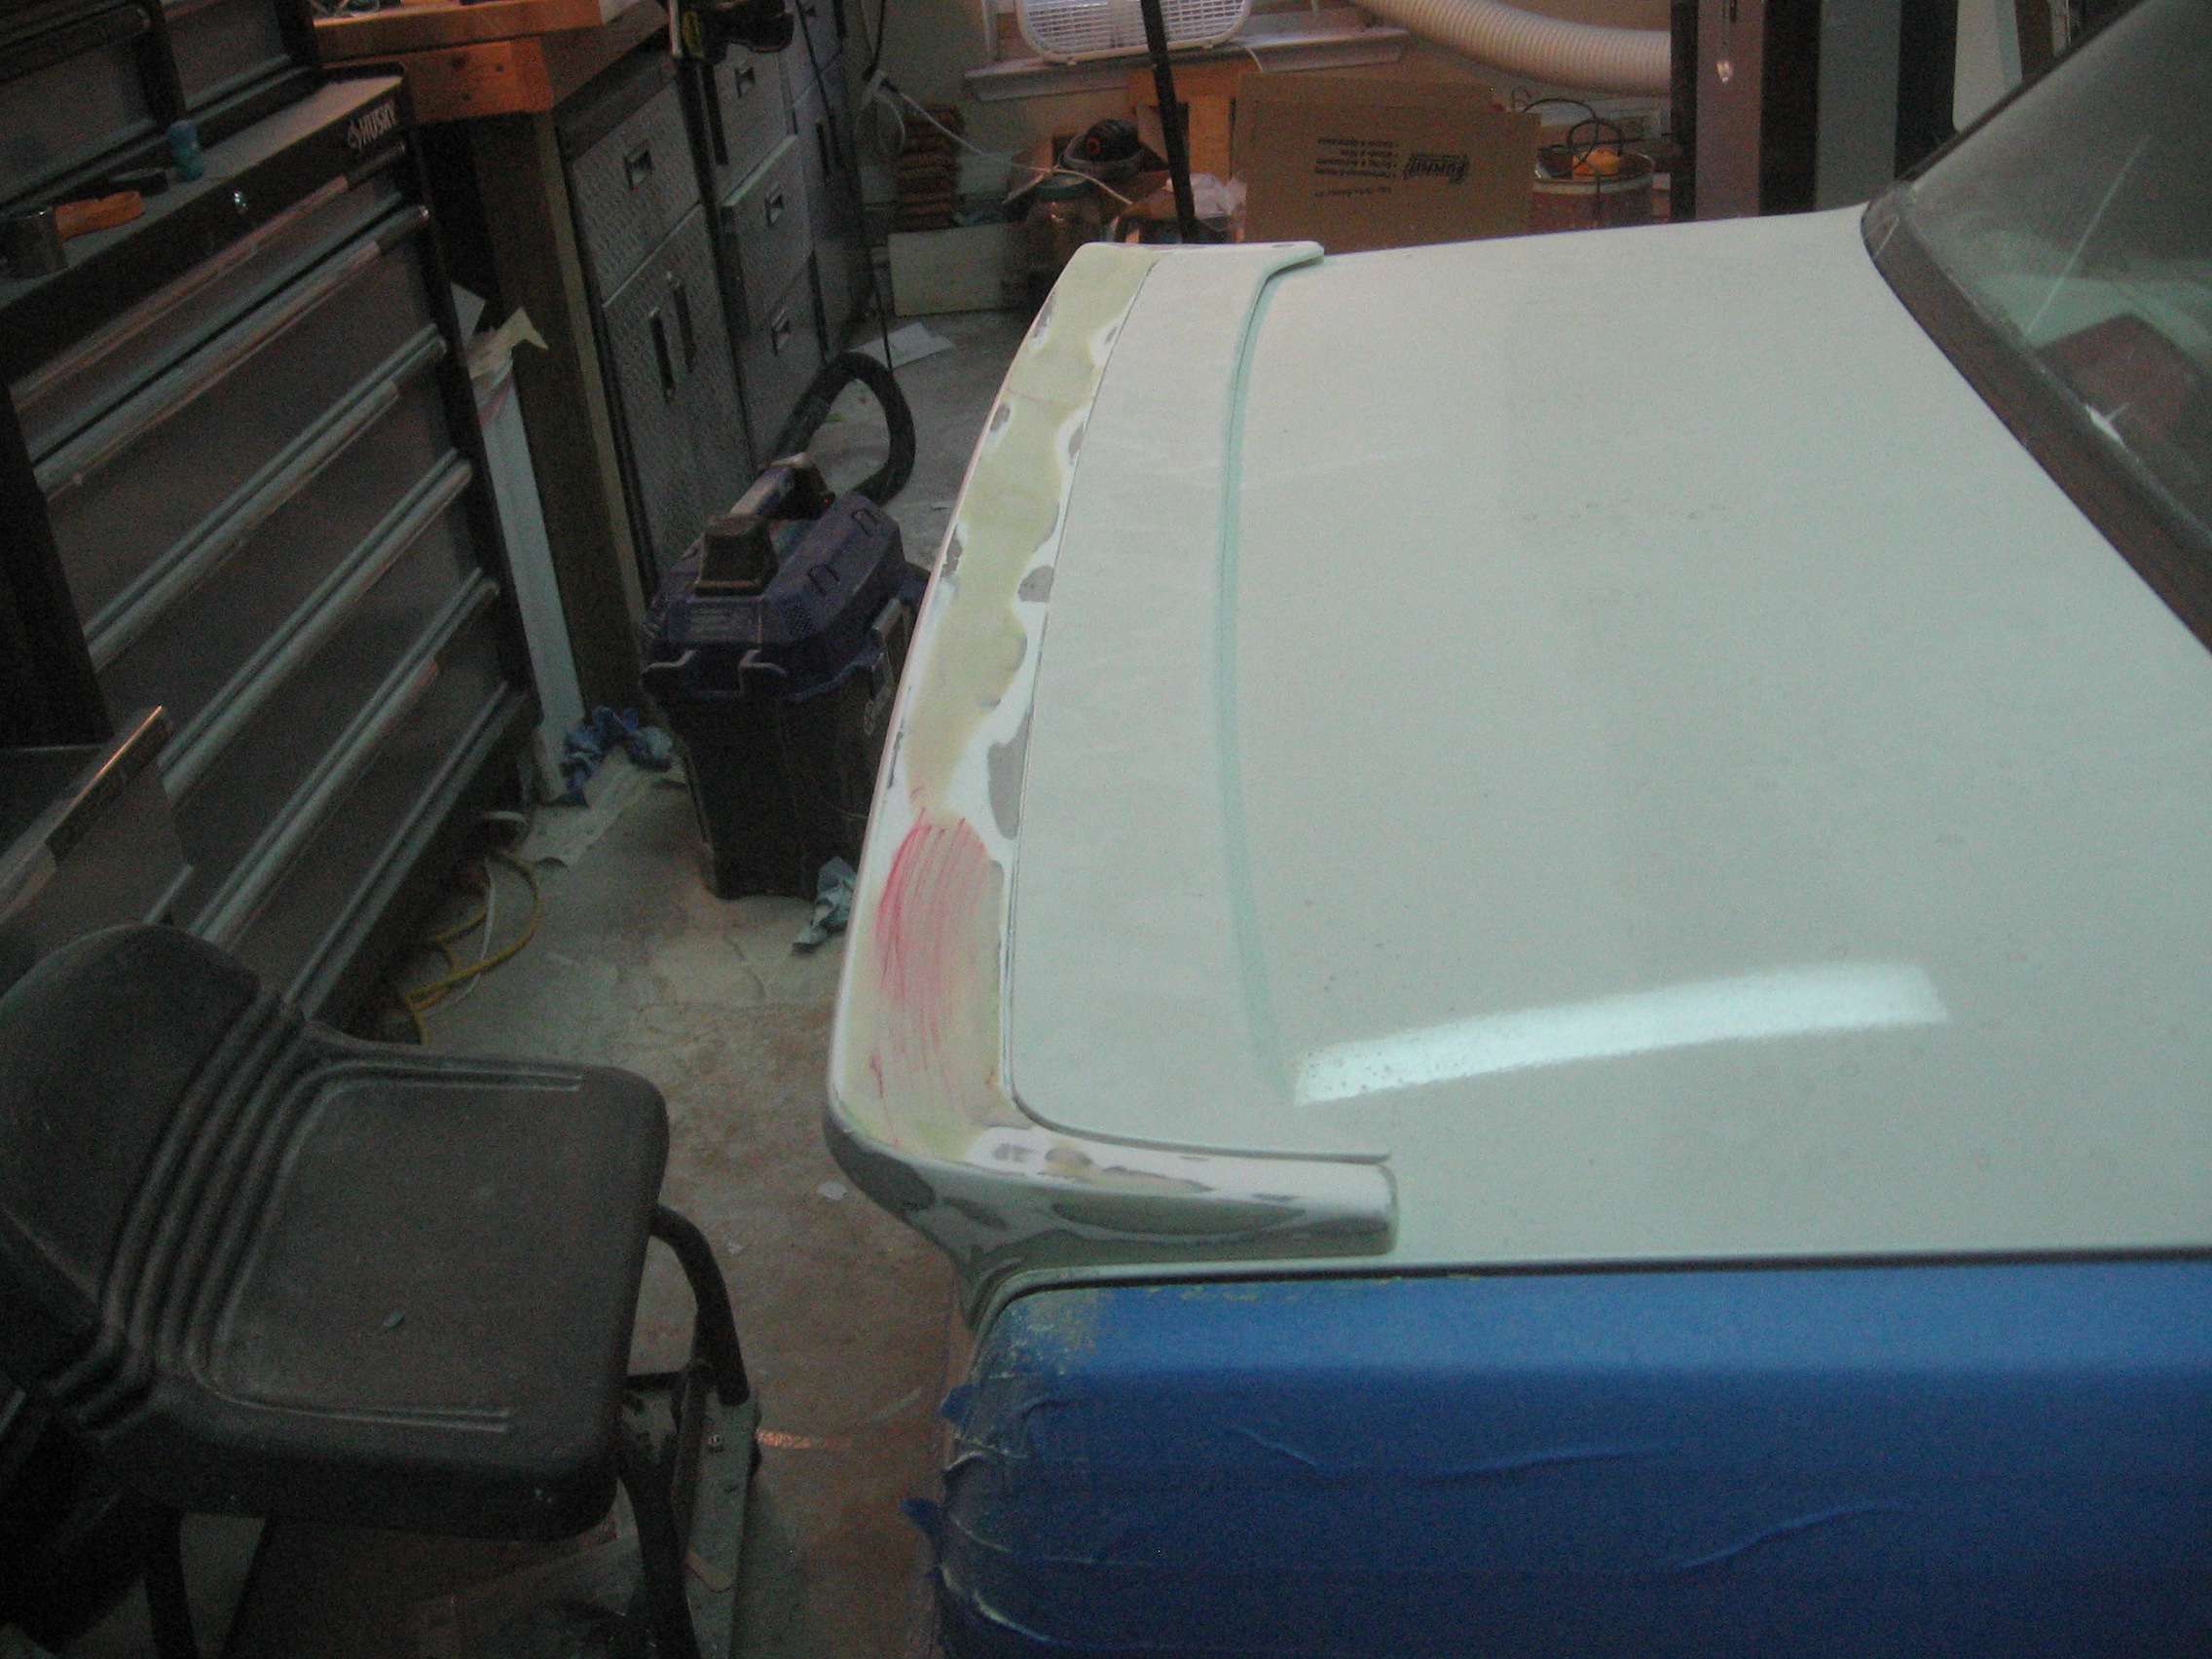
I was forced to use markers to determine the high and low spots as I didn't have any guide coat.
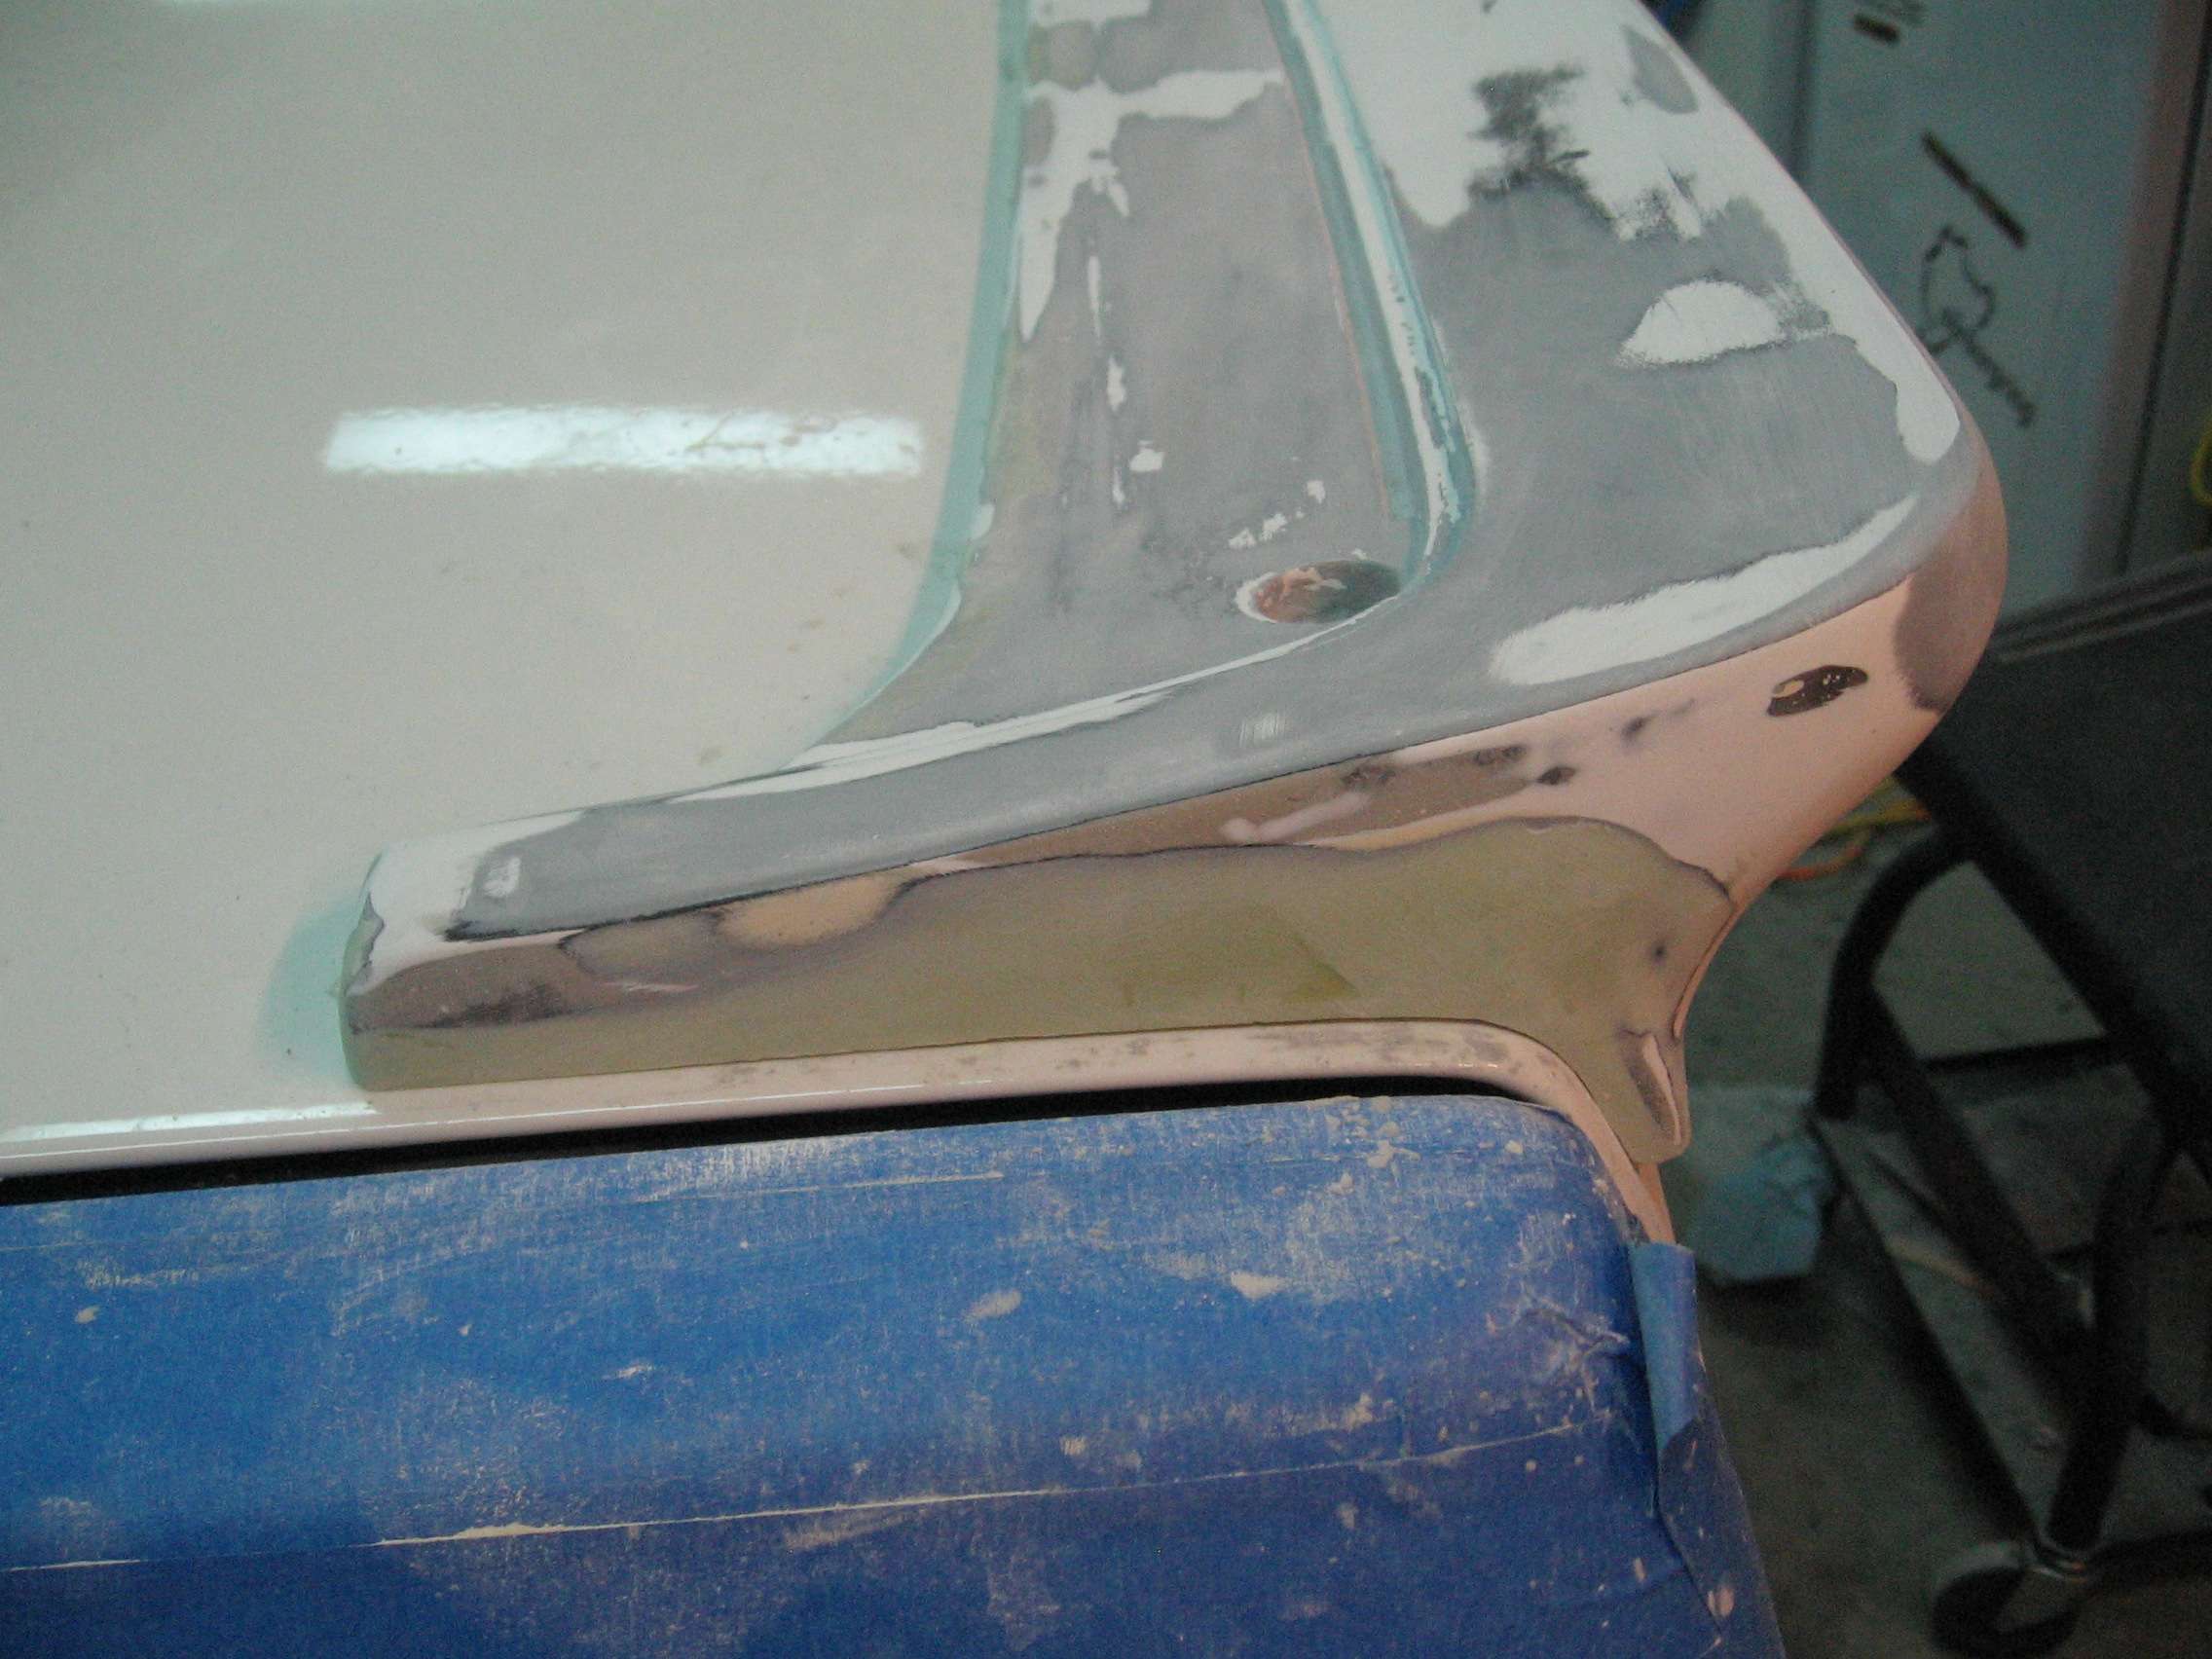
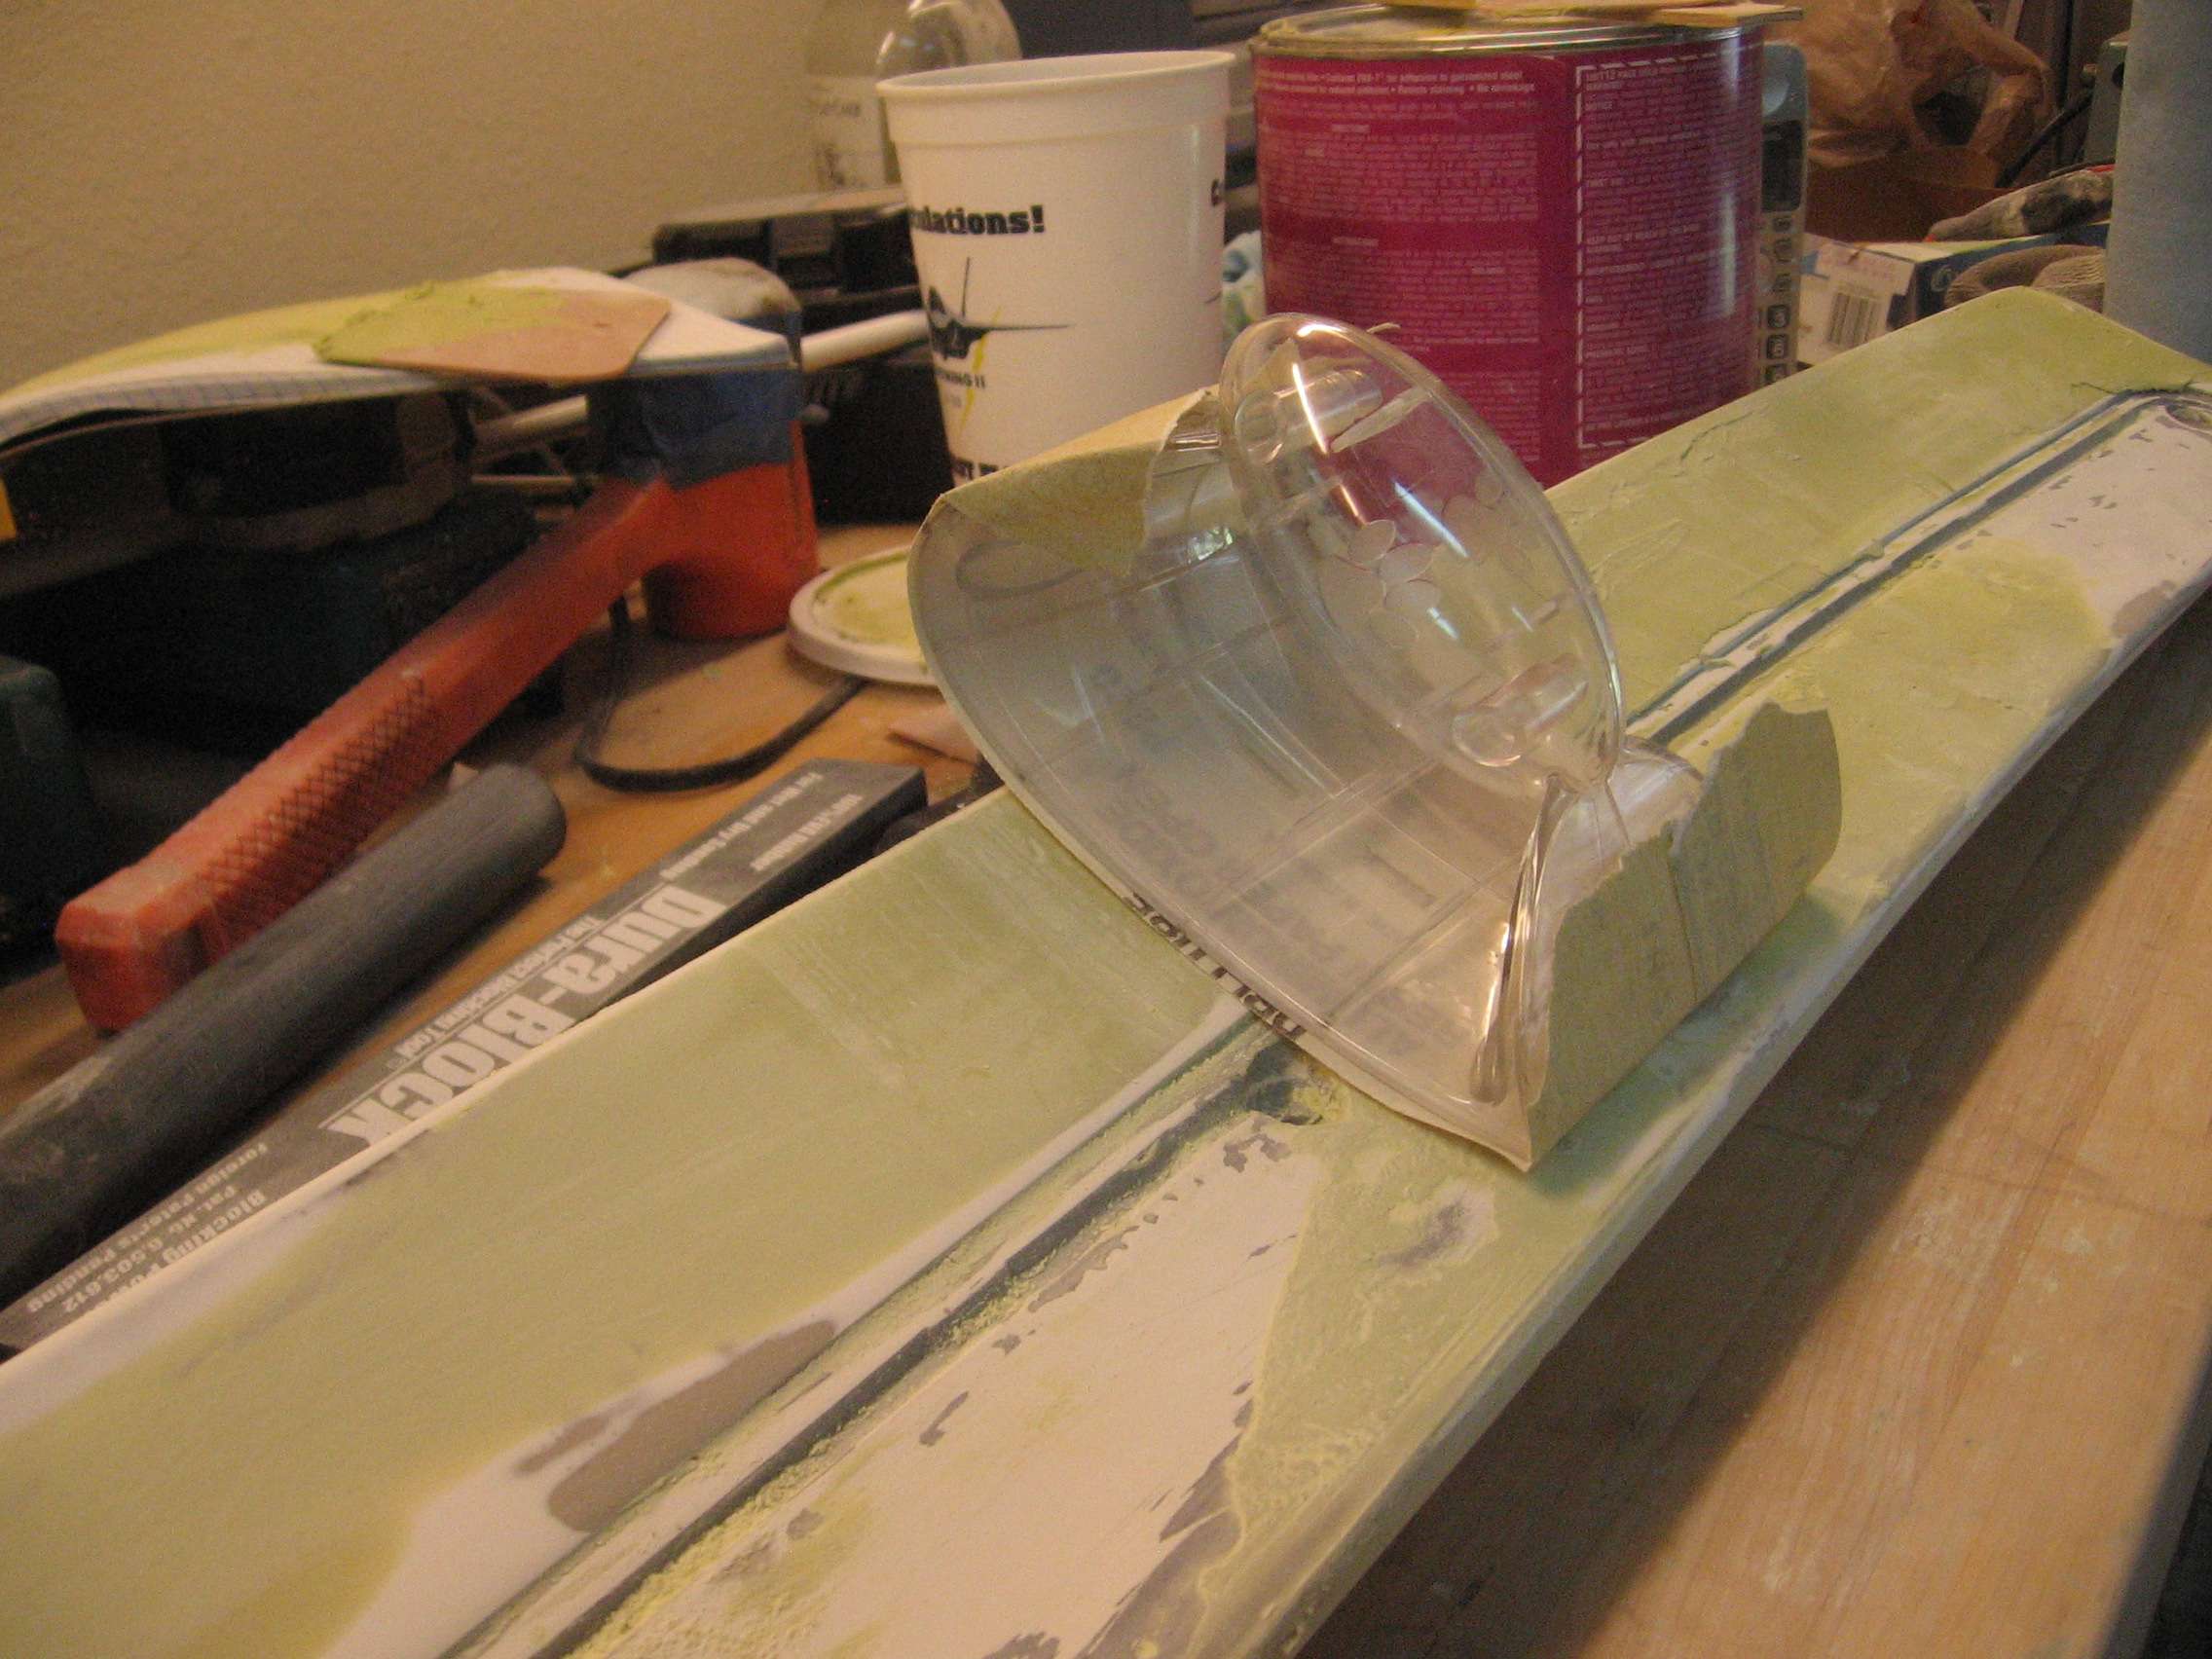
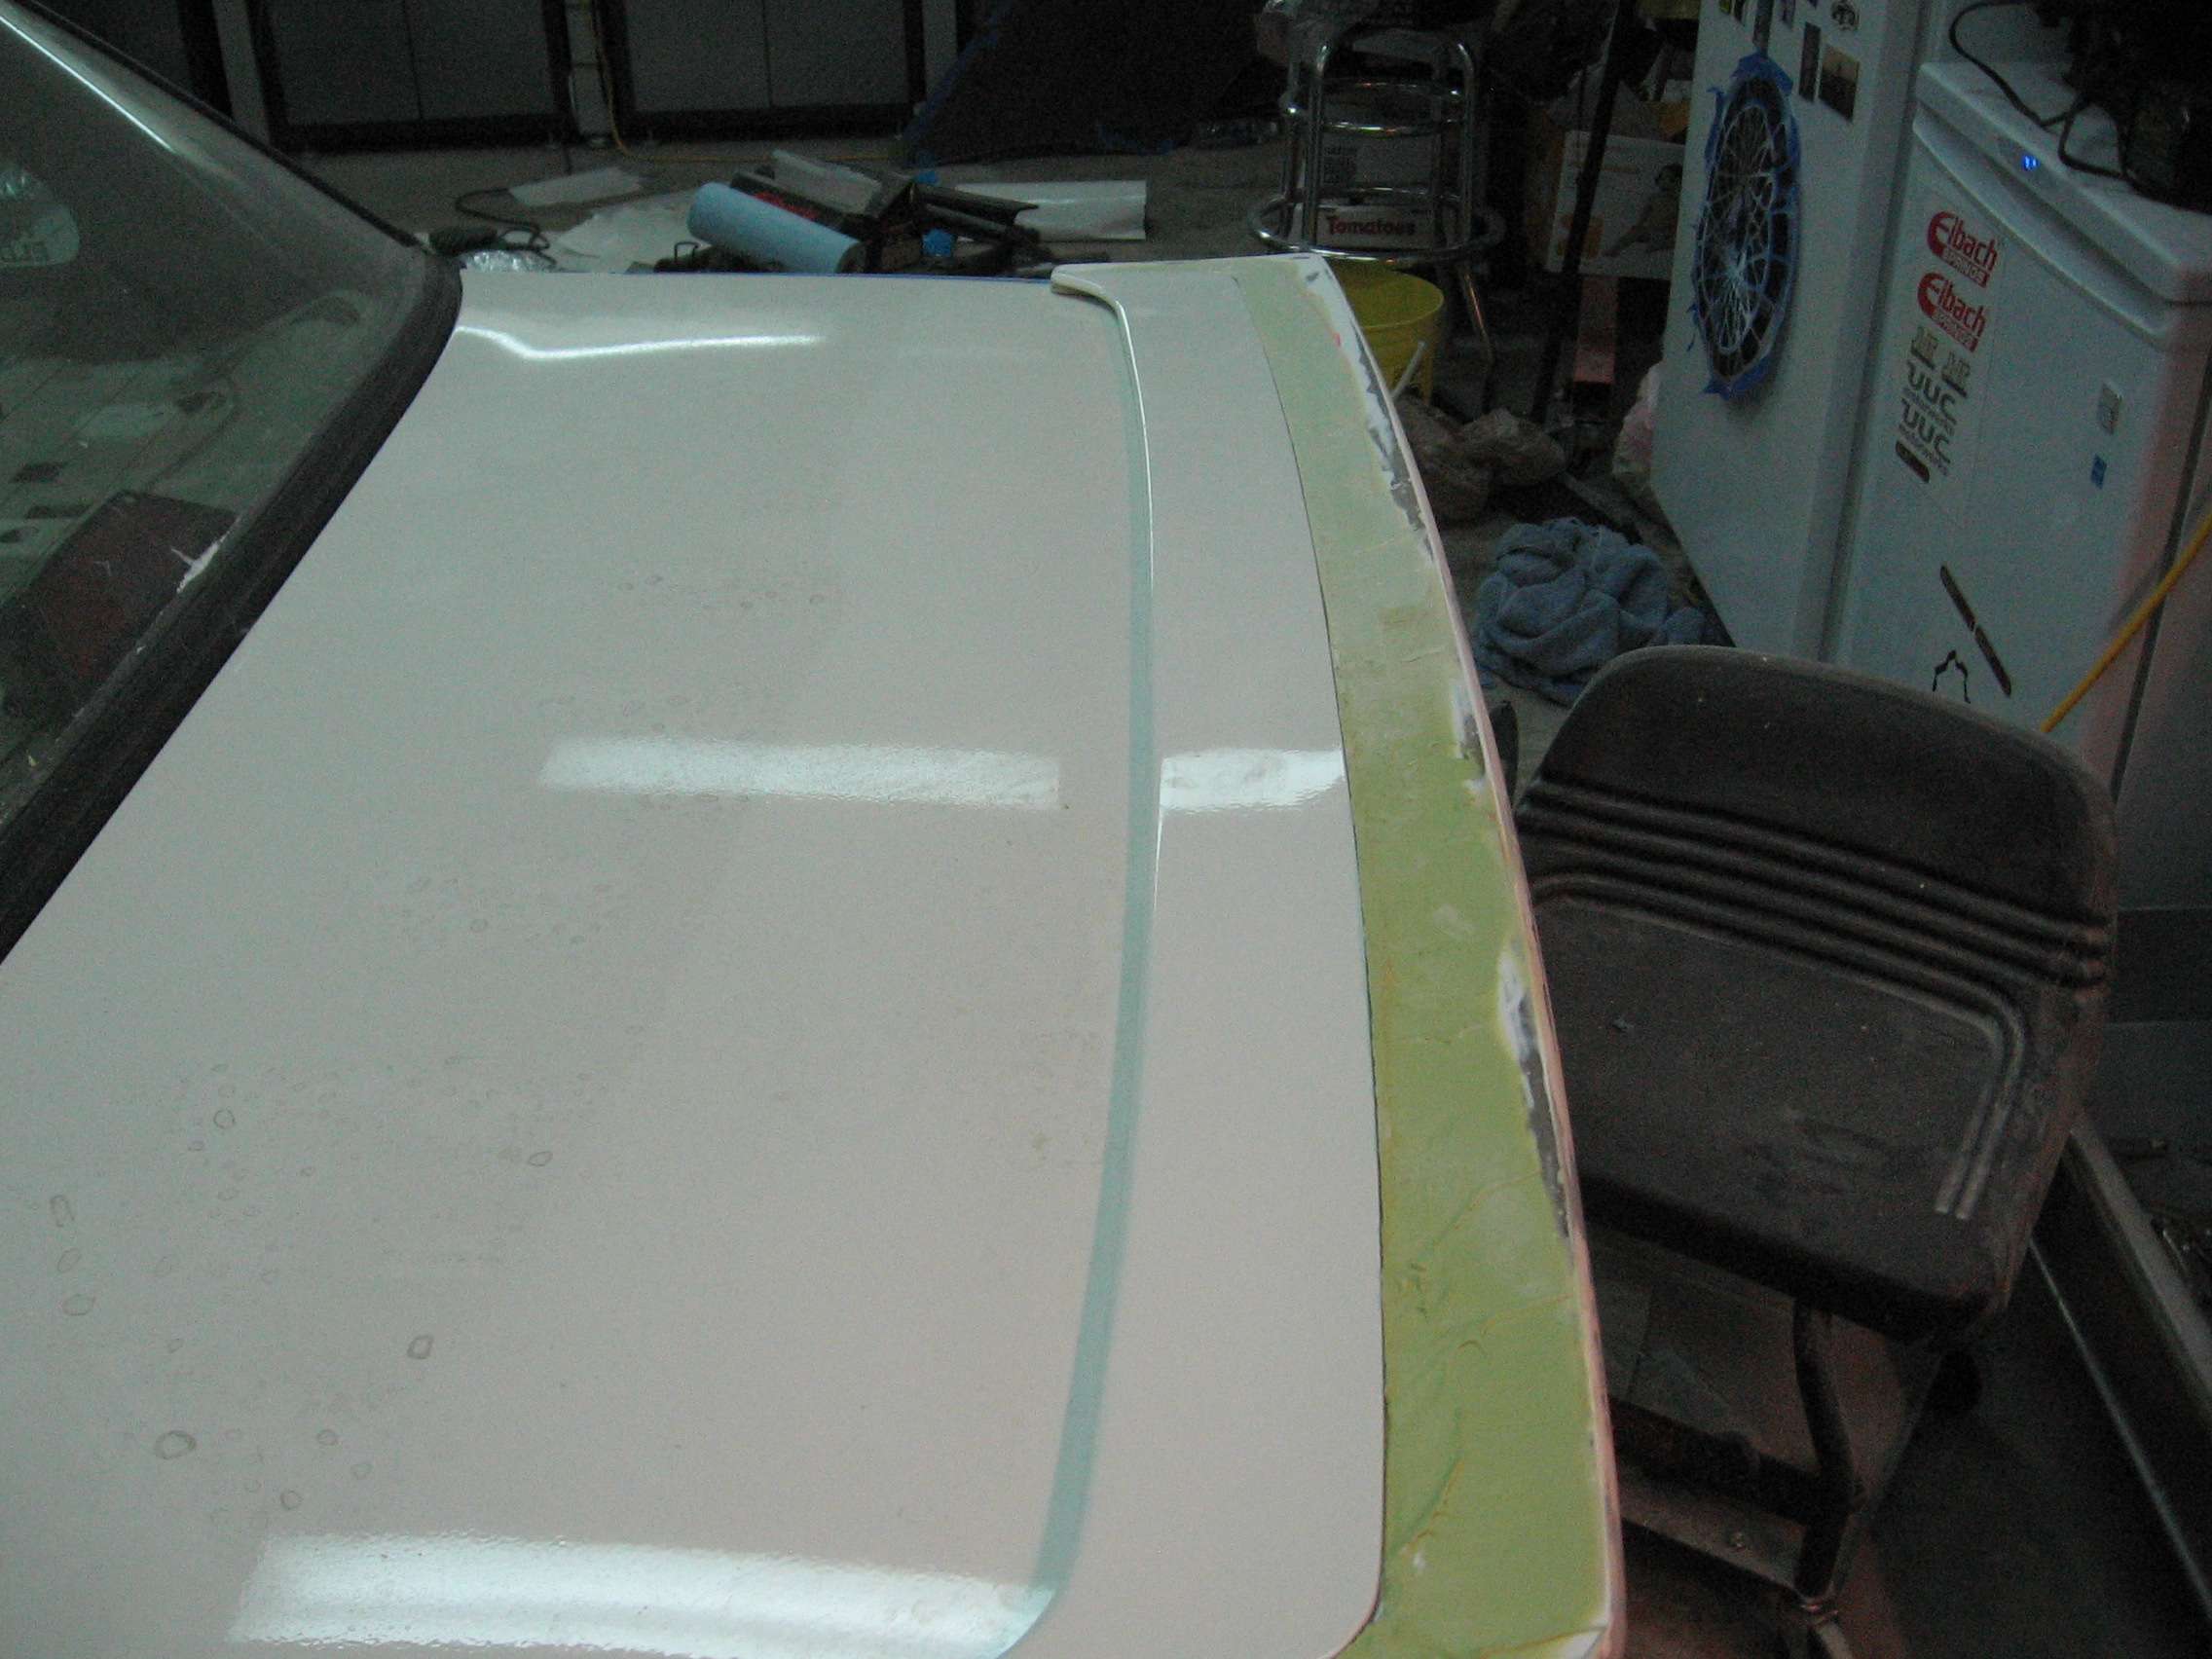
I elected to use the same tape trick to get the insert edge exact. I did take pictures of this process.

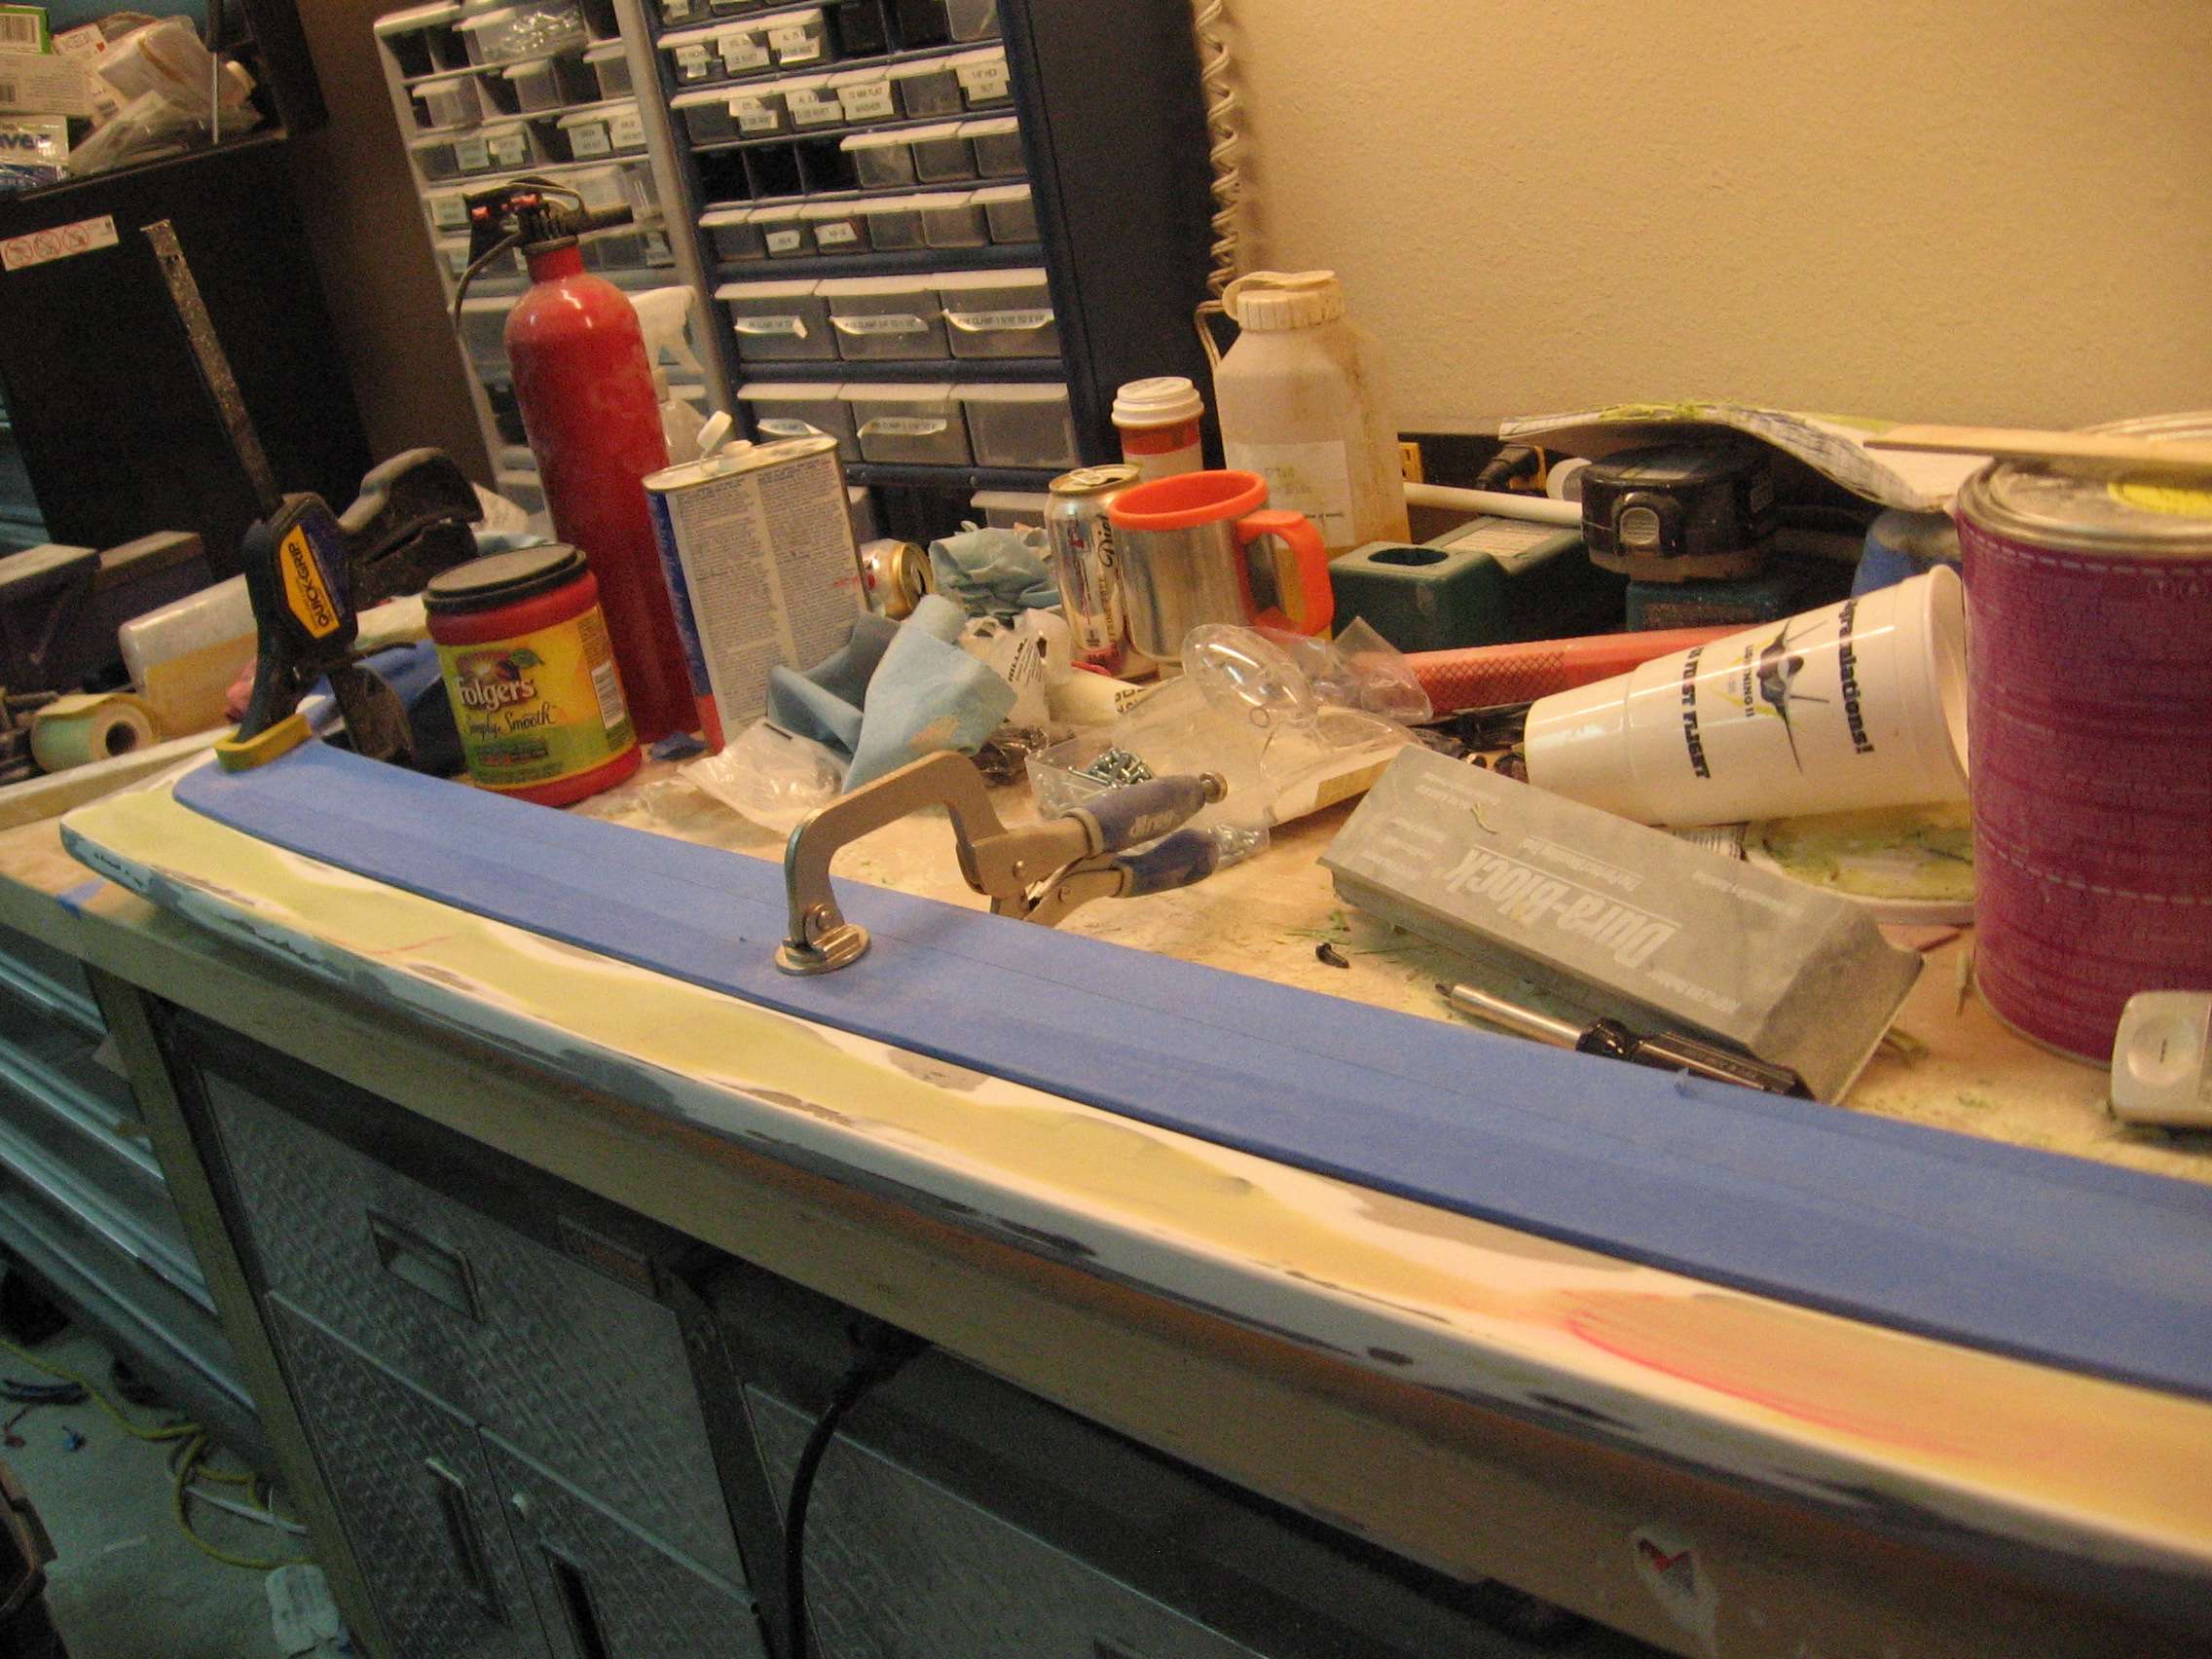
Filler was applied bridging the gap and then the tape removed carefully after the filler started to kick.
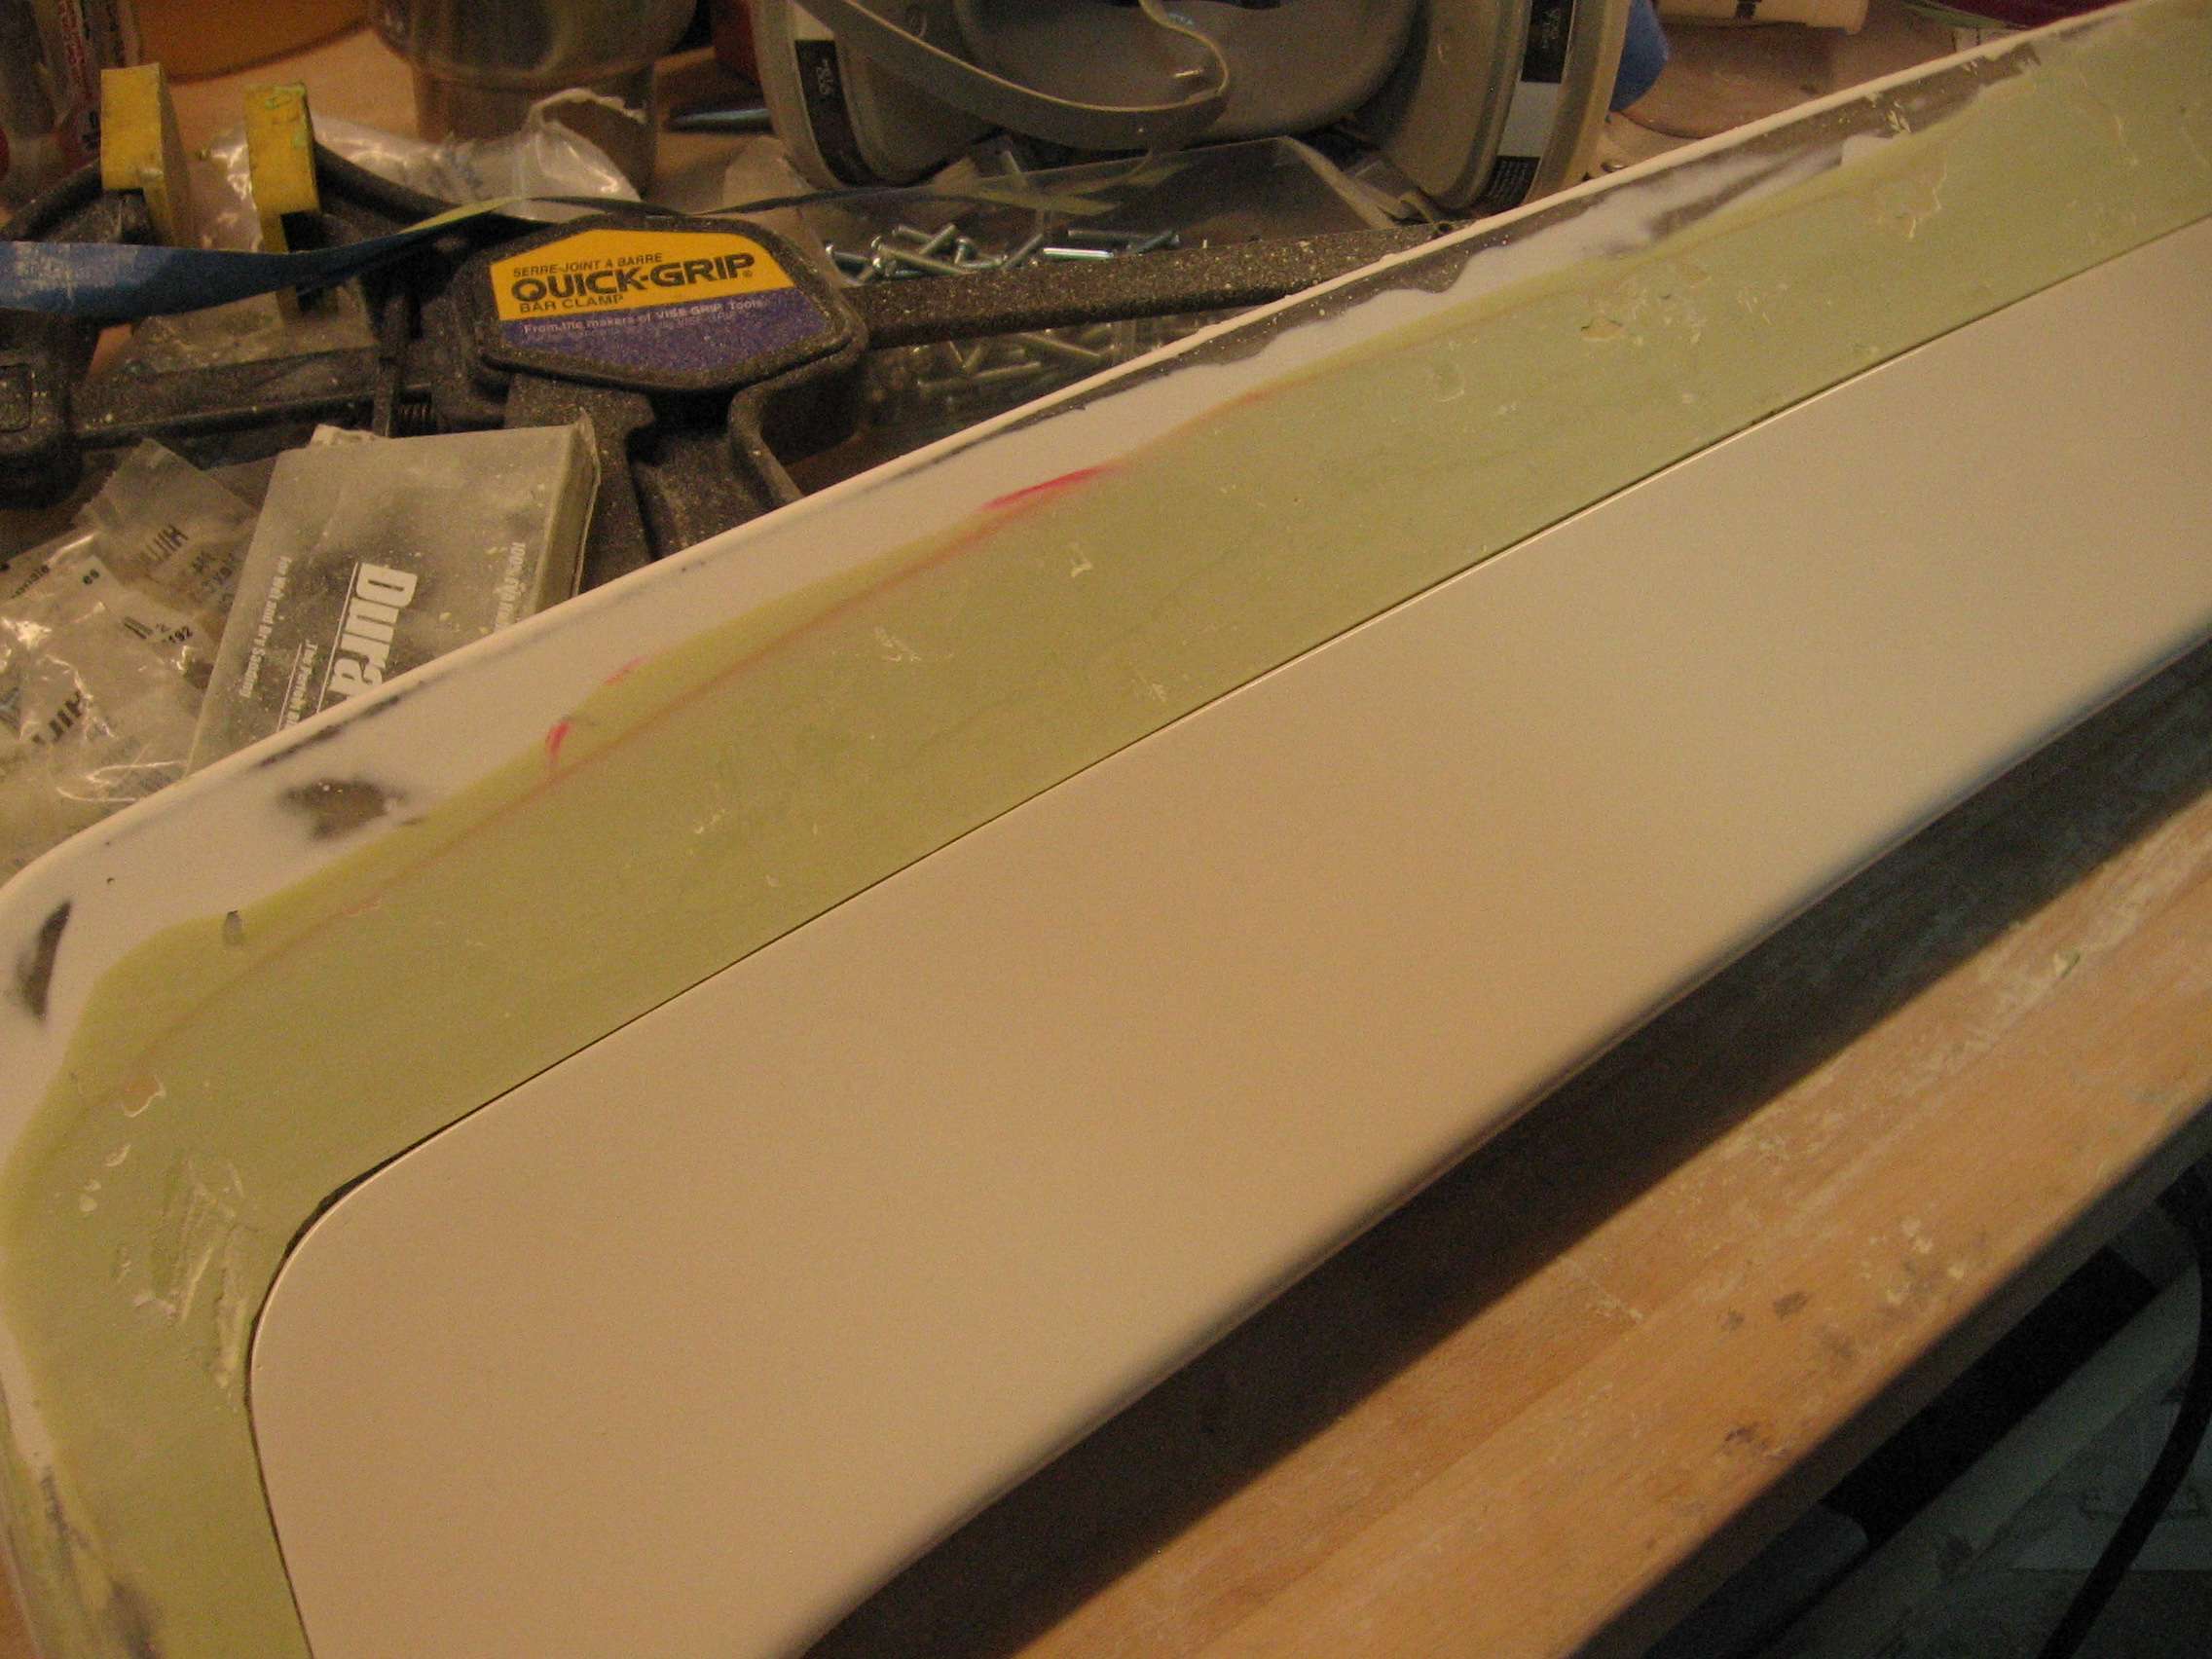
The result was a pretty consistent gap that will need some minor cleanup.
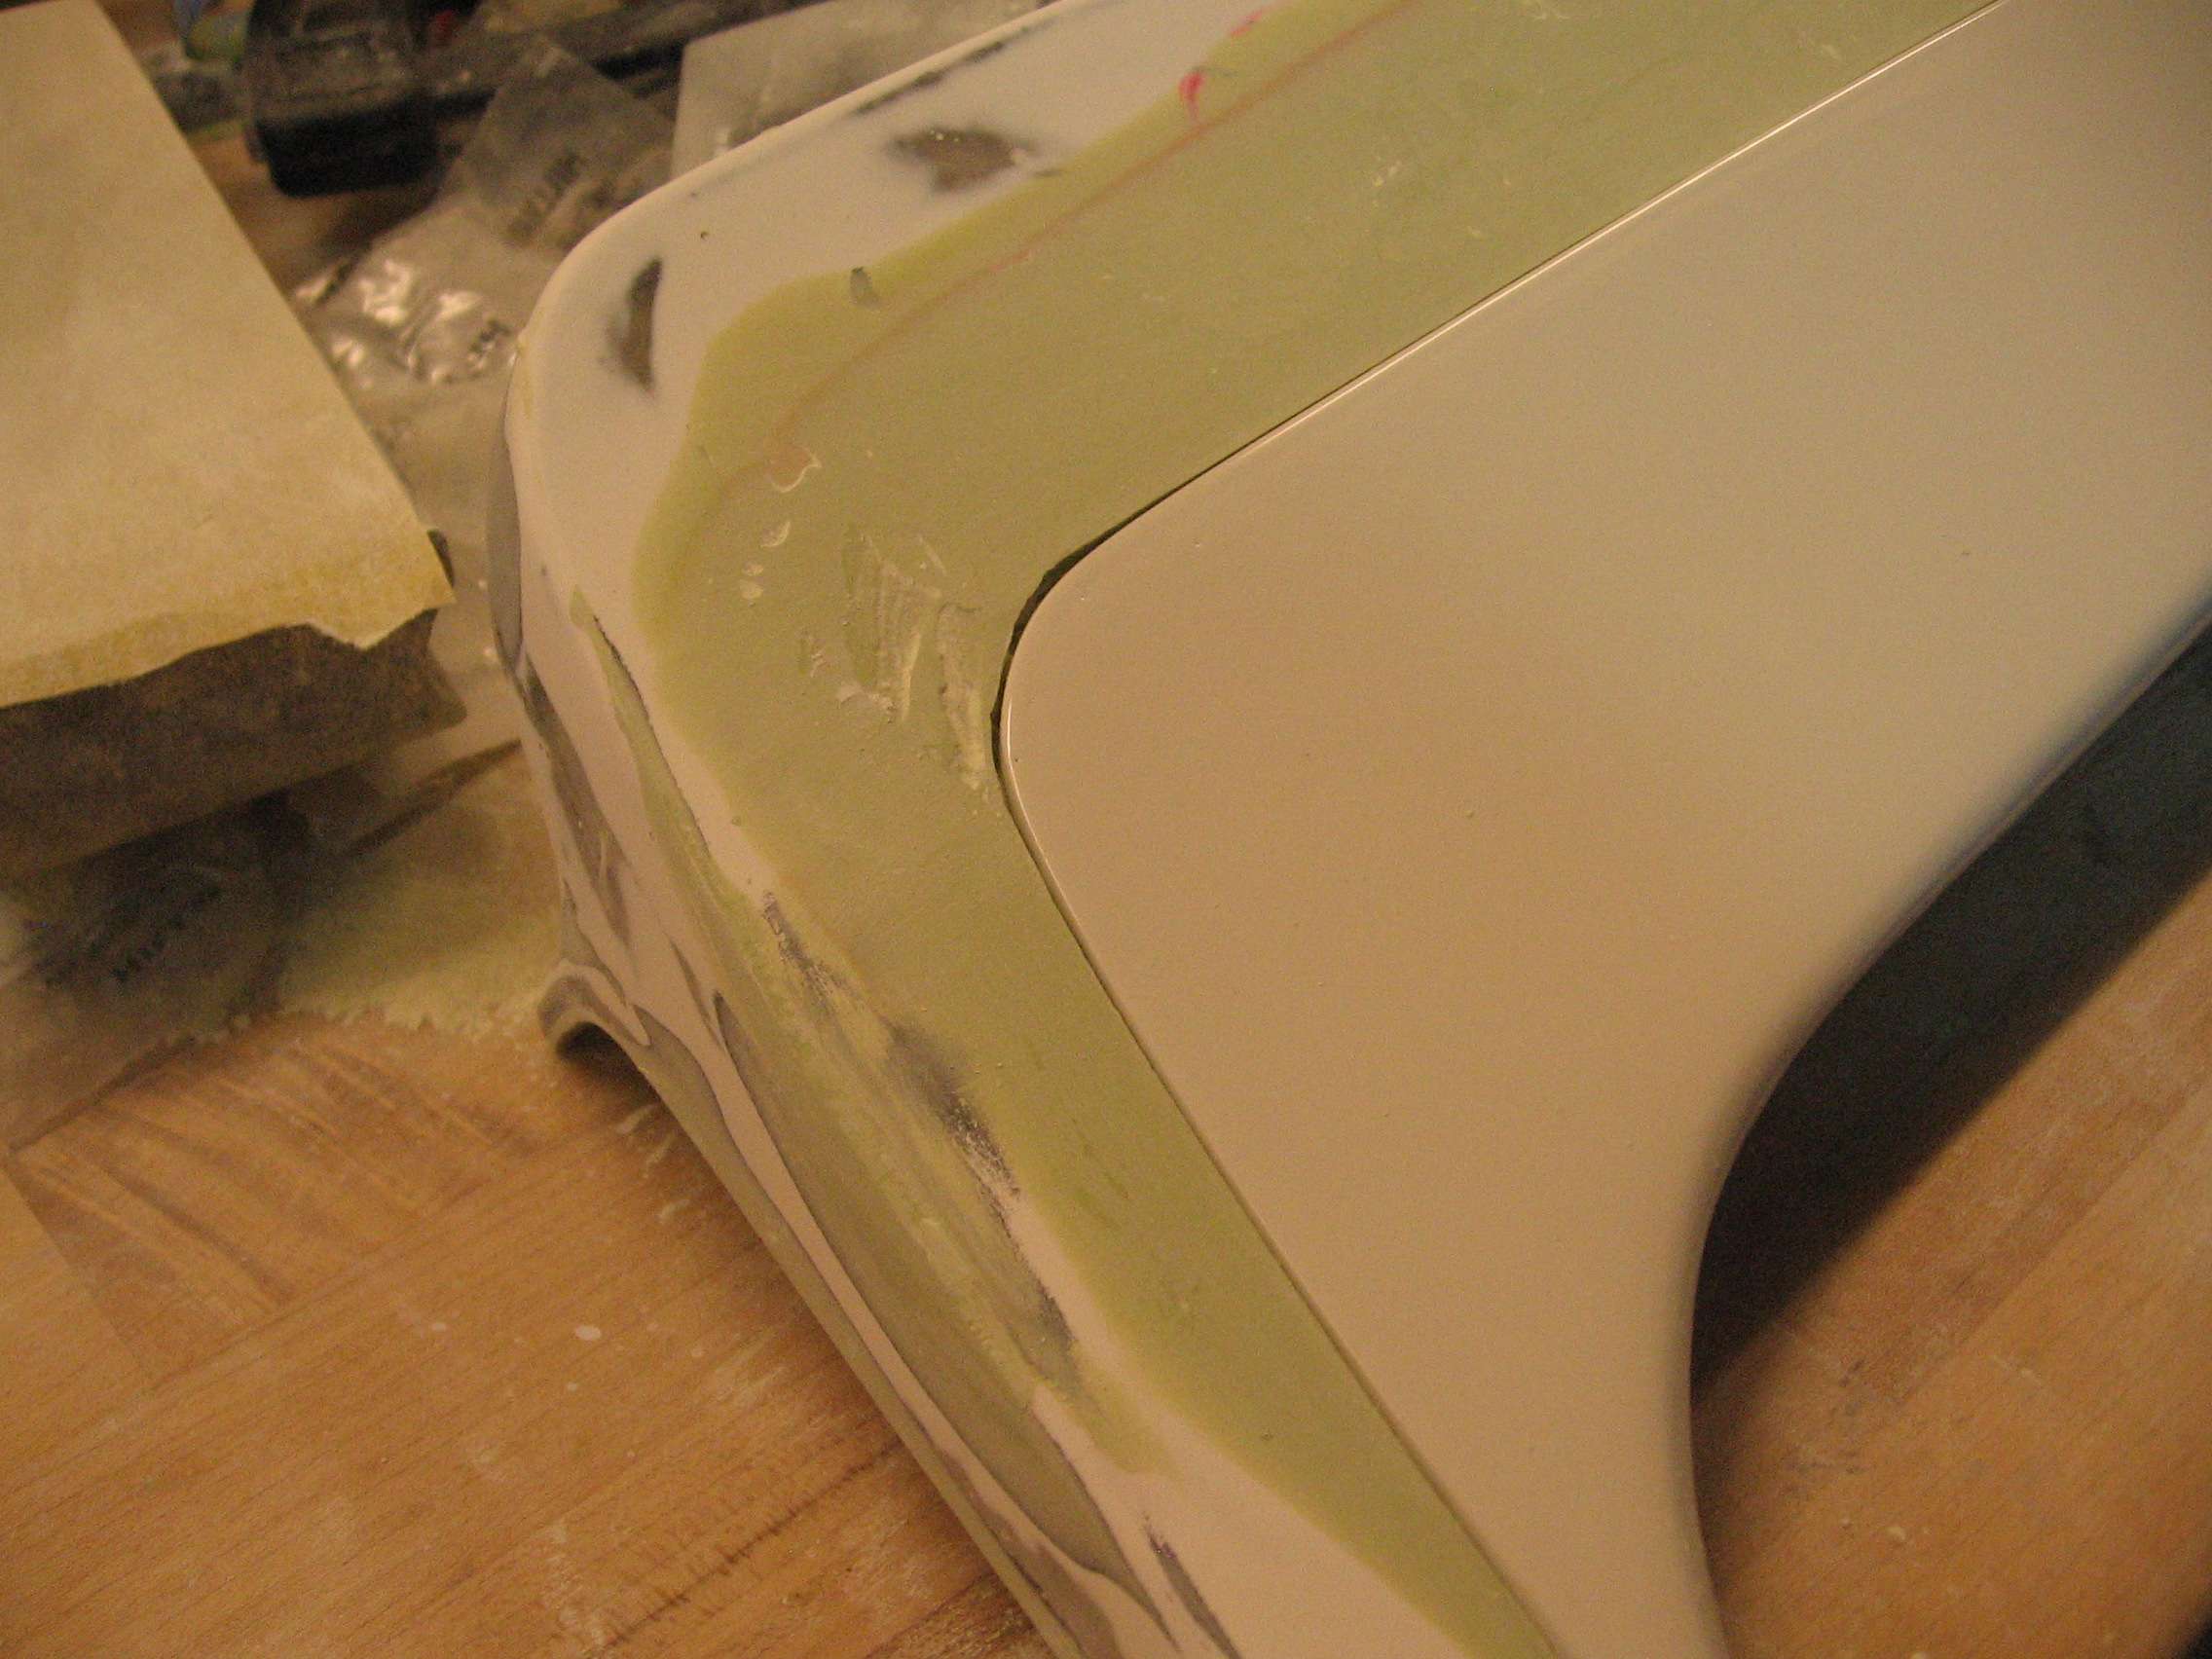

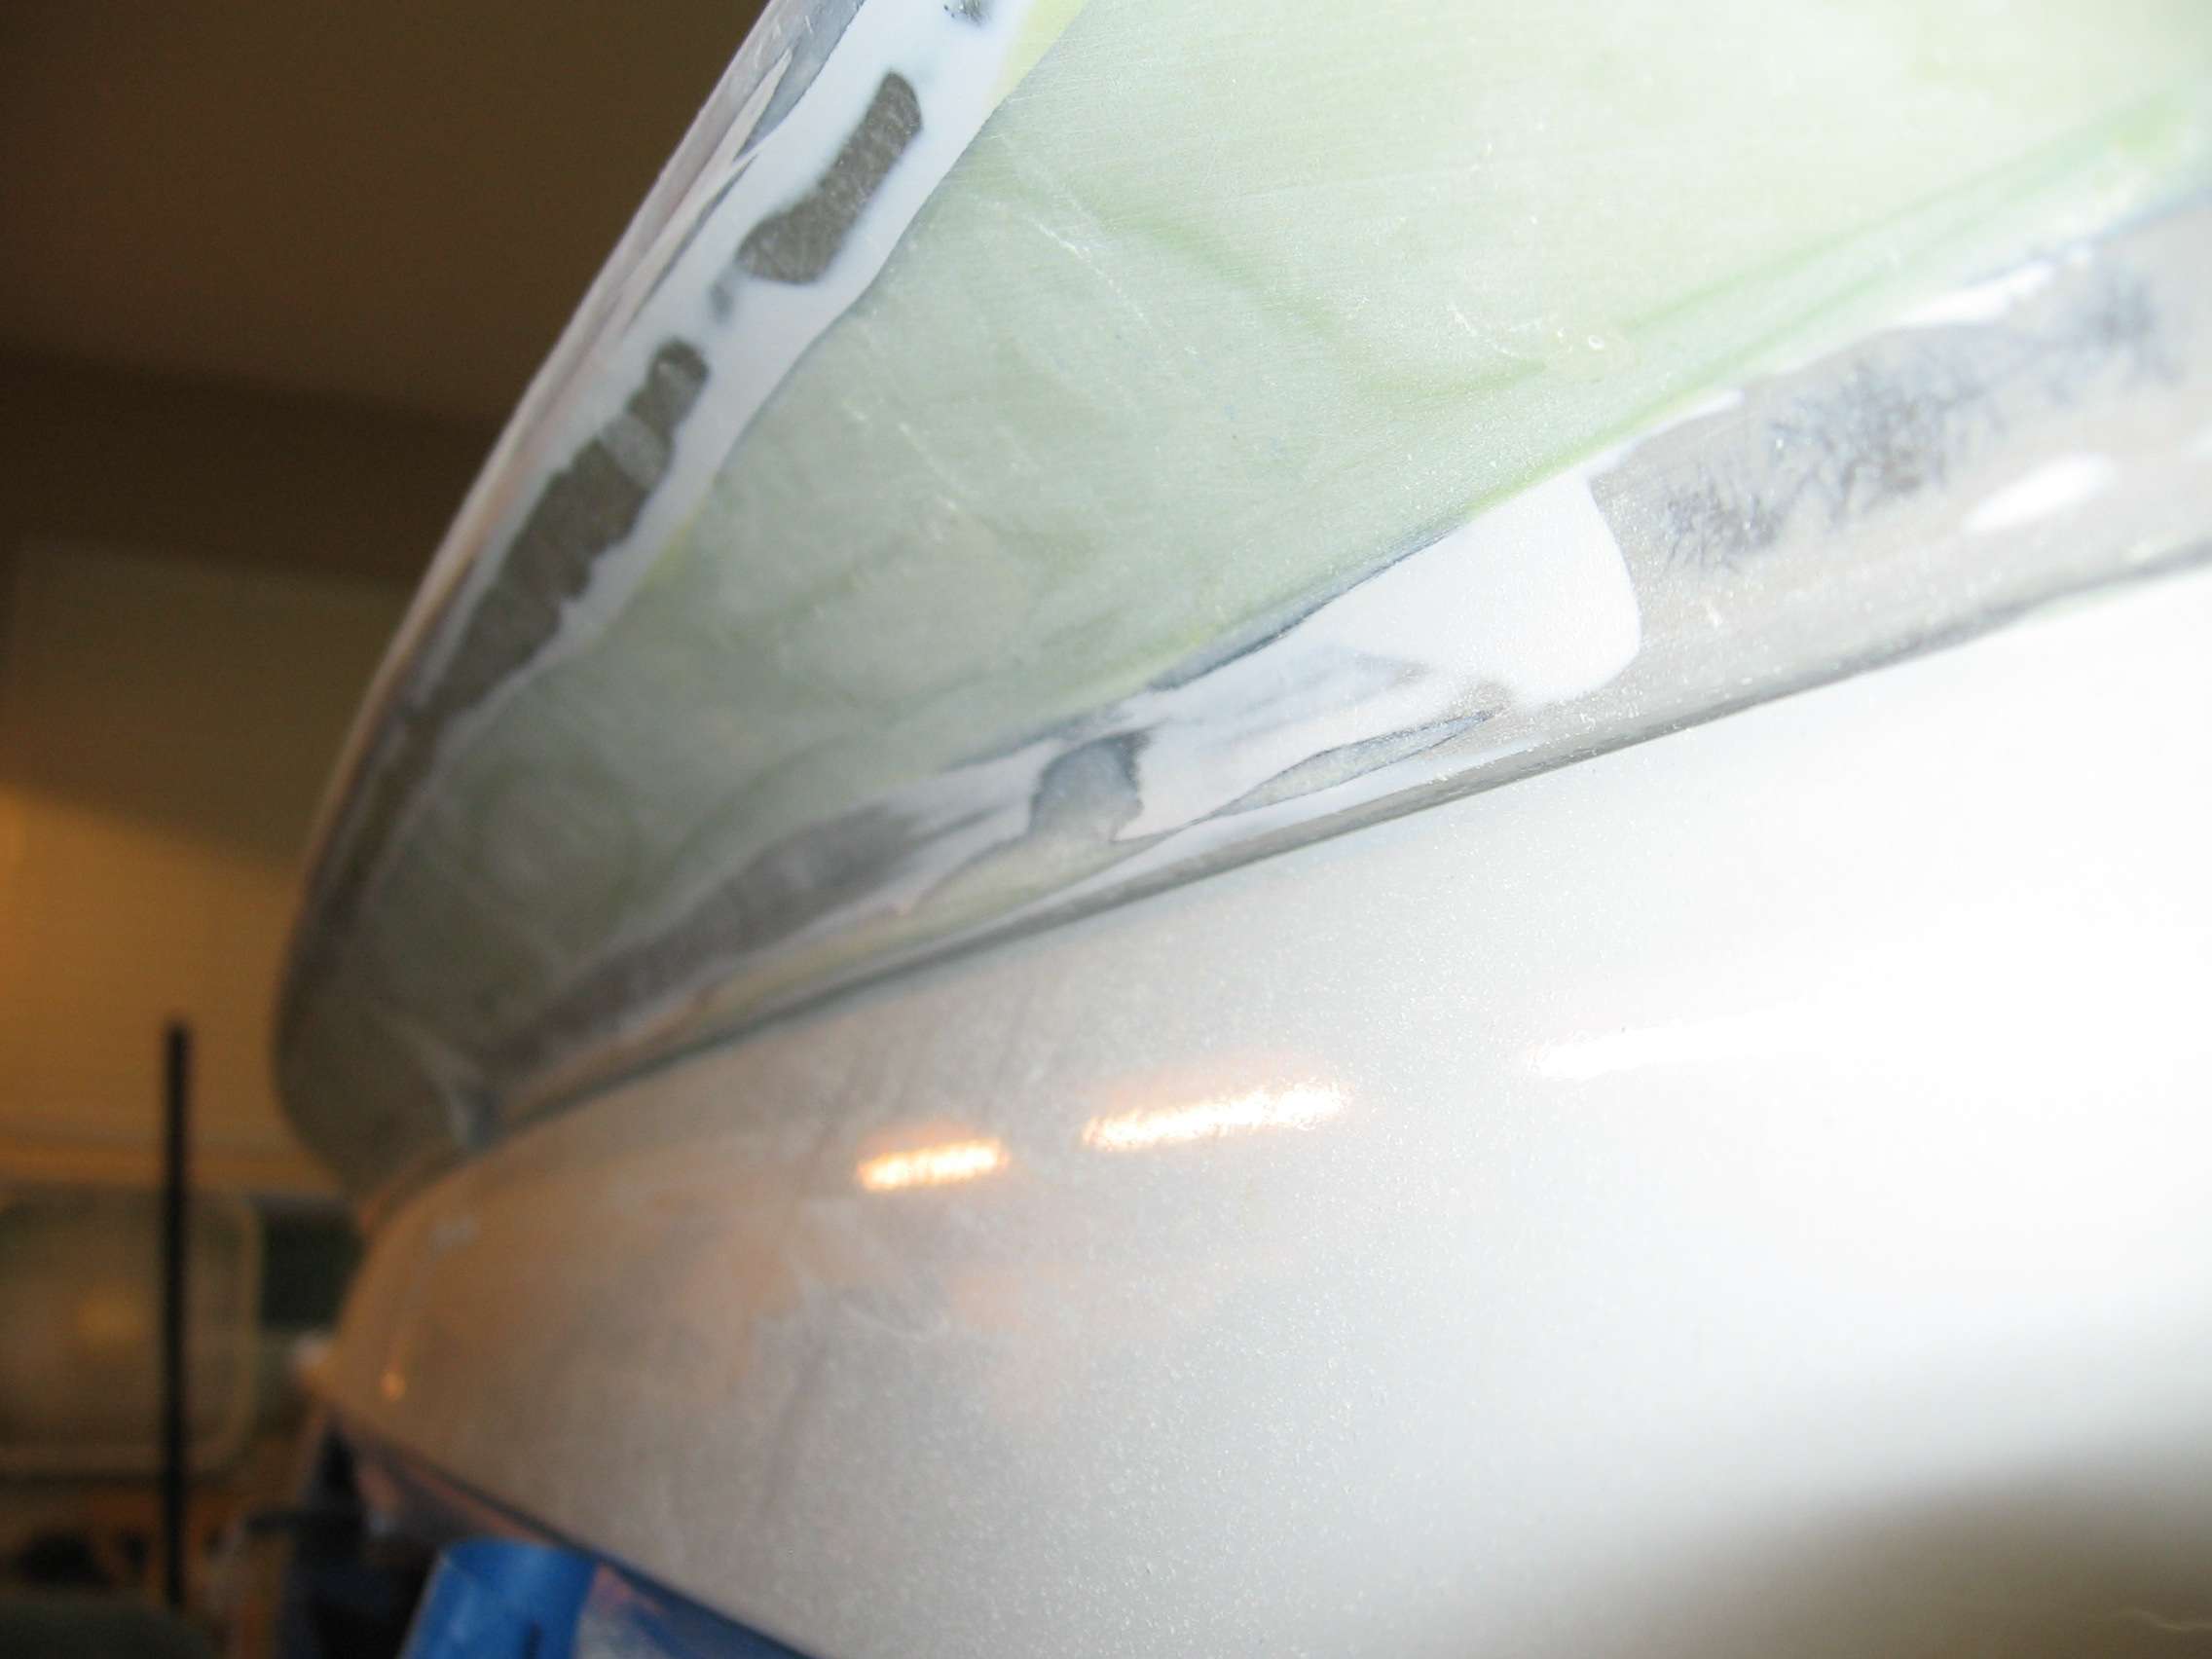
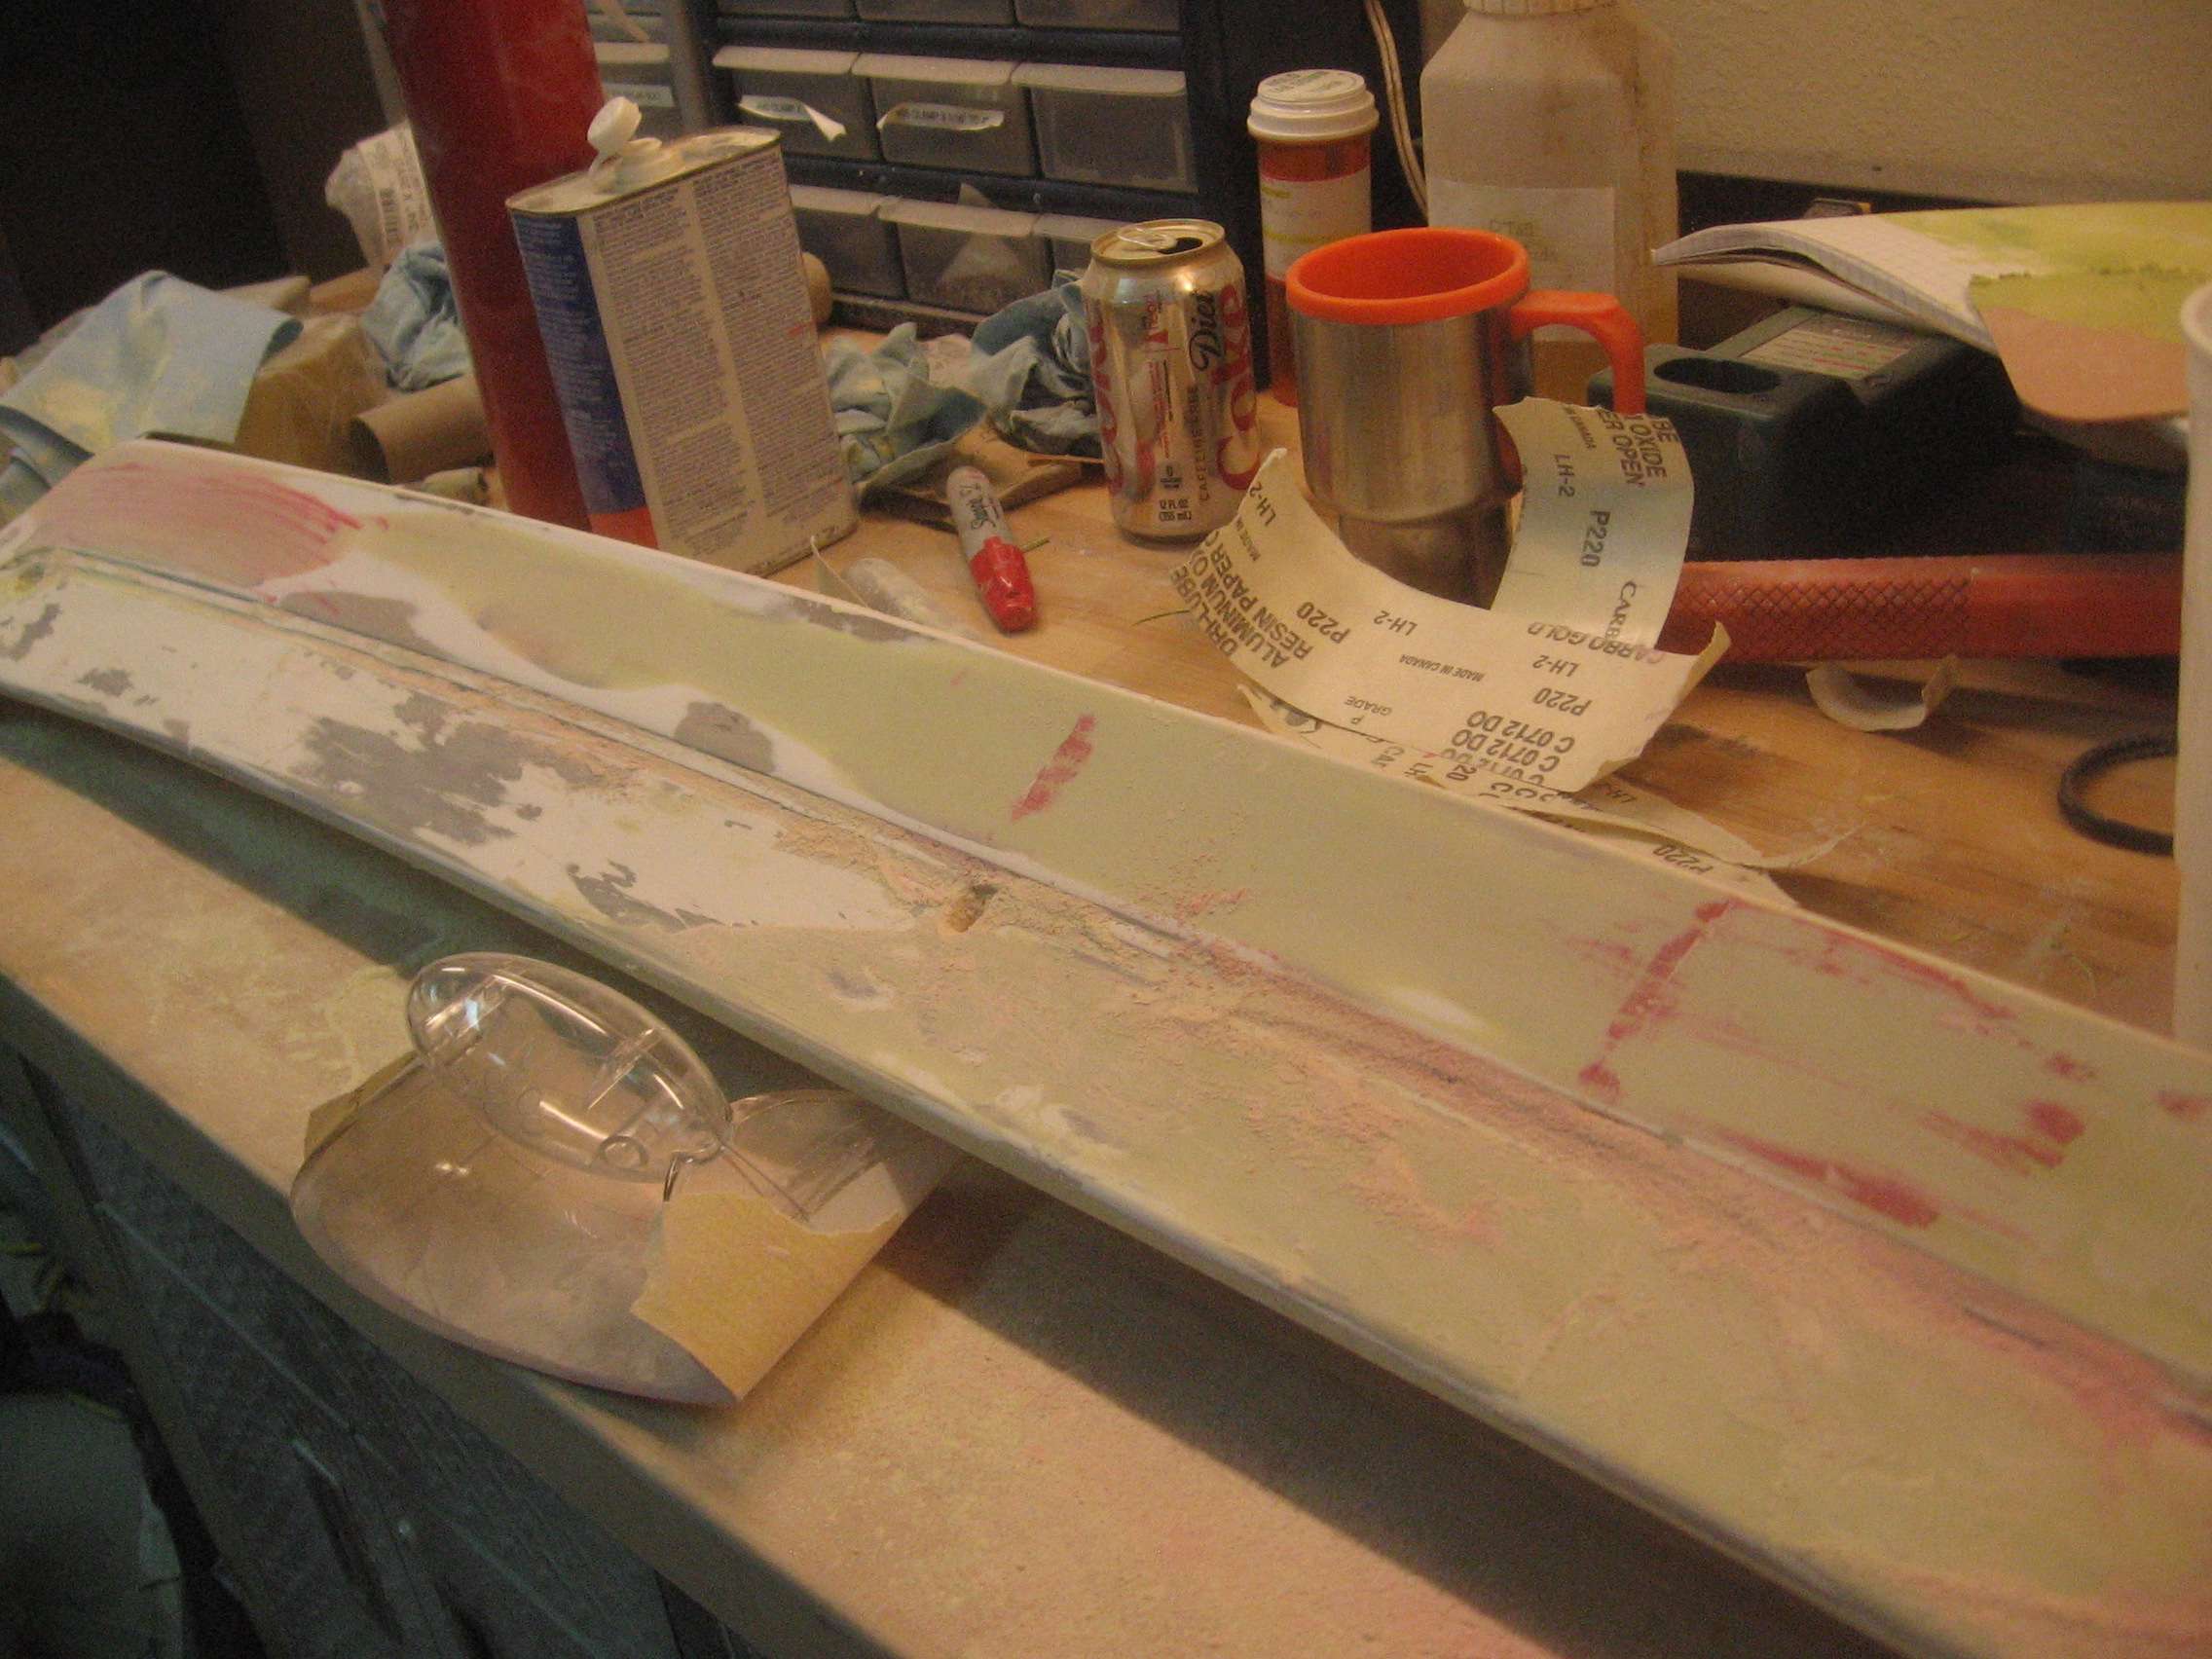
As the sanding continued, the top edge of the wing started to thin out and I discovered voids...many many voids. I filled them all with epoxy, resanded the entire wing with 80 grit and reapplied the primer. It should stick now. And then the process will repeat. <sigh>
For those who guessed that my passenger door hinge pin bushing sheared, you got it right. Unfortunately, I got some damage combined with it too.
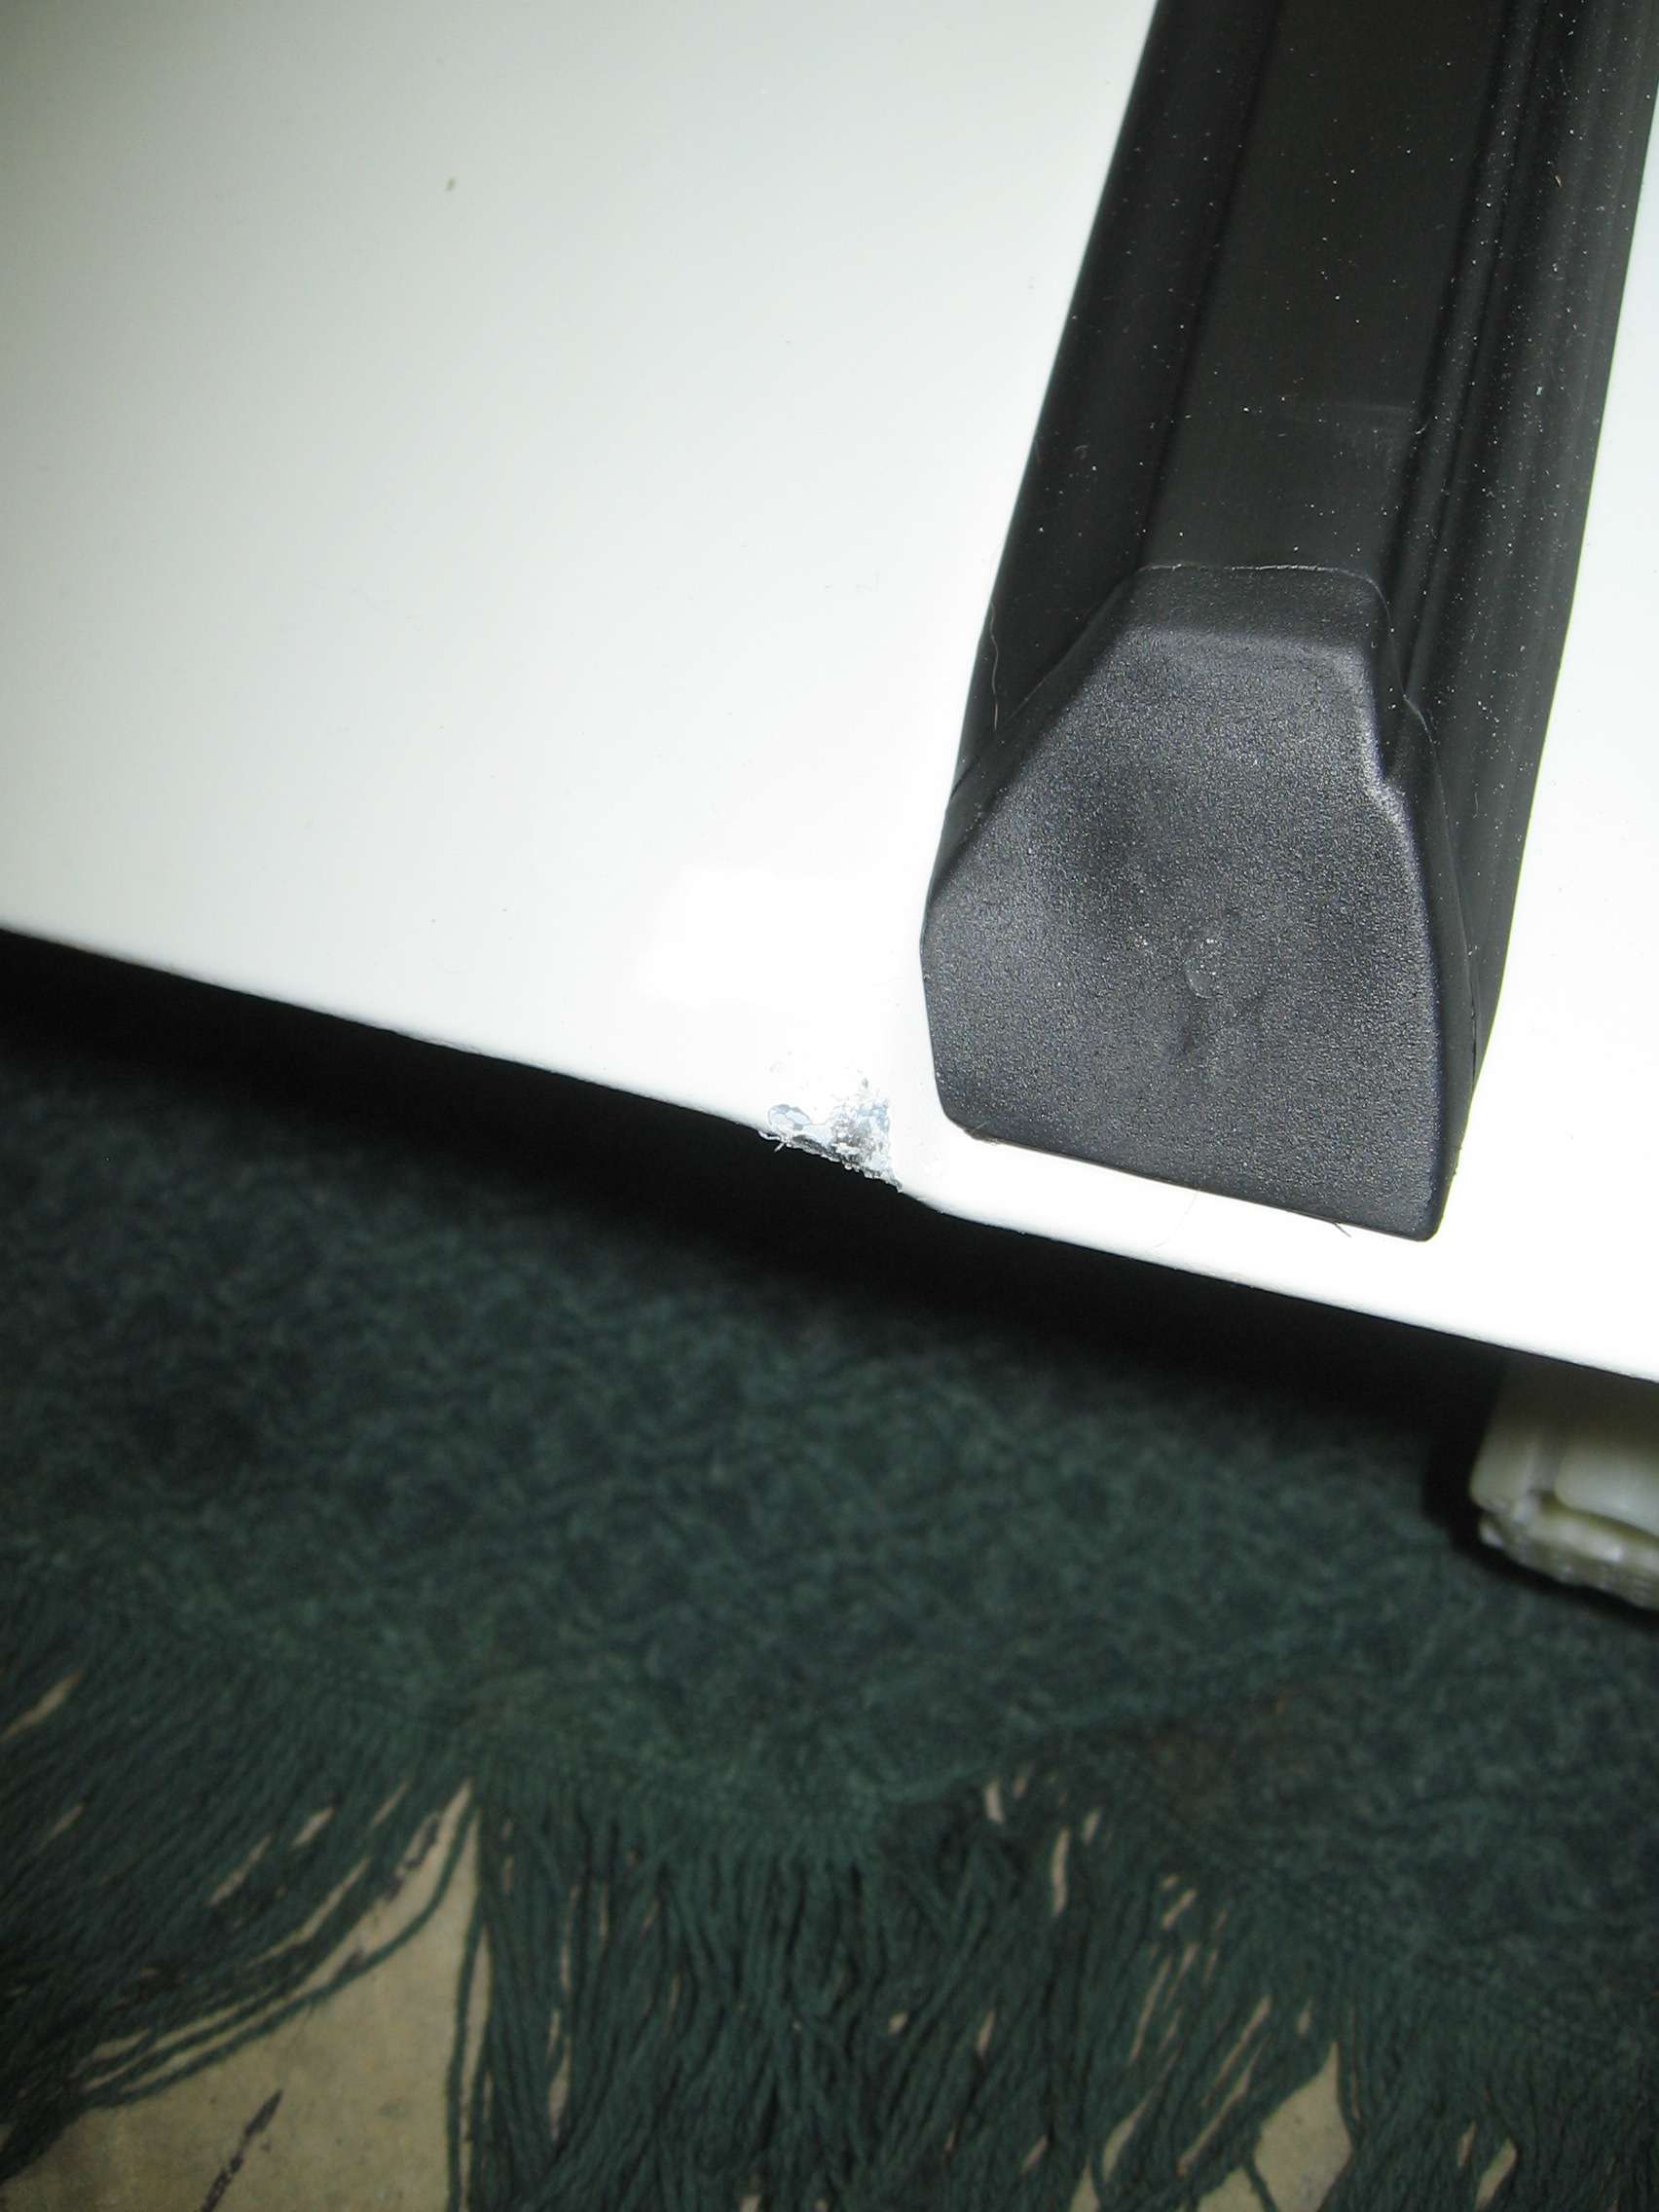
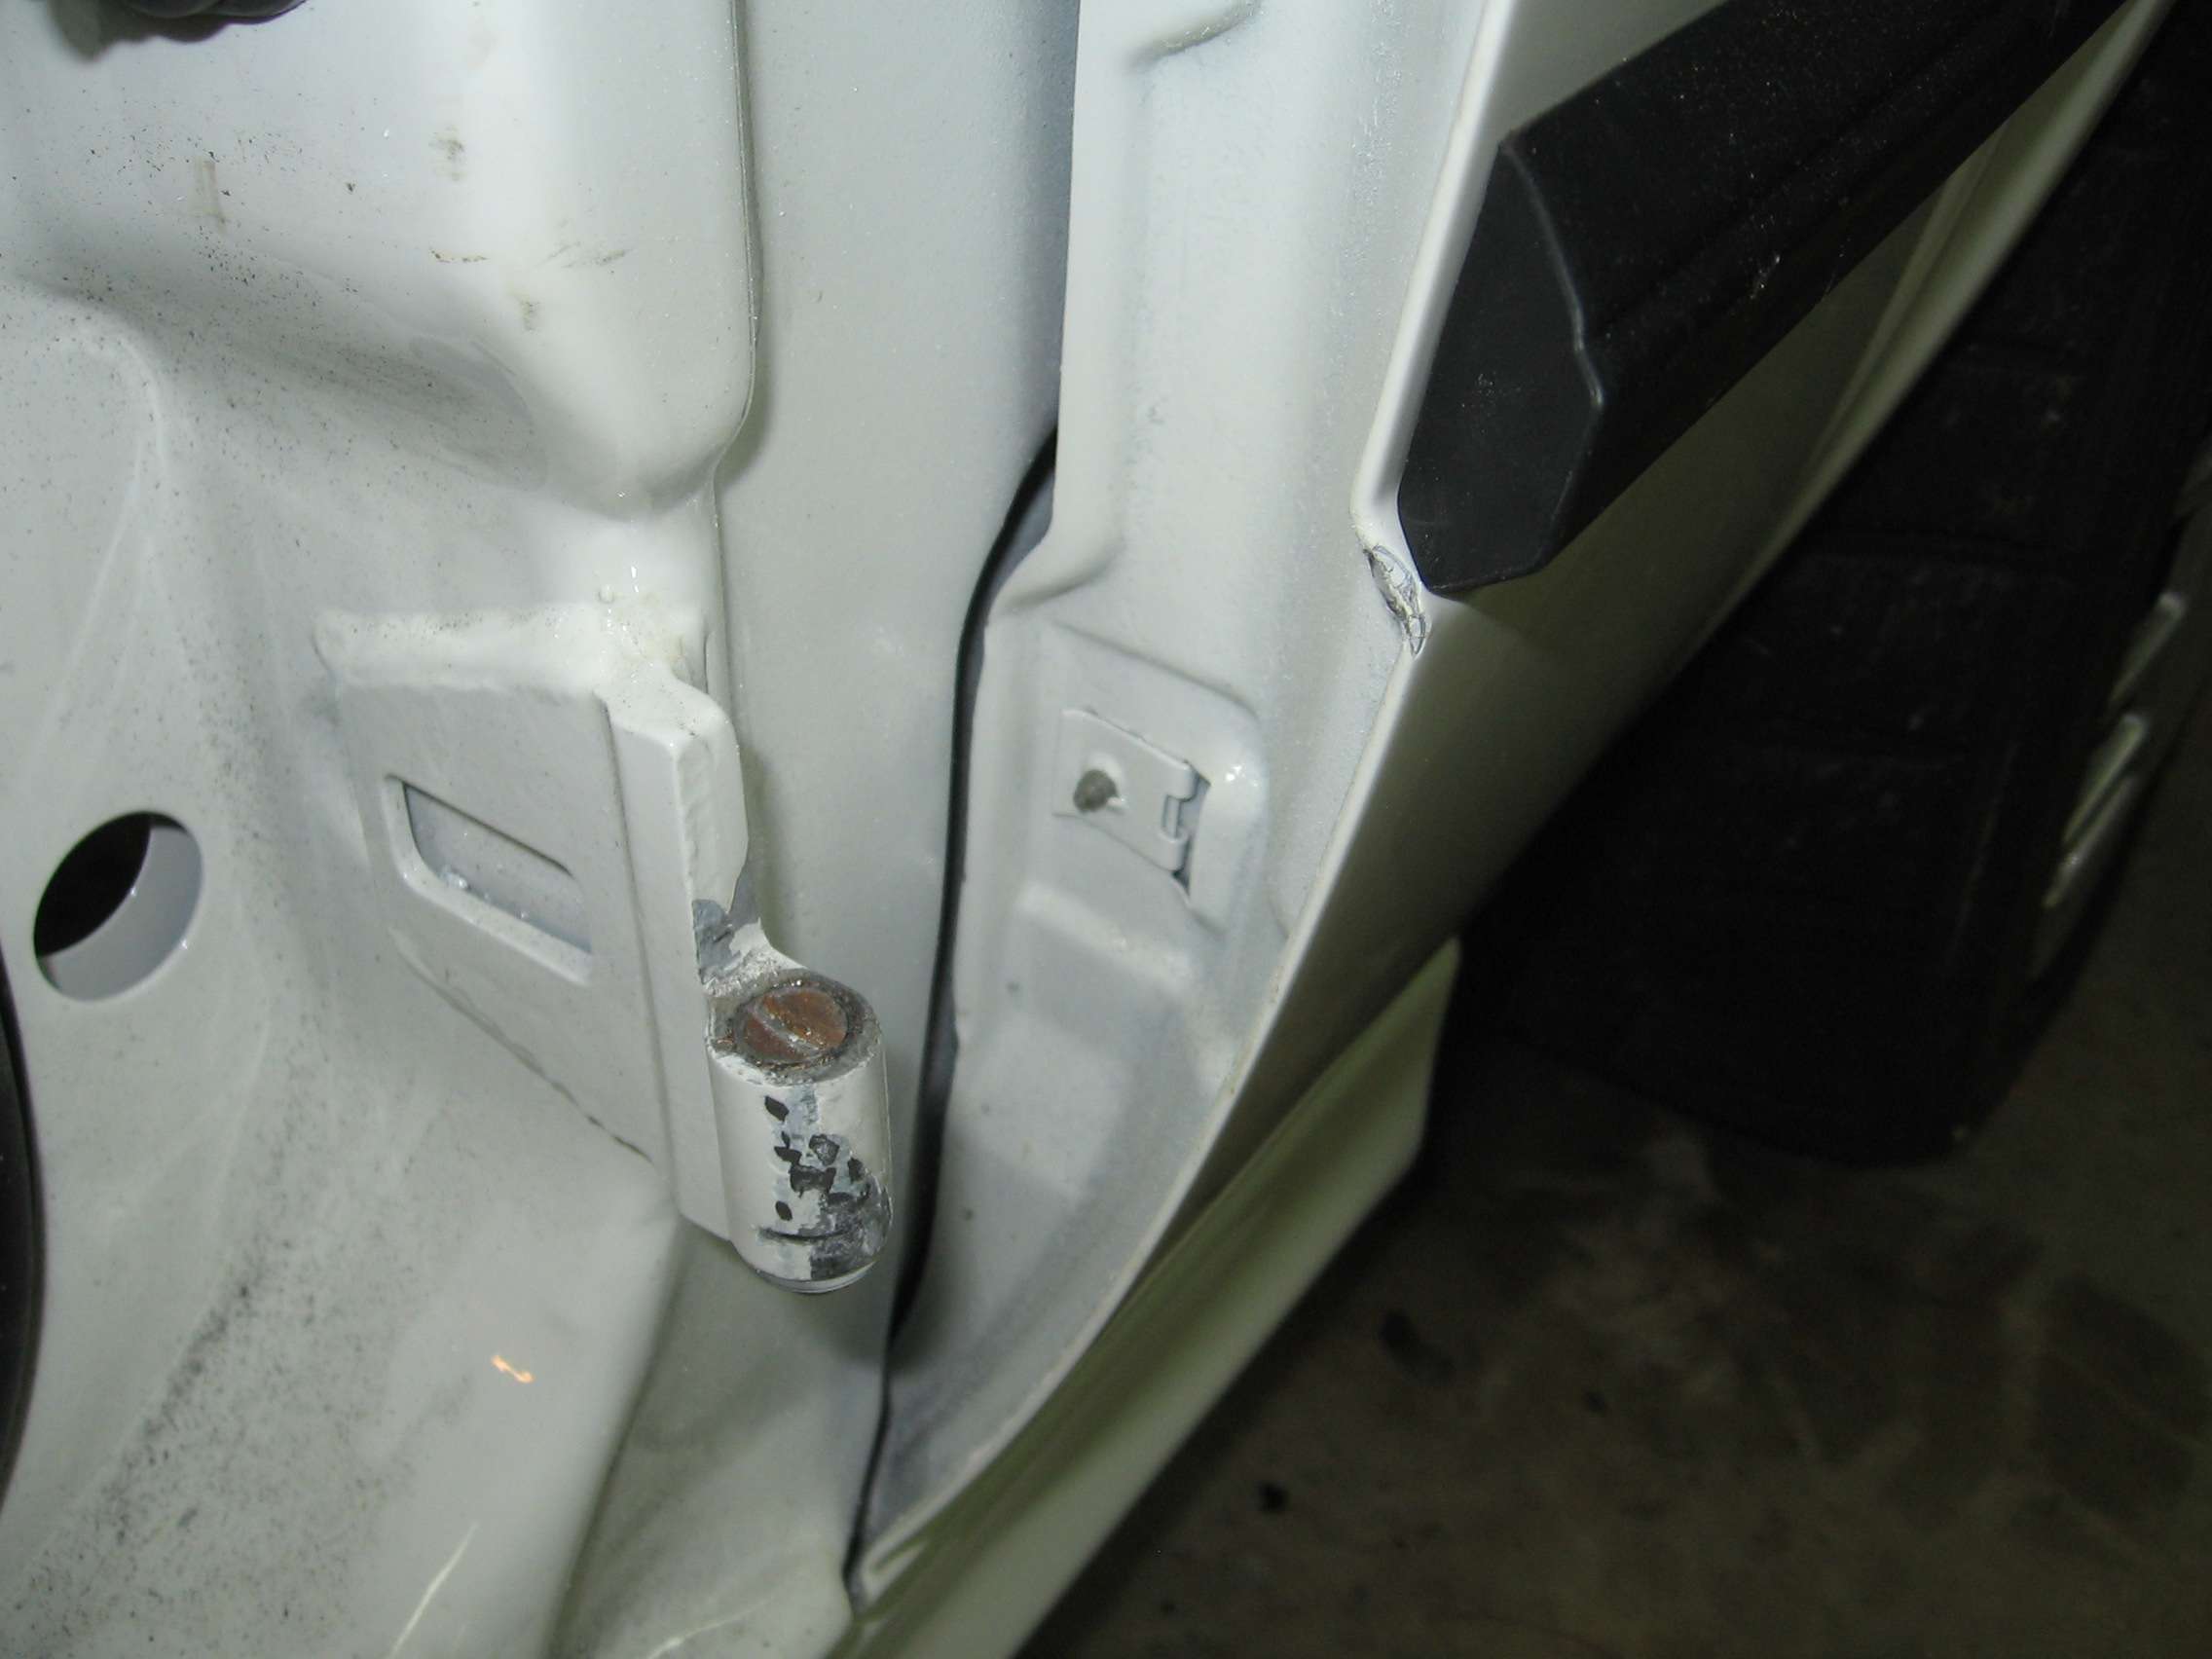
I'm beginning to think this car hates me. I can't tell you how sickening the feeling was to push the door closed and have it bounce back because the back edge is down an inch or two. Ugh. Looks like Blunttech will be getting another order. I just want the exterior finished at this point.
Hopefully another update soon.Leave a comment:
-
Yep, popped the output shafts on the original diff (used a long screwdriver between the output flange and the case) and put them on the z3m diff. I think there is a diy in the 24v forum.
Annoyance, I haz it. Ive made progress with it but ran out of sandpaper. I also had a fairly significant set back on the car but that post will have to wait. Off with the wife on date night to see dark night rises.Leave a comment:
-
I dont get it either. How hard is it to make a decent replica?Leave a comment:
-
How did you get your Z3M DIFF to work?You changed the output shafts?Leave a comment:
-
-
Wow can't believe this is 3 years old now. I did not know about those MemoryFab wheels. Thanks.
I really can't wait to see this car done now.Leave a comment:
-
I can see how that might be confusing. Is spoiler holes exist on the trunk lid and I increased the diameter to aid in adjustment. When I put it on the lid held on by just the center two bolts, nothing lined up. I centered the wing and then marked where the trunk lid holes were on the wing. Those are the red circles you see. Stunned by what I saw I measured the original inserts that came with the wing and they weren't even symmetric. The red marks do match the service manual measurements.
I should have held out for an original.Leave a comment:
-
^I'm pretty sure he wasn't using the inner trunk trim to gauge the holes, I think the picture just confused you. It did the same to me.Leave a comment:
-
Without going through the entire thread, does your trunk already have OEM holes in it for a rear wing? iS perhaps? Those should serve as the true metrics.
I was a bit confused by the above photos. You aren't using the mounting holes for the rear trunk trim as a reference for where the holes for the wing go, right?Leave a comment:
-
So as I sit here on my couch, feeling like crap with some sort of cold and a wannabe hurricane bearing down on me, I think to myself, what a perfect time to update my build thread!!!
It's pretty miserable down here temperature wise. Lately most of my work has been confined to the early morning on the weekends, 5:30/6:00 to 11:00. The garage gets into the high 90s during the afternoon and I dare not open the doors in the evenings lest my entire body become consumed by mosquitoes like a cow in a piranha filled river. Needless to say, I've taken a hit to productivity and it's starting to irritate me to no end.
On the plus side, I do have a small air conditioning unit and I found if I keep just the drivers side door open and force the cool air into the cabin while I work, it's not so bad.
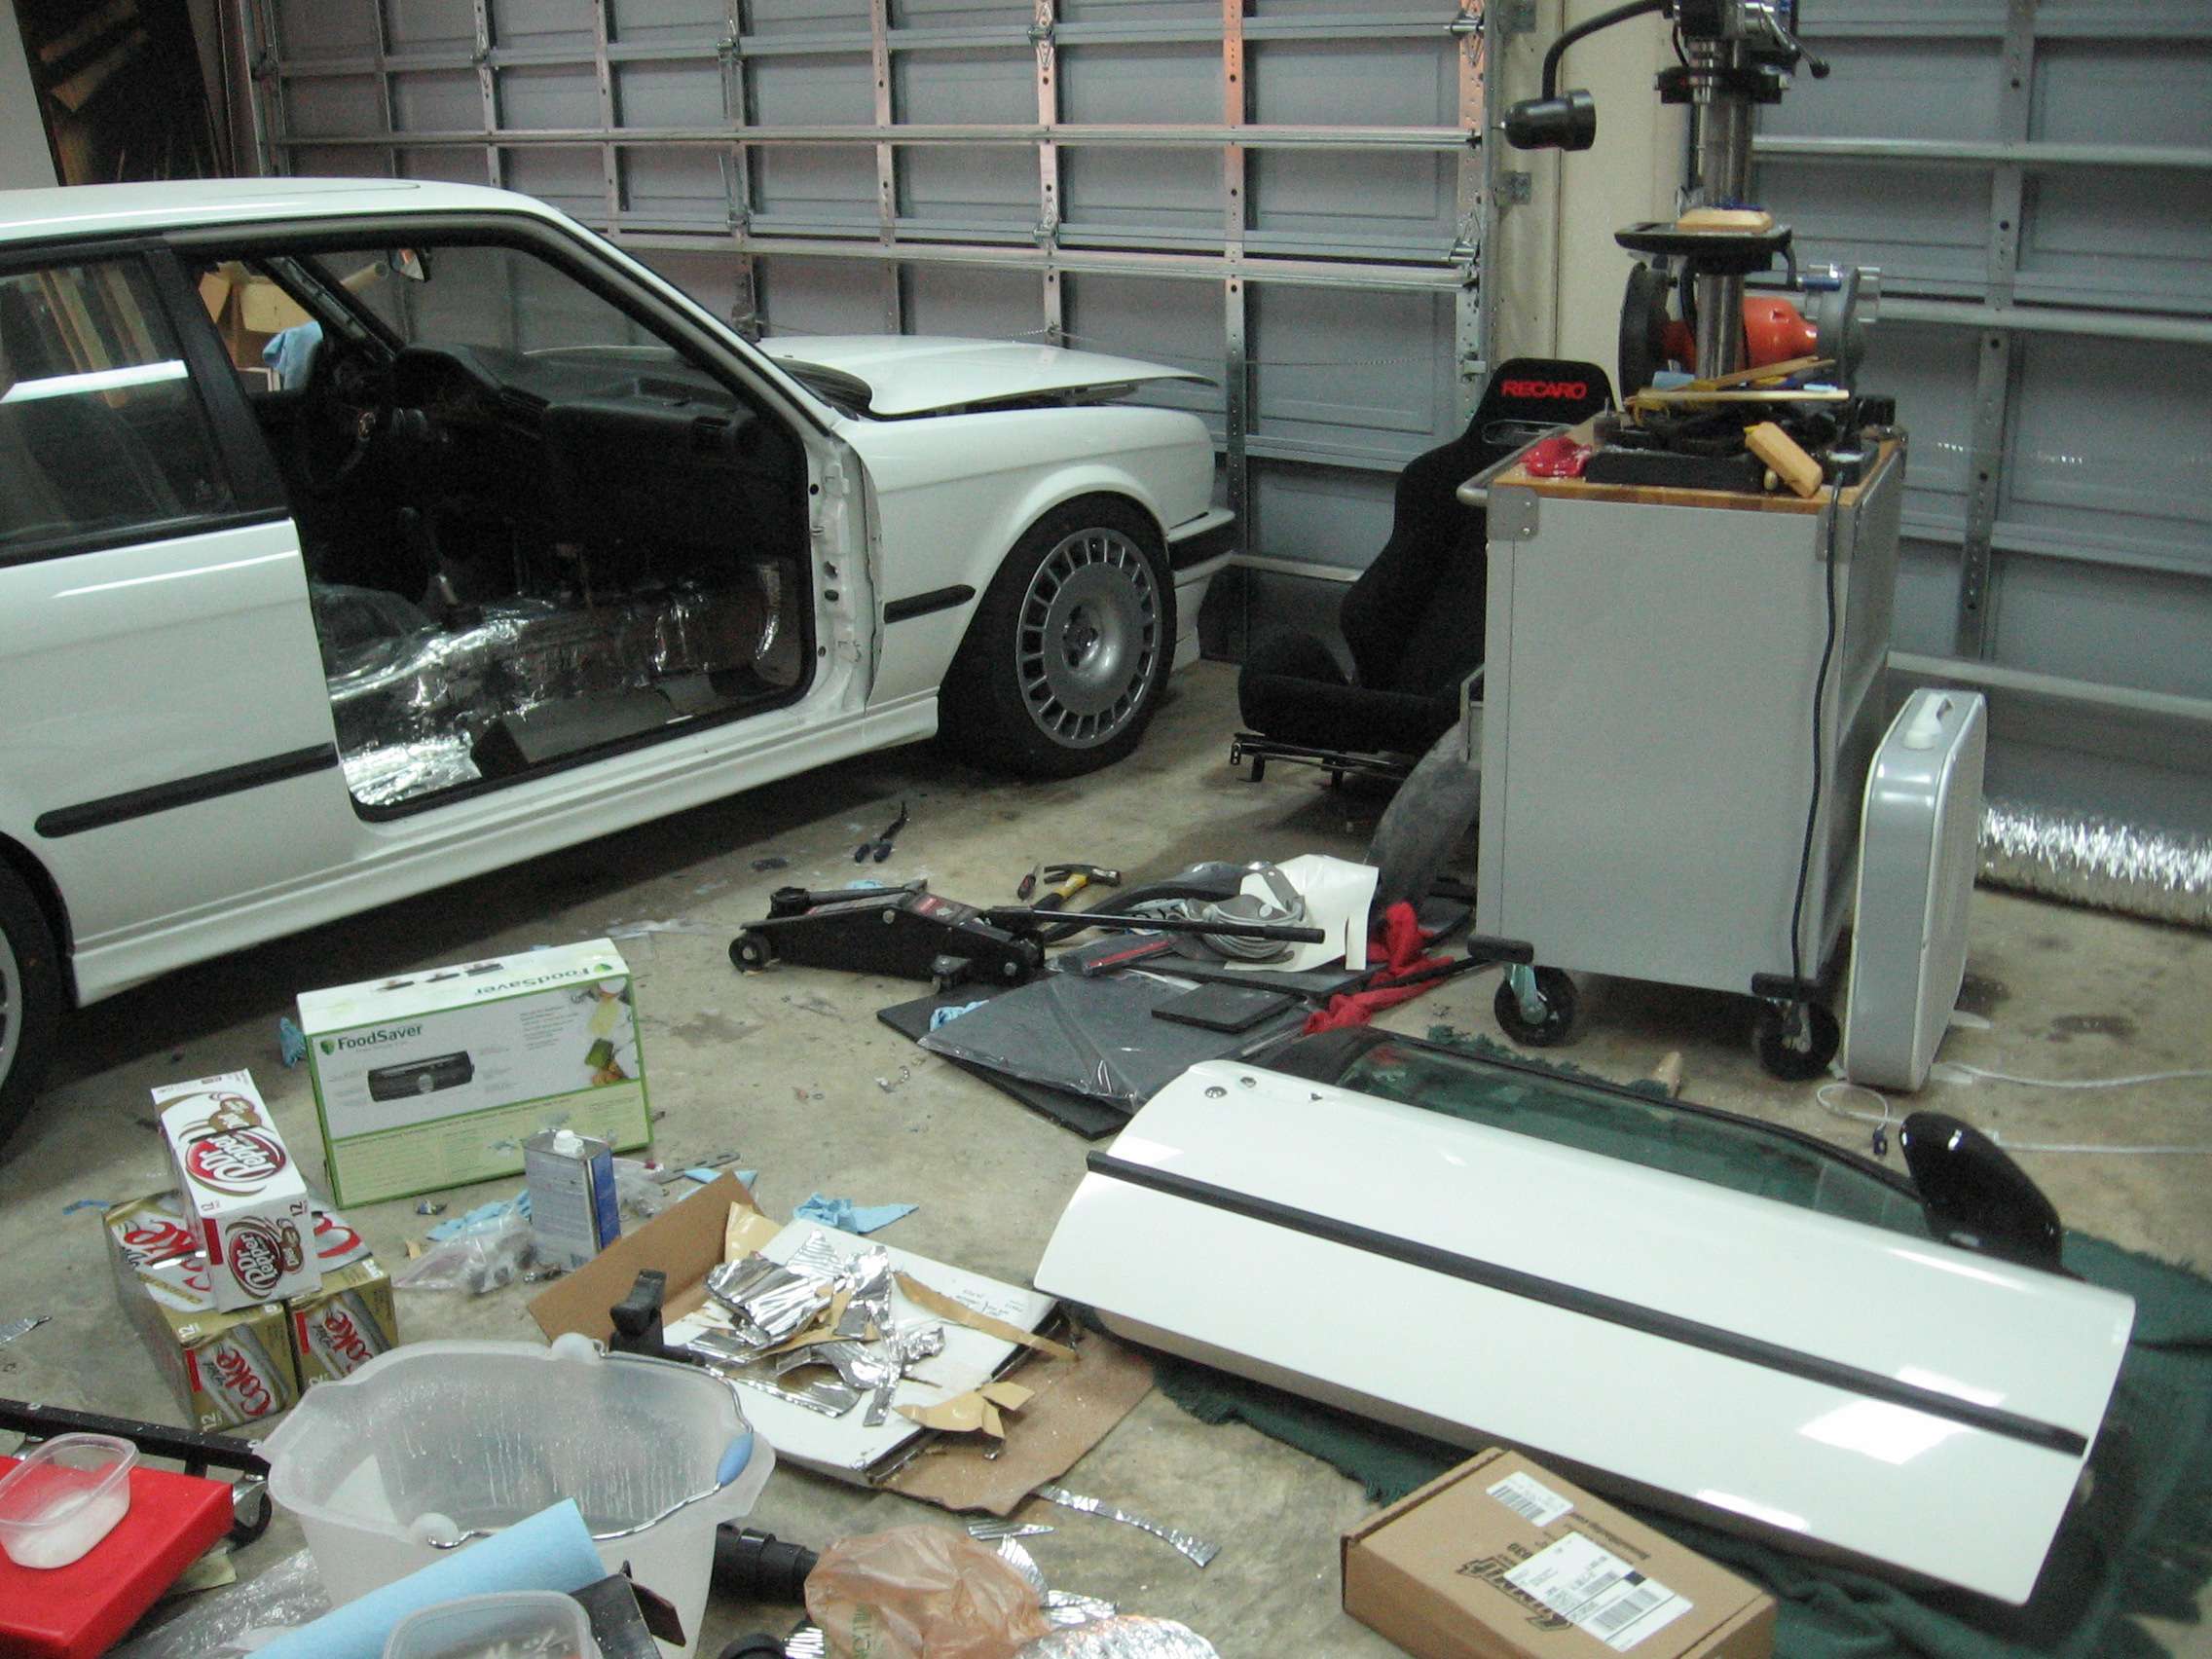
The canvas (I think the tires are becoming one with the concrete at this rate.):

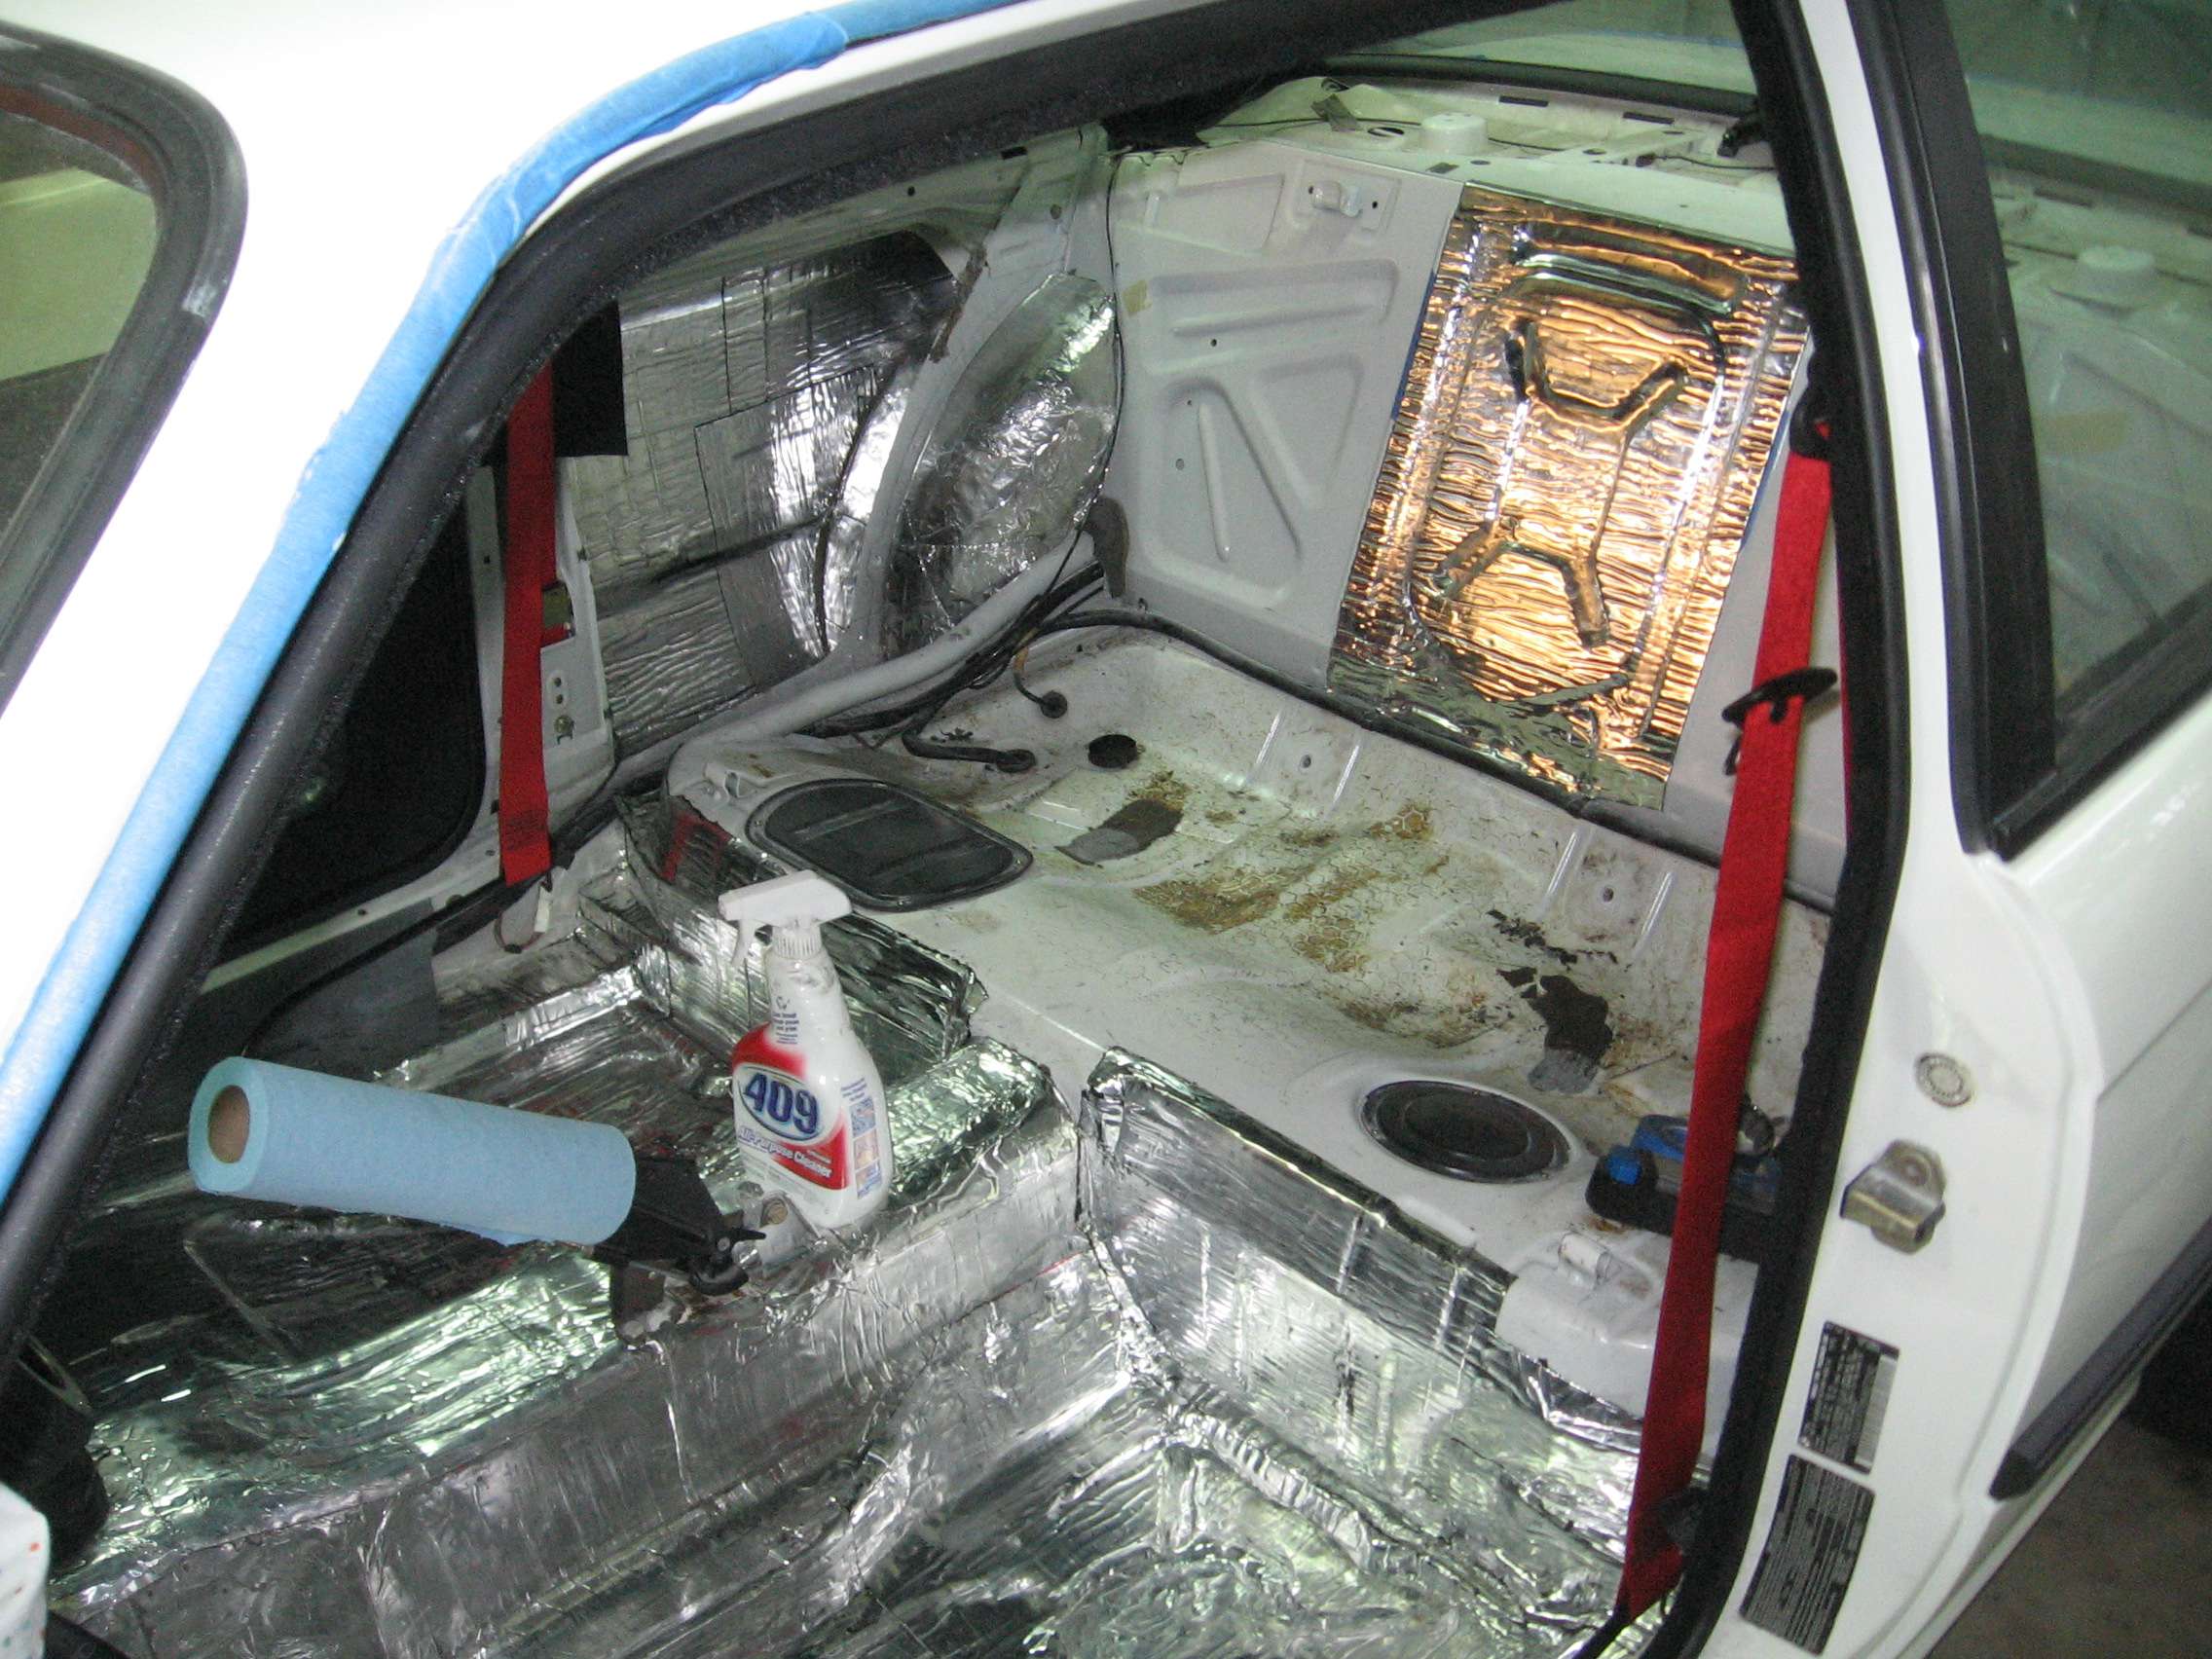
I elected to put sound absorption material inside the cabin. But why josh, why? you haz fuh raze caR!!! I felt that I wanted some heat protection on the transmission tunnel and to try and silence all the rocks hitting the inner fenders after the sticky azenis throw them off. I tried to be efficient as I didn't want to add to much weight.
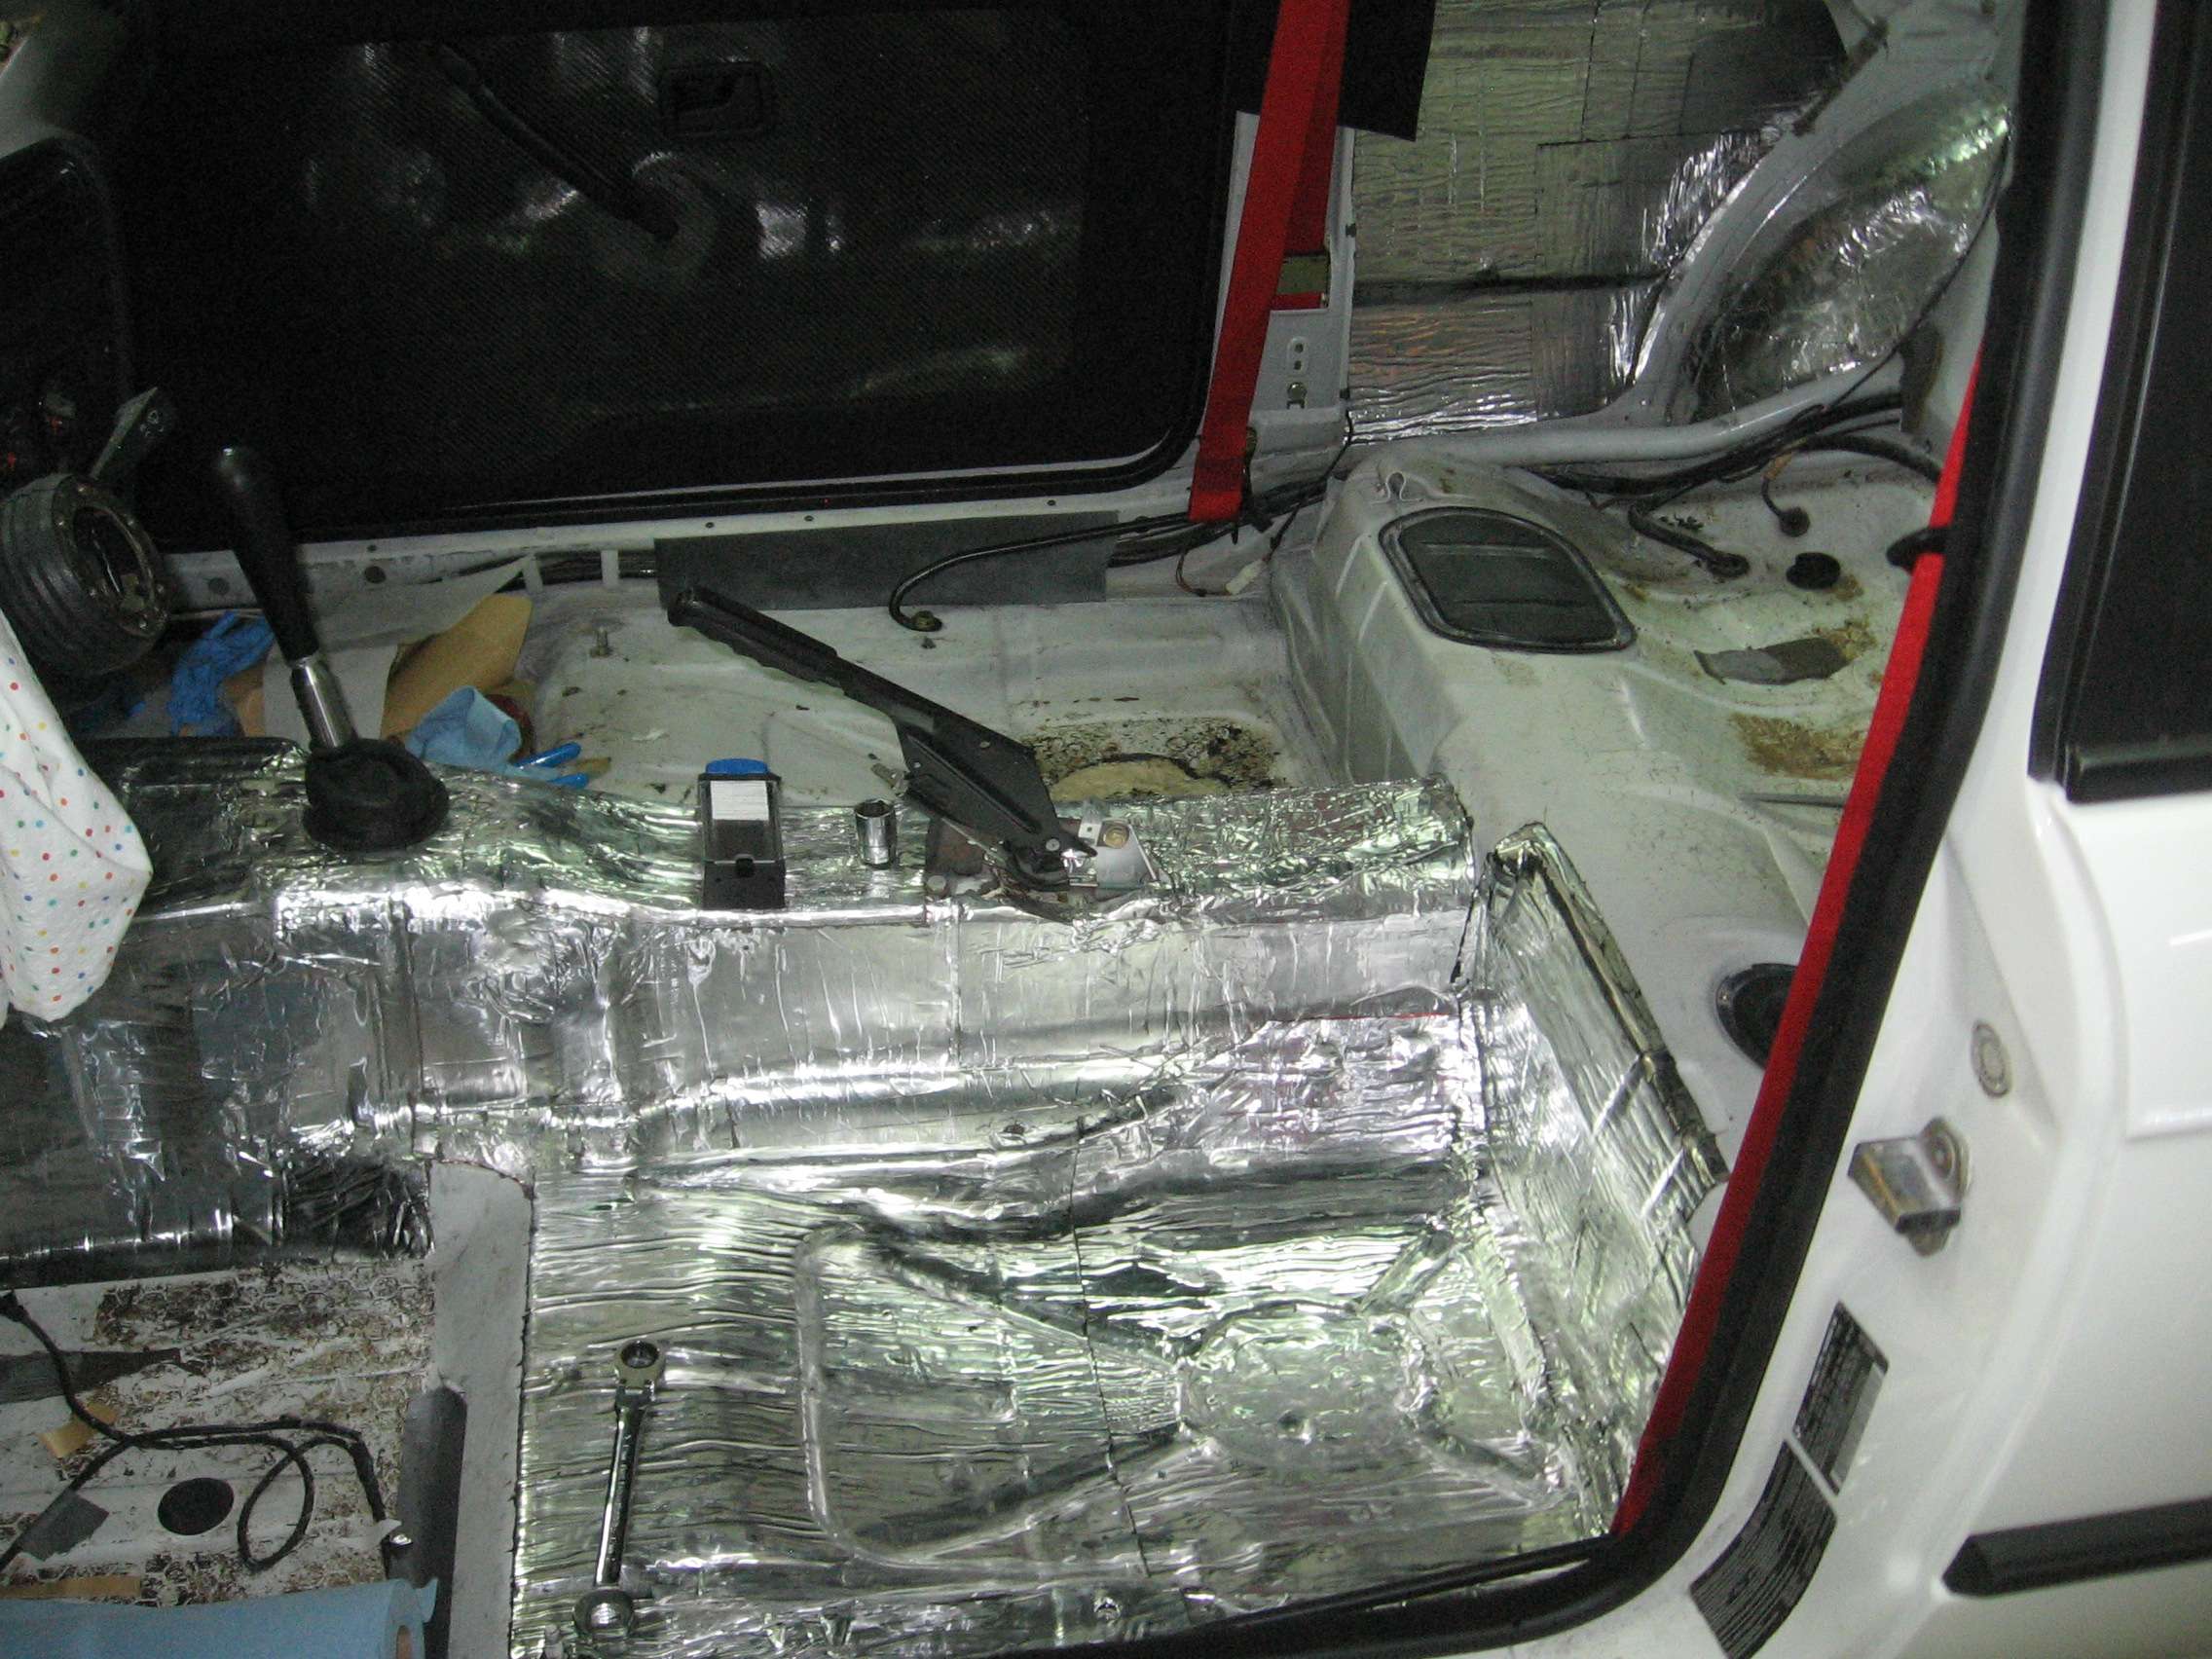

I'm using RAAM Audio. Some of you might be familiar with it. Blunt used it on his turbo monster, though they no longer offer the same materials I used. I used the thick stuff on the wheelwells and the transmission tunnel to help with the noise. I ended up cutting off a lot of threaded studs on the floorboards. No turning back now.
Some of you have probably seen MemoryFab's latest wheel offering, the MTechnica 16X8.5. The wheel is modeled after the BBS/Turbofan offering on the race 935 porsches back in the day. Given my affection for turbofans (and those of you who have not seen famguy's car in the member's rides section need to stop and go look right now), it should come as no surprise that I would have an infatuation with these wheels. But, my skillz with the photomashop and other new fangled programs were not up to the task. My excel skills, well that's another matter. I present you my excel/photoshop/ican'tbelieveheactuallydidthis rendering:
The blue tape actually reduces the rolling moment of inertia. True story. I read it on the internet.
In the end, I felt like they were too similar to the compies so I elected to forgo the opportunity. If I get bored, I may tape up the TH's and see what they would look like painted that way. I'll have to repaint them eventually as they have attracted many scratches.
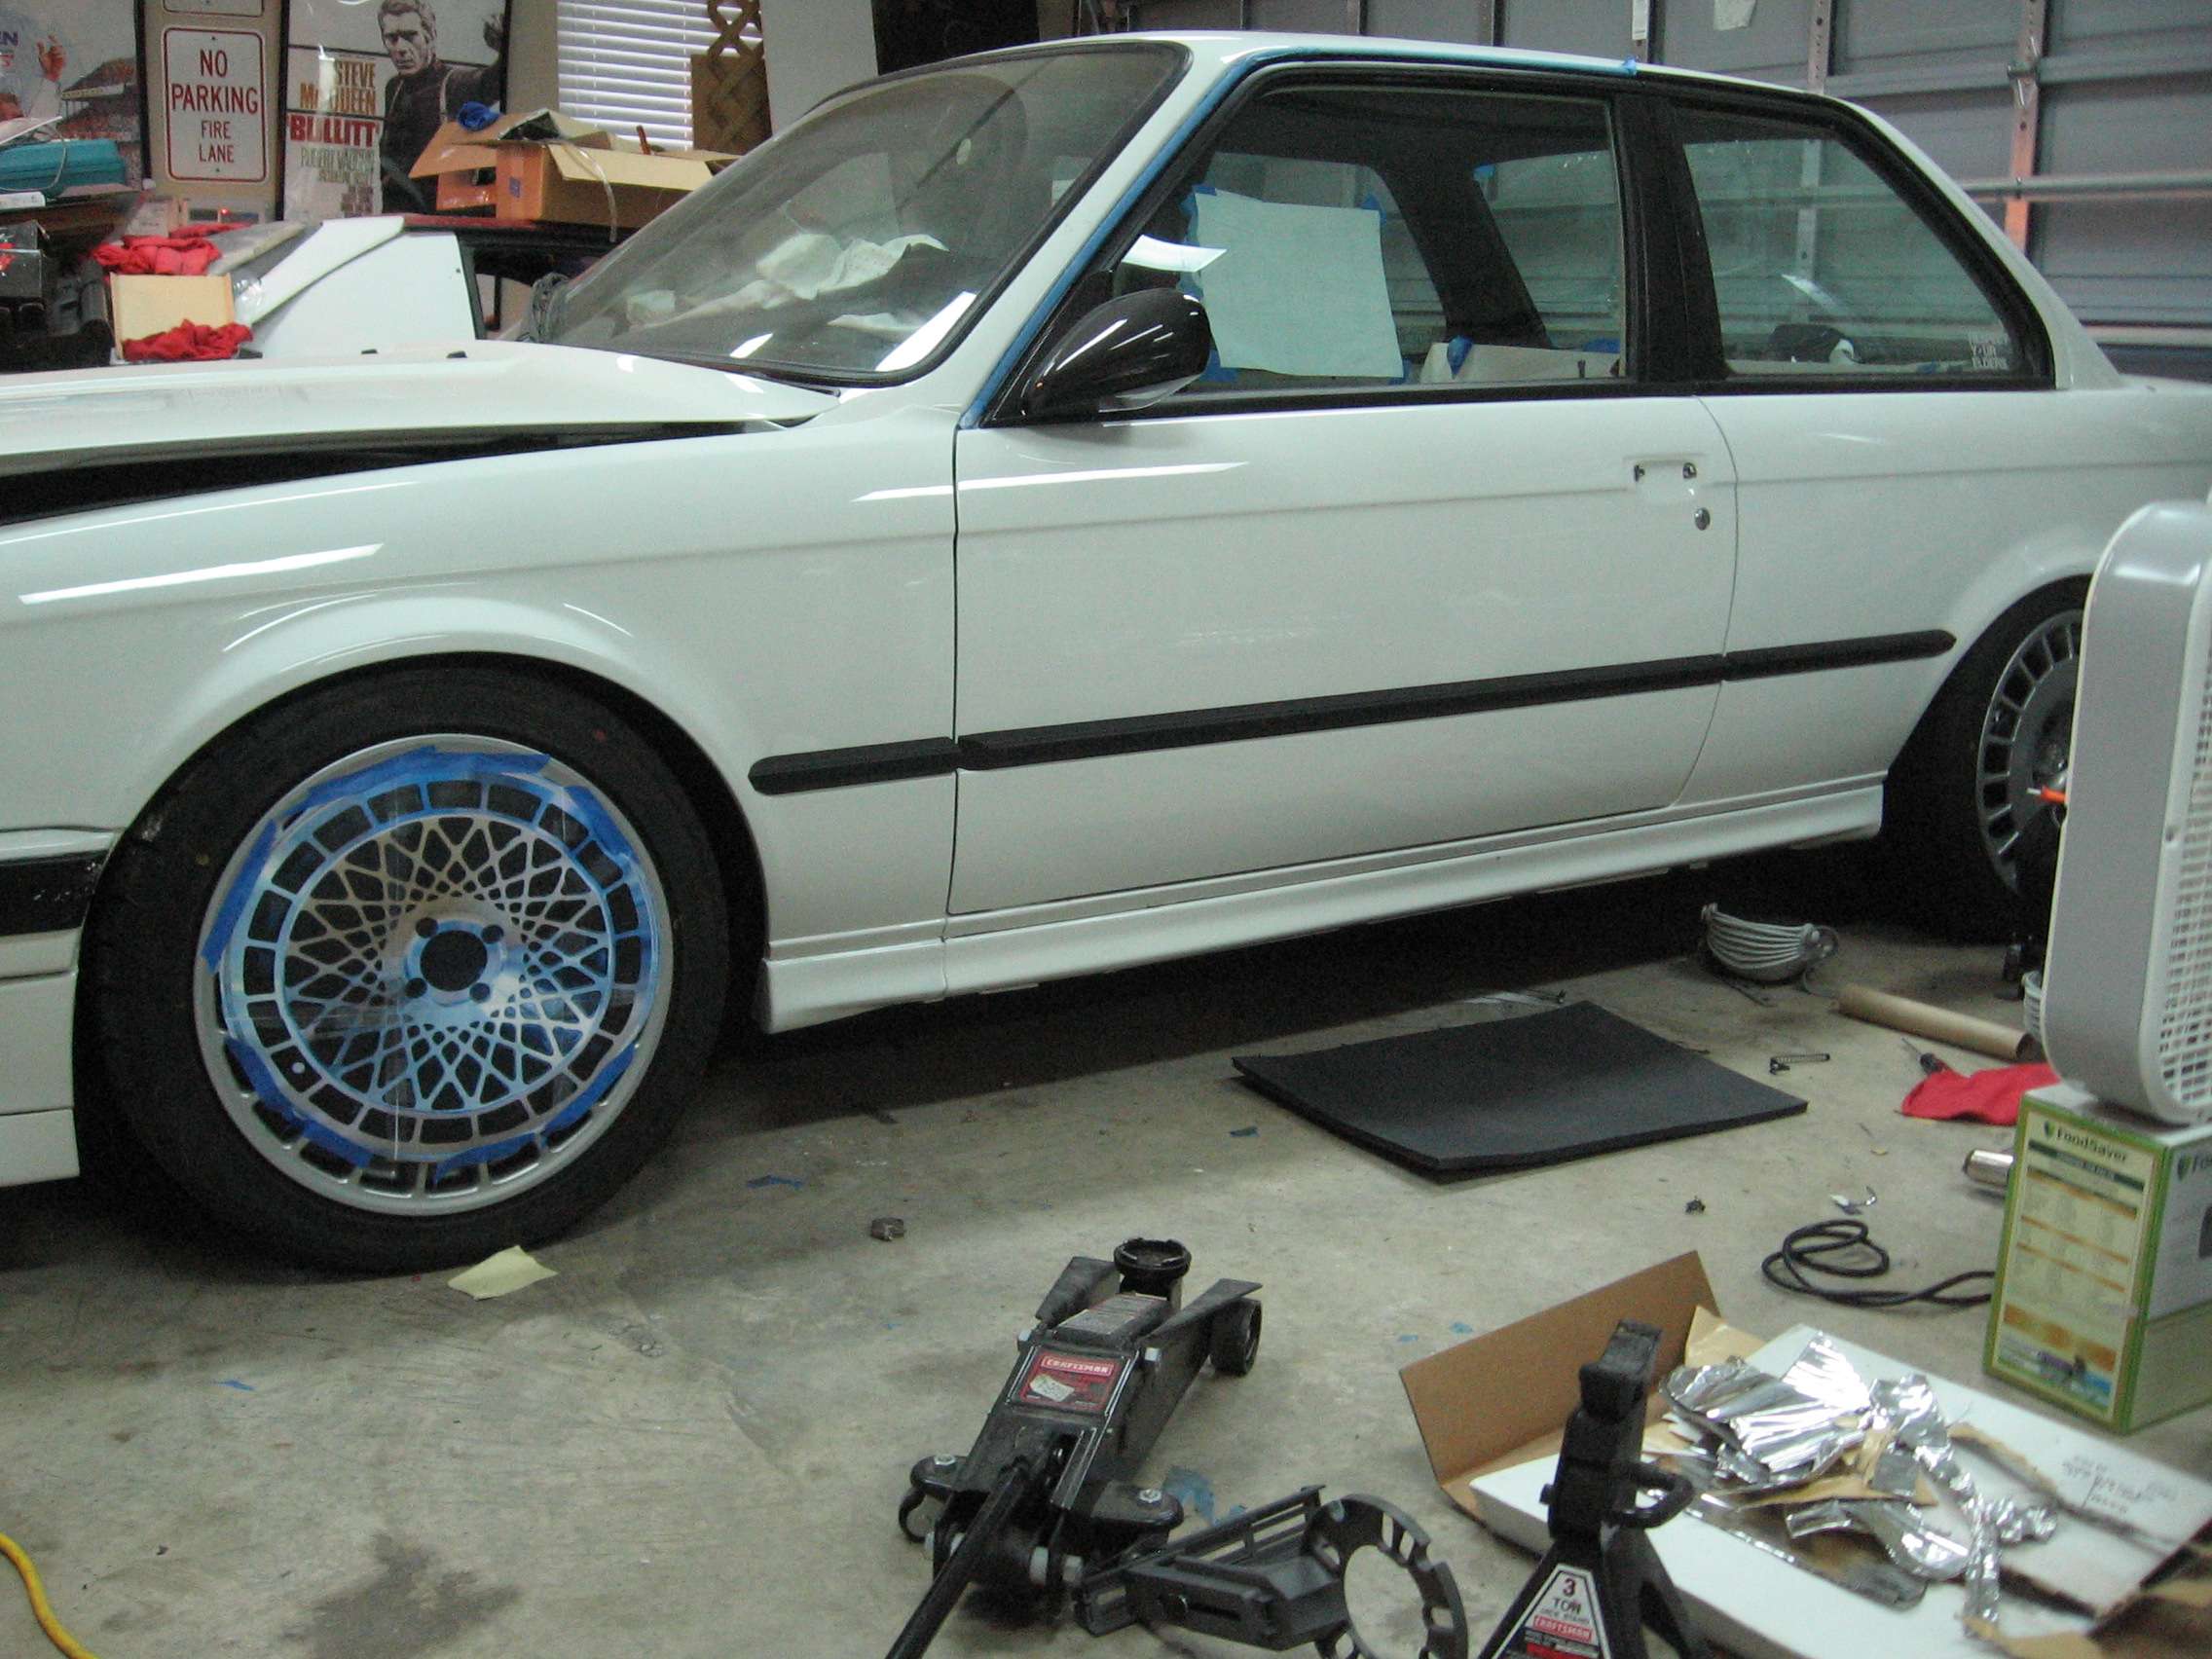
With the majority of the car now insulated, I decided it should move under it's own power. I wanted to back the car in so I could work on the wing and the trunk.
See what happens when the car never moves, it gets attacked by voracious weeds.


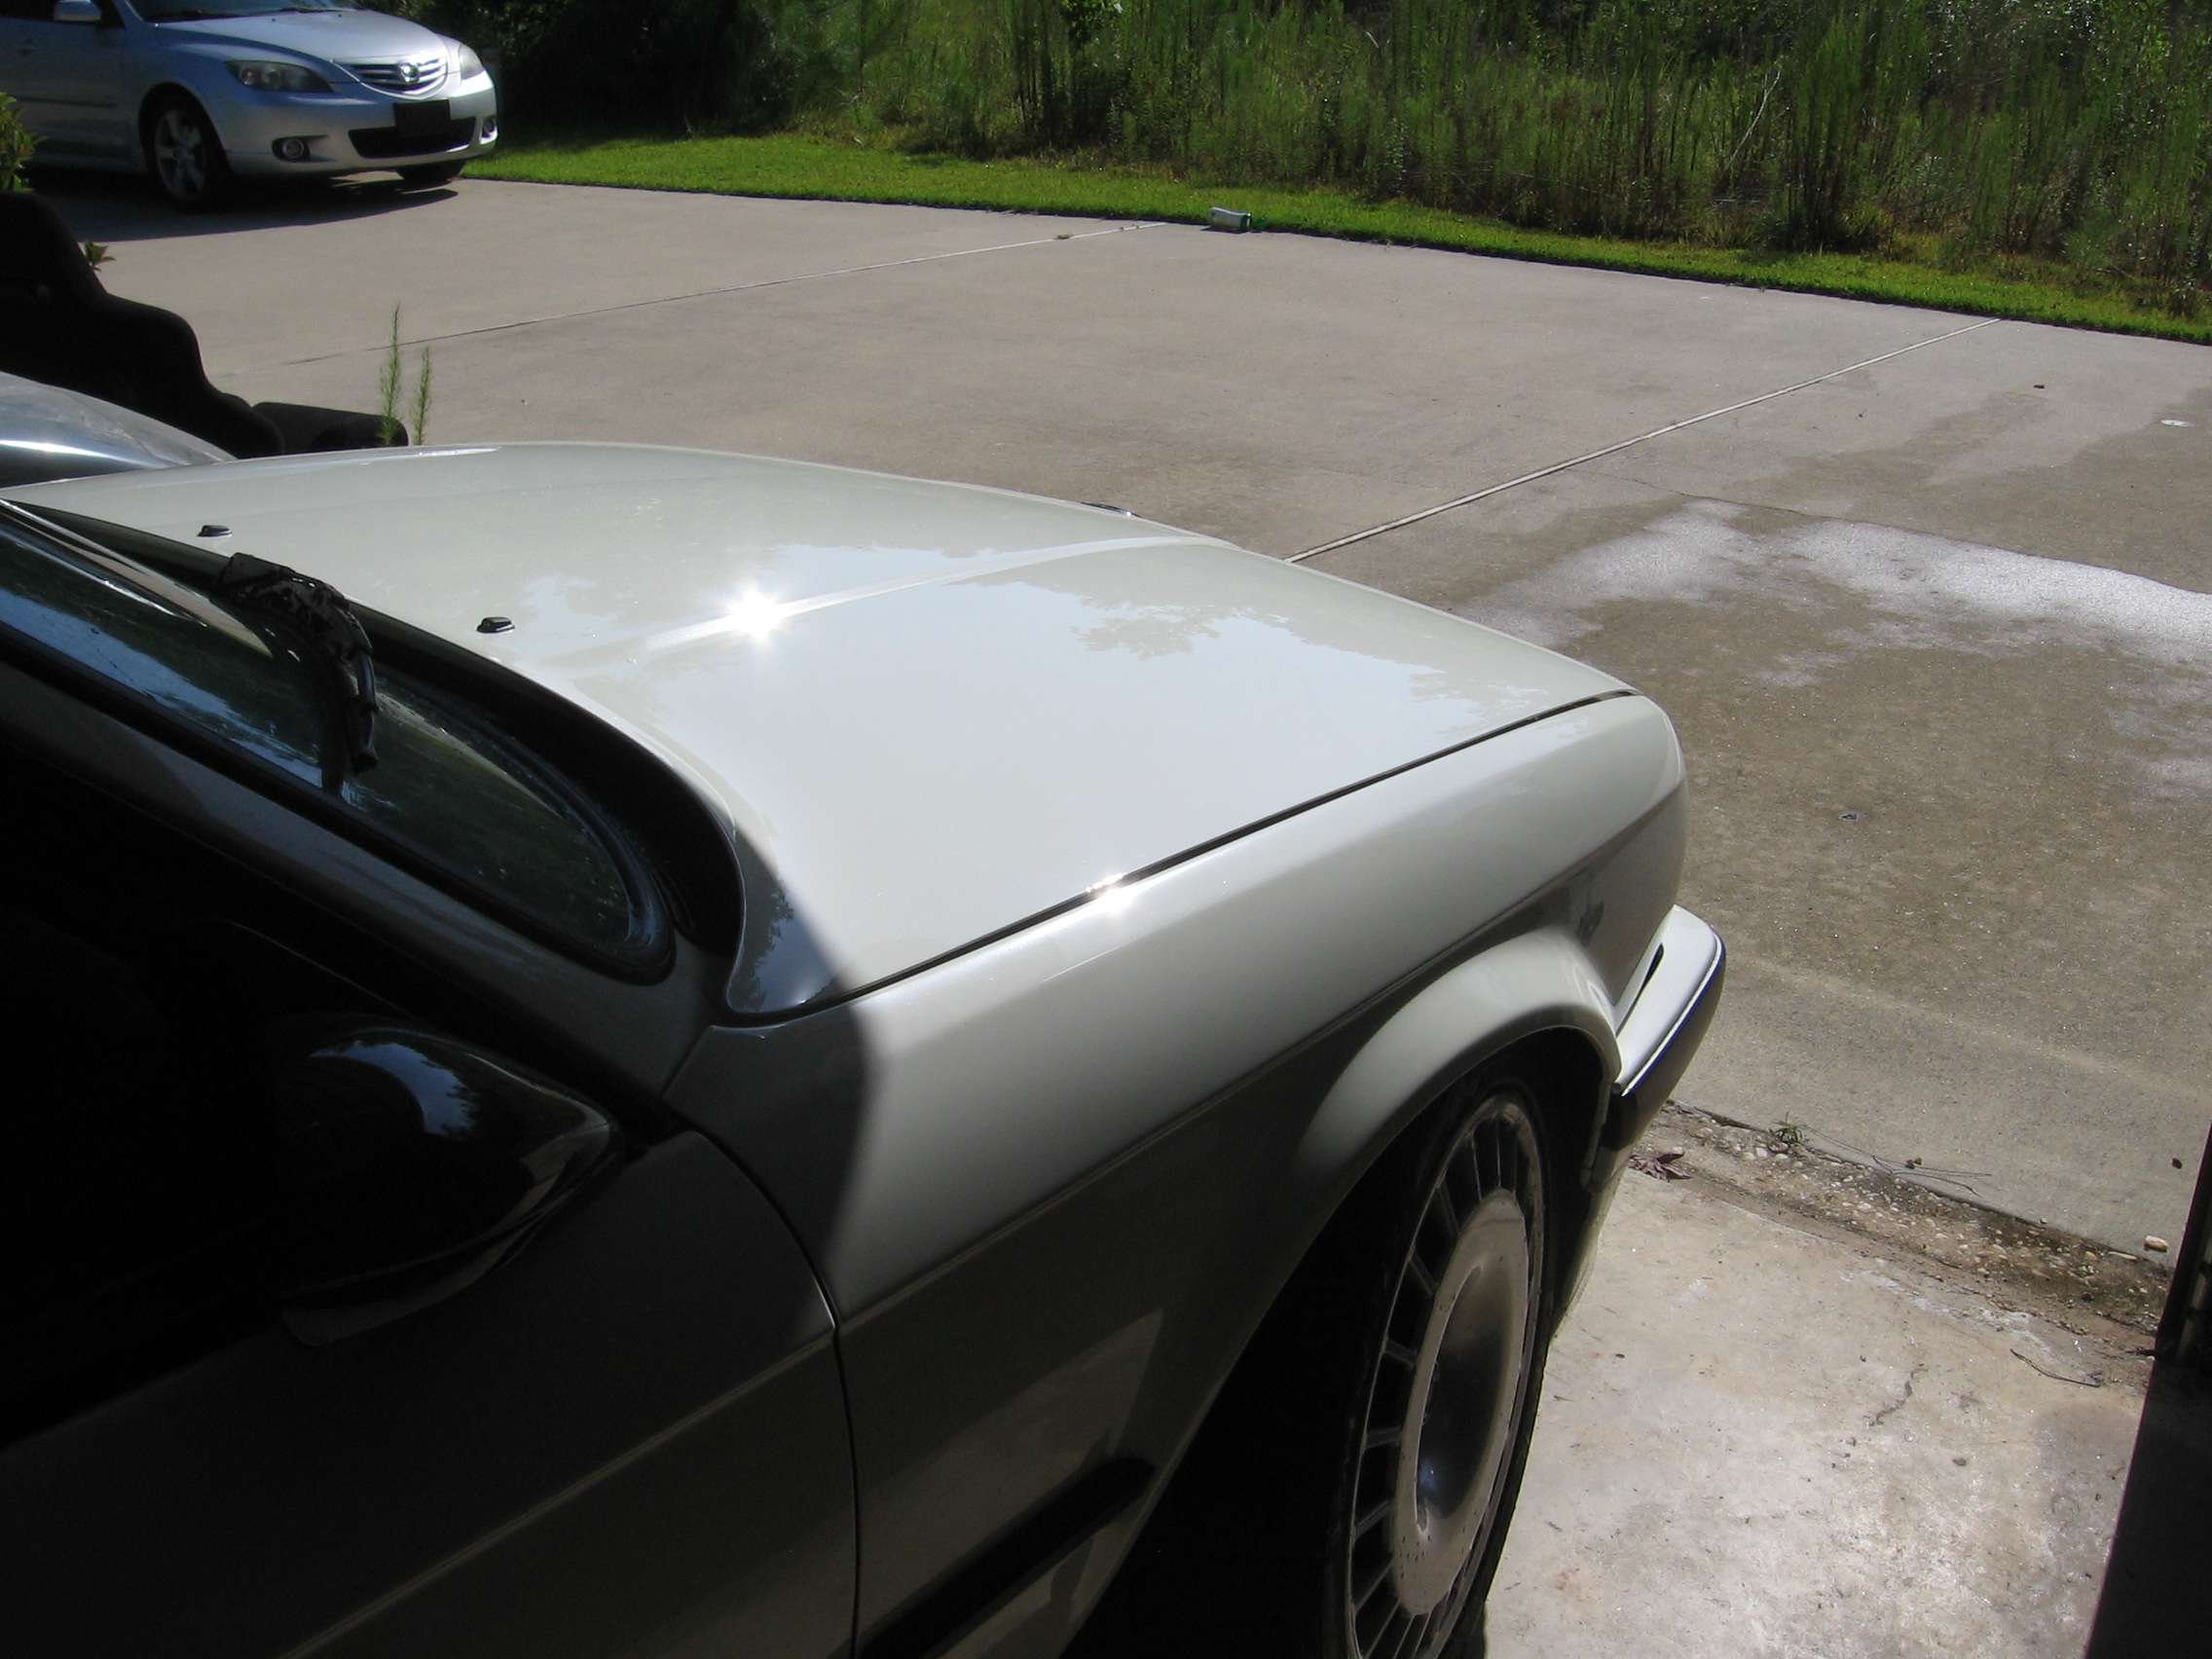
I sprayed some water on the front clip to clean off all the dust and grime that had accumulated.
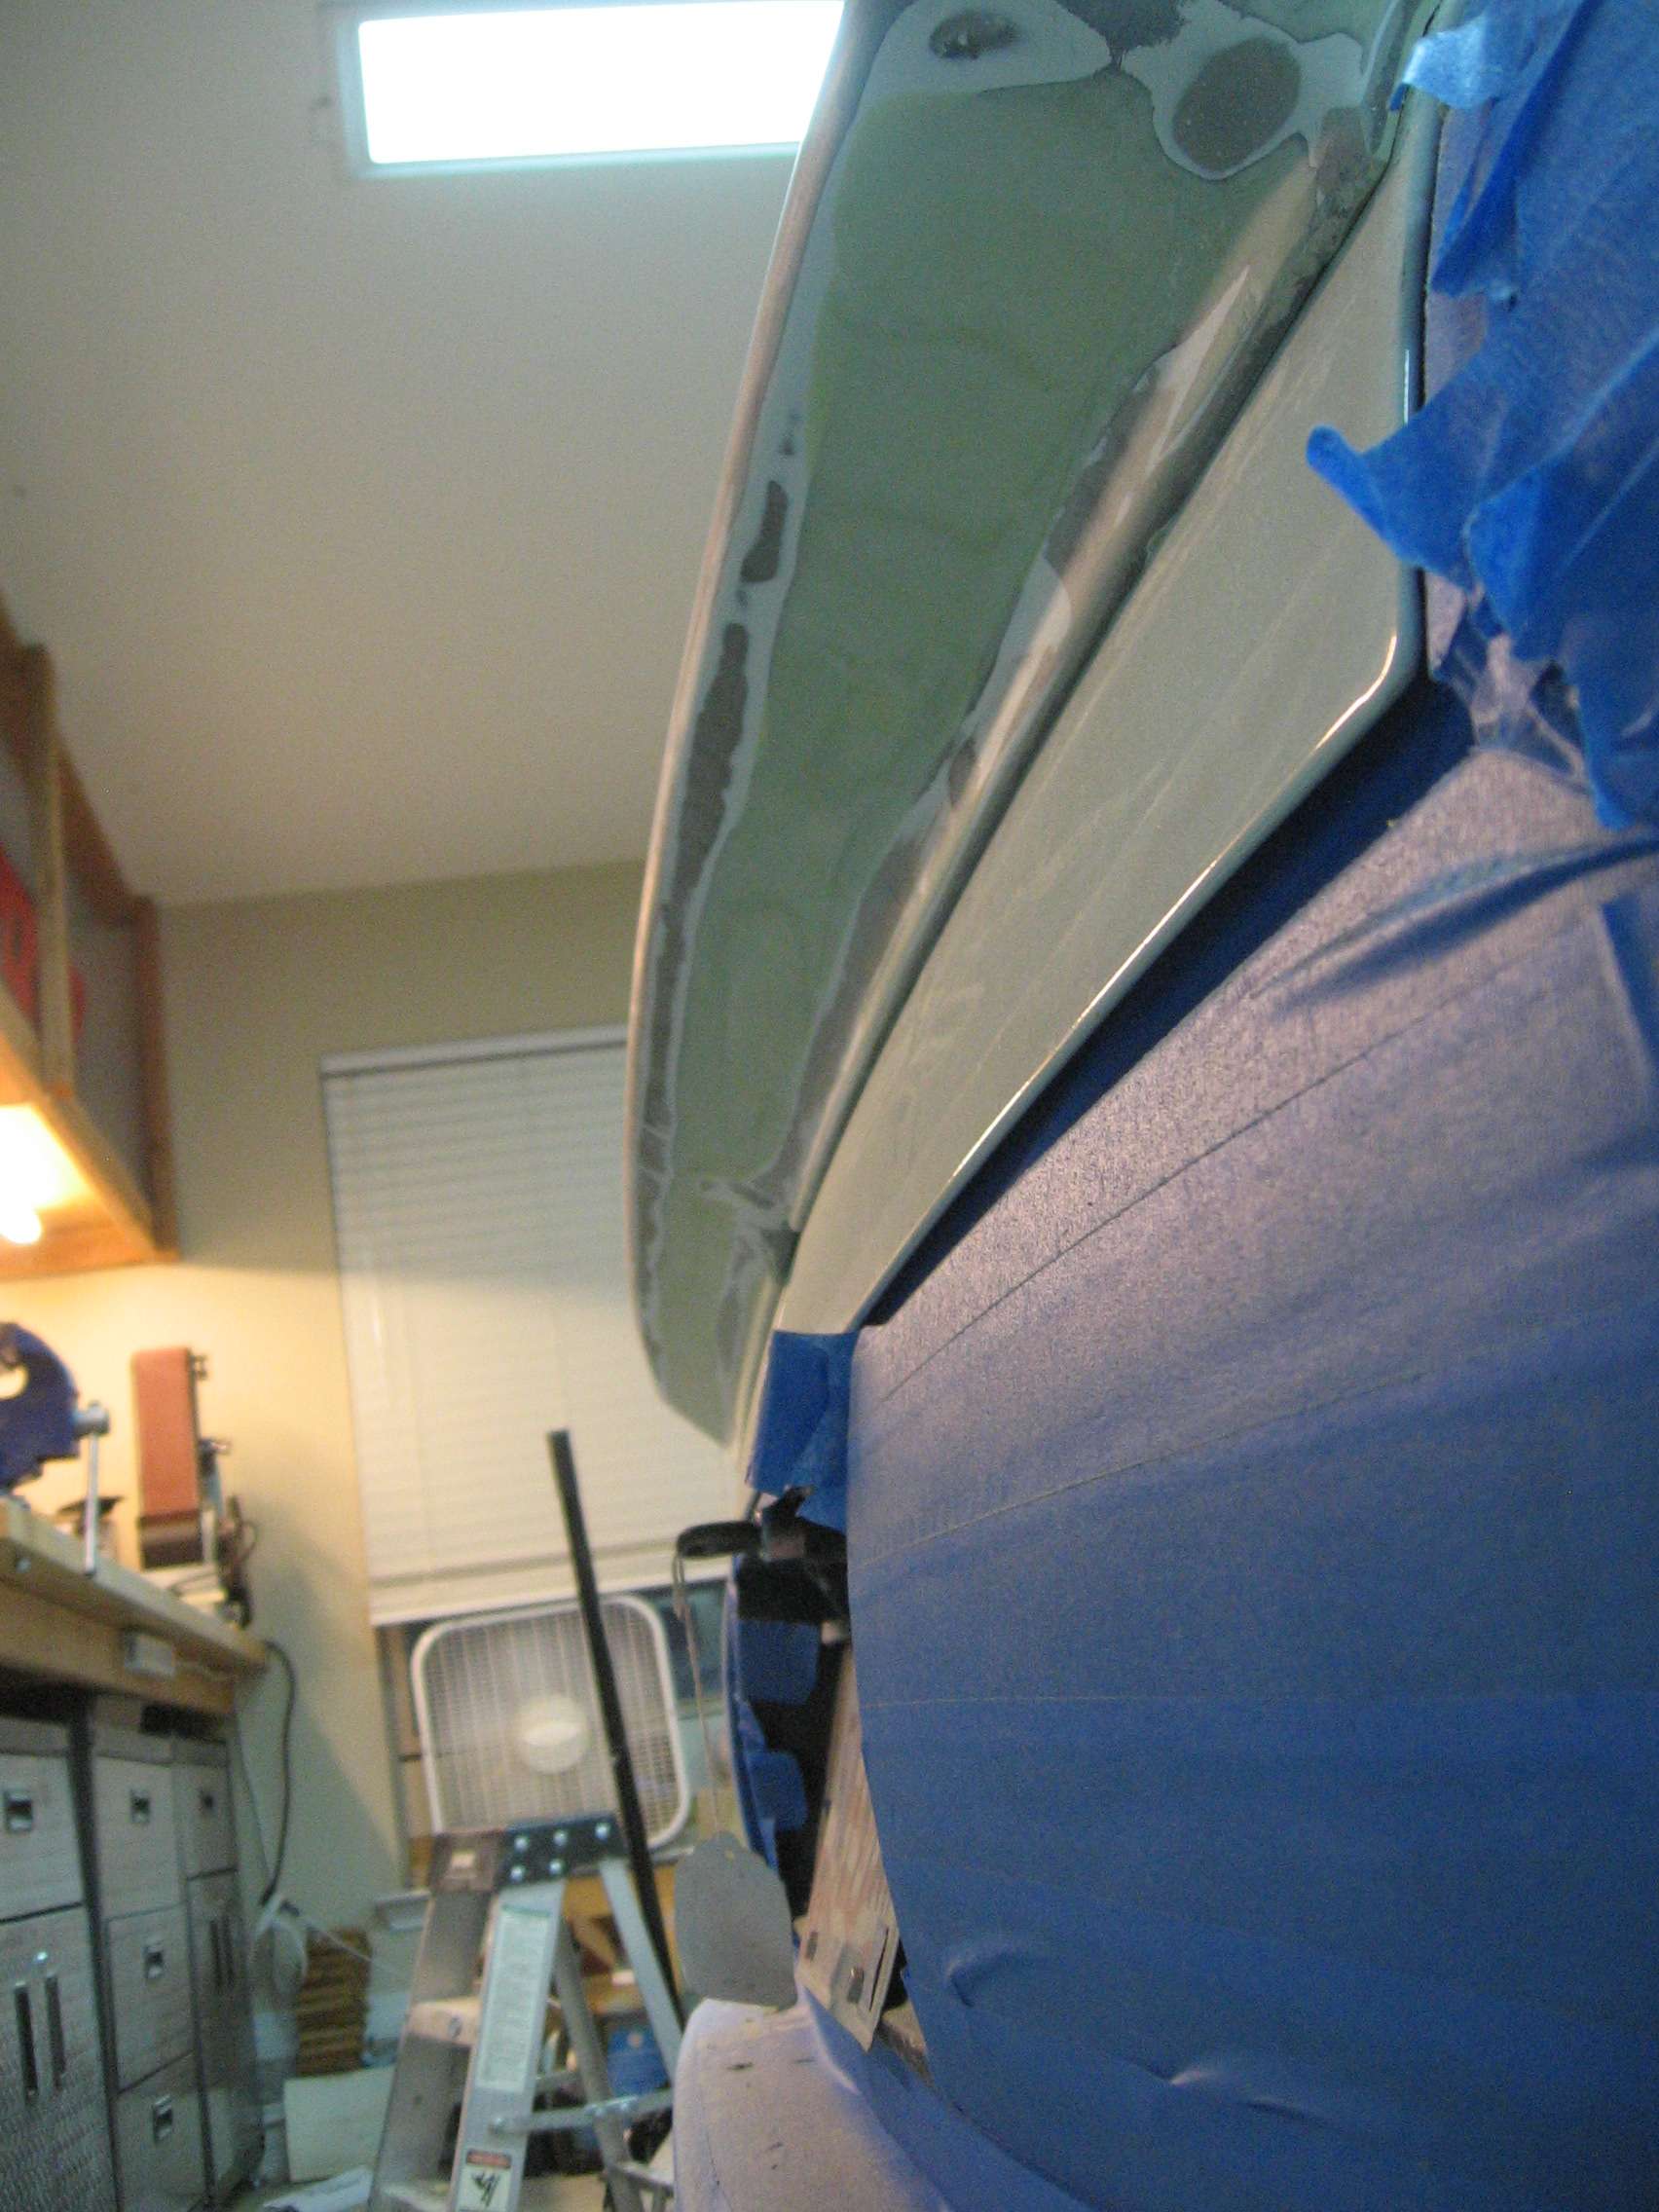
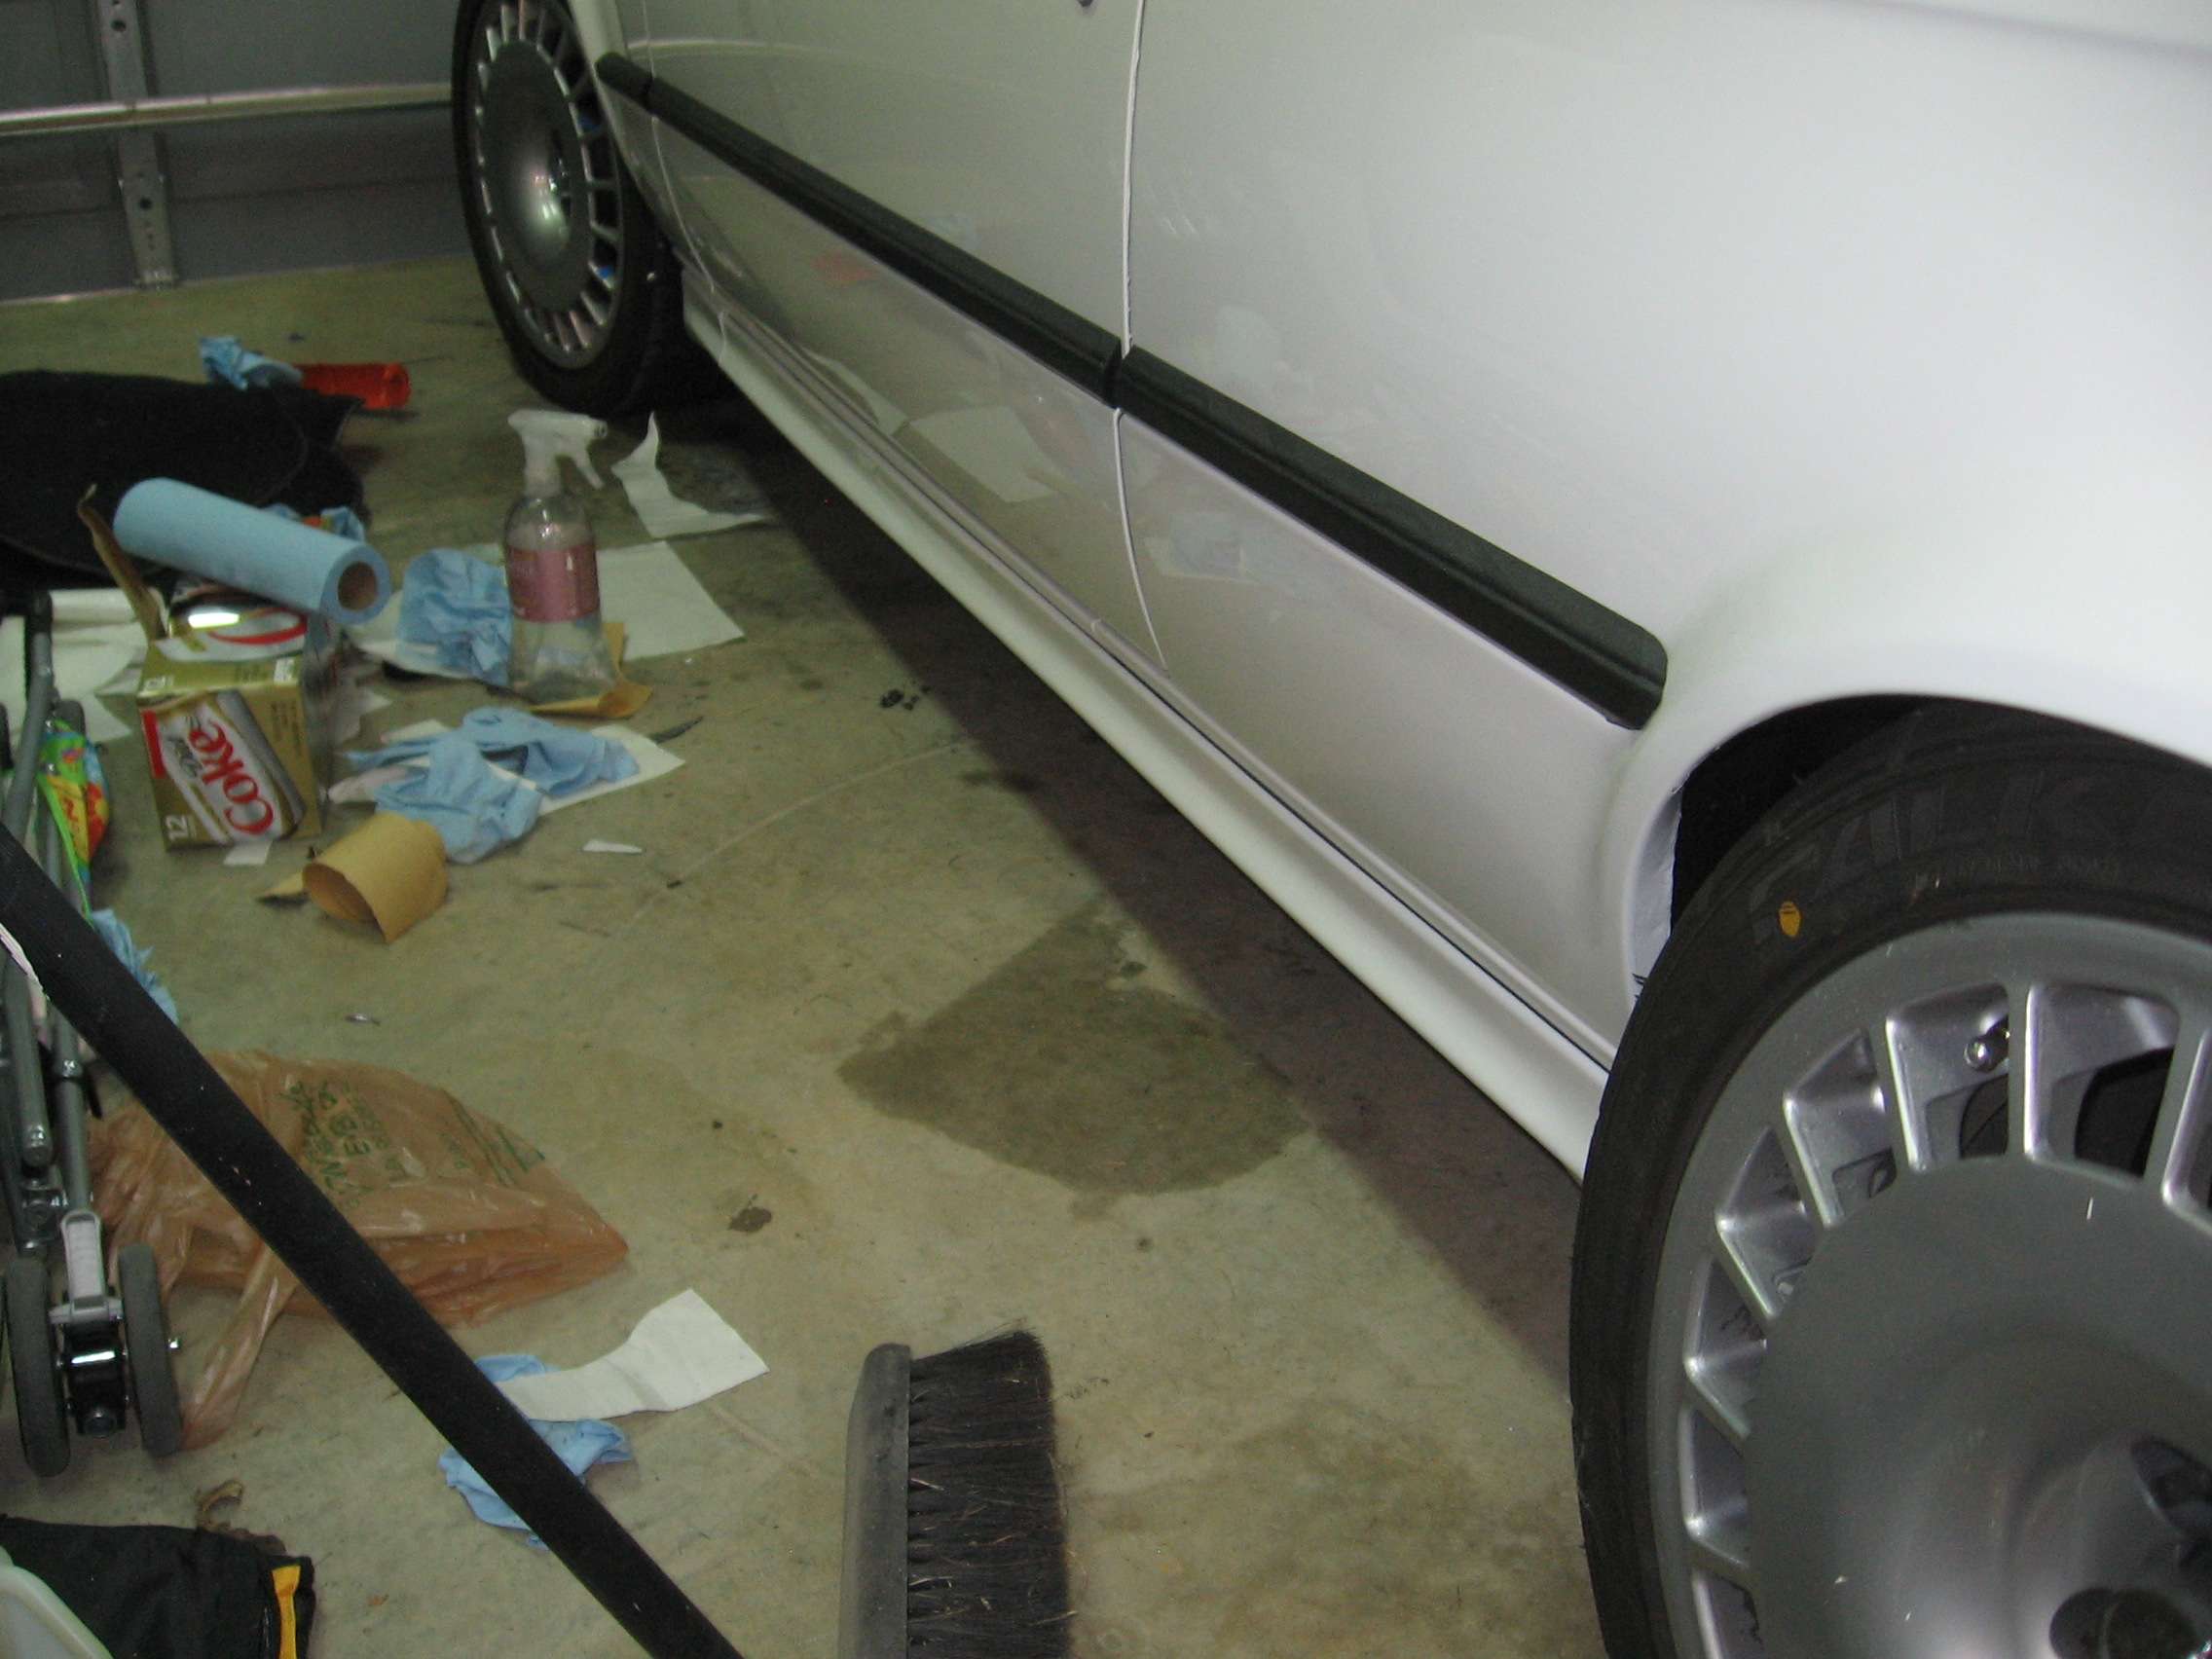
After the project vehicle inversion, I wanted to address the side skirts. Despite the fact that I used the hardware and double stick tape, there were still some small gaps that I was worried would ingest water. I got some white 3m seam sealer and proceeded to fill the gaps.
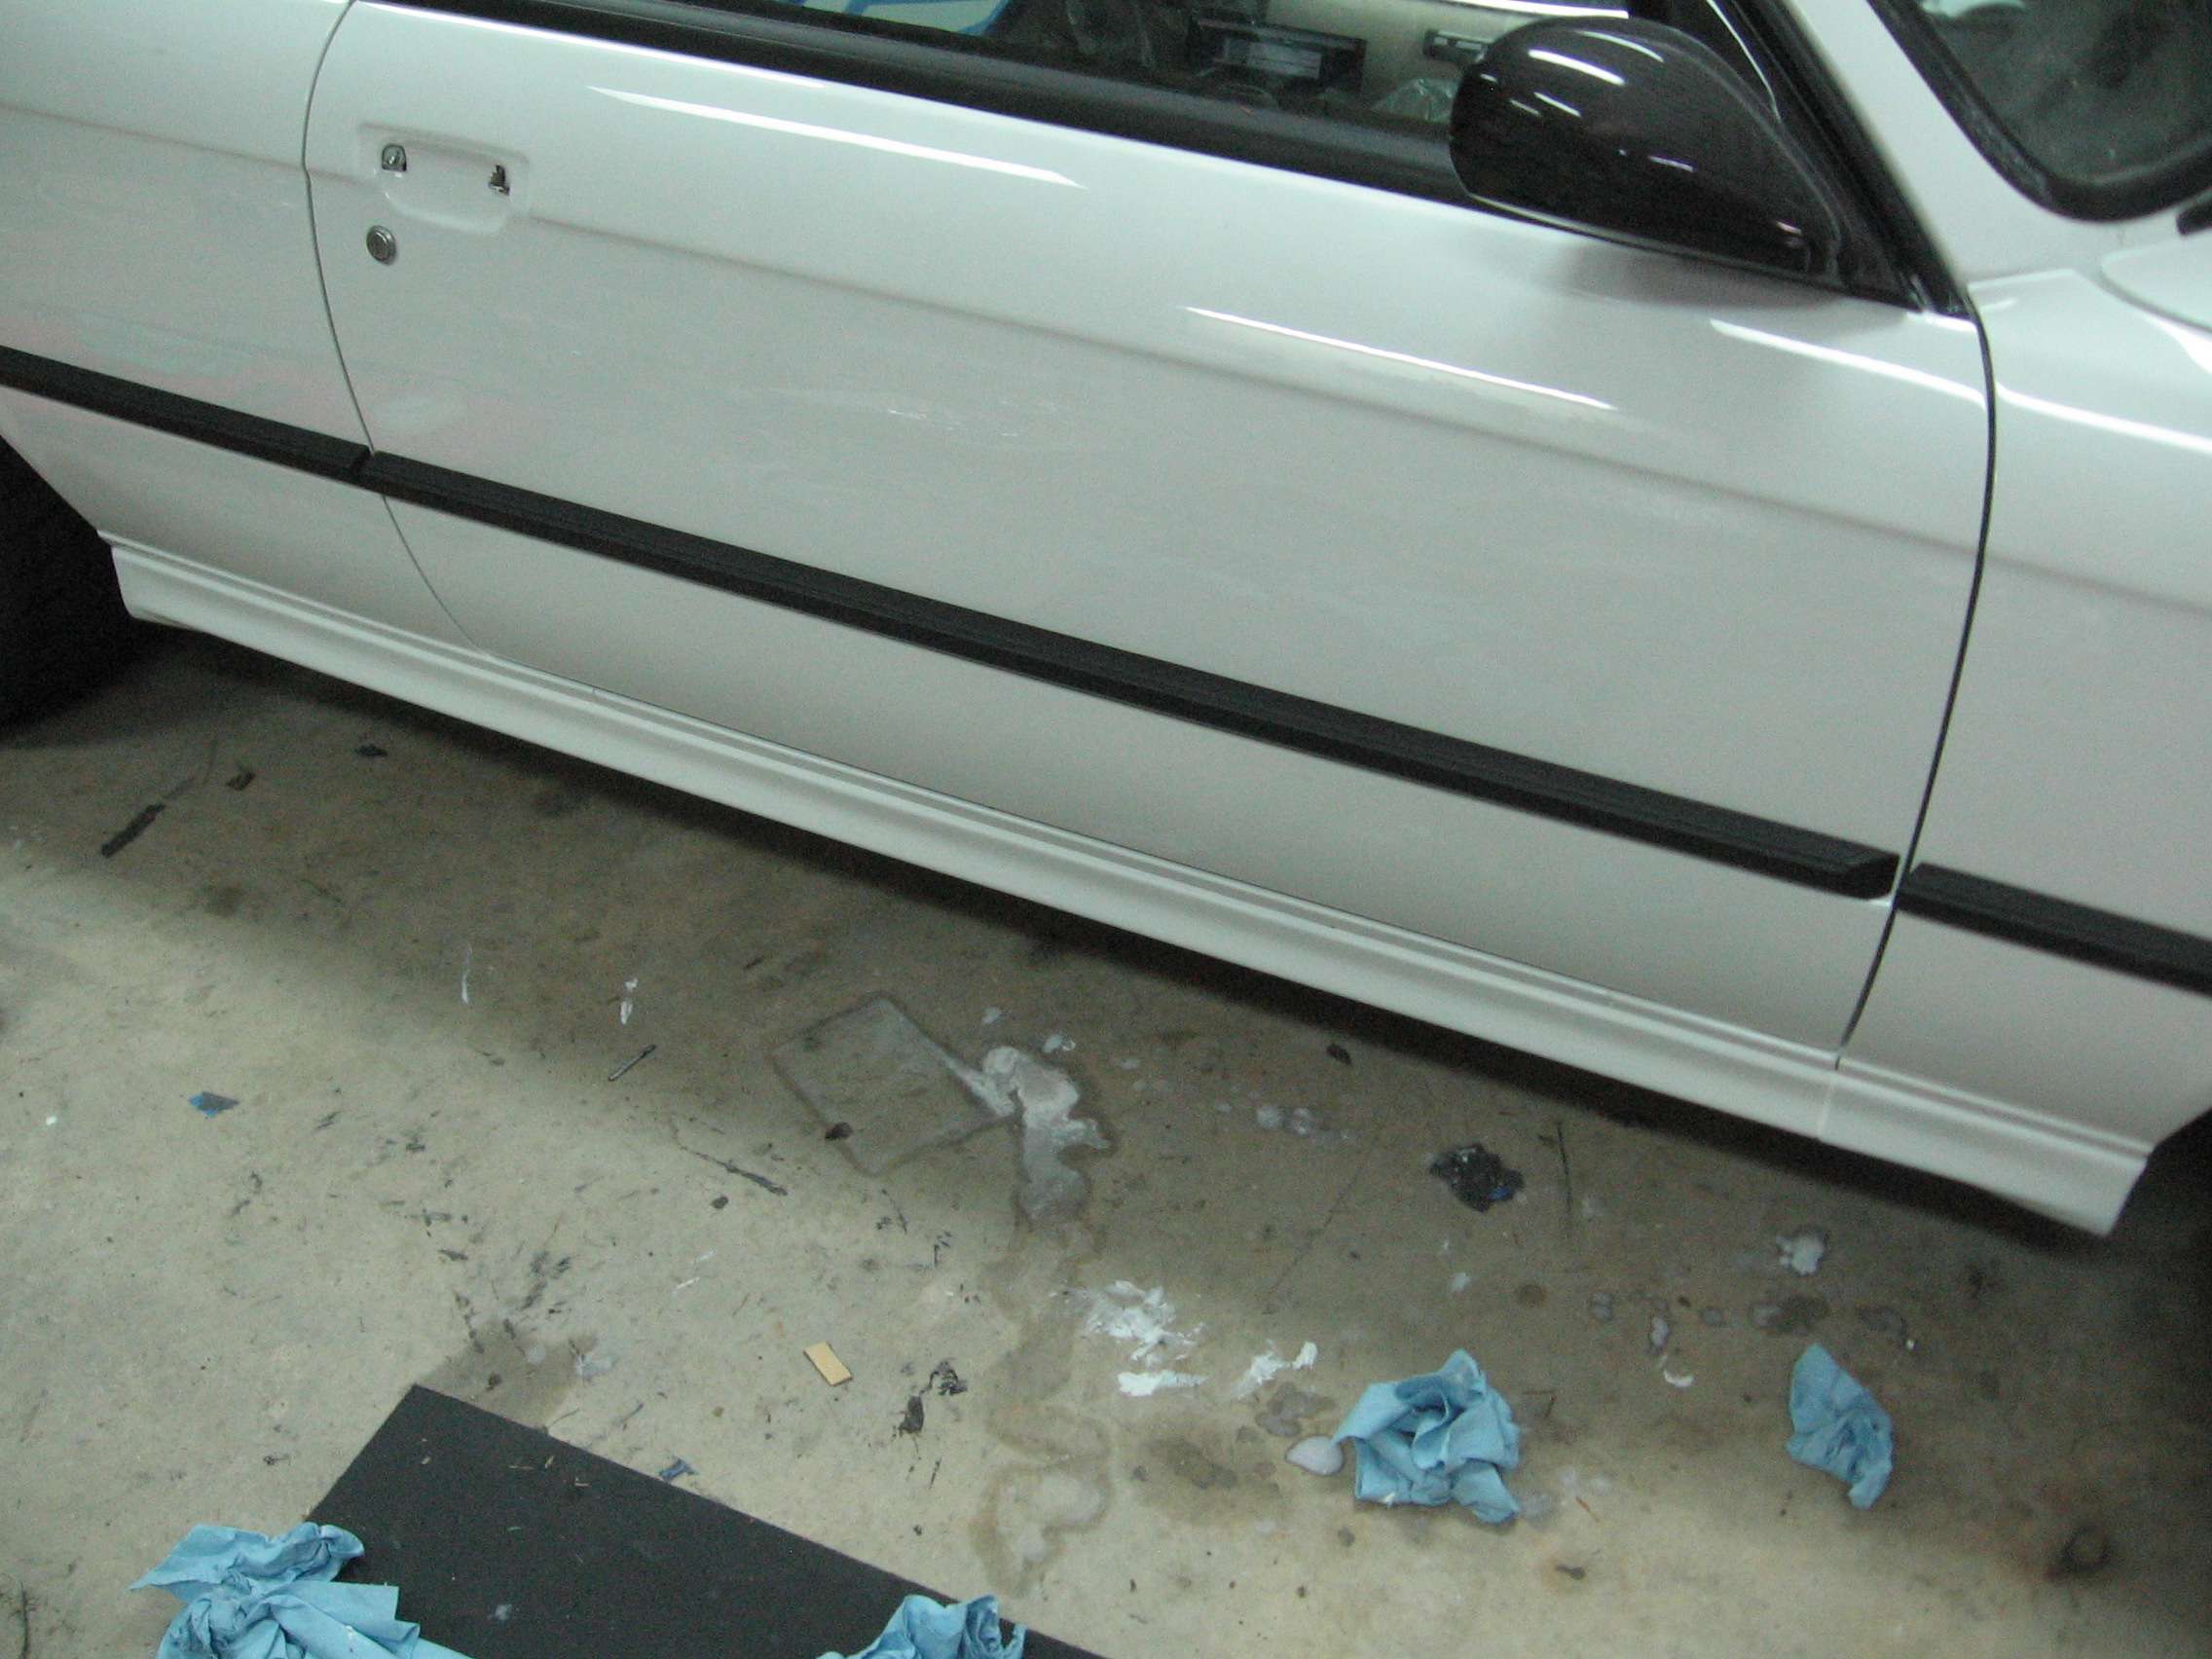
Here you can see the before on the driver's side.
And that brings us to Ary's wing, which is going to need a lot of work. here you can see how far off the mounting holes are from the needed mounting holes.

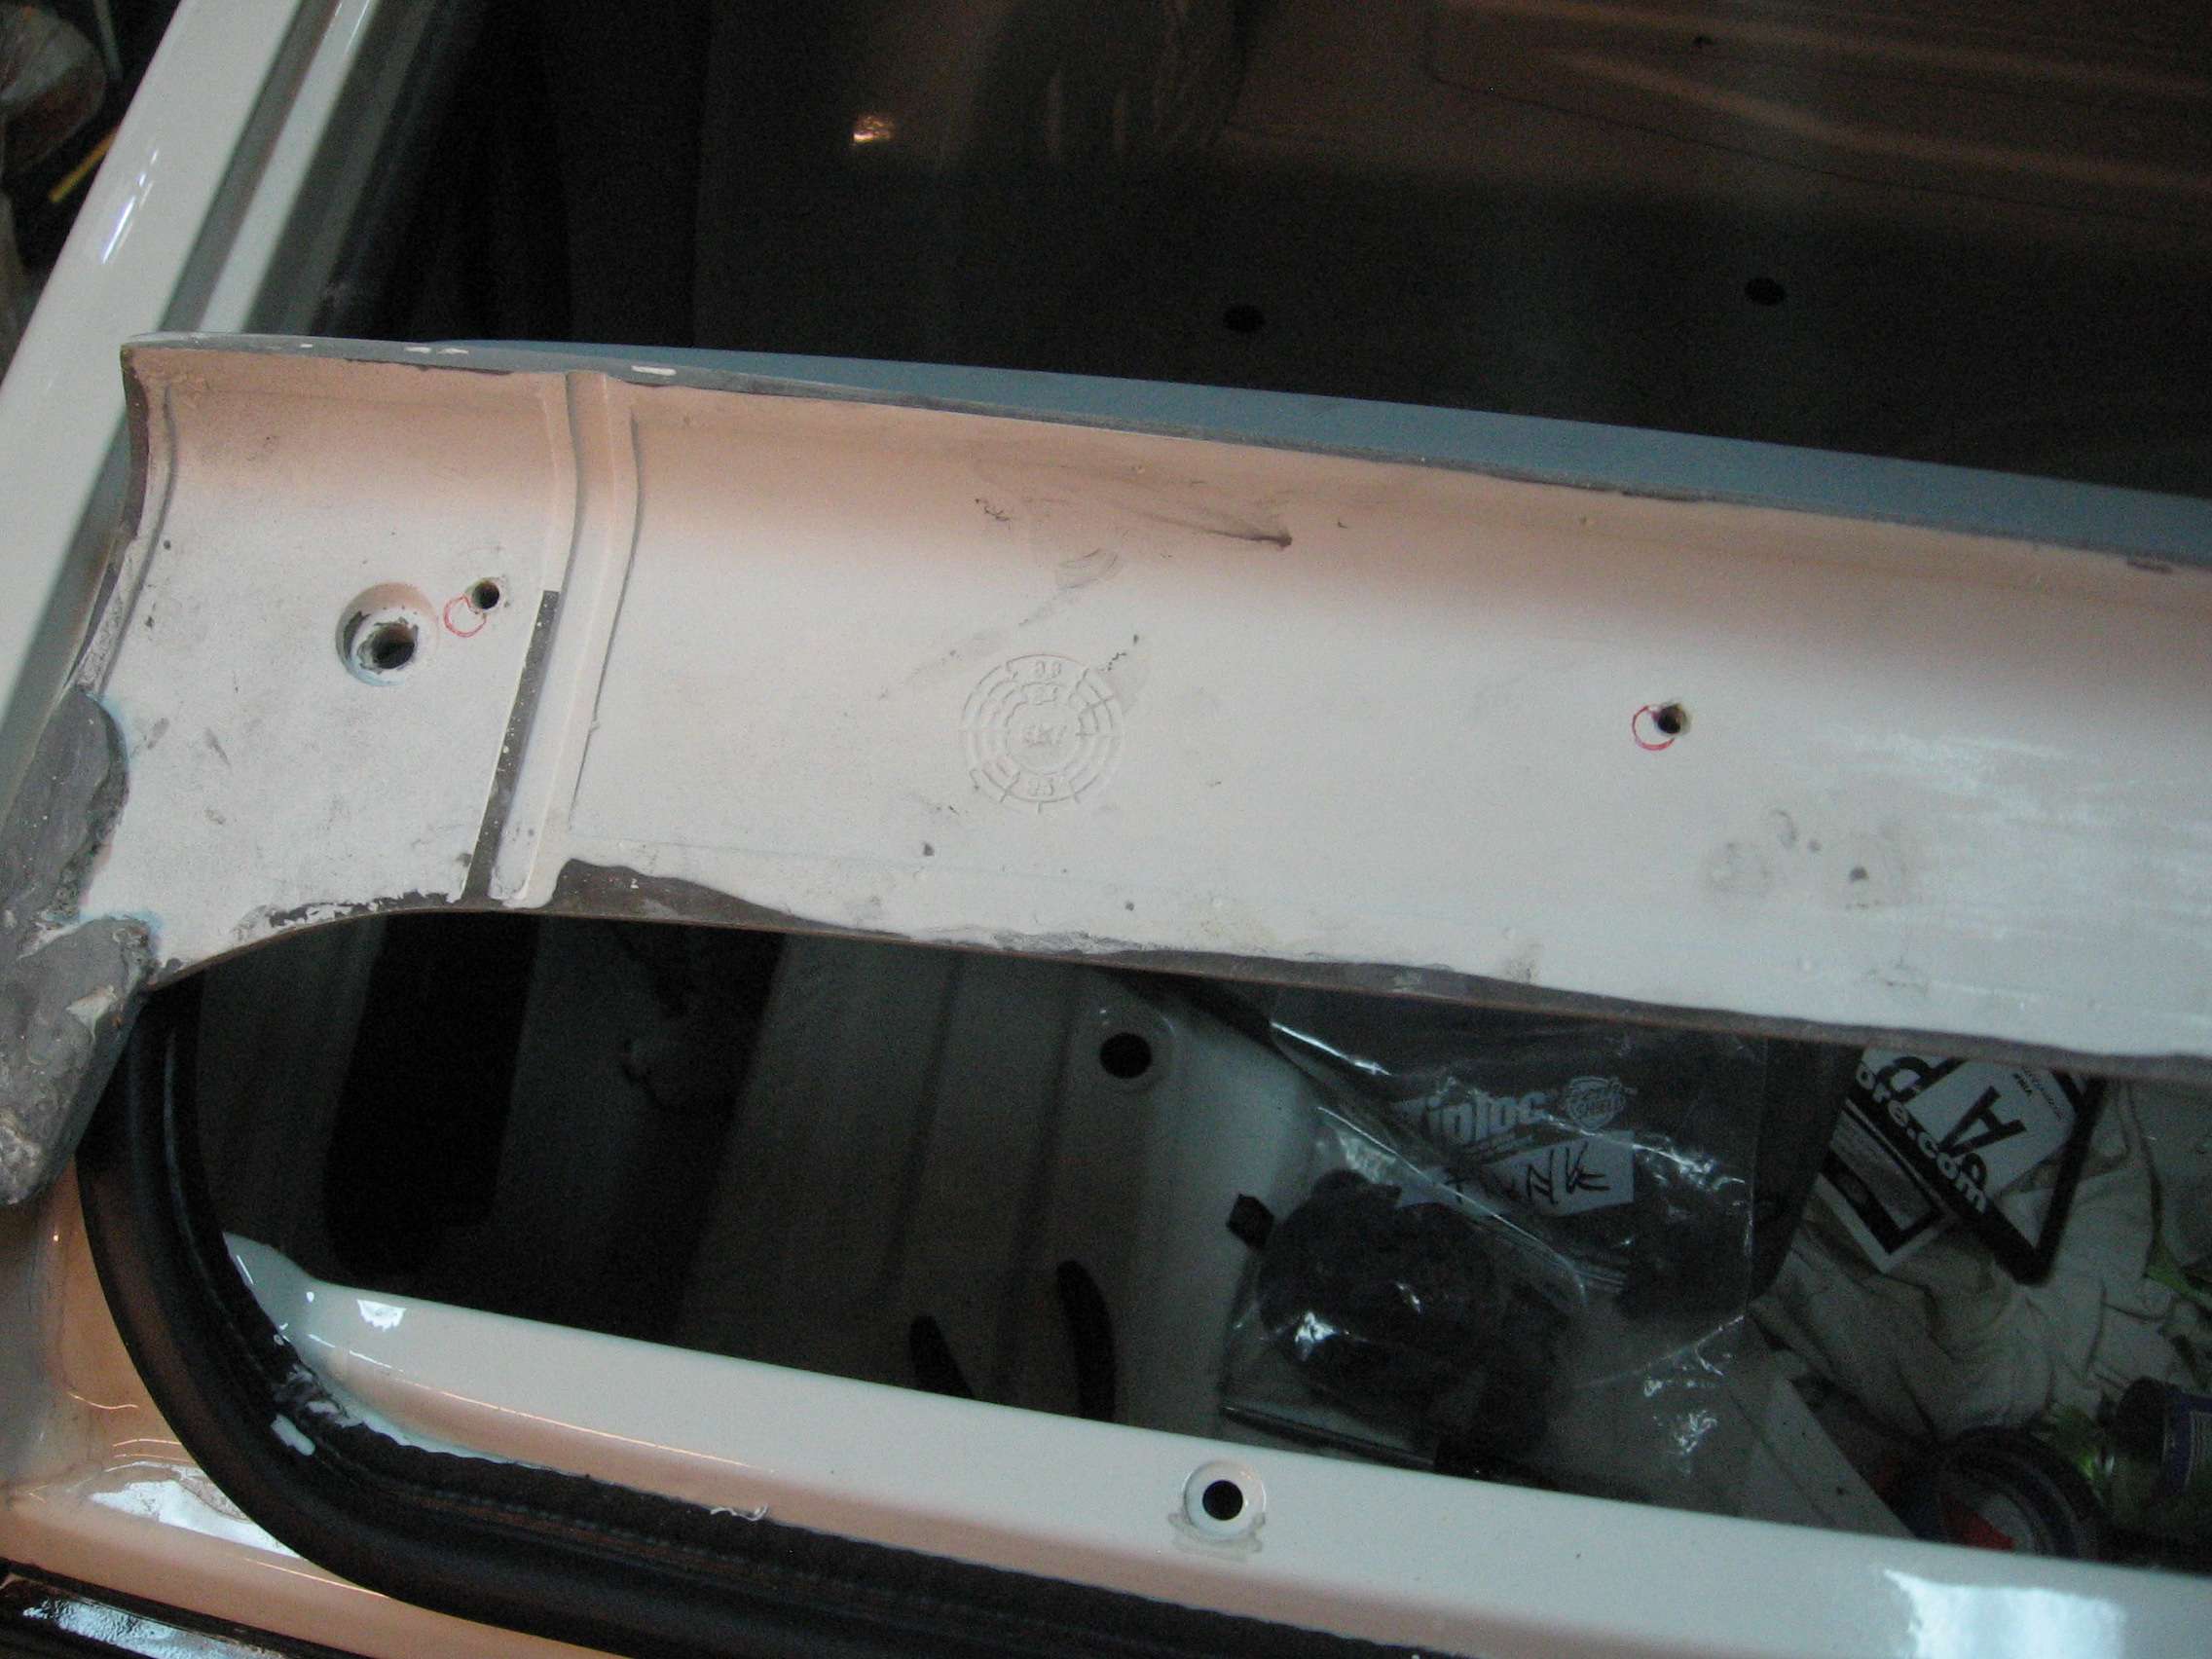
The plan right now is to drill out all of the inserts and epoxy the holes, then redrill them in the right locations and epoxy in studs (in metric instead of english :roll:) I can then bolt it to the trunk lid and finish shaping and sanding the wing.
Sure is windy out there, Guess I better prepare the homestead.Leave a comment:
-
I kept reading and thinking "why so much effort for just an HVAC panel, this seems a little stupid to me."
And then I burst out laughing when I saw the final product. Major kudos to you sir, it looks incredible! :DLeave a comment:


Leave a comment: