
I like gauge panel & wheels.
-
Projects Hartge,Alpina & AC Schnitzer Builds.http://www.r3vlimited.com/board/showthread.php?t=280601
http://www.r3vlimited.com/board/showthread.php?t=227993
http://www.r3vlimited.com/board/showthread.php?t=289362
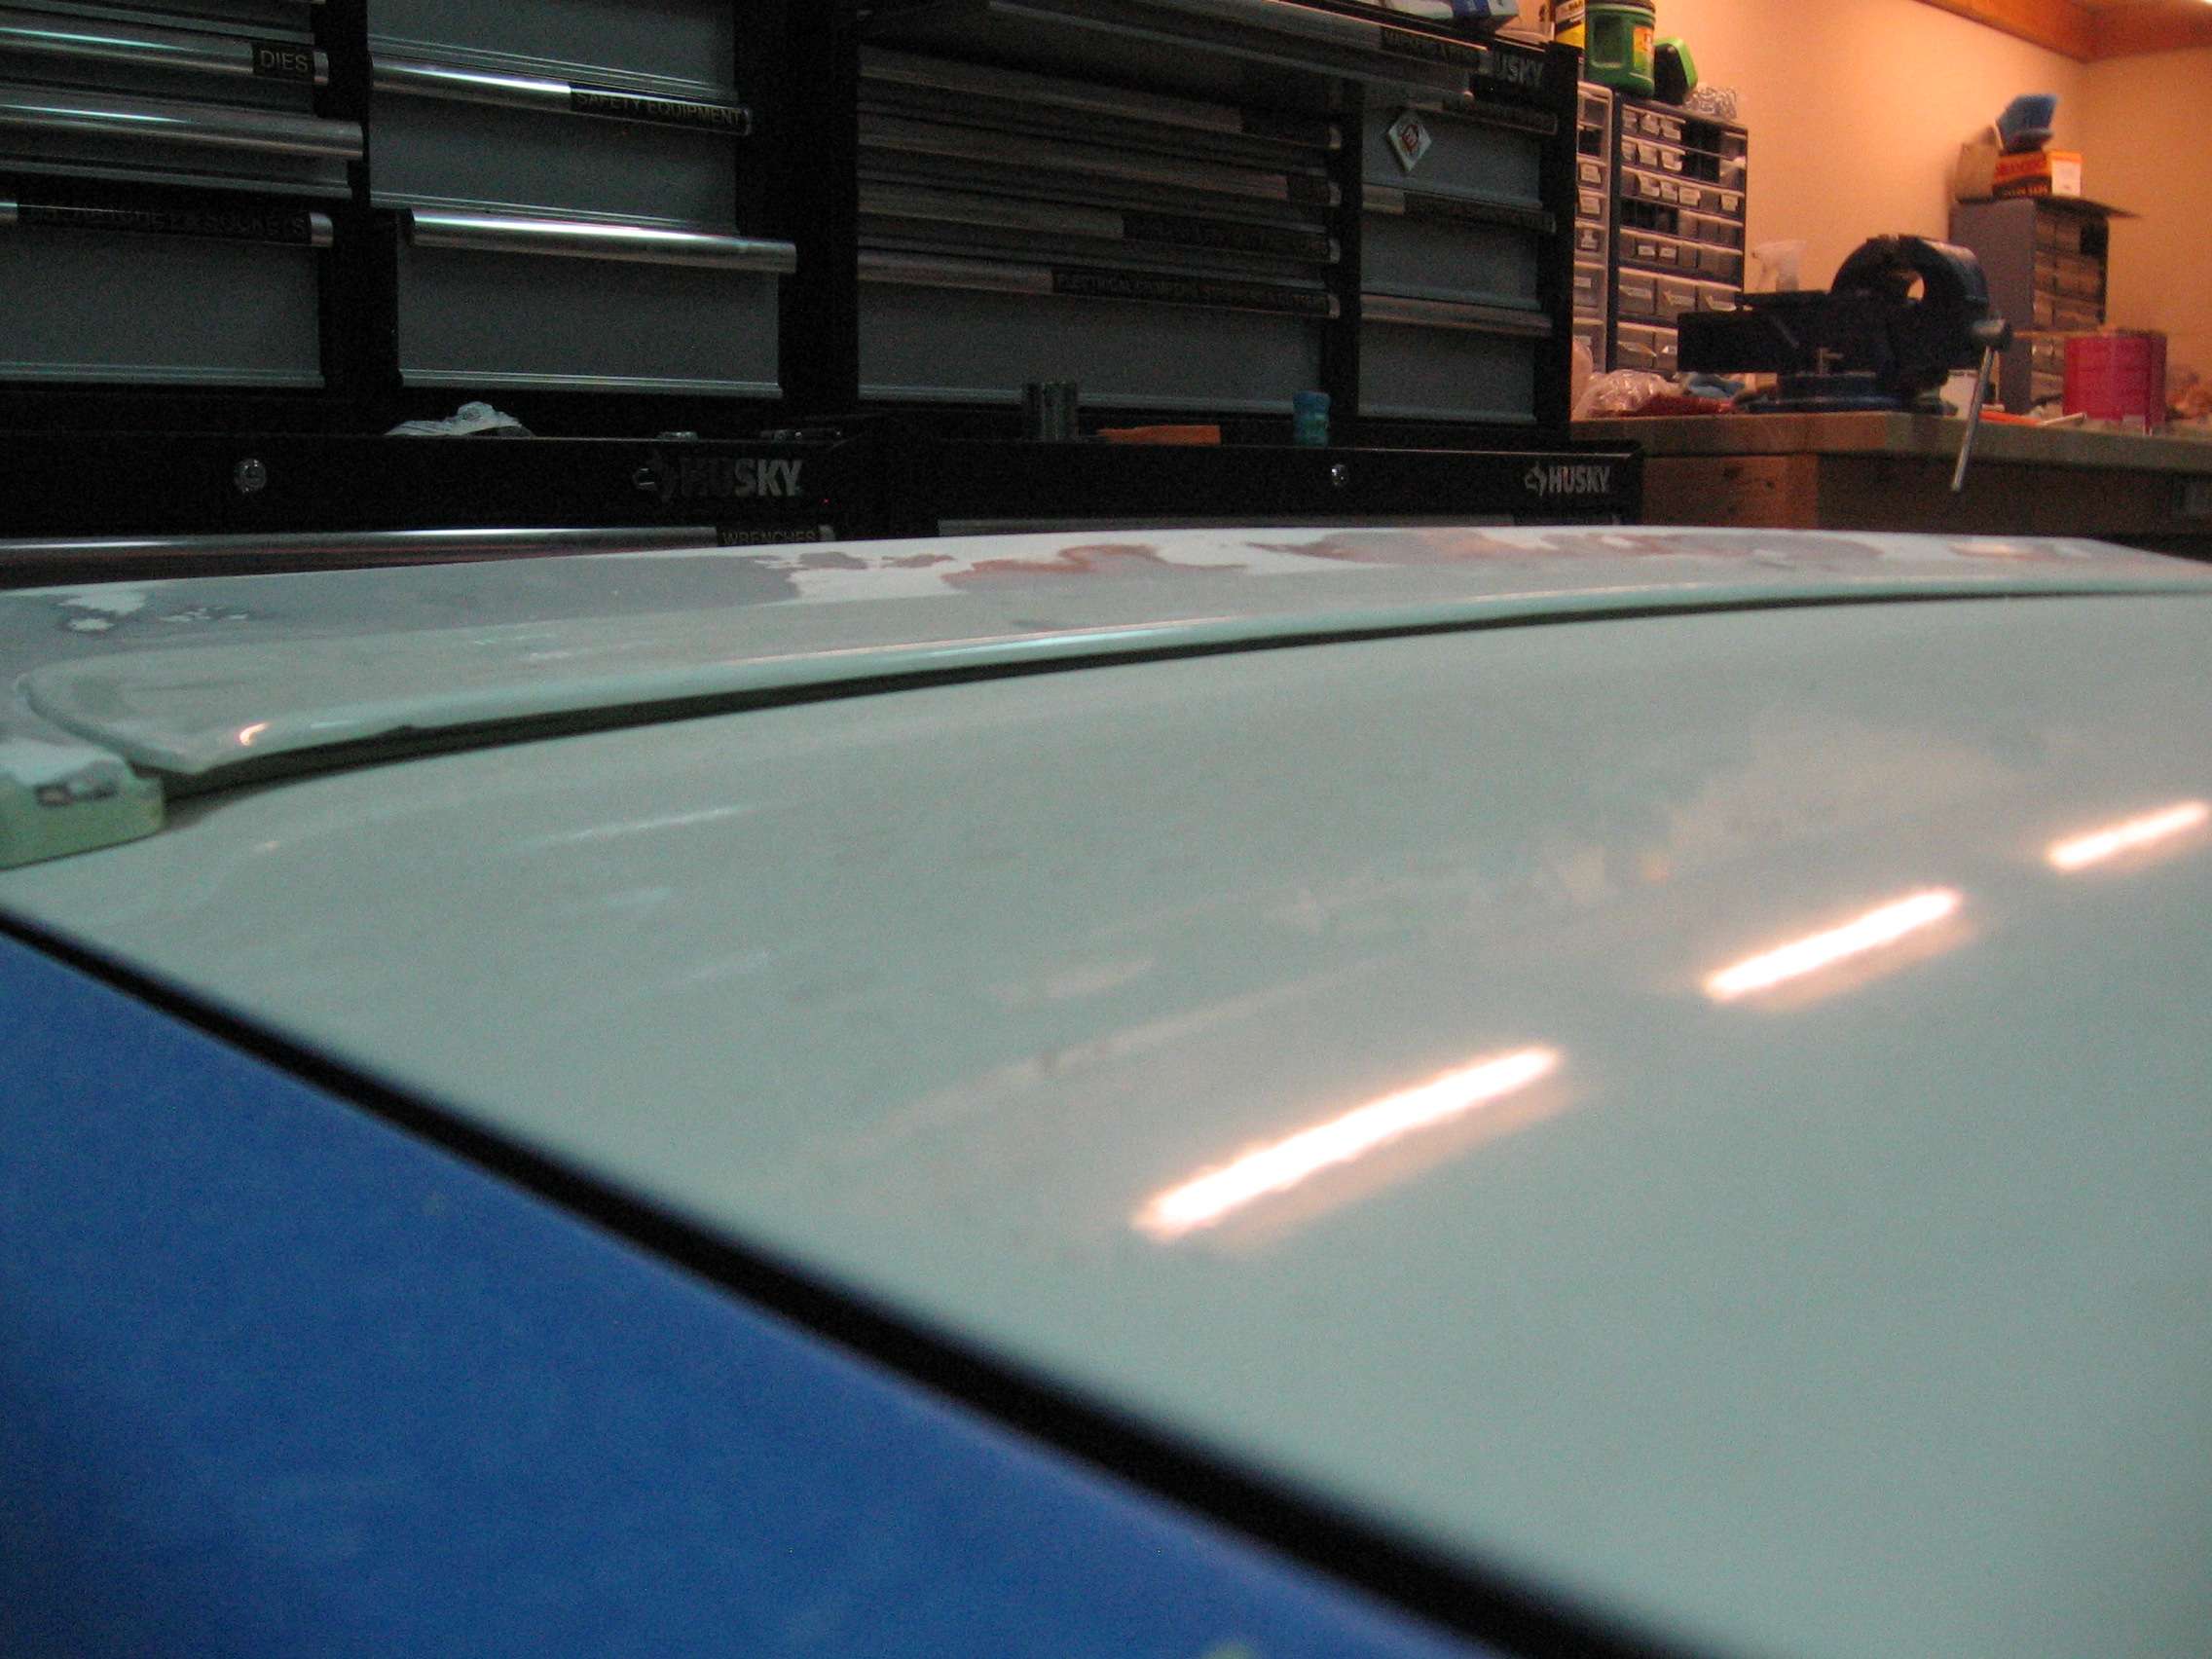
 DSC04926 by Raul Salinas, on Flickr
 DSC03413 by Raul Salinas, on Flickr
-
Without going through the entire thread, does your trunk already have OEM holes in it for a rear wing? iS perhaps? Those should serve as the true metrics.
I was a bit confused by the above photos. You aren't using the mounting holes for the rear trunk trim as a reference for where the holes for the wing go, right?Below the radar...Comment
-
^I'm pretty sure he wasn't using the inner trunk trim to gauge the holes, I think the picture just confused you. It did the same to me.Comment
-
I can see how that might be confusing. Is spoiler holes exist on the trunk lid and I increased the diameter to aid in adjustment. When I put it on the lid held on by just the center two bolts, nothing lined up. I centered the wing and then marked where the trunk lid holes were on the wing. Those are the red circles you see. Stunned by what I saw I measured the original inserts that came with the wing and they weren't even symmetric. The red marks do match the service manual measurements.
I should have held out for an original.-Josh
Check out my build thread...
http://www.r3vlimited.com/board/showthread.php?t=131055
Need parts? Support the community!

http://www.gutenparts.com

http://www.blunttech.comComment
-
Wow can't believe this is 3 years old now. I did not know about those MemoryFab wheels. Thanks.
I really can't wait to see this car done now.sigpicComment
-
How did you get your Z3M DIFF to work?You changed the output shafts?Comment
-
I dont get it either. How hard is it to make a decent replica?Renting my rear wheel bearing tool kit. SIR
http://i25.photobucket.com/albums/c5...ps6debf0b0.jpg
Your signature picture has been removed since it contained the Photobucket "upgrade your account" image.Comment
-
Yep, popped the output shafts on the original diff (used a long screwdriver between the output flange and the case) and put them on the z3m diff. I think there is a diy in the 24v forum.
Annoyance, I haz it. Ive made progress with it but ran out of sandpaper. I also had a fairly significant set back on the car but that post will have to wait. Off with the wife on date night to see dark night rises.-Josh
Check out my build thread...
http://www.r3vlimited.com/board/showthread.php?t=131055
Need parts? Support the community!
http://www.gutenparts.com
http://www.blunttech.comComment
-
the setback previously referred to
yeah, so i've been busy...
but progress has been made though it's pretty pathetic. First things first. Who wants to guess what happened in this picture?
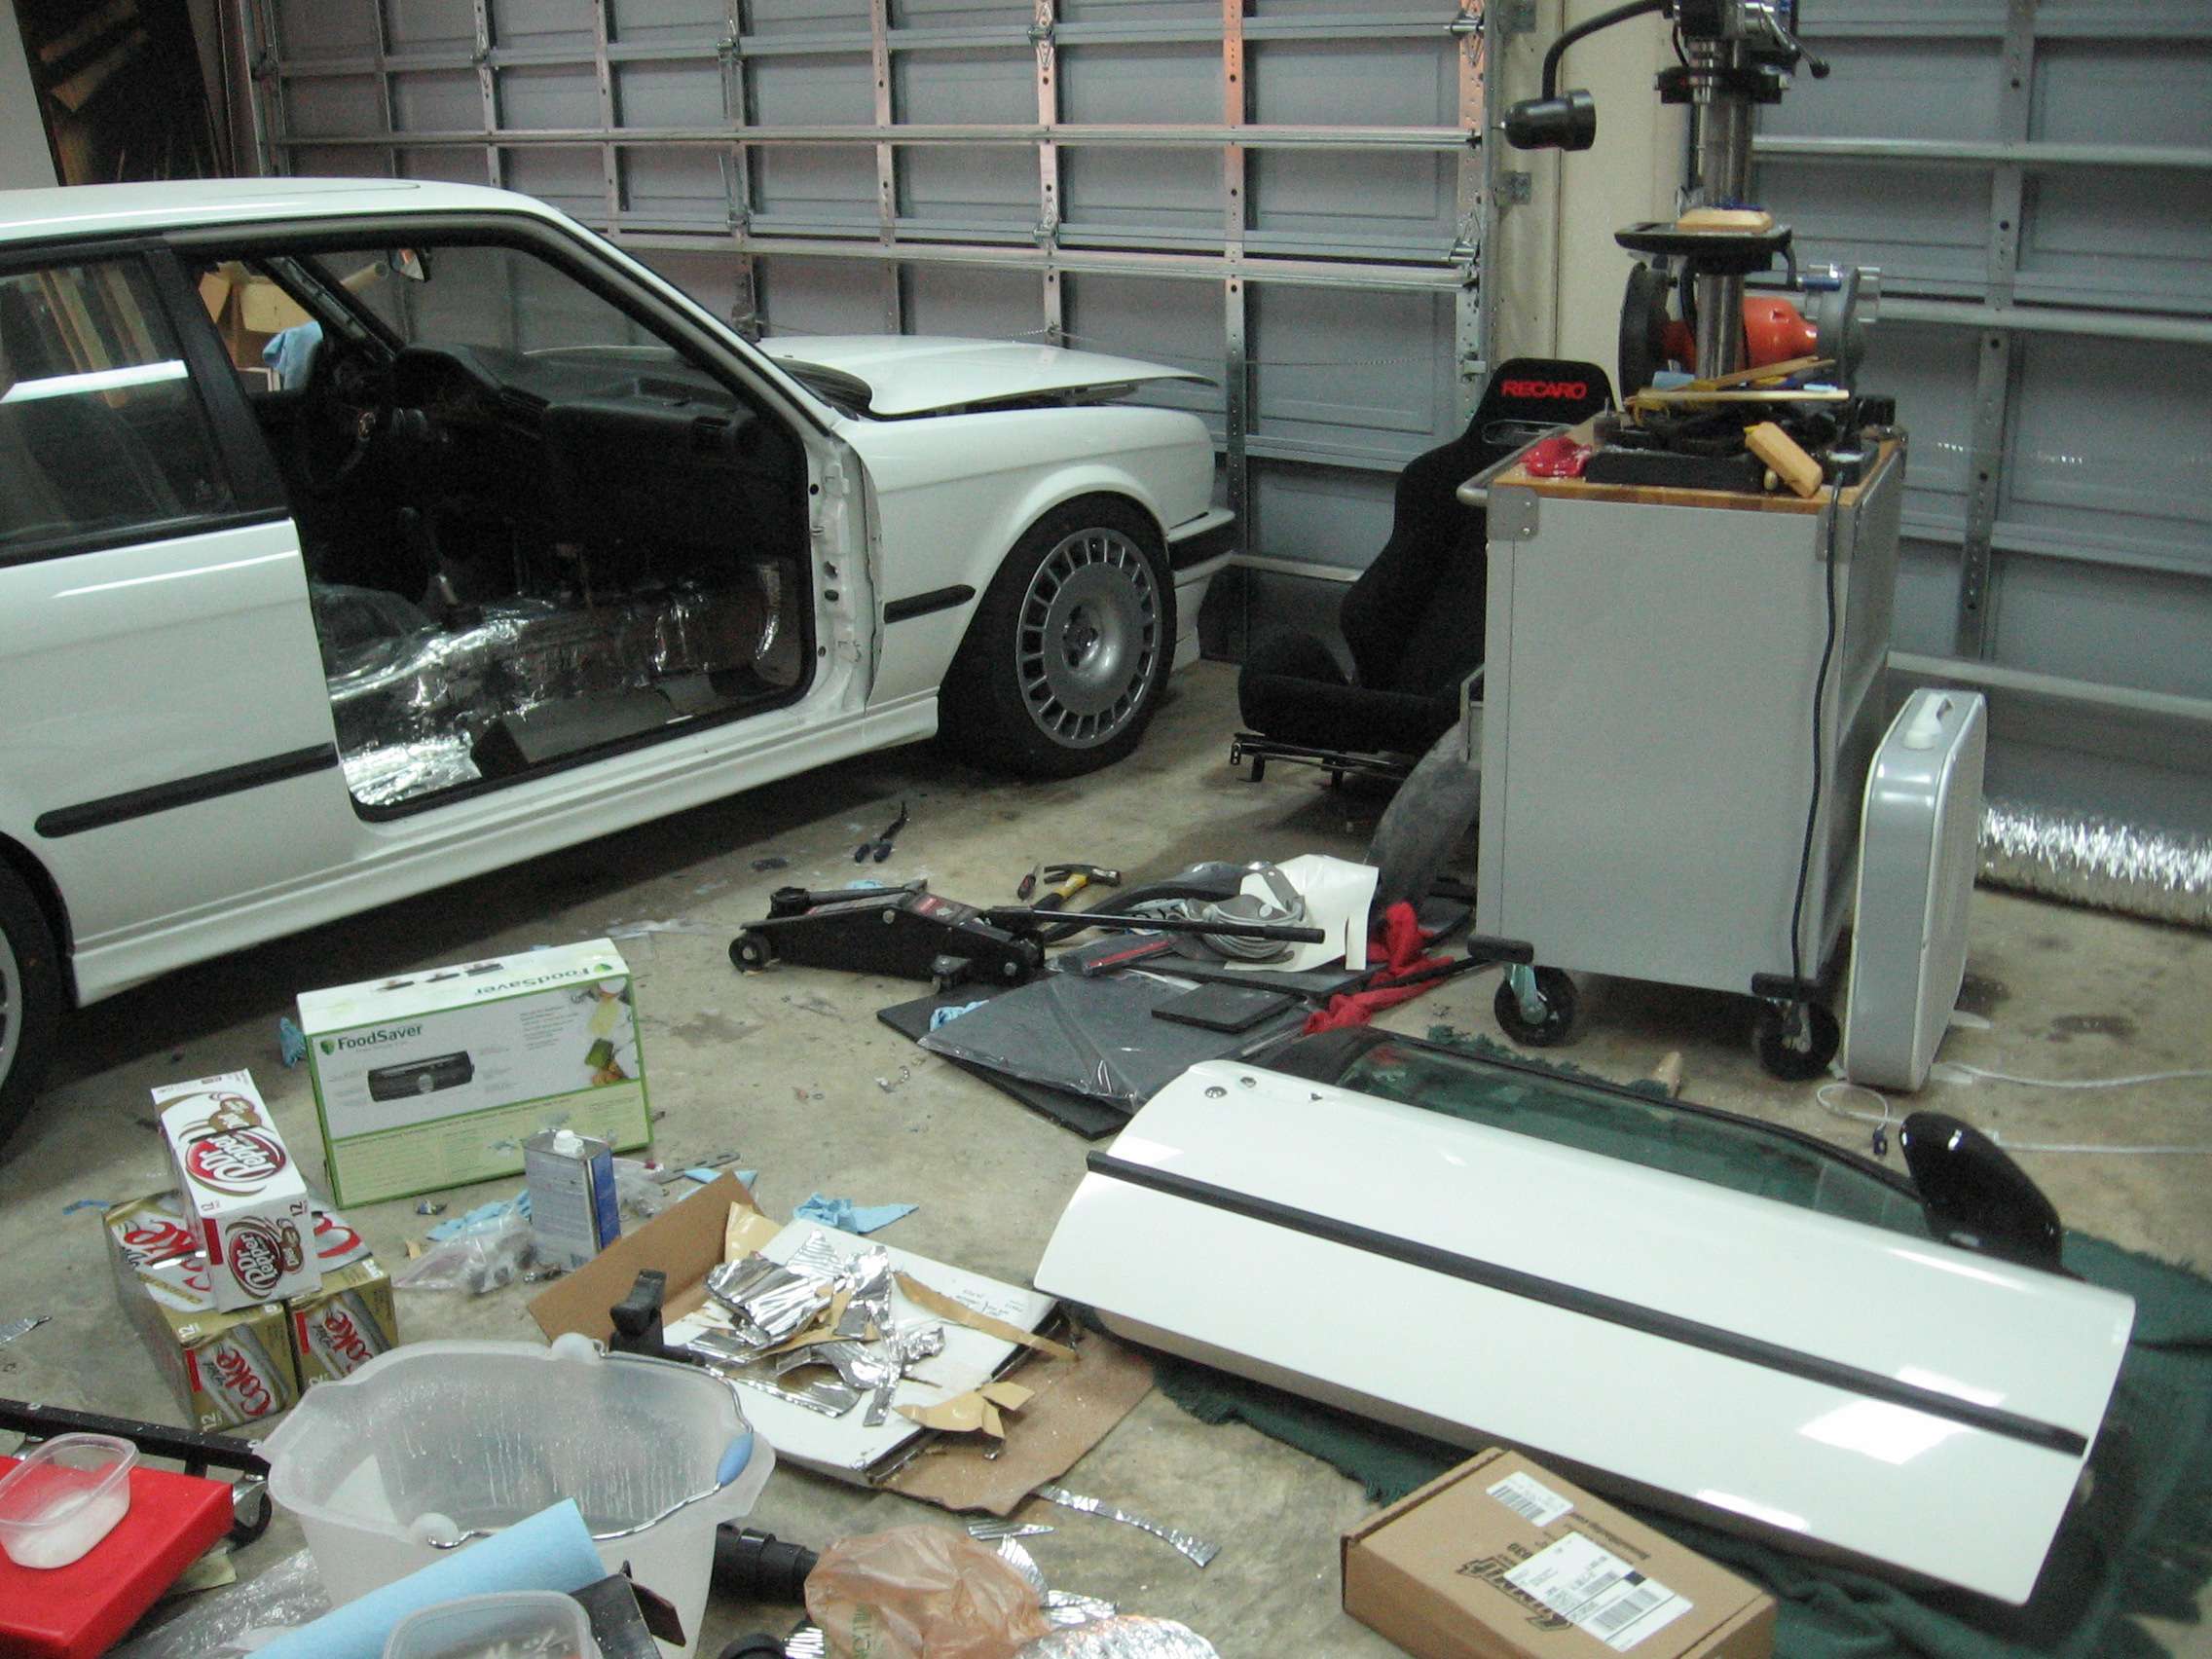
Details at the end of the post.
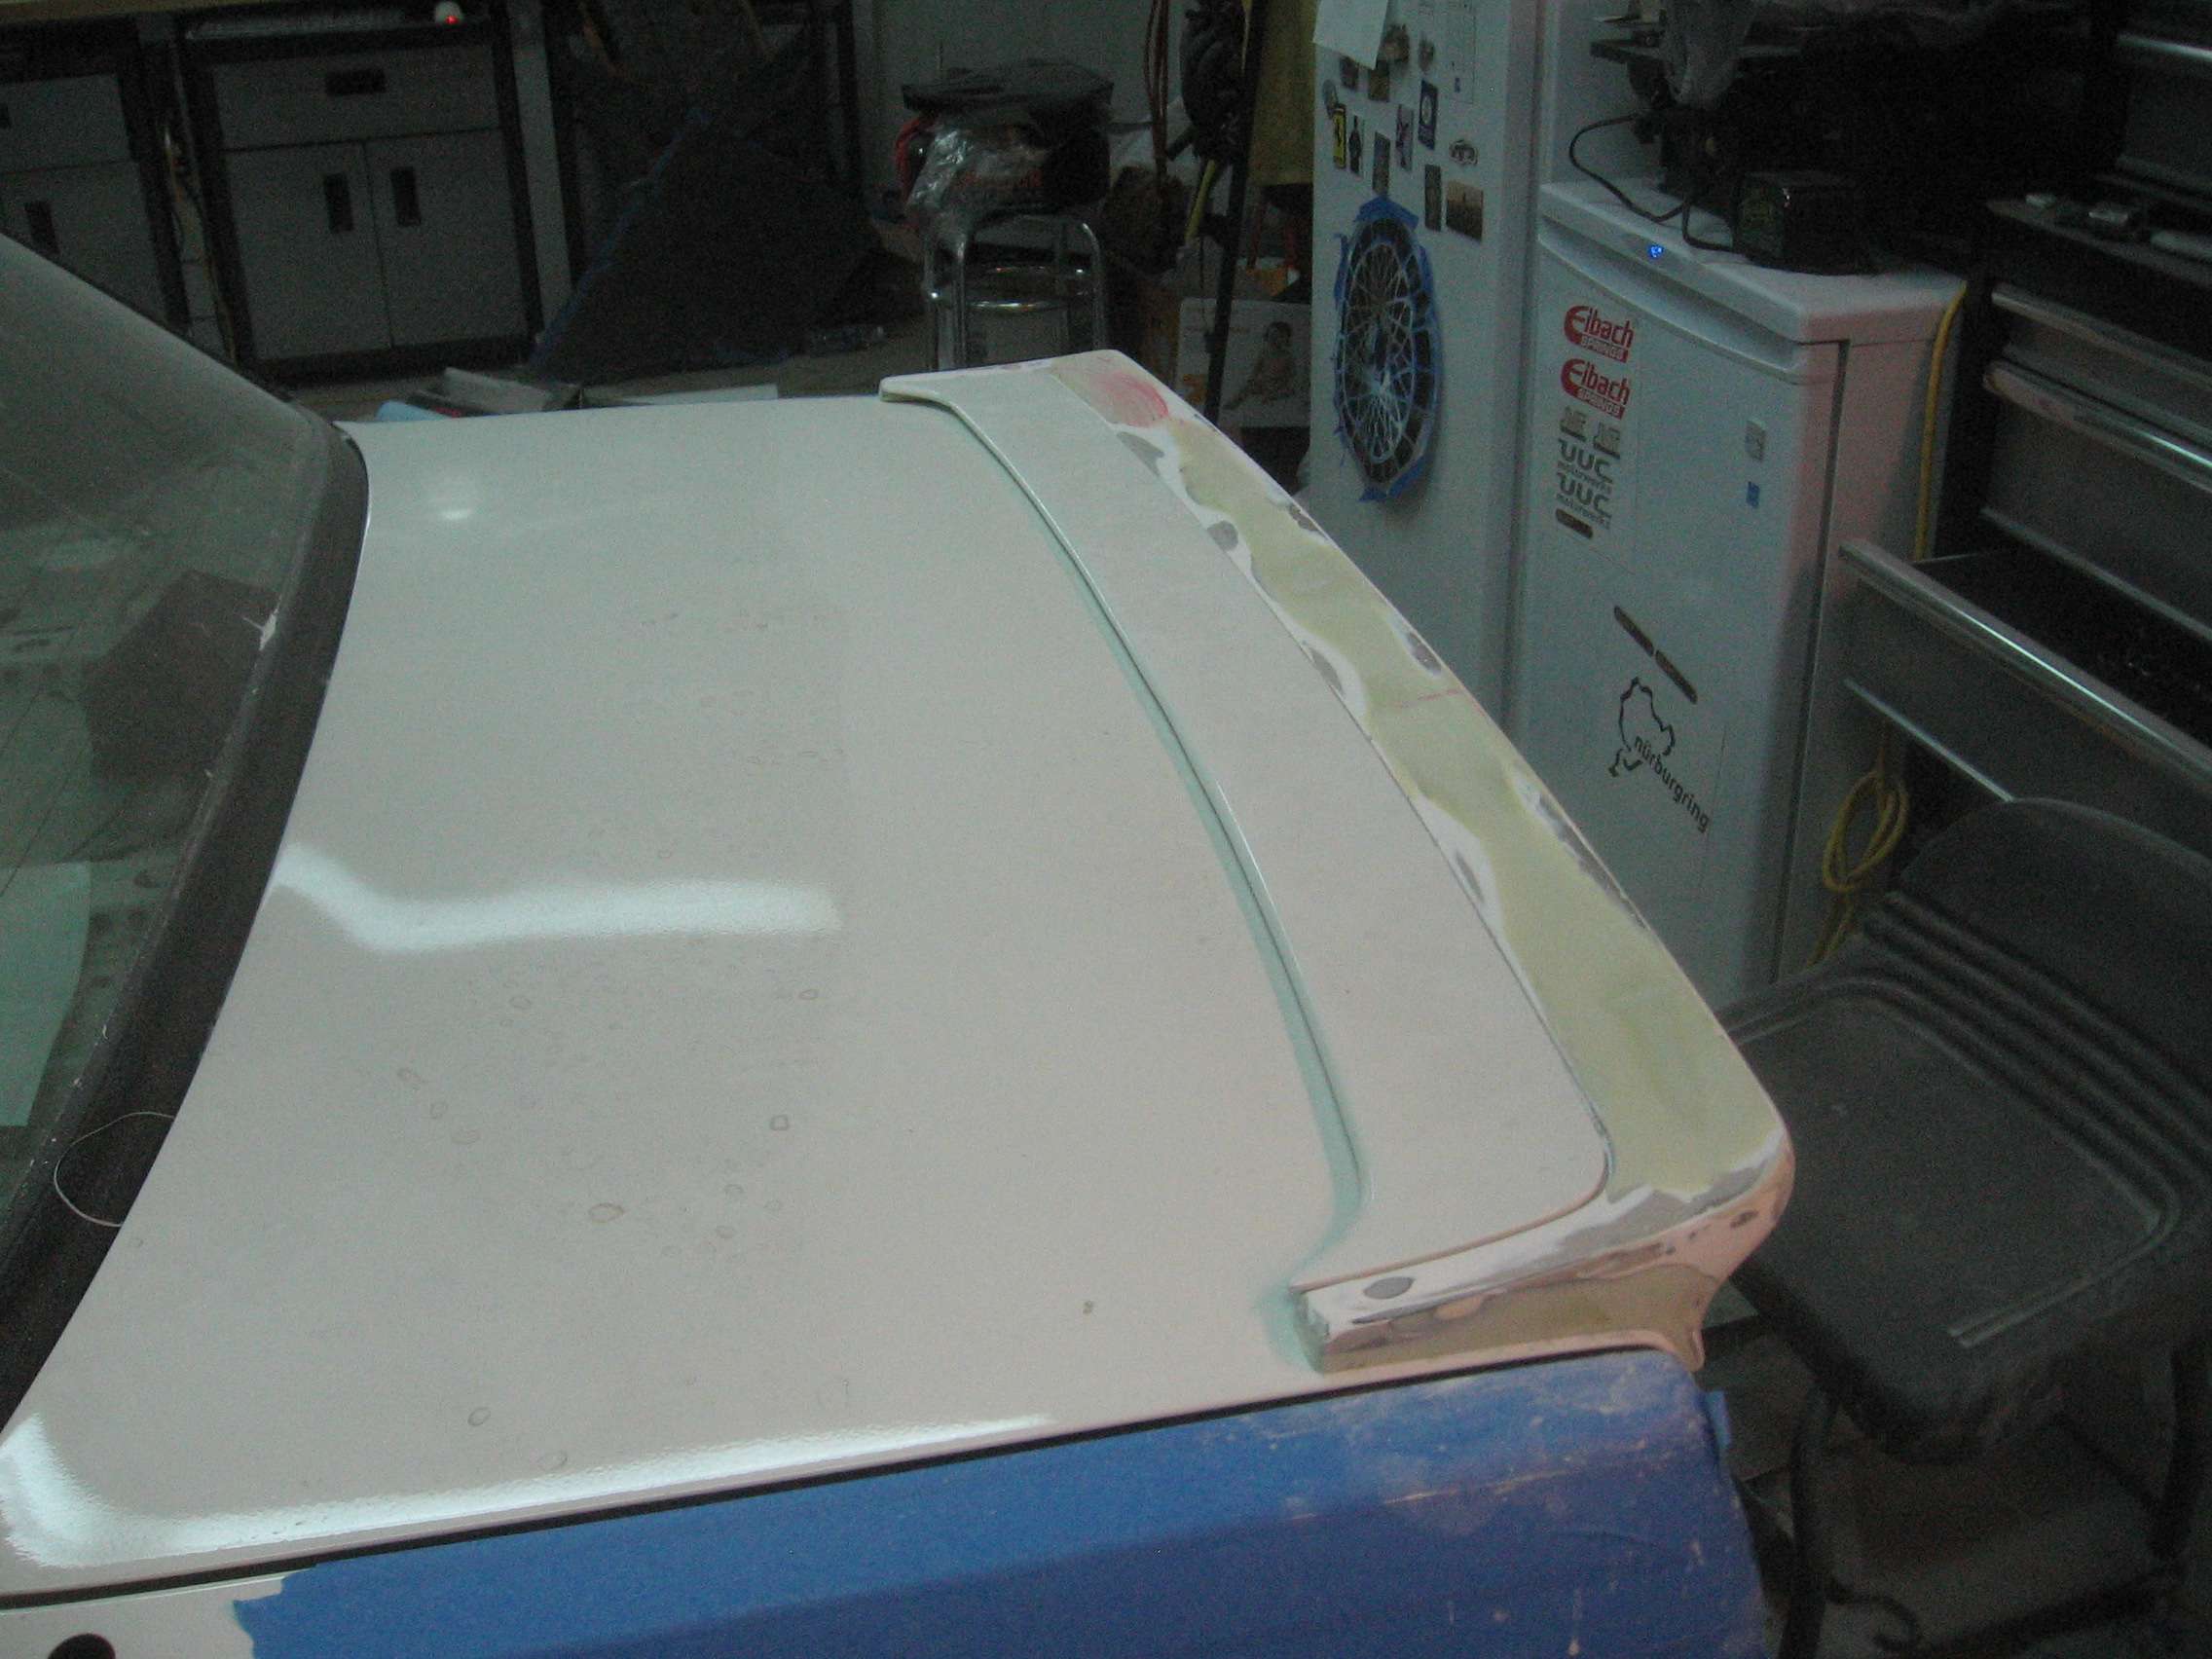
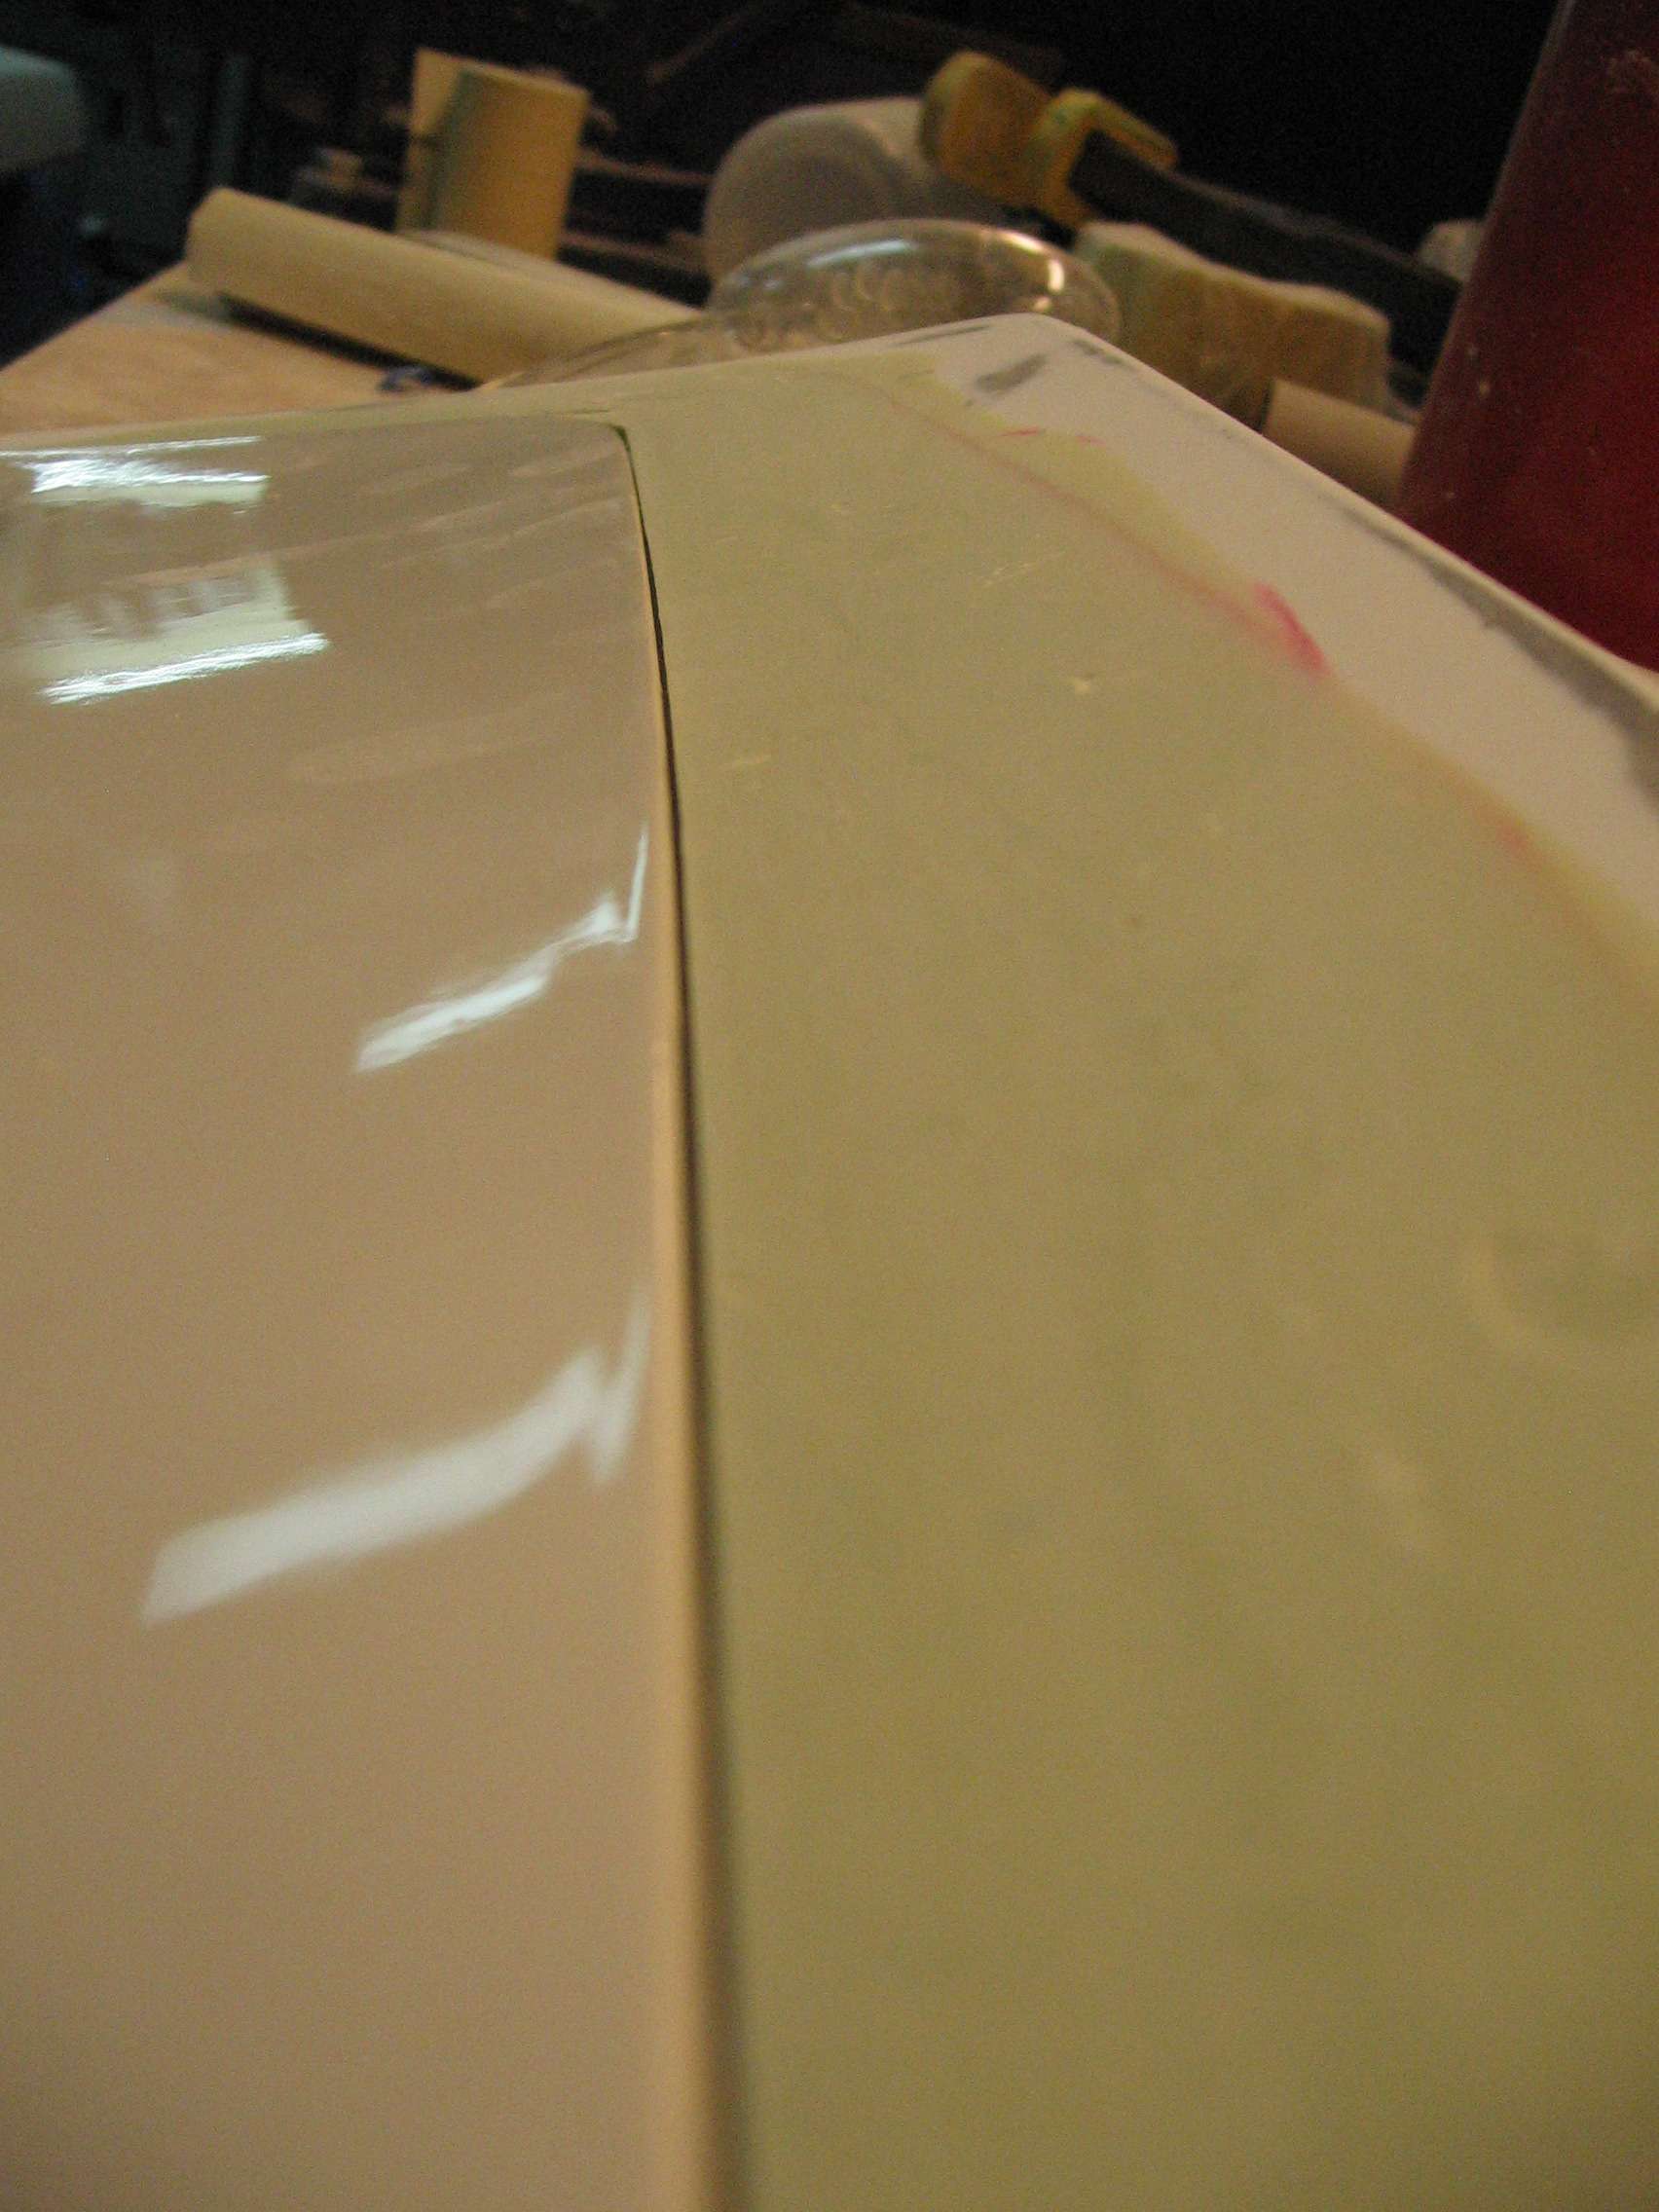
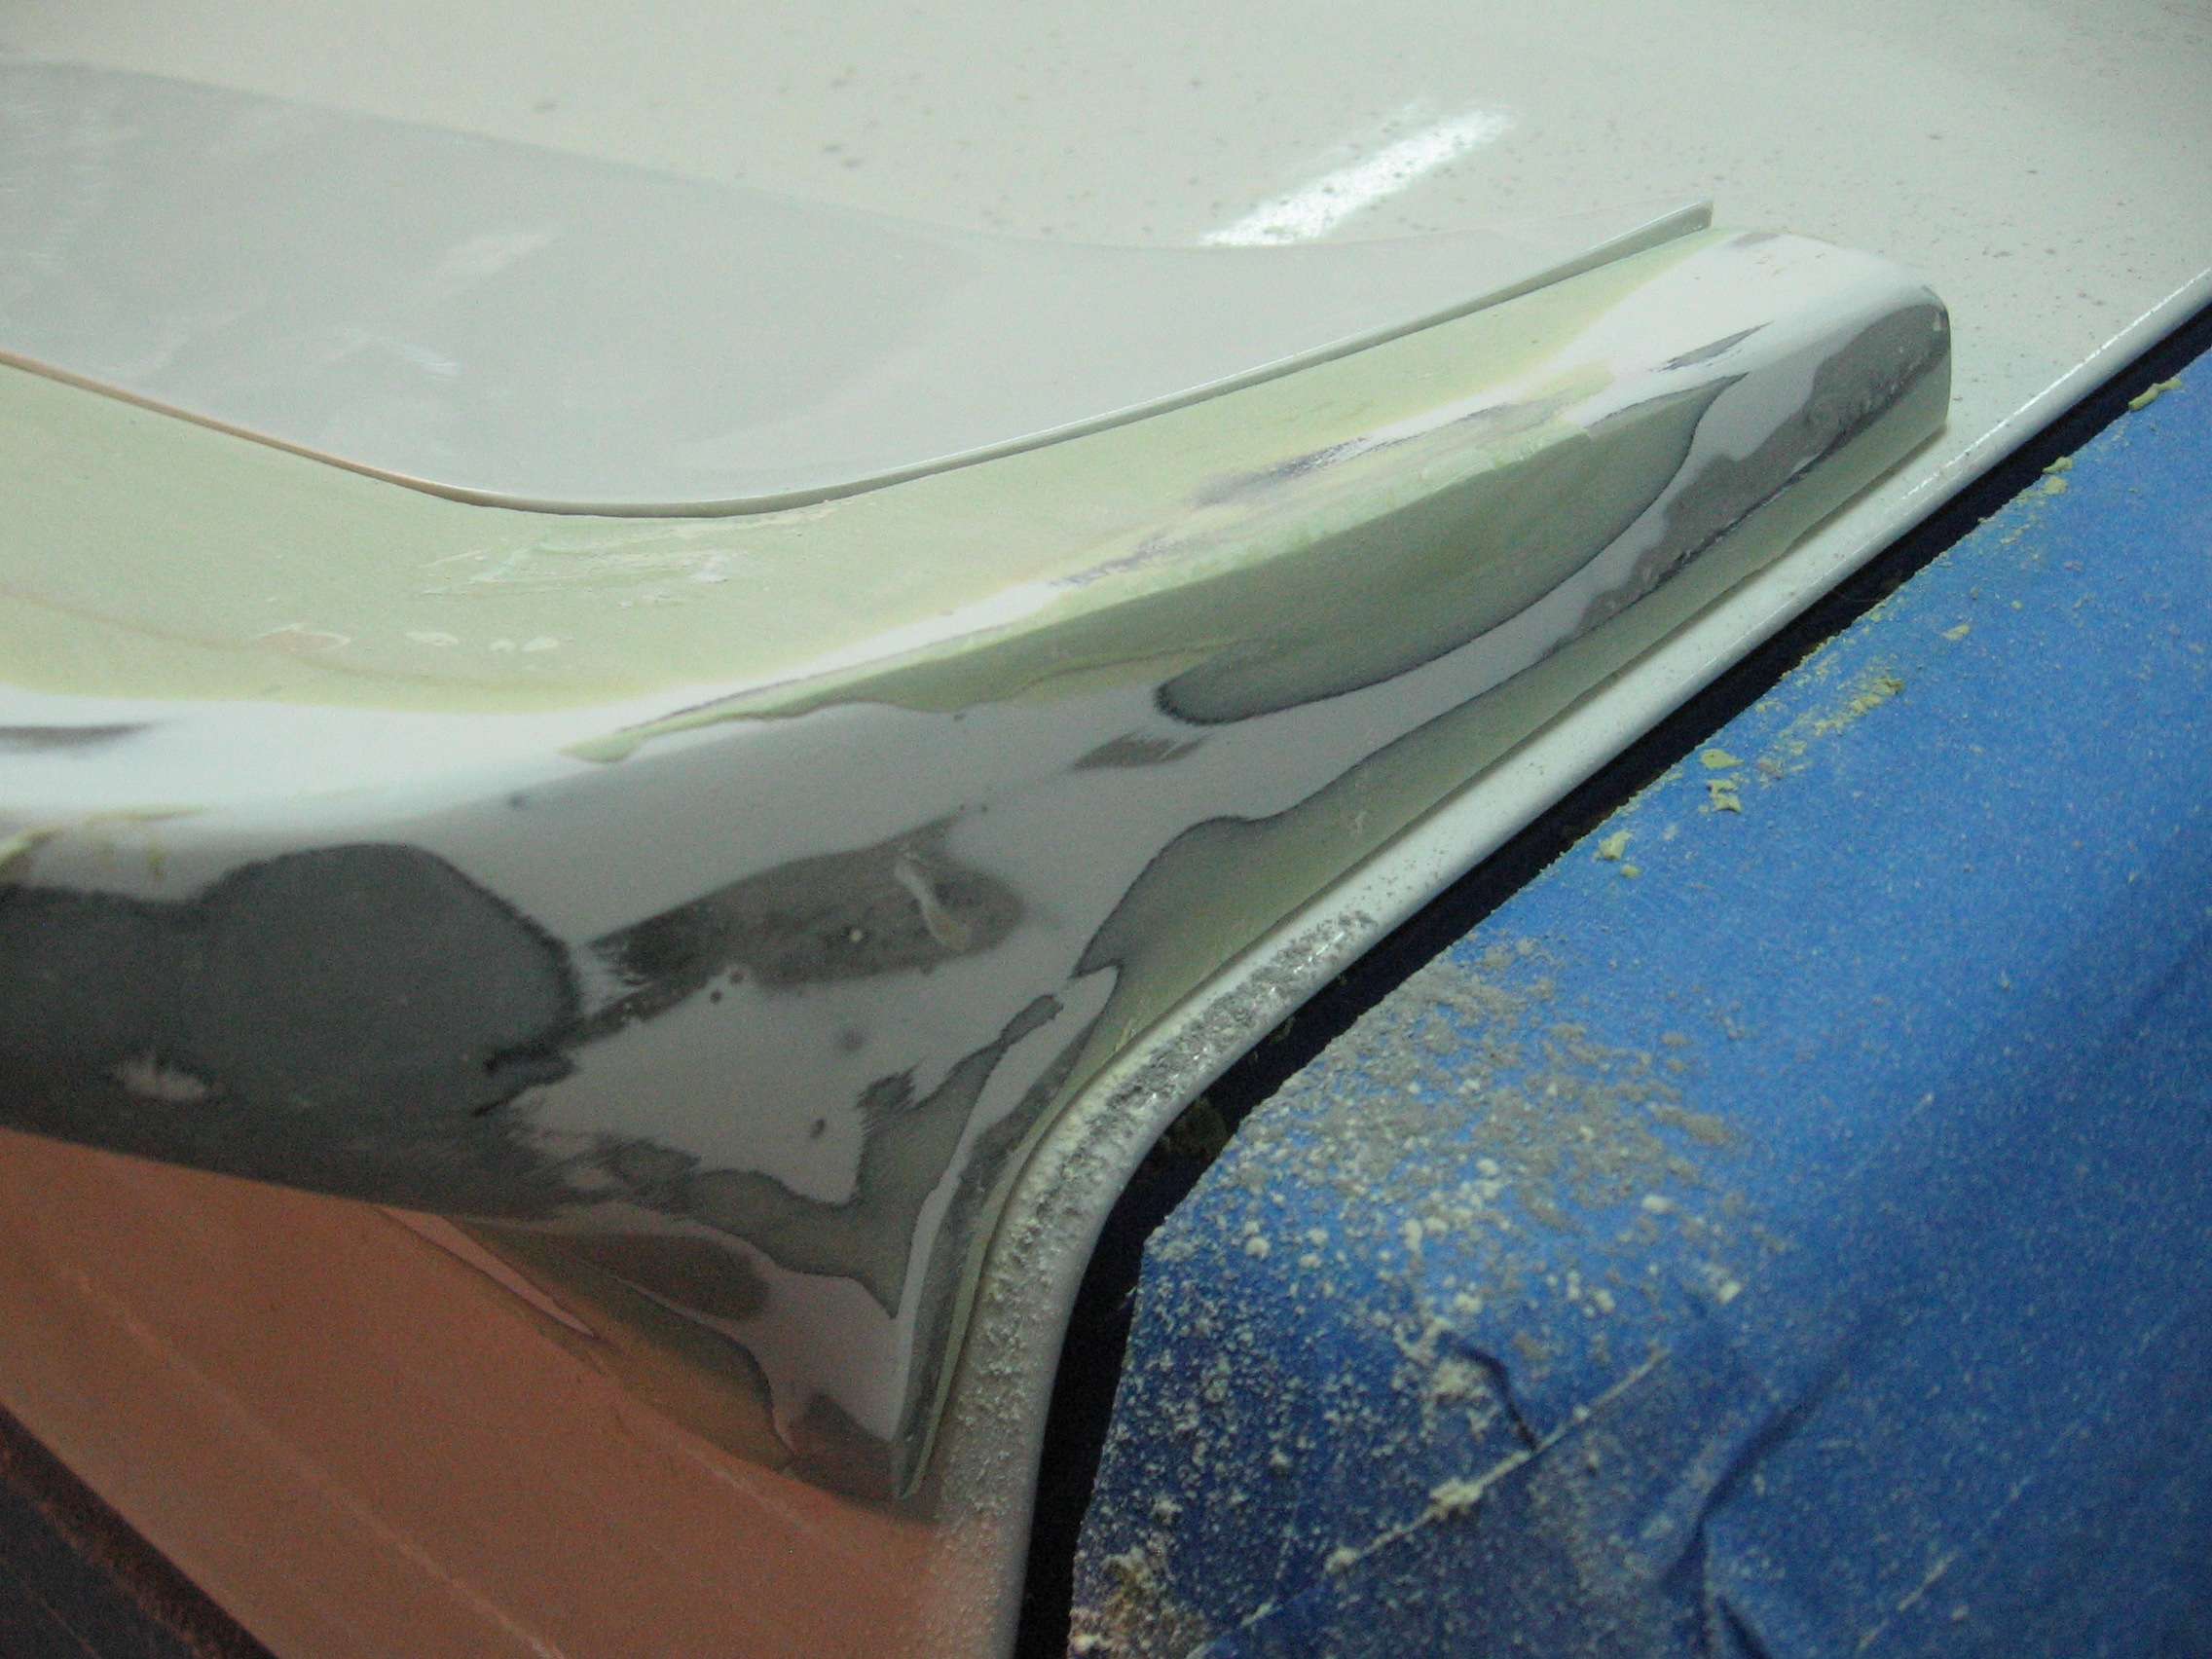
A great deal of work has been spent working on the Mtech I replica wing. I will just say that I am disappointed in the quality of the wing and leave it at that. I think the pictures will do the majority of the talking. I didn't get any pictures of it but I taped the decklid and then bolted the wing down in the correct position. The gaps were atrocious so I filled them with the filler. From there, I used lots of water to soak the tape and some floss to separate the tape from the deck lid. The result was a wing perfectly contoured to the trunk.
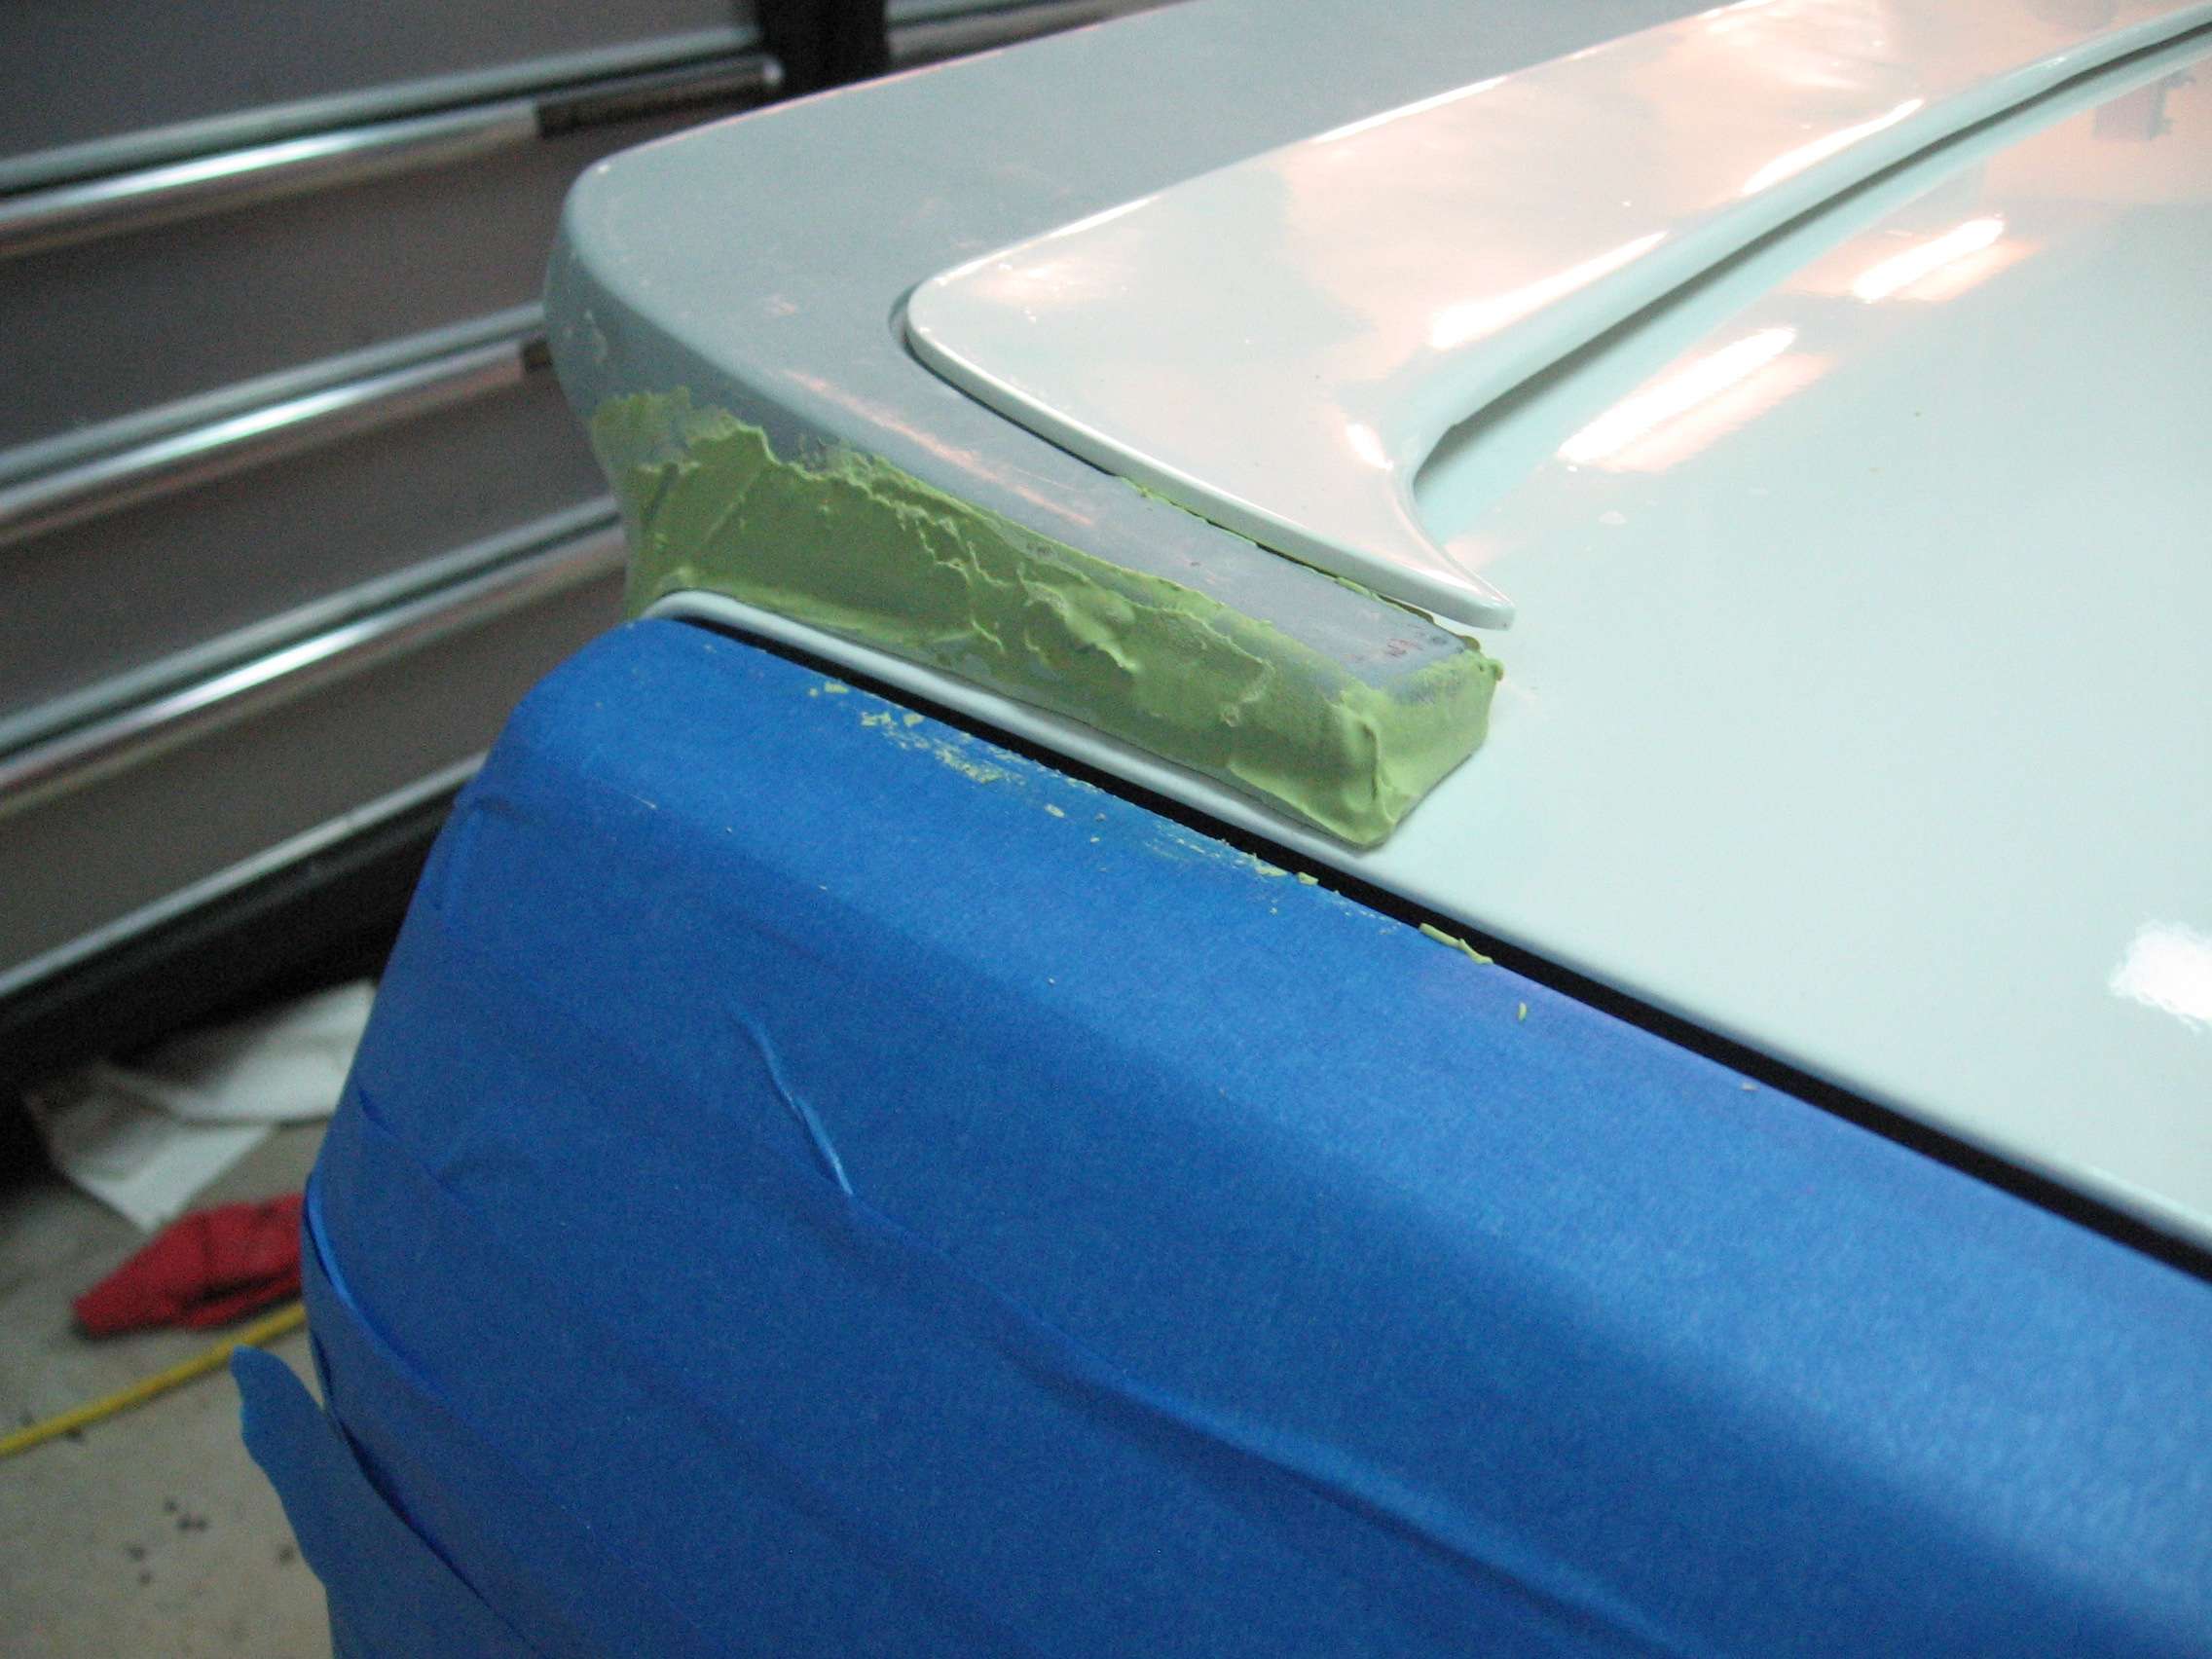
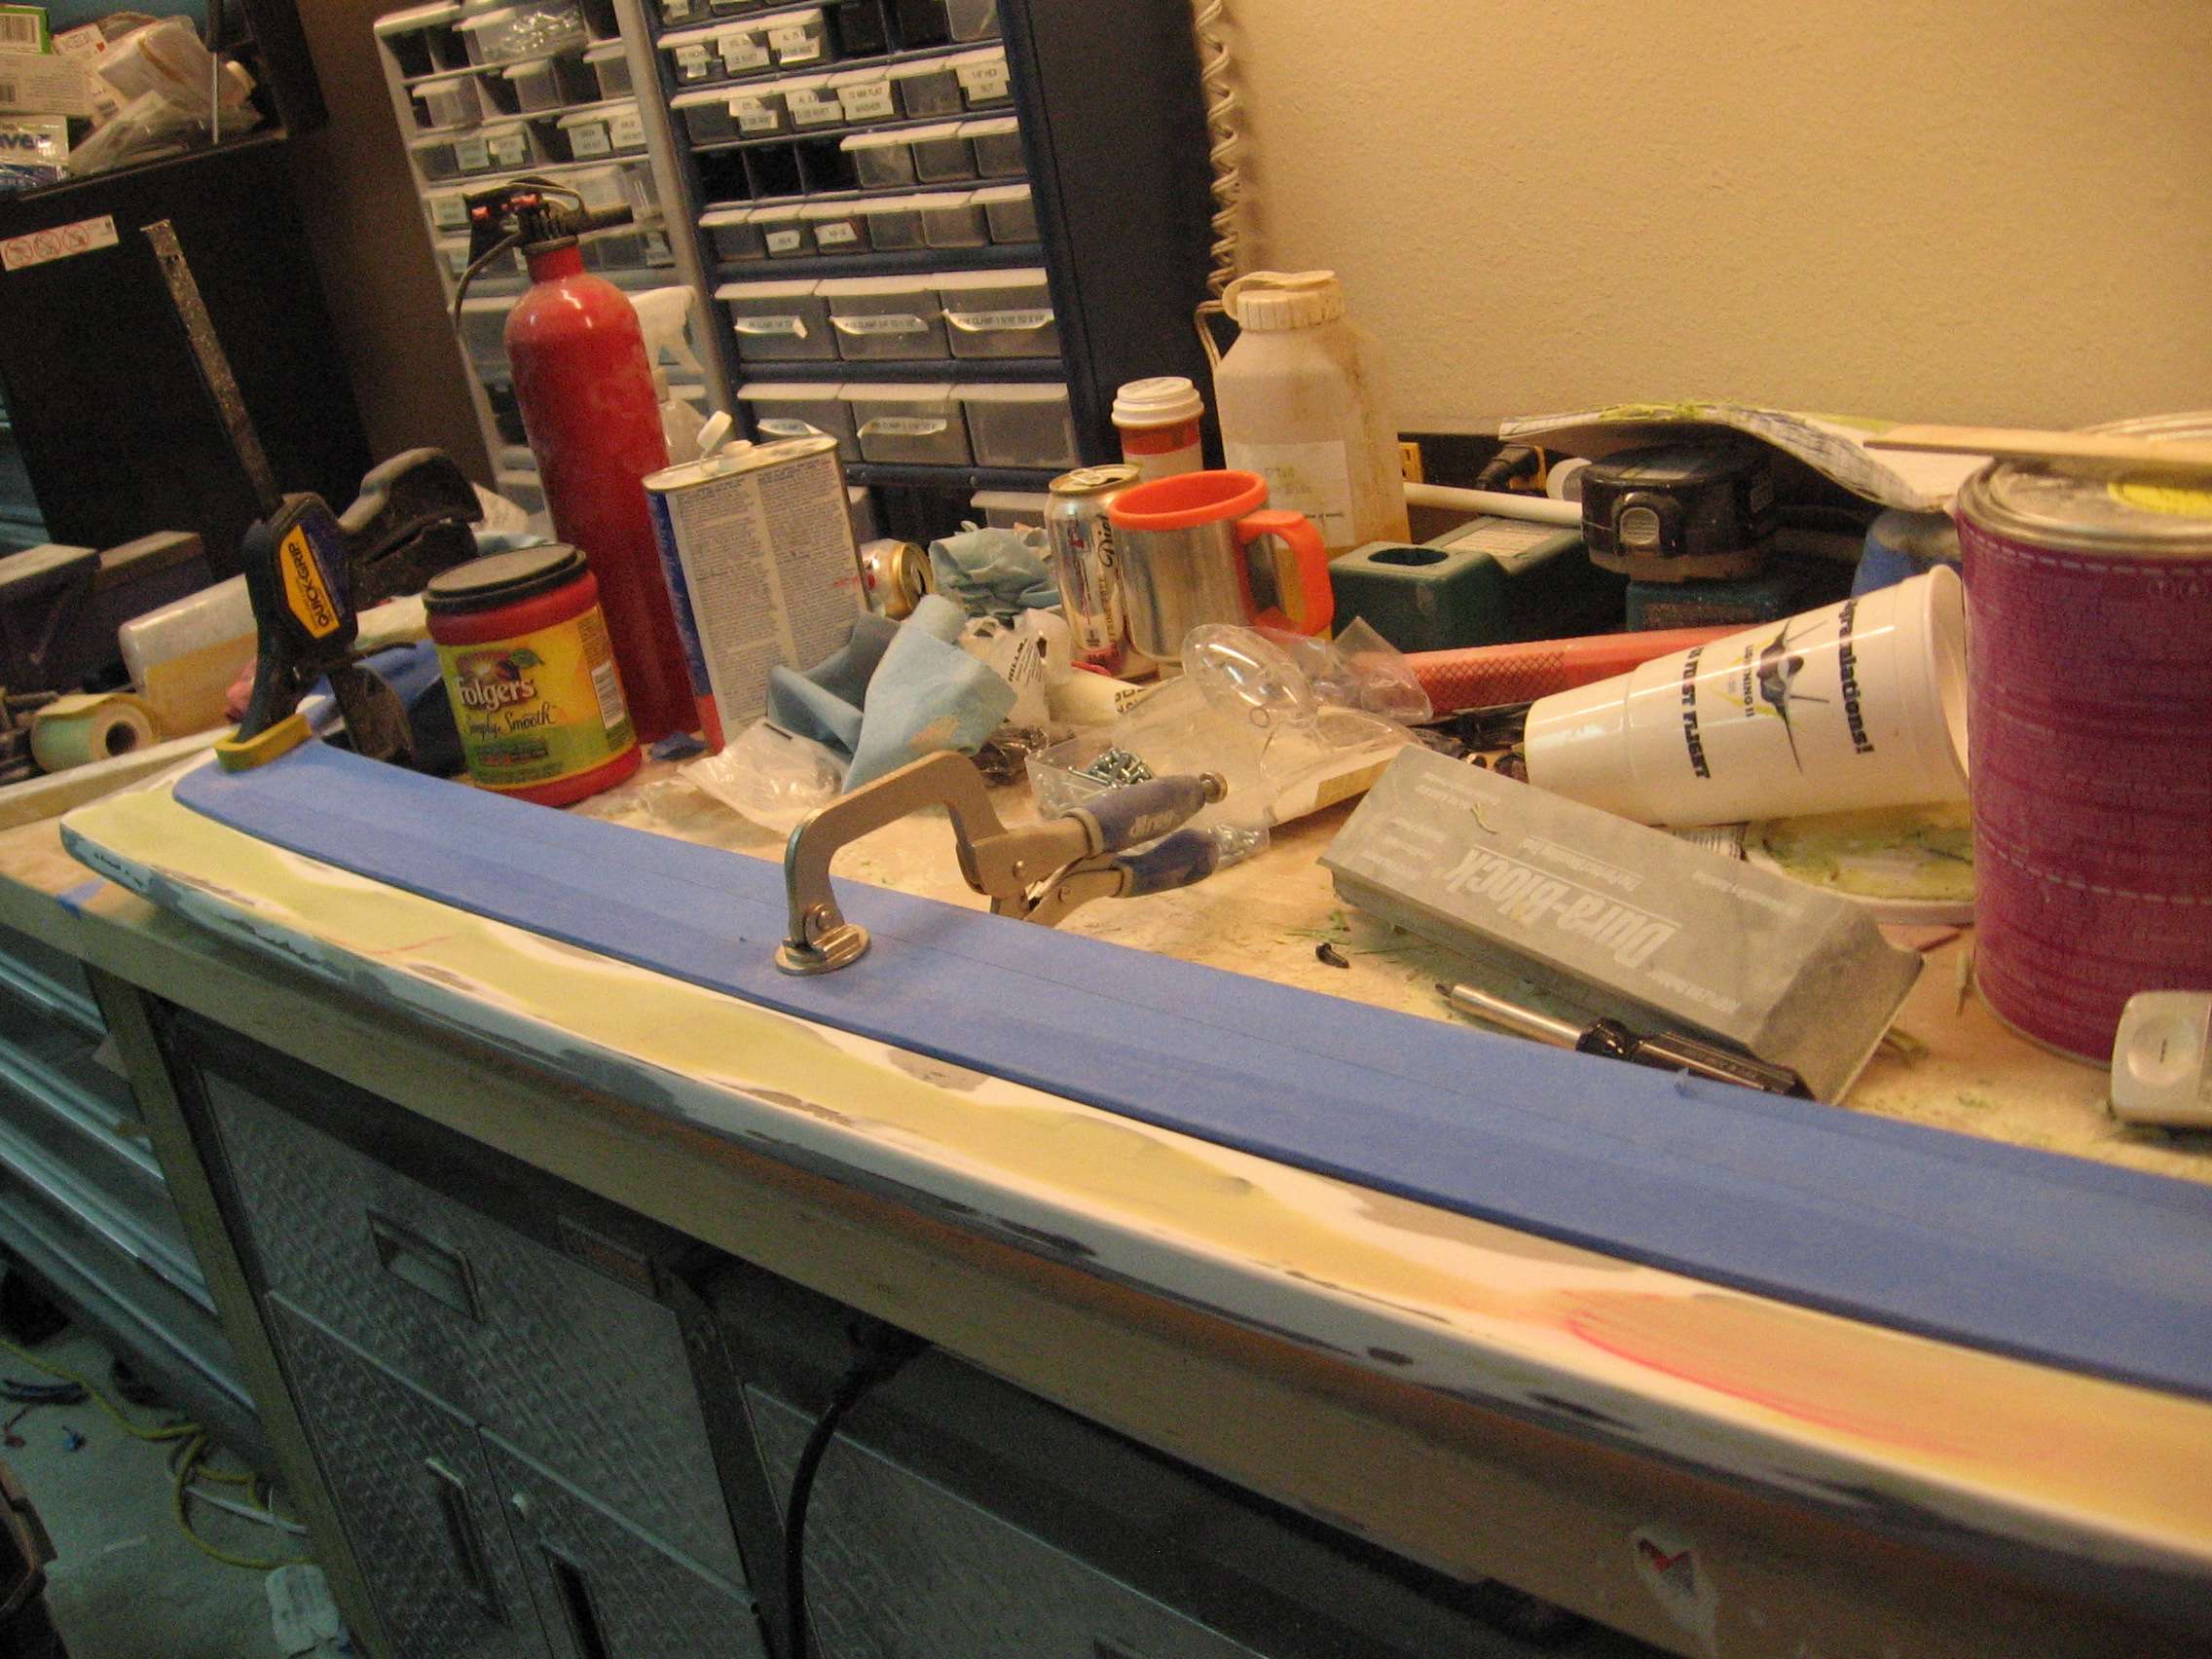
The filler isn't terrible thick either but it made a big difference in appearance. I decided to work on the back of the wing and get it flat. I used some dura block sanding tools and sandpaper combined with some Rage Extreme filler.
After sanding, things started looking better.
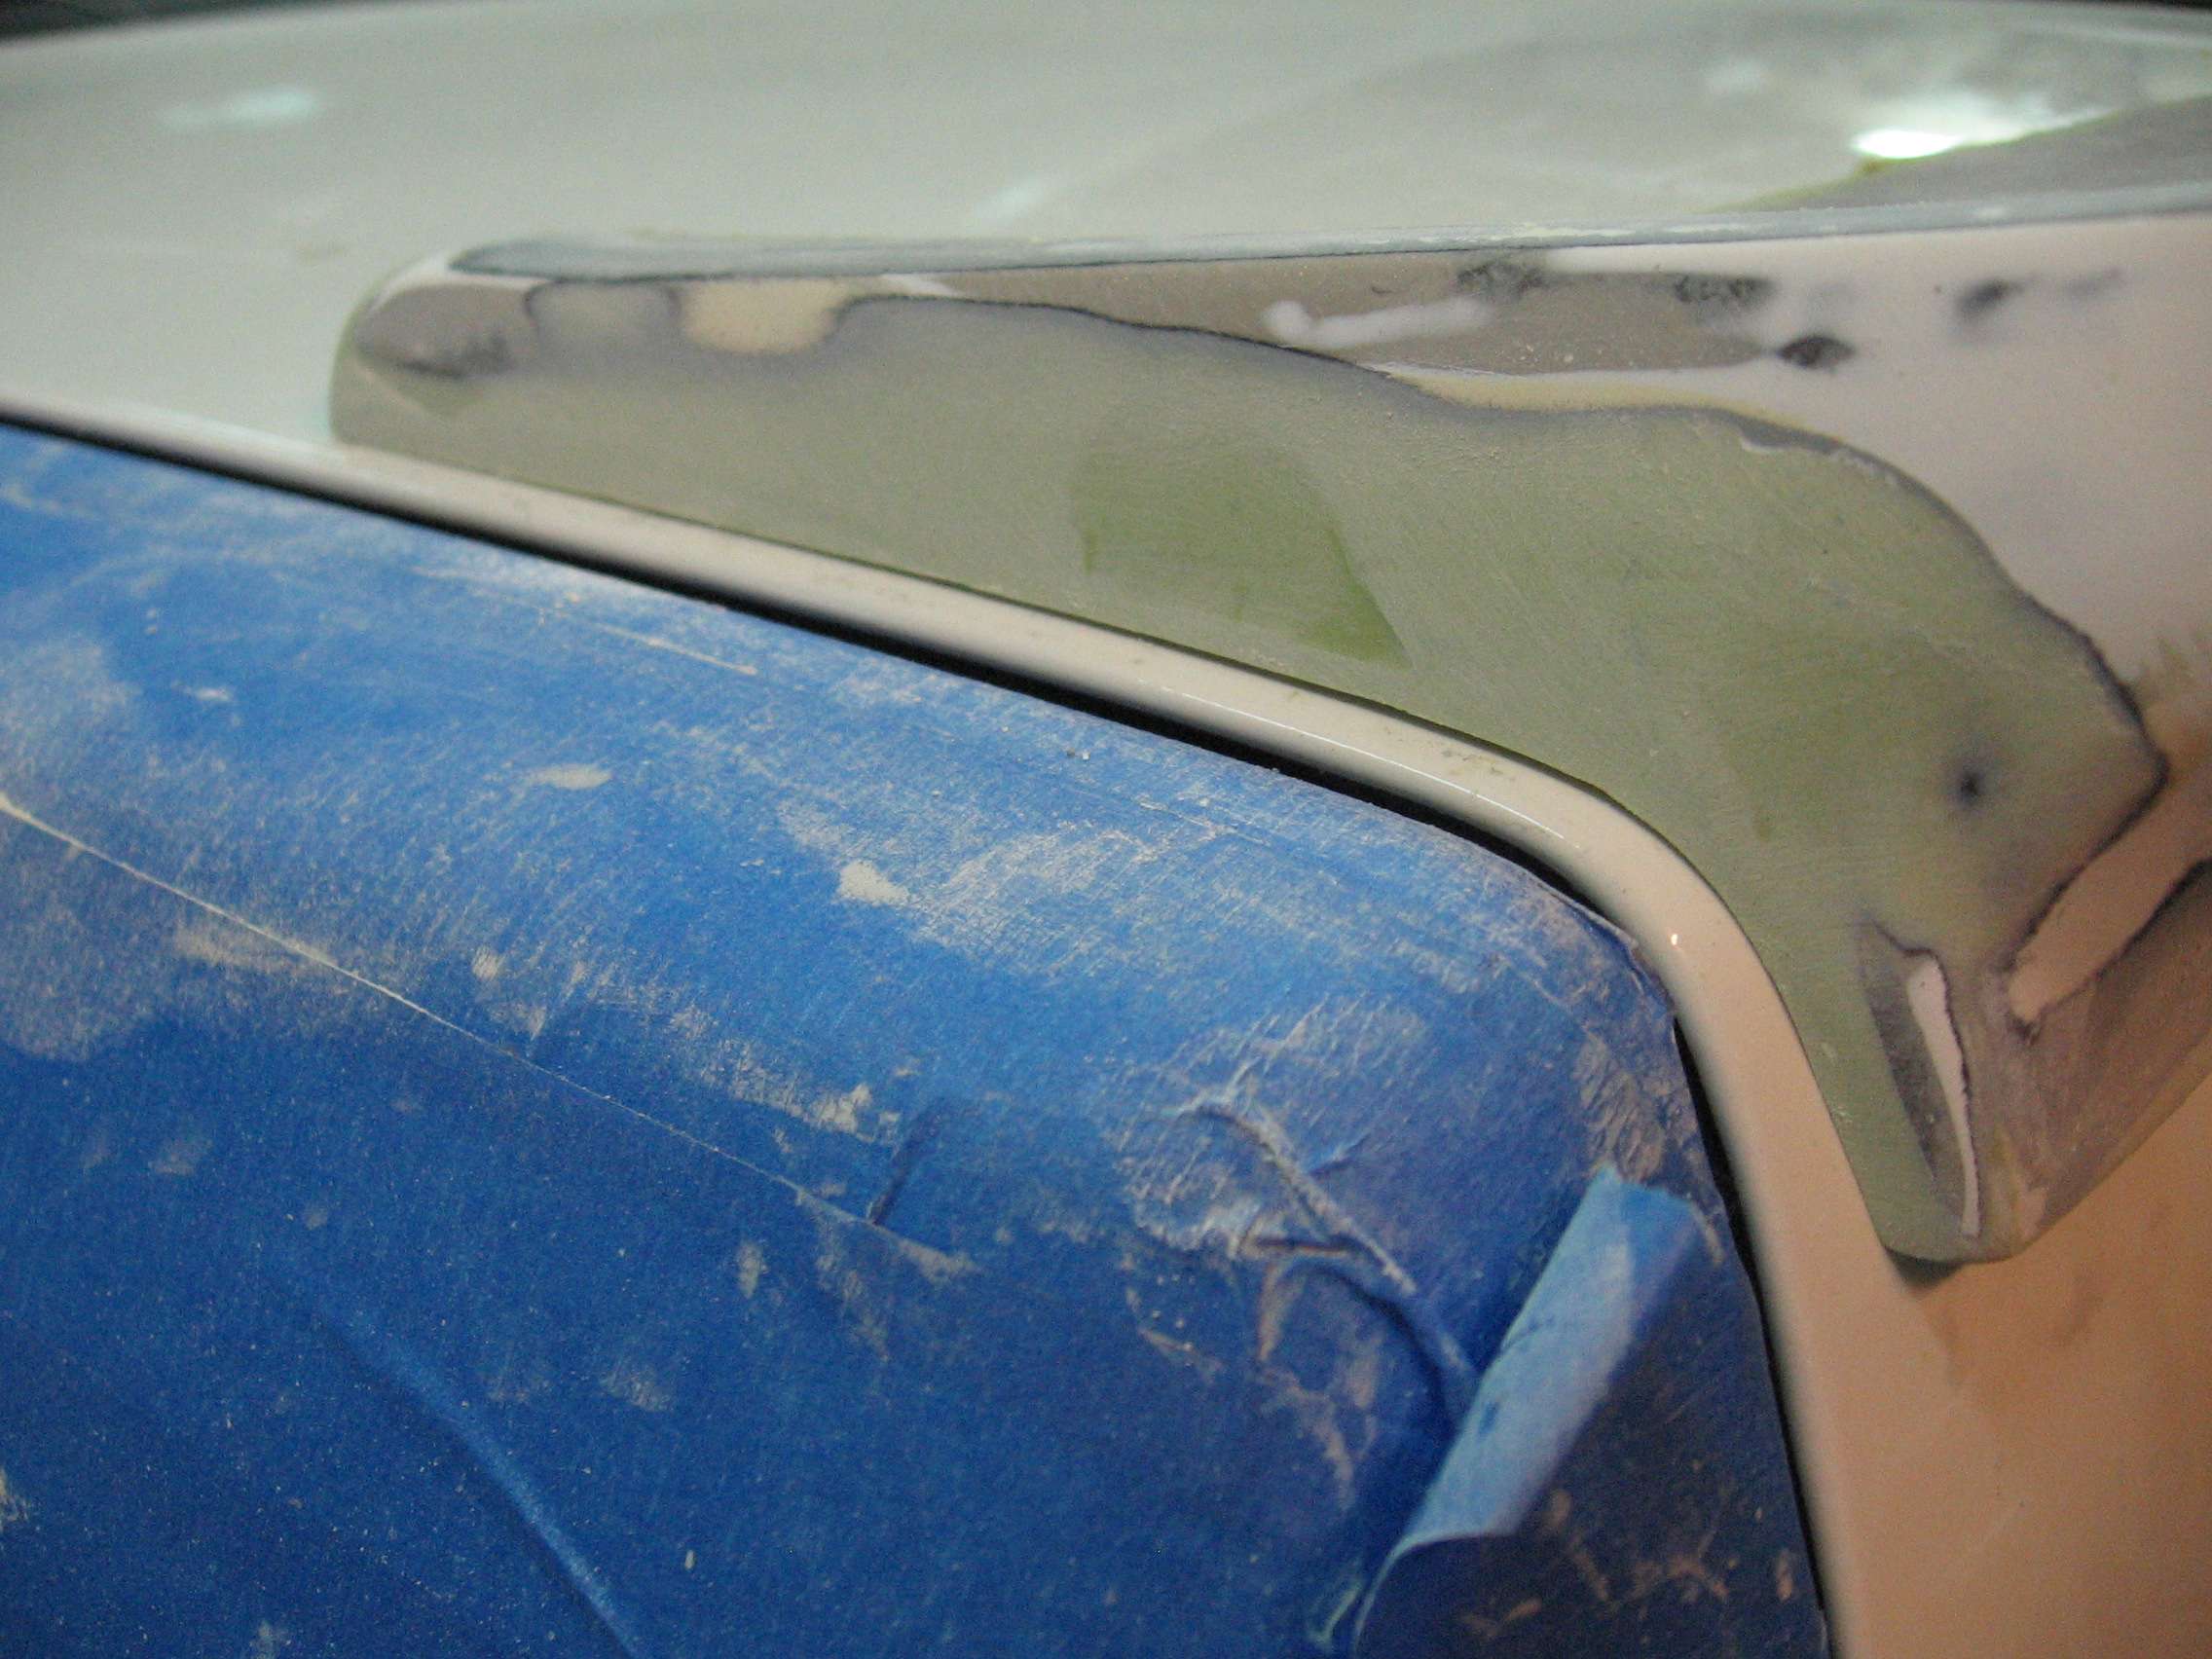
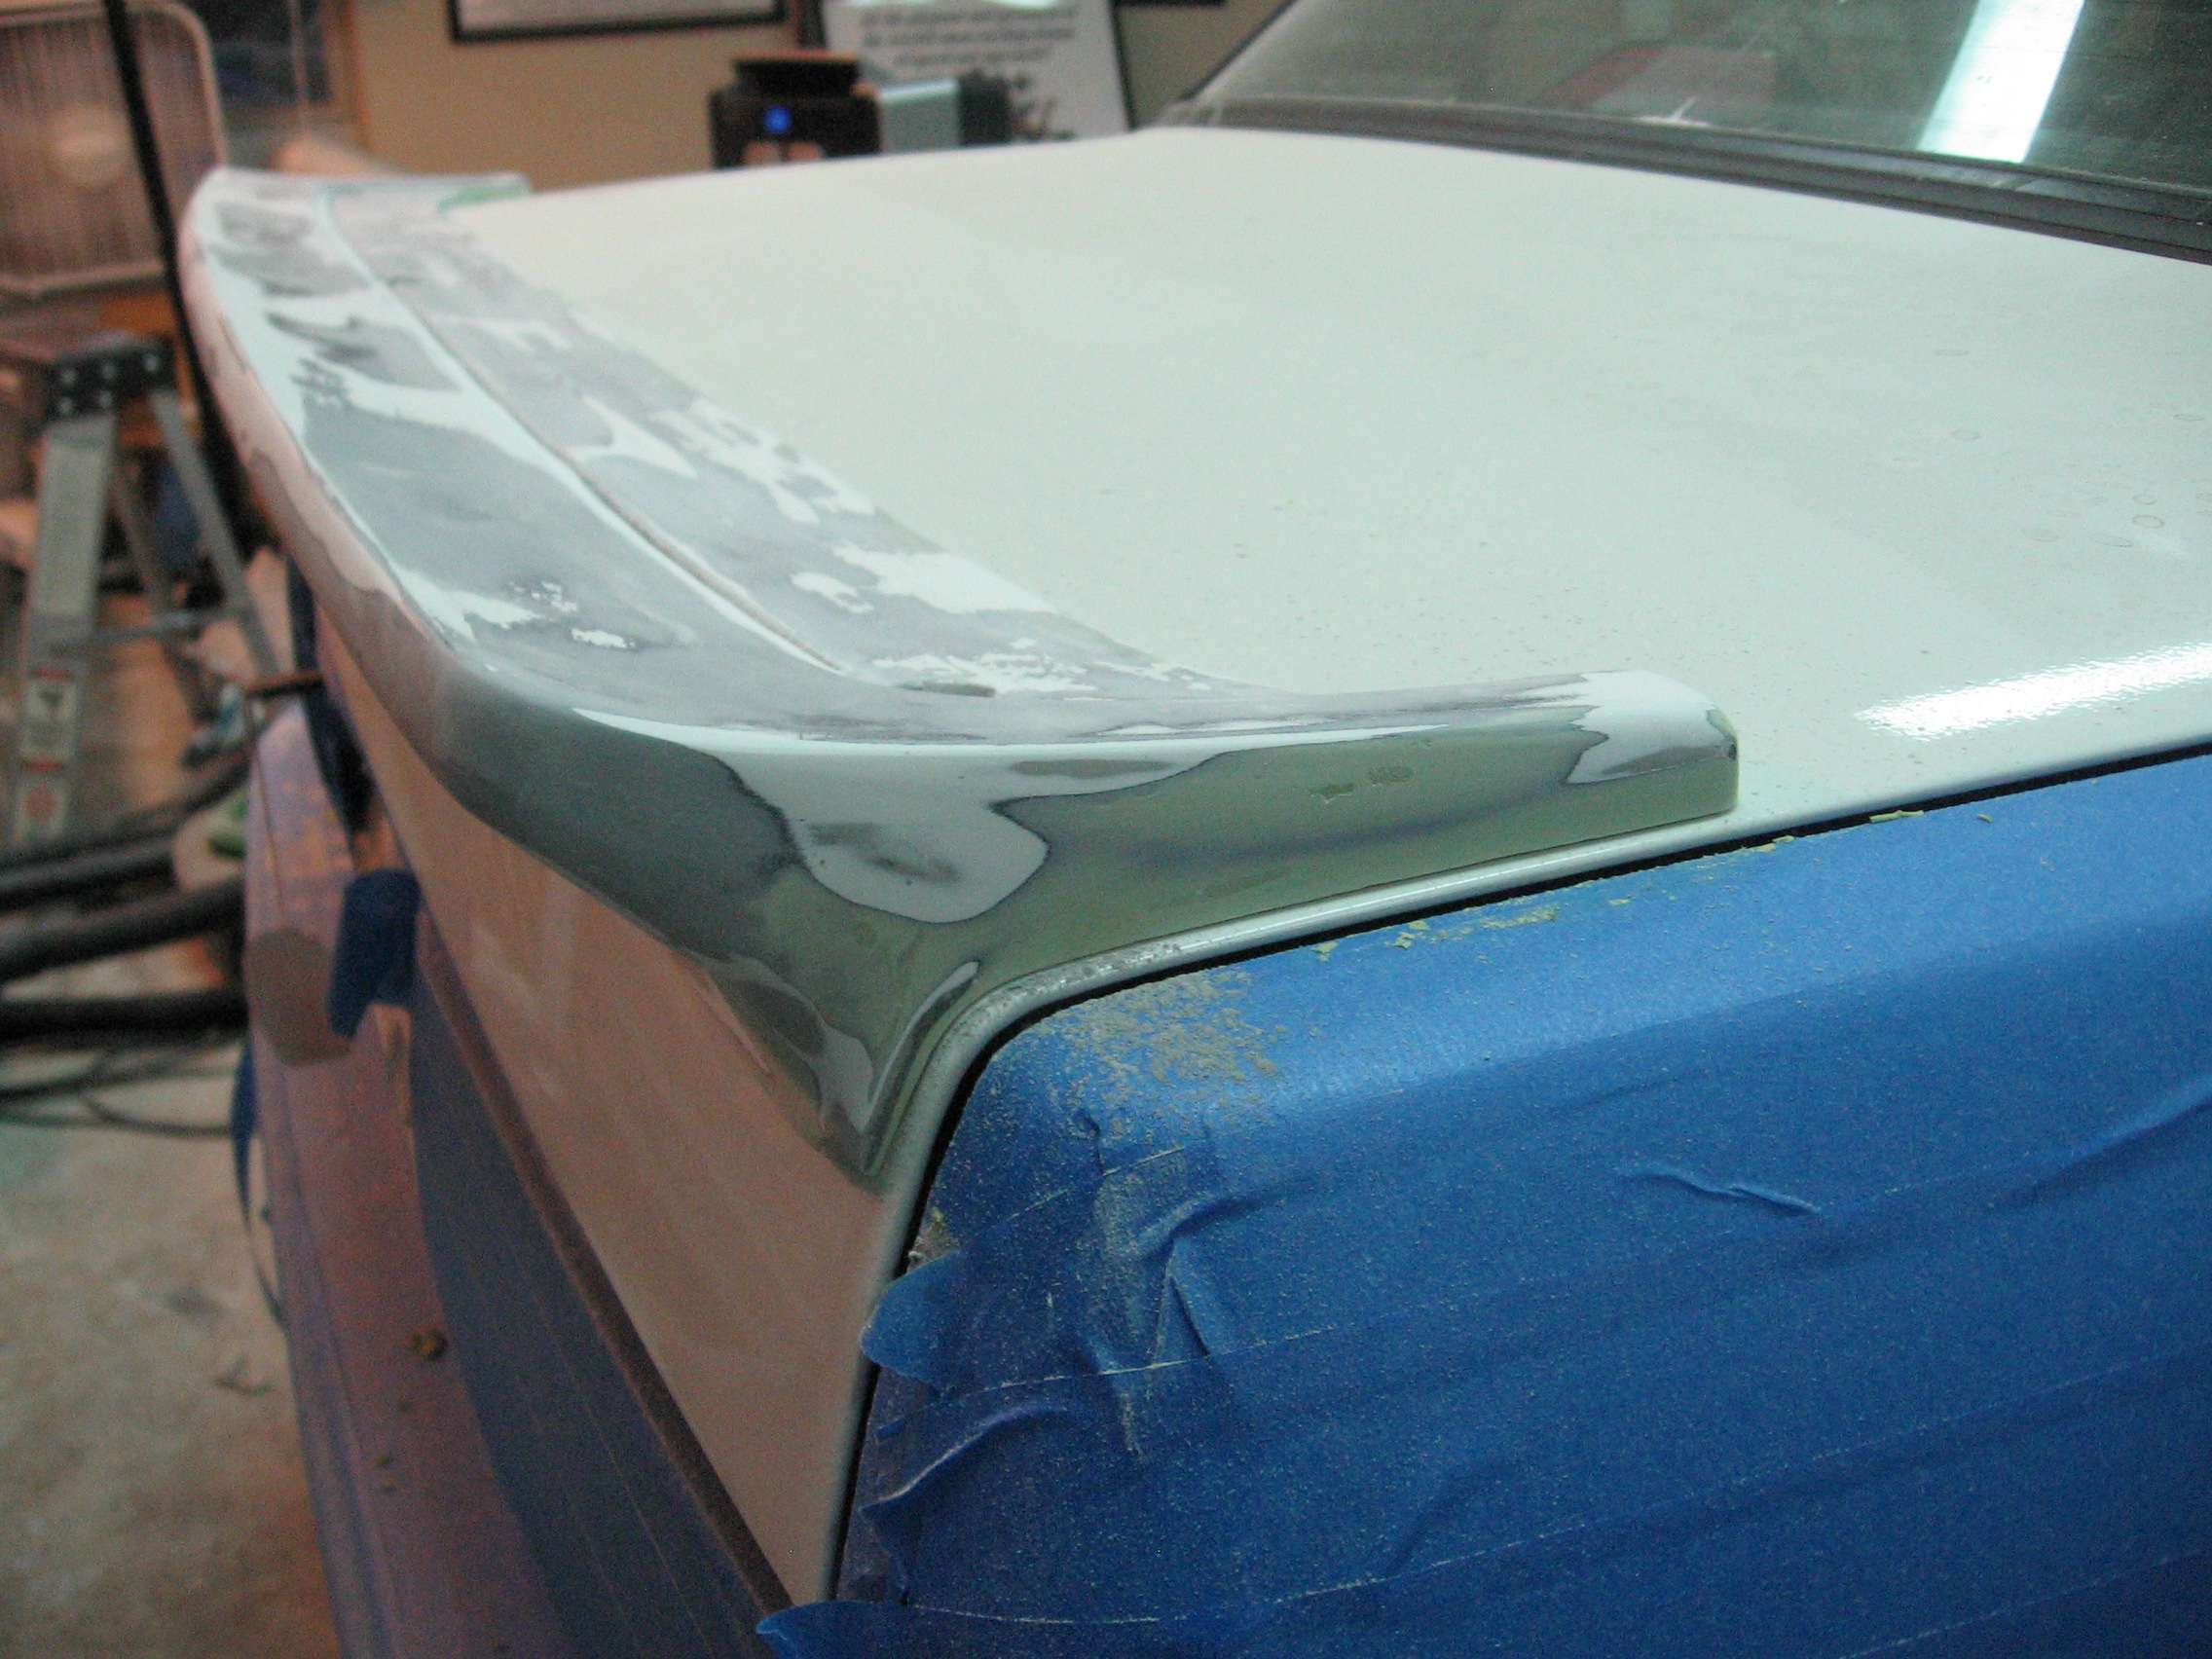
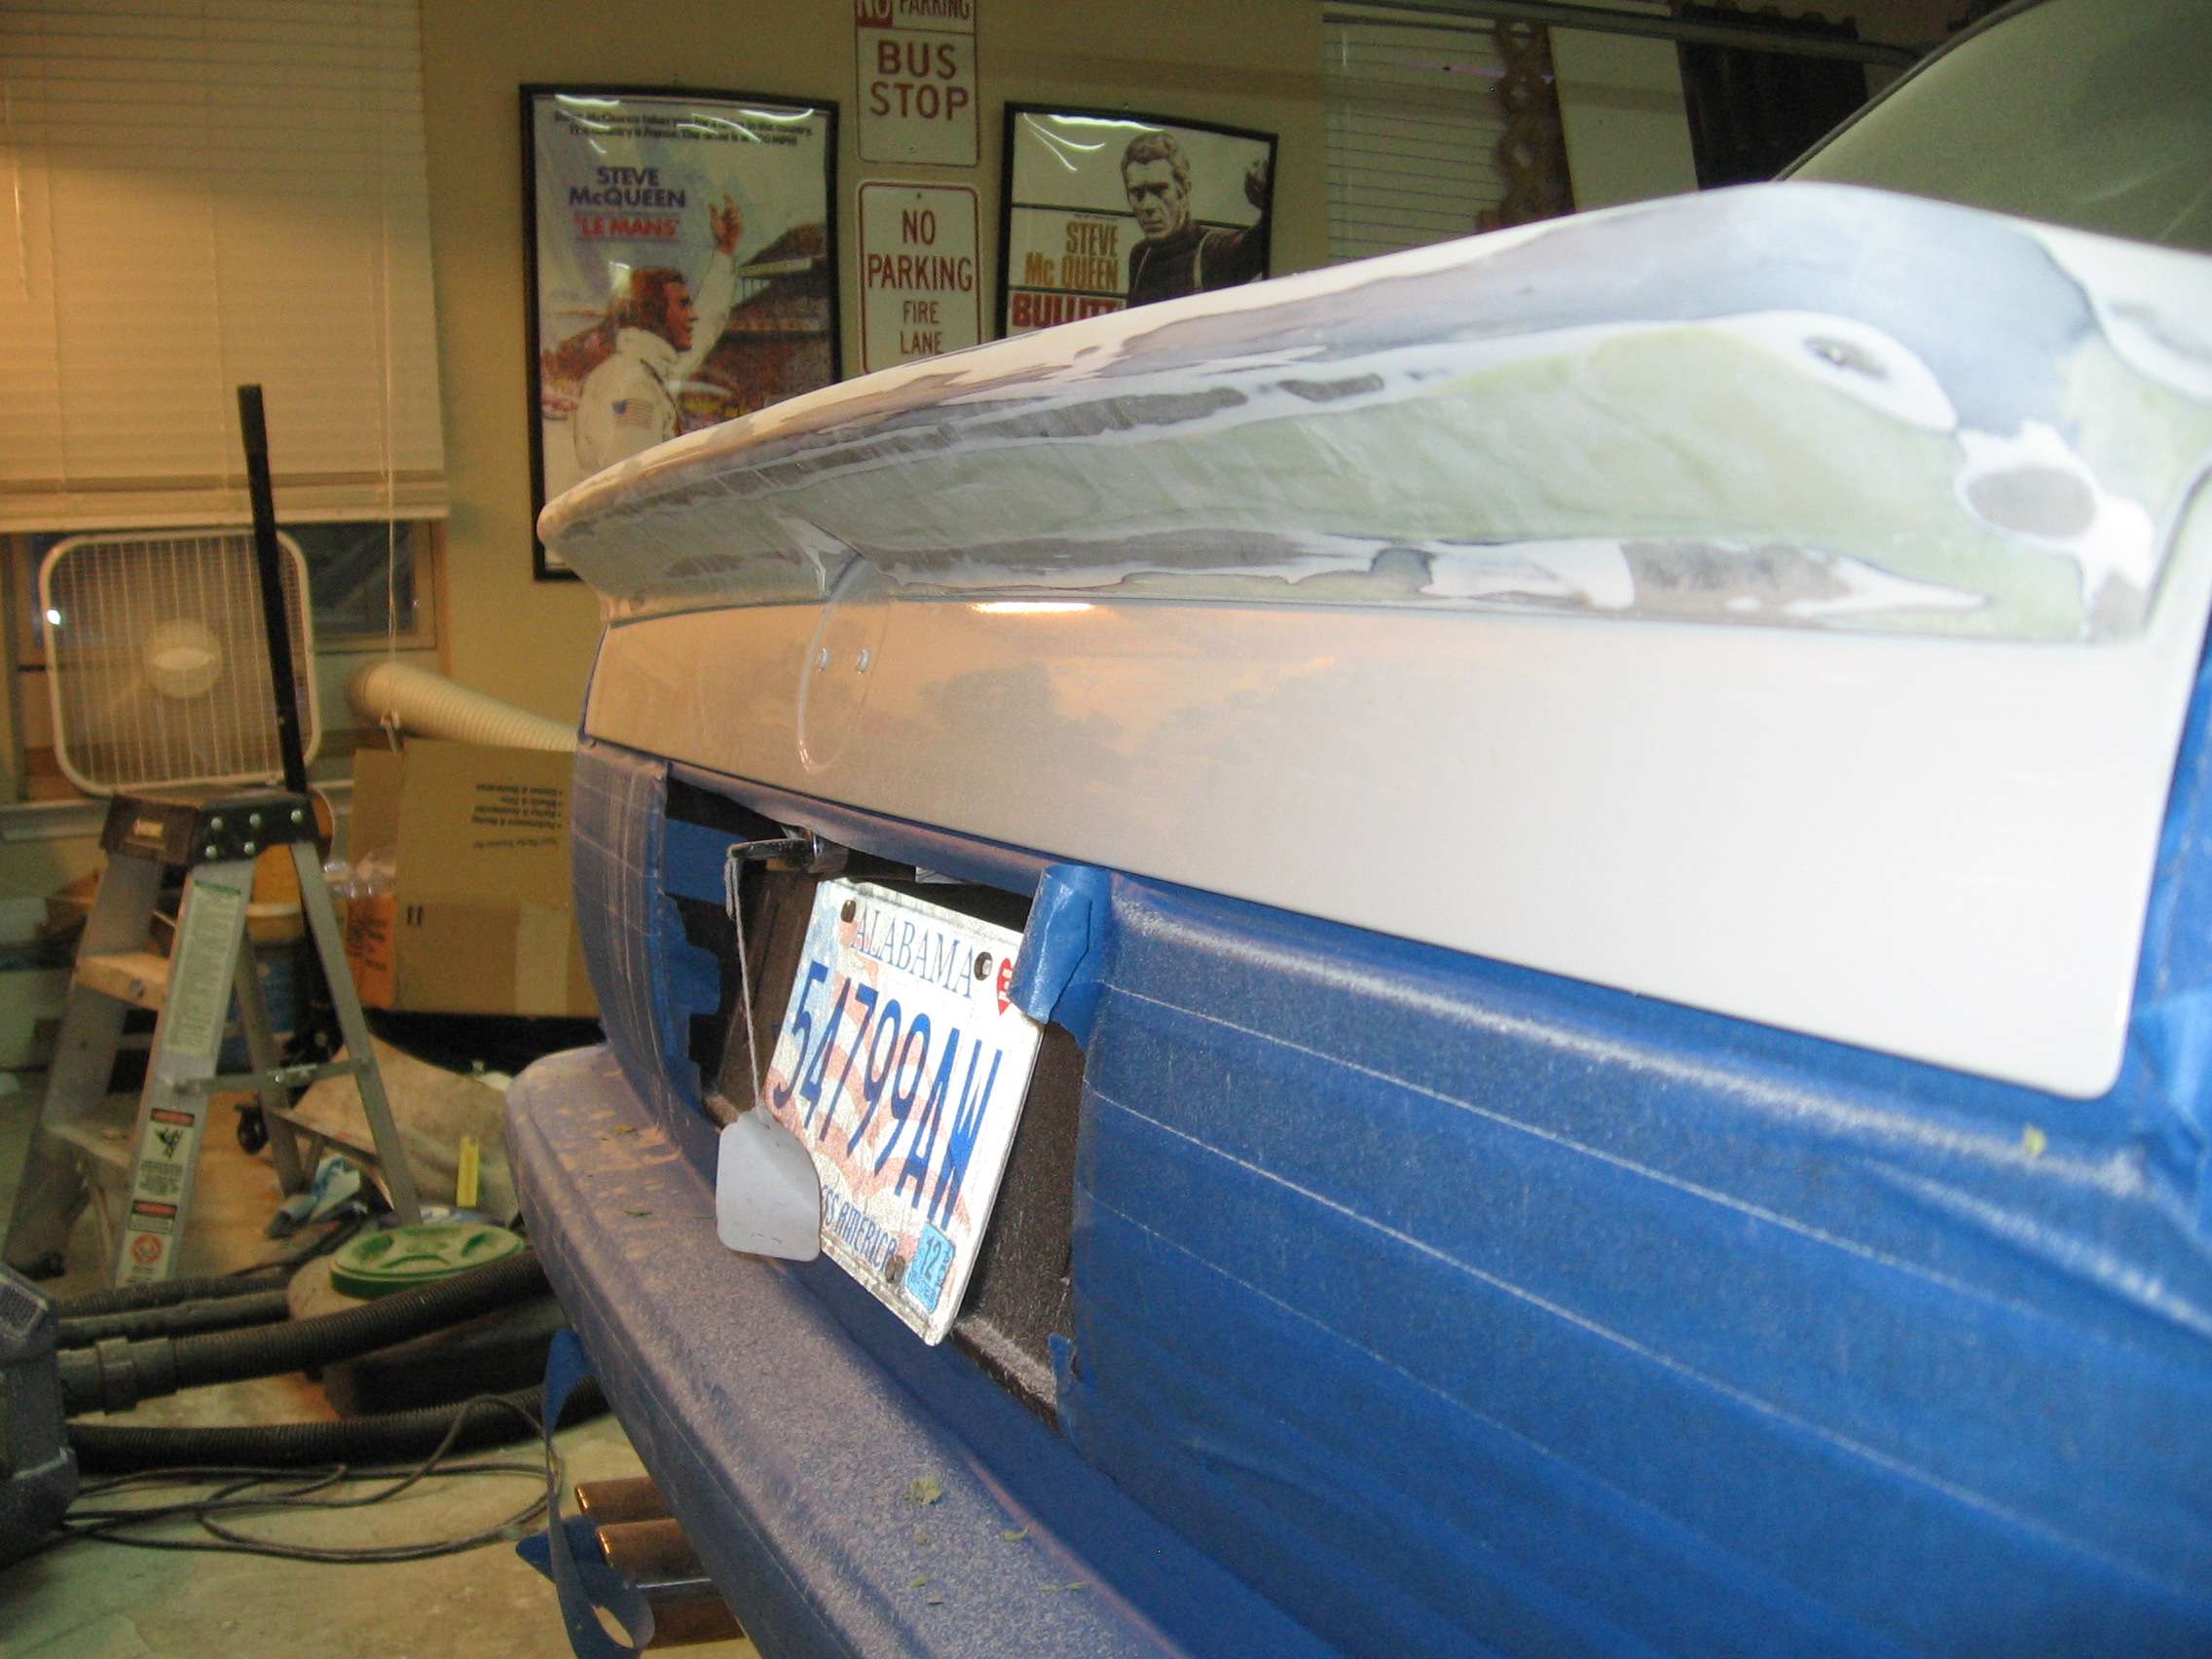
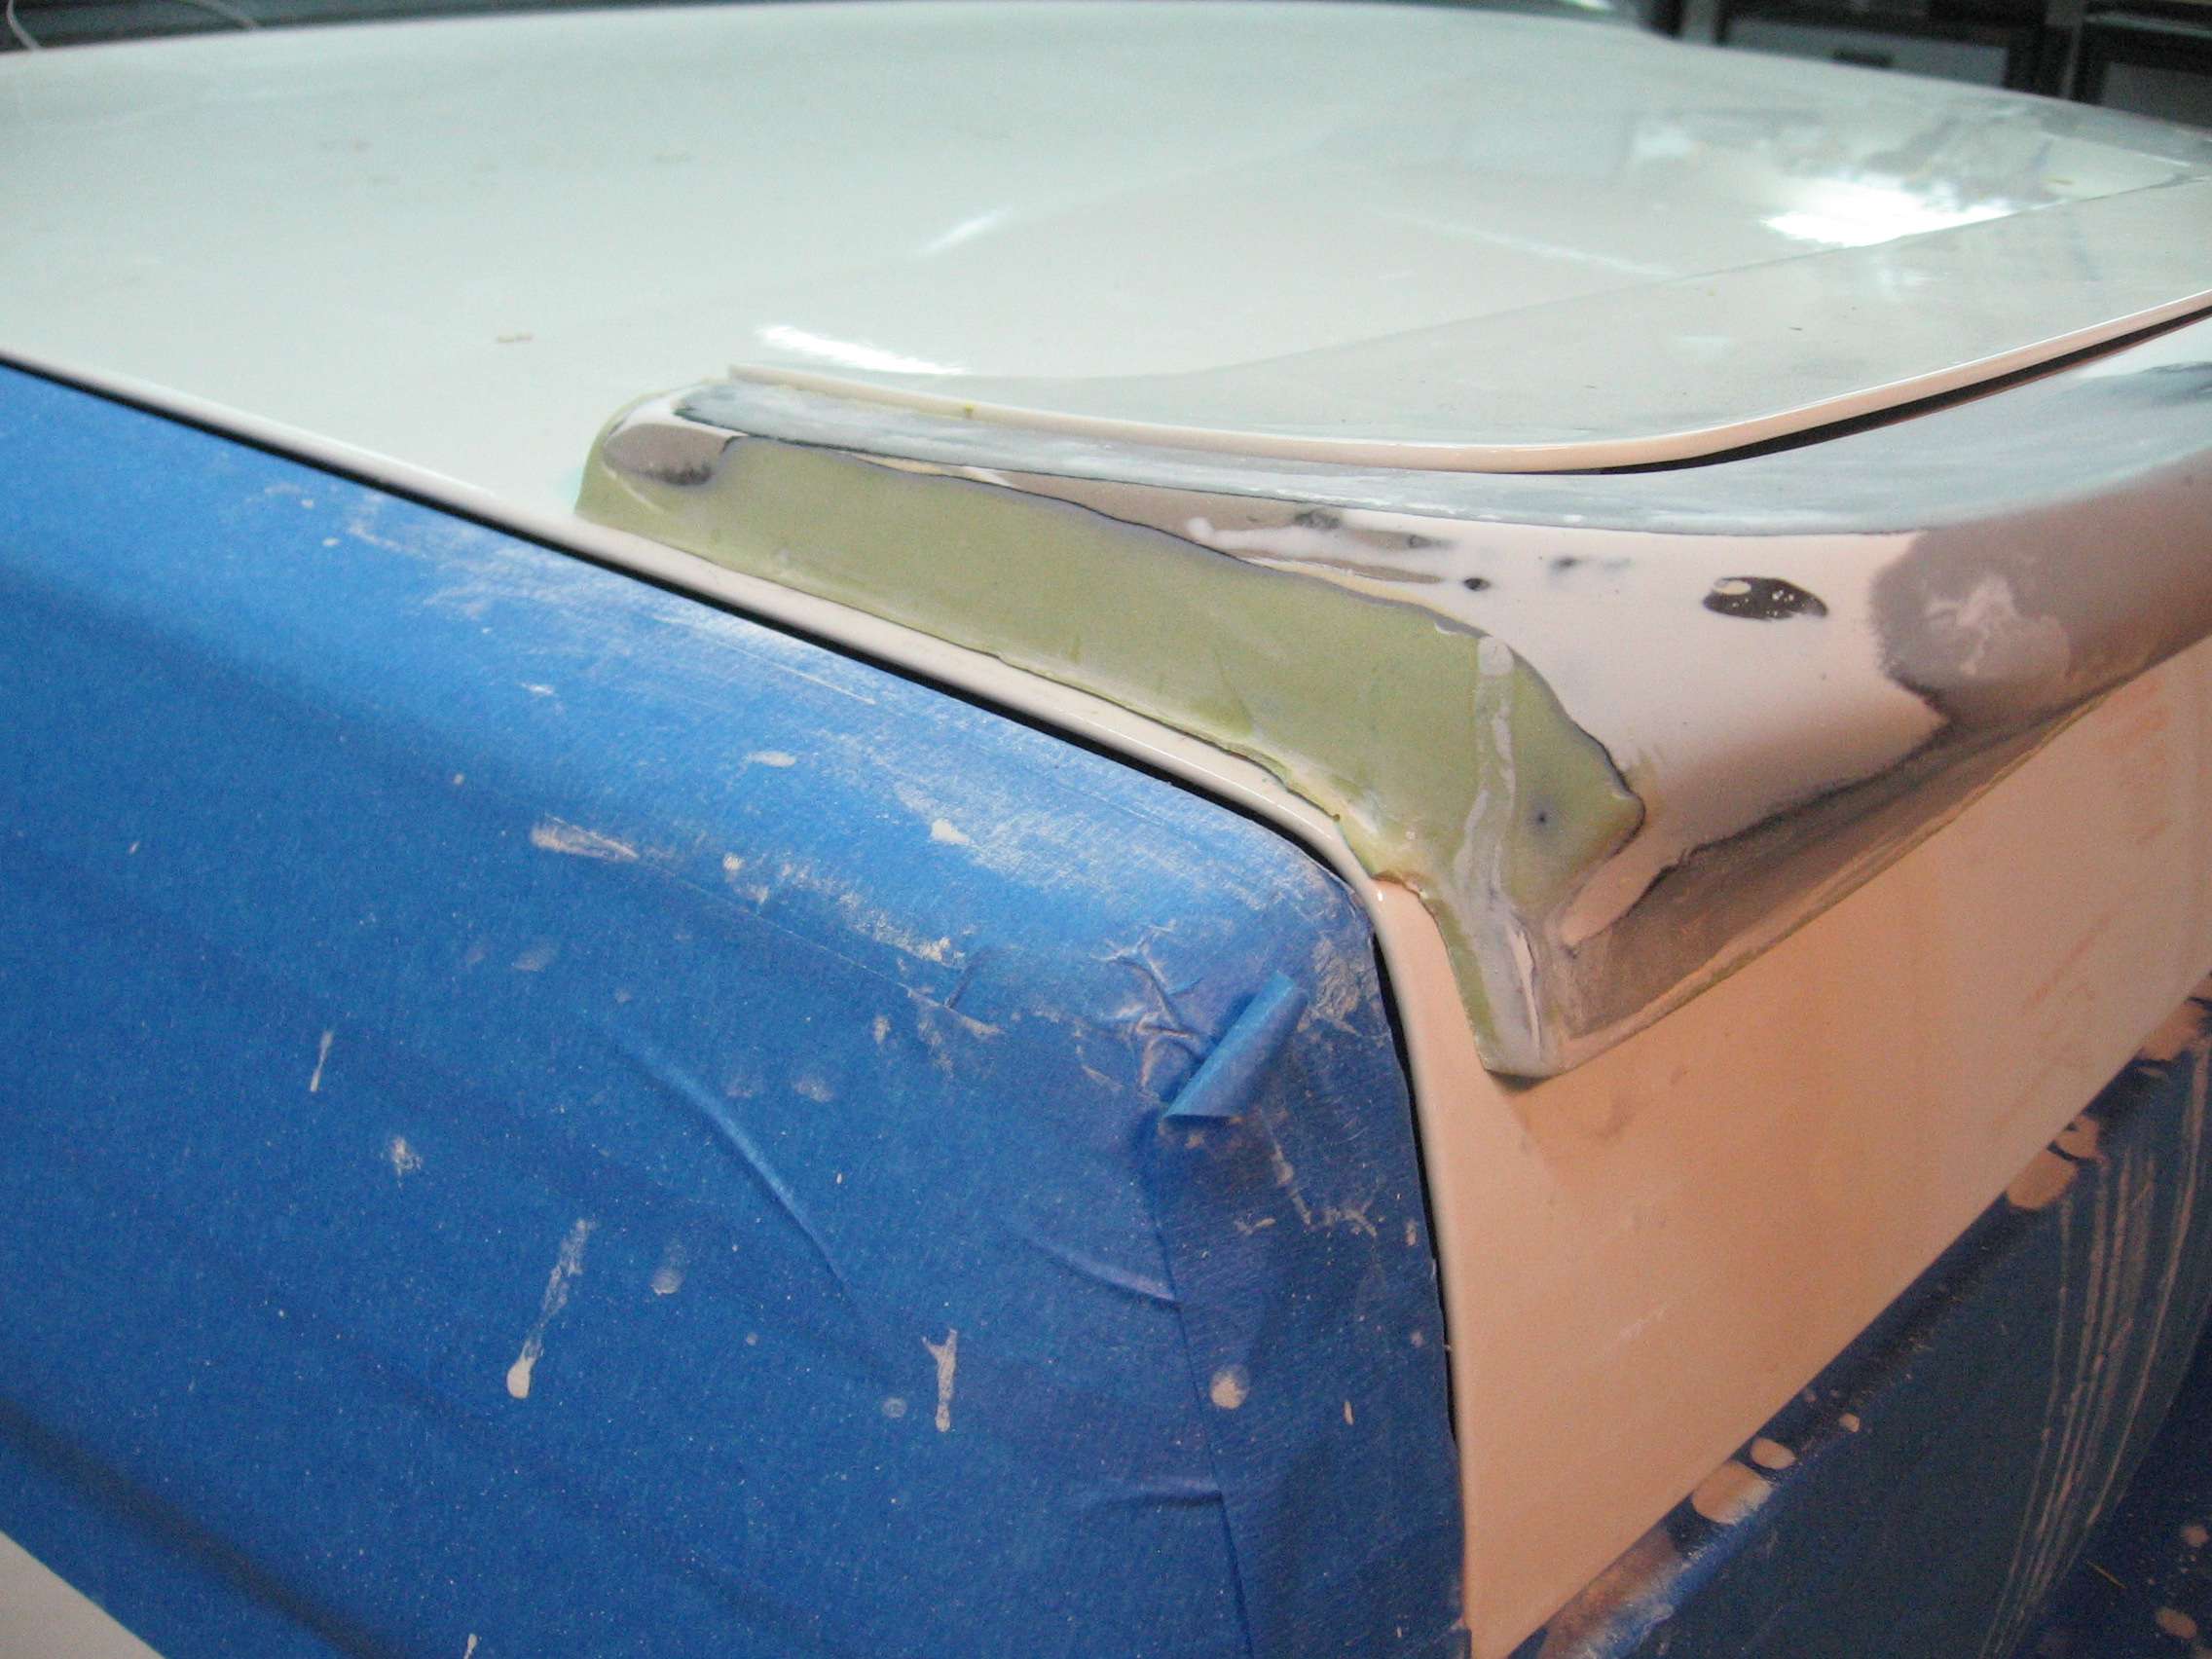
Fitment with the insert still wasn't satisfactory.
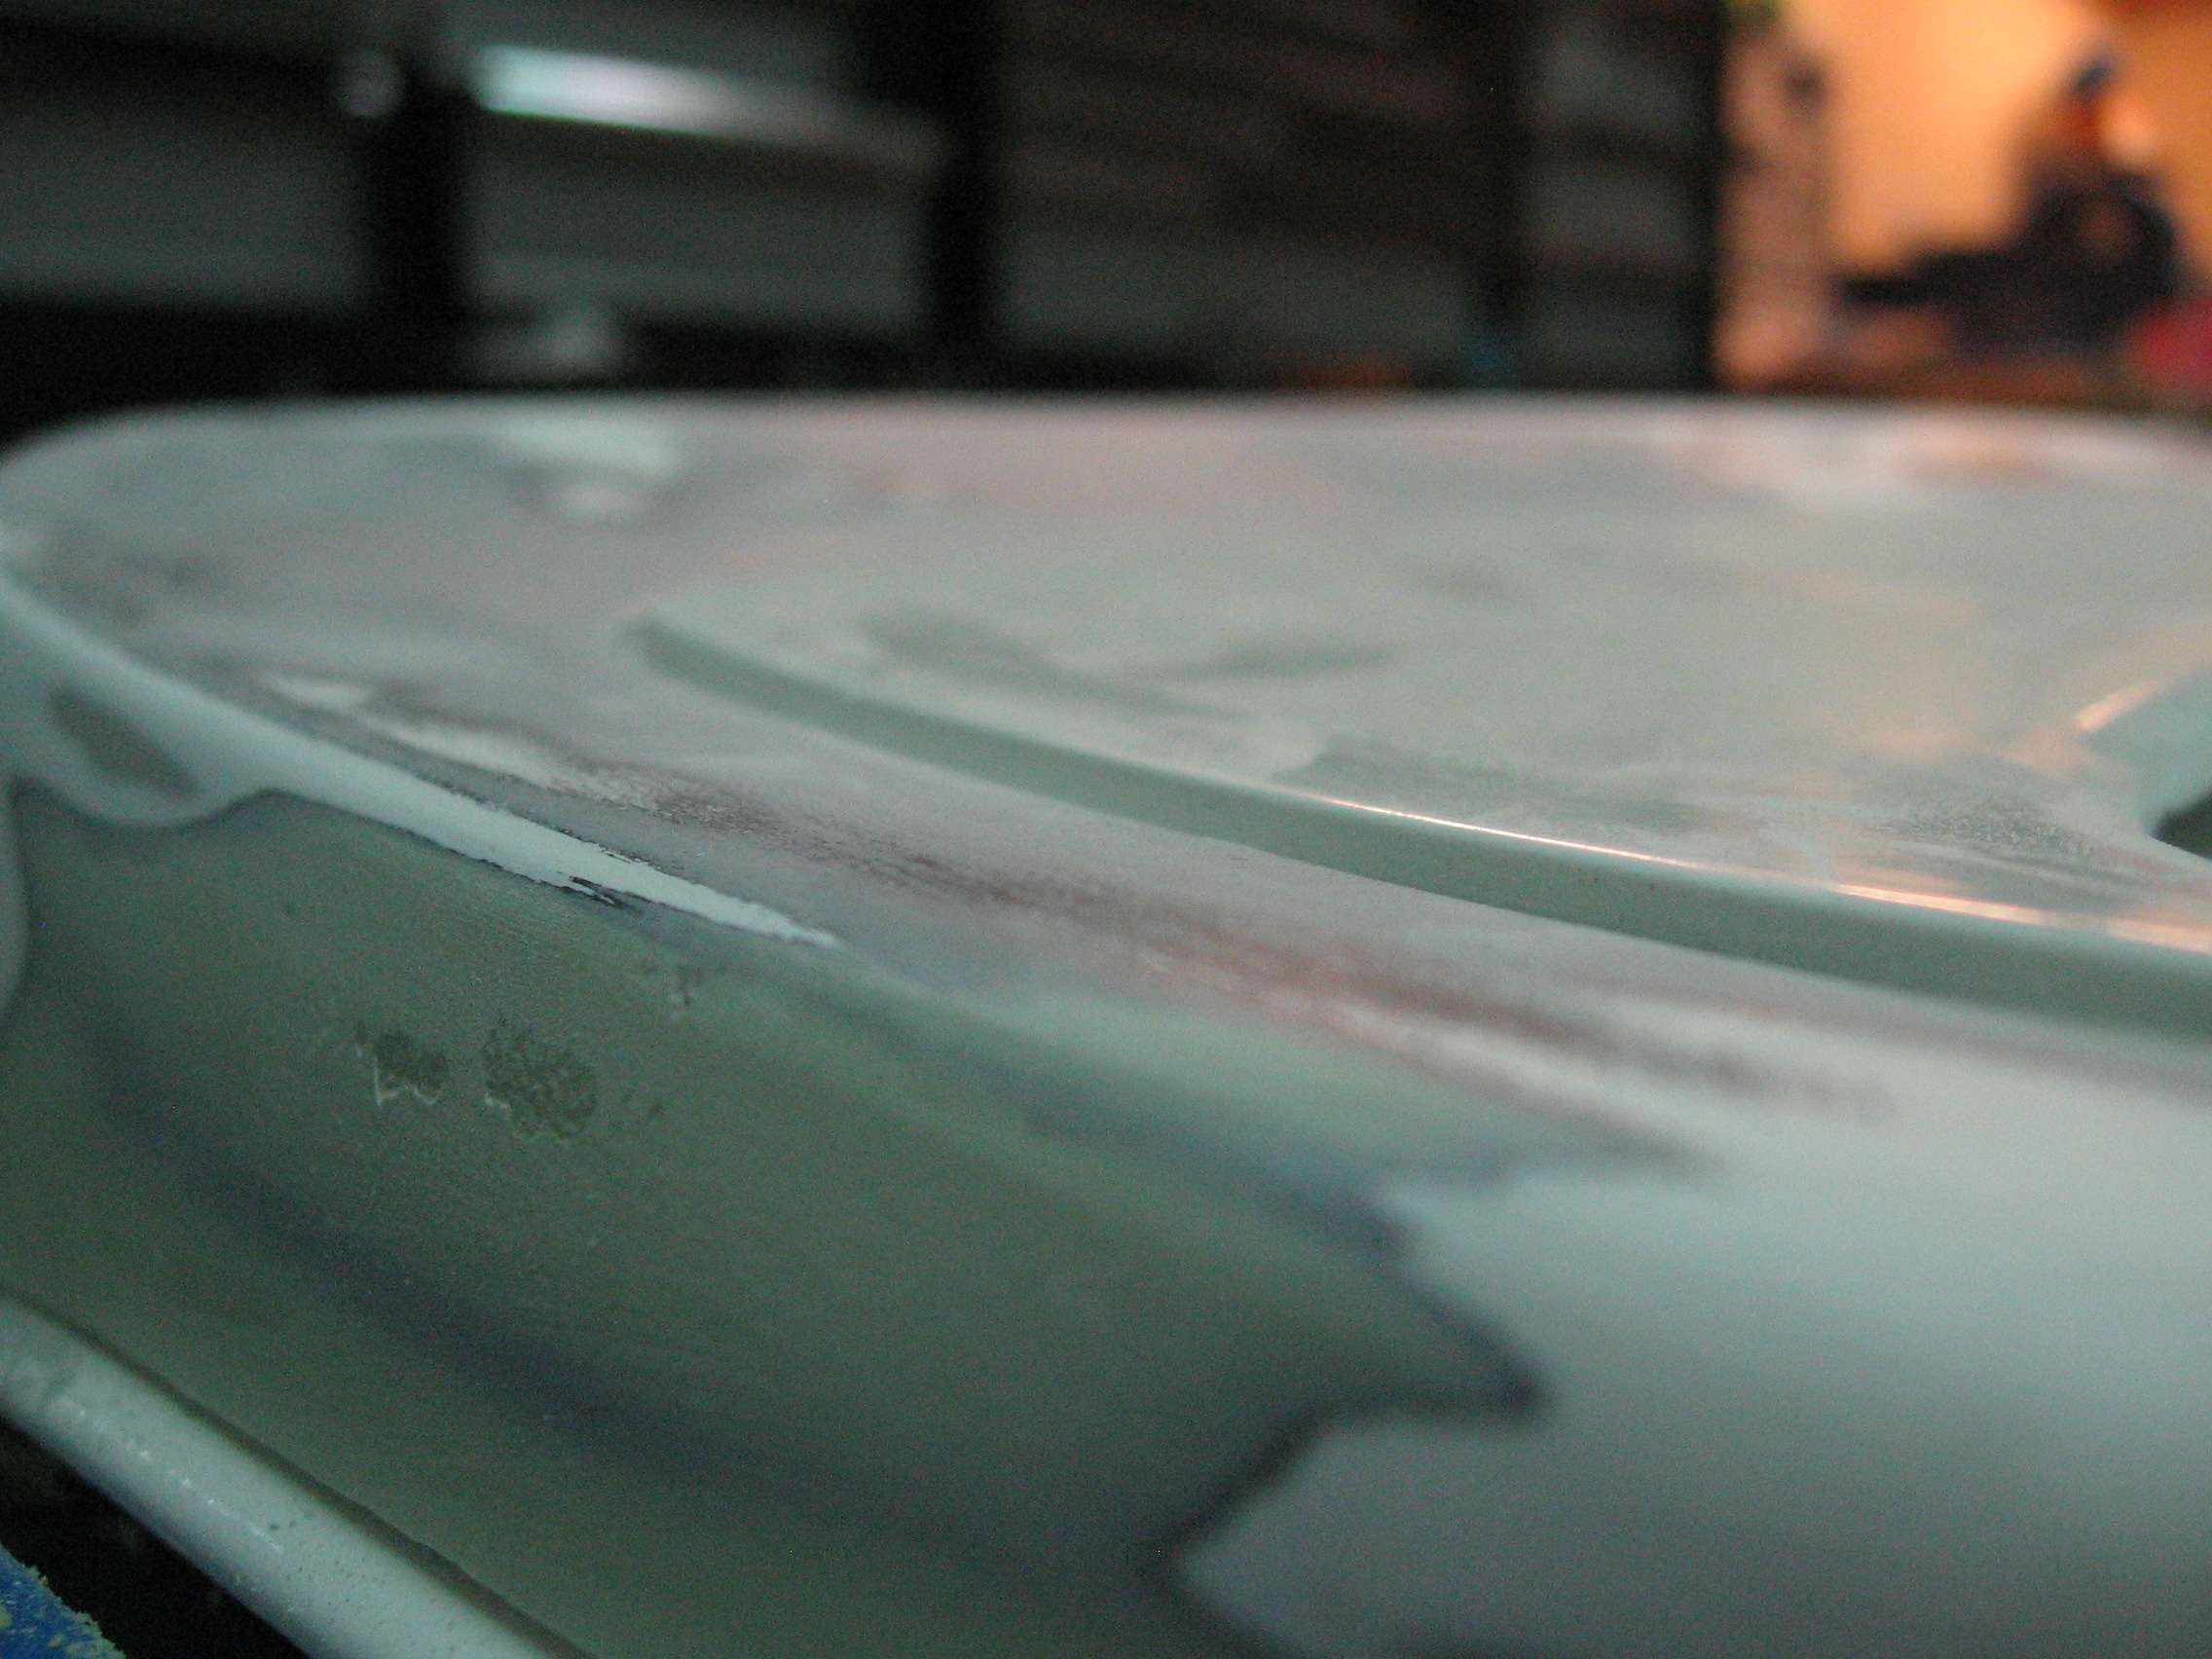
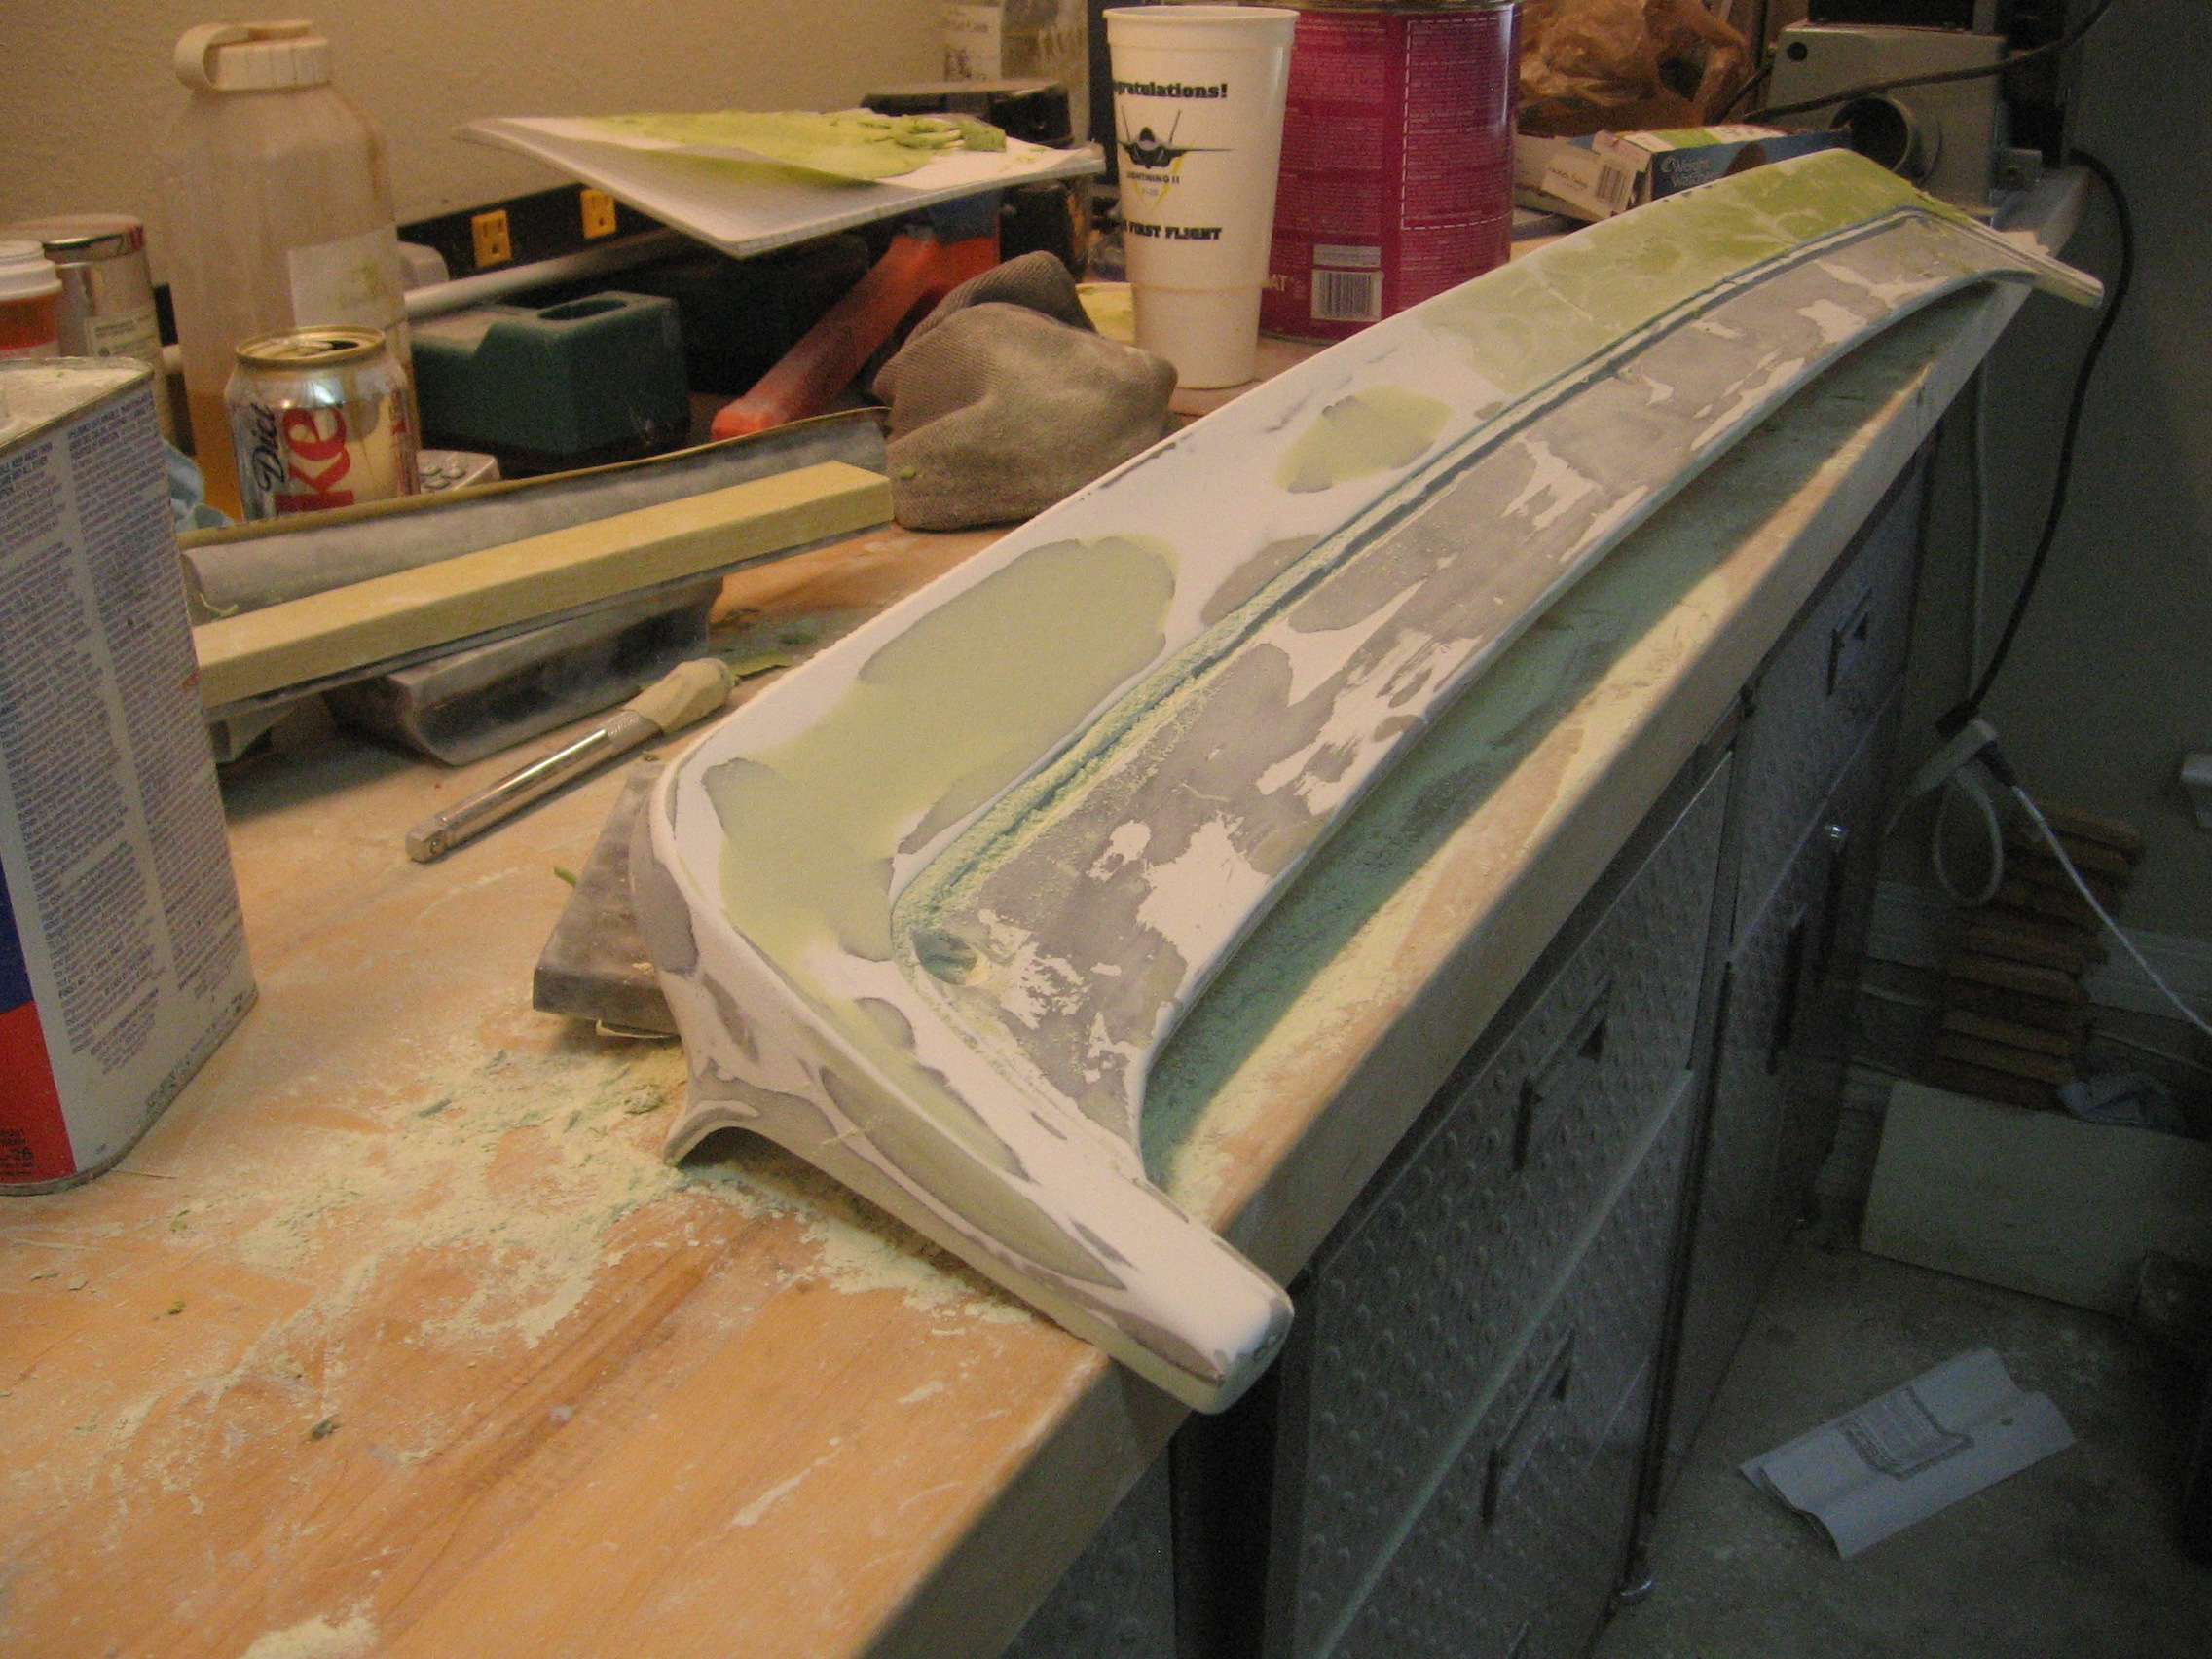
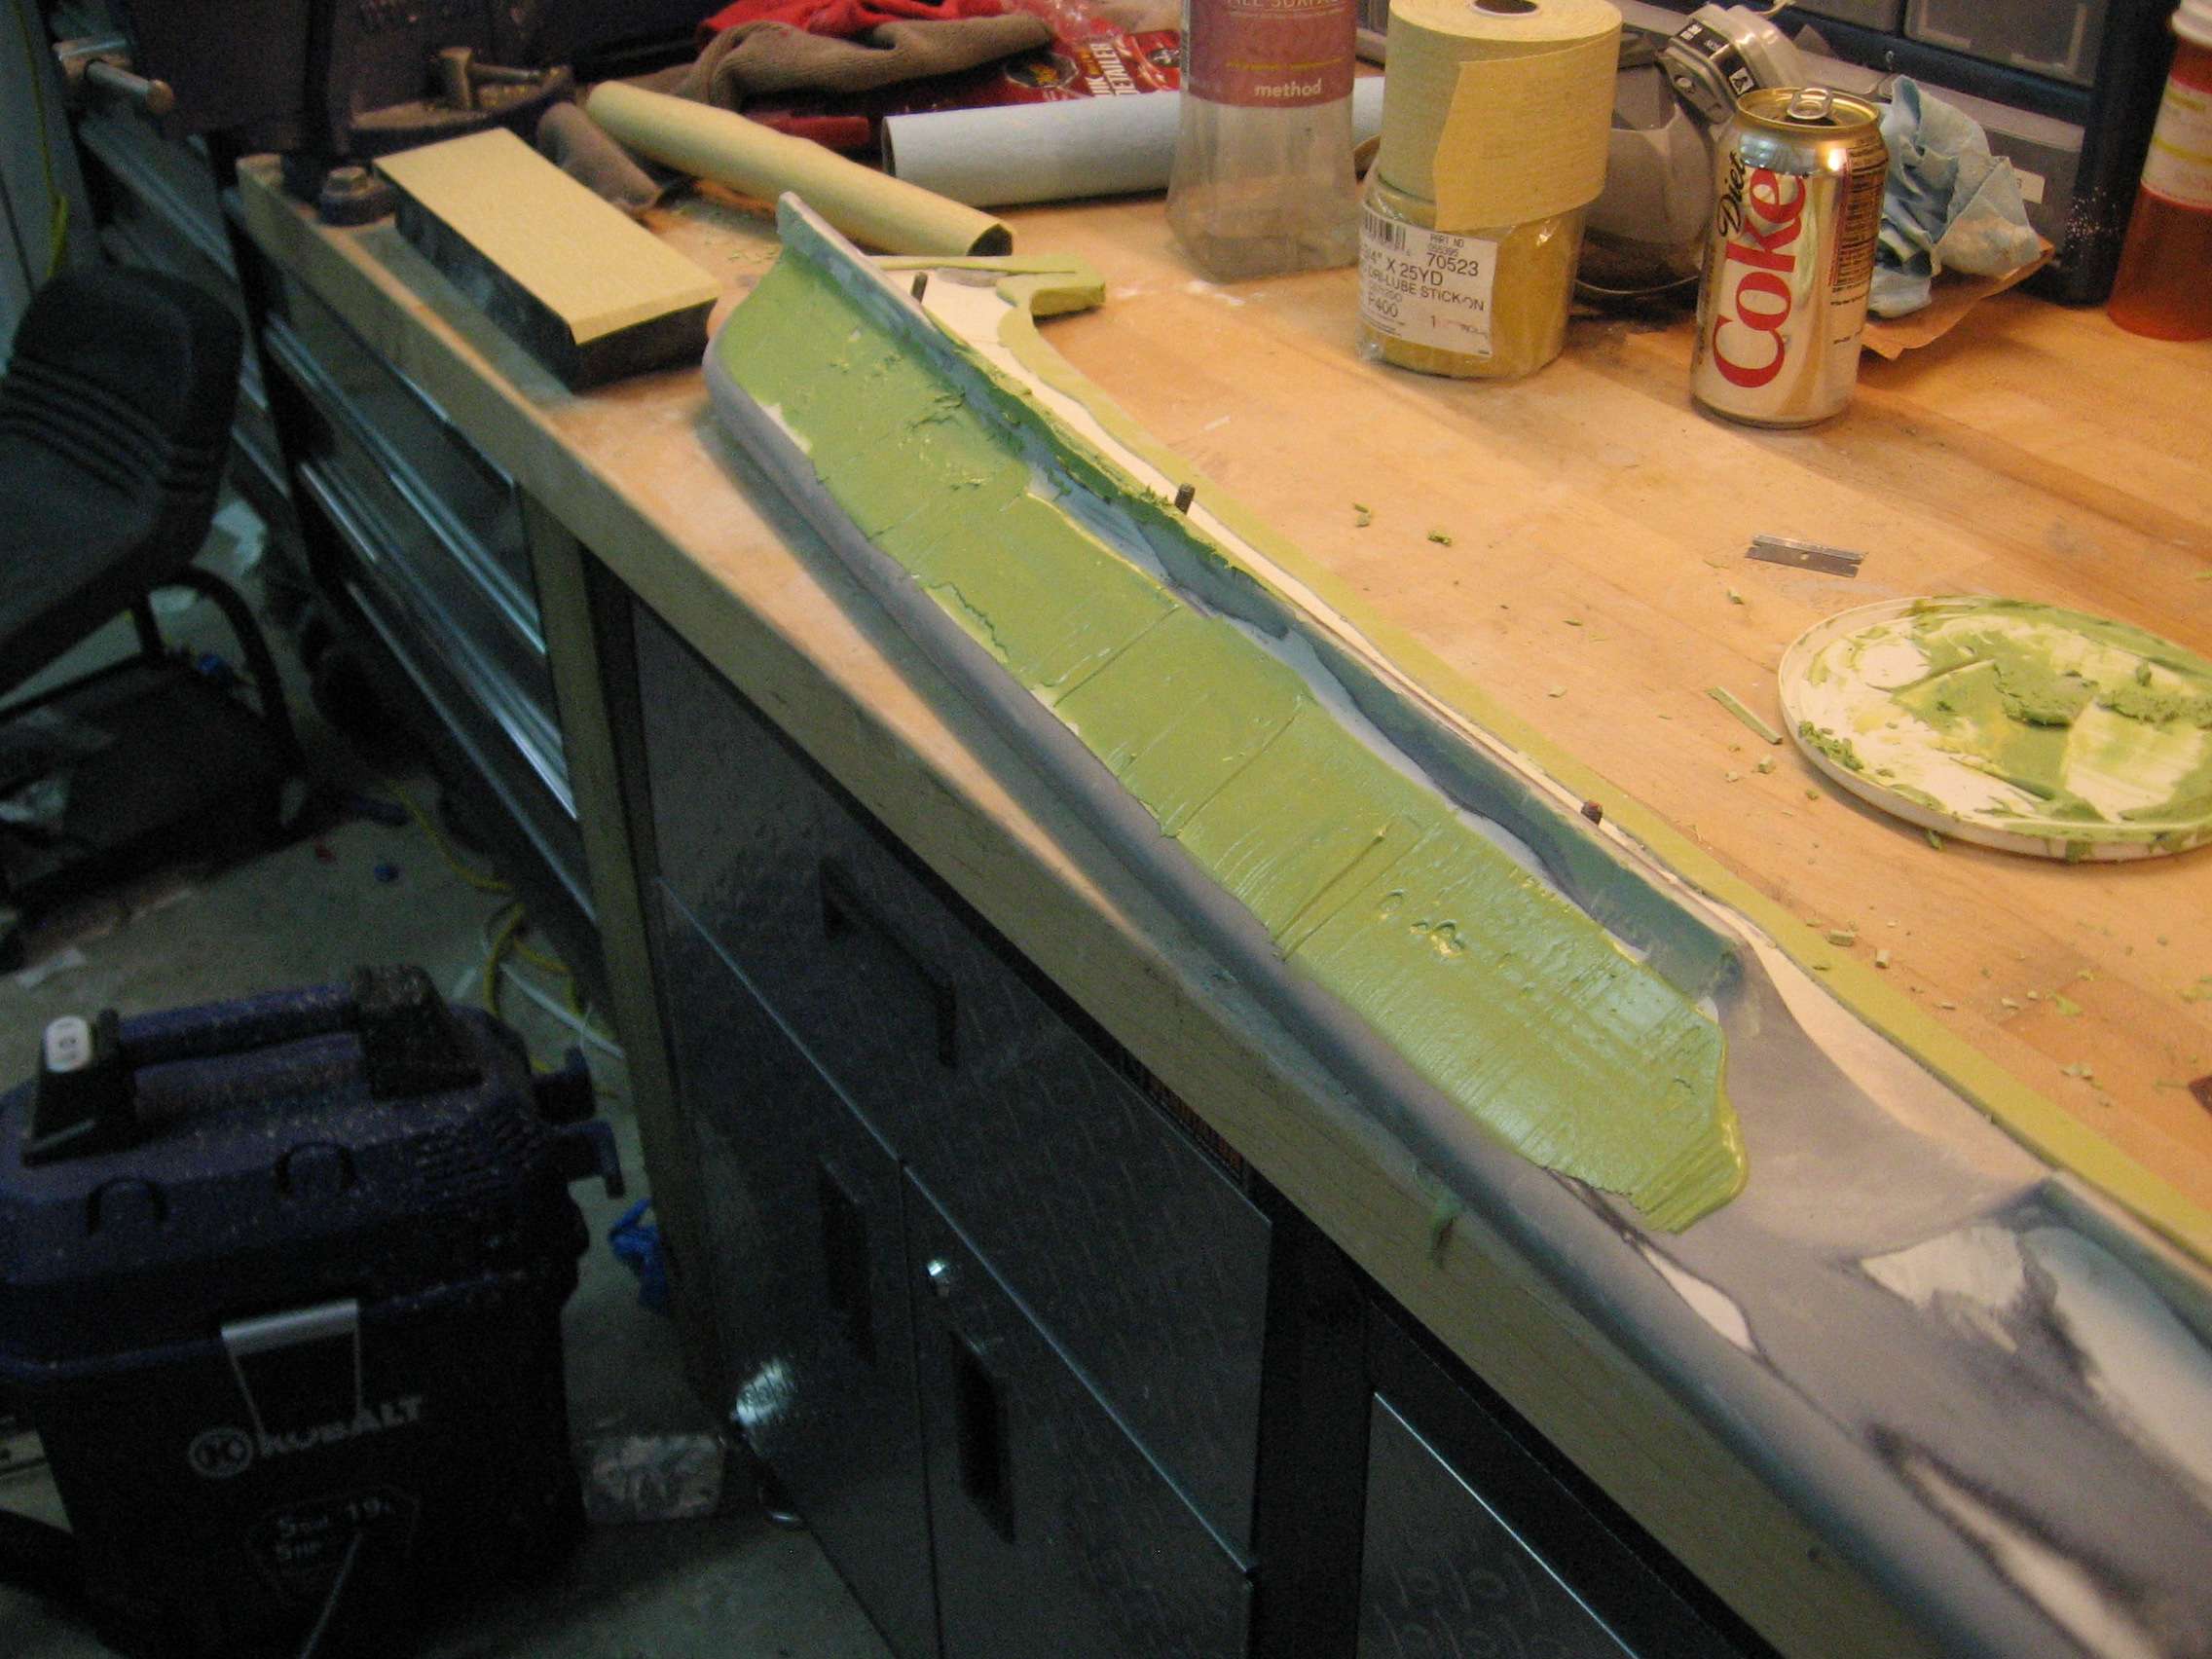
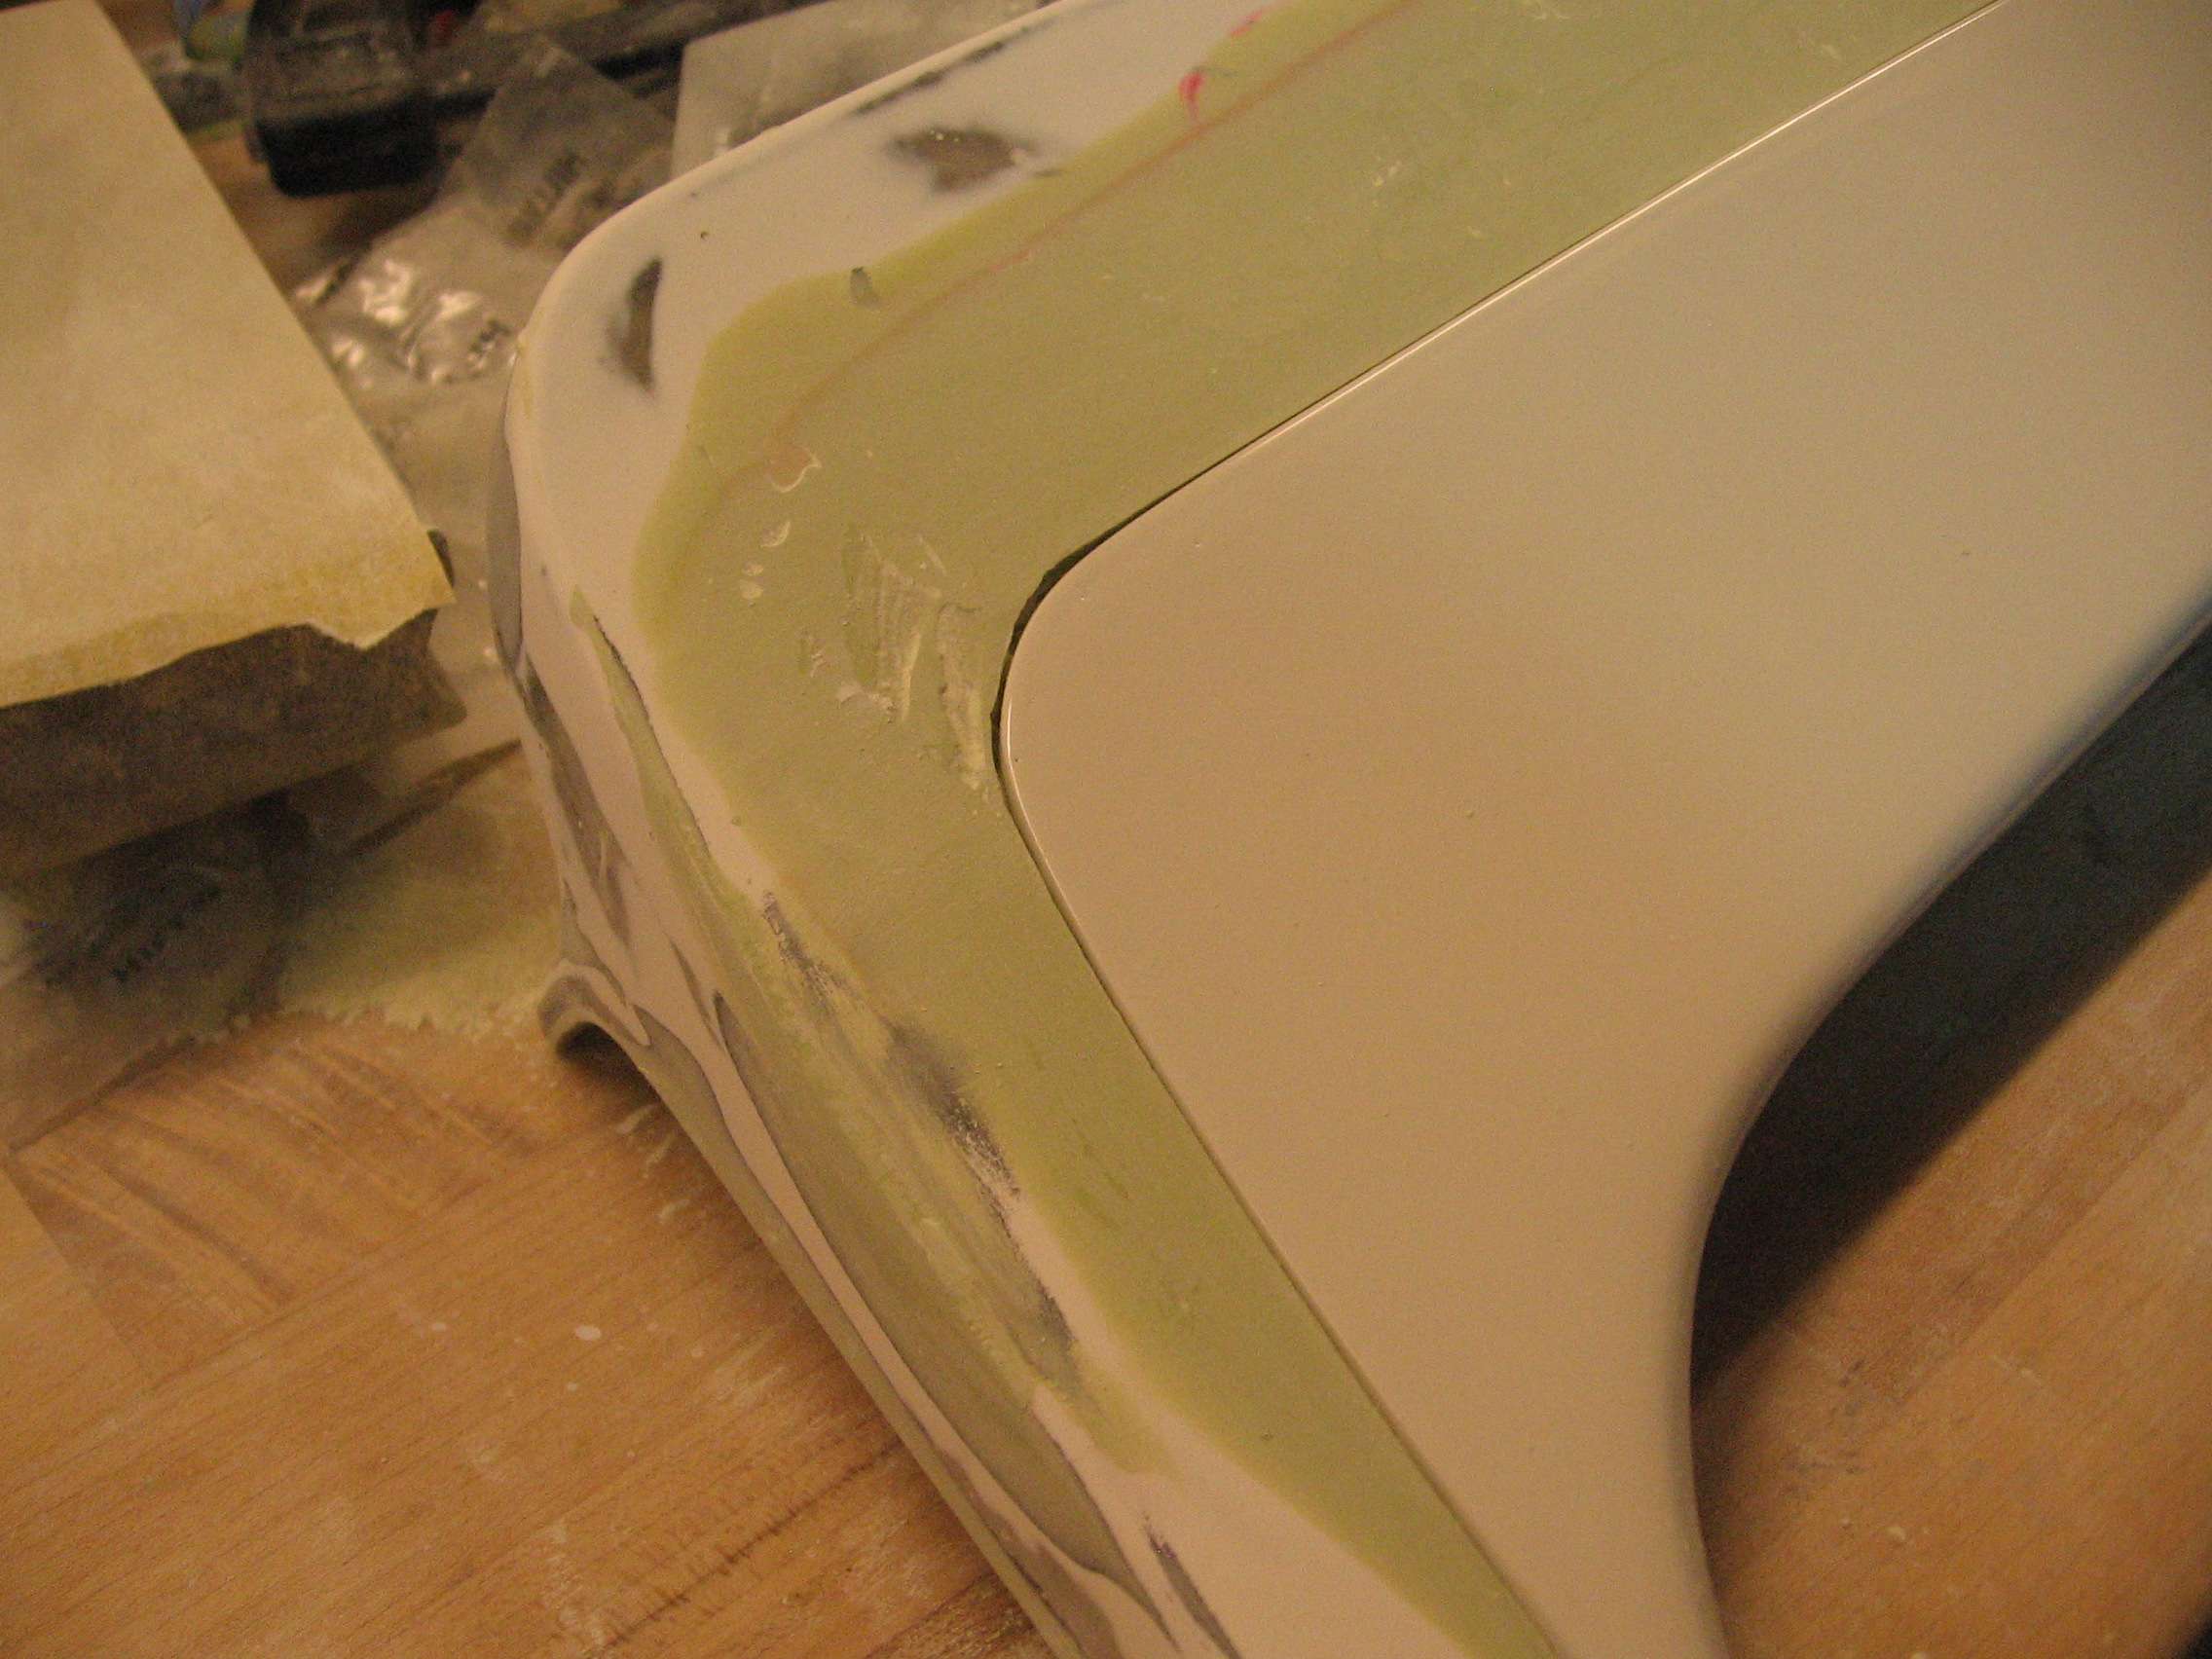
You might notice that the primer looks to be flaking off in spots. After I picked at it I came to find out that the primer did not stick to the top surface at all. That was a lot of work that came off in sad green ribbons. So I started over.
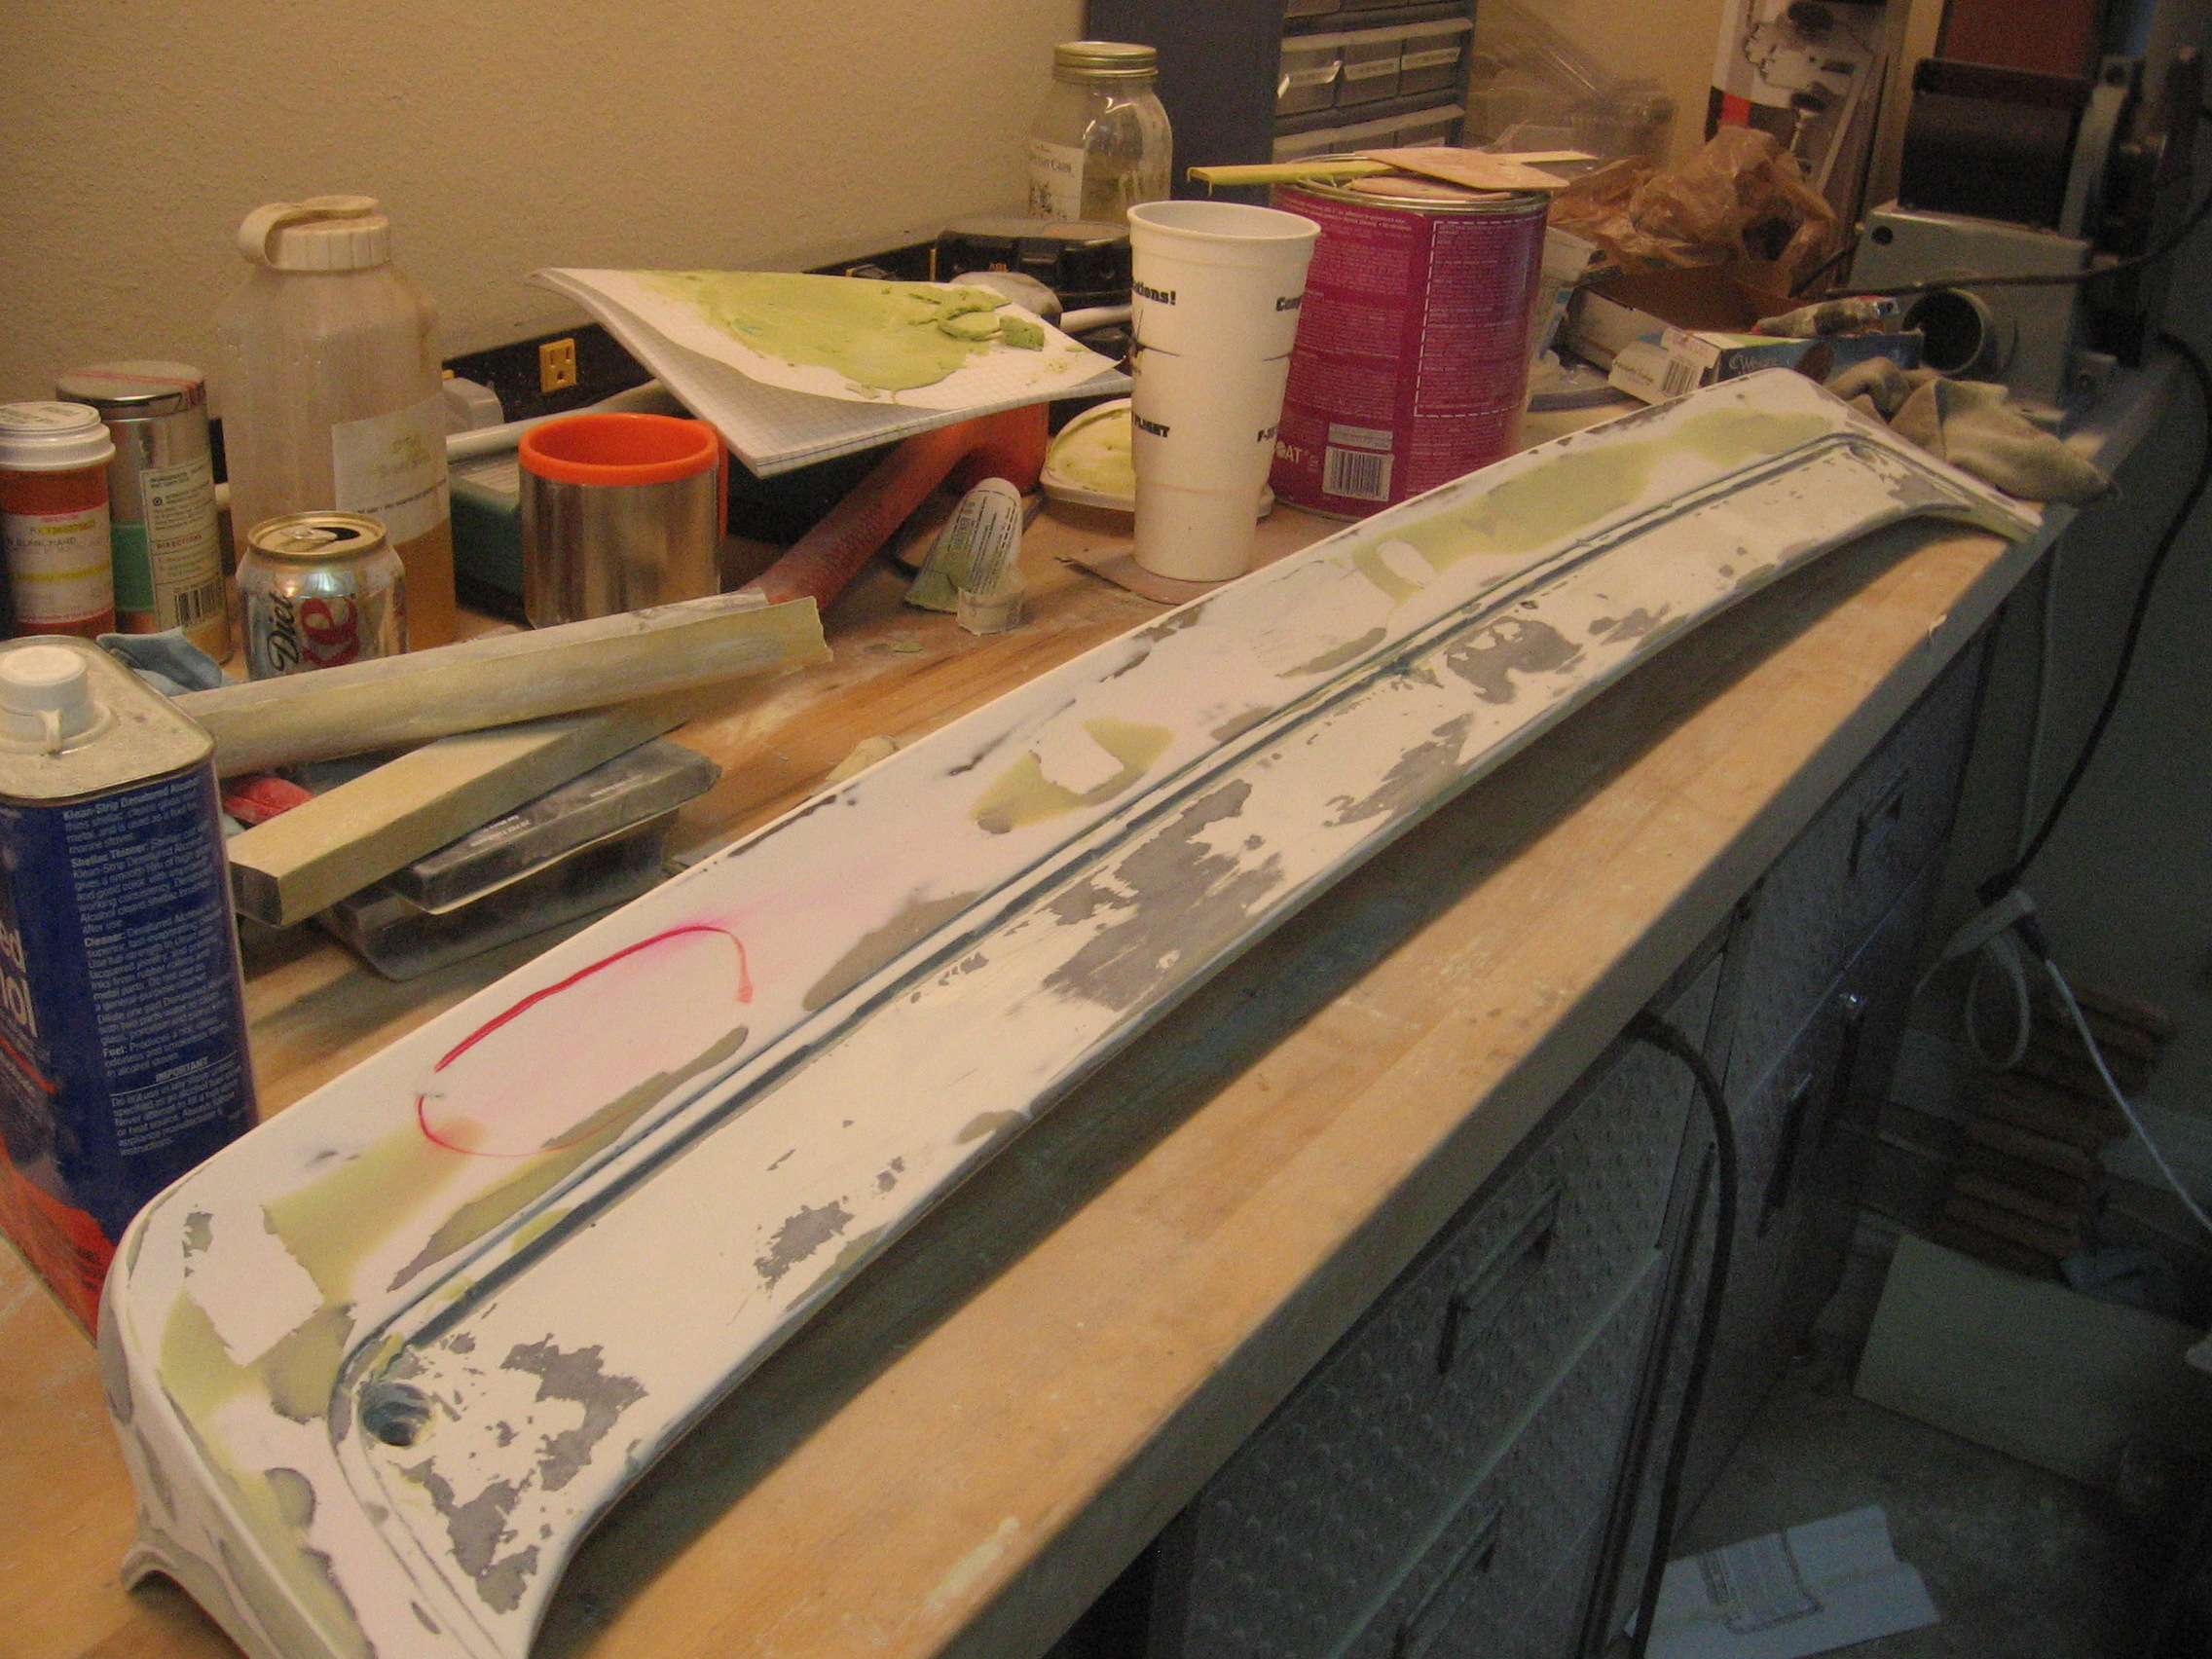
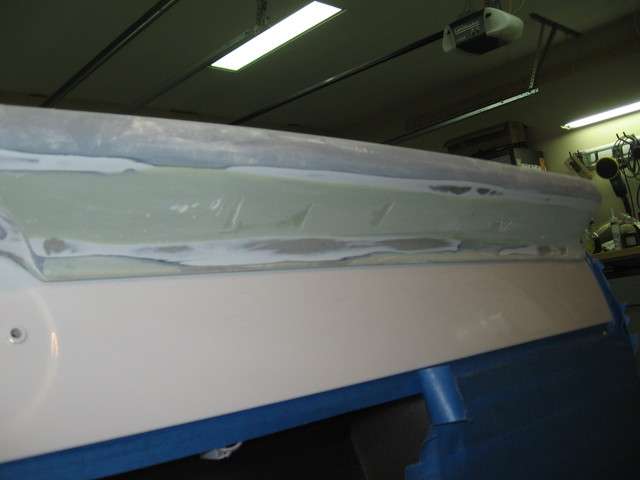
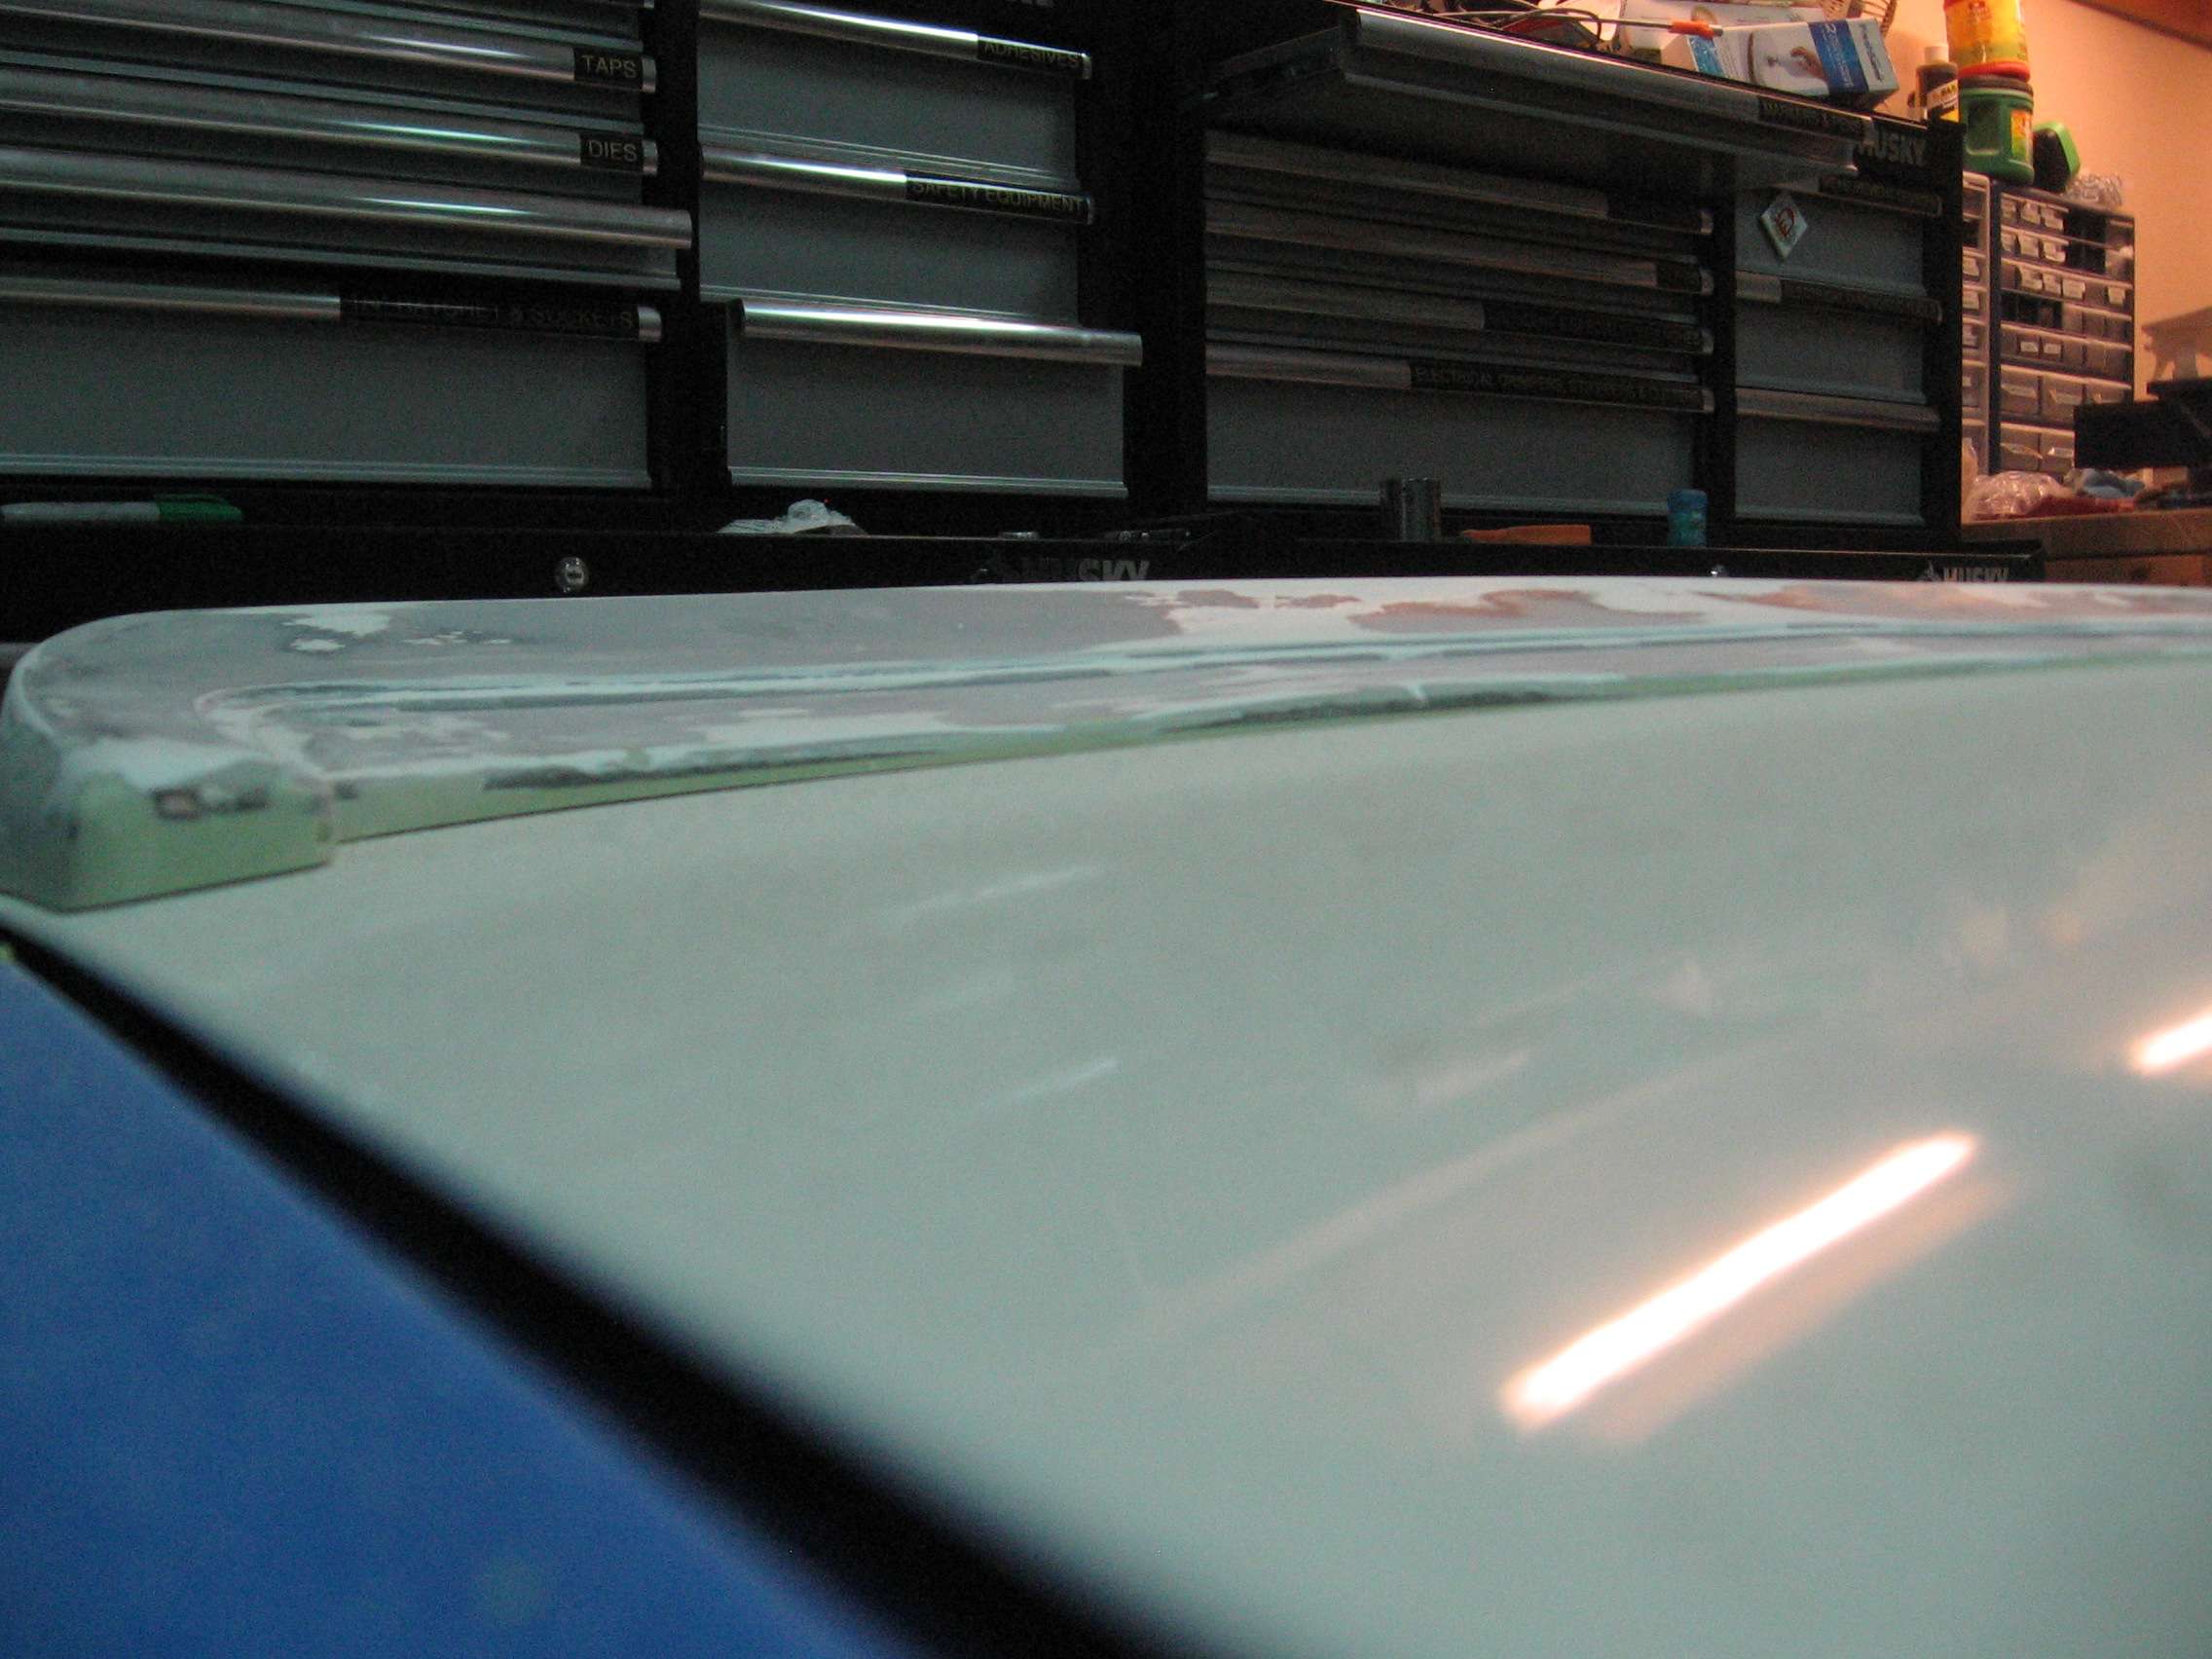
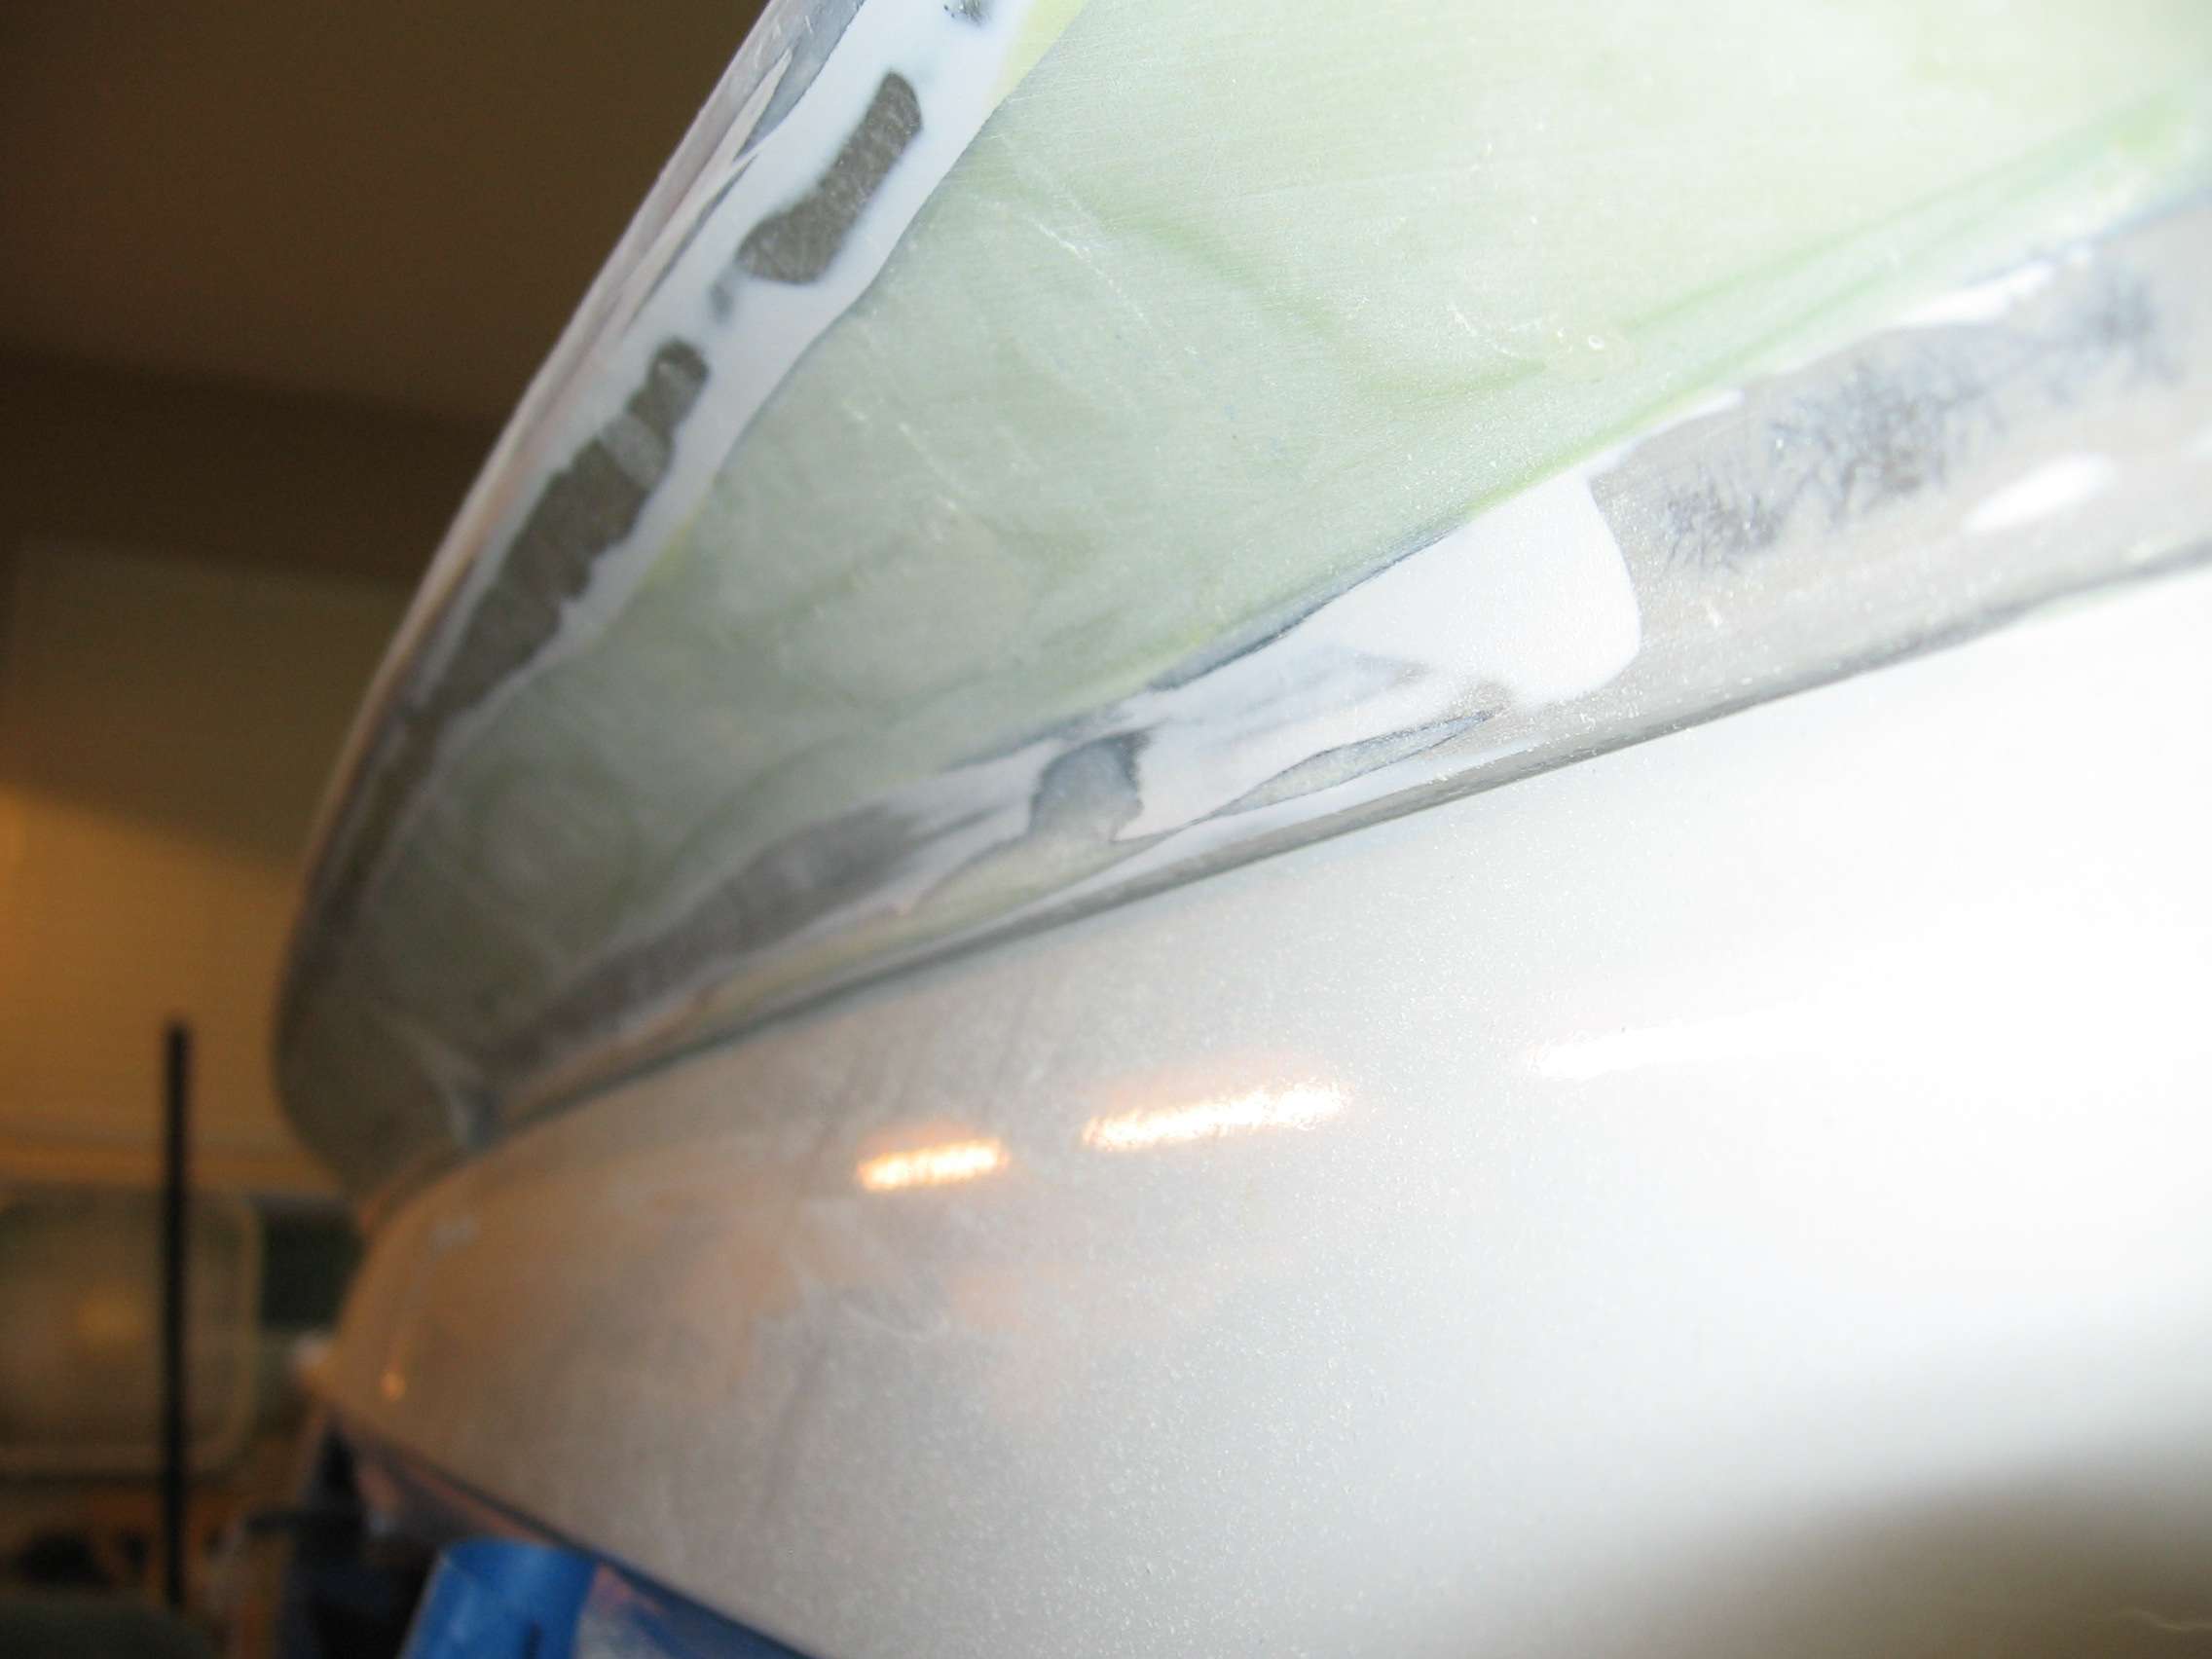
Identifying the known low spots
I needed a sanding form that would provide the correct curvature for the top of the wing. After digging through the garage and house, I found a pet furniture cleaner that had just the right curvature. Worked like a charm.

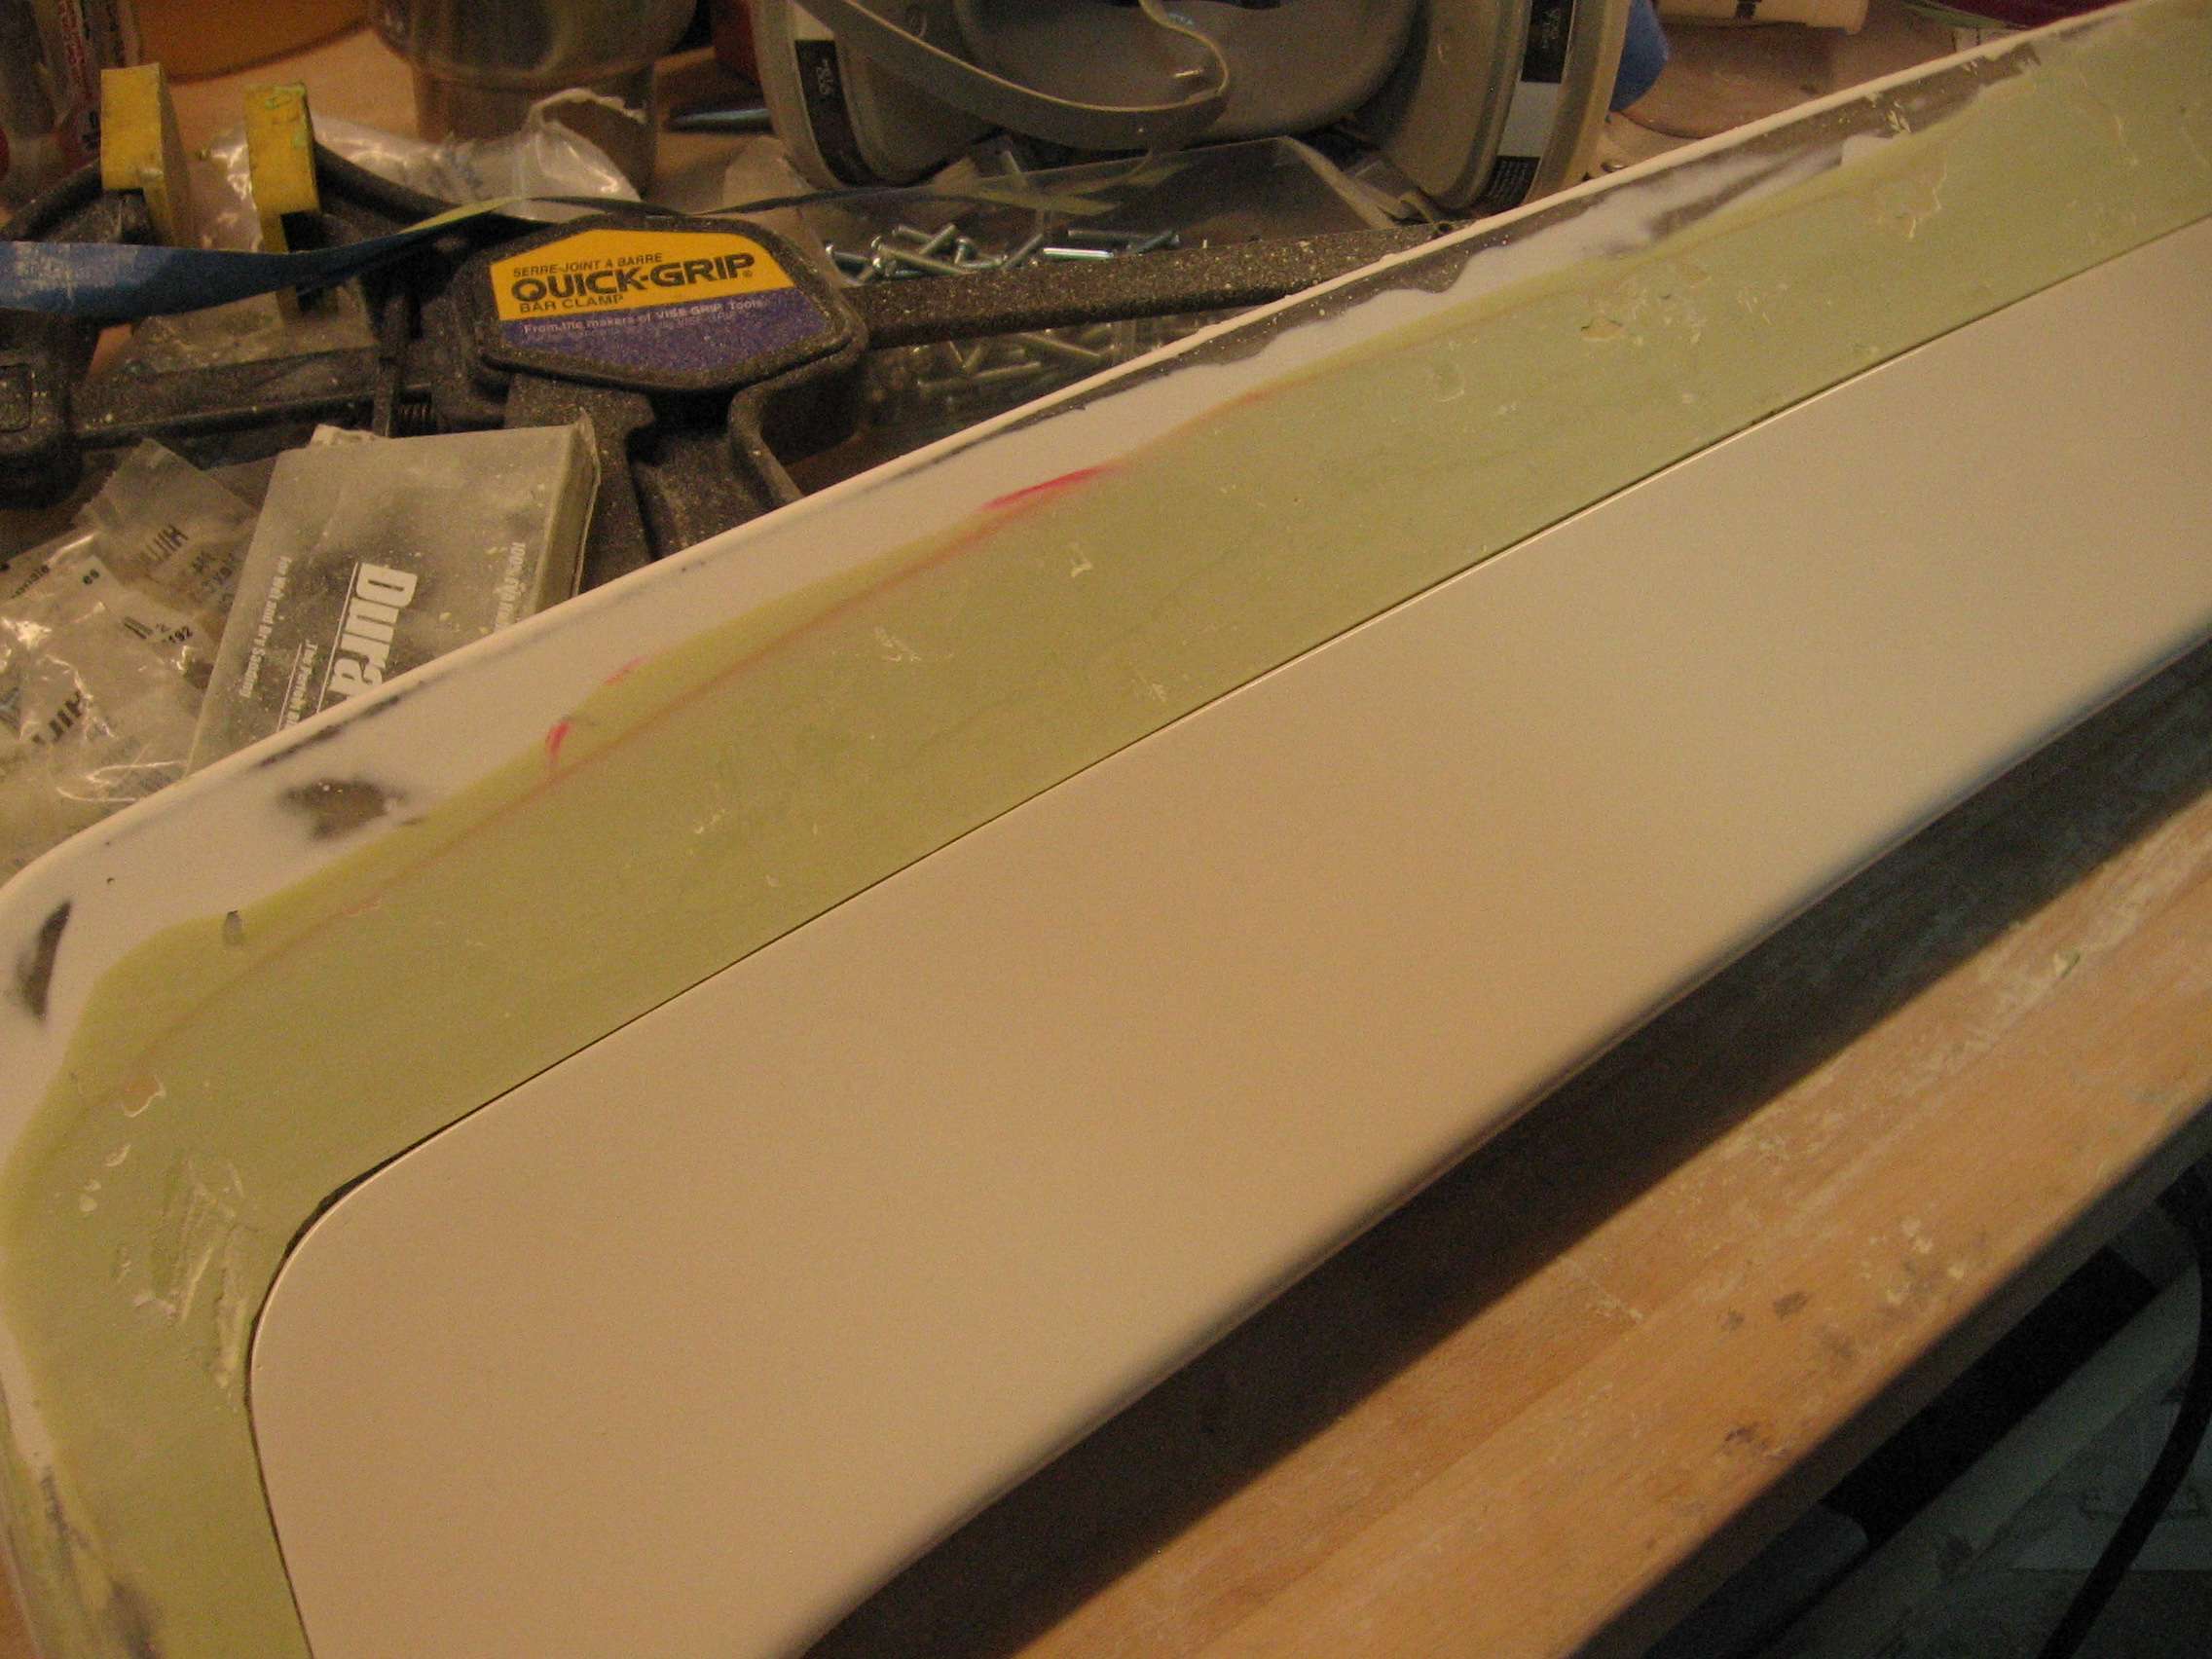
I was forced to use markers to determine the high and low spots as I didn't have any guide coat.
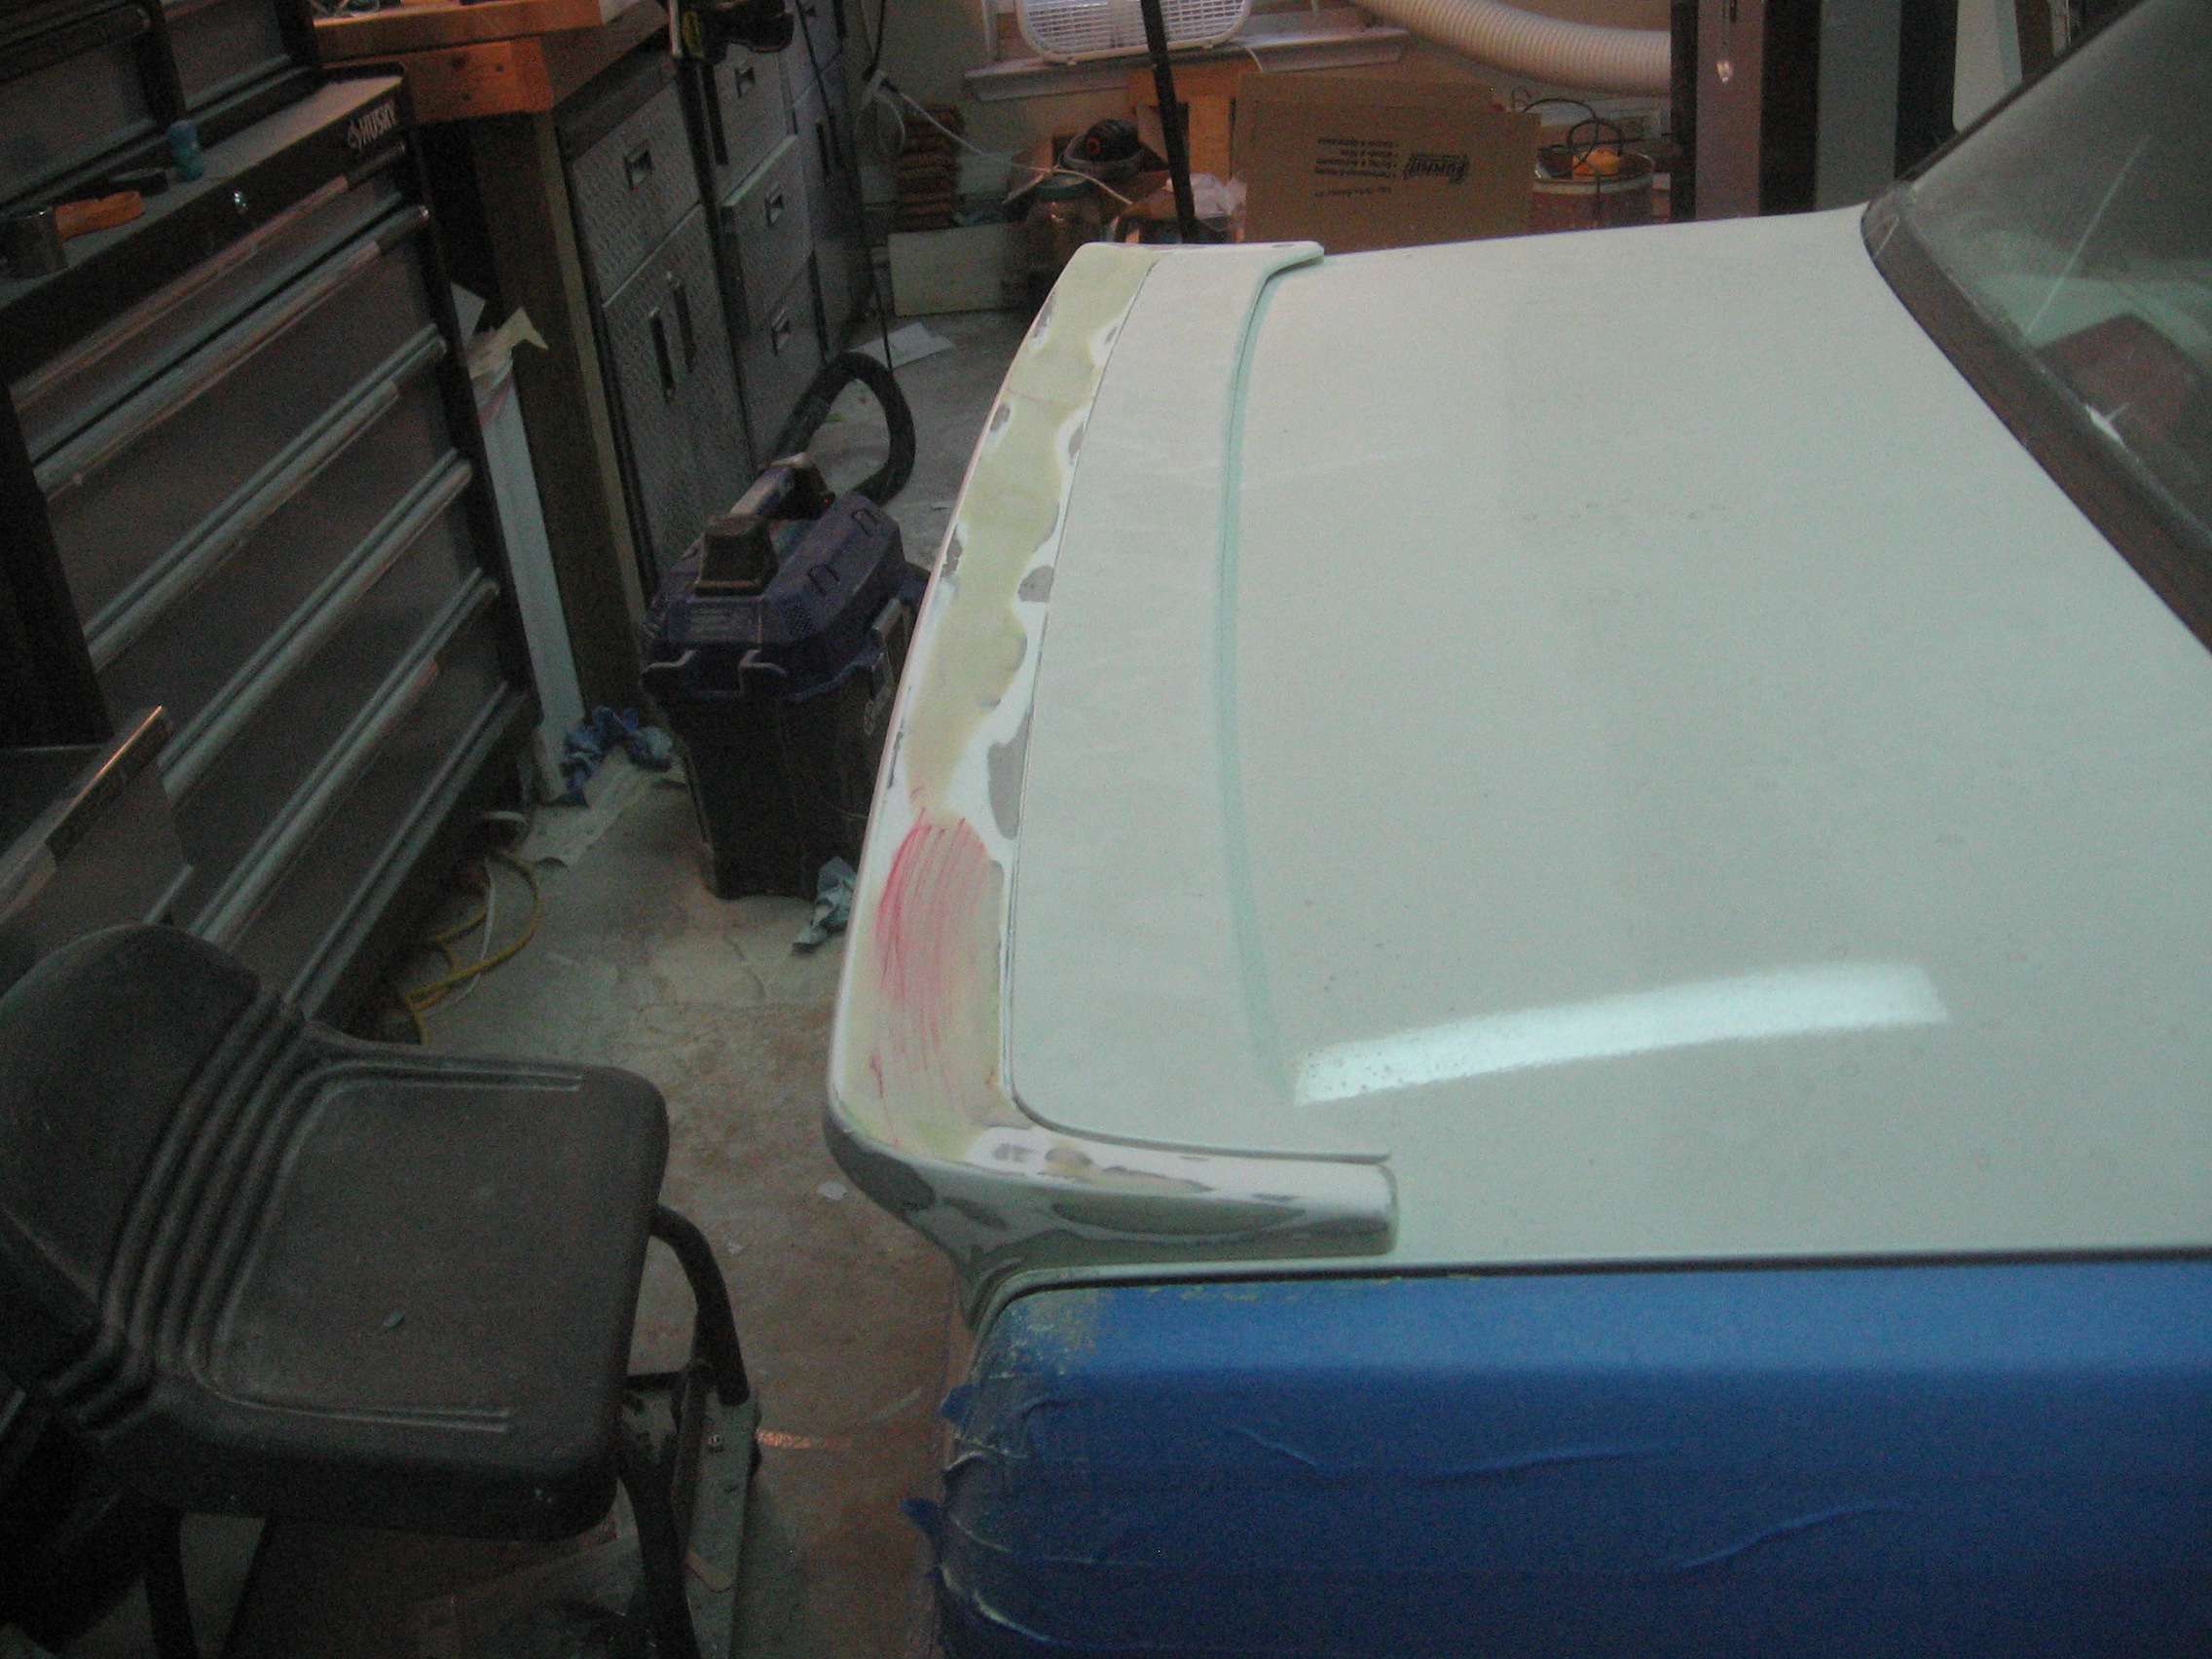
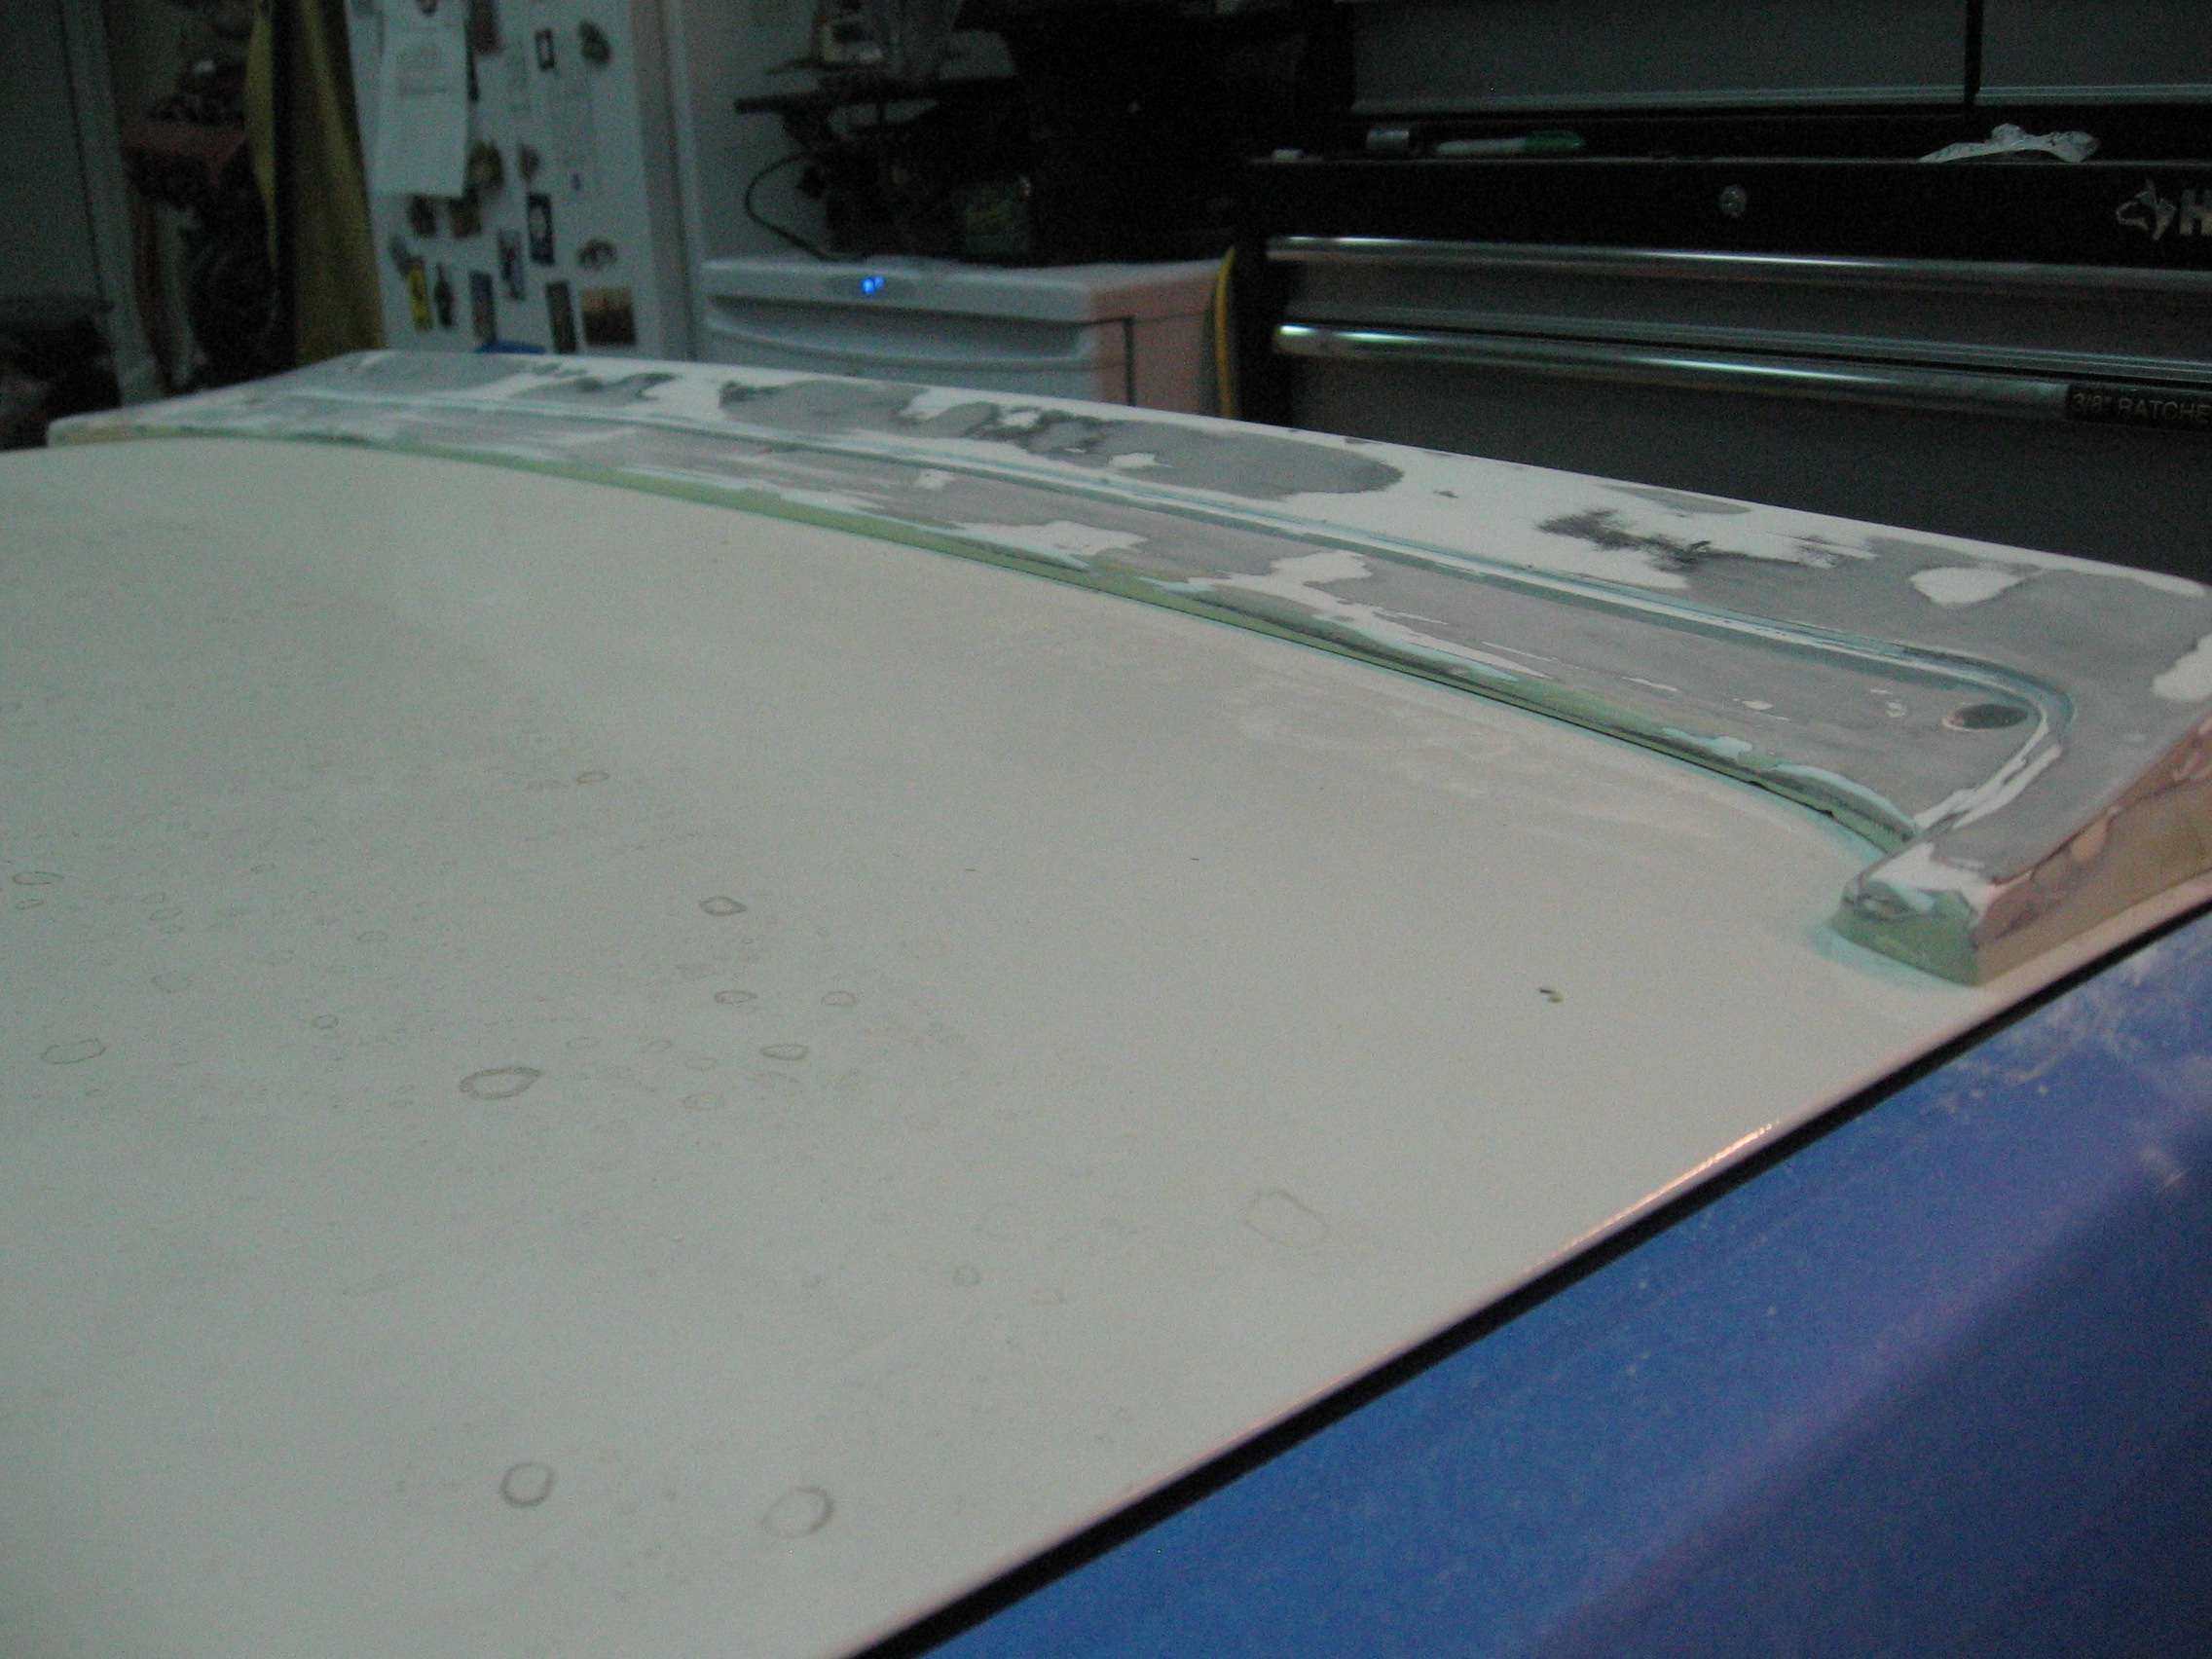
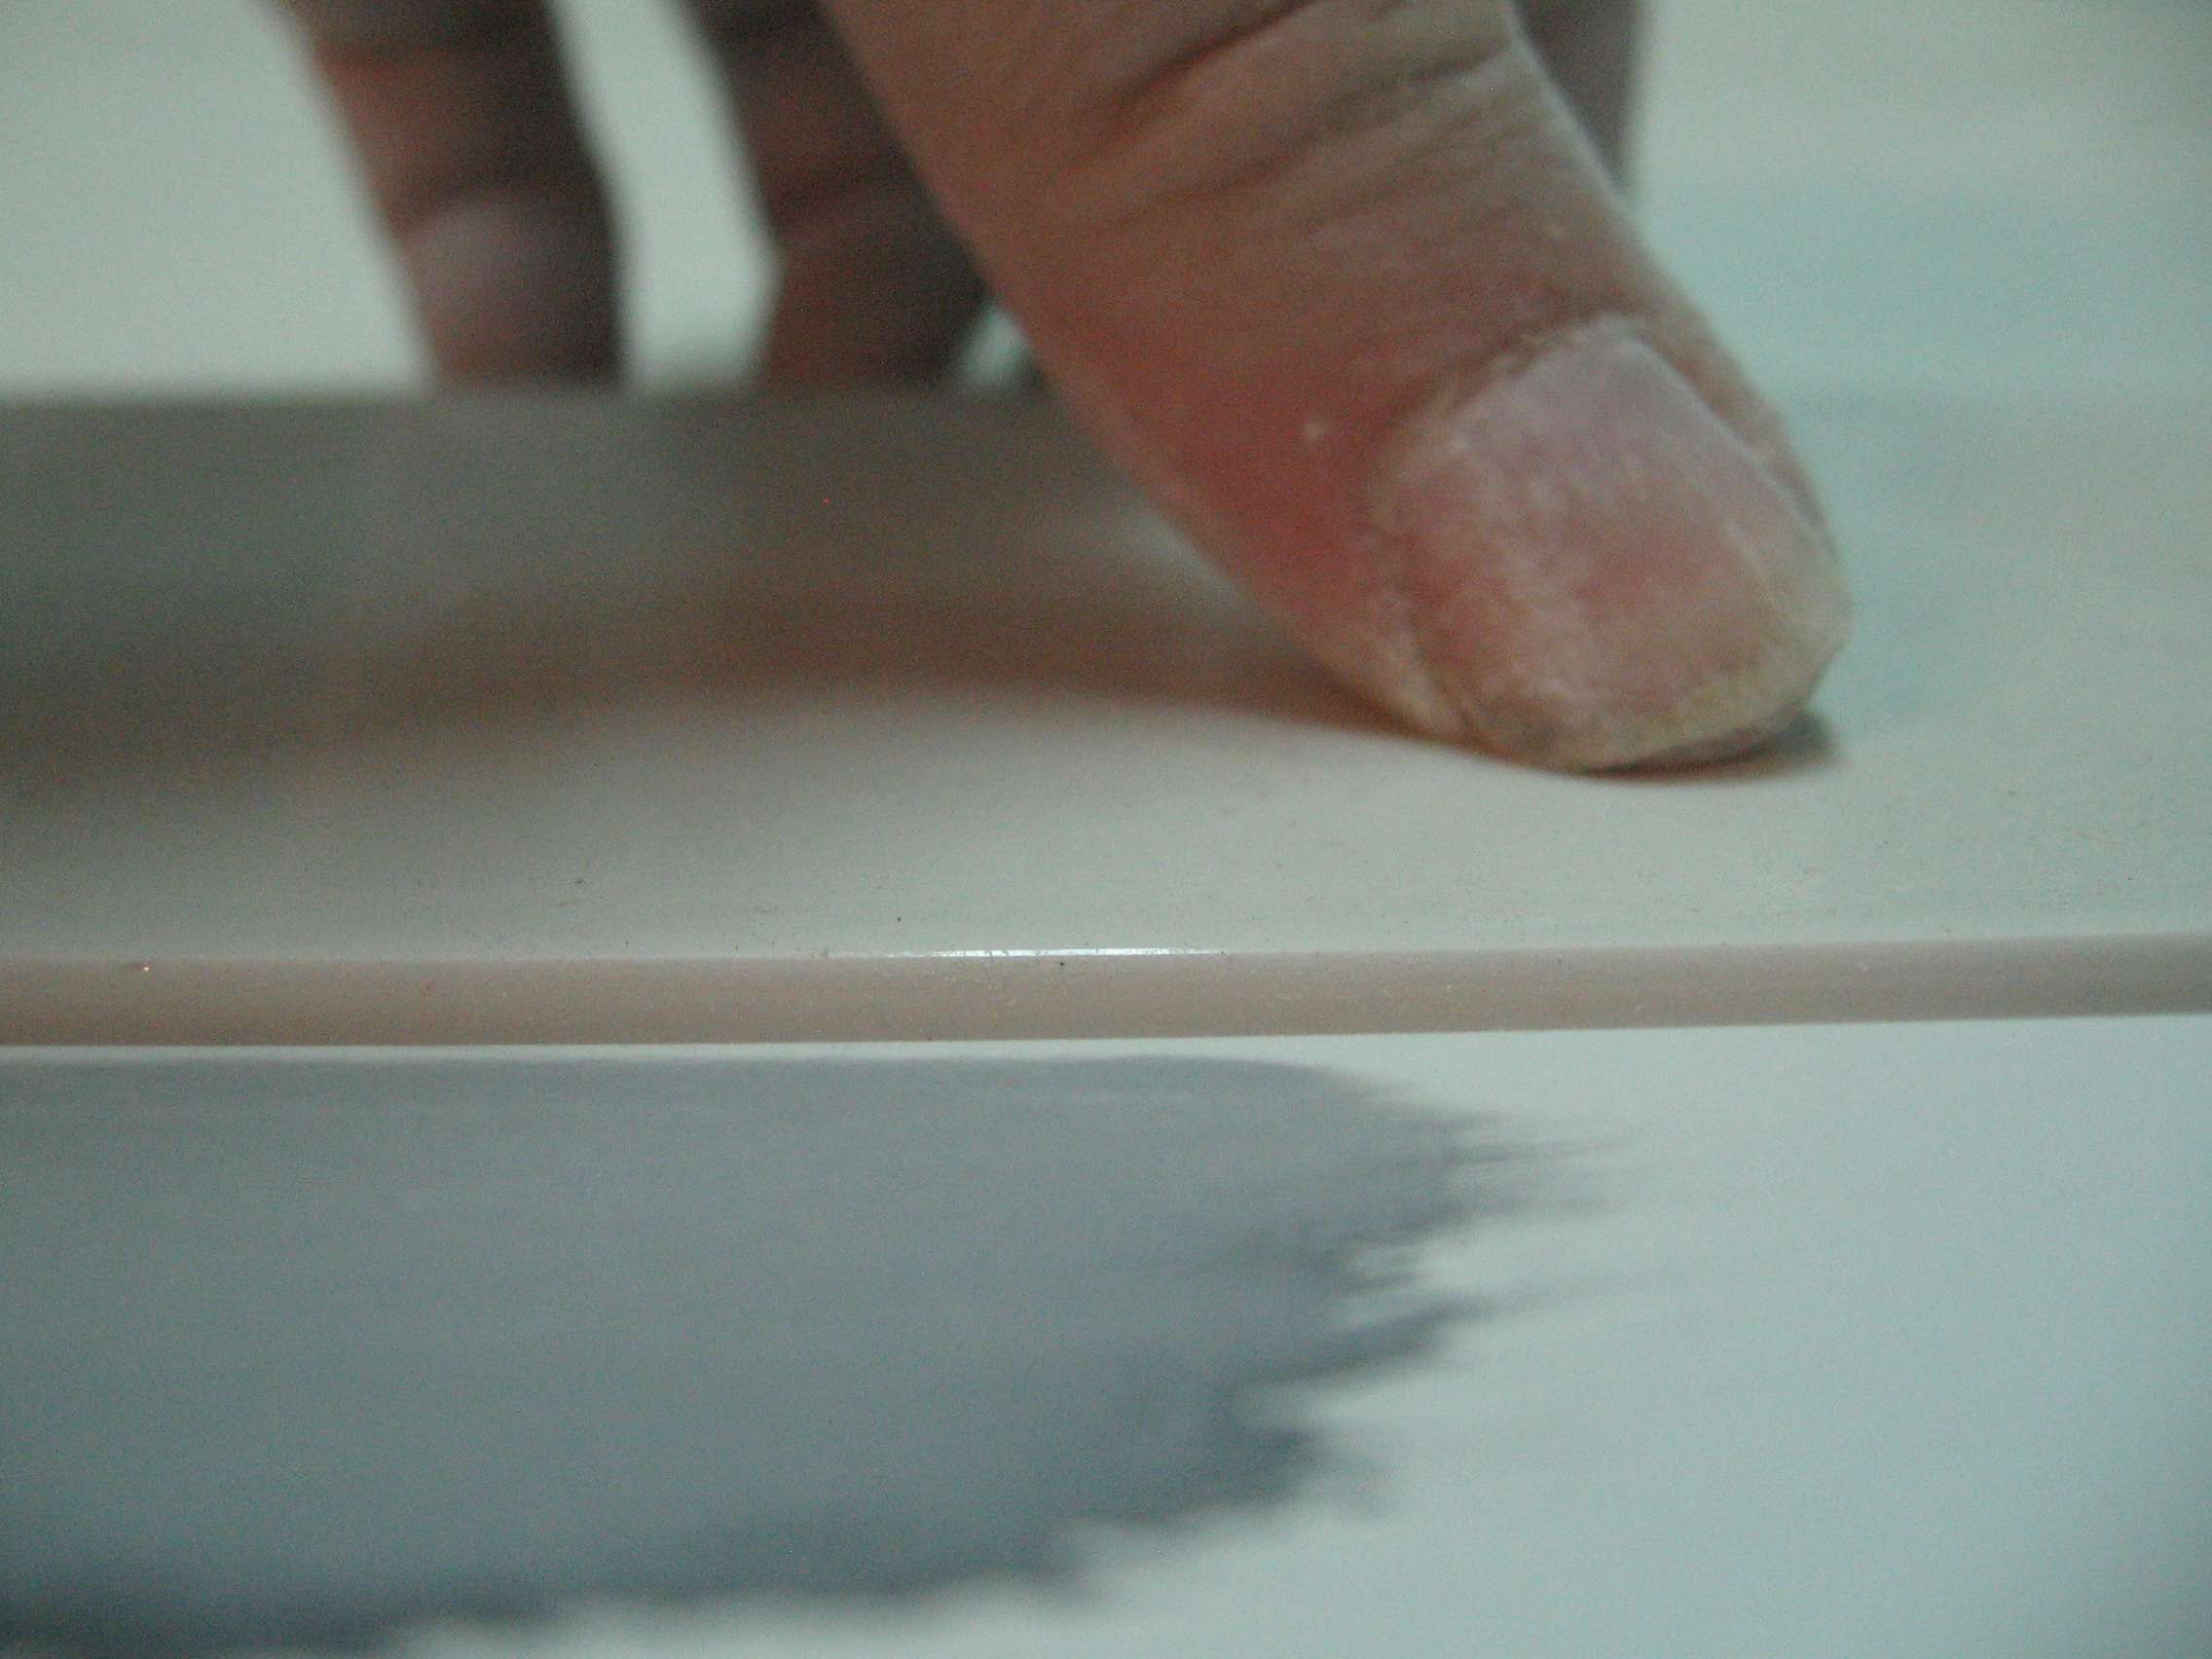
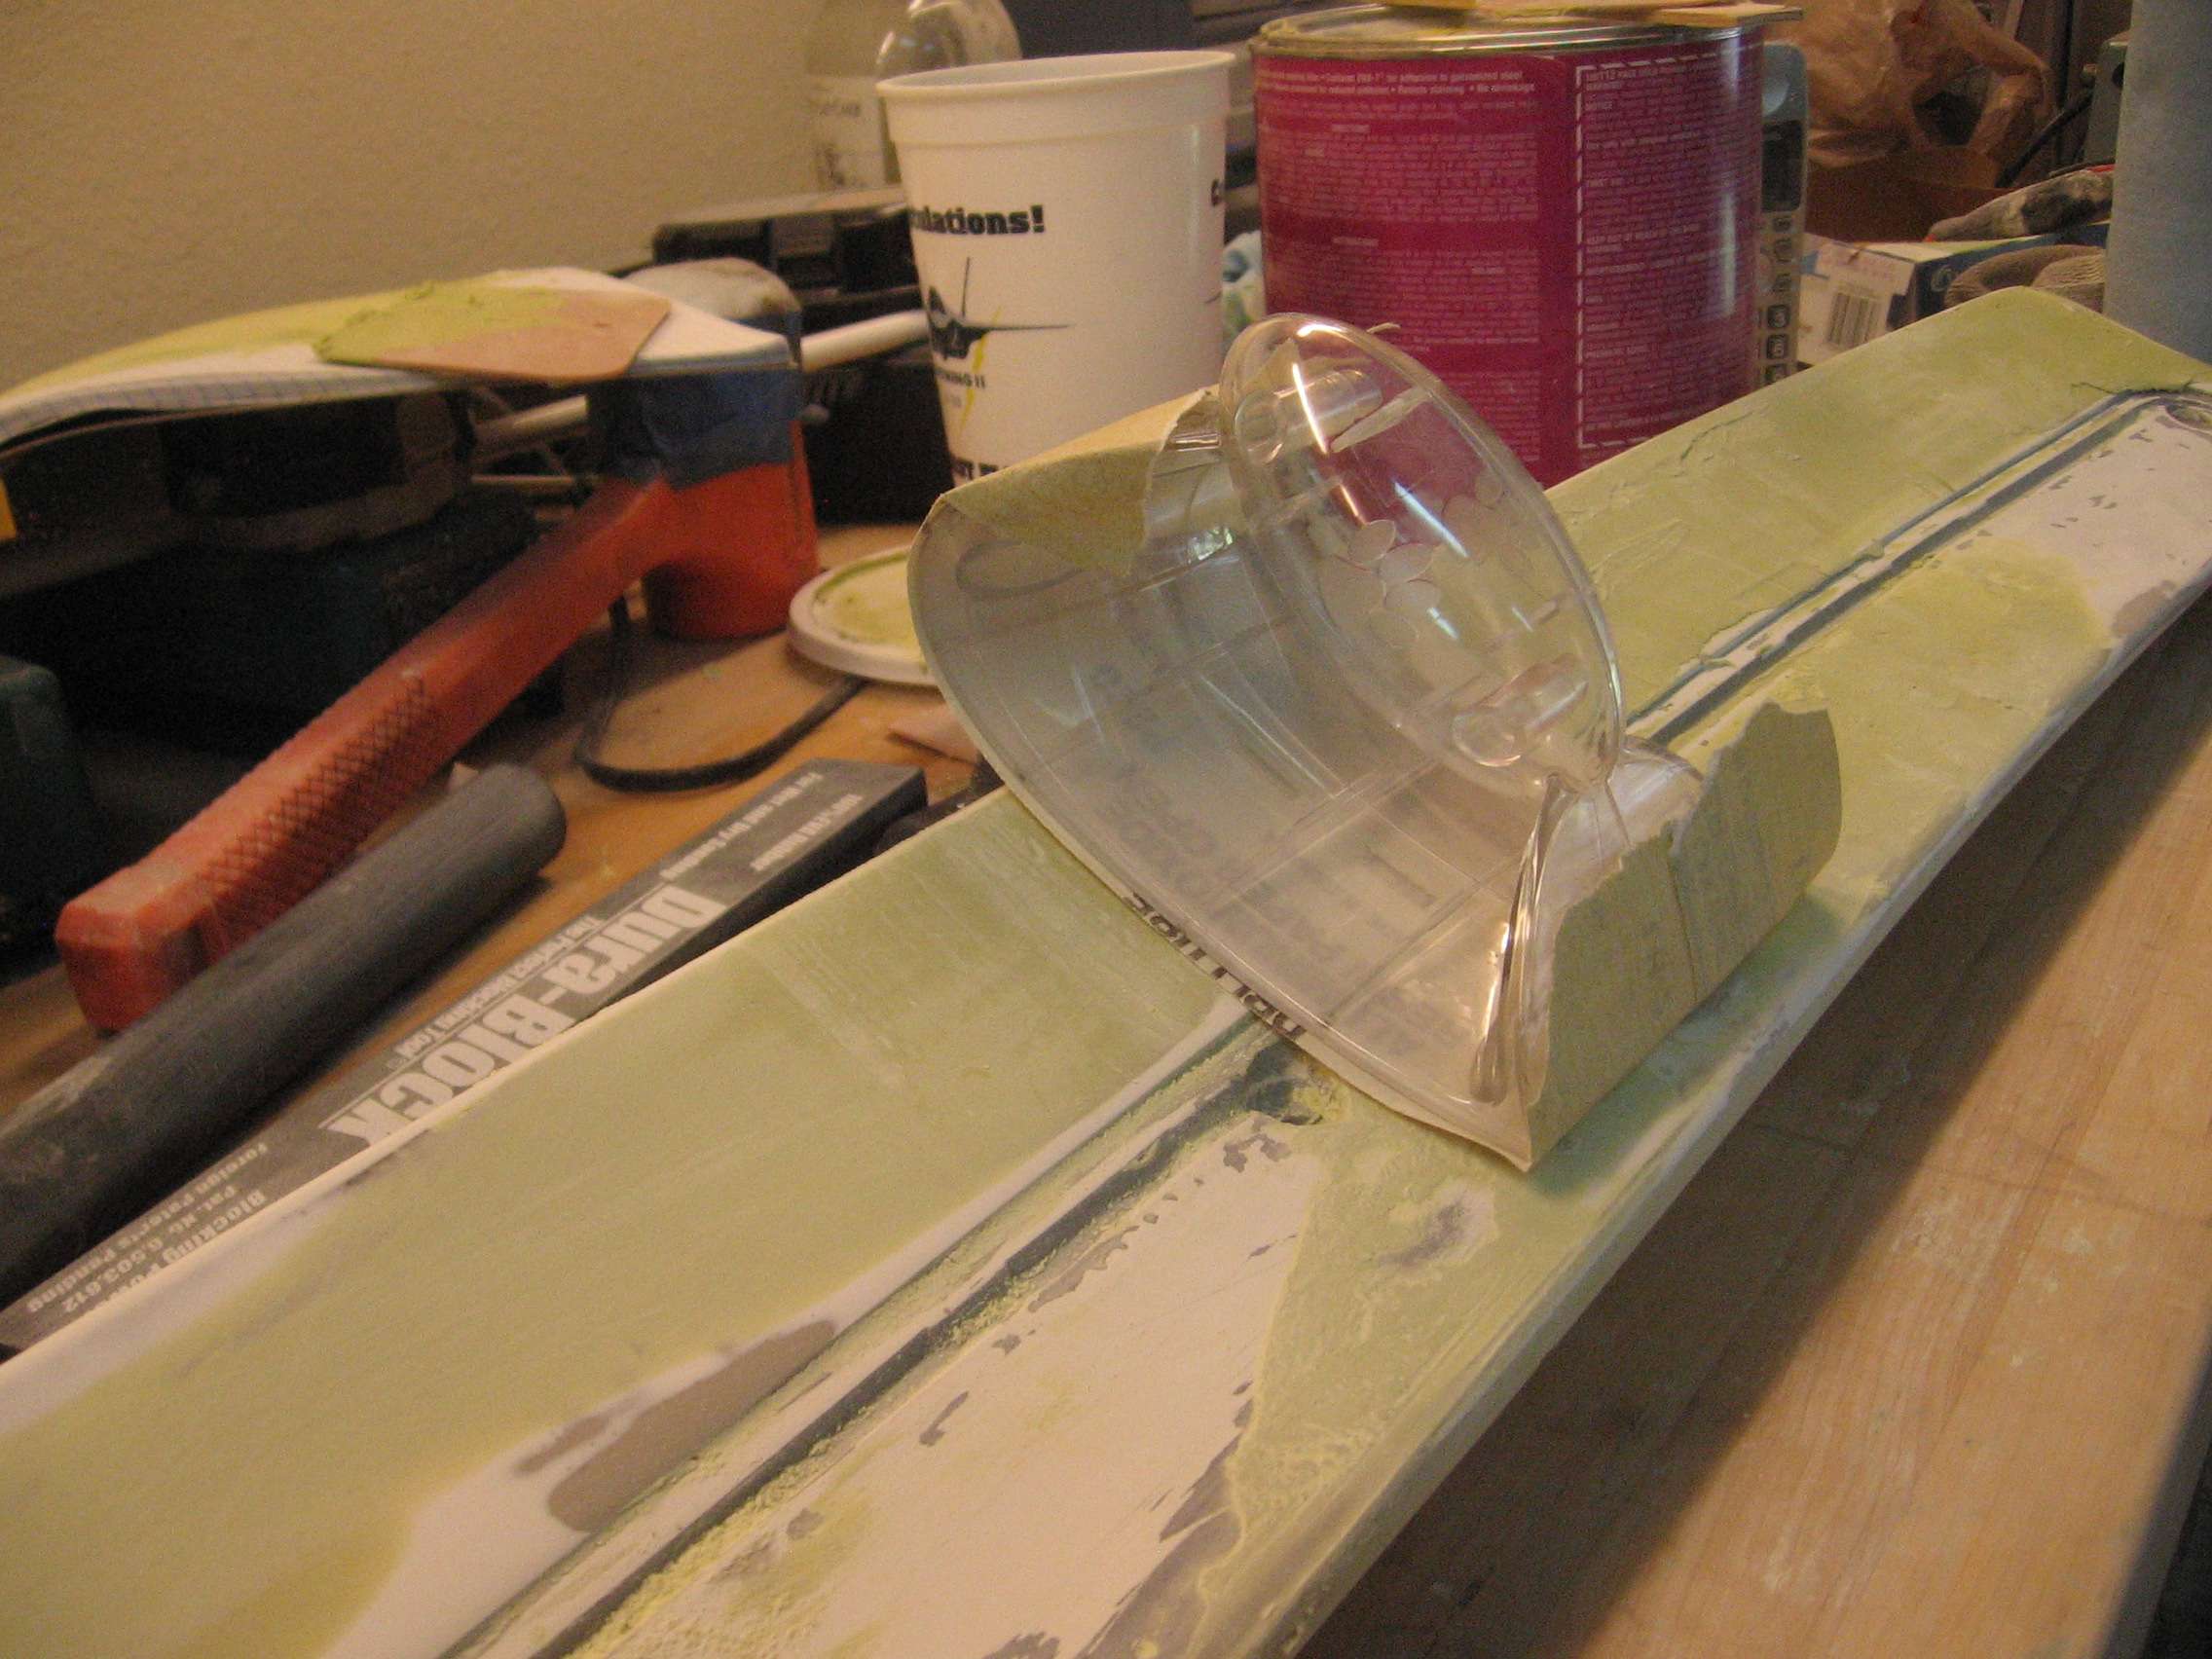
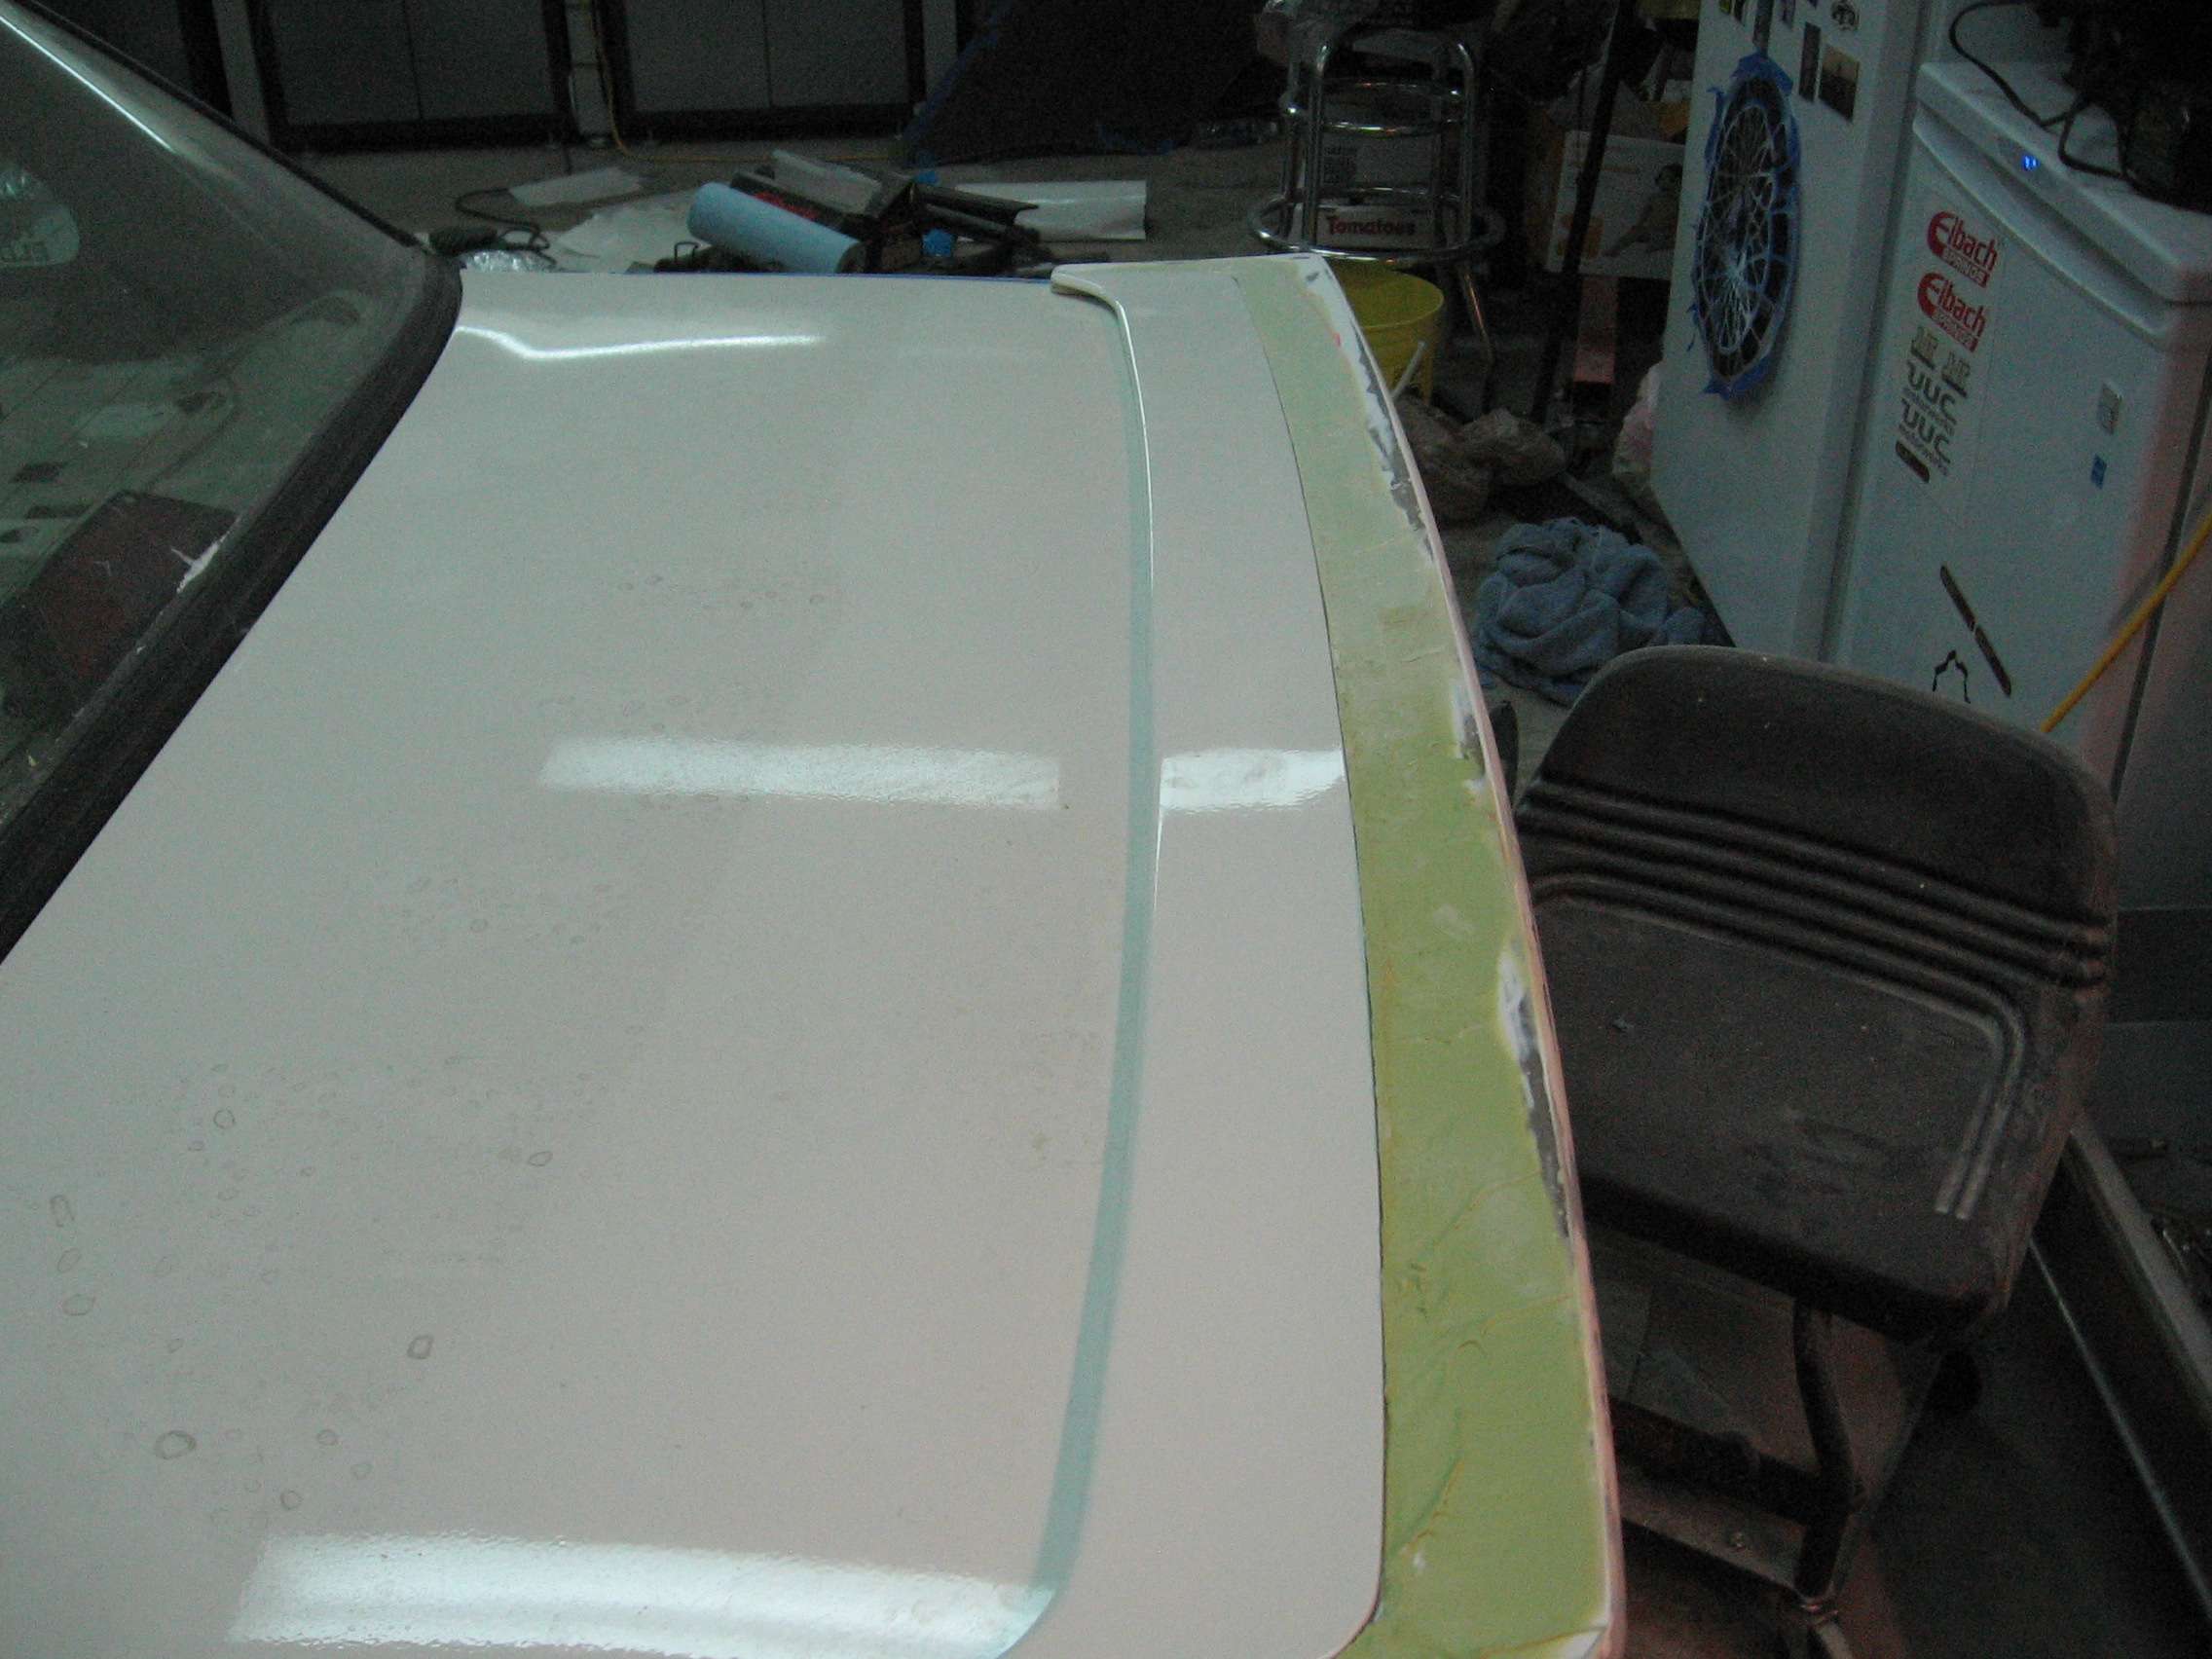
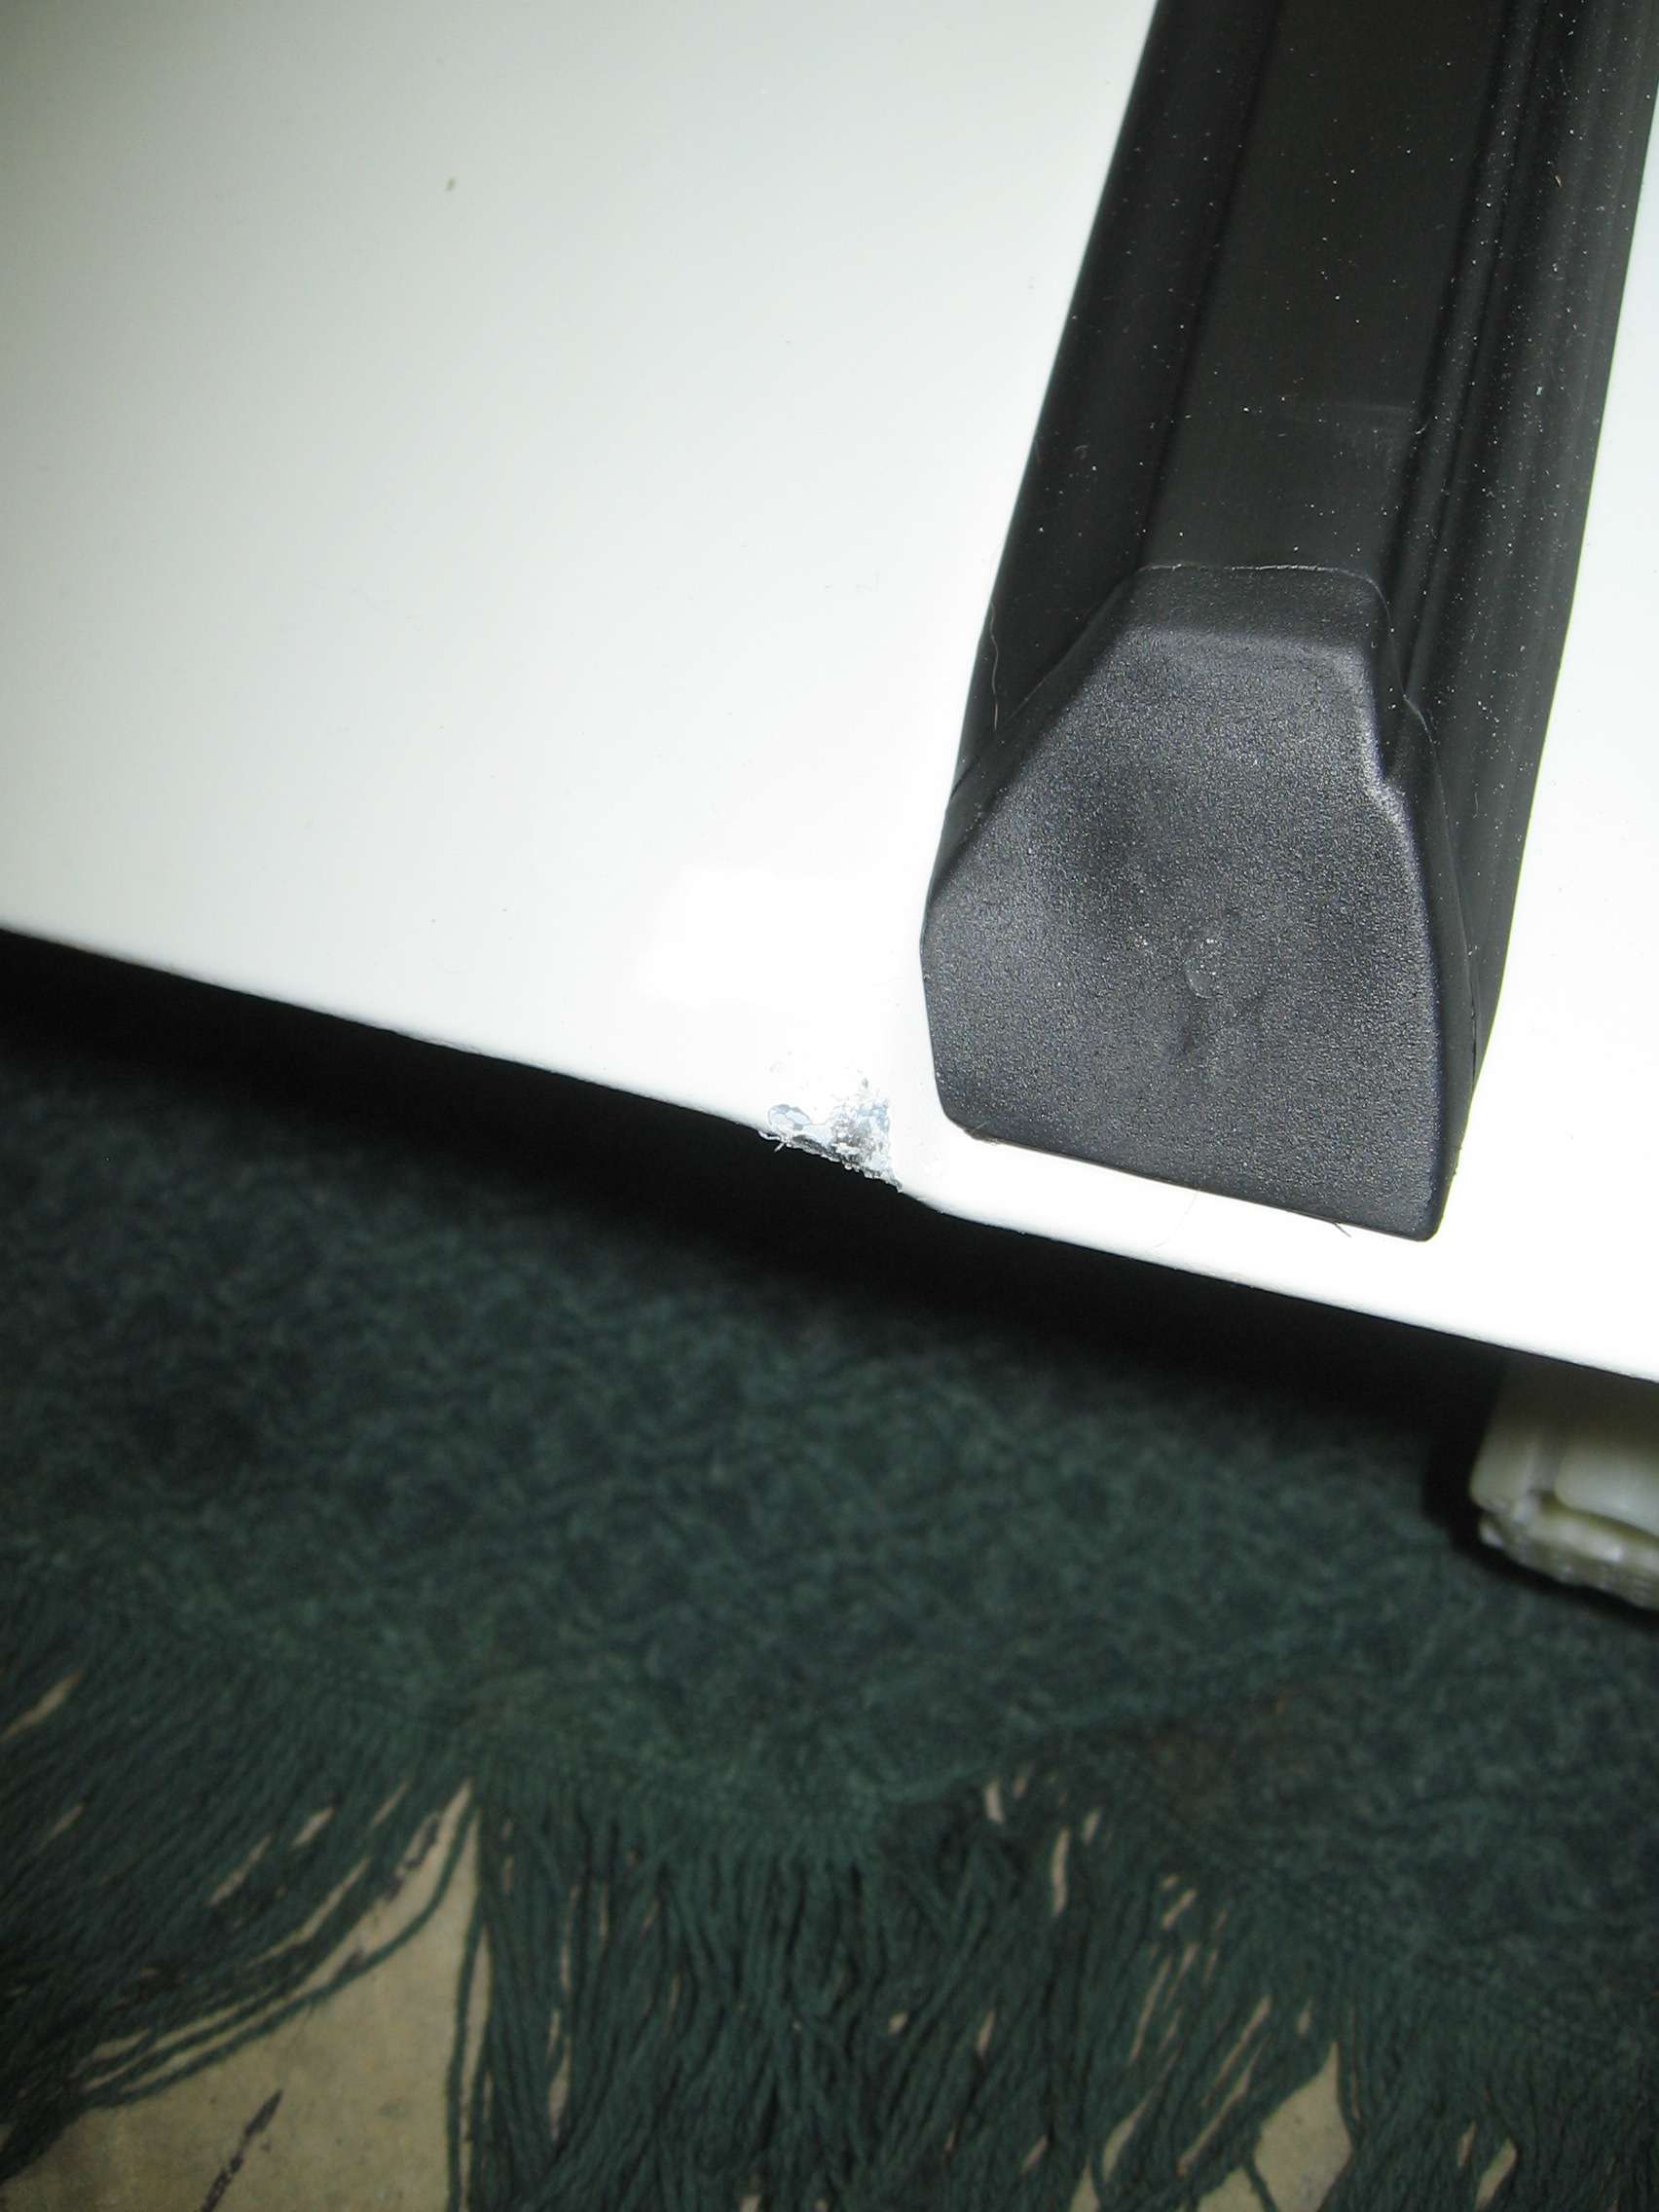
I elected to use the same tape trick to get the insert edge exact. I did take pictures of this process.

Filler was applied bridging the gap and then the tape removed carefully after the filler started to kick.
The result was a pretty consistent gap that will need some minor cleanup.

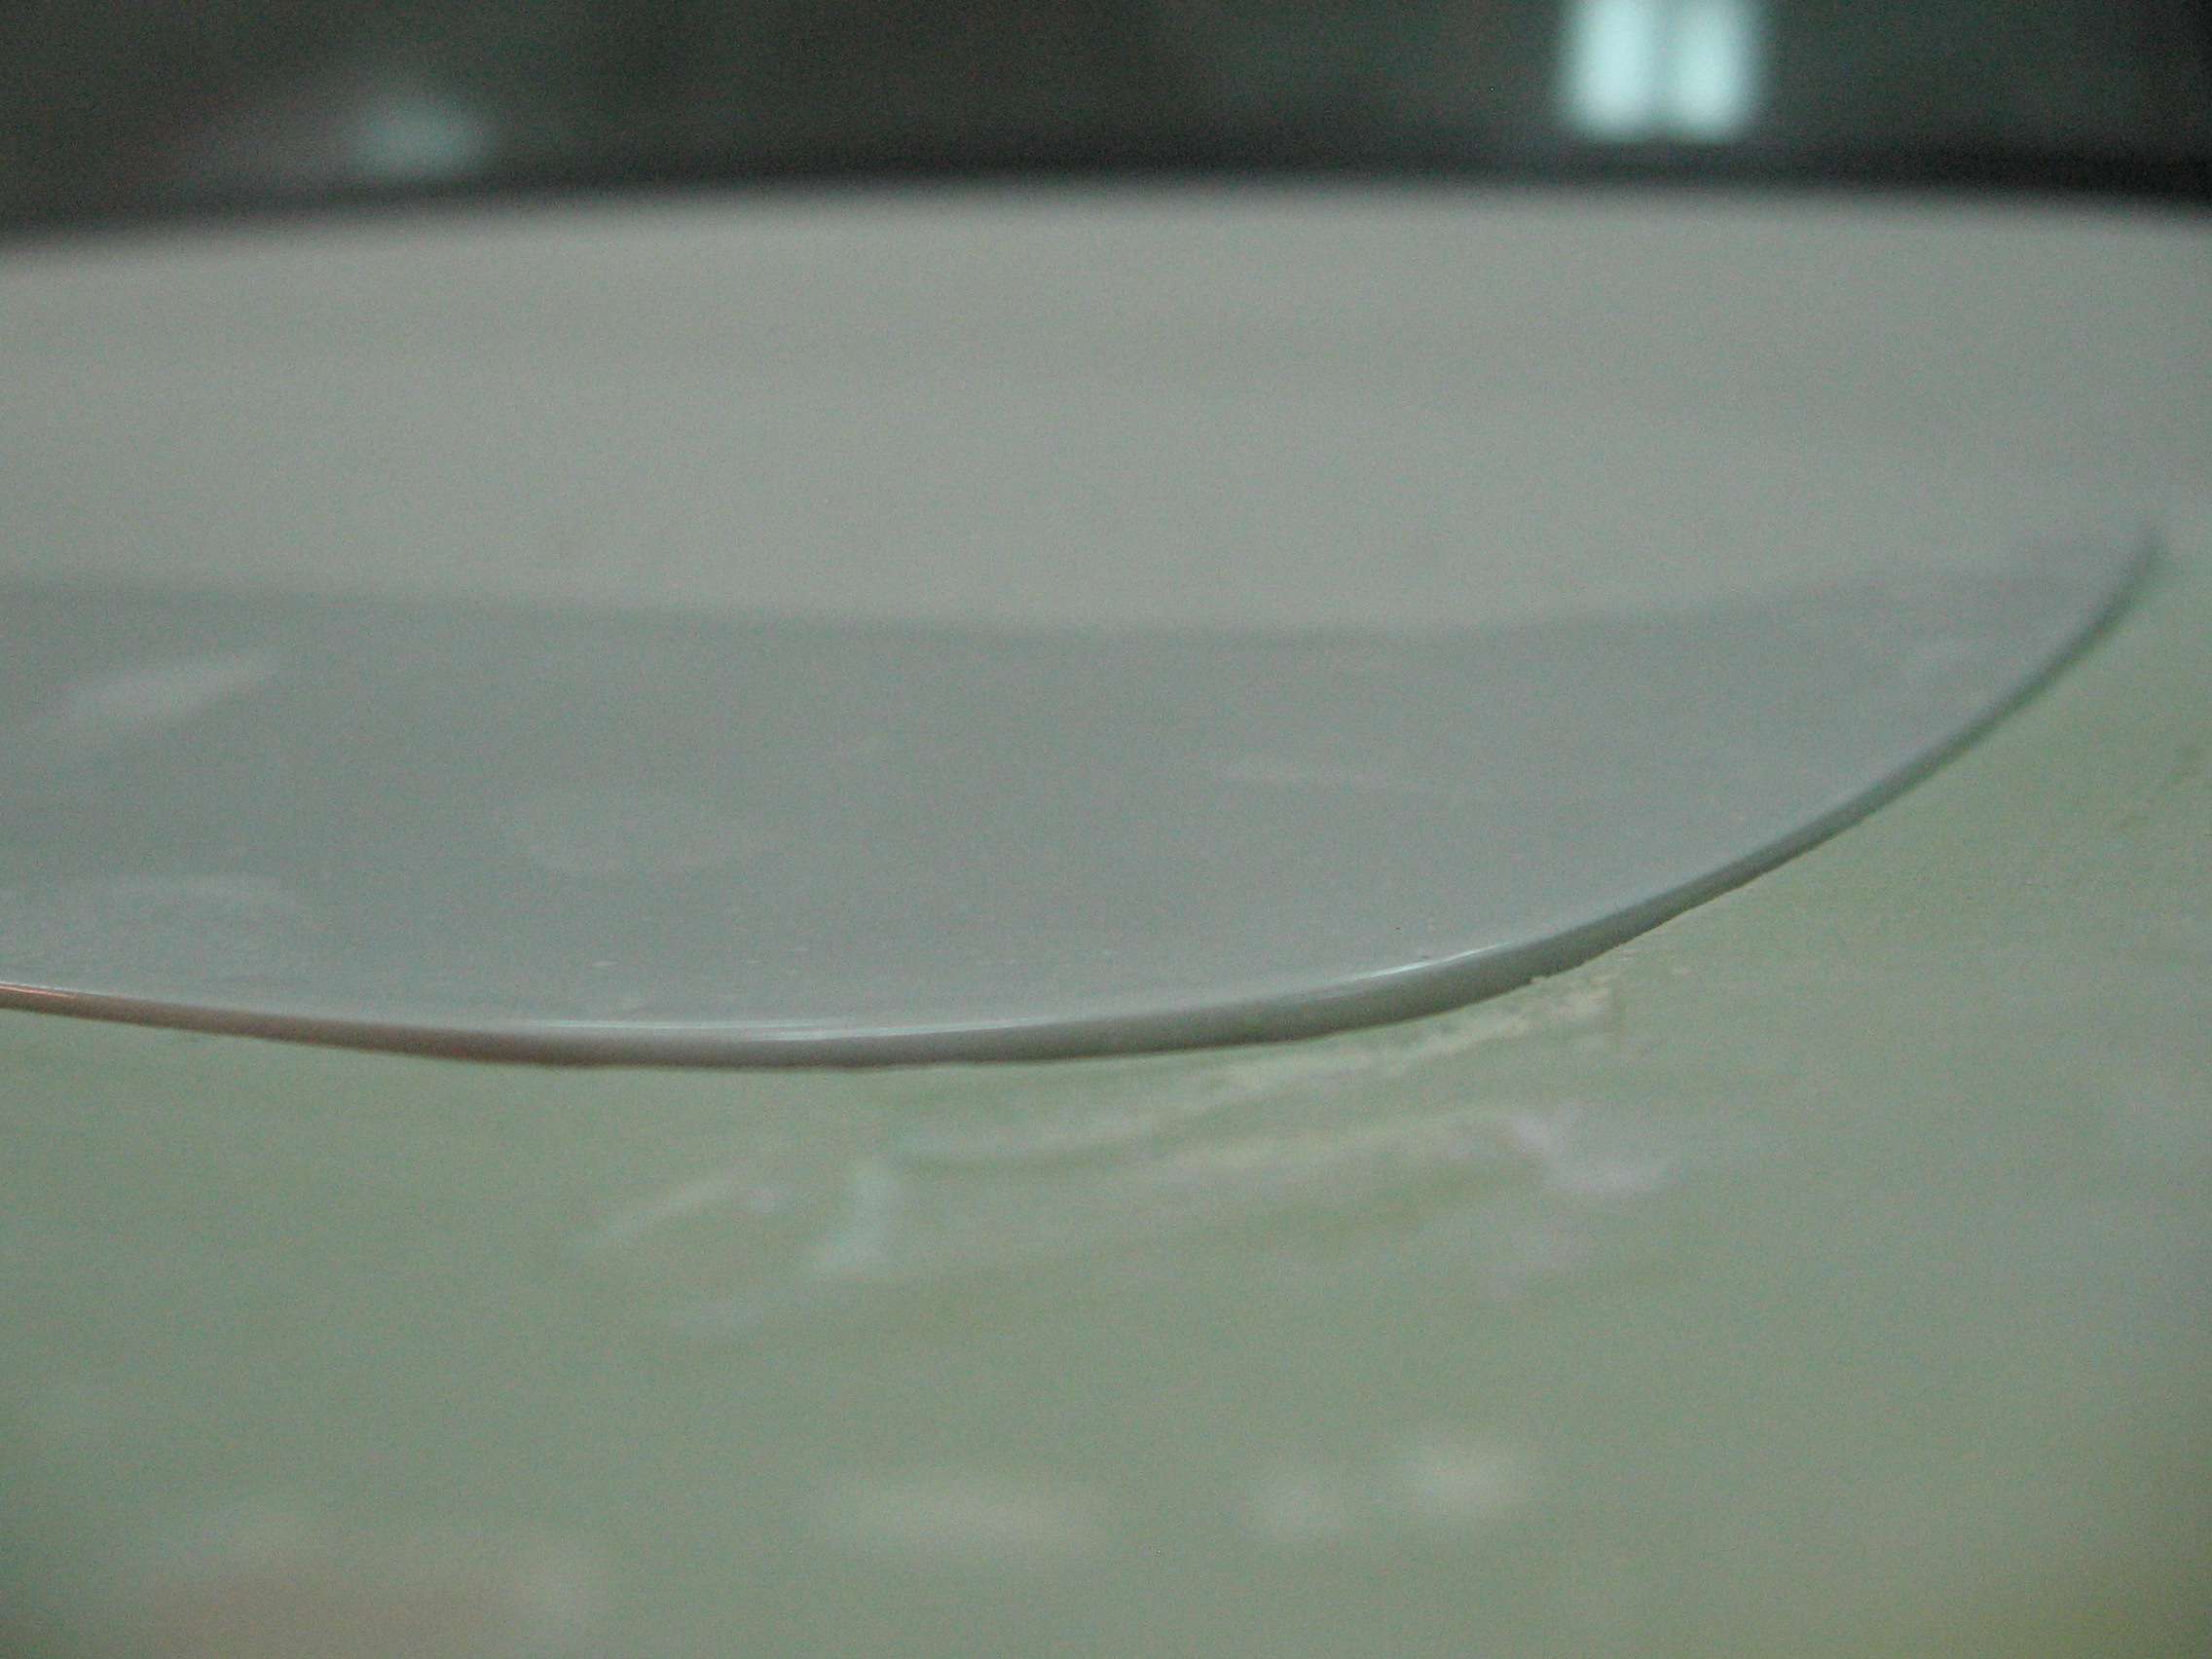
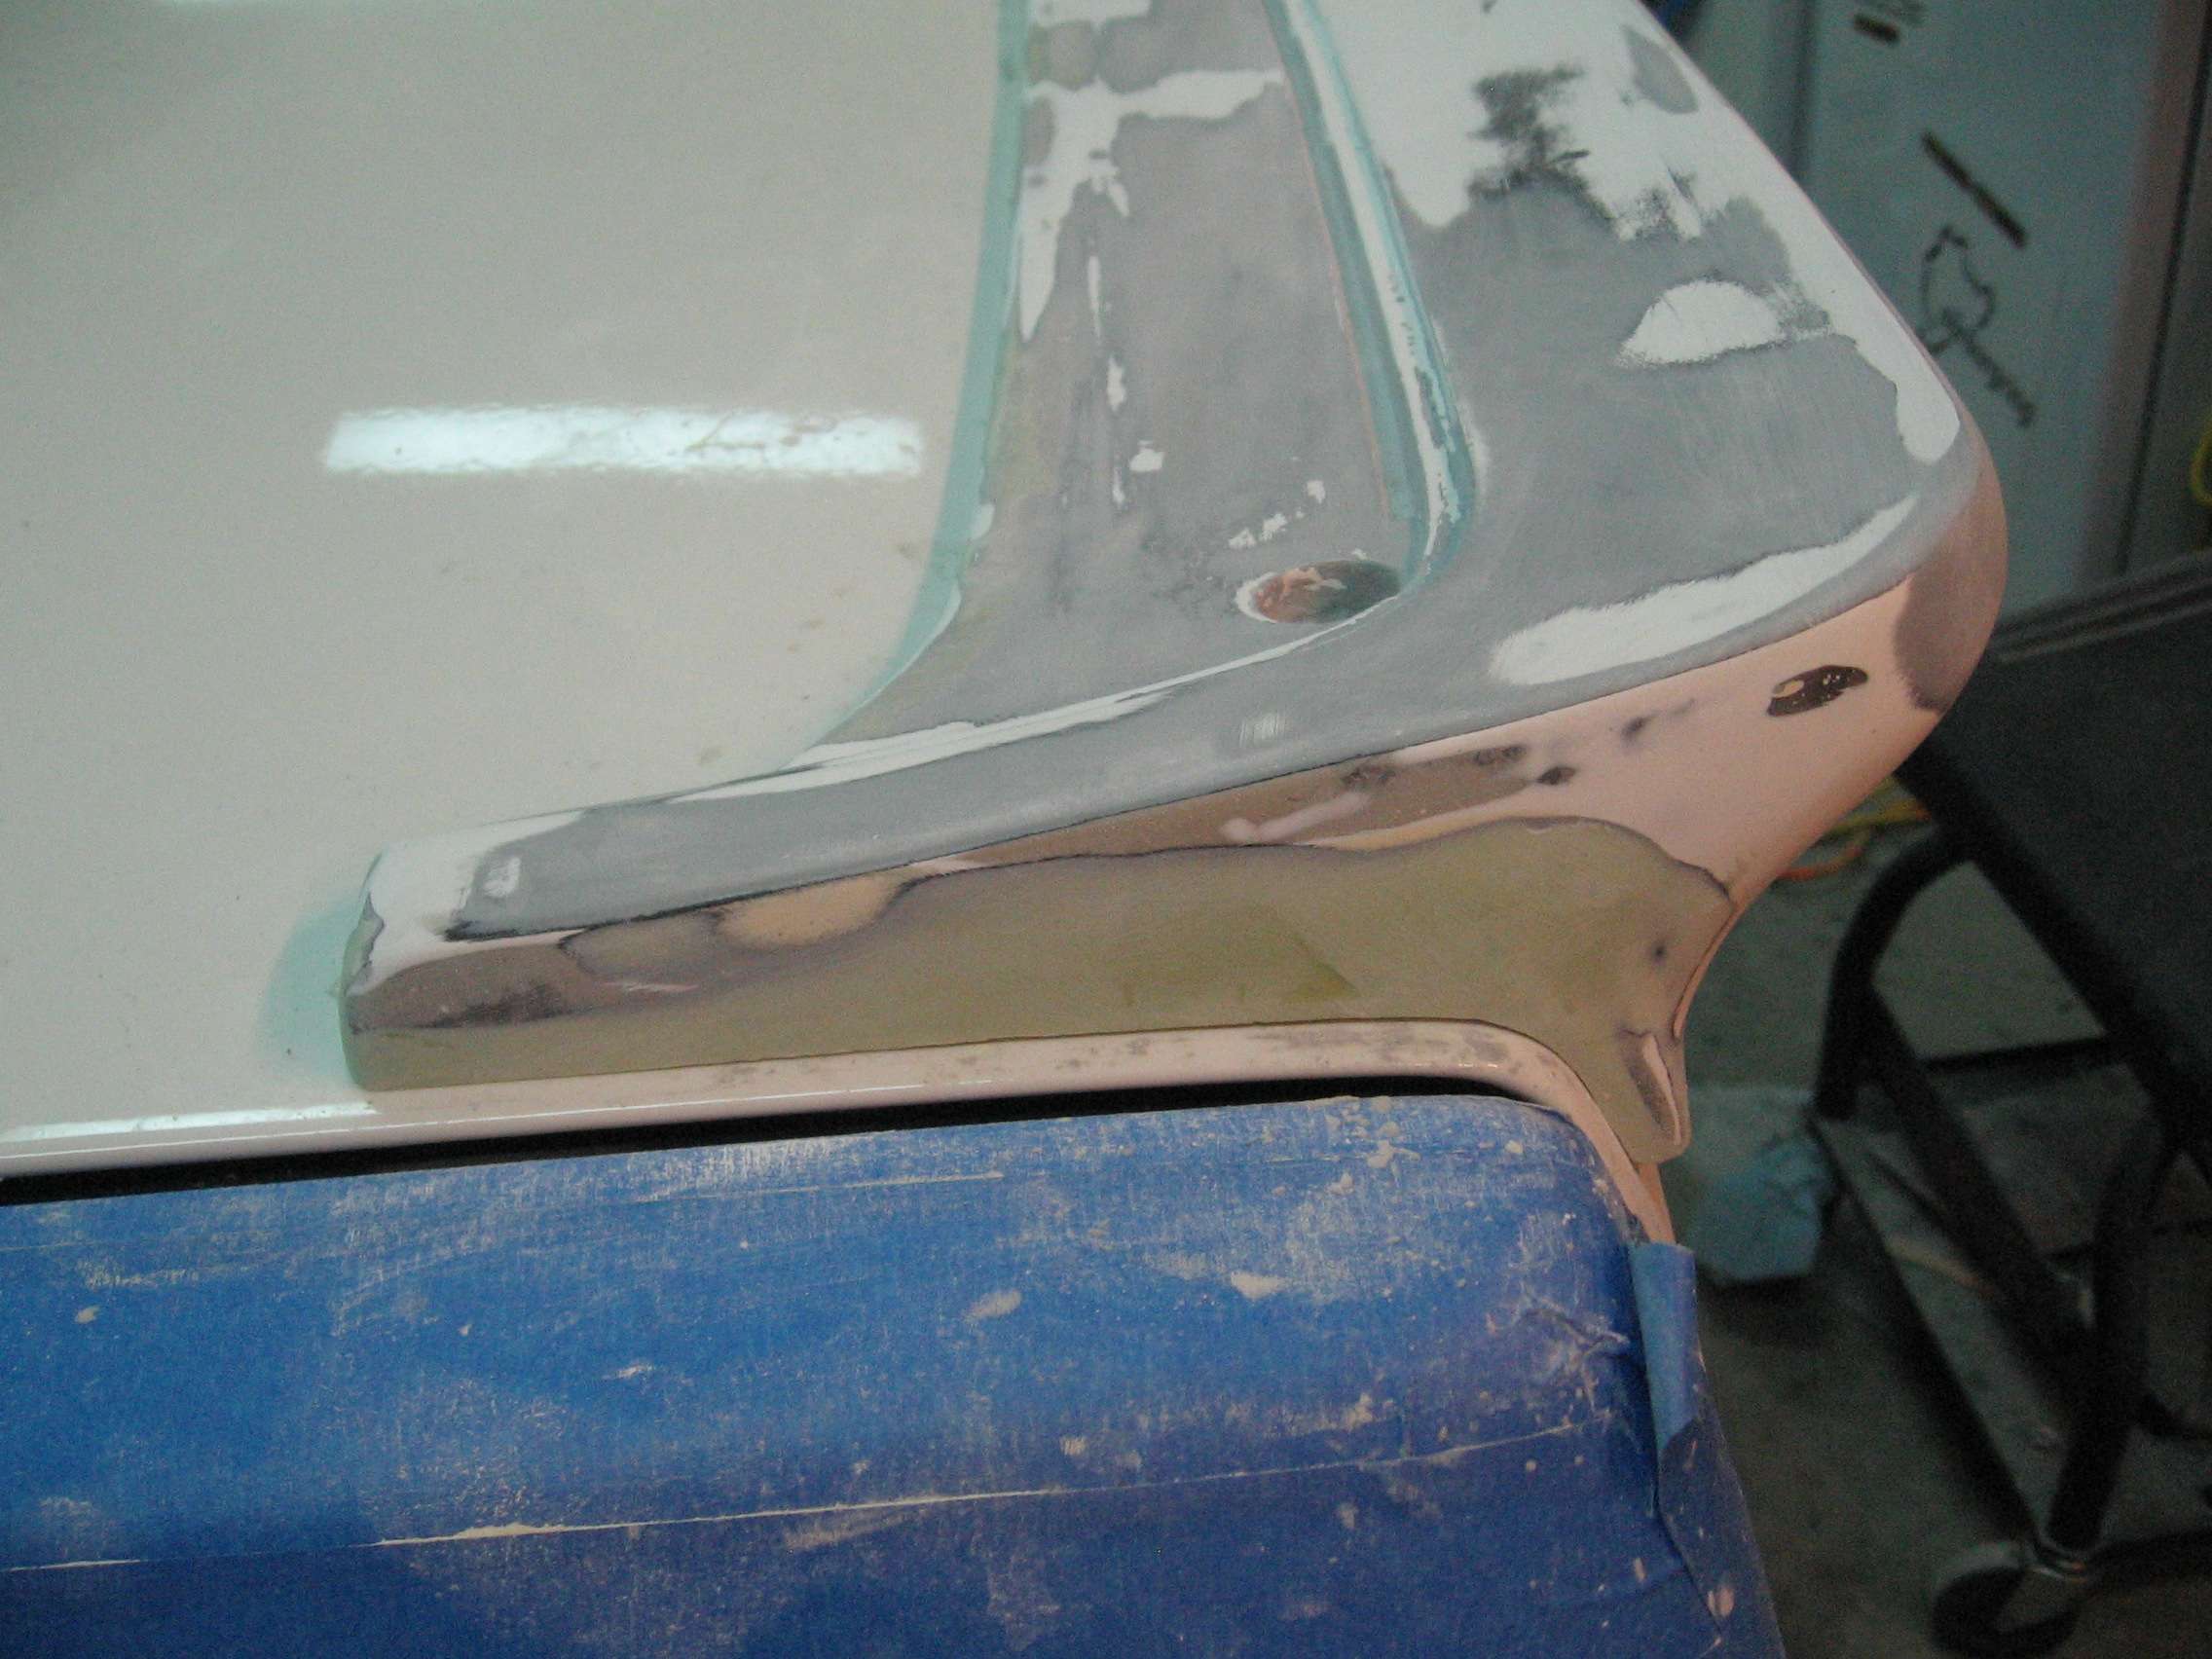
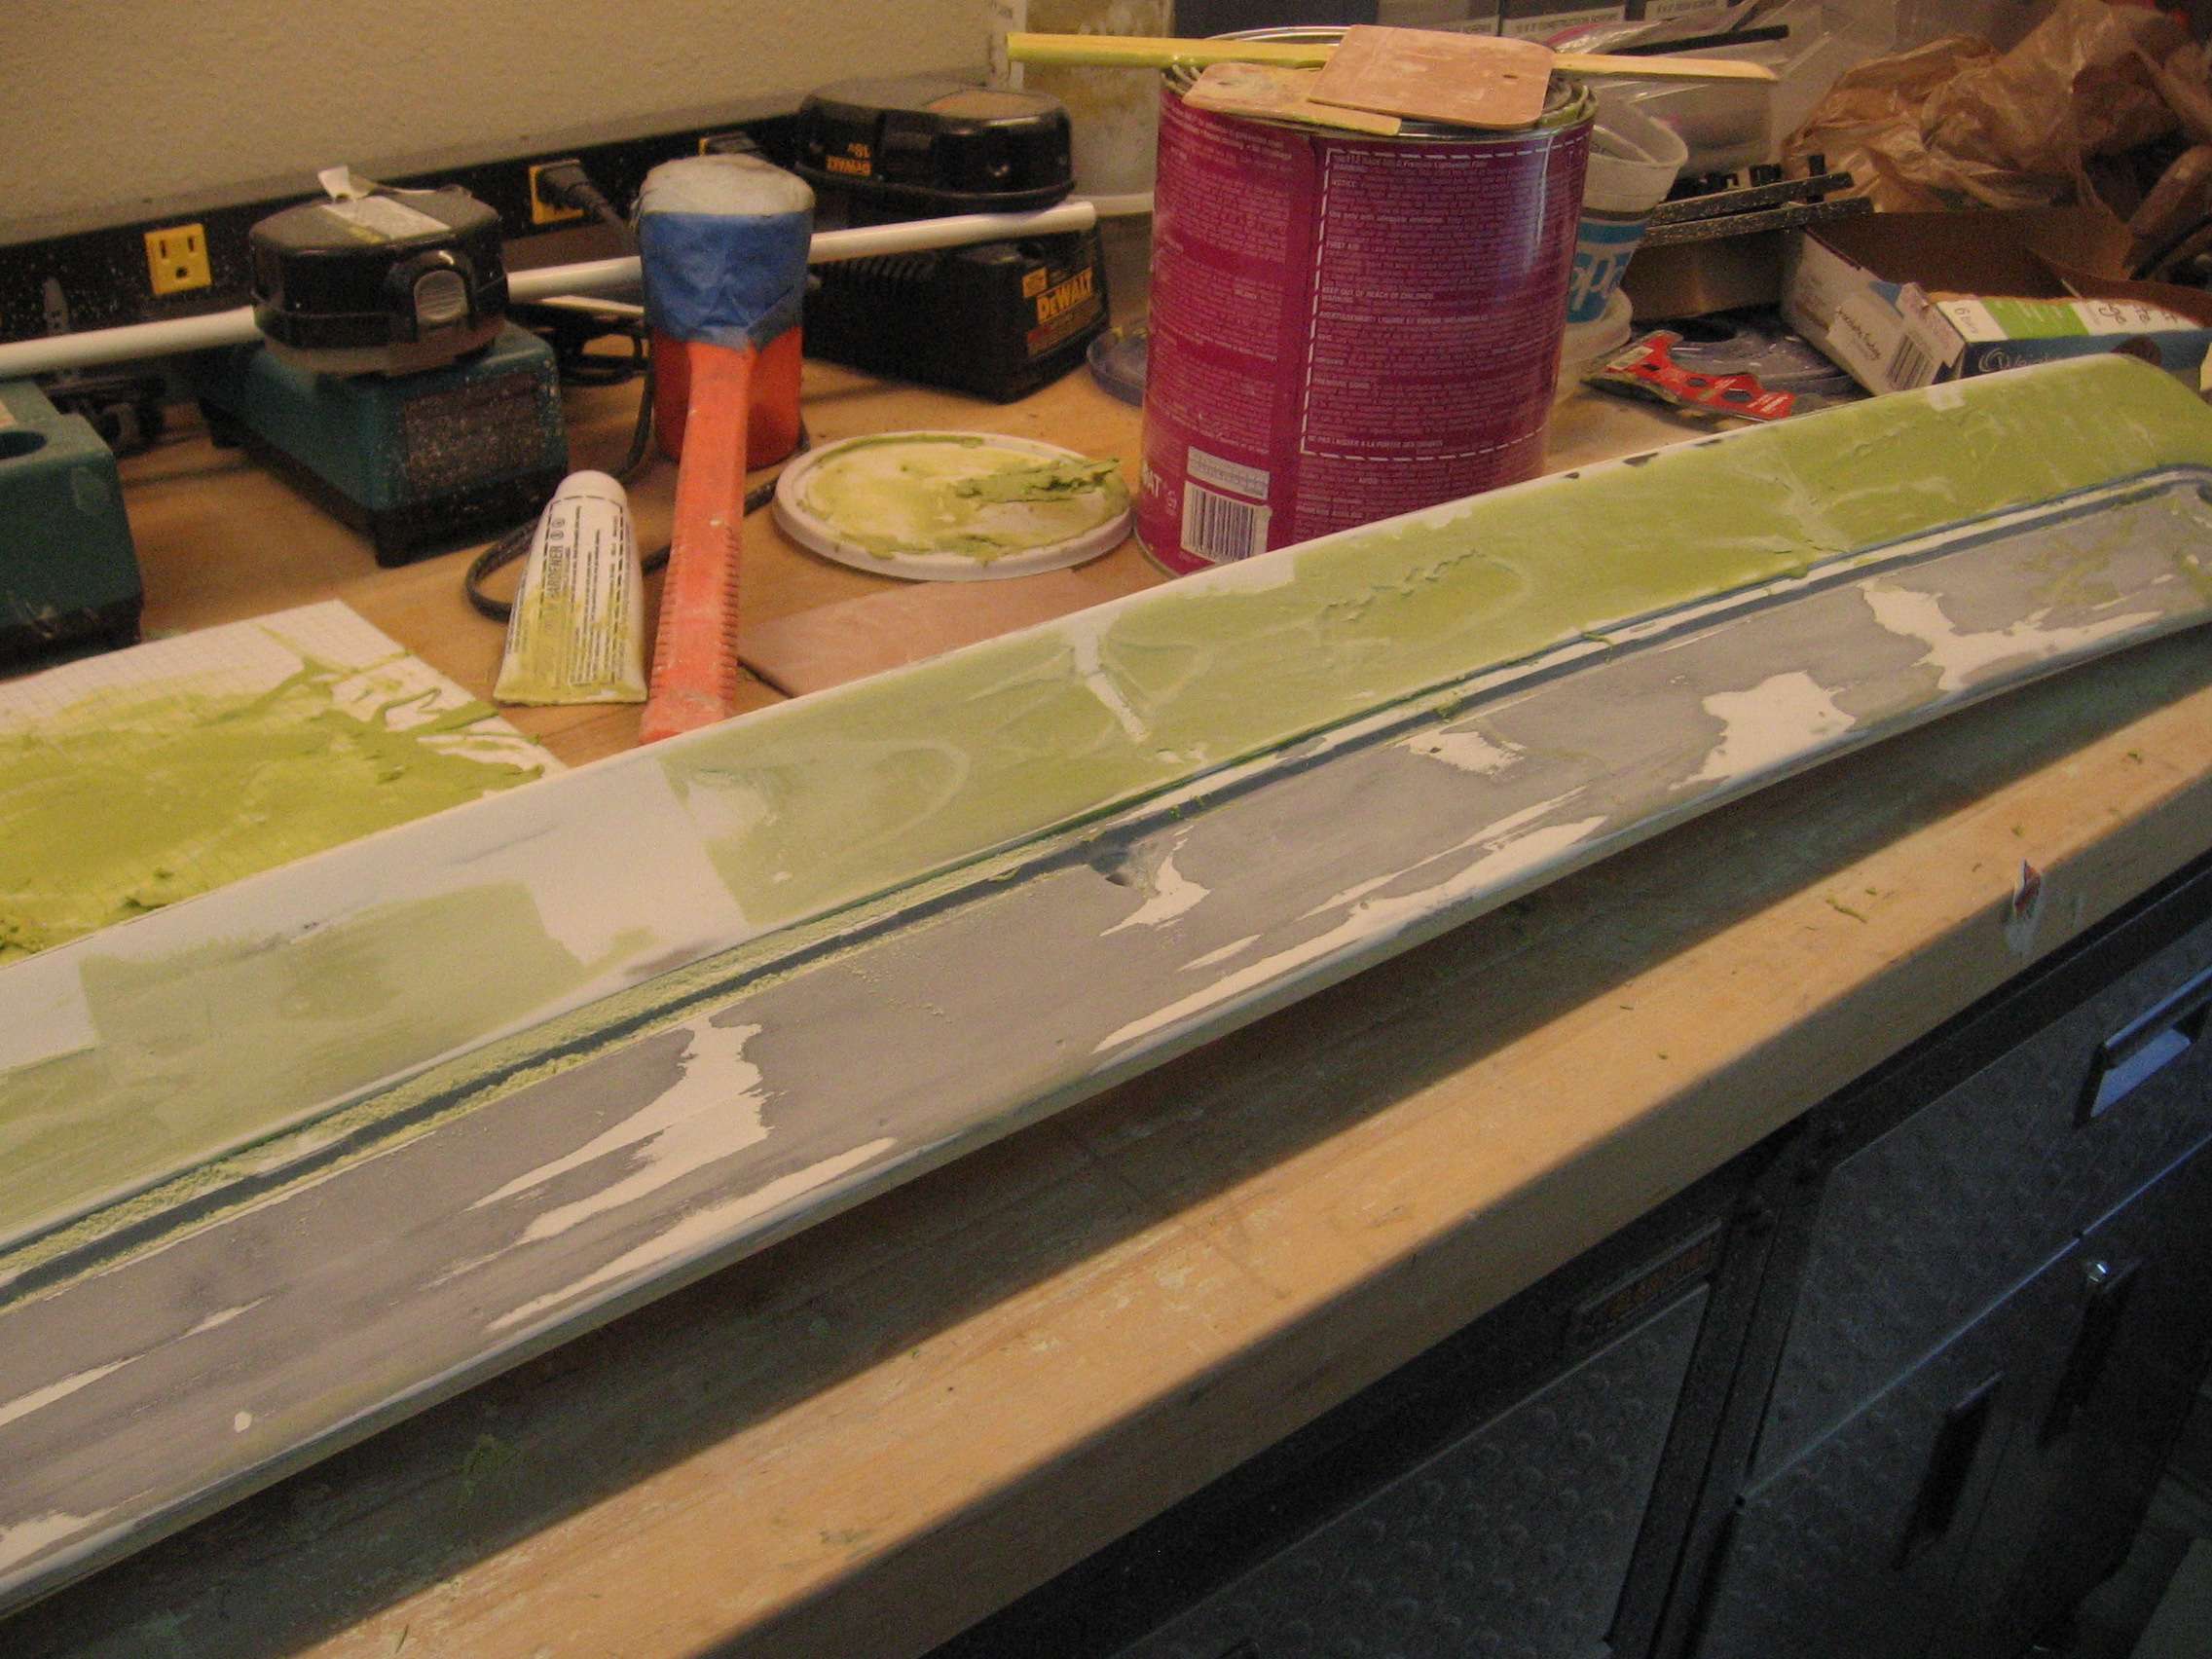
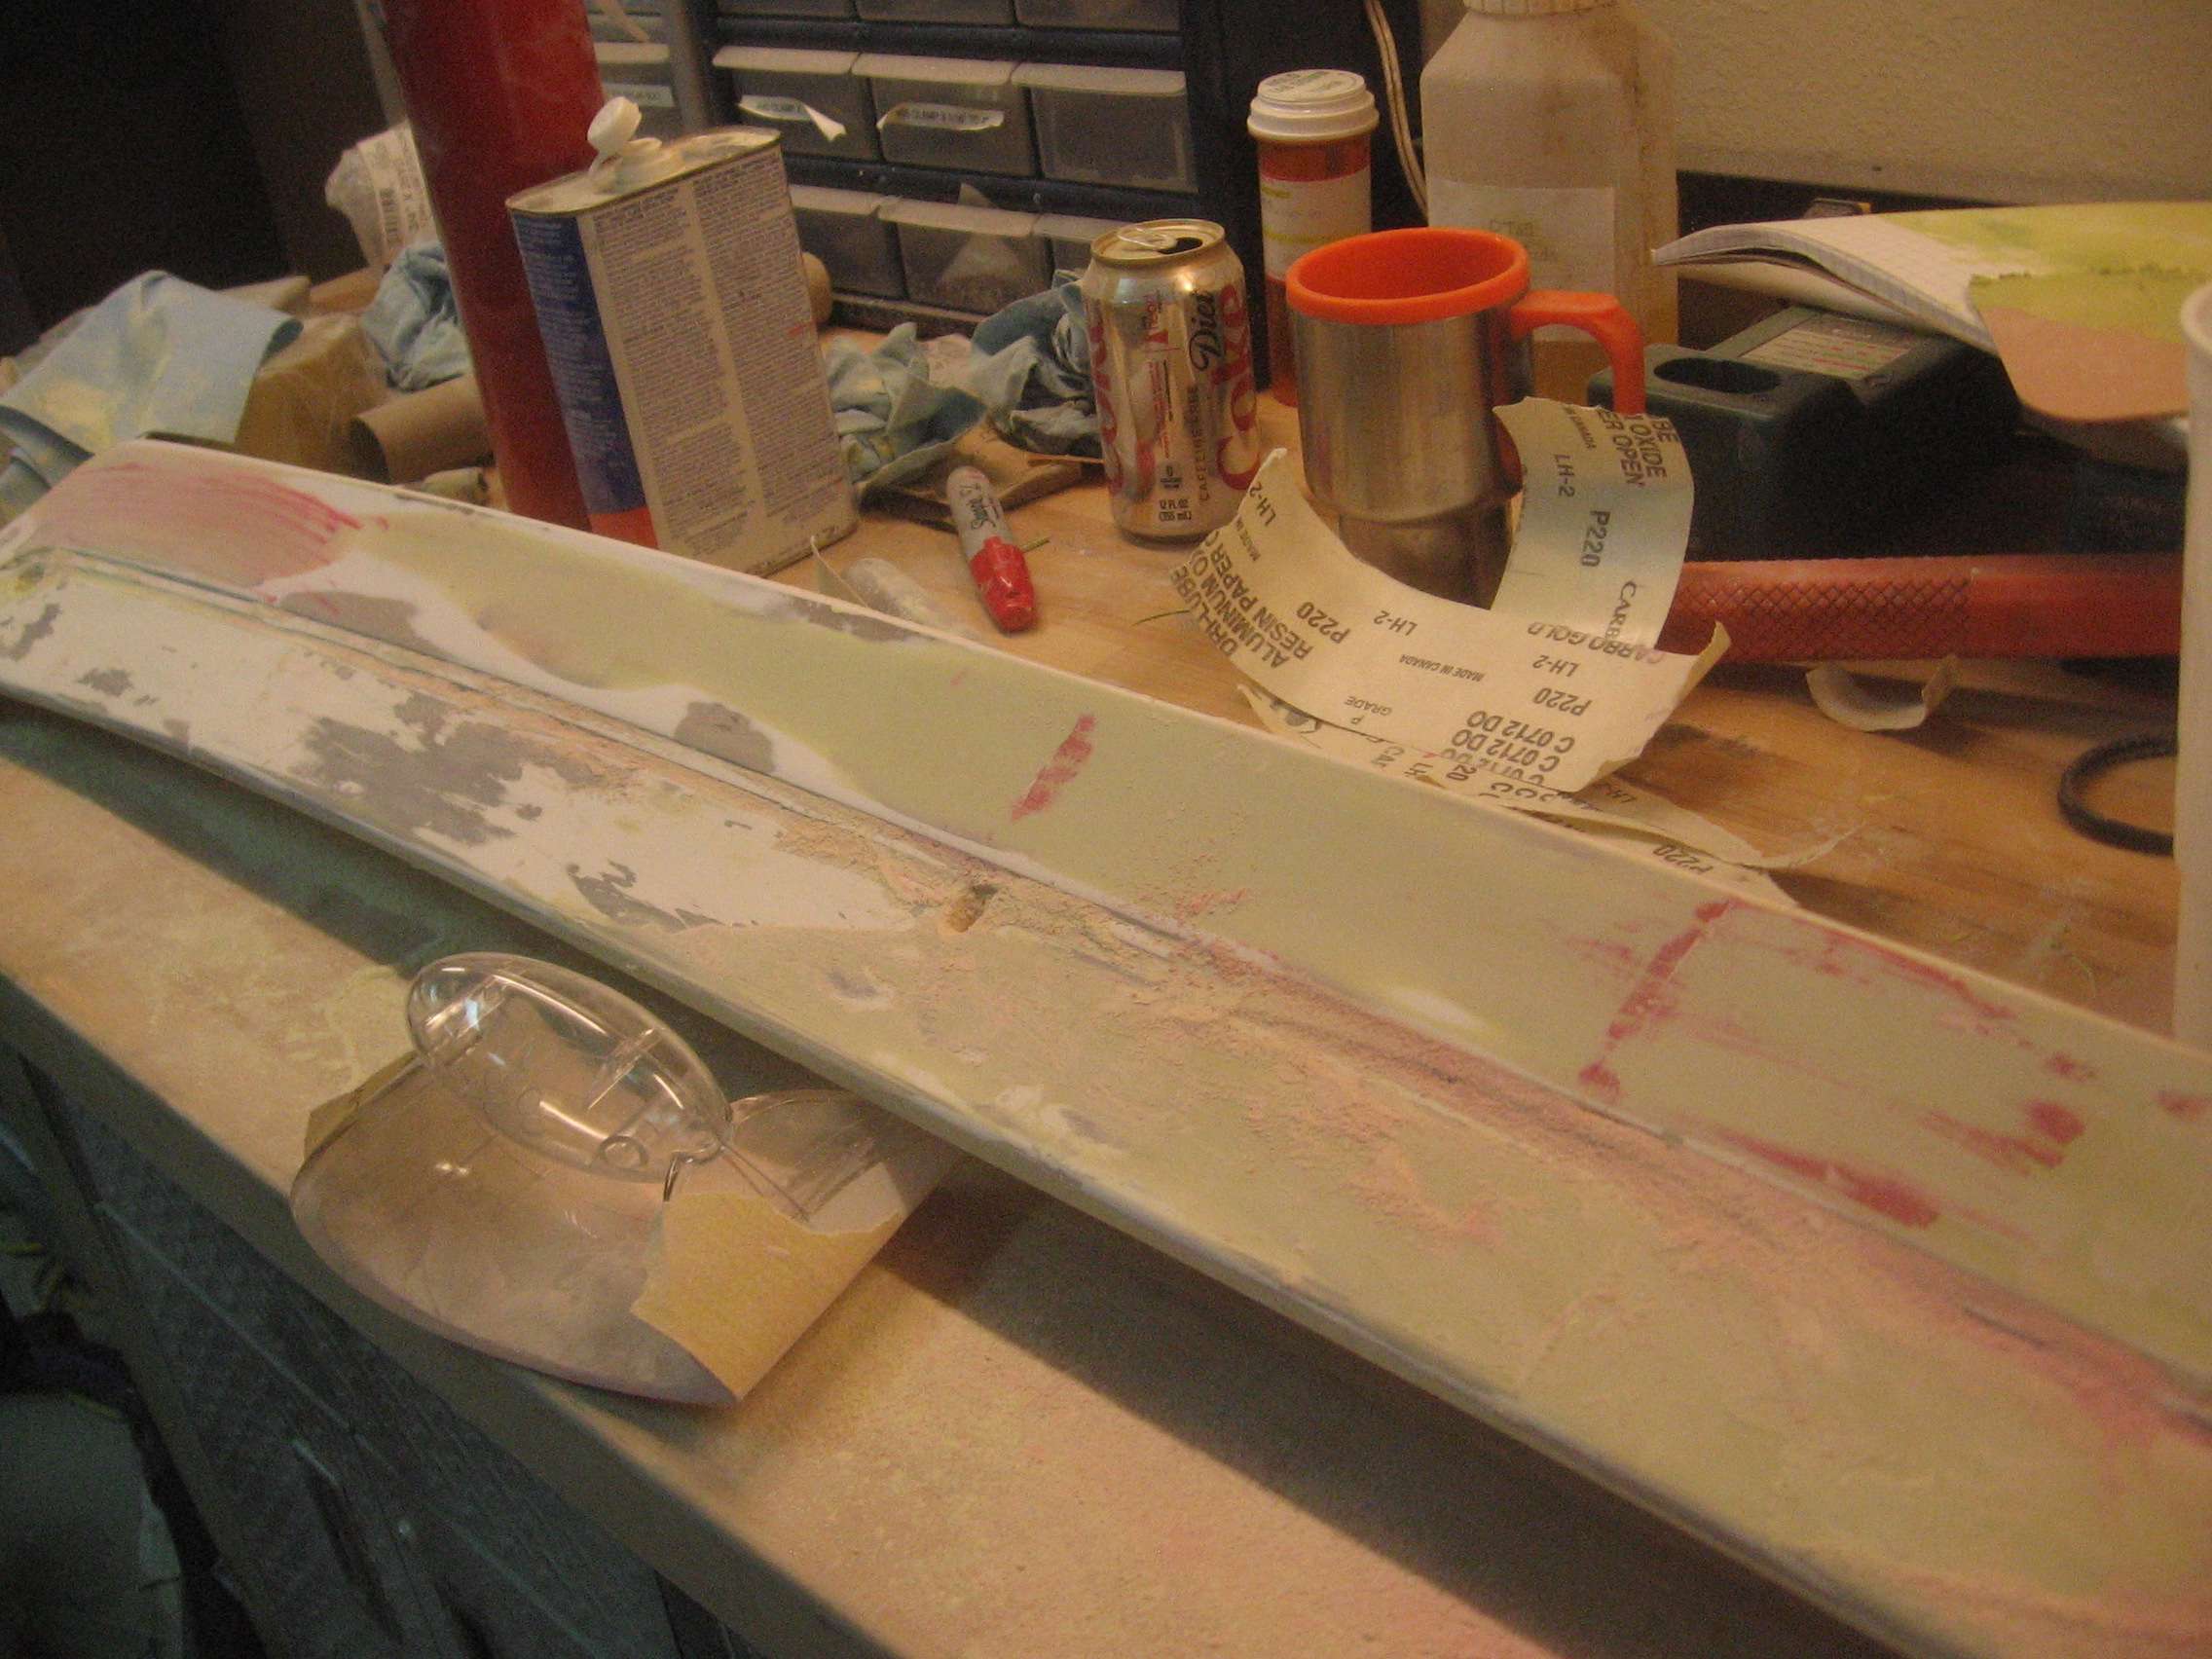
As the sanding continued, the top edge of the wing started to thin out and I discovered voids...many many voids. I filled them all with epoxy, resanded the entire wing with 80 grit and reapplied the primer. It should stick now. And then the process will repeat. <sigh>
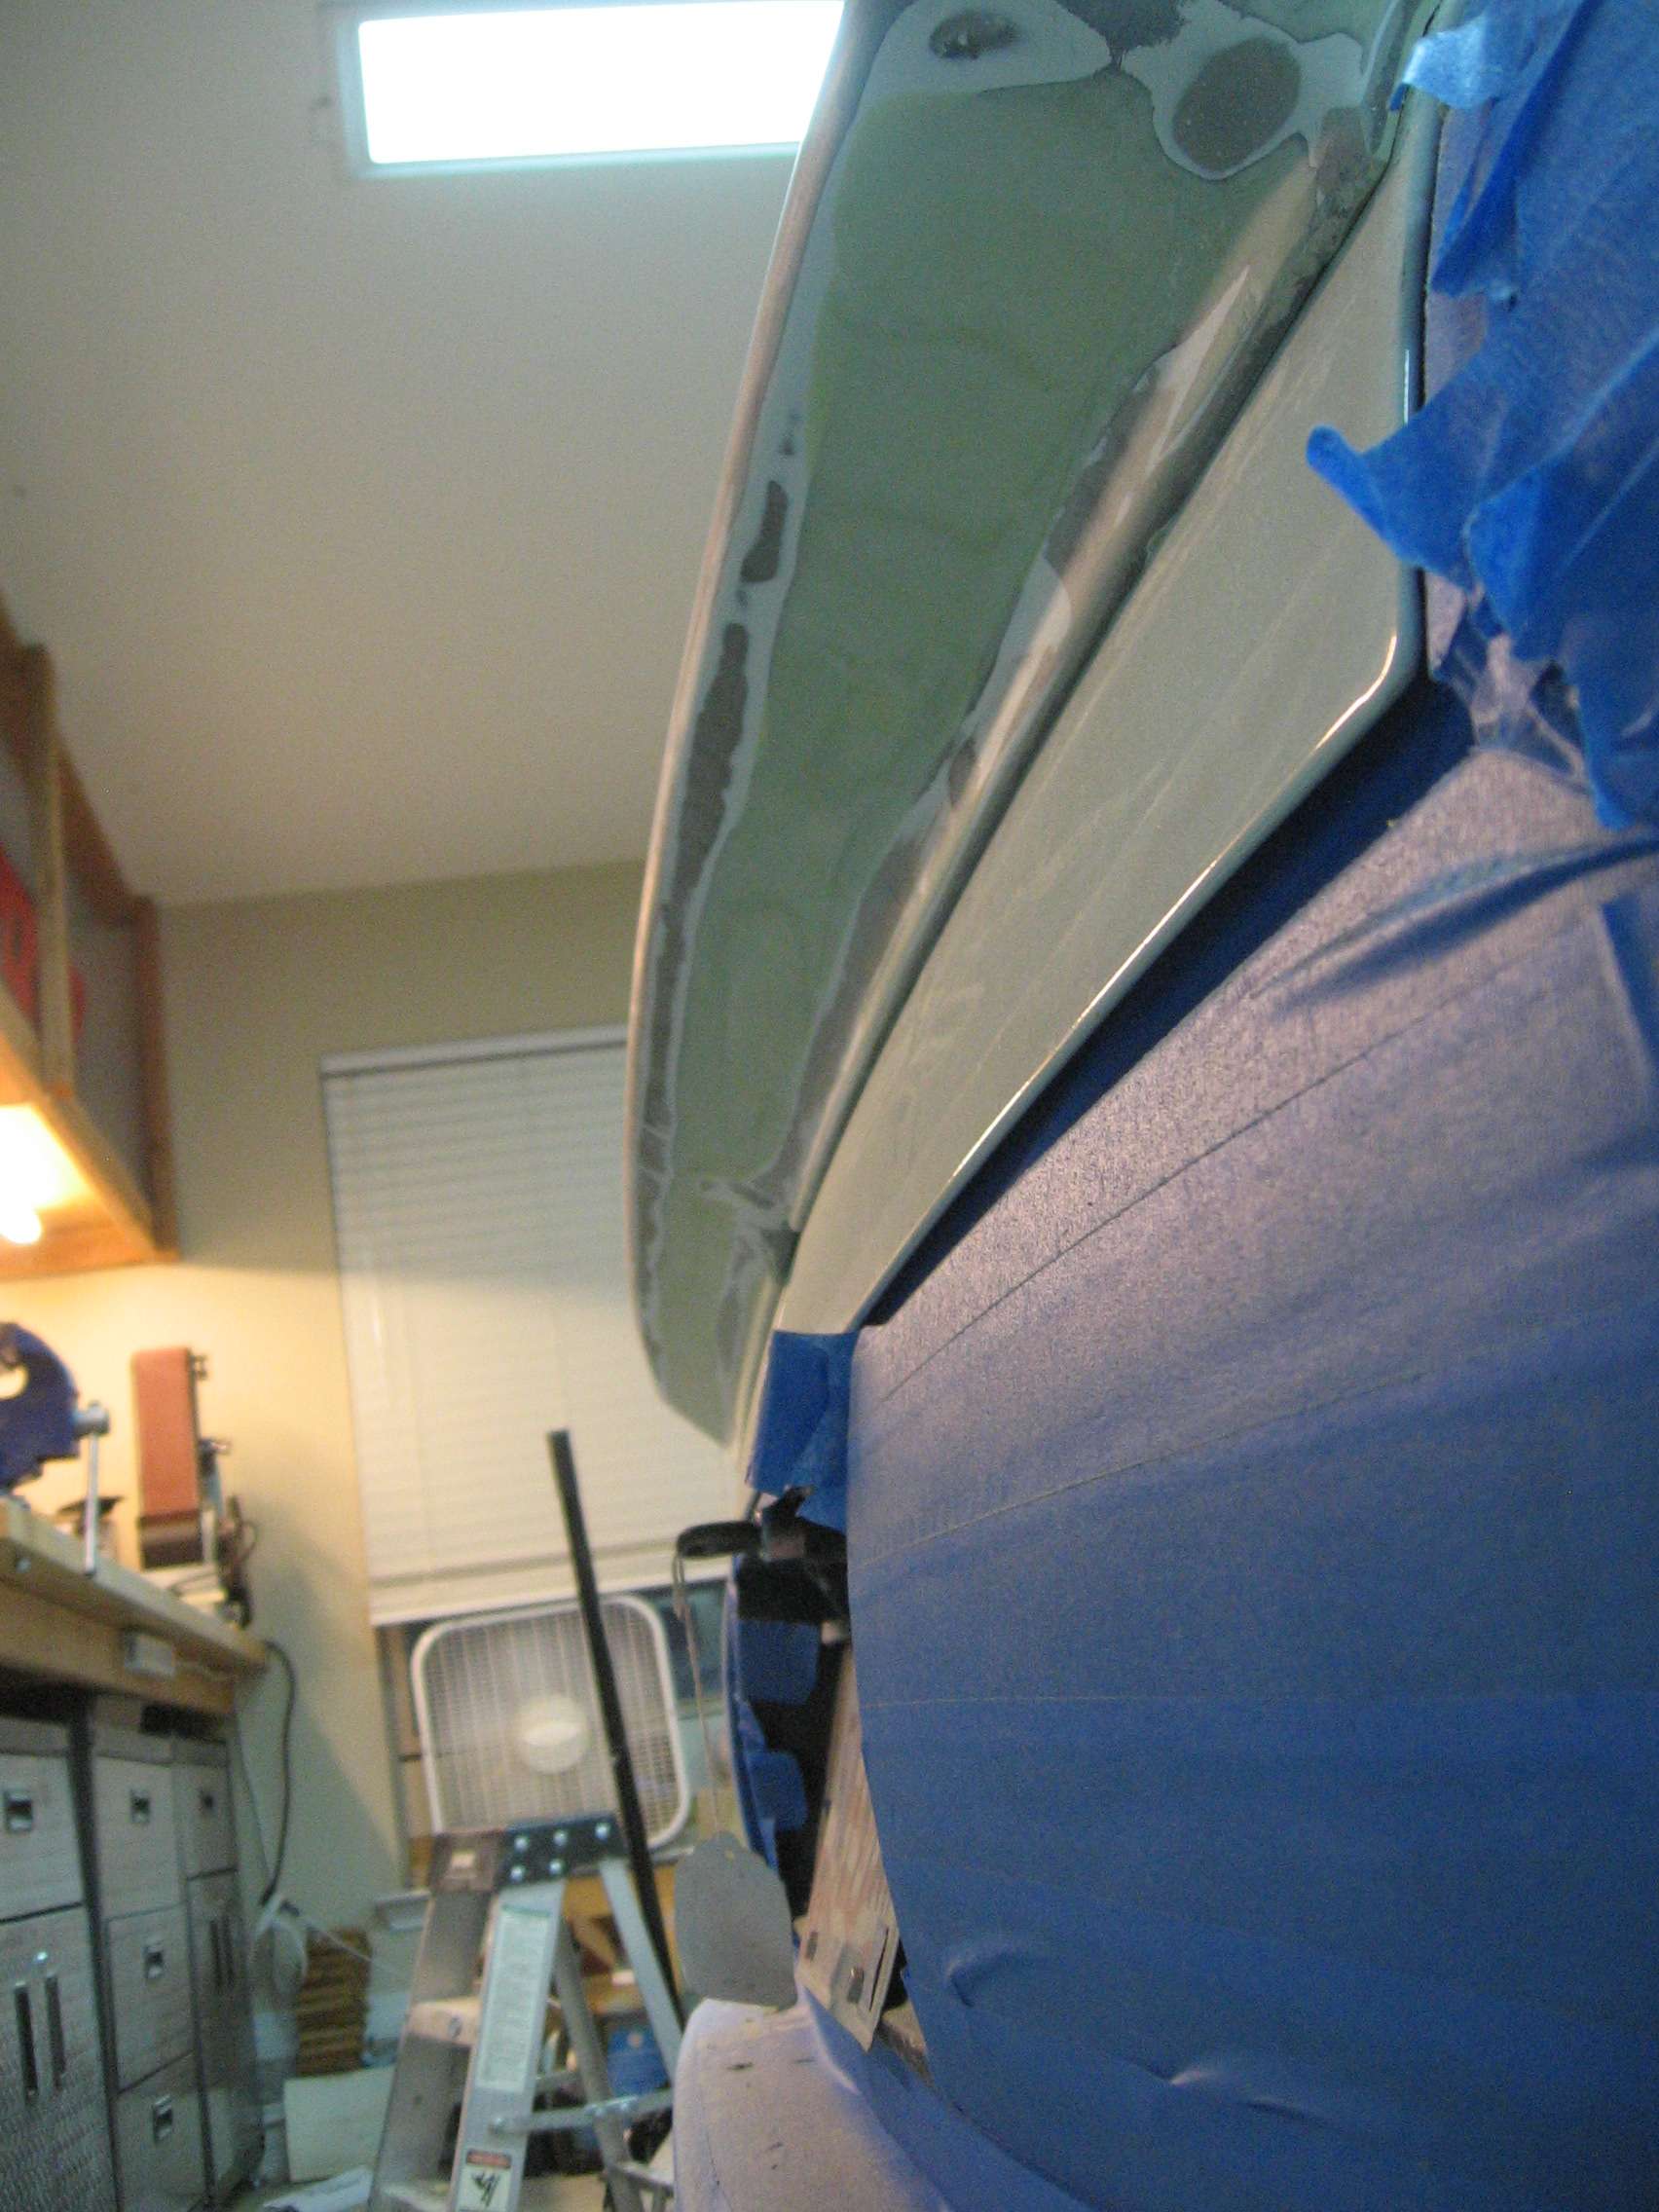
For those who guessed that my passenger door hinge pin bushing sheared, you got it right. Unfortunately, I got some damage combined with it too.
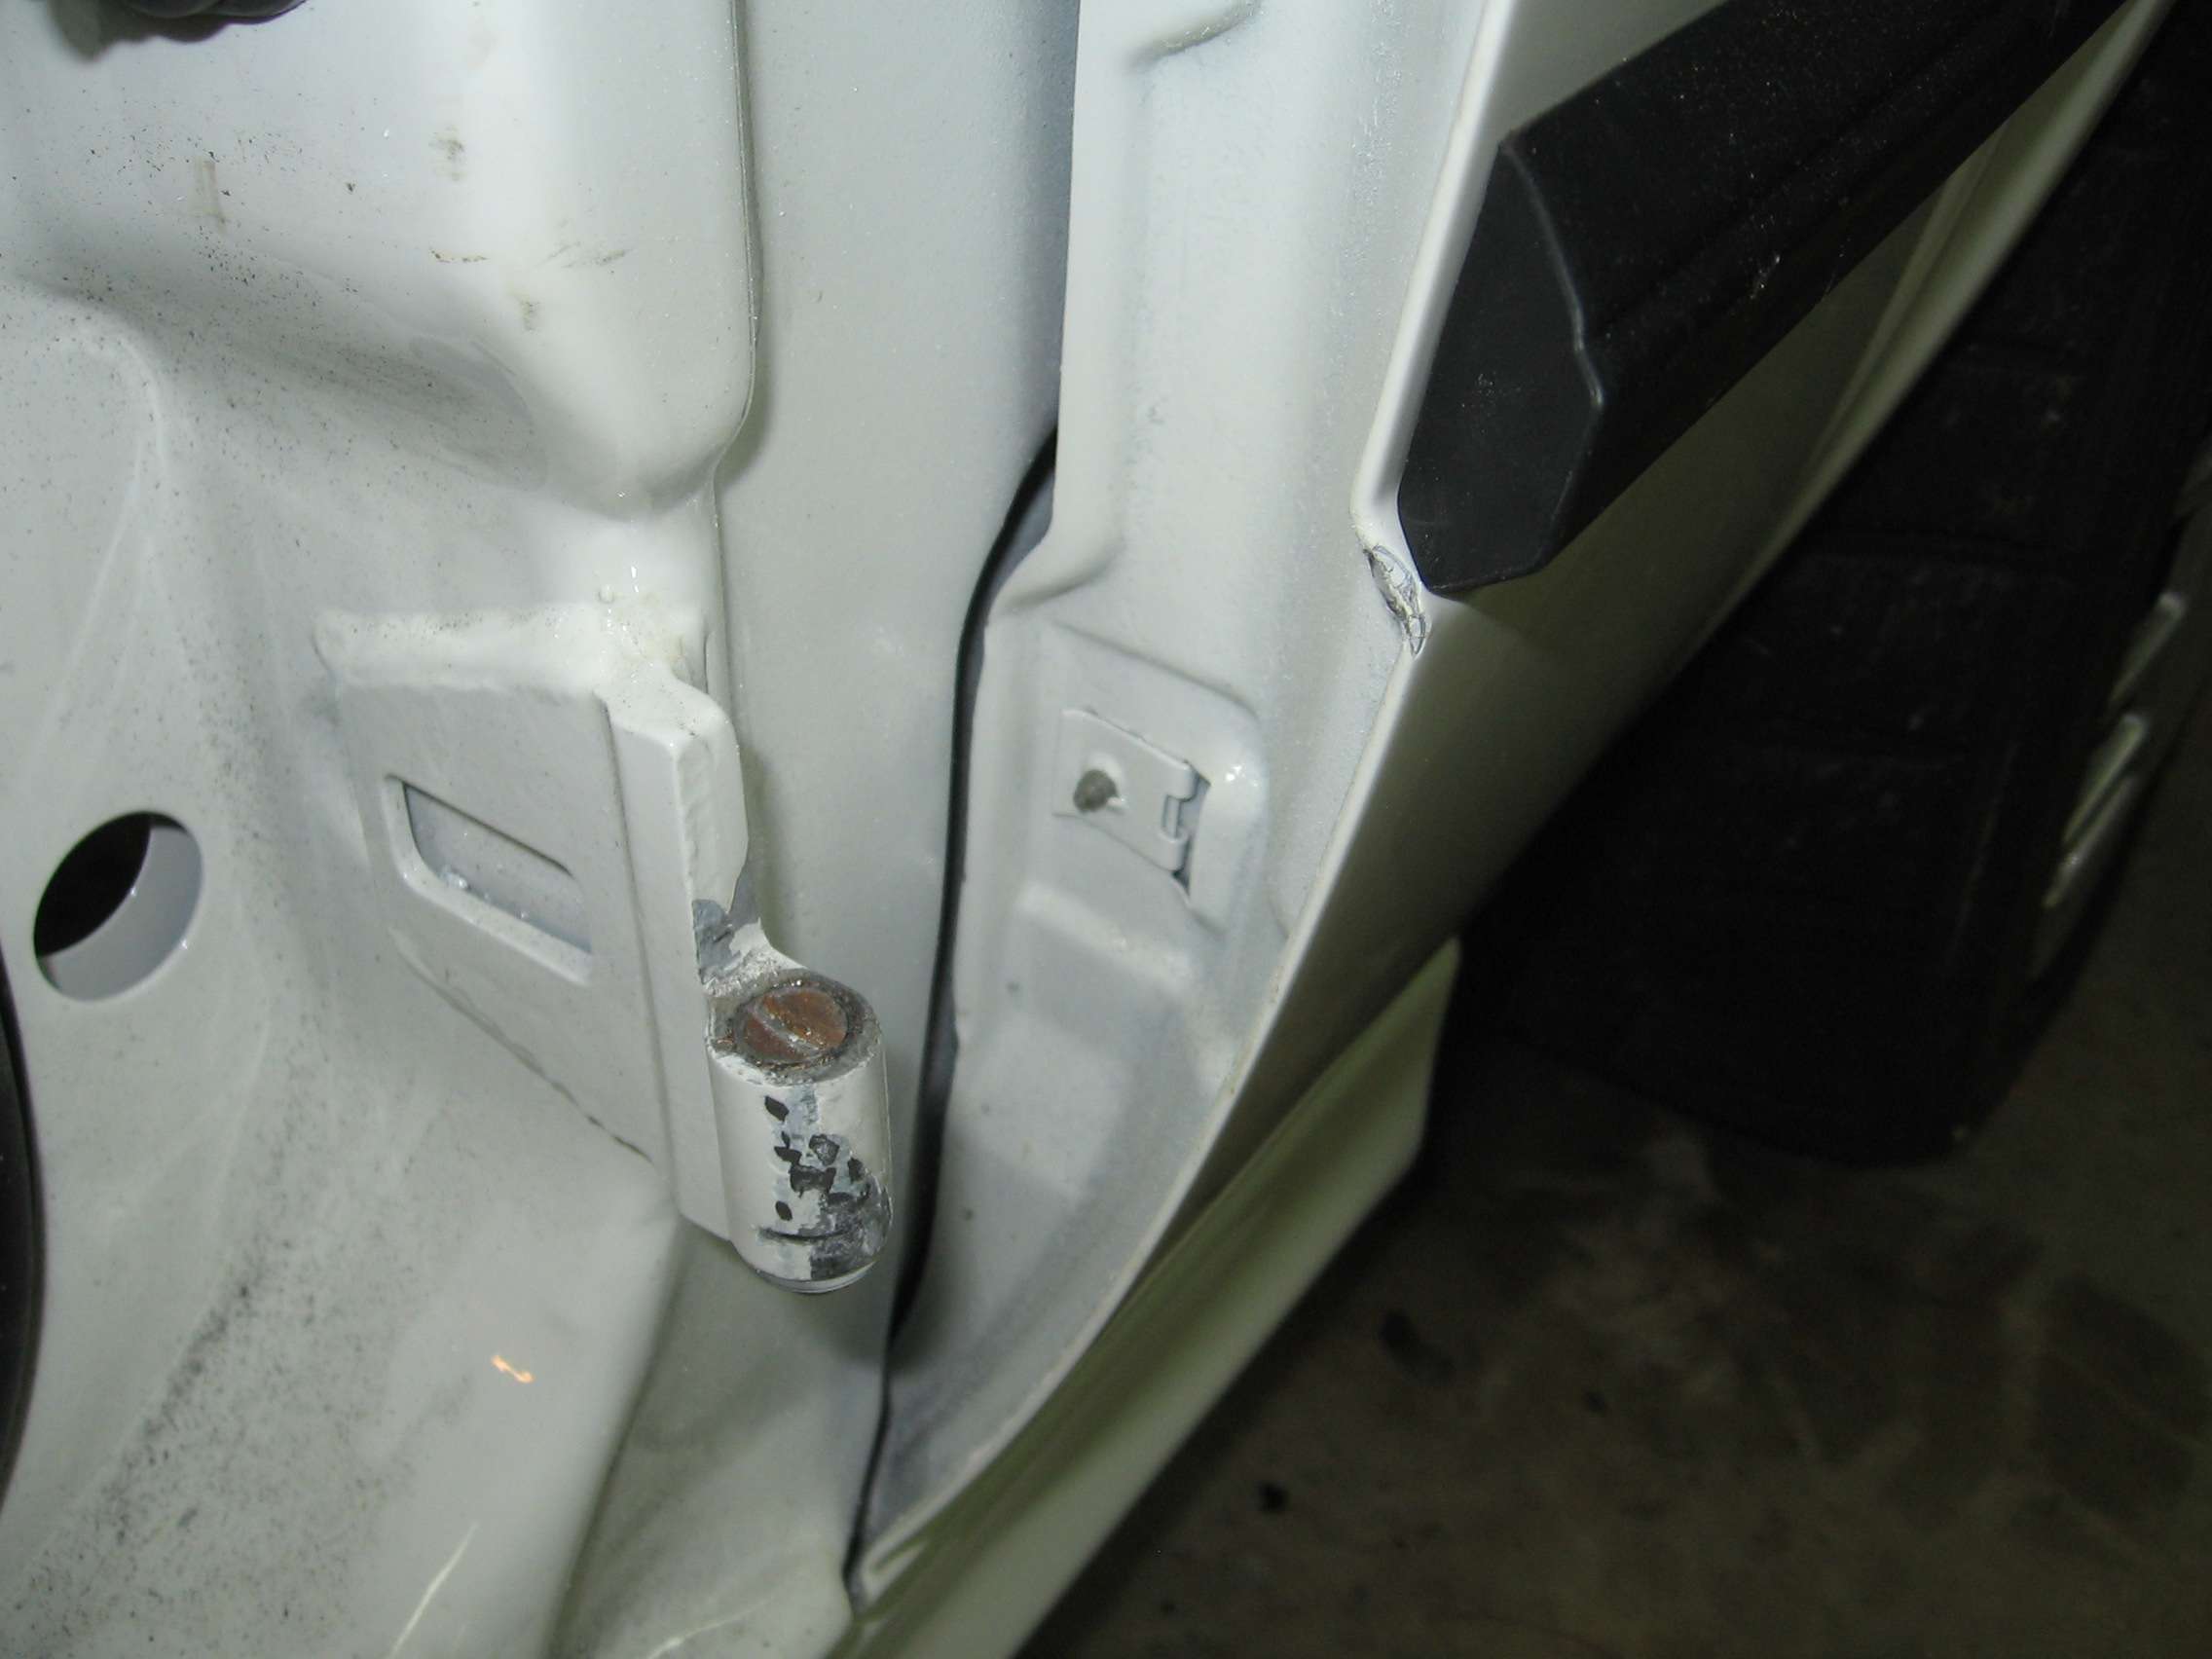
I'm beginning to think this car hates me. I can't tell you how sickening the feeling was to push the door closed and have it bounce back because the back edge is down an inch or two. Ugh. Looks like Blunttech will be getting another order. I just want the exterior finished at this point.
Hopefully another update soon.-Josh
Check out my build thread...
http://www.r3vlimited.com/board/showthread.php?t=131055
Need parts? Support the community!
http://www.gutenparts.com
http://www.blunttech.comComment
-
Good luck on completing that wing. Its gonna look great. Sorry to hear the news about the door hinge, but hey its all part of the love/hate thing everyone has with their e30. You'll get over itComment
-
That's a whole lotta work on the spoiler--but as already stated, it will look great in the end. I stumbled upon my OE one on craigslist one day from someone who really had no idea what it was worth, and I considered selling it for a profit, but then came to my senses.
You've got persistence and patience Josh.Comment
-
You are a patience man.sigpicComment
-
god damn thats alot of work on that spoilerRenting my rear wheel bearing tool kit. SIR
http://i25.photobucket.com/albums/c5...ps6debf0b0.jpg
Your signature picture has been removed since it contained the Photobucket "upgrade your account" image.Comment
-
Keep it up! I feel somewhat ashamed to see you put all this work into that spoiler and I'm contemplating taking mine off my car.Originally posted by Simon SComment


Comment