Building a press at work

Collapse
X
 
  • Time
  • Show
Clear All
new posts
  • jaywood
    R3V Elite
    • Jul 2010
    • 4528

    #1

    Building a press at work

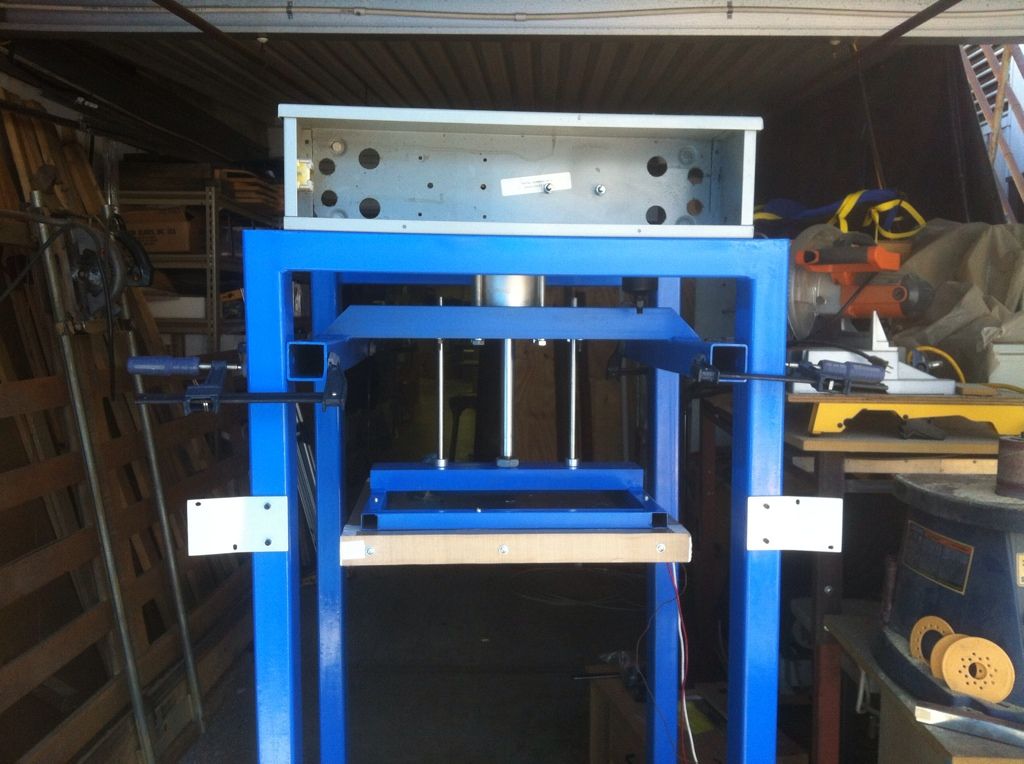
    Just thought I'd share. I enjoy seeing everyone else's projects on here so here's my most recent. It's not quite done yet. It's a pneumatic heat press. It will have a "dash" with controls for adjusting temp/time/pressure/etc.

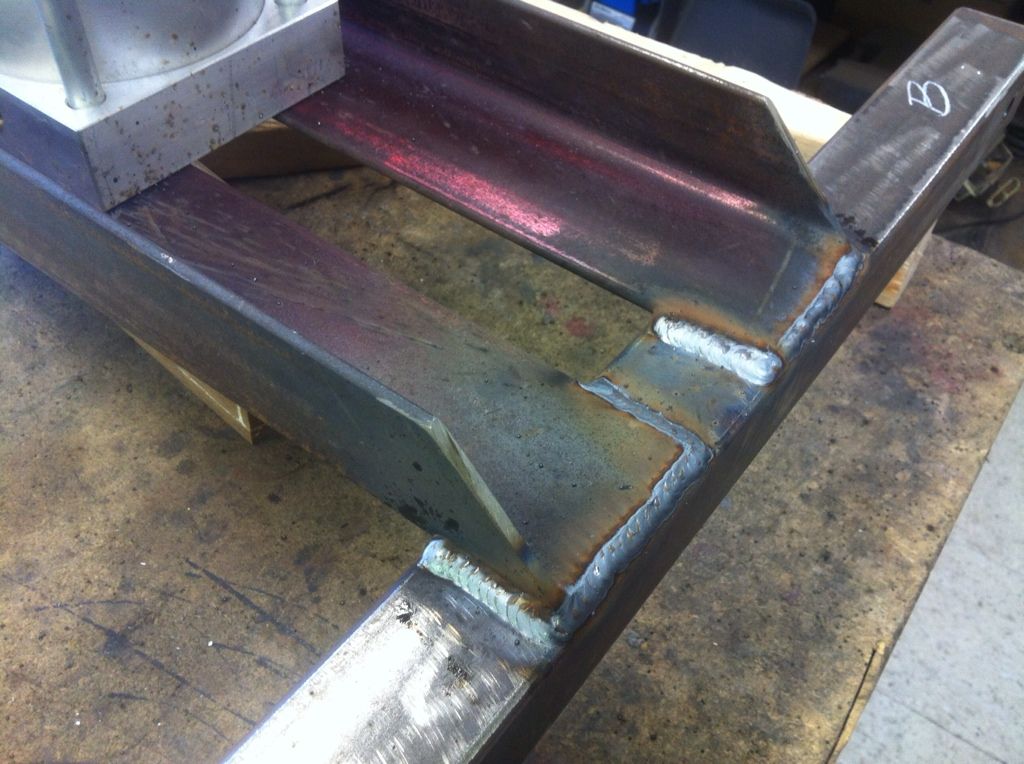
    I'm using recycled metal from a huge horizontal band saw. I'll let the pics do the talking.
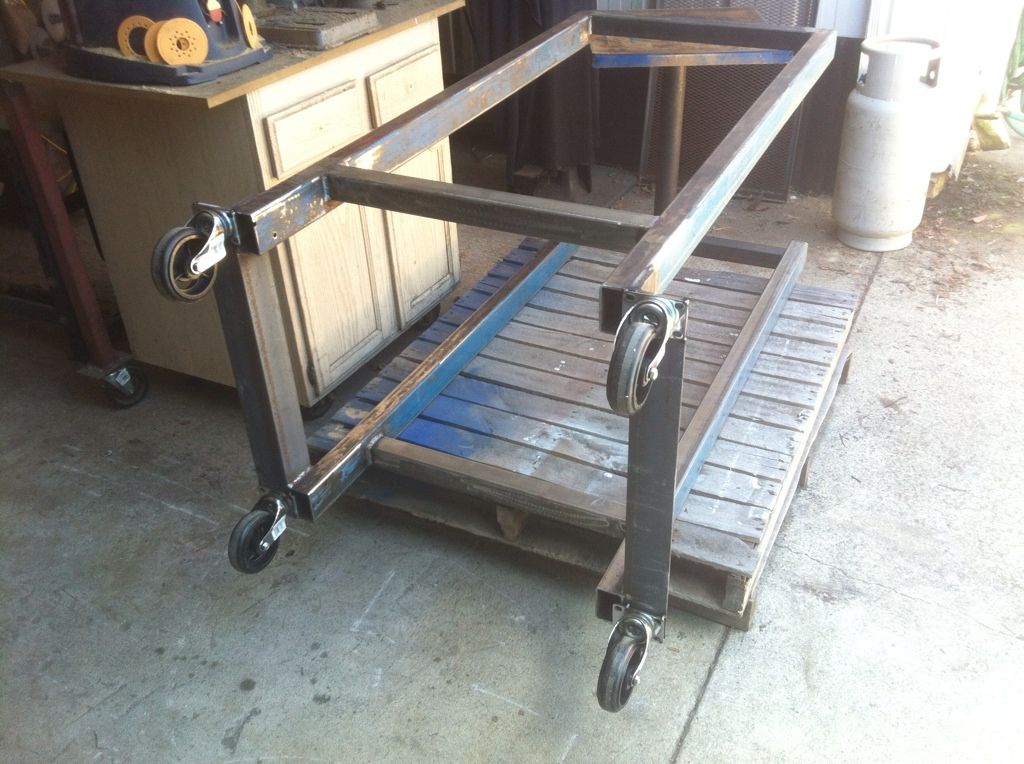


    HF casters... ;)


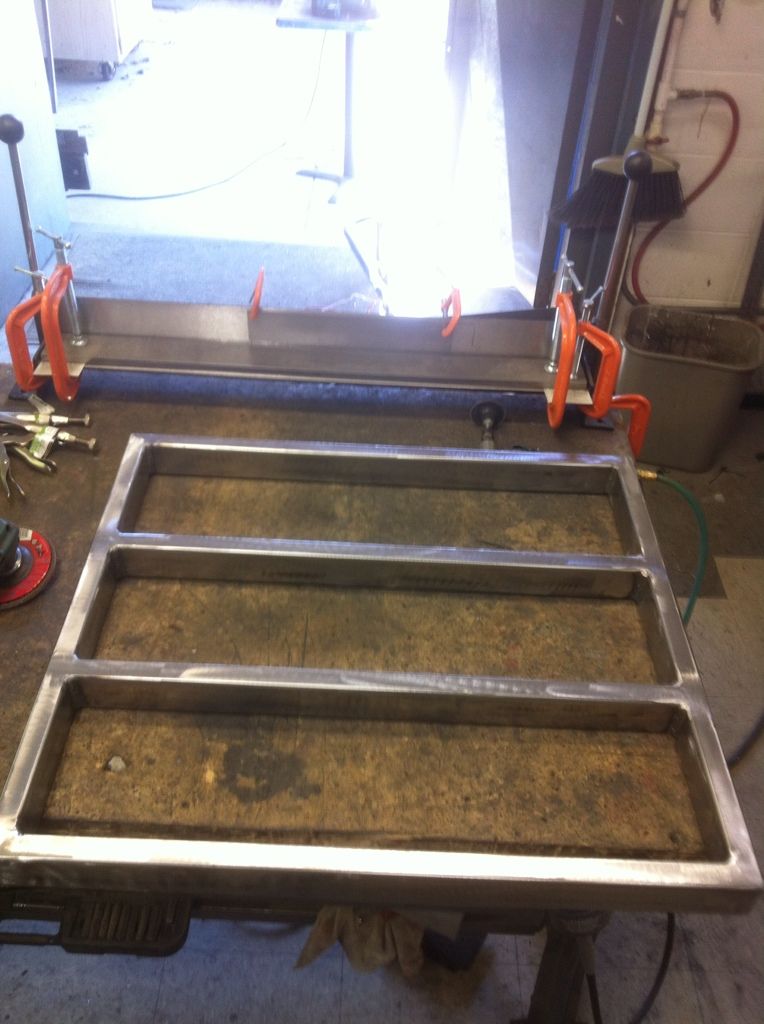
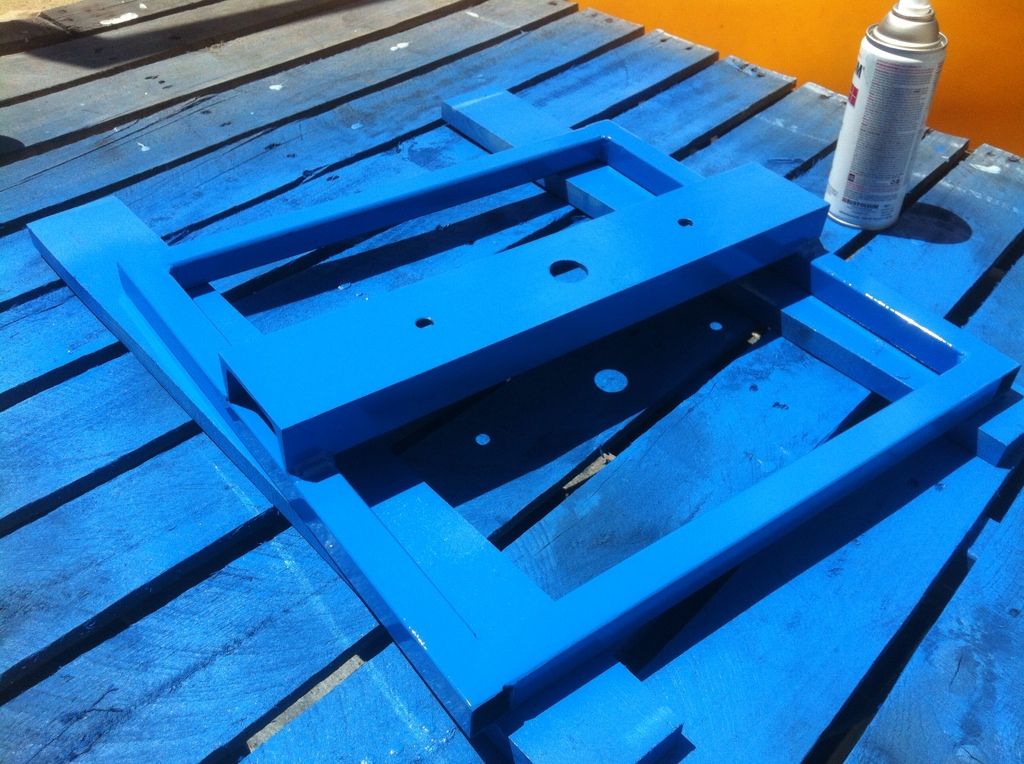
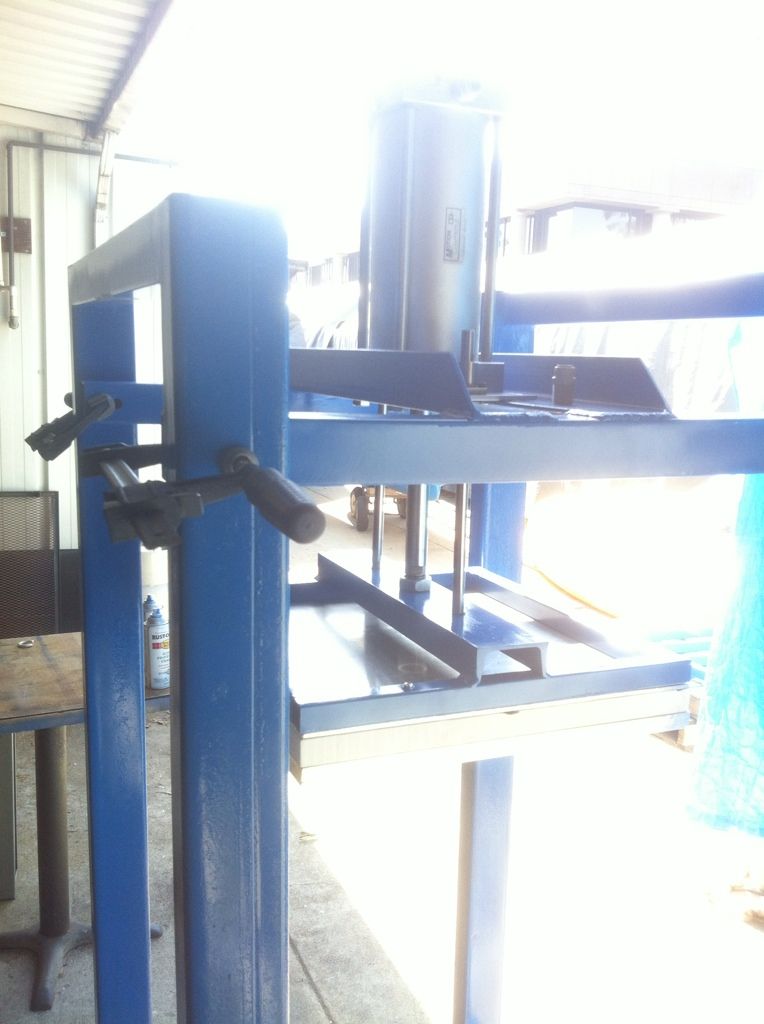
    This is the frame for the bottom. An alu plate will be bolted on and leveled out. This will sit in the middle of the whole frame and be secured to the sides of the frame via bolts.


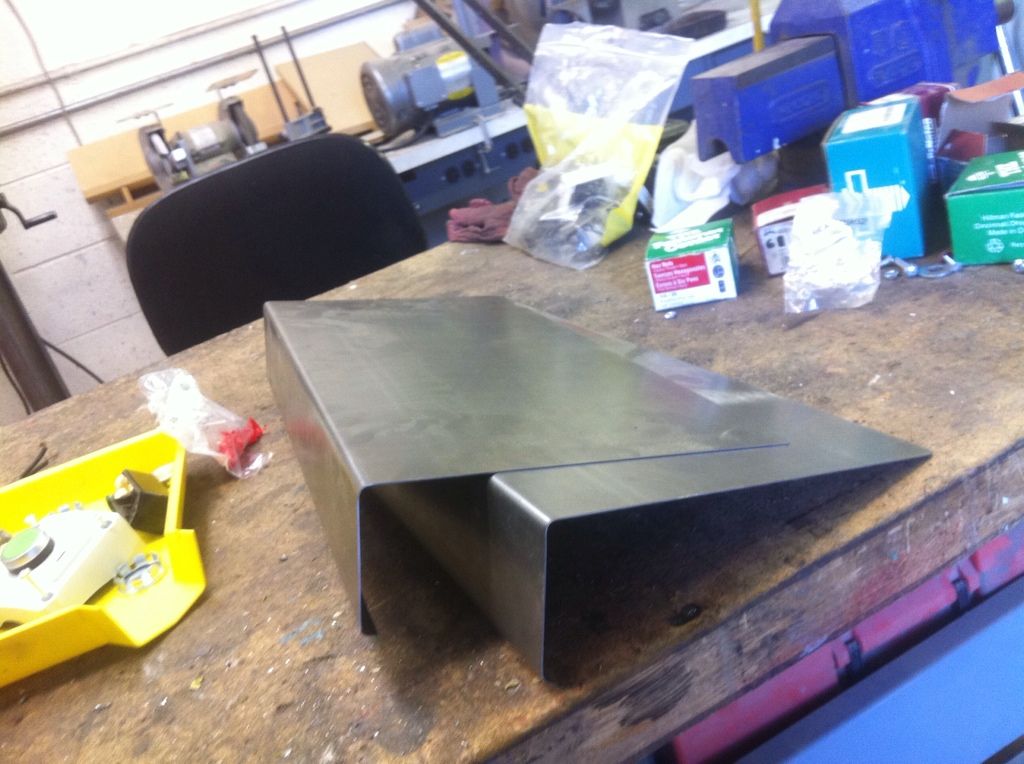
    This is the piece that will hold the aluminum heater plate and push it down.


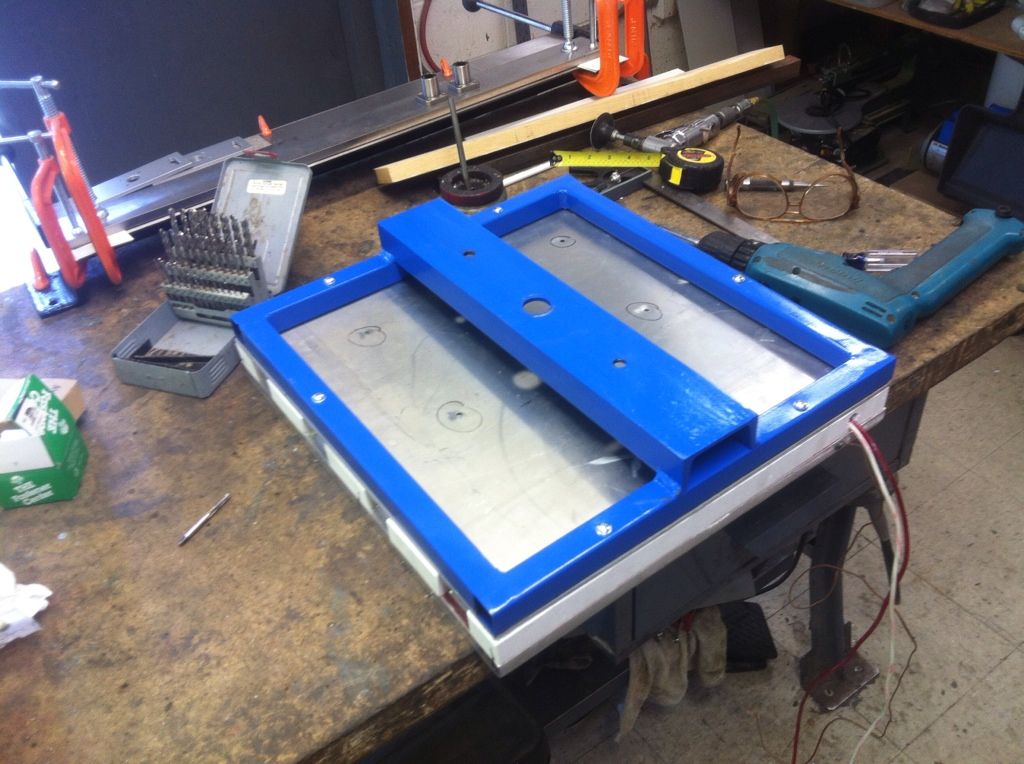
    Here's the heating plate with that piece attached


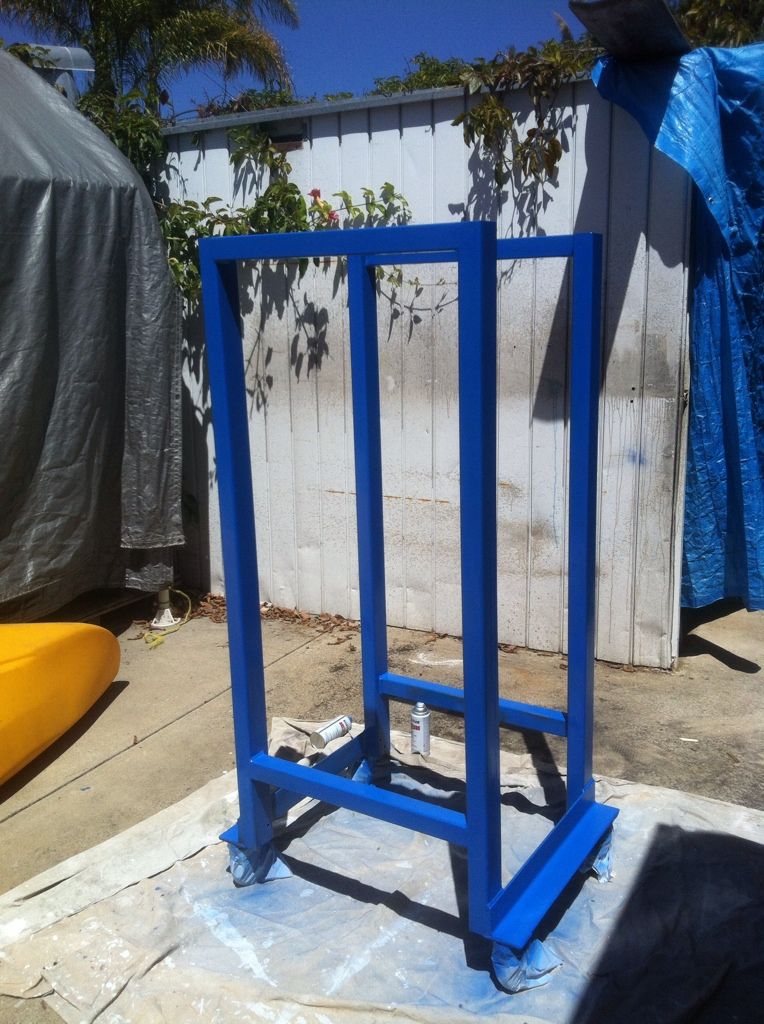
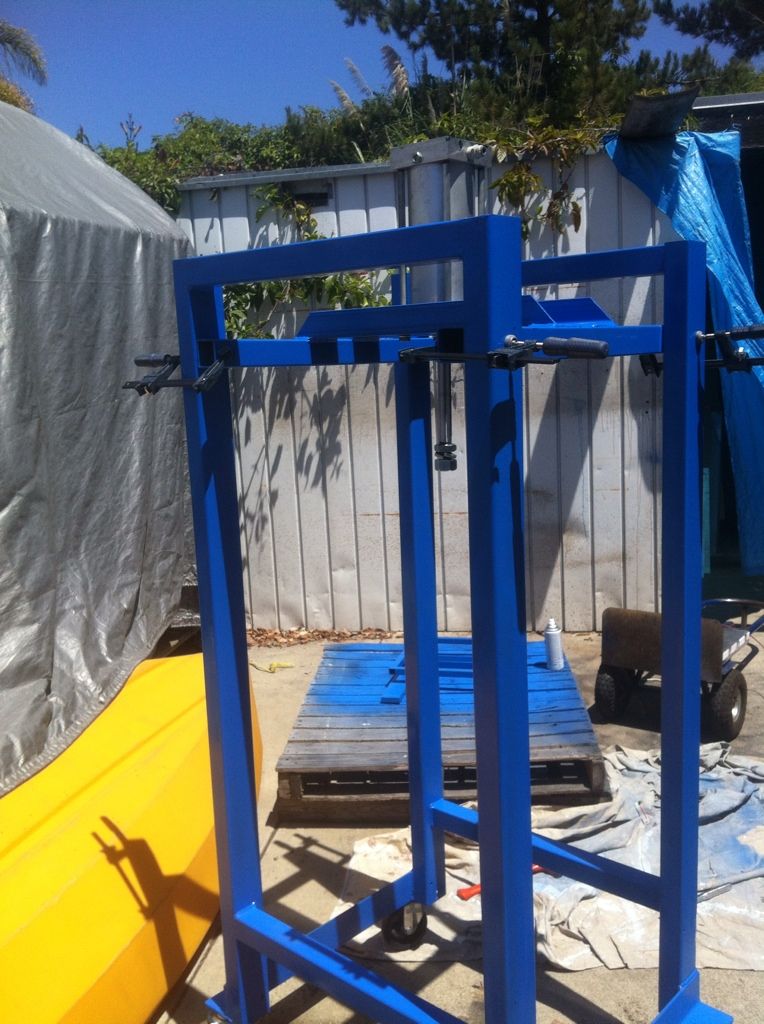
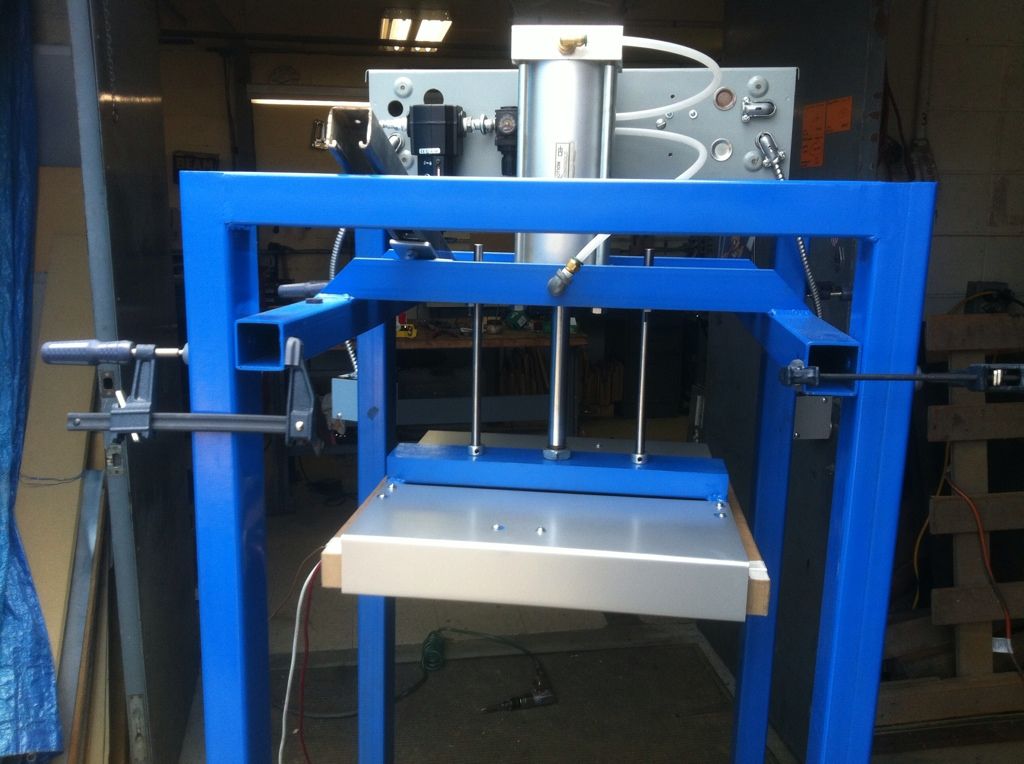
    Starting to take shape


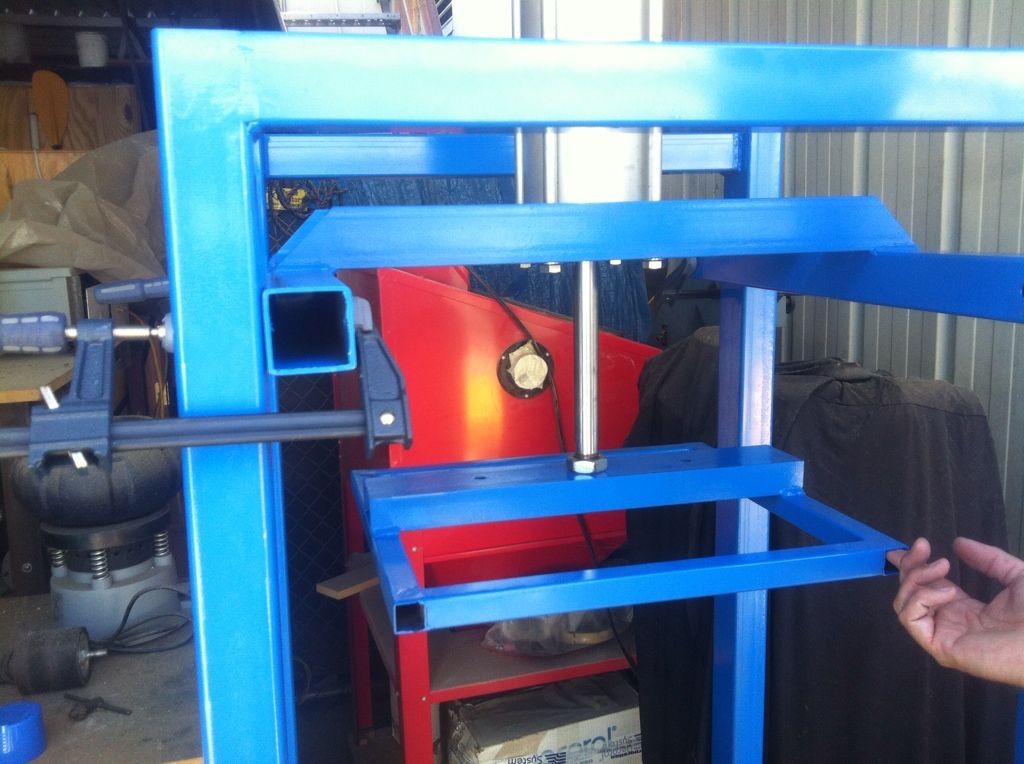
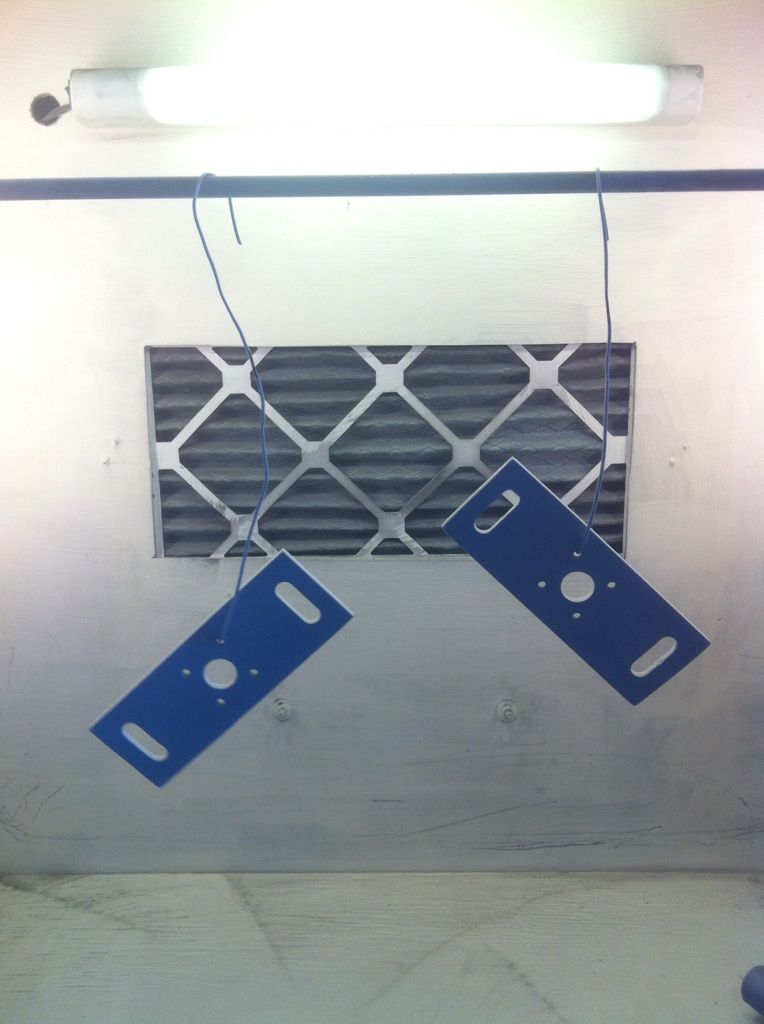
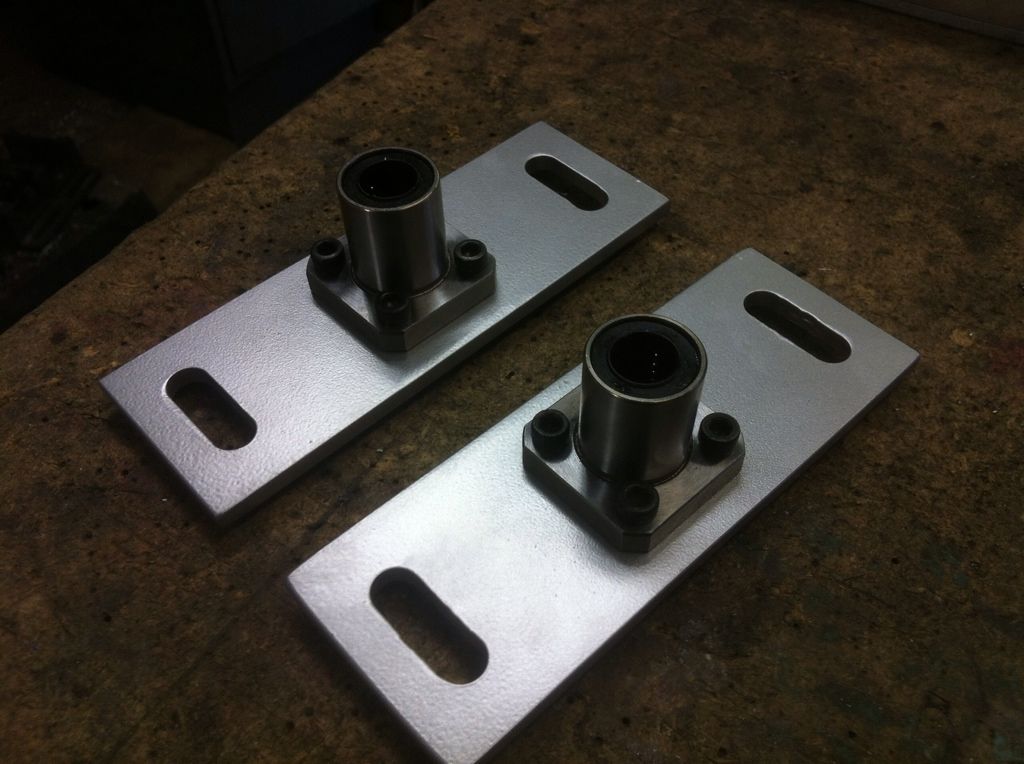
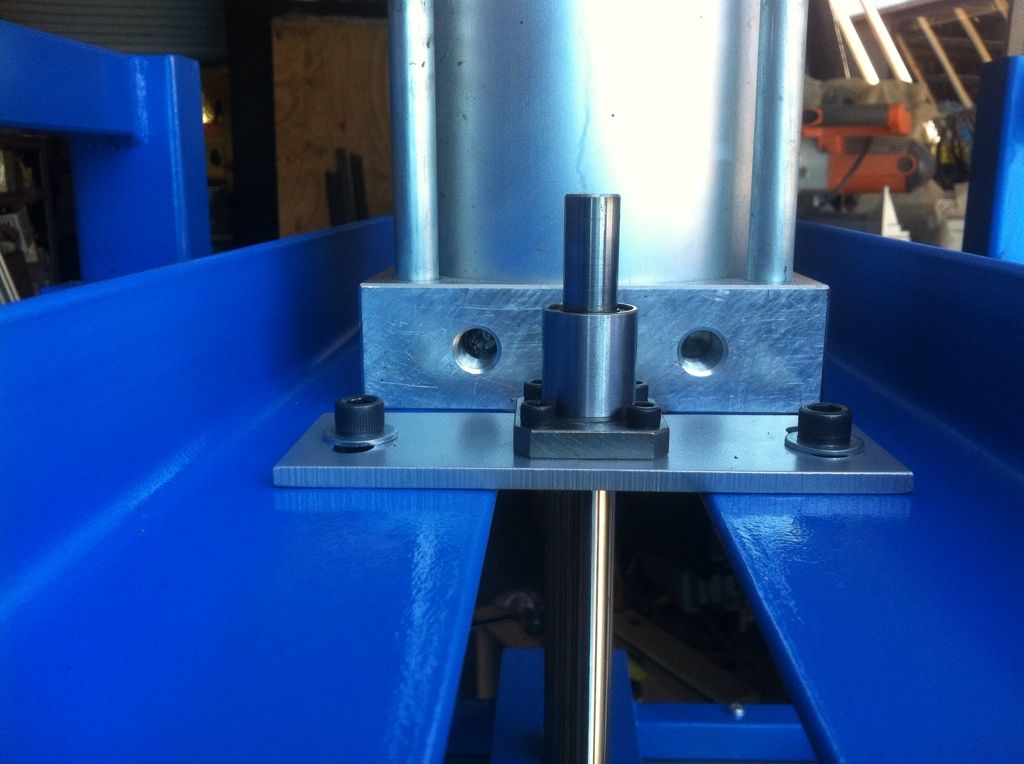
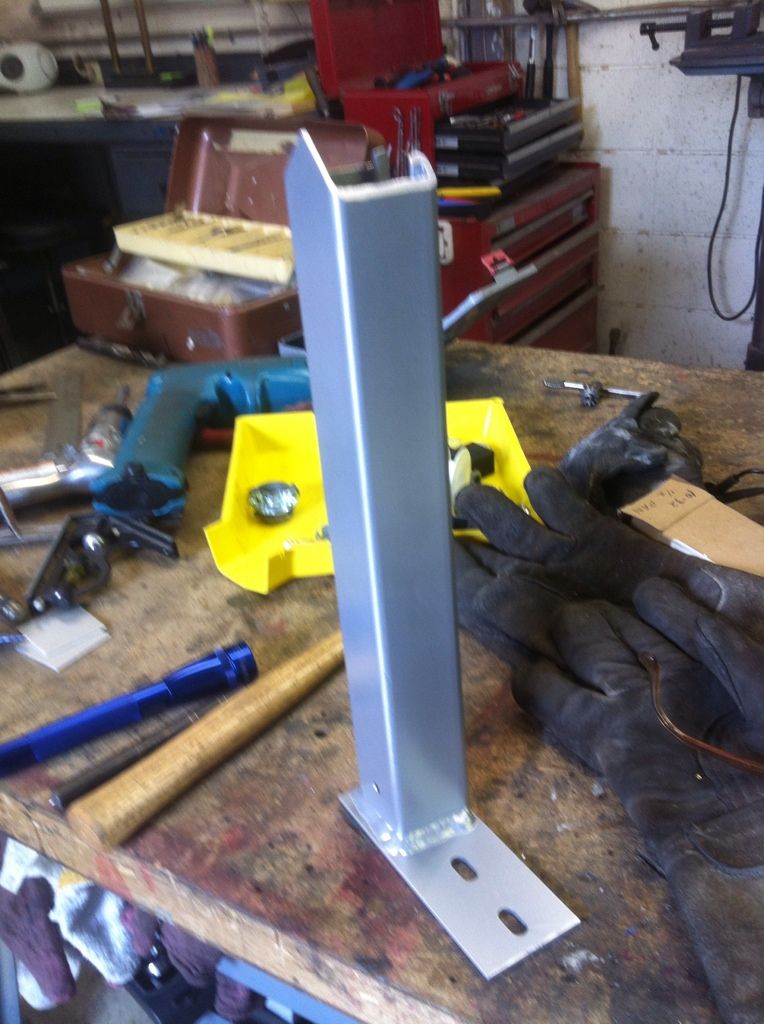
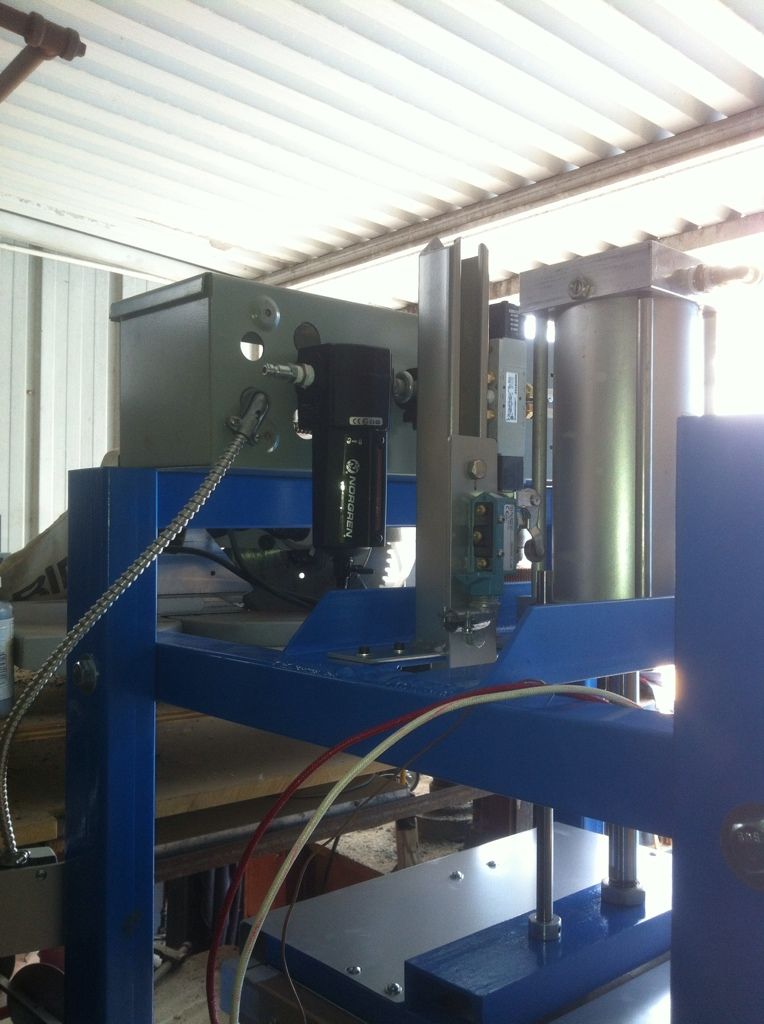
    2 aluminum brackets I milled to hold the rod that guided the heating plate. PC'd silver from PBTP.


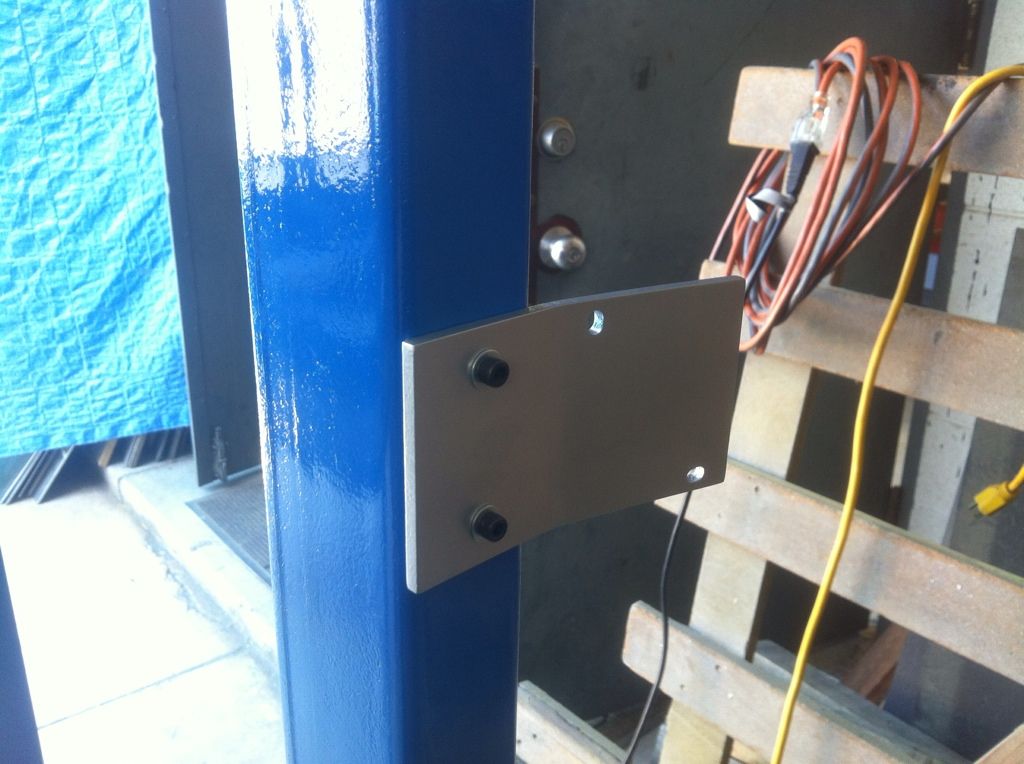
    You can see the 2 alu brackets guiding the rods.


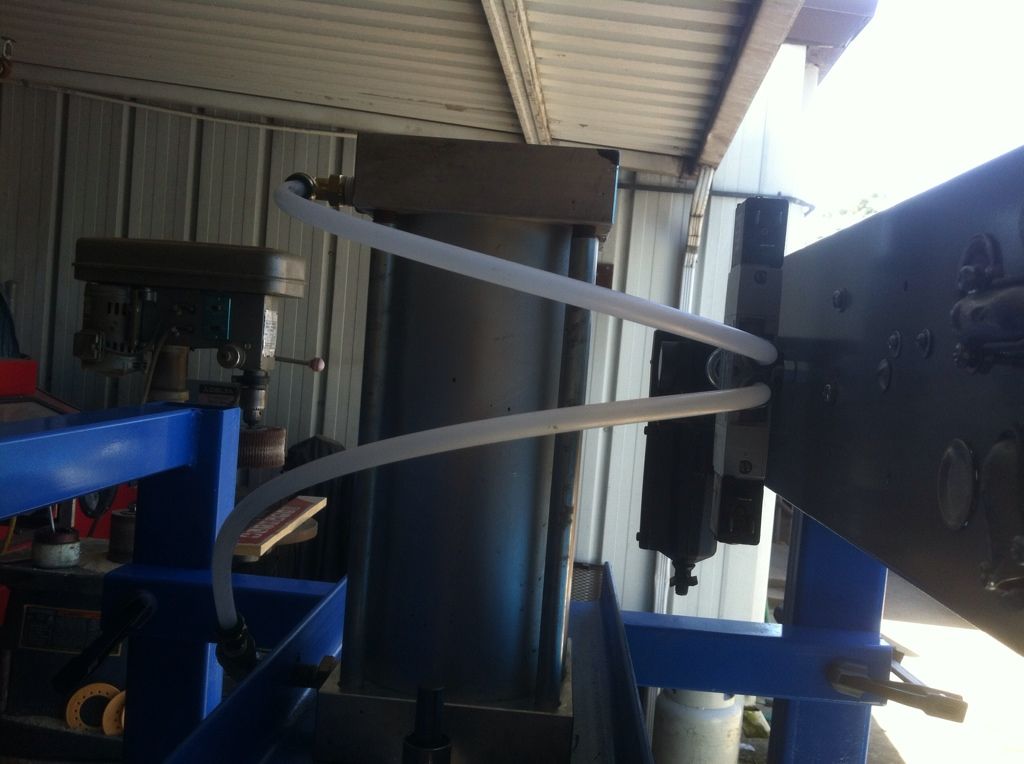
    Sorry for the iPhone pics, it was all I had.

    I'll keep this thread updated for those who care ;)
    Last edited by jaywood; 08-17-2012, 04:27 PM.
  • george graves
    I waste 90% of my day here and all I got was this stupid title
    • Oct 2003
    • 19986

    #2
    Nice work! What's it used for?
    Originally posted by Matt-B
    hey does anyone know anyone who gets upset and makes electronics?

    Comment

    • jaywood
      R3V Elite
      • Jul 2010
      • 4528

      #3
      Originally posted by george graves
      Nice work! What's it used for?
      Thanks George!

      It is made to bond plastics together and make bags with. It should be cool...Hopefully it works!!

      The electronic/plumbing part is coming up. I think you'll enjoy that part!

      Comment

      • jaywood
        R3V Elite
        • Jul 2010
        • 4528

        #4
        Brackets for the buttons to raise/lower the head


        Electrical box mounted up top. Valve and what not mounted on the backside for the air for the ram


        I laser cut some black acrylic and mounted the gauges/timers/emergency shut-off


        Mounted those brackets I made earlier. They guide the head


        Air lines hooked up


        I put some insulation around the head (heated) so it's more like an oven. It keeps the heat in. I also made some metal shields and PC'd those silver.


        Buttons mounted and wired in


        Welded up a bracket for the timer switch


        Started hooking up more wires and what not! It's getting close!

        Comment

        • F34R
          sLaughter
          • May 2009
          • 12390

          #5
          Very nice looking man.
          ~ Puch Cafe. ~ Do business? feedback ~ Check out my leather company ~

          Instagram: @BWeissLeather

          Current cars:
          ~ '87 325 M30B35 swap
          ~ '87 535
          ~ 01 540 Msport 6spd
          ~ '06 X5 4.8is

          Comment

          • Bglad
            E30 Addict
            • Jul 2010
            • 562

            #6
            That appears to be pneumatic not hydraulic. But nice work either way!

            Comment

            • jaywood
              R3V Elite
              • Jul 2010
              • 4528

              #7
              Originally posted by Bglad
              That appears to be pneumatic not hydraulic. But nice work either way!
              Yes correct.

              Did I say hydraulic earlier? Sorry!!

              Comment

              • LuckyHenriksen
                R3V Elite
                • Jun 2010
                • 4244

                #8
                This is neat, nice work!


                Bahama Beige E23 Project
                Bluebird Bus Conversion
                New Oregon Trail

                Comment

                • jaywood
                  R3V Elite
                  • Jul 2010
                  • 4528

                  #9
                  Thanks!

                  The valve is confusing. It wasn't working so it got bypassed and the ram went up & down! It worked ;) wooo

                  I'll have videos when it's complete!

                  Comment

                  • jaywood
                    R3V Elite
                    • Jul 2010
                    • 4528

                    #10
                    What I've learned from this project for those interested:

                    Powder coat is very very nice whenever you have a small enough part to fit in an old kitchen oven. Harbor freight has some decent tools for the price. HF tools used in this build: air grinder, air screwgun, break to bend the sheet steel, clamps, and vise grips. I am learning the "air-logic" part and the electronic part. All of the little switches are cool that start the timer and the heating. McMaster is VERY quick...it usually gets delivered next day depending on when you place the order.

                    The HF air tools are going on 2 + years of everyday use. Keep them oiled and they'll last!

                    Comment

                    • george graves
                      I waste 90% of my day here and all I got was this stupid title
                      • Oct 2003
                      • 19986

                      #11
                      Nice linear bearing. Are they McMaster stuff?
                      Originally posted by Matt-B
                      hey does anyone know anyone who gets upset and makes electronics?

                      Comment

                      • jaywood
                        R3V Elite
                        • Jul 2010
                        • 4528

                        #12
                        Originally posted by george graves
                        Nice linear bearing. Are they McMaster stuff?
                        Yep!

                        Hopefully they will work good. I should have videos on Monday/Tuesday!

                        Comment

                        • E-Thirty
                          E30 Fanatic
                          • Aug 2006
                          • 1331

                          #13
                          Wow, did not think it would end up looking so clean, judging by the first couple pics.

                          Props man, well done!
                          Originally posted by StereoInstaller1
                          Do you feel like something is trying to penetrate your butthole?

                          Comment

                          • jaywood
                            R3V Elite
                            • Jul 2010
                            • 4528

                            #14
                            Originally posted by E-Thirty
                            Wow, did not think it would end up looking so clean, judging by the first couple pics.

                            Props man, well done!
                            Thanks! ;)

                            Comment

                            • FunfGan
                              R3V Elite
                              • Jan 2011
                              • 4958

                              #15
                              Quality work man!


                              Go here be happy!

                              Ratchet Garage e30 V8 build.

                              Comment

                              Working...