-
I have been thinking about selling my 450r (see first page for those who haven't seen pics) and picking up a newer CA plated KTM.
Talk me into or out of it.Leave a comment:
-
Edit: May have lucked out, did some research and it turns out Krylon Fusion paint is suppose to be the shit to adhering to plastics (that's actually what I accidentally used for my tank and plastics). I also found an article from someone who painted their plastic tank 10 years ago before Krylon came up and this is what he said
"The gas vapors come from missing the spout, or when you are filling the spout the vapors are surrounding the filler hole and making contact with the plastic. The vapors also find their way out of areas that bolt into the plastic, like the petcock, or a loose cap. The fuel does not find it's way through the plastic. If it did, there would be some regulation against plastic tanks as those external vapors could combust from a spark. The stickers come off due to a capillary effect that wisks the fuel to the edges of the stickers if you accidentally spill gas on the tank. The gas breaks the glues bond. You can paint your tanks and it should be fine. I painted an XR200 tank about 10 years ago. No paint has bubbled peeled, or anything else. You just have to prep the surface well. Also, I painted my tank before FUSION was around. This FUSION paint actually is supposed to form a BOND with the plastic. Not just like it's sitting on the surface. "Leave a comment:
-
Did you do research on painting the tank before you did it? The gas tank "outgasses" and probably won't like having paint on it. Wrapping it in vinyl doesn't work well either (bubbles)
You should RIT dye it. There's a youtube video out there of a guy doing it to his tank. I'll look for it. BRB
I'm back, here it is.
Leave a comment:
-
Same tank and plastics. Just sanded, heat treated (paint sucks at adhering to straight polypropylene plastic) and repainted. I painted the desert tank black because if it was white then it'd be waaaaaaay too much white going on. But when I get a 426 tank I'll paint it white. And for the front fender, I'm just gonna leave it as is. The kit includes an Acerbis front fender and I'll have that white. It'll be a few weeks though before the kit because it is $$$$$$.Leave a comment:
-
So much for a lazy Sunday...
Now dressed in white with black tank. Gotta finish up the headlight housing but it got kinda late.
Leave a comment:
-
Bike is mostly back together, the seat, tank, and shrouds aren't bolted so the lines look alittle off.. Waiting for a 426 tank/shrouds/seat and the "bare bones" supermoto kit.
Leave a comment:
-
Not even 1 hour in the garage and I started ripping it apart. I'm on day 4 now and the wr400 is already stripped, ready for repaint and rebuild ha.
Repainted and resealed motor
Current paint was shit so I'm stripping it with aircraft stripper and repainting the whole frame and subframe satin black to match with the color scheme I'm going for
I'm going for a lighter blue plastics with full white plastics for swapping, with flat black motor w/ satin black hardware pieces, and anodized bronze misc. hardware...kinda like a wrx color scheme but a light blue.Leave a comment:
-
My new boots showed up today.:D

The wife and I are going to go for a nice ride tomorrow, it's supposed to be almost 80.:D:D
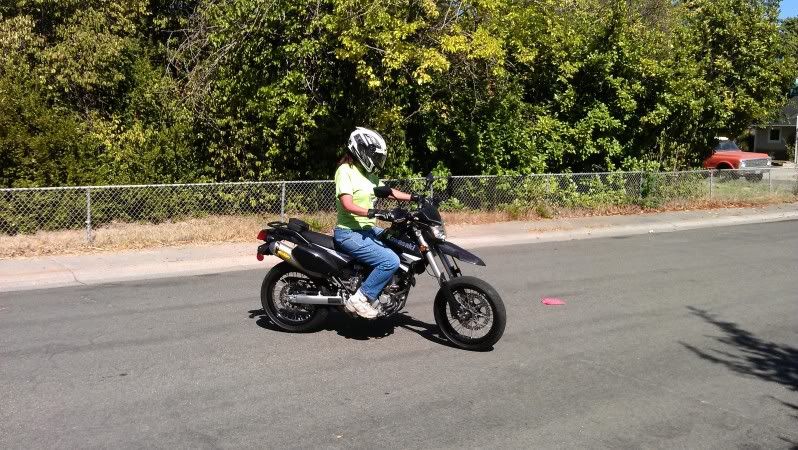
Her on her KLX out front working on her slow speed maneuvering.Leave a comment:

Leave a comment: